-
Read the WELCOME ALL BMWFANATICS post.
You are using an out of date browser. It may not display this or other websites correctly.
You should upgrade or use an alternative browser.
You should upgrade or use an alternative browser.
Project E46 330i Touring
- Thread starter evnmopwr
- Start date
evnmopwr
Well-known member
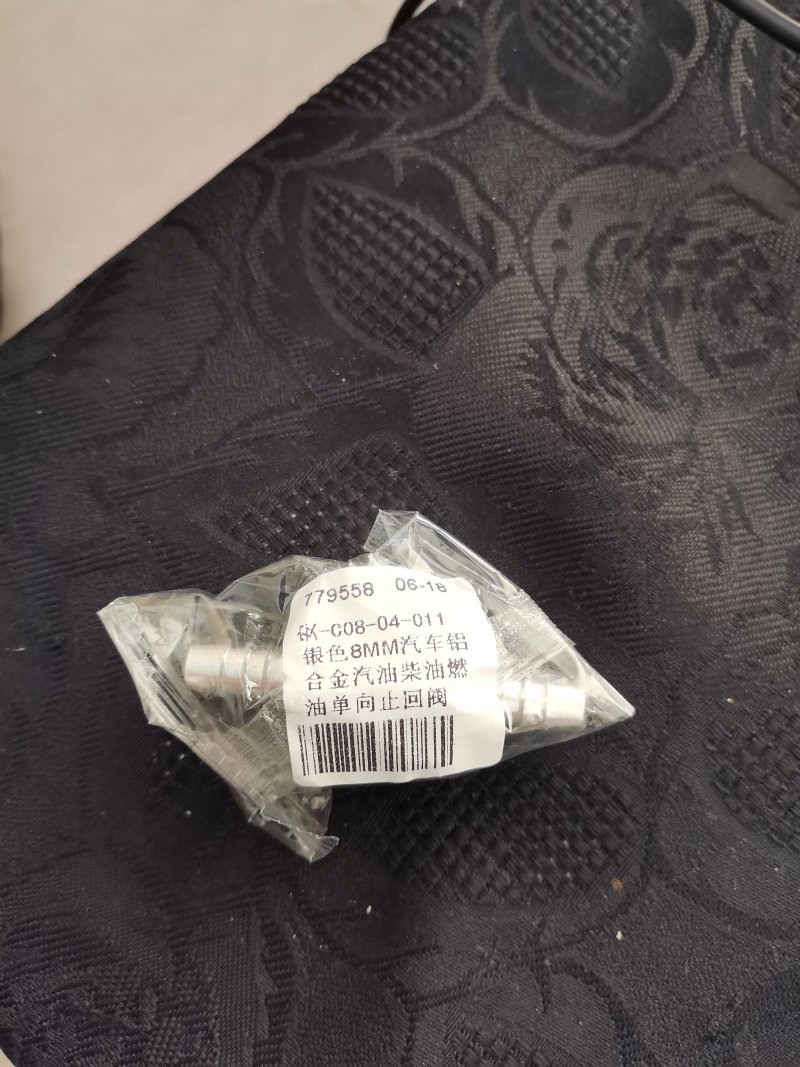
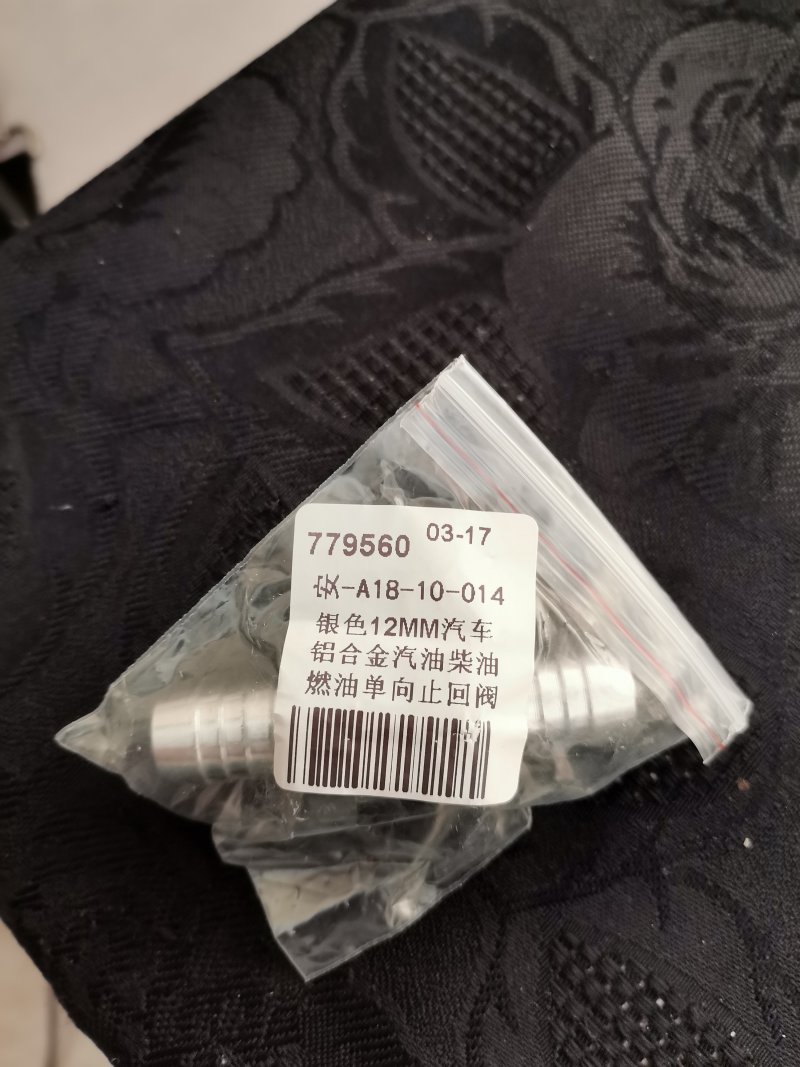
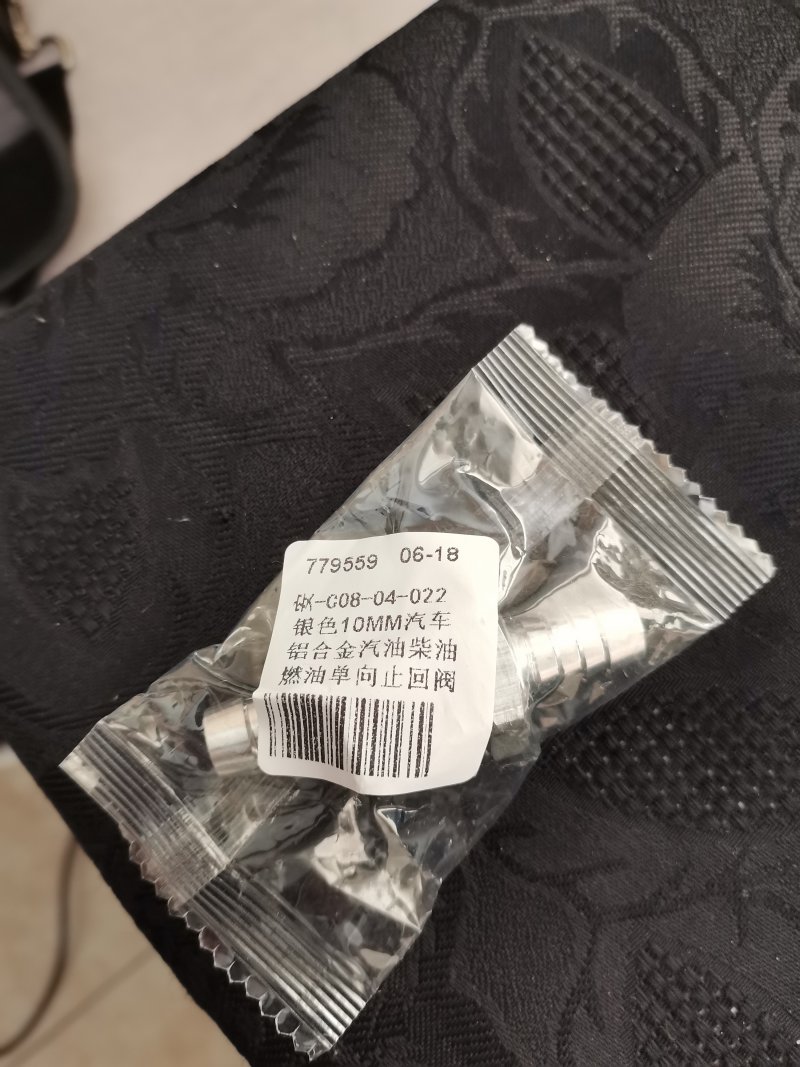
I see i never posted an image for my O2Pilot mod setup
So this is what i used. Just incase others are wanting to do the same, visual images sometimes help
The Mercedes Benz Part with part number on Page 21 of this thread
Vacuum tube from as per realoem
Part number - 11727545323
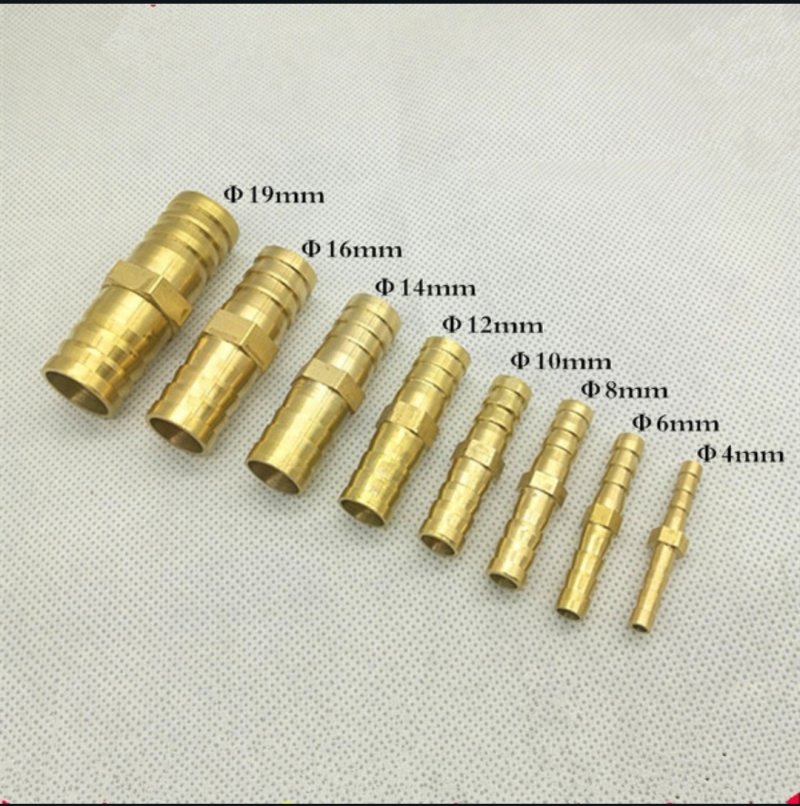
Also a 4mm brass connector from Wish
And this is what it looks like.
Nice and Neat
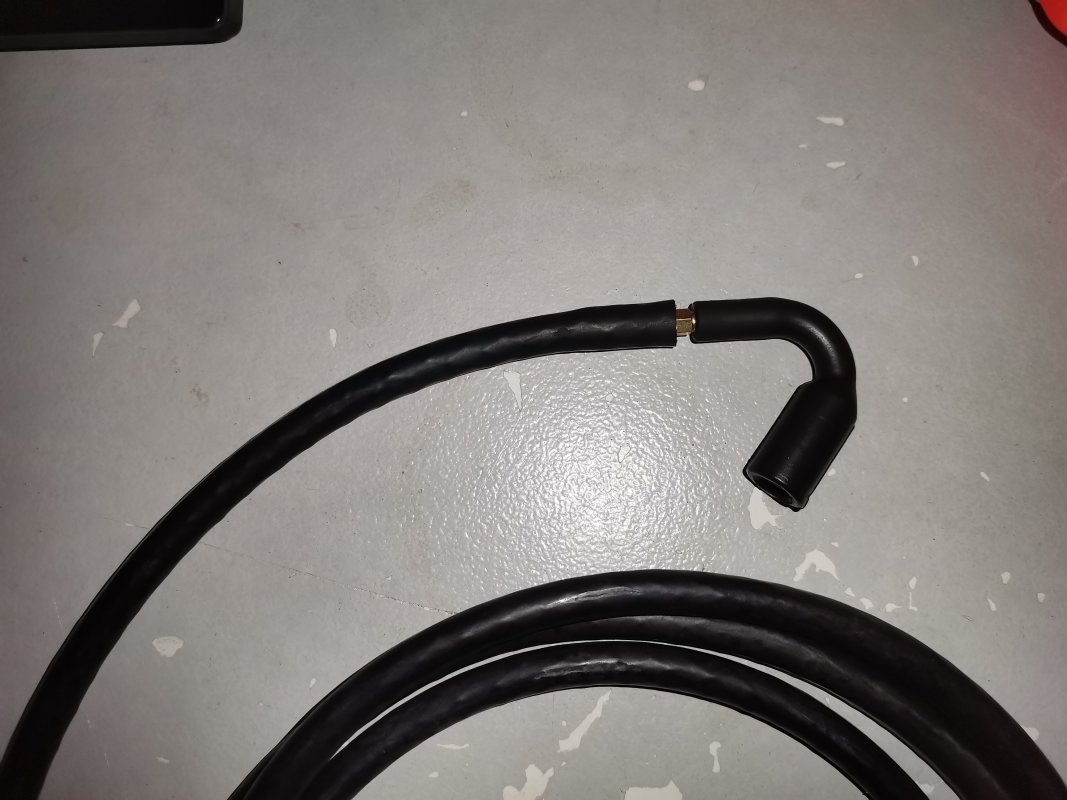
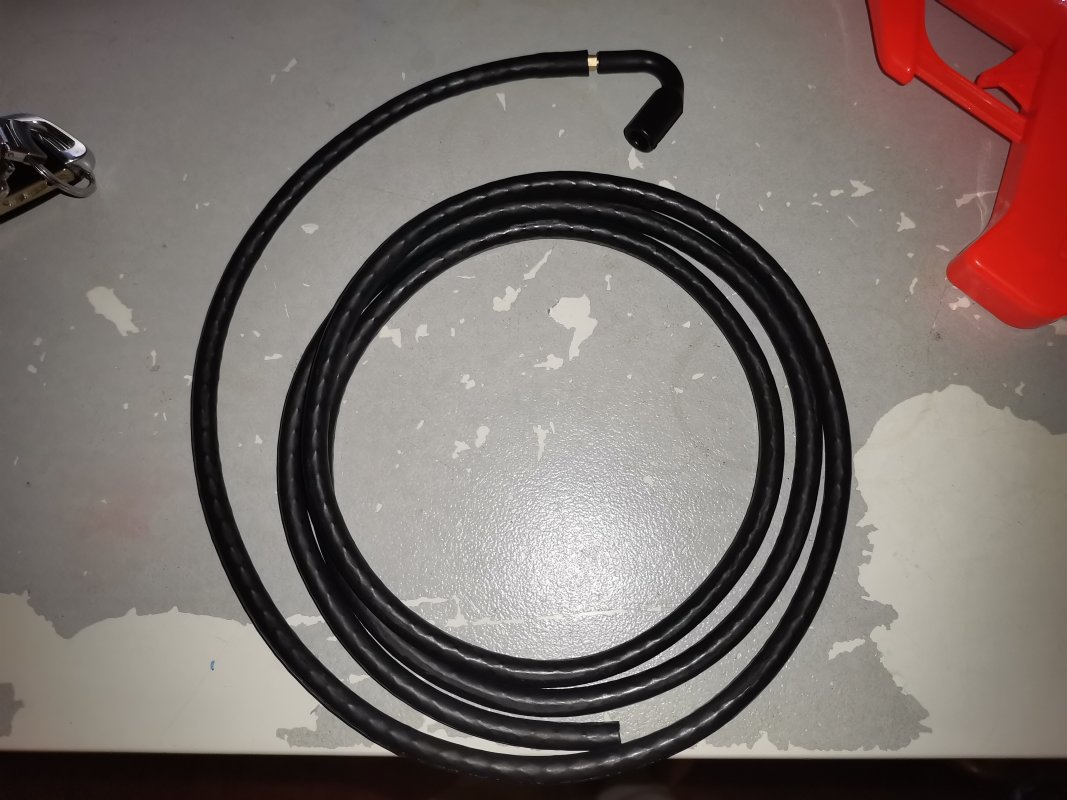
So this is what i used. Just incase others are wanting to do the same, visual images sometimes help
The Mercedes Benz Part with part number on Page 21 of this thread
Vacuum tube from as per realoem
Part number - 11727545323
Also a 4mm brass connector from Wish

And this is what it looks like.
Nice and Neat


evnmopwr
Well-known member
Its been about 16months since the car was sprayed and i wanted to update this thread on how the paint is holding up.
With my garage being Maxed out on space and the car parked in the elements, For the most part, the paint held up nicely.
With any DIY, garage/Home Spray job, you can always expect some imperfections
Here are the issues with the paint:
Passenger Rear Quarter:
- this quarter needed a dent pulled out of it before the paint job but also got a new, fresh coat of primer
- the Dent:
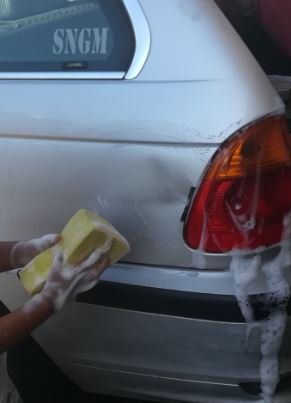
- The repair
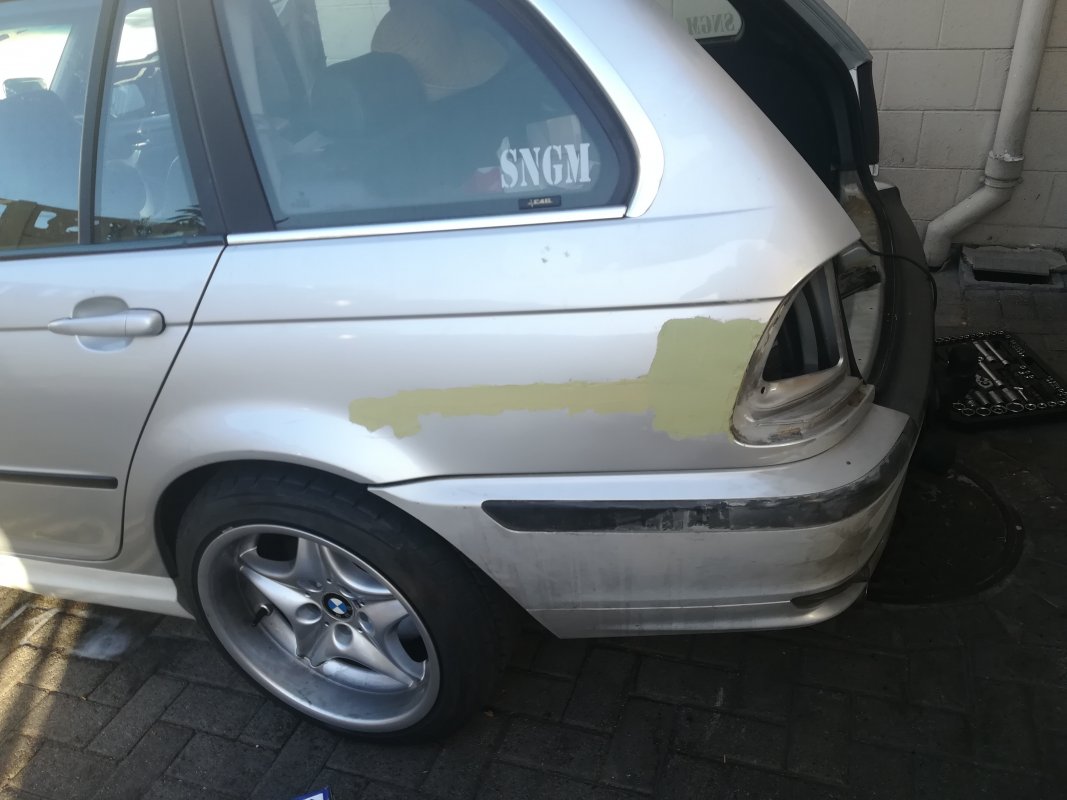
- The primer state
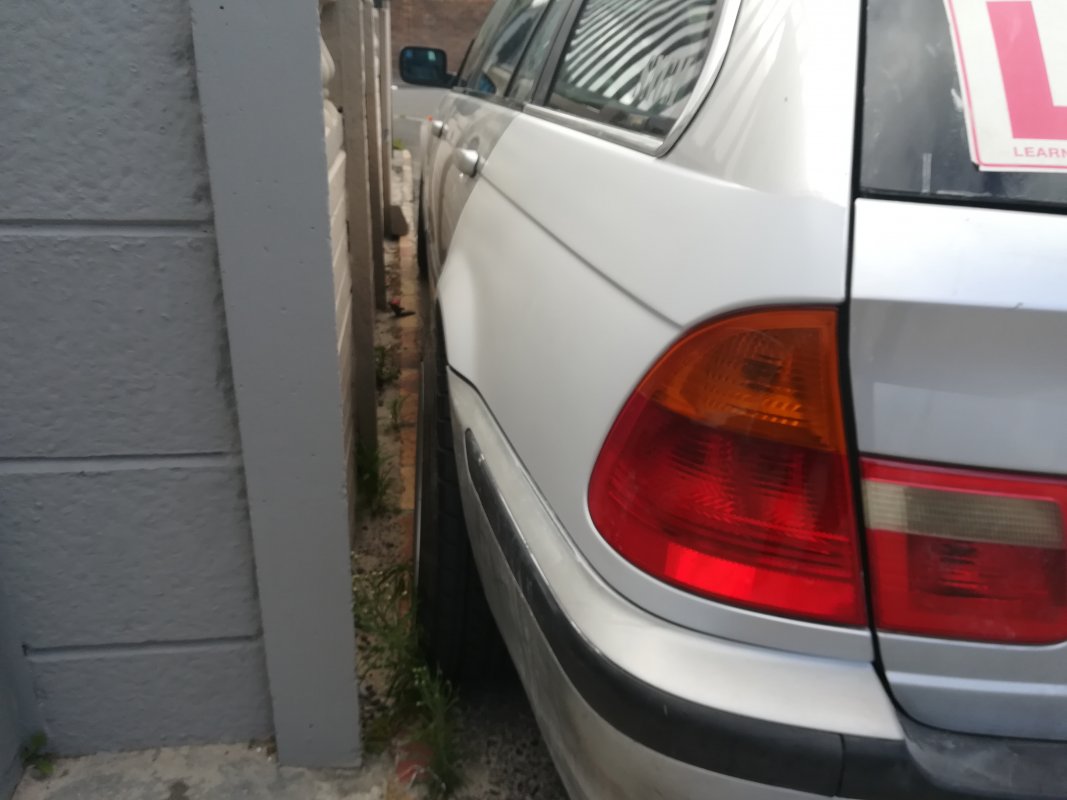
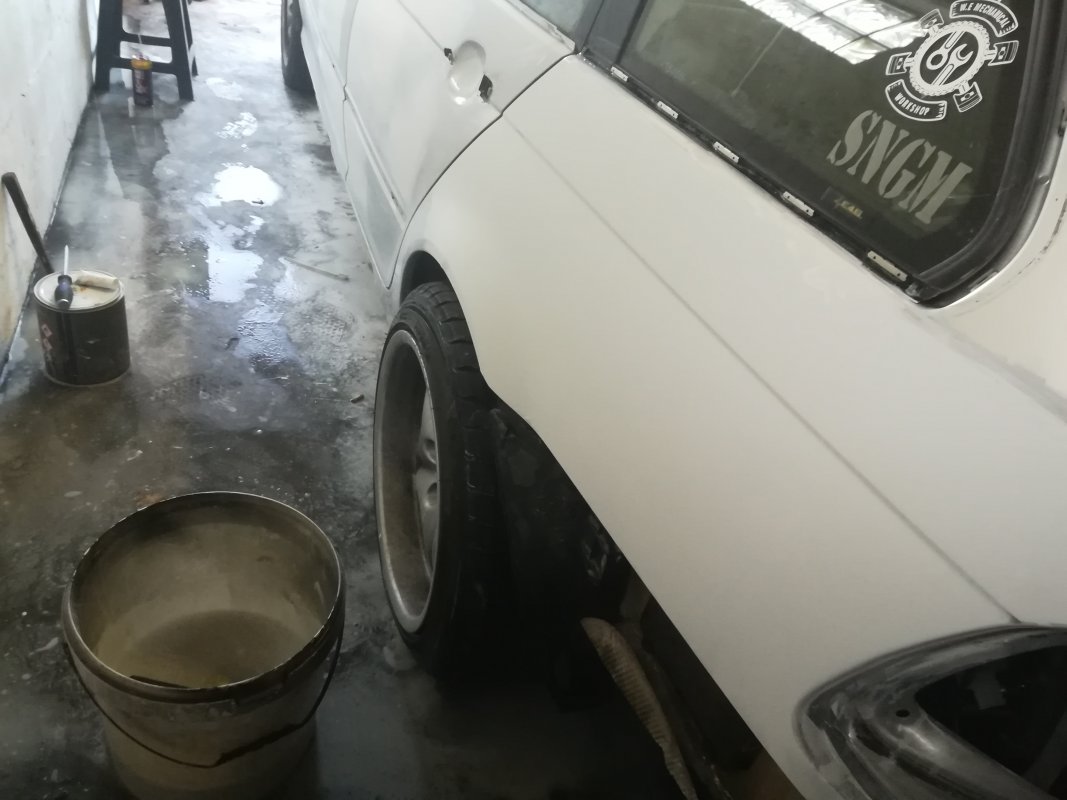
- The Prep before Spray Painting
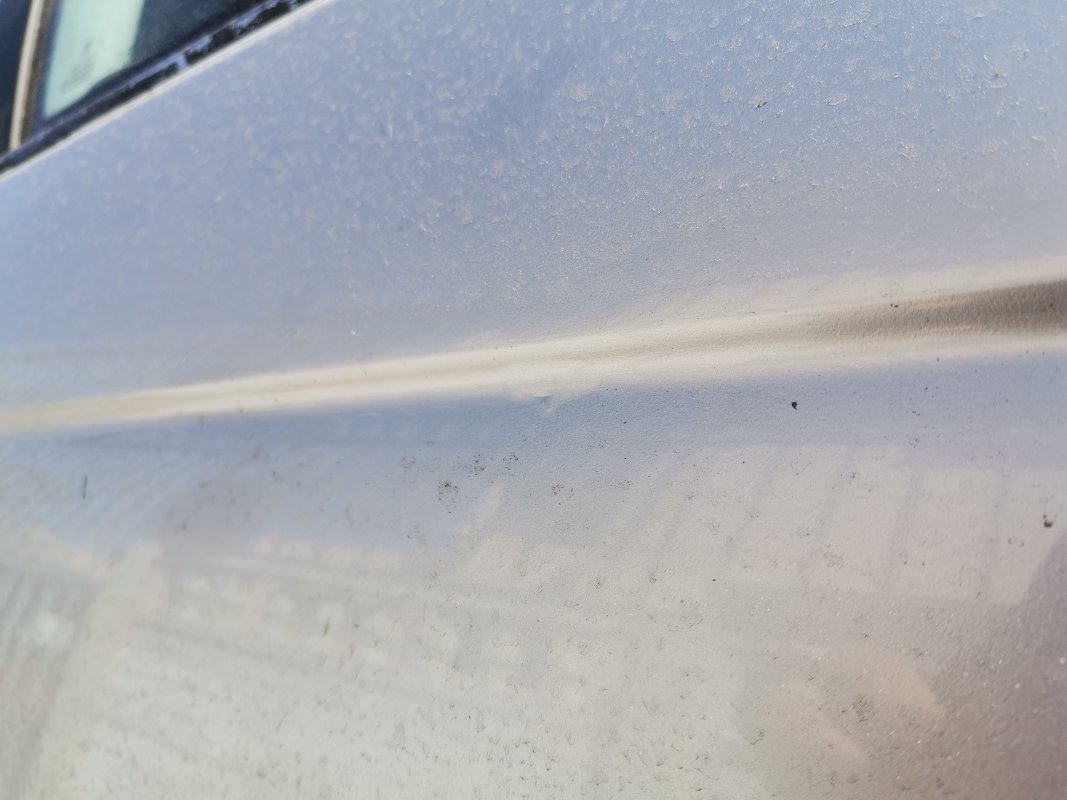
The issue with this quarter 16months later, paint is bubbling in this nook. think this boils down to the area was possibly not wiped down right with preclean and then not tacked clothed before paint went on
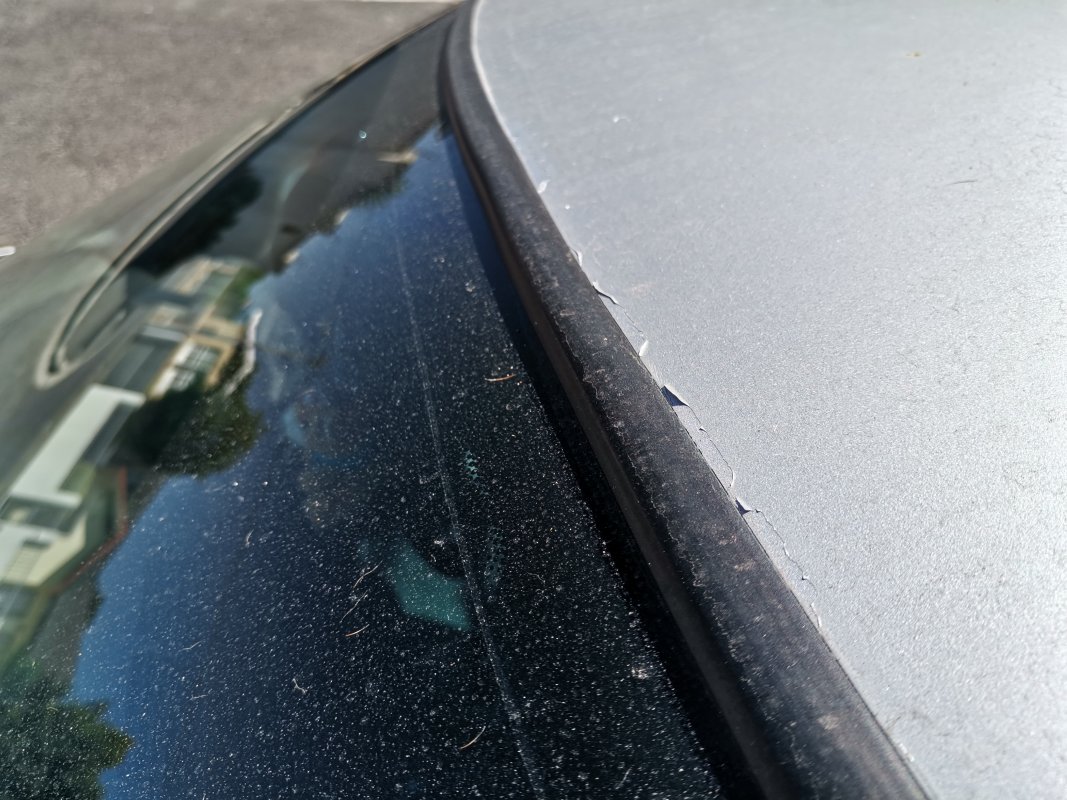
Roof:
- The problem here i would think is i did not roll the paint over the edges enough so when tape was pulled, it left a space for paint to flake off.
- Now little comes off each time the car is washed with High pressure gun
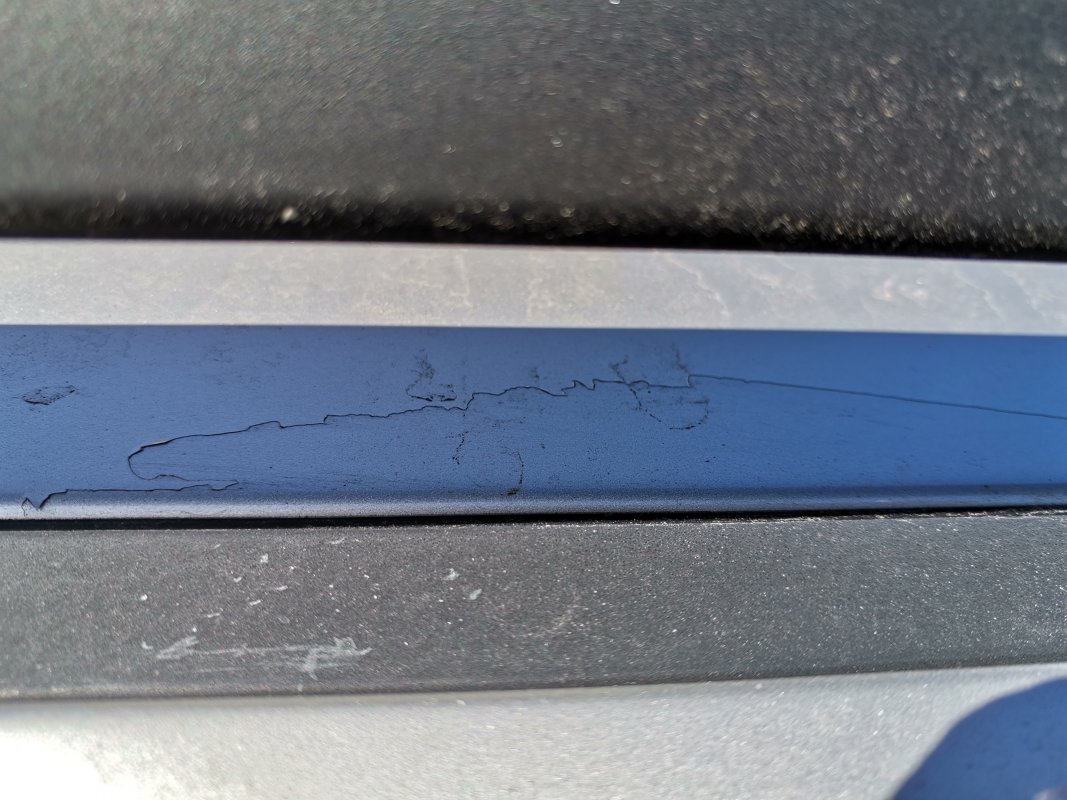
- Also, i did not remove the front windscreen so this is also a problem on the roof. Flaking
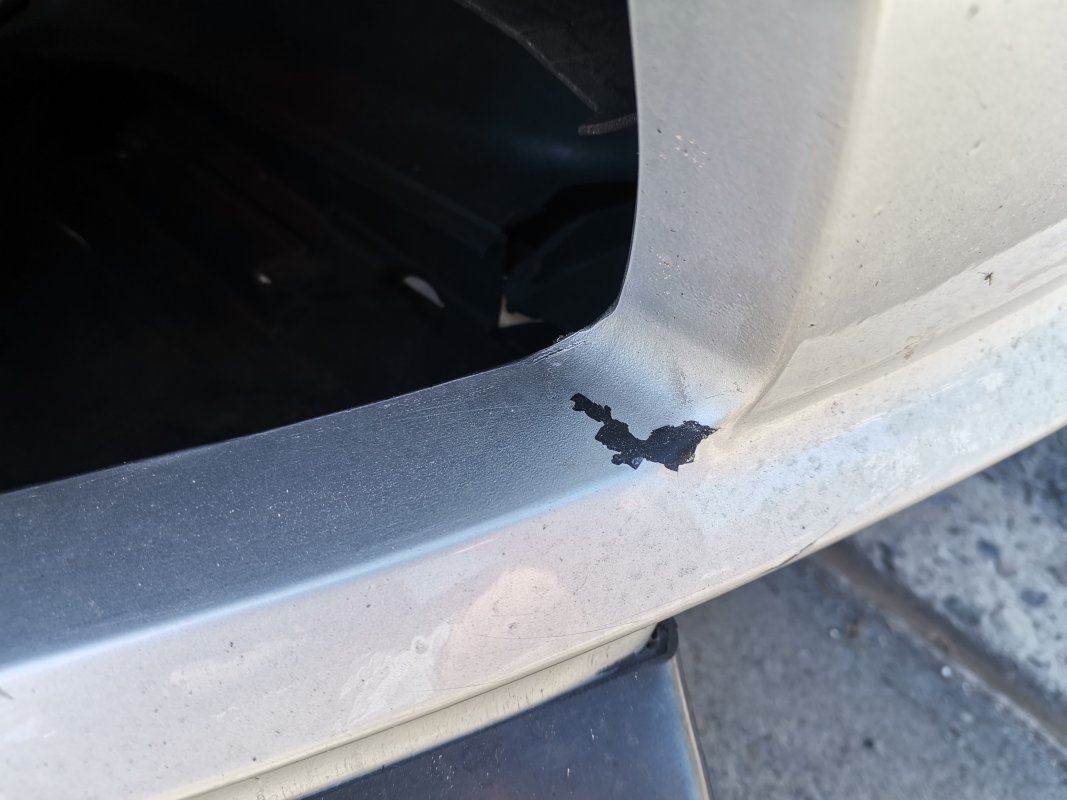
Front Bumper:
- this is an aftermarket bumper and while i did use Bulldogs Plastic primer/Adhesion promoter on it, it still started to flake on this 1 corner
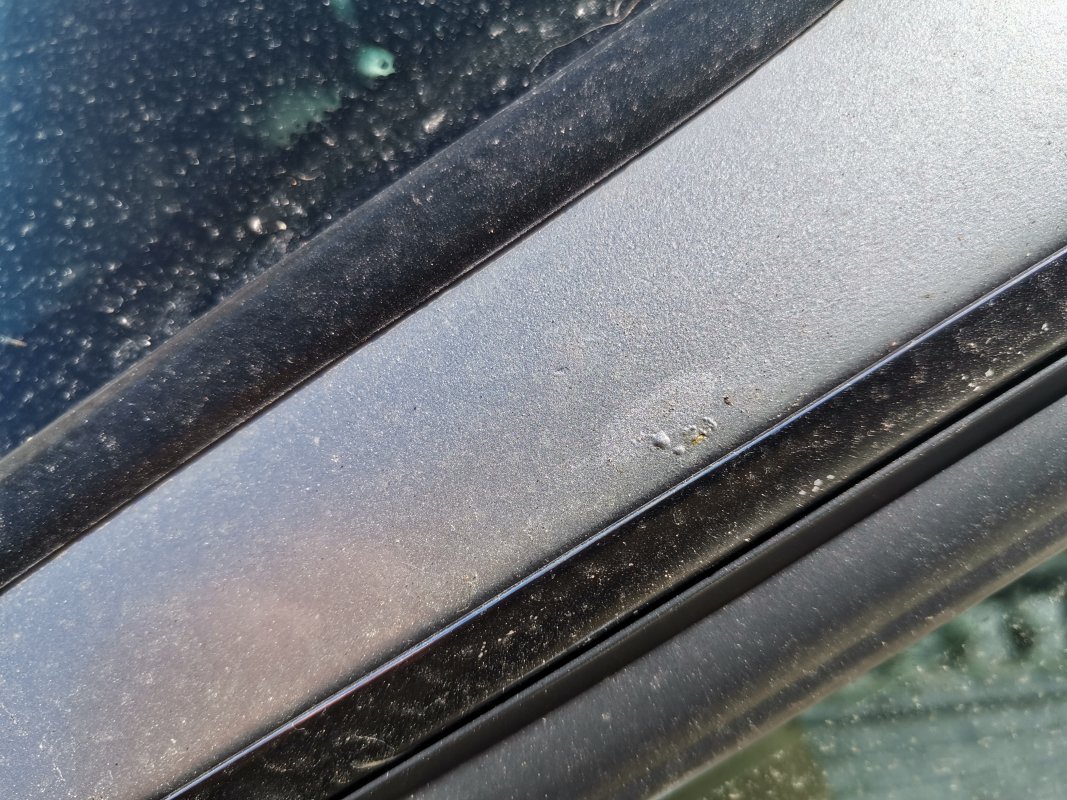
A Pillar:
- I must have missed this Small repair done where Filler was used and i never primered it.
- you can see the outline of the filler and some rust starting
So the plan is now to try and correct all of this
I need to hope i can blend the rear quarter to match the rest of the passenger side OR, i will need to paint the whole side... Still need to get some advice on that
Roof im going to need to sand it all down again, Remove the front windscreen and paint it properly
Windscreen needs to be replaced anyway since it has a small crack in it
Front pumper to be sanded down again and painted
Passenger side A-Pillar to be repaired, Primered, Sprayed and blended
But the rest of the paint is holding up Perfectly. Used only Kapci products so happy with the decision.
Will update as and when i start on the repairs
With my garage being Maxed out on space and the car parked in the elements, For the most part, the paint held up nicely.
With any DIY, garage/Home Spray job, you can always expect some imperfections
Here are the issues with the paint:
Passenger Rear Quarter:
- this quarter needed a dent pulled out of it before the paint job but also got a new, fresh coat of primer
- the Dent:

- The repair

- The primer state

- The Prep before Spray Painting

The issue with this quarter 16months later, paint is bubbling in this nook. think this boils down to the area was possibly not wiped down right with preclean and then not tacked clothed before paint went on

Roof:
- The problem here i would think is i did not roll the paint over the edges enough so when tape was pulled, it left a space for paint to flake off.
- Now little comes off each time the car is washed with High pressure gun

- Also, i did not remove the front windscreen so this is also a problem on the roof. Flaking

Front Bumper:
- this is an aftermarket bumper and while i did use Bulldogs Plastic primer/Adhesion promoter on it, it still started to flake on this 1 corner

A Pillar:
- I must have missed this Small repair done where Filler was used and i never primered it.
- you can see the outline of the filler and some rust starting

So the plan is now to try and correct all of this
I need to hope i can blend the rear quarter to match the rest of the passenger side OR, i will need to paint the whole side... Still need to get some advice on that
Roof im going to need to sand it all down again, Remove the front windscreen and paint it properly
Windscreen needs to be replaced anyway since it has a small crack in it
Front pumper to be sanded down again and painted
Passenger side A-Pillar to be repaired, Primered, Sprayed and blended
But the rest of the paint is holding up Perfectly. Used only Kapci products so happy with the decision.
Will update as and when i start on the repairs
DonovanPorter
///Member
Look you have more ⚽🏐🥎🏀 than i have.
All the best with the repairs, so you learn and we do too.
well done
All the best with the repairs, so you learn and we do too.
well done
///M Individual
Well-known member
Considering it was a DIY and the time that has passed these are acceptable imperfections bud and I am sure you will get it 100% after the plan above is executed. With Silver you most likely have to paint the entire side of the rear quarter being a very difficult colour to blend.
evnmopwr
Well-known member
Small update on how the oil consumption is after doing the O2pilot mod.
Before the Mod was done, i was getting anywhere from 750km to 1500km before the light comes on and i need to add 1l. The oil i used then was Shell Helix HX7 10w40
Since doing the O2 Pilot mod, i changed the Oil a few times as i was not seeing the results i was hoping for.
When i just done the mod, i was not seeing oil usage but i guess it was because i was not driving the car as often.
As we stated going back to work, I started seeing the following while using These oils:
Shell Helix hx7 10w40
Went back to around 1500km then needing to add 1l oil (light comes on)
It then slowly started getting less and less kms before i needed to top up.
WOLF 10w40
I figured since the WRC sponsors, their oils must be good. (and it was cheap. lol)
switched to WOLF as the Shell just seemed to start burning faster the longer the oil was in.
Was seeing around 1800 to 2000km range then needing to add 1l Oil
Liqui Moly 10w40 with mos2 additive inside already
This would be the most i spent on engine oils for any of my cars.
and i must say, this must be the oil i have the BEST results with.
Currently done around 2500km and the she has not used 1 drop of oil. She is still on the Max mark where i left it.
So i guess the O2pilot mod kind of works better with specific oils.
Just sharing my experience thus far.
Not sure who else done this mod on the M54 engines but would love to here what their experiences were
And no, i still have not corrected the Paint on the wagon. LMAO! Since i started studying again, i have no time for myself.
Not too bothered with the paints as she still looks good..... from far. LMAO!

DonovanPorter
///Member
eina
evnmopwr
Well-known member
Thread Revival.
Been a while since i posted.
life threw a few curve balls over the last Year. Nothing Major But Was enough to Bring about Some form of Mild Depression.
Just to Fill in the GAPS, Here is how things went:
1. Donor E46 M3 deal Fell thrrough.
- Seller was not the Owner
- Price the Seller gave Was apparently Lower than what Owner wanted
- Owner Demanded more money
- So i just walked Away
2. Some Family drama that dragged on for Far too long
- Just dissociated myself from those Toxic Animals
- Life seemed to be Much better without them in it.
3. Did what i do best, Acquired another Parts Car E46 330i Msport.
- Kept allot of the Parts for myself as spares ( Especially the Engine )
- Had lots of Buyers on the engine but i Guess there was a reason i Kept it.
- Also so Glad i did not sell it.
4. Removed my Original 330i engine Late November 2024 due to Heavily worn Valve Stem seals
- Was burning 1 litre of oil every 400km
- Used the backup Engine from the Donor Car i kept and installed that
5. Mid to late December 2024, Was hit for a 6 when the Donor Spun a bearing on Cylinder 3. :'(
- Was so unexpected as the Donor was near perfect and very clean
- not even remotely sure how it spun on 3 and all other Bearings was Perfect ( minor Wear )
- This drove me over the edge and I gave up on the project.
The car was then Advertised for Sale With the Old/Original Engine Included. I just gave up and Had enough. MOrale was at its all time lowest. 2024 was not a great year for me so i was ready to just move on.
Some forum members saw the Ad and reached out to me. And convinced me not to sell it.
So i was left with 3 options
1. Buy replacement engine at mikes for 32k Vat included
OR
2. Have my old engine rebuilt at the cost of 30k ( Parts and Labour )
OR
3. Rebuild my old engine with all new parts. DIY style ( Just buy parts for around 17 to 20K )
After the pep talk frm people like @Tinuva and @Benji, just to name a few, I bit the bullet and Chose Option 3.
Im known for tearing E46s down for parts but i figured what Better way to learn how to put it all back together.
Armed with Some knowlegde From people like M539 Restorations, the50sKid and ShopLifeTV, i took on the Challenge
pics to soon Follow
Last edited:
evnmopwr
Well-known member
Where it started .....
The Date would be the Week 24th to 30th November 2024 .....
What drove me to do this motor swop was the heavy worn ValveStem seals.
I did not want to have the Seals only replaced with the Head still on, as i did not know the condition of the guides Or valves.
And i did not want to remove the HEad otherwise i have to deal with headbolt inserts on block, Headgasket, headbolts etc etc etc and Knowing The piston rings are Old Style 2 piece oil control rings, i did not want to do all those.
So i opted to swop in a good, known Donor engine i had.
I checked it all out and replaced things like Tappet cover gasket, Rear mainSeal, Sump gasket and few other bits while the engine was out
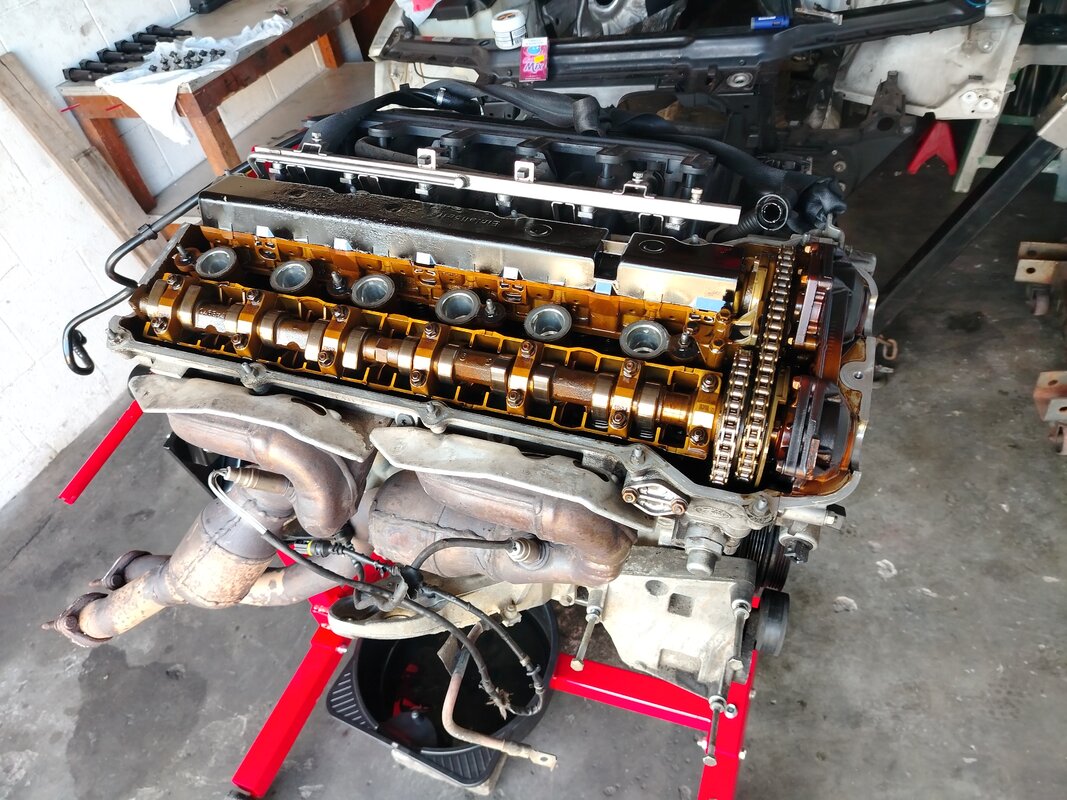
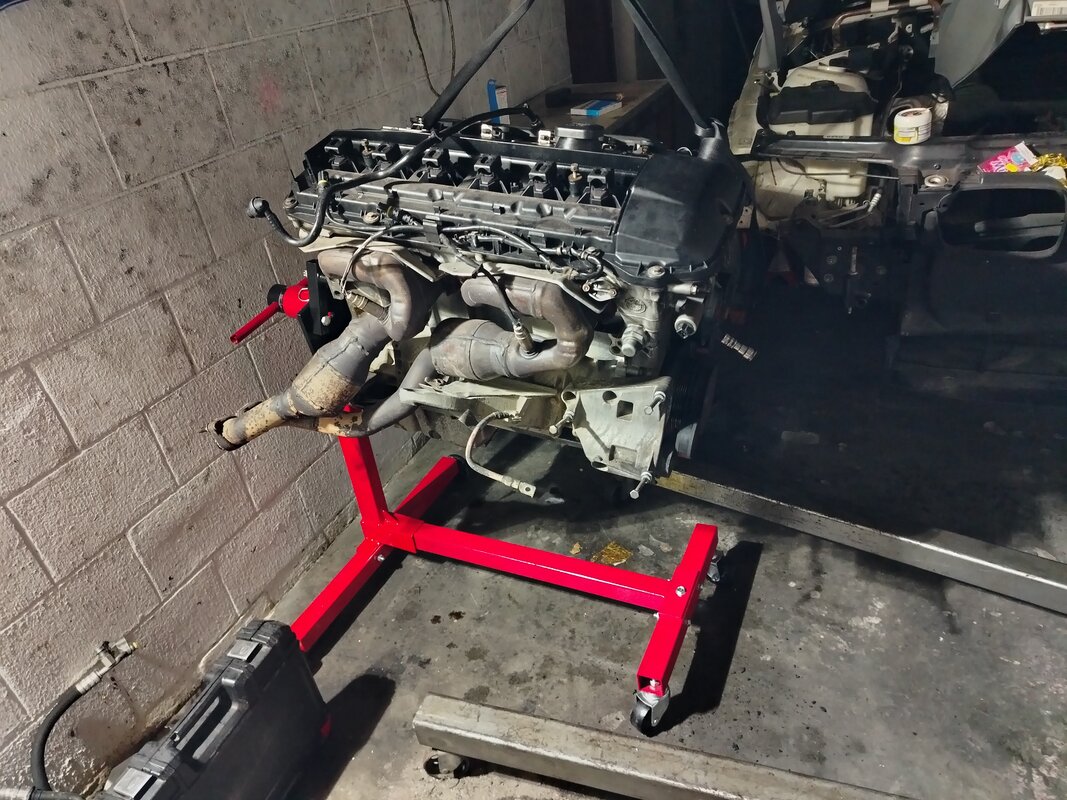
Then proceeded to remove the Old engine from the car
With a nice Side by side comparison
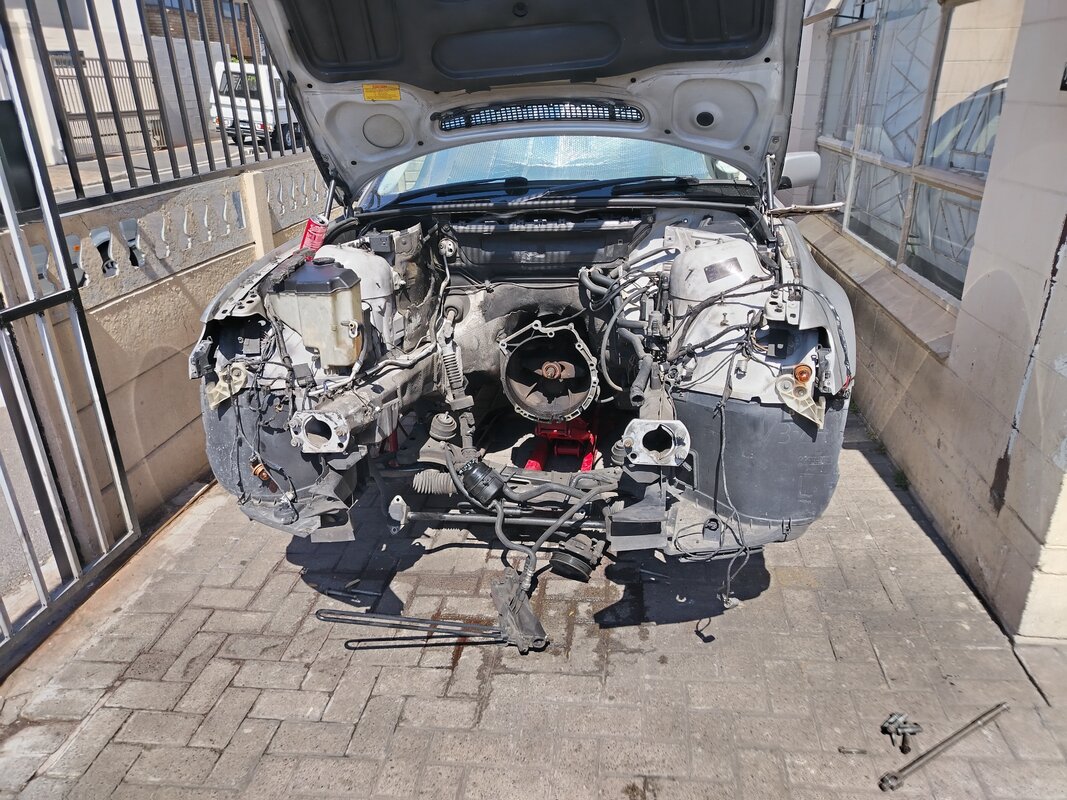
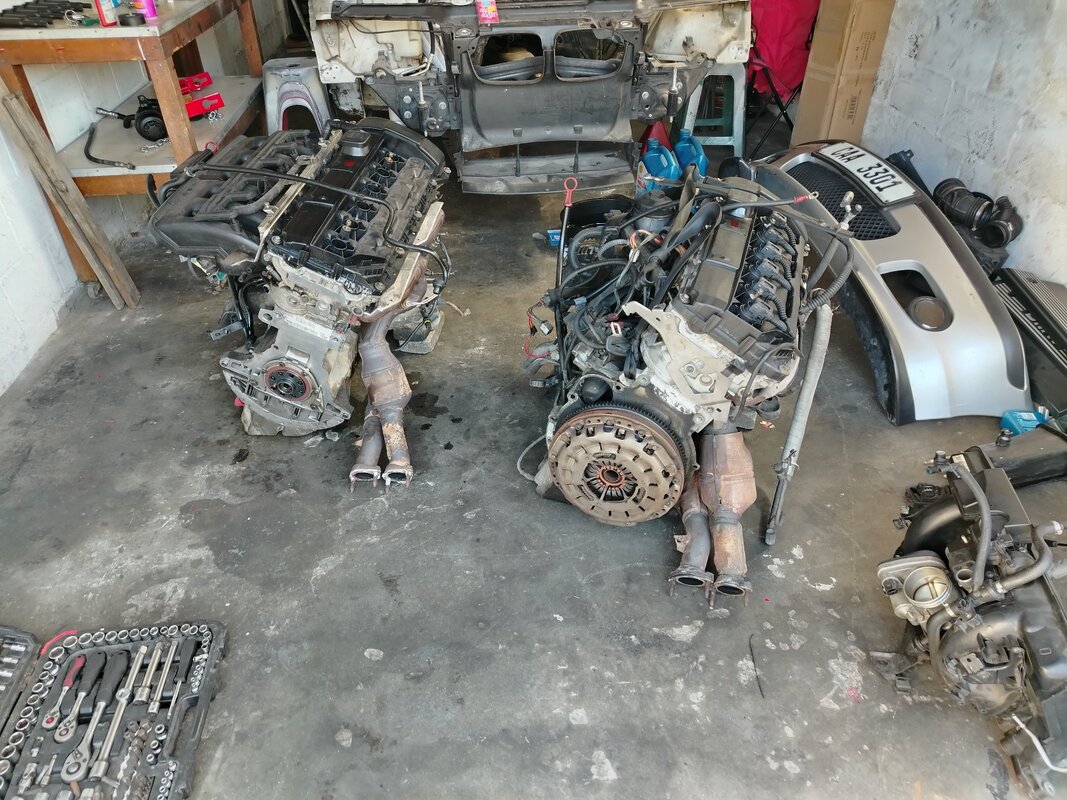
Old engine Was Placed on Engine Stand and Advertised to be sold ( I sold it to my Ex mechanic for a race car he building. he never got around to collecting it hence i was able to Refund him and Keep my old engine when the donor died)
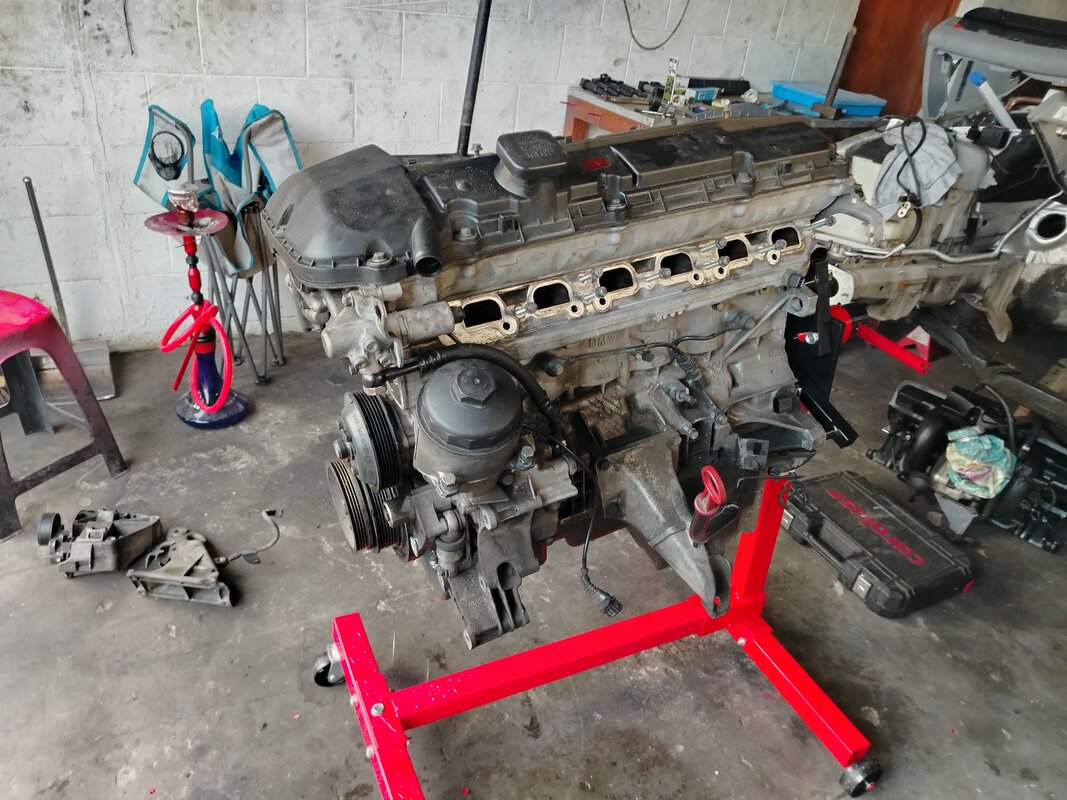
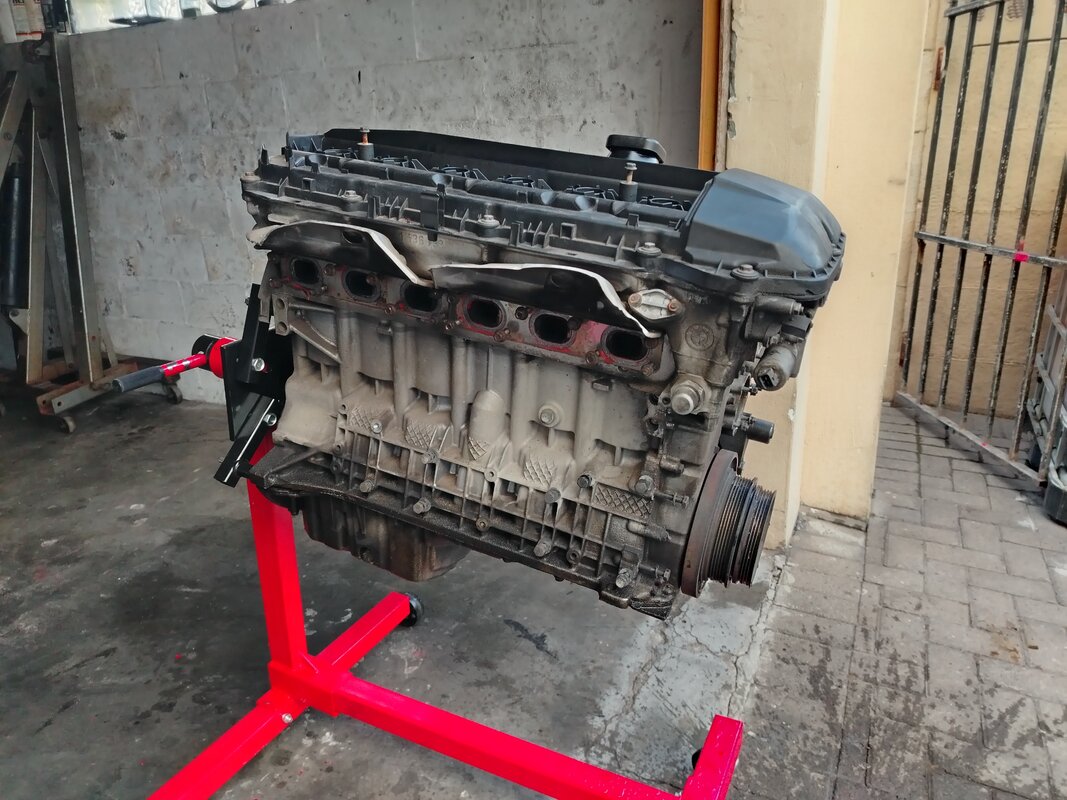
Once all was done with the Donor engine, The Ressembly started And completed in about 2 days. ( Did not rush it )
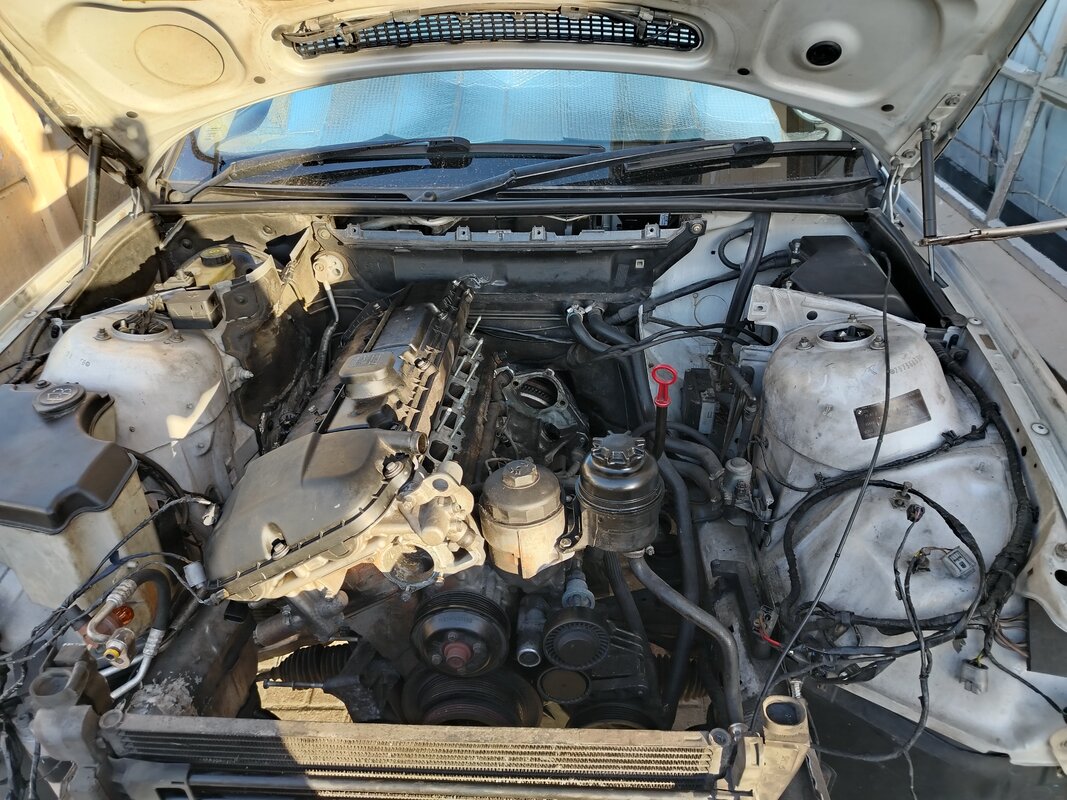
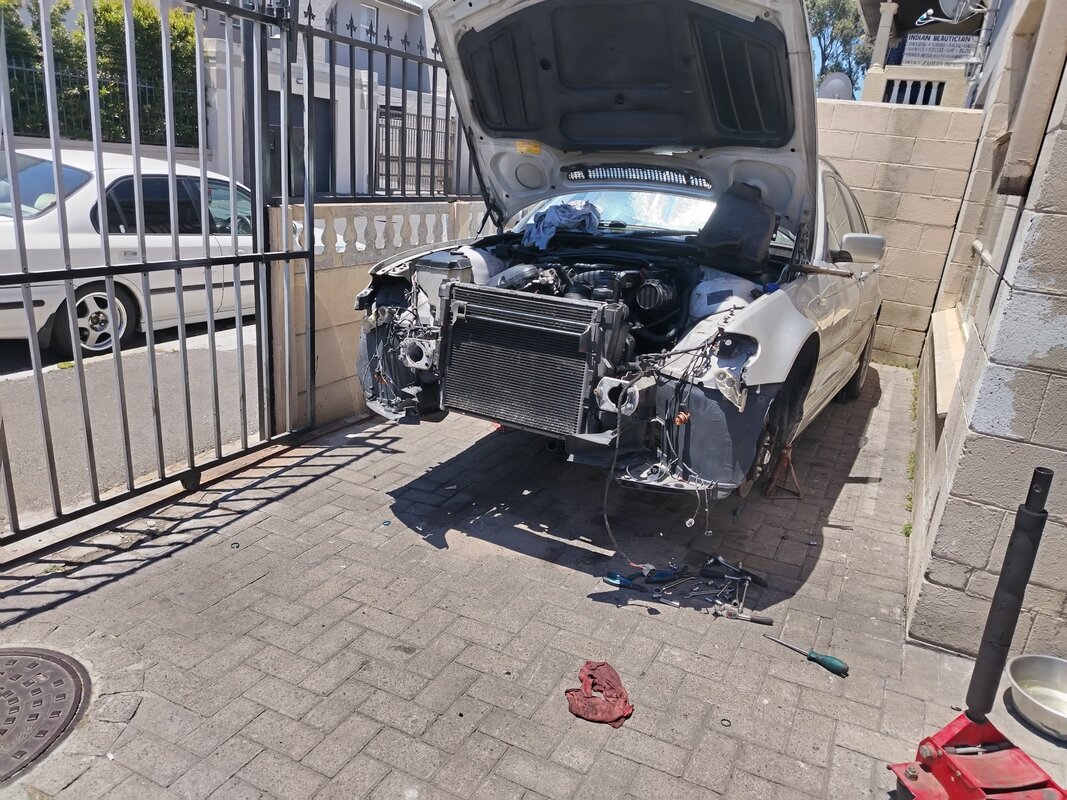
I managed to put it all together and the Bonnect Cable decided to snap and the Bonnet was Stuck shut :'(
I had to break the kidney grills and the PLastic part behind it to get to the cable that runs to the passenger side latch which was Stuck.
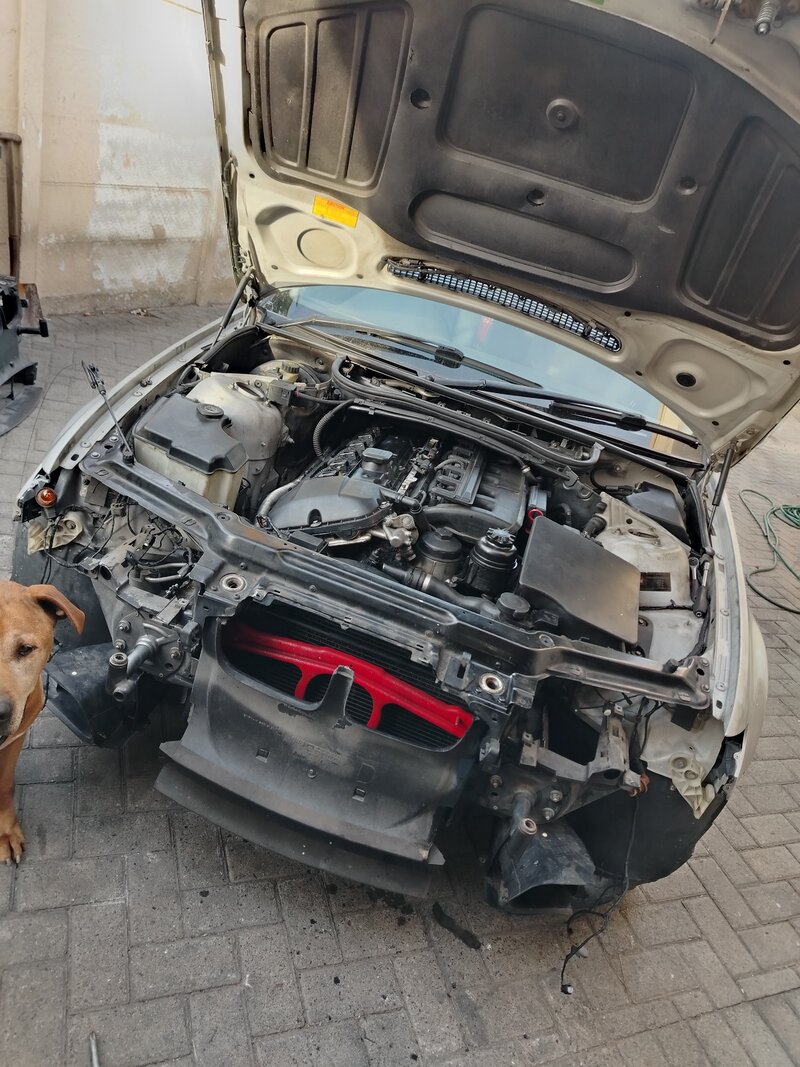
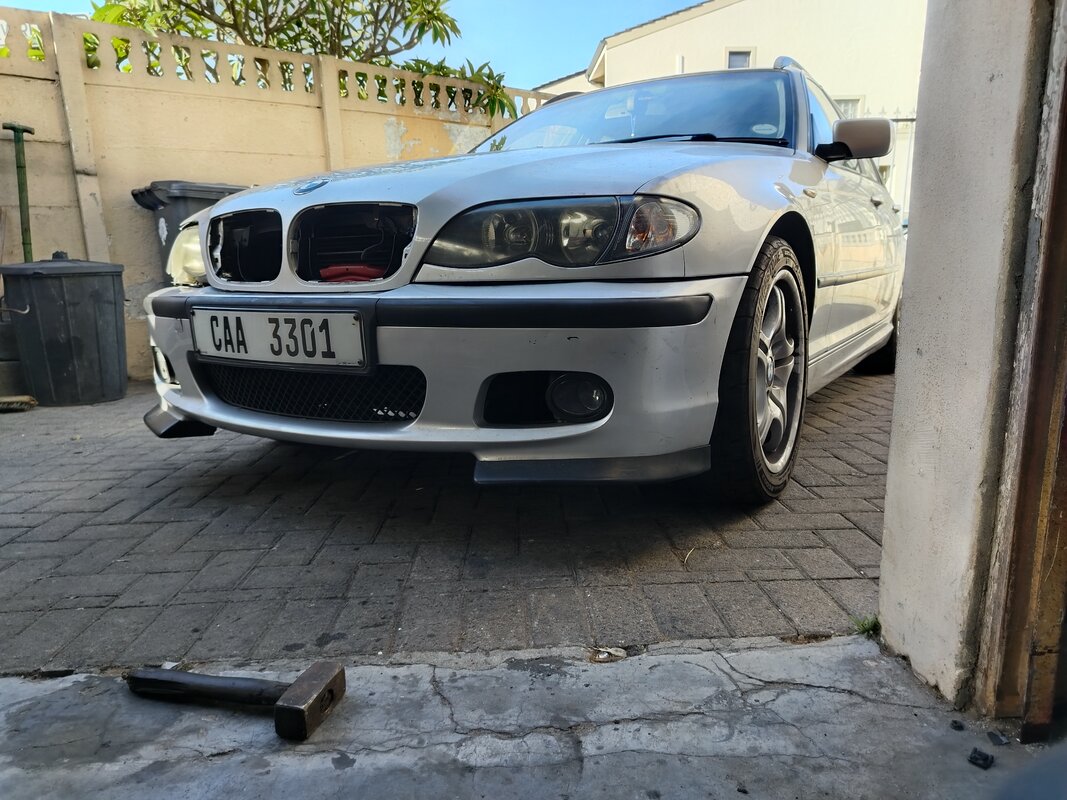
Thank god i had a backup Front Valance and i swopped it onto the car and put it all together
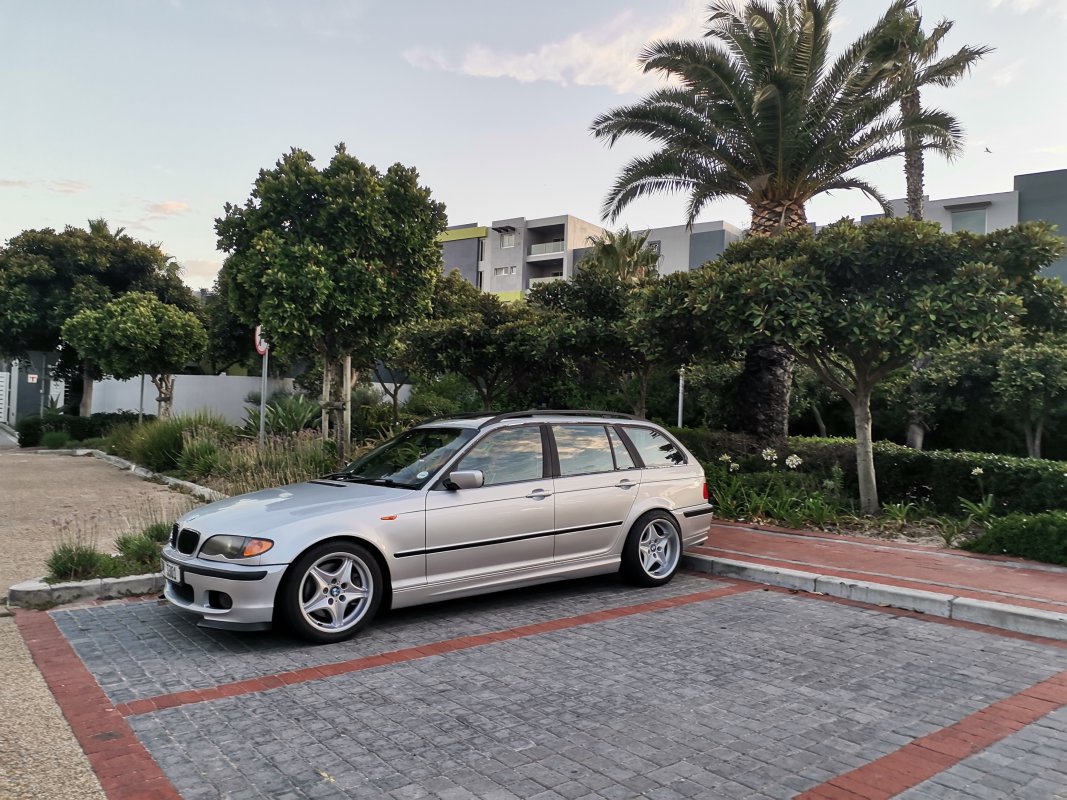
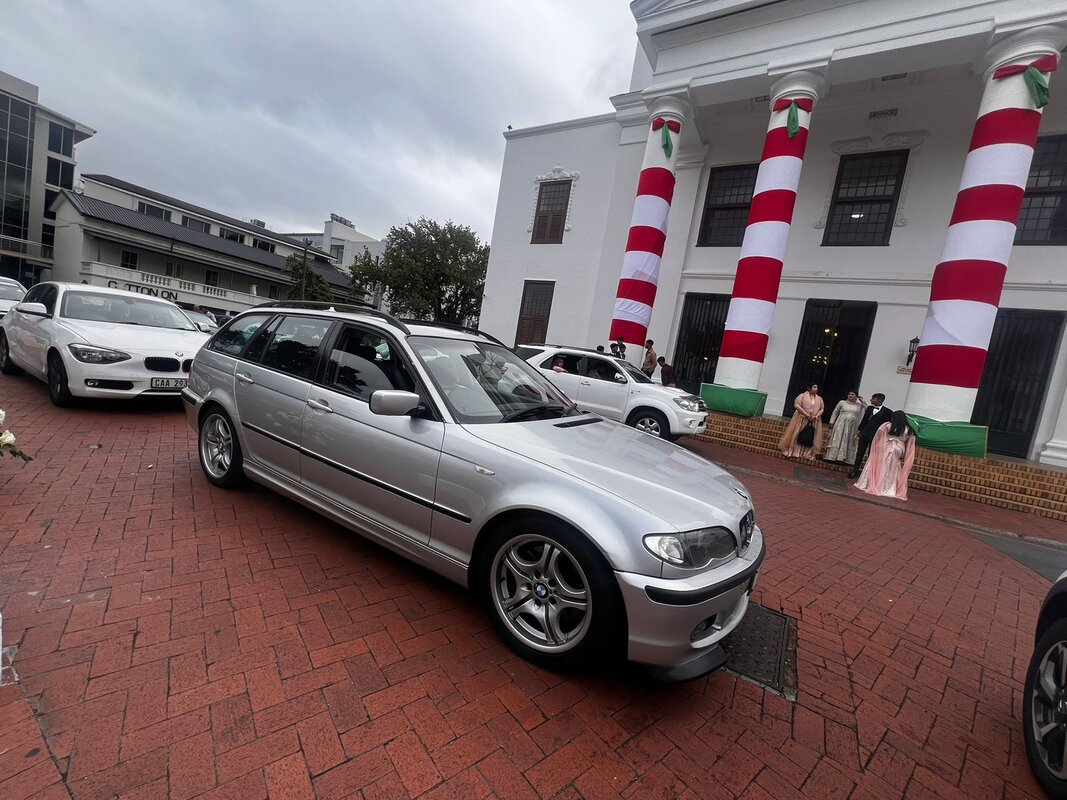
December 15th, Nice chilled drive to Stellies for My Bro inlaws Wedding and Snapped some Pics
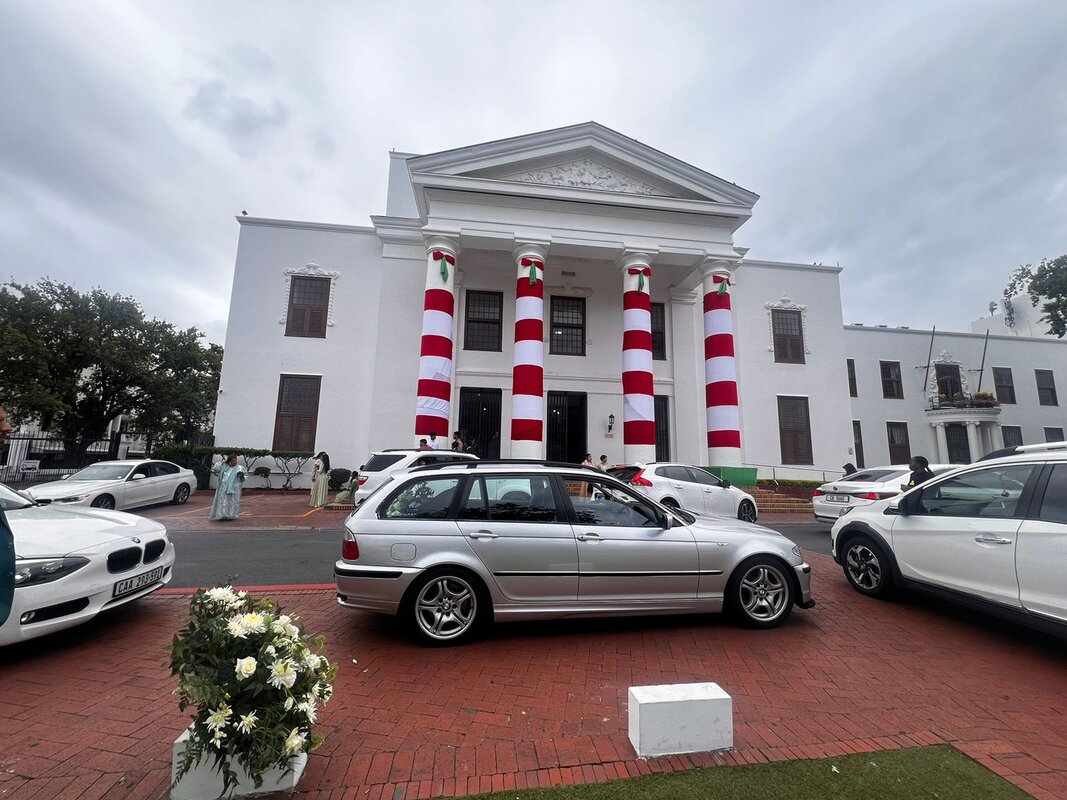
It was a few days after this, around the 20th that i heard a rumble. Sound was not there when Idle and revving. its only heard on deceleration from 3000rpm and when driving next to a wall.
by the 22nd, the noise was heard at idle and revving.
Stethescope on the sump, And Mad knock heard on the front of the SUmp.
So thinking It was maybe the Oilpump nut that backed off, I booked the car in at SandSAutoWorx to have the Sump dropped and checked out for me as i did not want to do all this laying on the floor.
dropped the car off
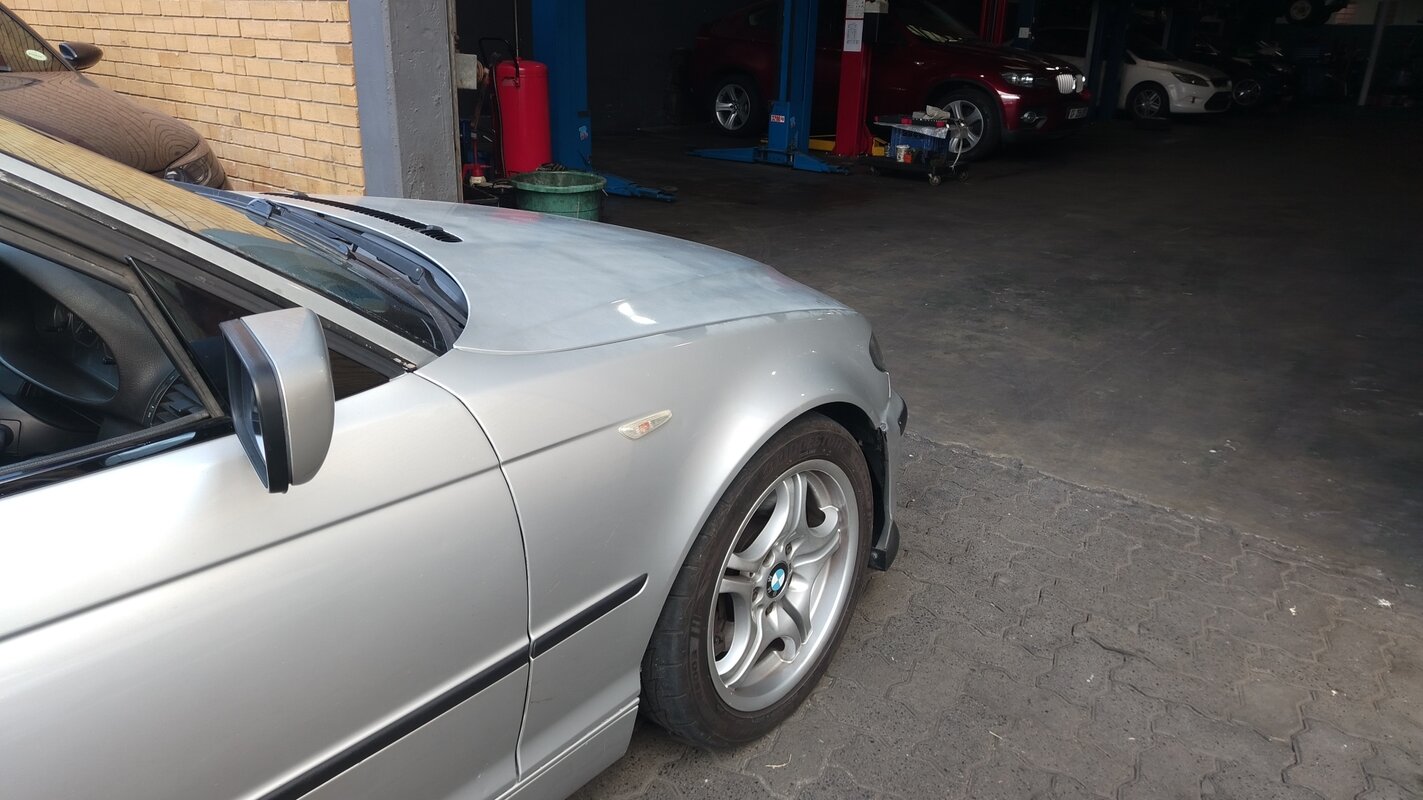
And a few hours later, Shabeer calls to give me the bad news. :'(
Oil pump nut was fine. So he checked Bearings. Cyl6 and Cyl3 was accessable so he pulled Cyl6 bearing and not bad. Normal Wear but still good. no copper.
When he pulled Cyl3 bearing, It was stuck to the Crank and was knocking on Conrod side.
The damage
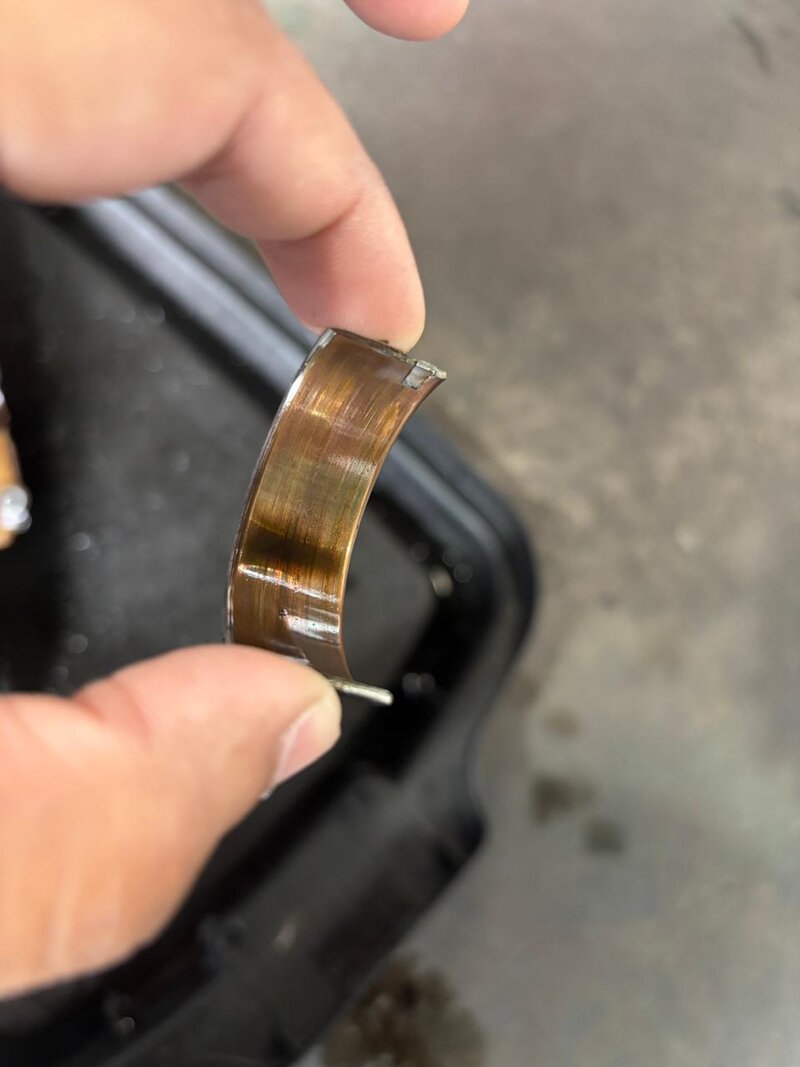
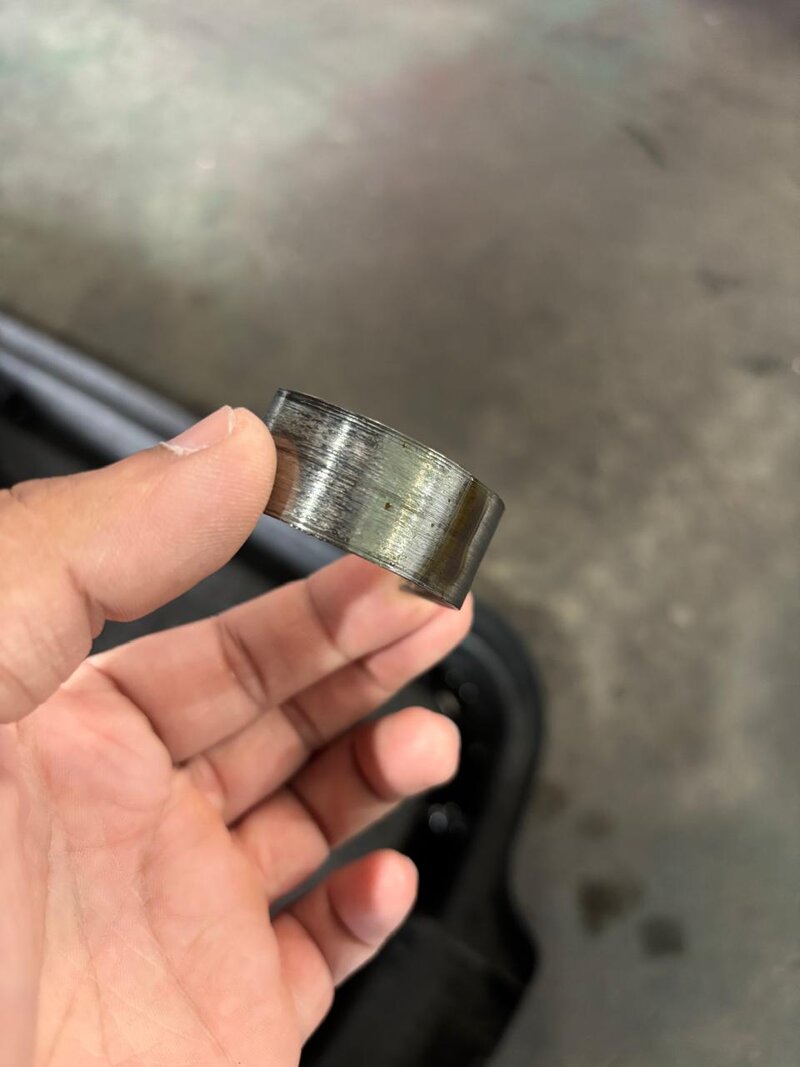
Instant depression Kicked in. I booked the truck to fetch the car.
When it arrived home
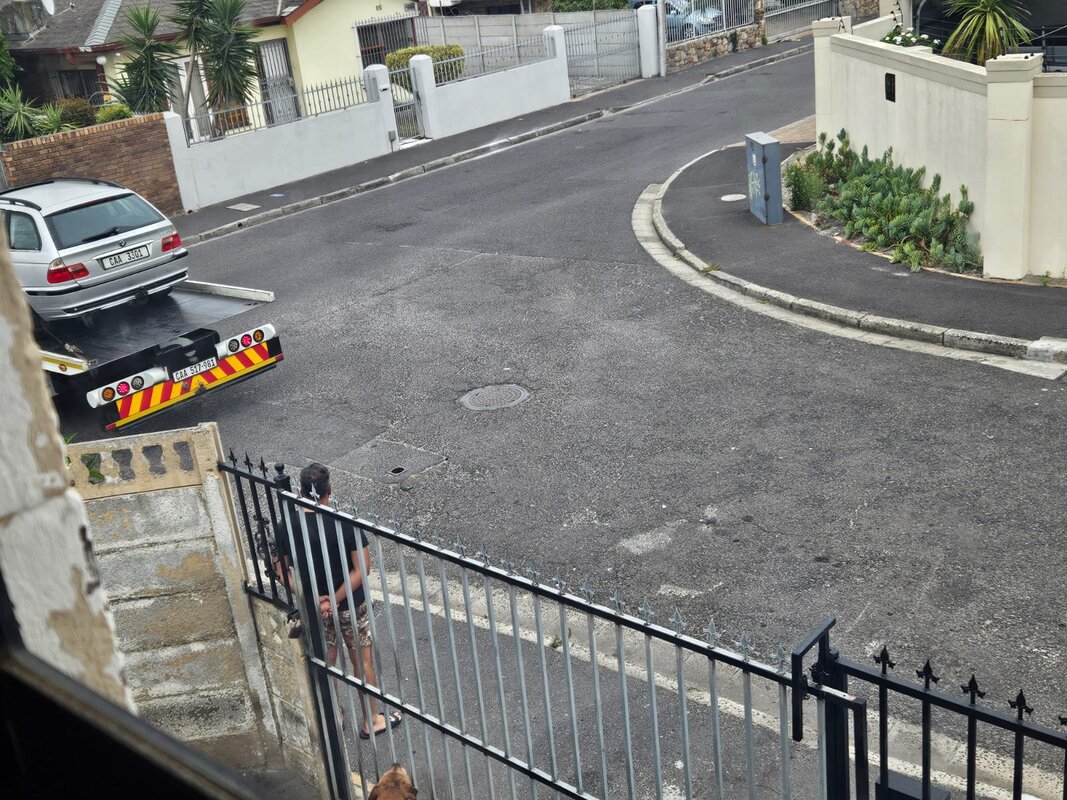
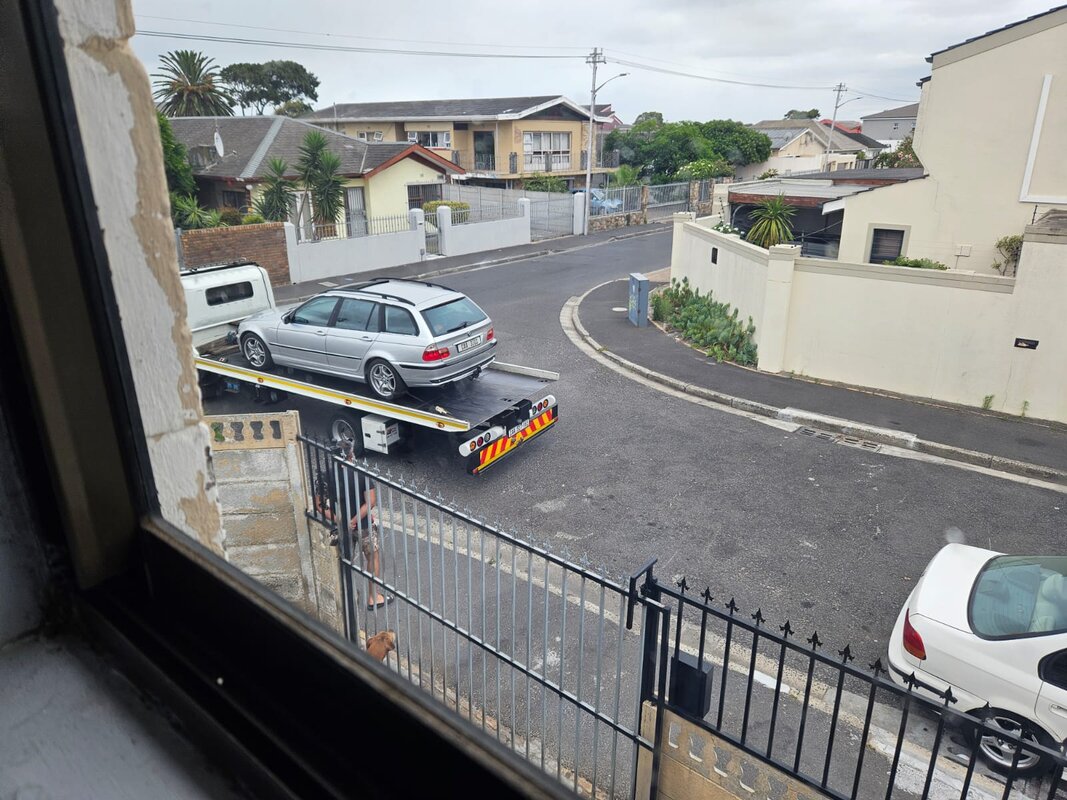
As soon as she was on the ground, I advertised FORSALE
The Date would be the Week 24th to 30th November 2024 .....
What drove me to do this motor swop was the heavy worn ValveStem seals.
I did not want to have the Seals only replaced with the Head still on, as i did not know the condition of the guides Or valves.
And i did not want to remove the HEad otherwise i have to deal with headbolt inserts on block, Headgasket, headbolts etc etc etc and Knowing The piston rings are Old Style 2 piece oil control rings, i did not want to do all those.
So i opted to swop in a good, known Donor engine i had.
I checked it all out and replaced things like Tappet cover gasket, Rear mainSeal, Sump gasket and few other bits while the engine was out


Then proceeded to remove the Old engine from the car
With a nice Side by side comparison


Old engine Was Placed on Engine Stand and Advertised to be sold ( I sold it to my Ex mechanic for a race car he building. he never got around to collecting it hence i was able to Refund him and Keep my old engine when the donor died)


Once all was done with the Donor engine, The Ressembly started And completed in about 2 days. ( Did not rush it )


I managed to put it all together and the Bonnect Cable decided to snap and the Bonnet was Stuck shut :'(
I had to break the kidney grills and the PLastic part behind it to get to the cable that runs to the passenger side latch which was Stuck.

Thank god i had a backup Front Valance and i swopped it onto the car and put it all together

December 15th, Nice chilled drive to Stellies for My Bro inlaws Wedding and Snapped some Pics


It was a few days after this, around the 20th that i heard a rumble. Sound was not there when Idle and revving. its only heard on deceleration from 3000rpm and when driving next to a wall.
by the 22nd, the noise was heard at idle and revving.
Stethescope on the sump, And Mad knock heard on the front of the SUmp.
So thinking It was maybe the Oilpump nut that backed off, I booked the car in at SandSAutoWorx to have the Sump dropped and checked out for me as i did not want to do all this laying on the floor.
dropped the car off

And a few hours later, Shabeer calls to give me the bad news. :'(
Oil pump nut was fine. So he checked Bearings. Cyl6 and Cyl3 was accessable so he pulled Cyl6 bearing and not bad. Normal Wear but still good. no copper.
When he pulled Cyl3 bearing, It was stuck to the Crank and was knocking on Conrod side.
The damage


Instant depression Kicked in. I booked the truck to fetch the car.
When it arrived home


As soon as she was on the ground, I advertised FORSALE
evnmopwr
Well-known member
After Pulling the ForSale ad, I pulled the car in garage on Stands while i i figured out what to do
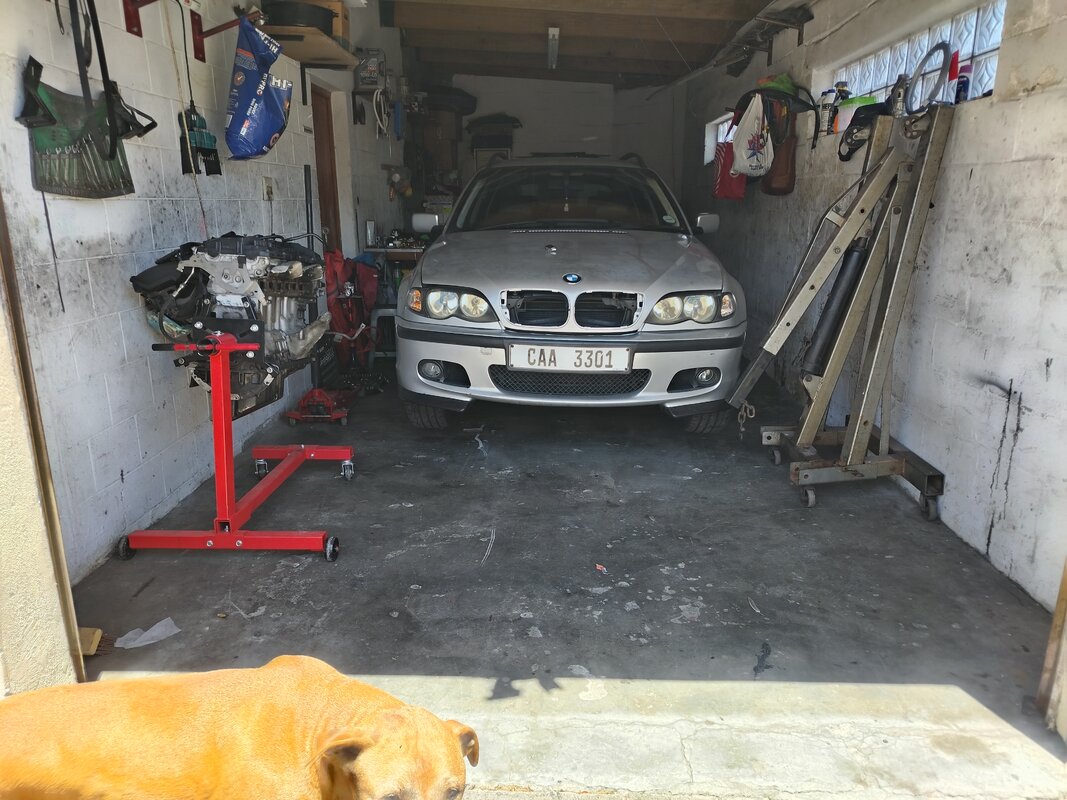
In the Meantime, I started Tearing into the Old Engine.
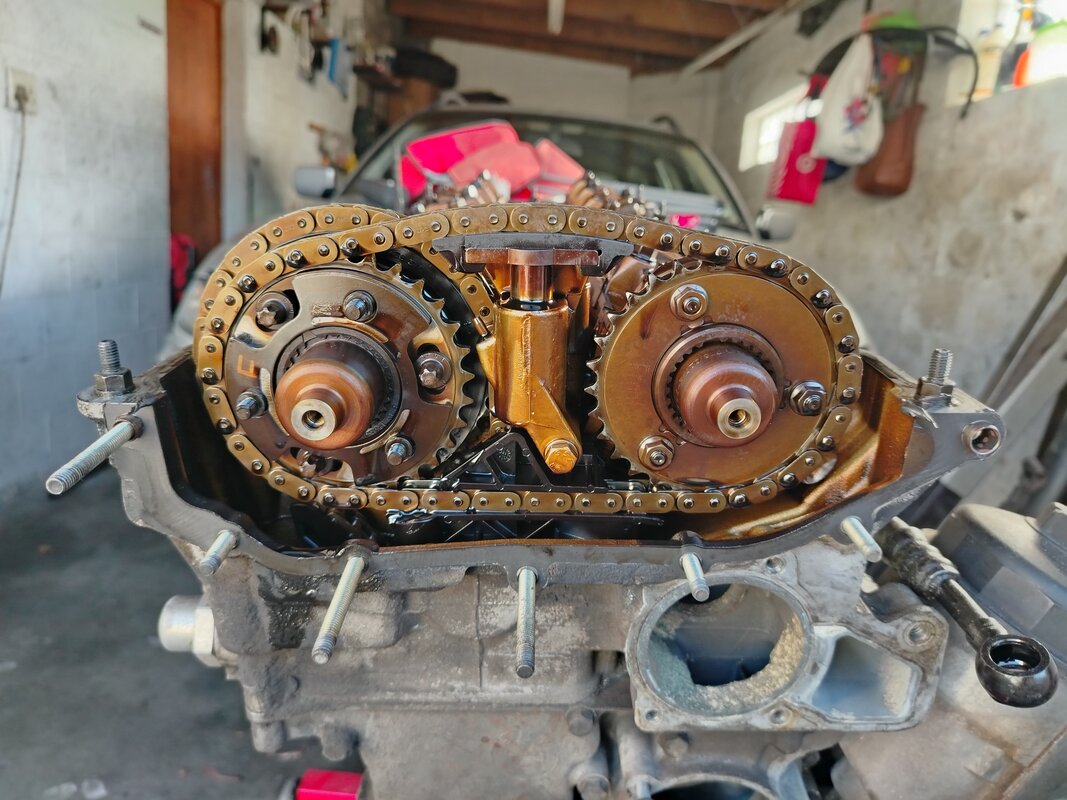
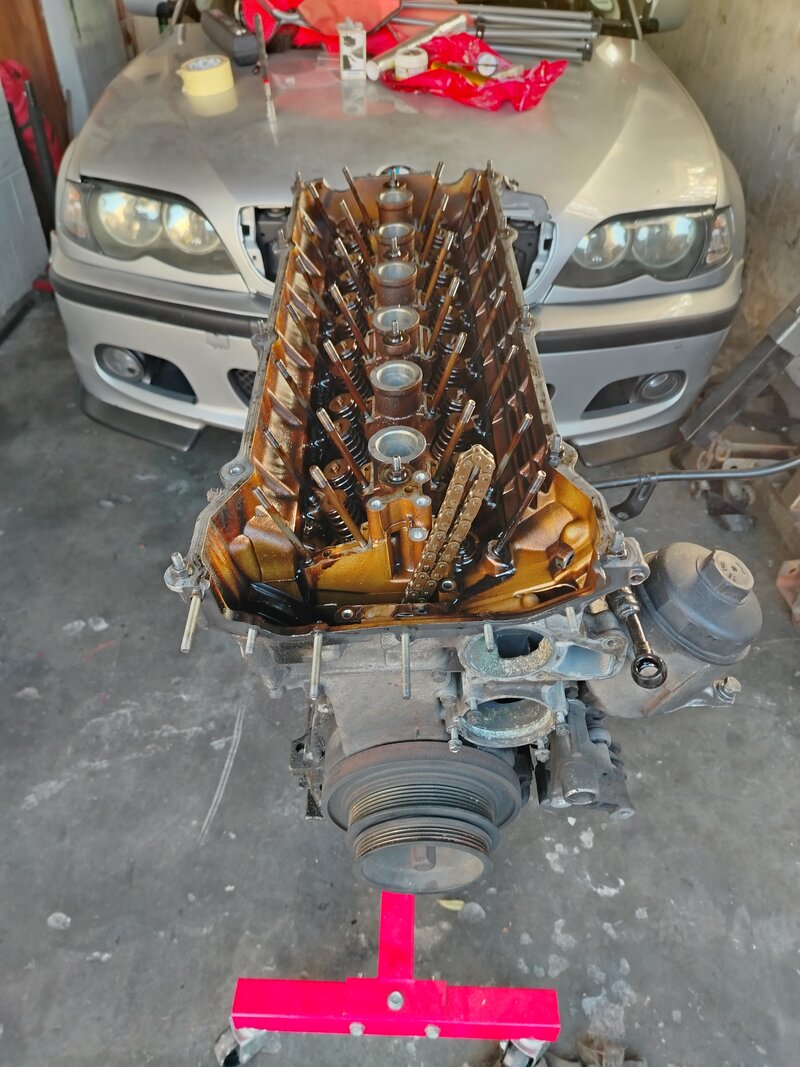
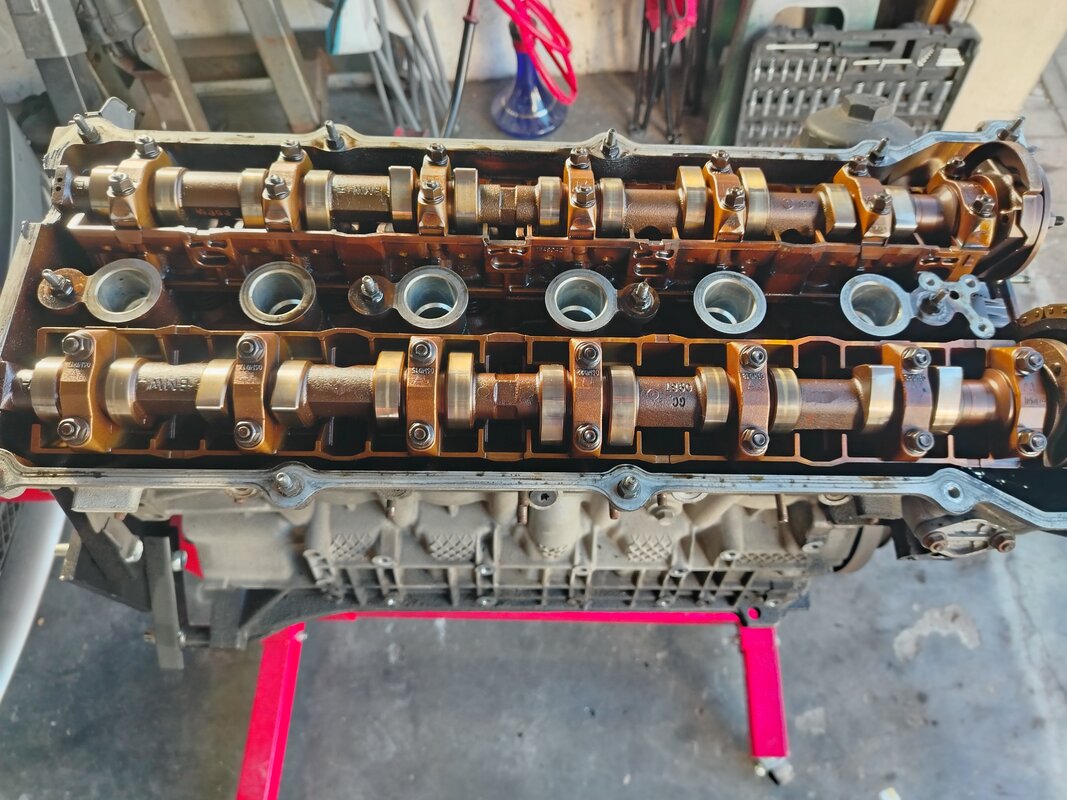
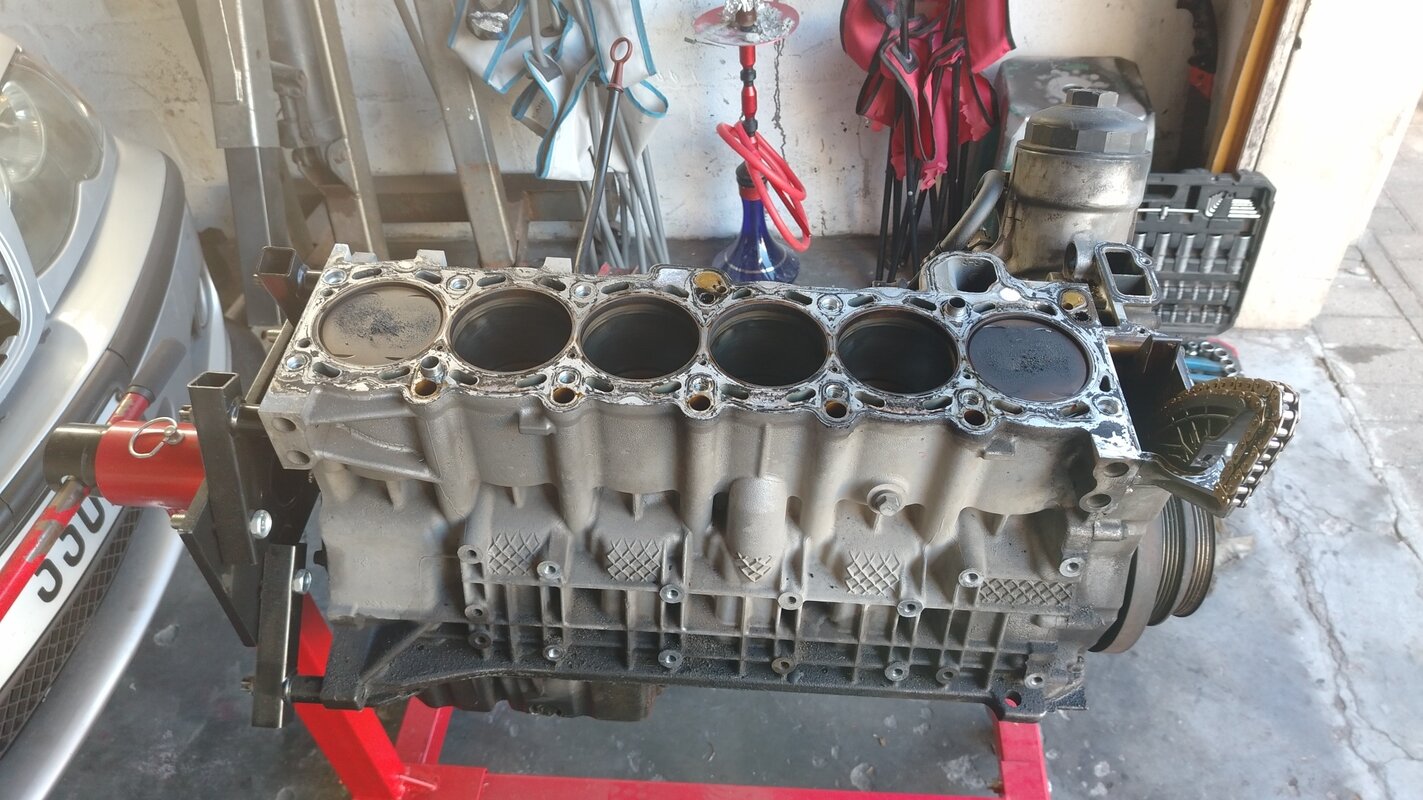
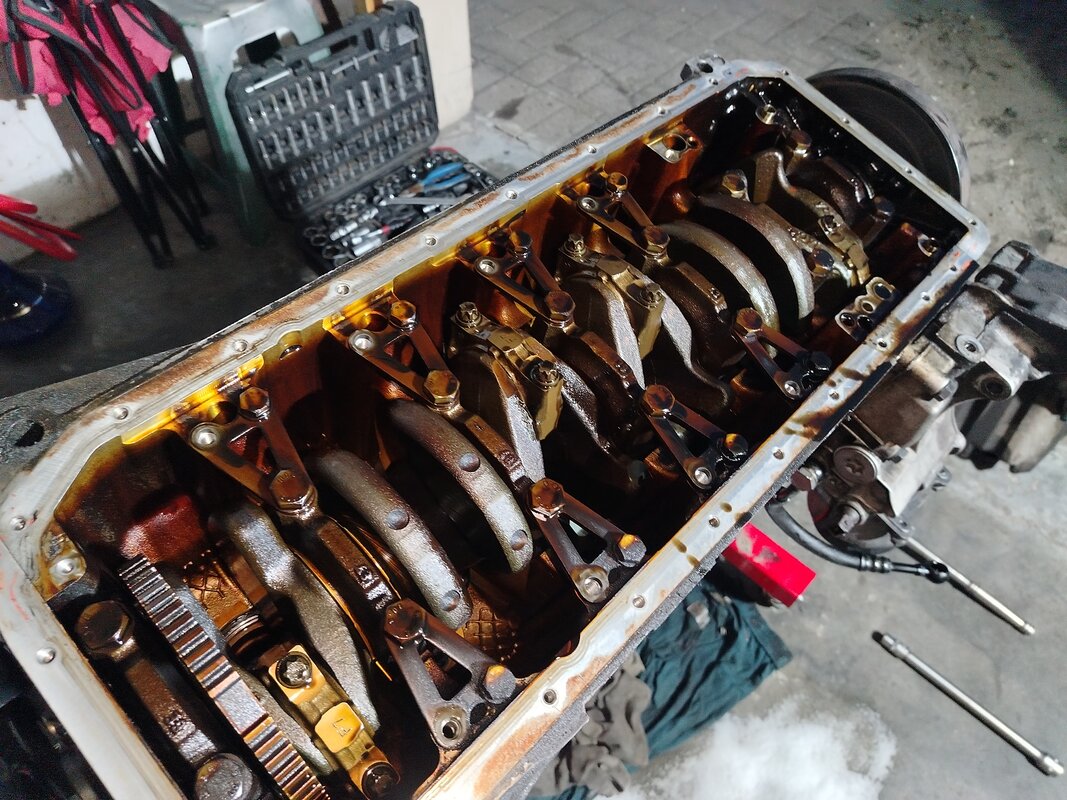
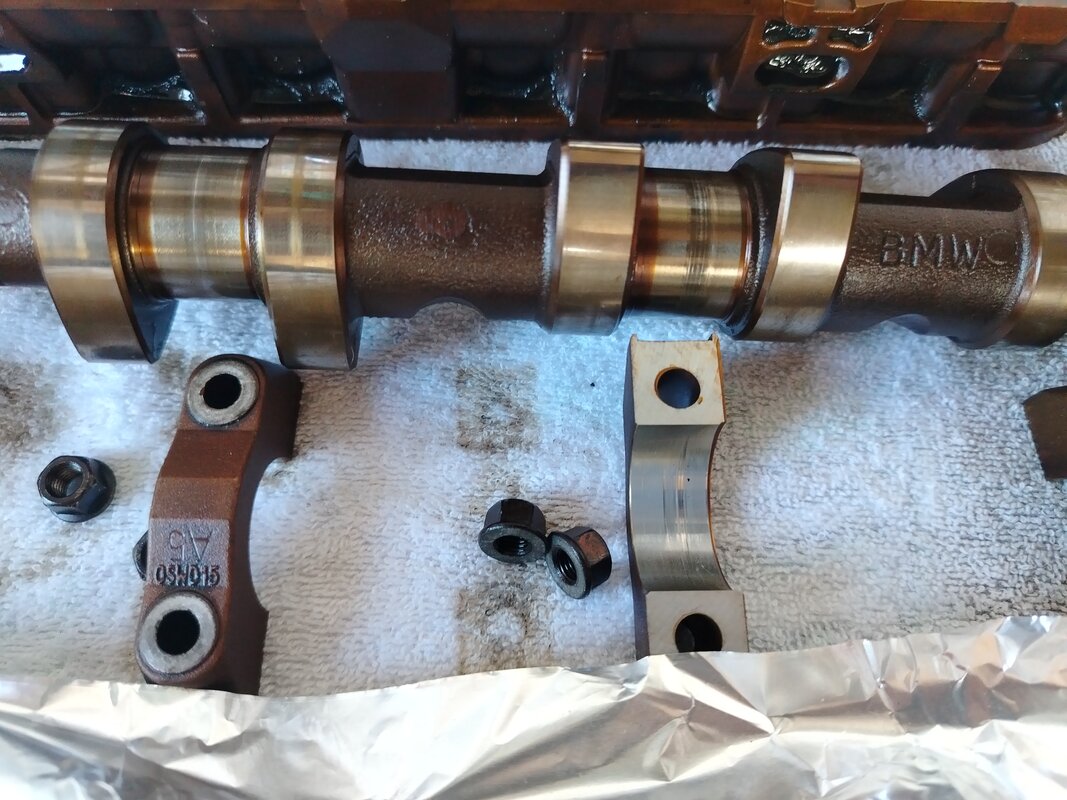
Some Wear on the Old motors Cams
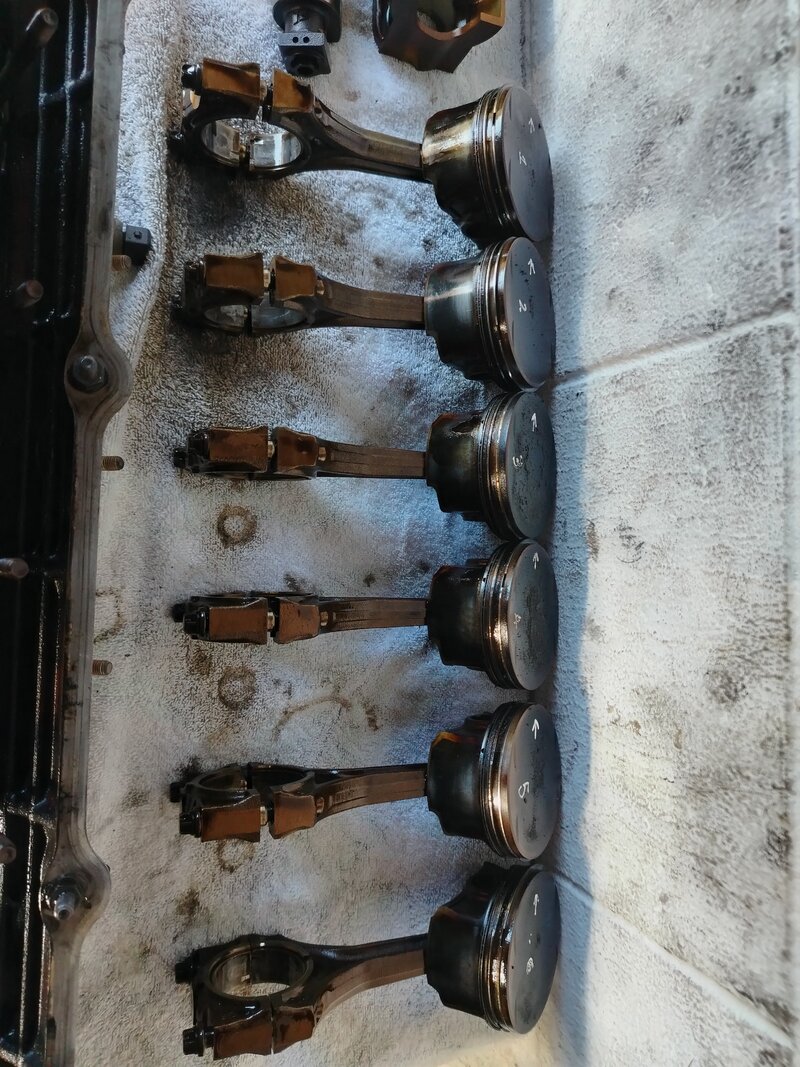
Valves were toasty...
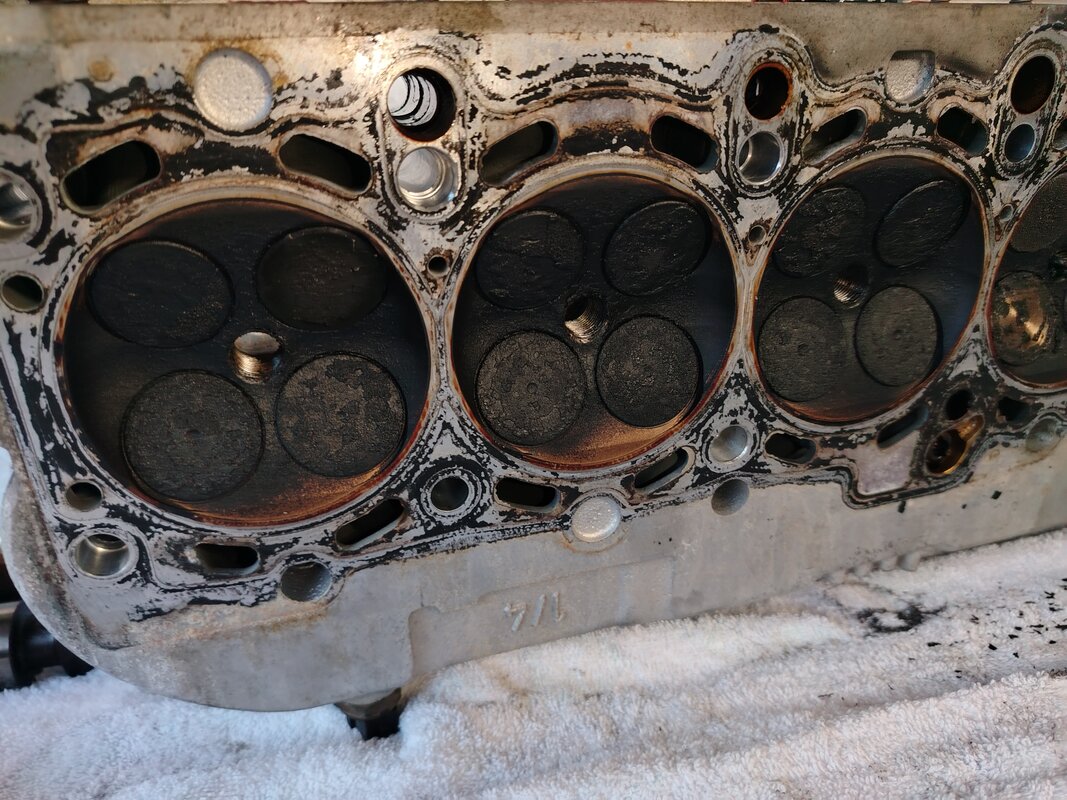
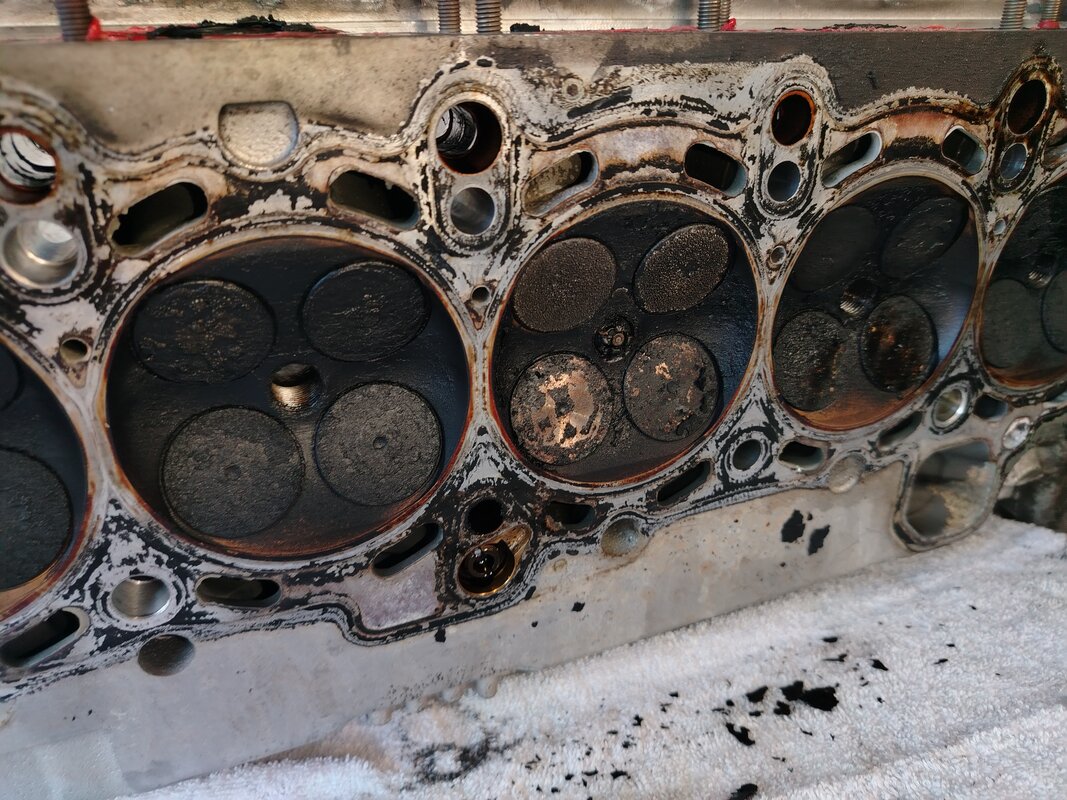
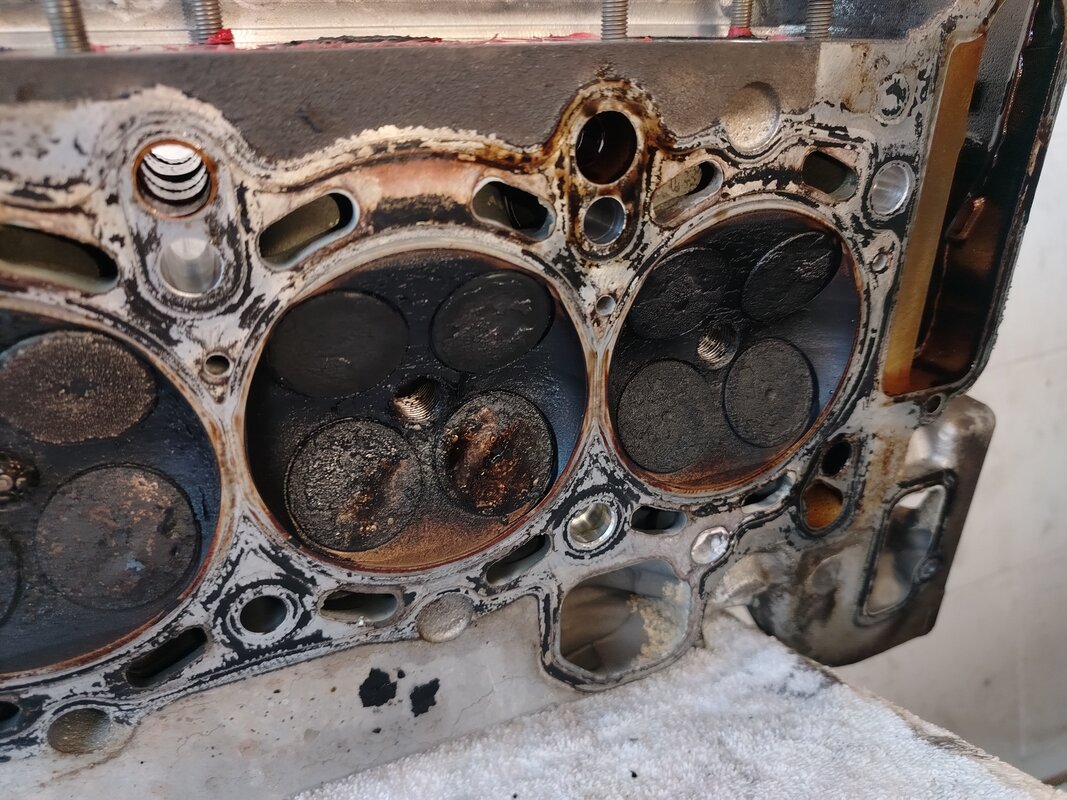
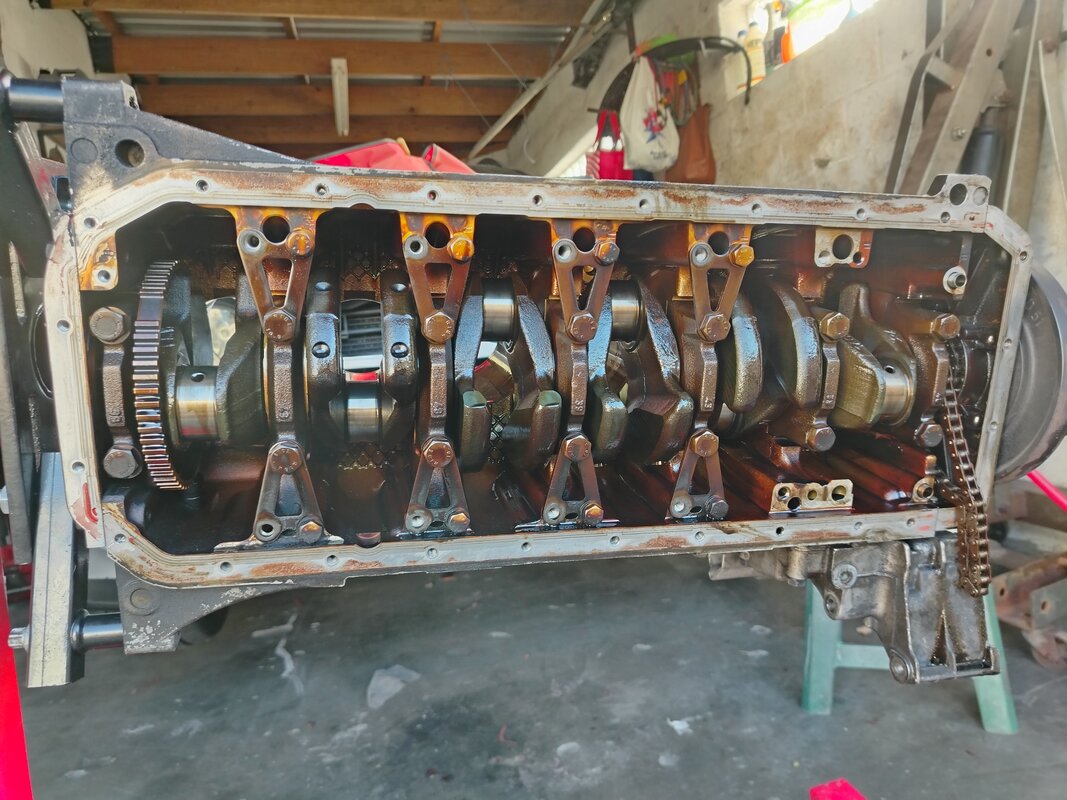
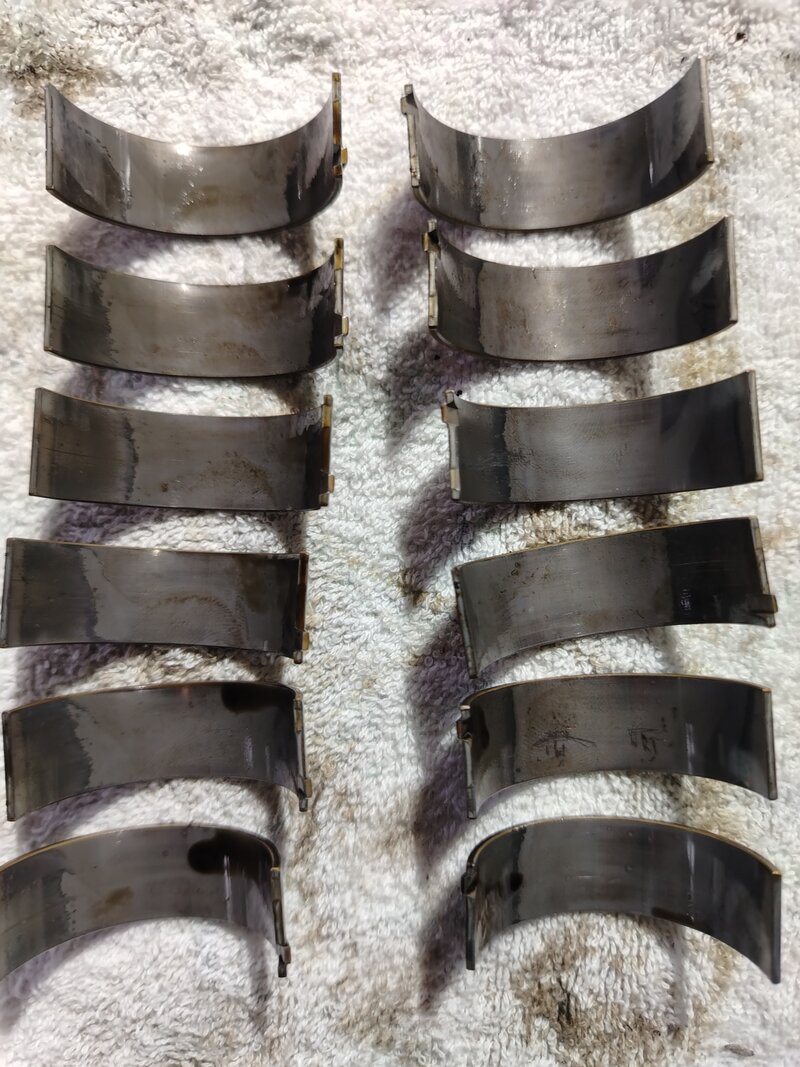
For 275k of Hard Driving, Bearings looked Good
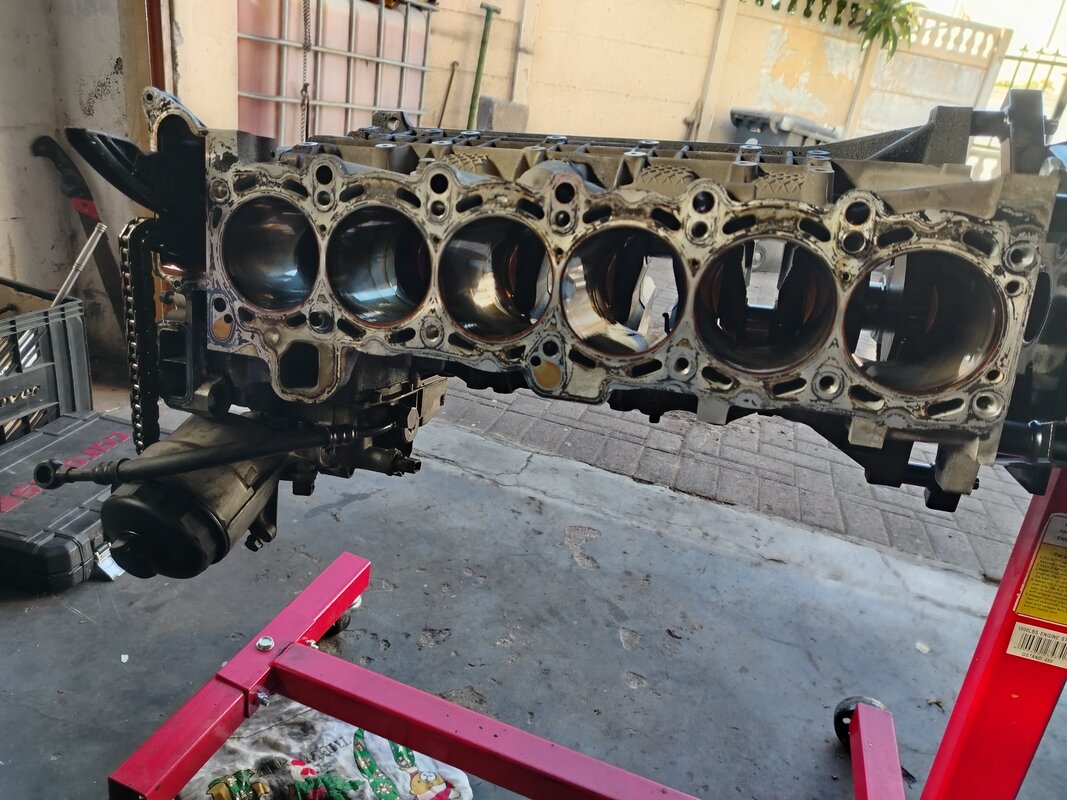
Engine Bore Looks Very nice. Still had its Crosshatching
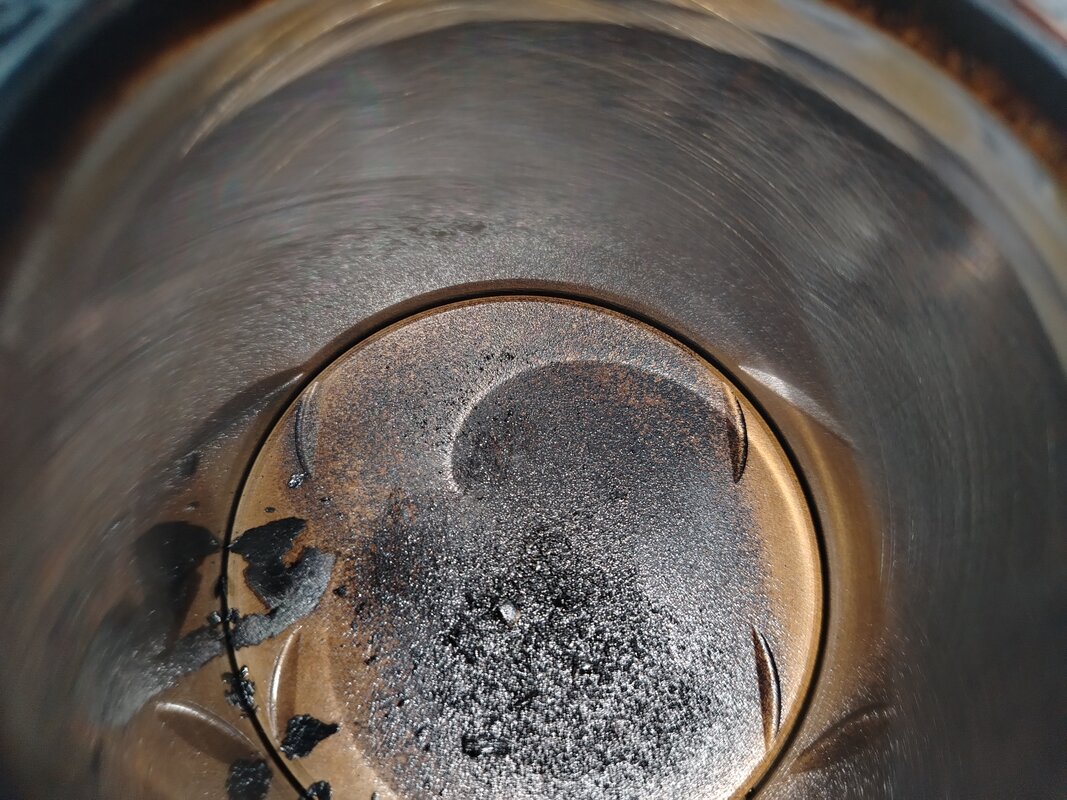
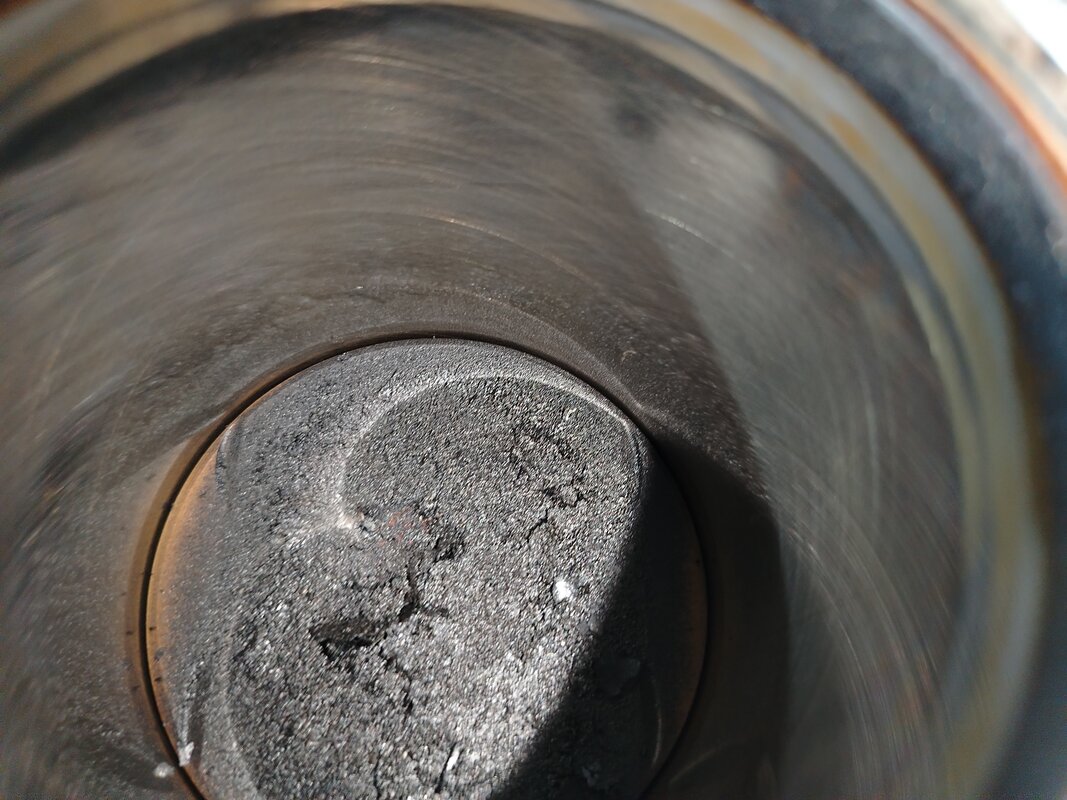
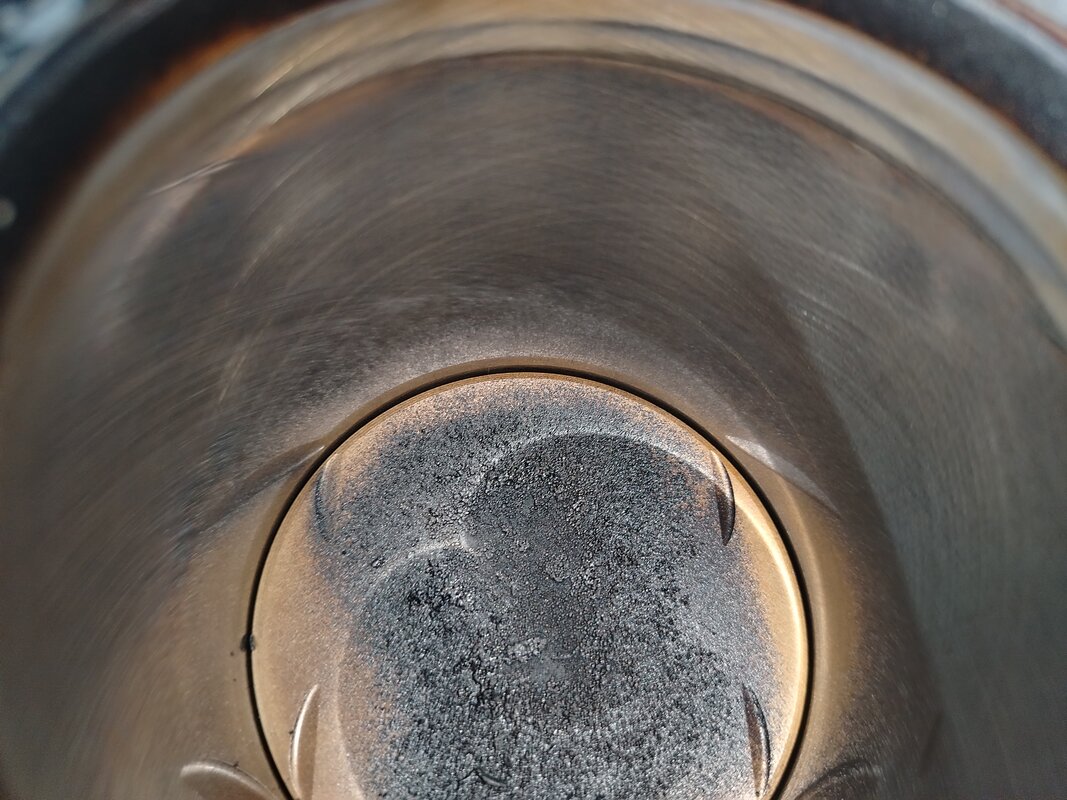
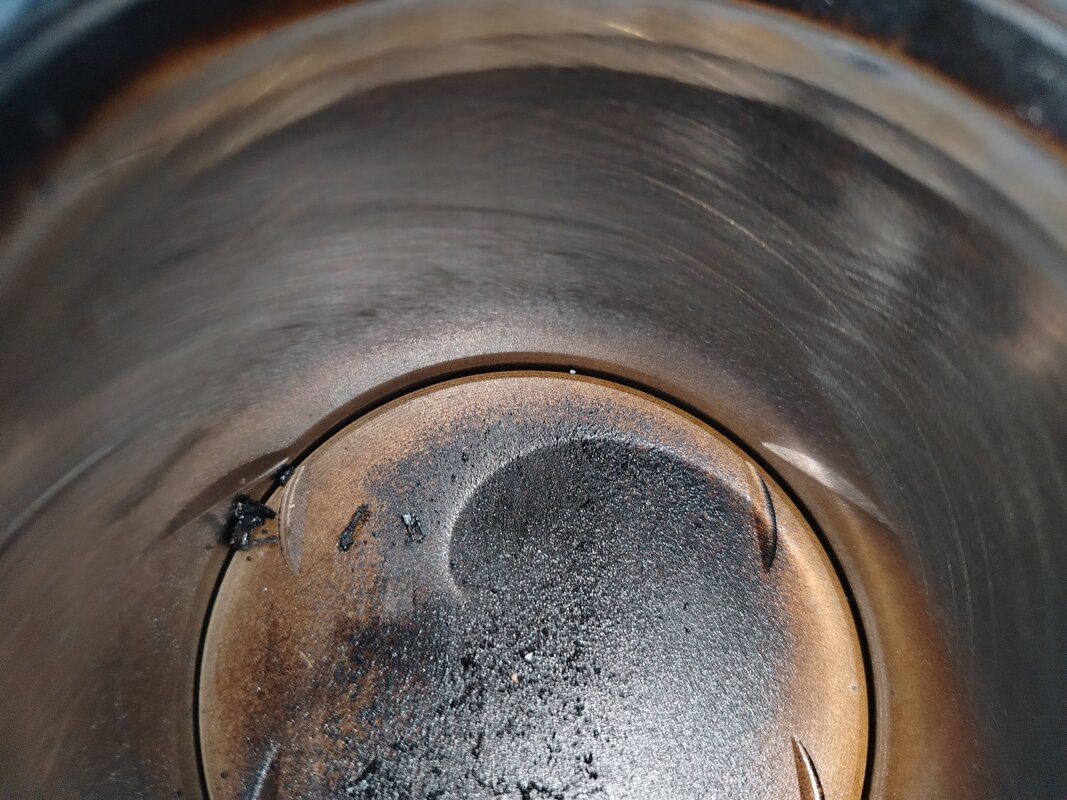
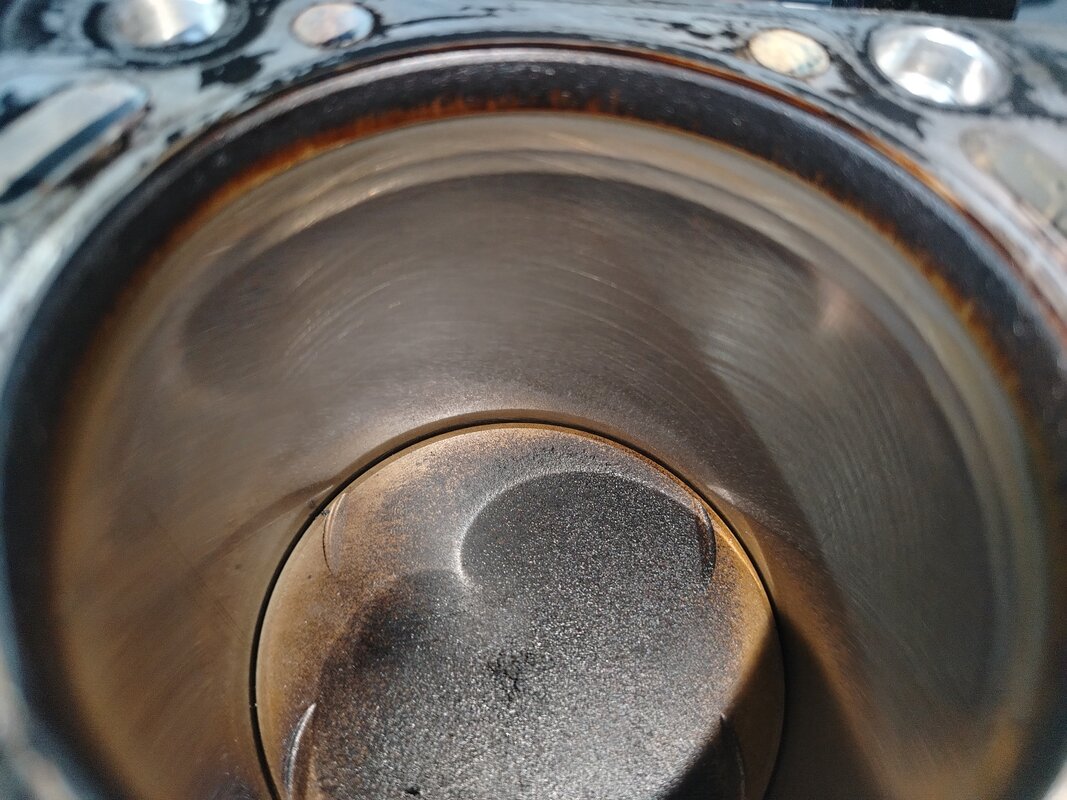
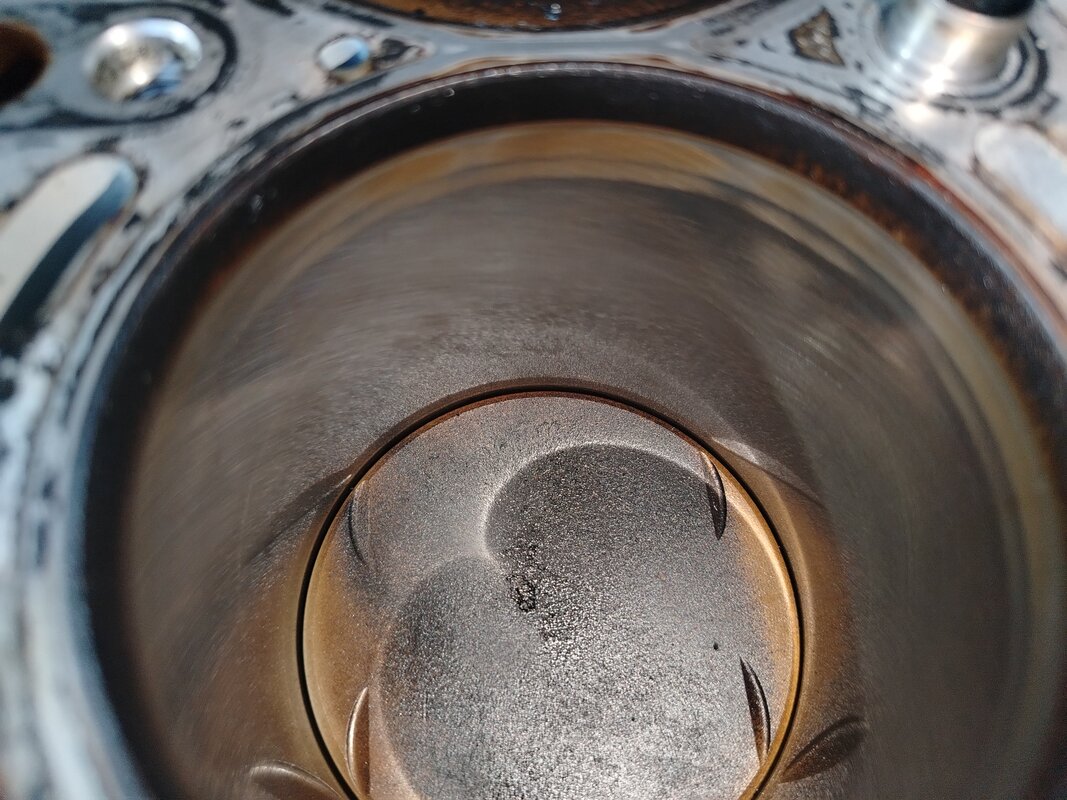

In the Meantime, I started Tearing into the Old Engine.


Some Wear on the Old motors Cams


Valves were toasty...


For 275k of Hard Driving, Bearings looked Good

Engine Bore Looks Very nice. Still had its Crosshatching


evnmopwr
Well-known member
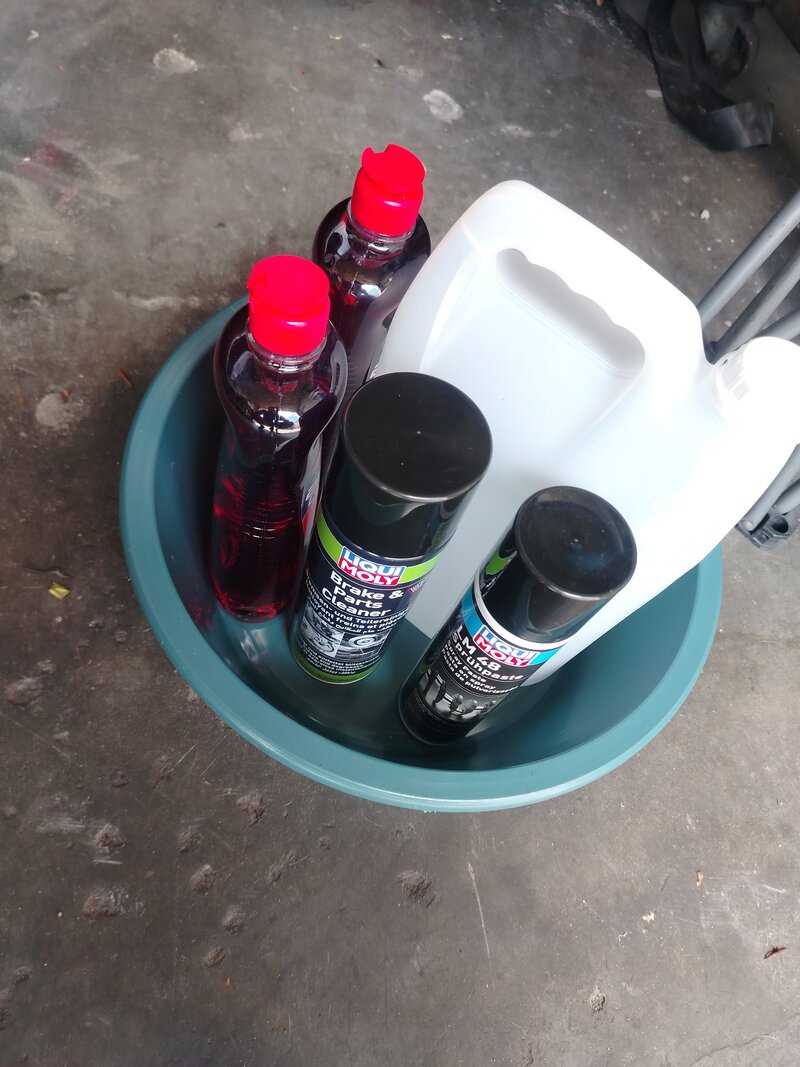
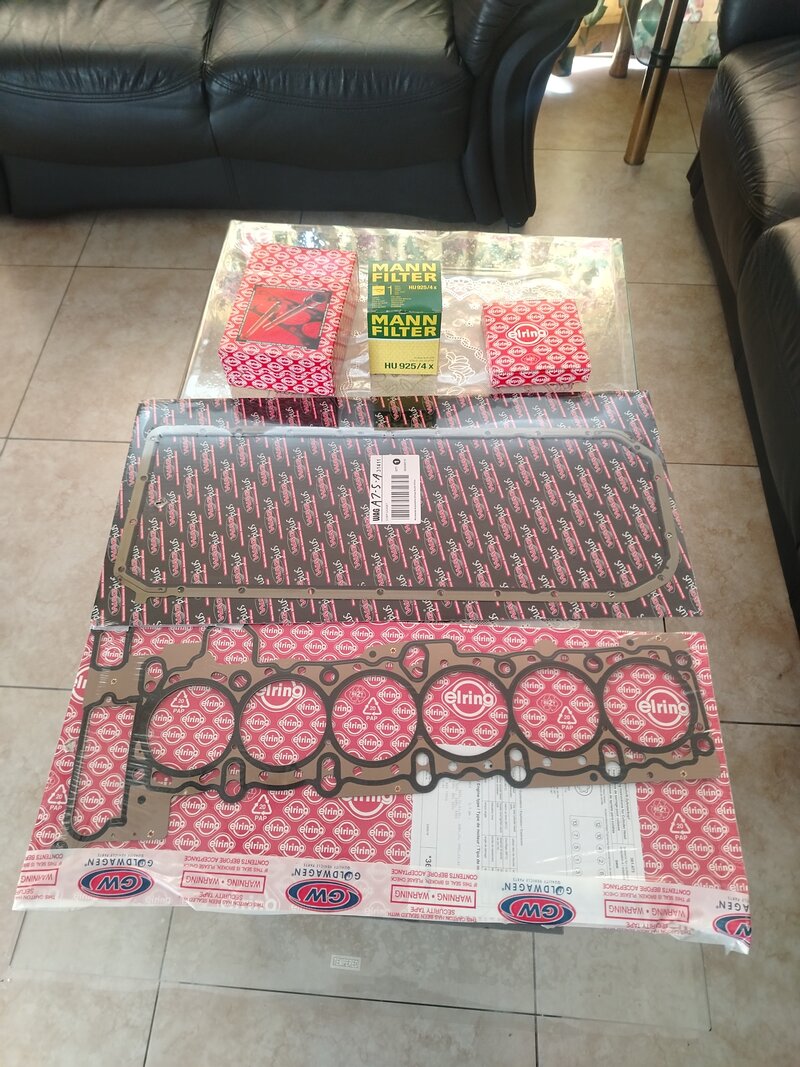
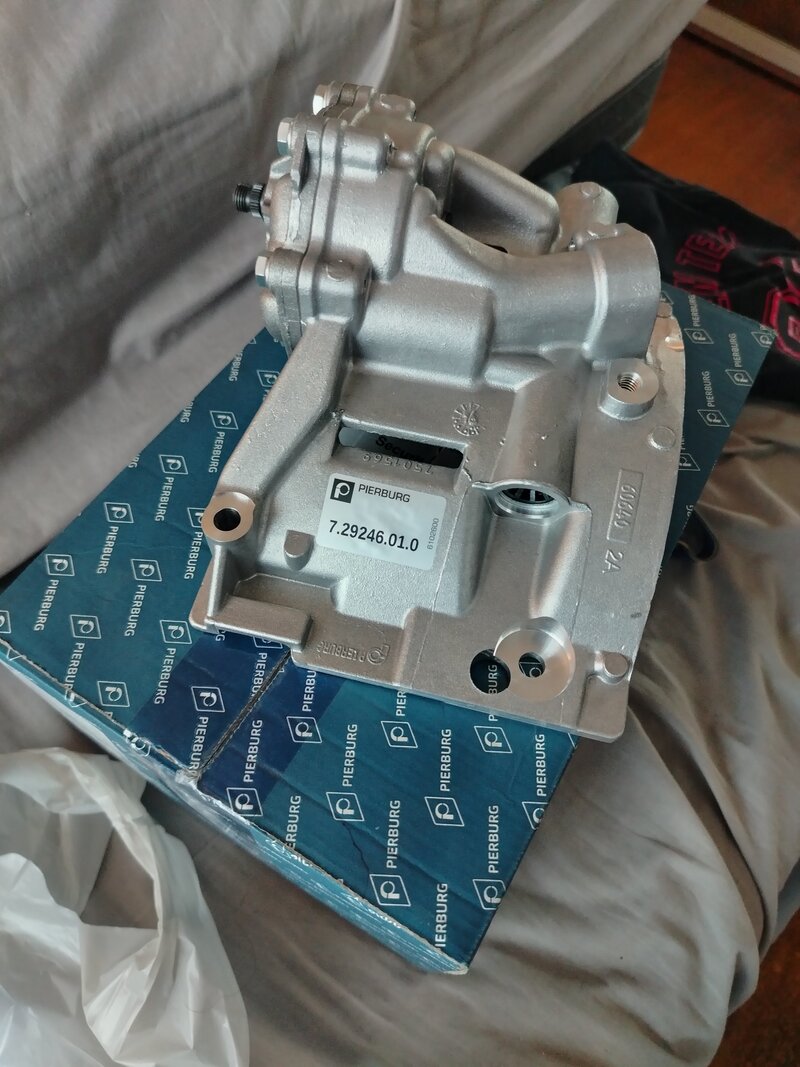
Sourced some new parts.
made sure to get the 3Piece oil control Piston rings
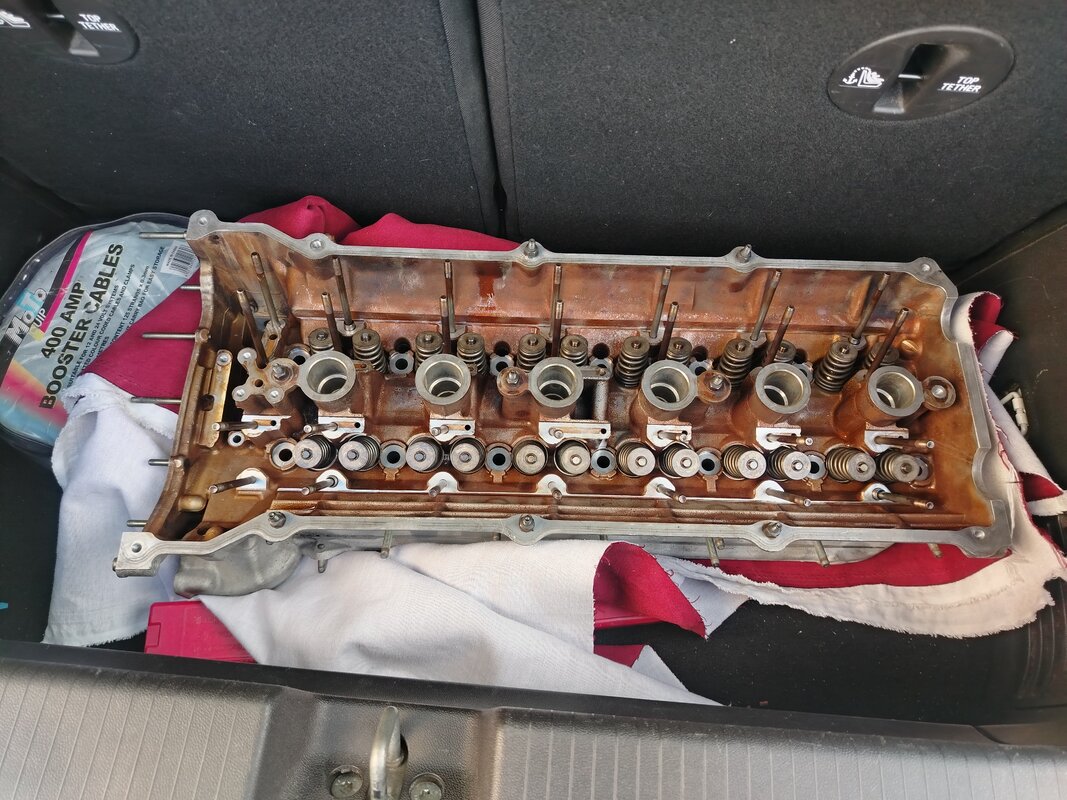
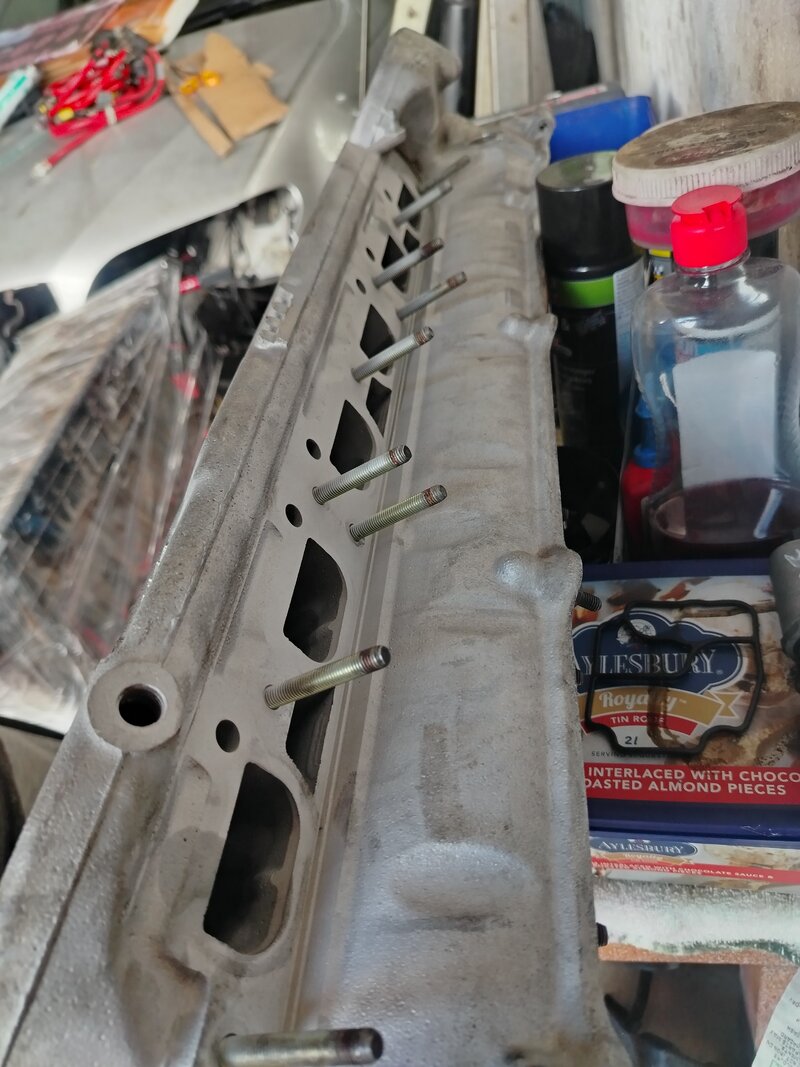
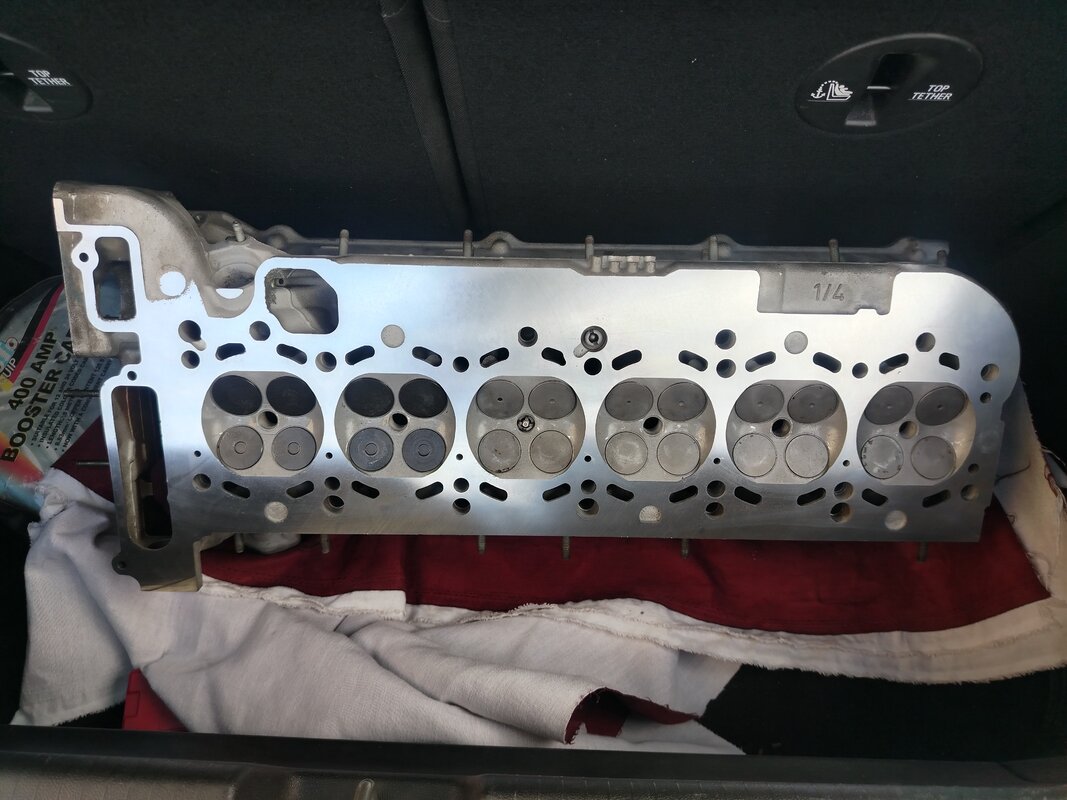
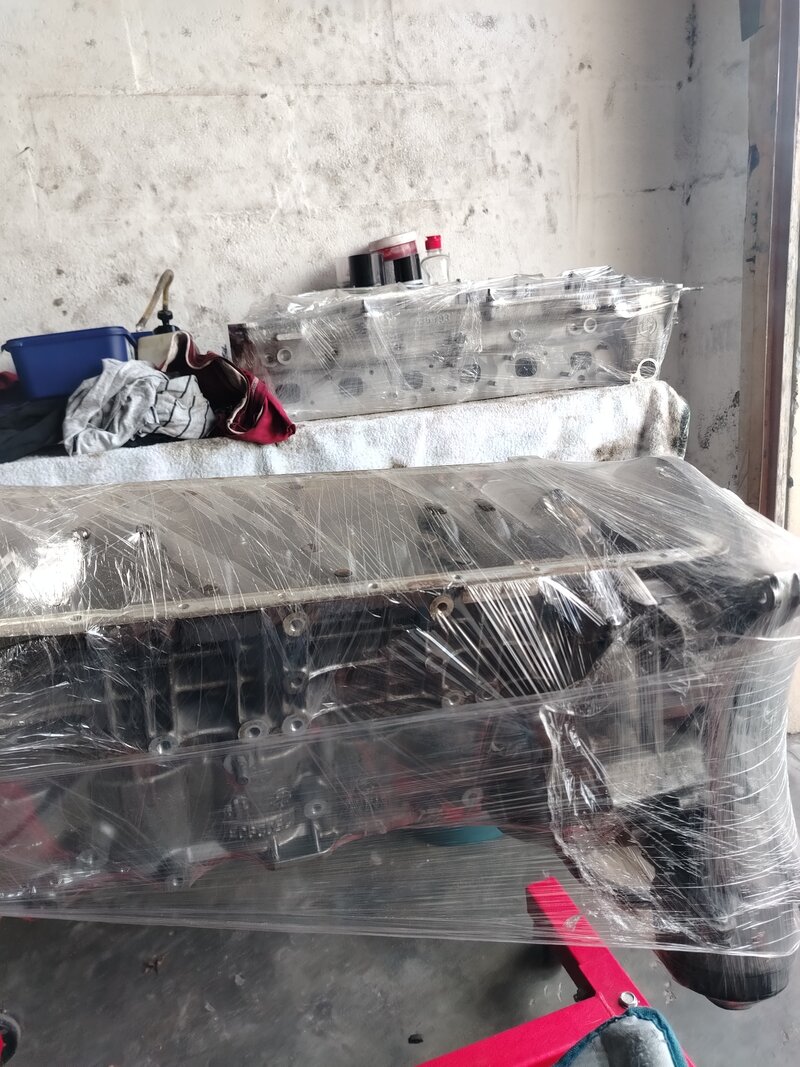
Head went to Basticks Engineering.
Greg Did a great job.
New Metelli Guides
8 New FPR Valves
VR ValveStem Seals.
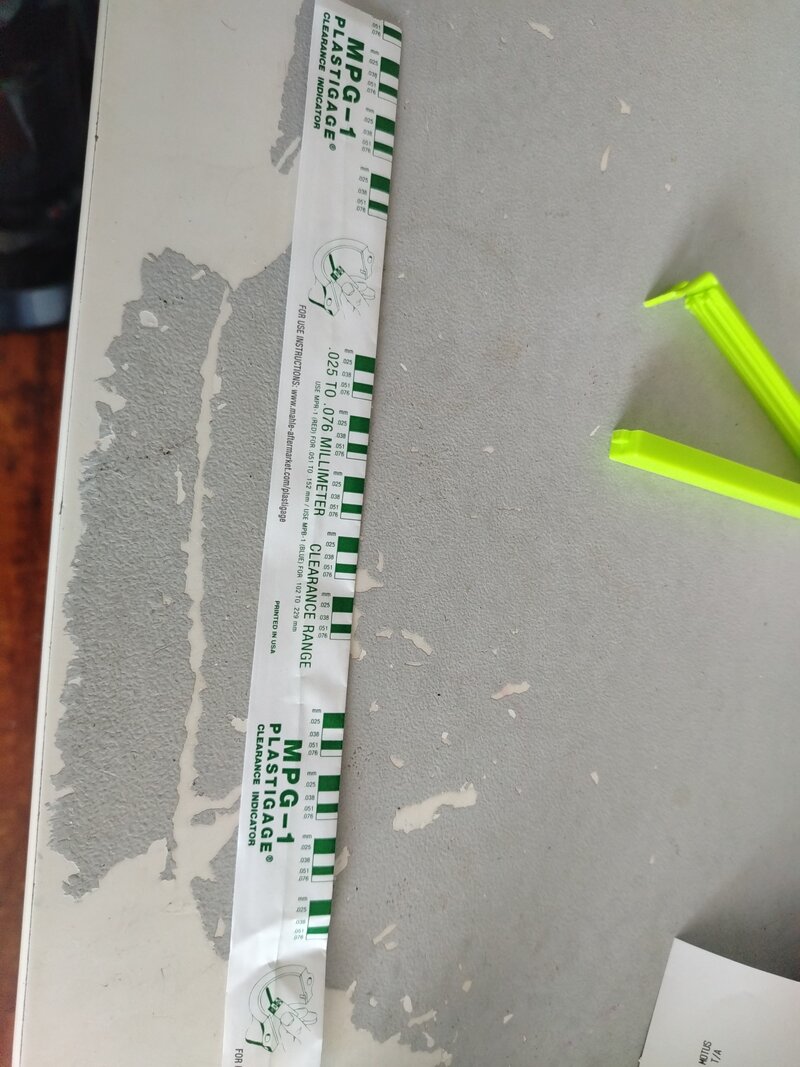
Block i did not send to engineers. Just Honed the bores and used Plastiguage to make sure the Bearings were all in spec and happy to report, all Excellent.
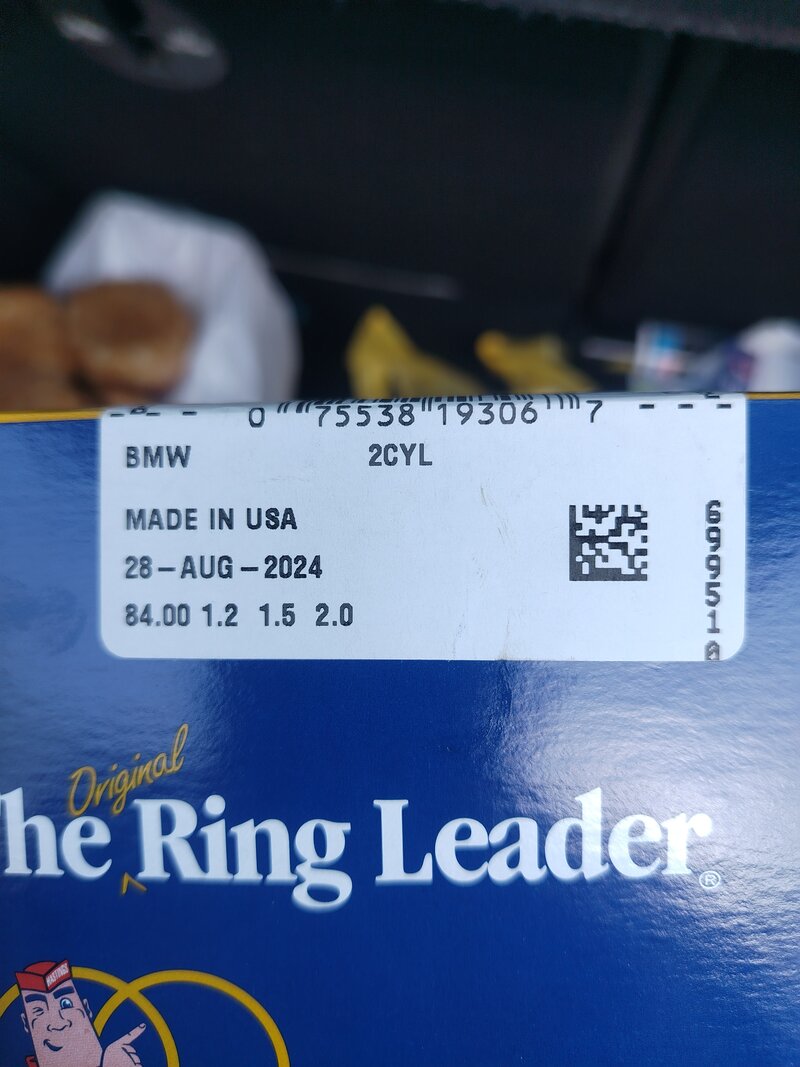
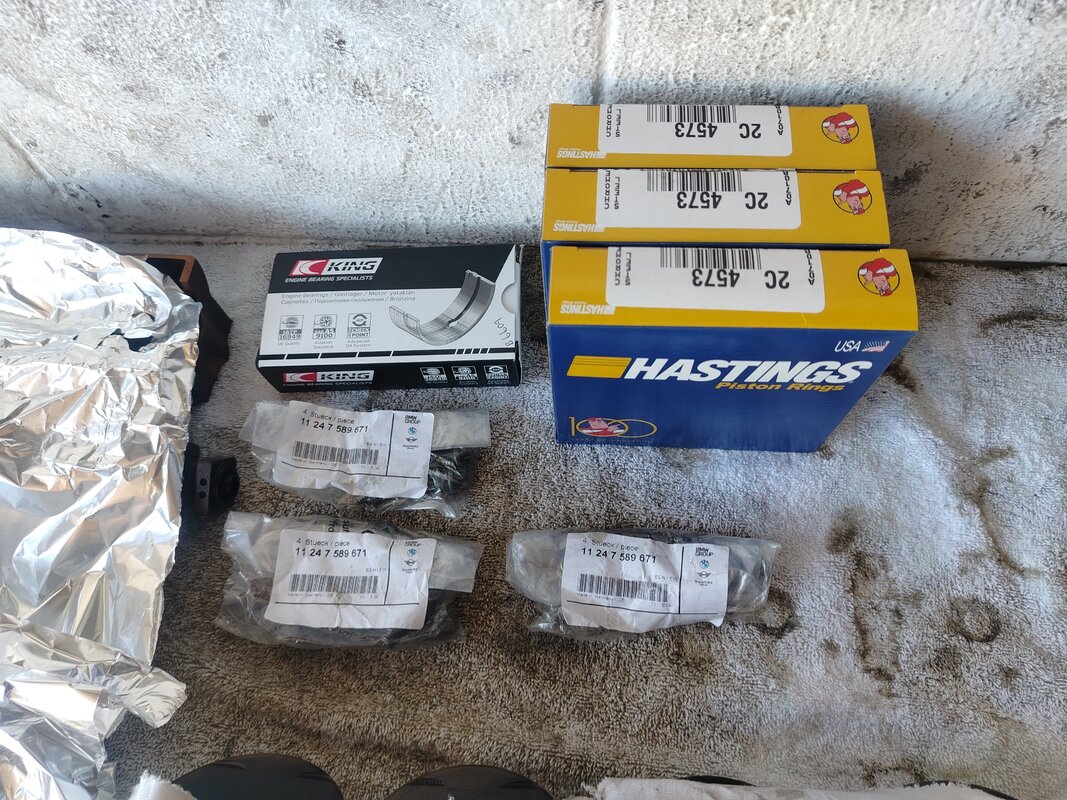


evnmopwr
Well-known member
While i waited for Head from Engineers, Damaged Engine was removed
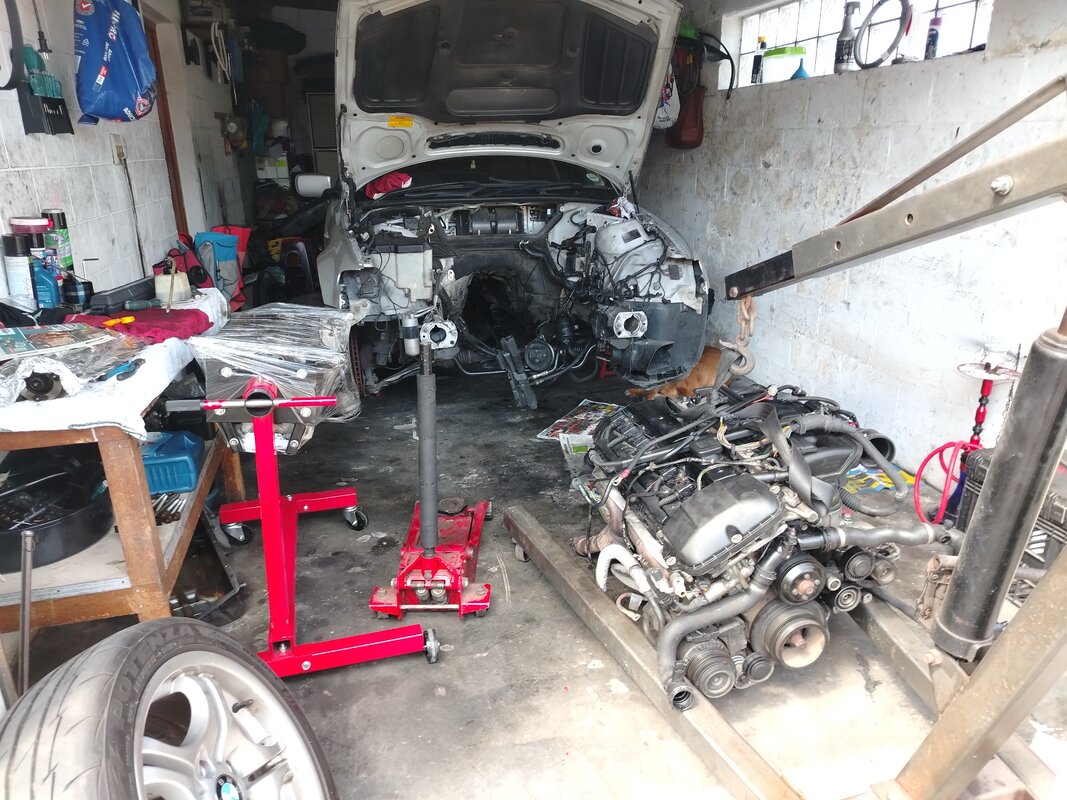
Once head was recieved, Started engine Assembly.
Used LiquiMoly and Redline Assembly Lube on the entire Build
Cames on the Damaged engine was in Perfect condition. No Wear like my old Motors Cams
So i used those cams/buckets/lifters on the rebuild
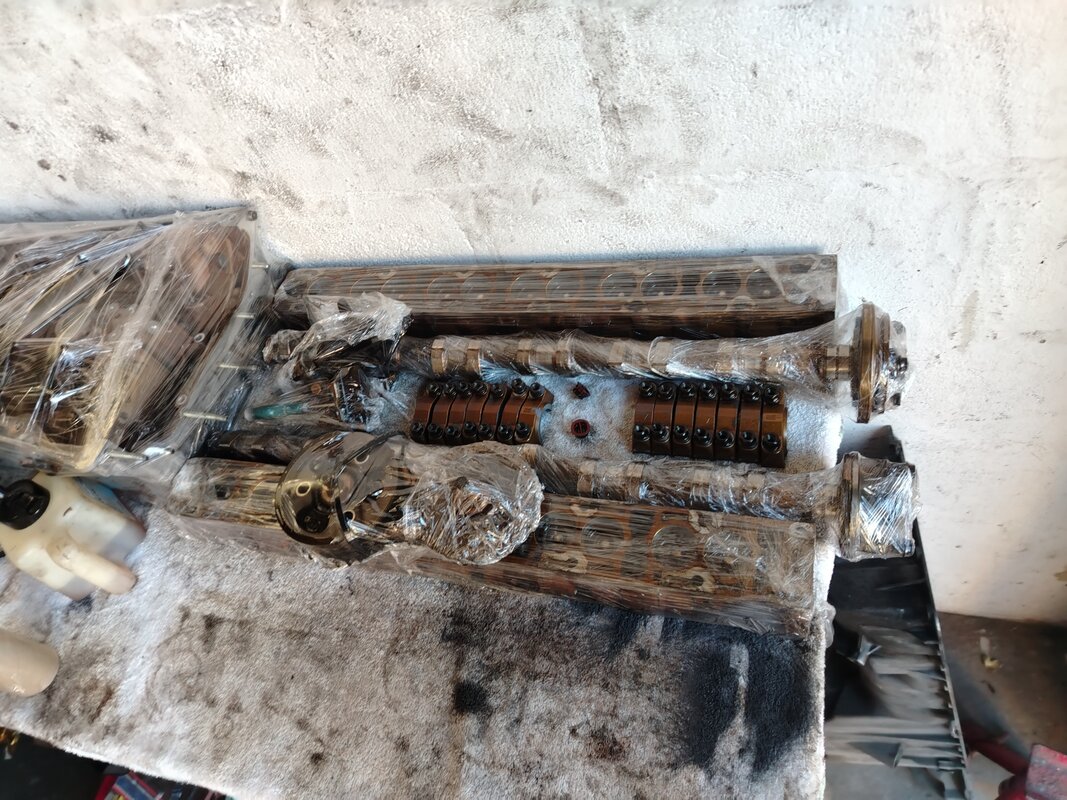
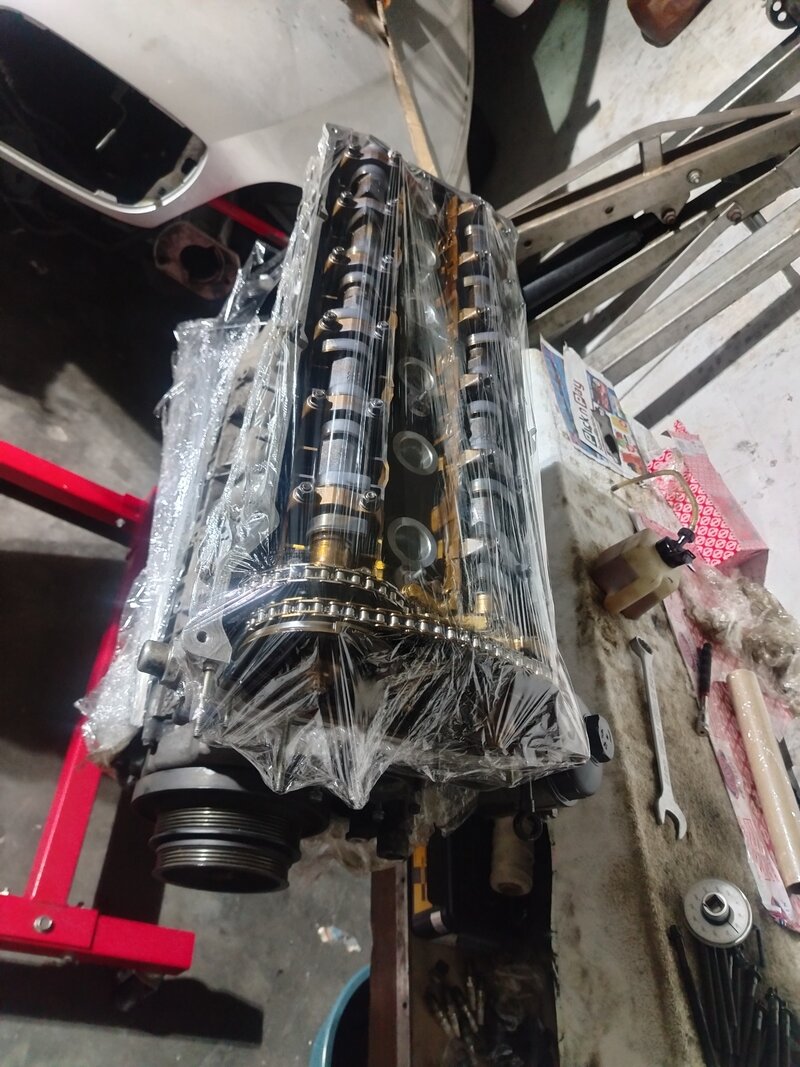
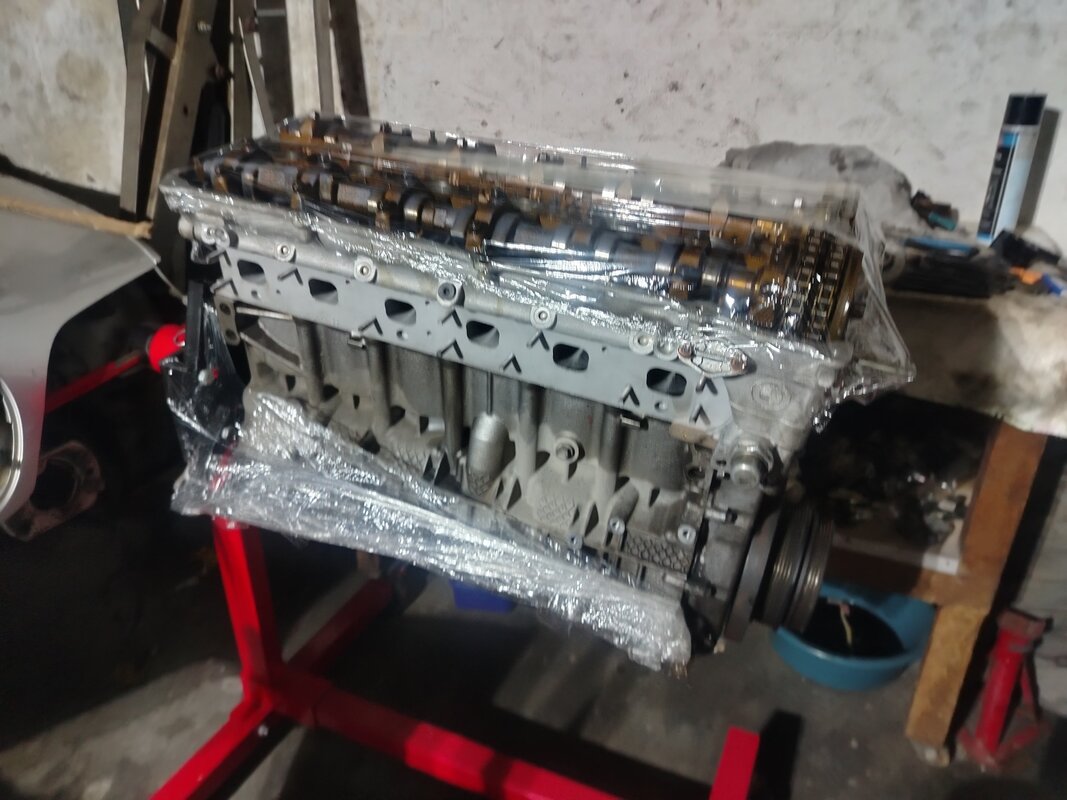
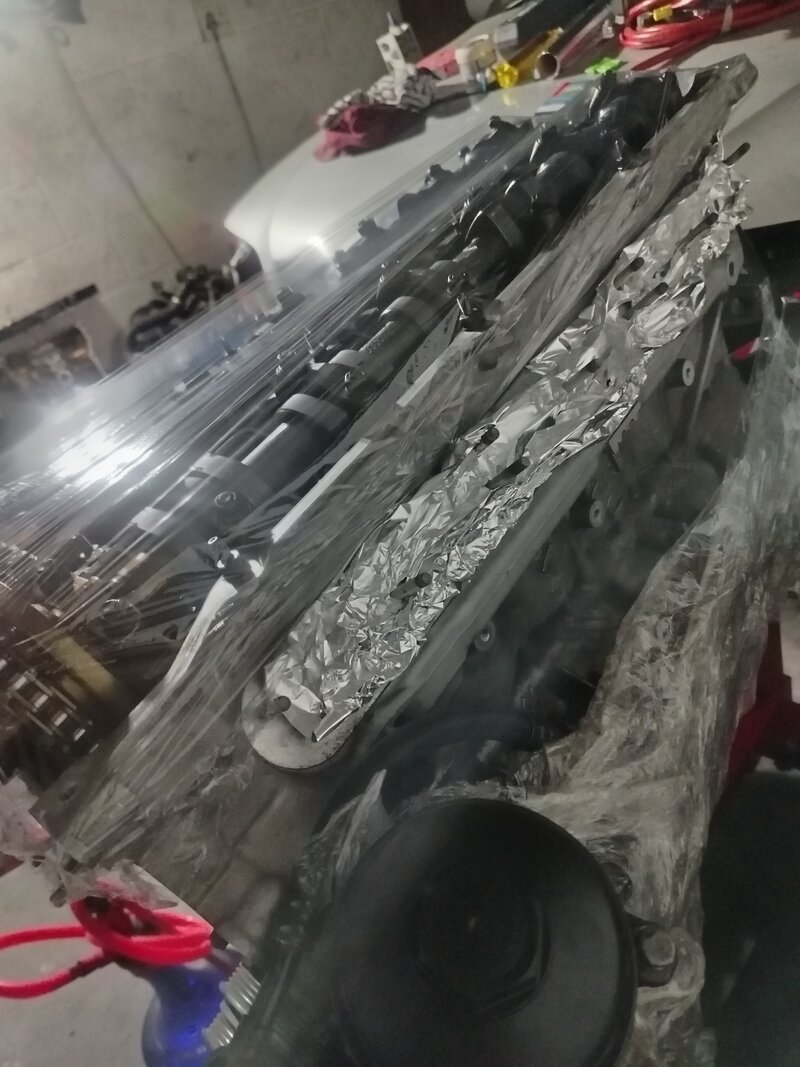
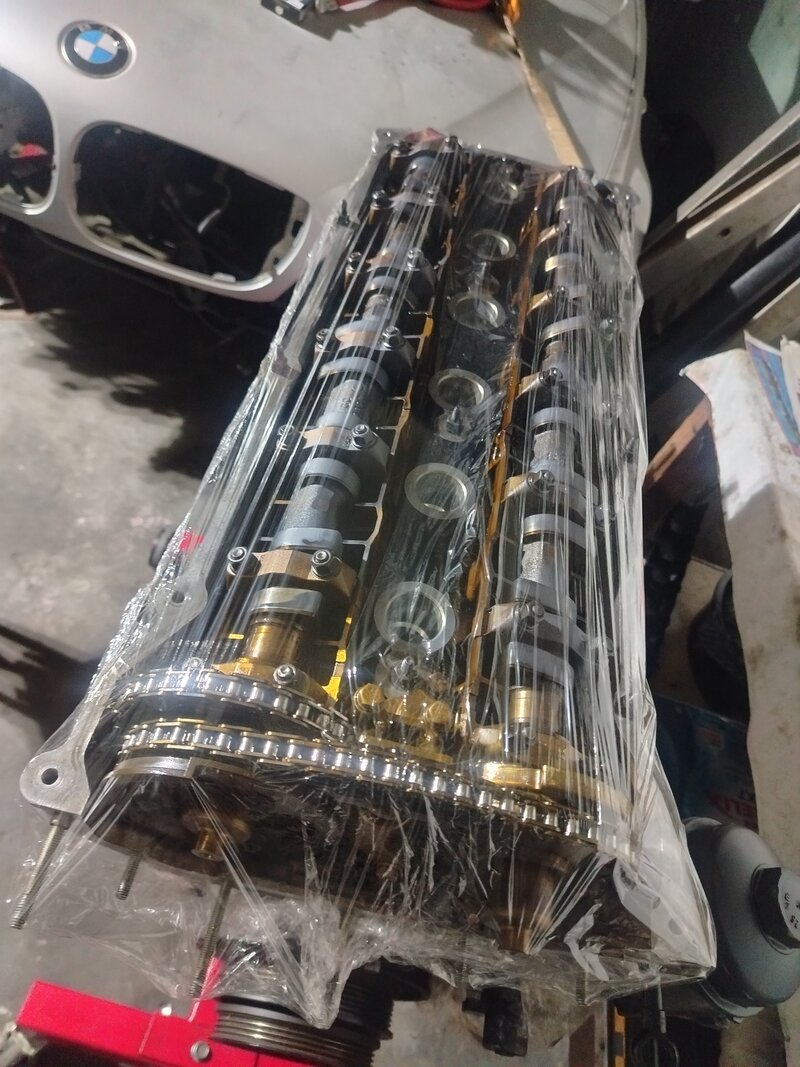
I did not take images of the Finer Details, as i was too focused on not messing up
SandSAutoWorx brought Timing tool and assisted with putting the timing in.
then on to Installing the engine once all the Accessories and gearbox was mounted
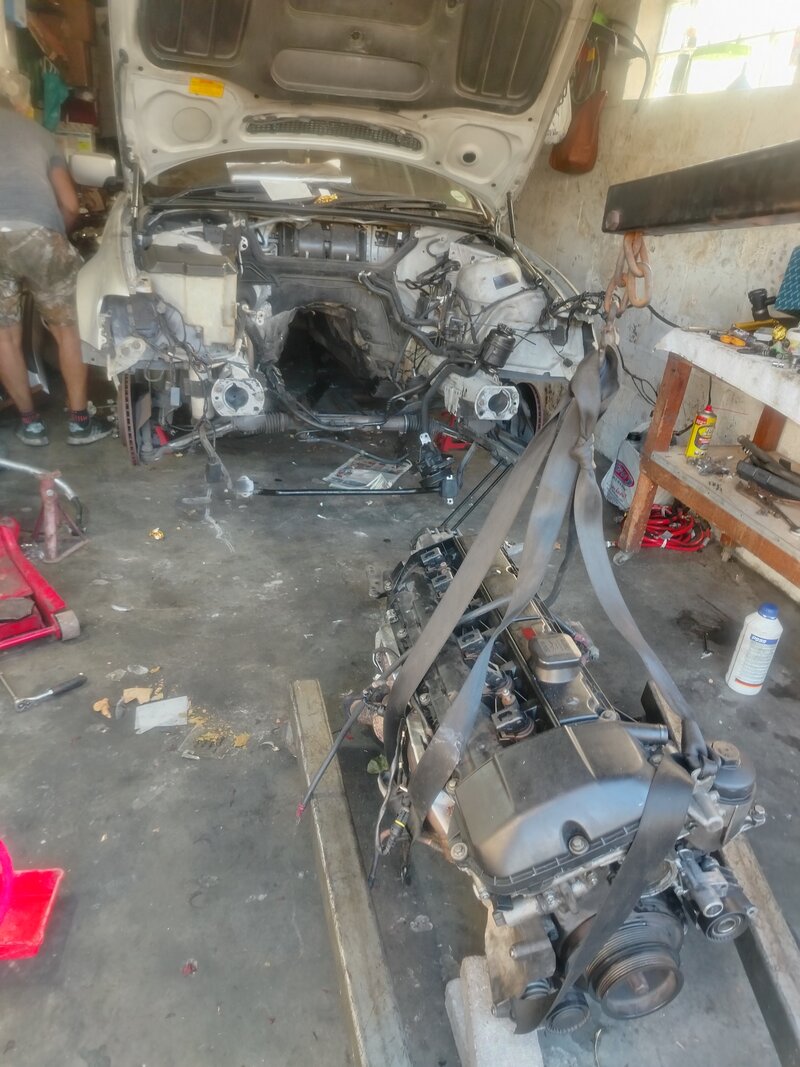
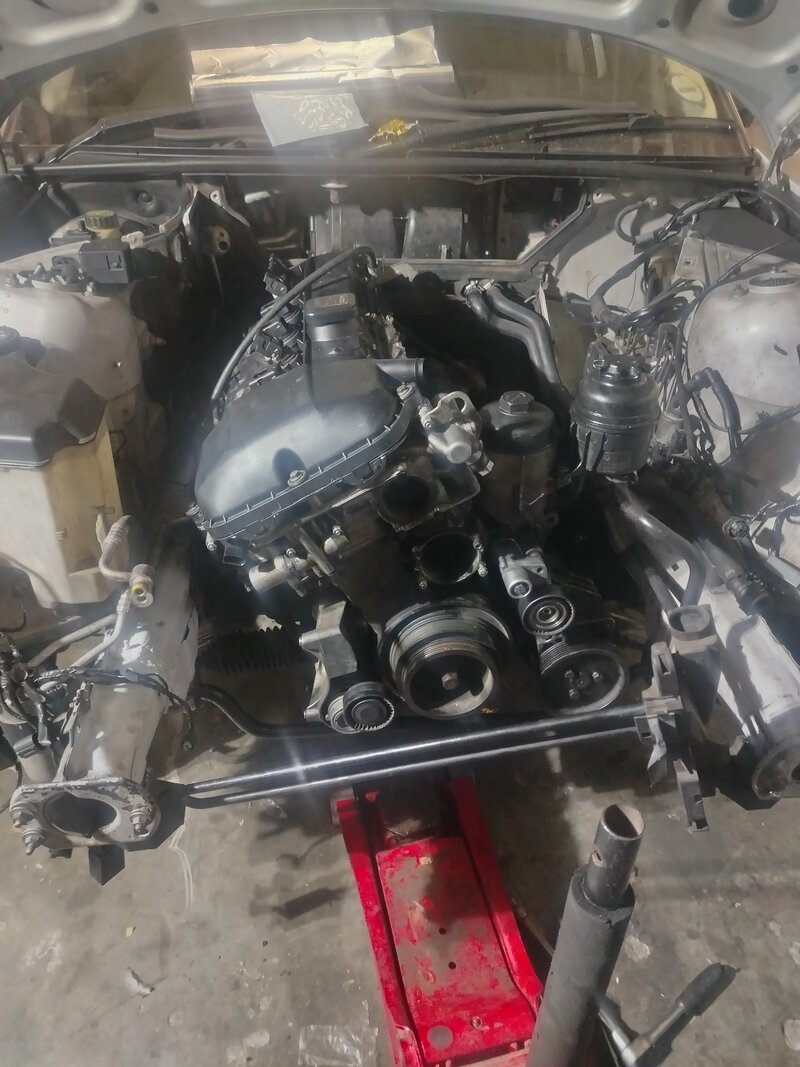
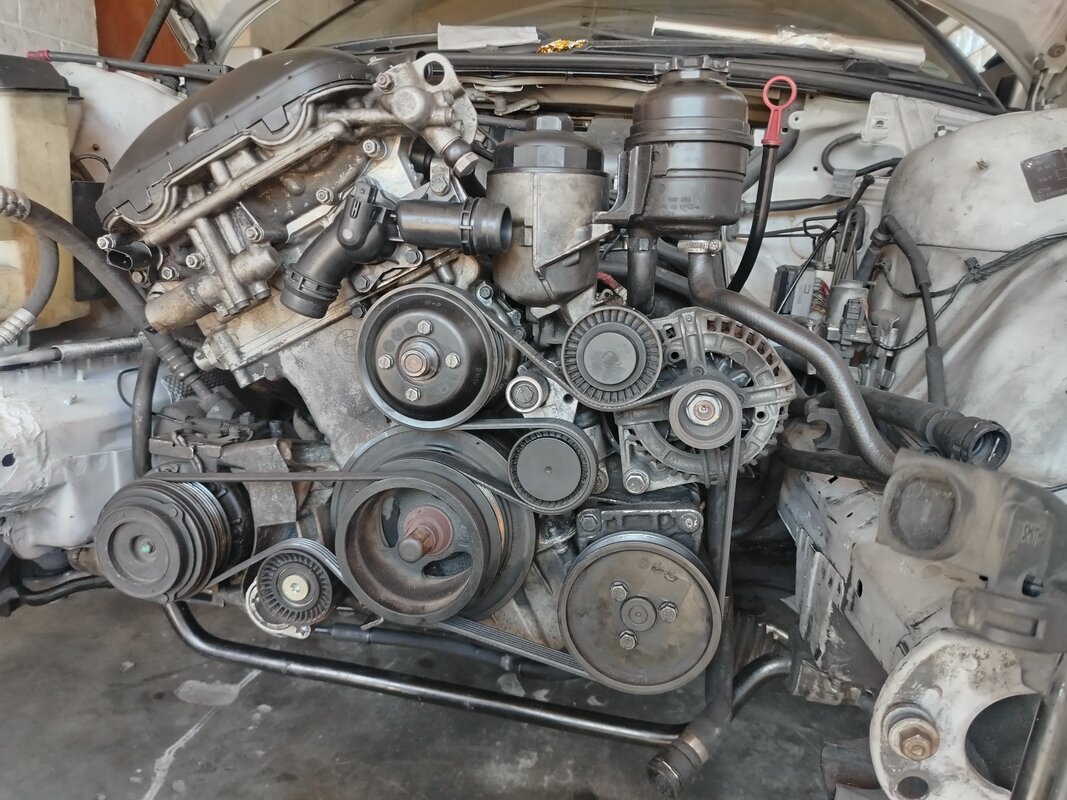
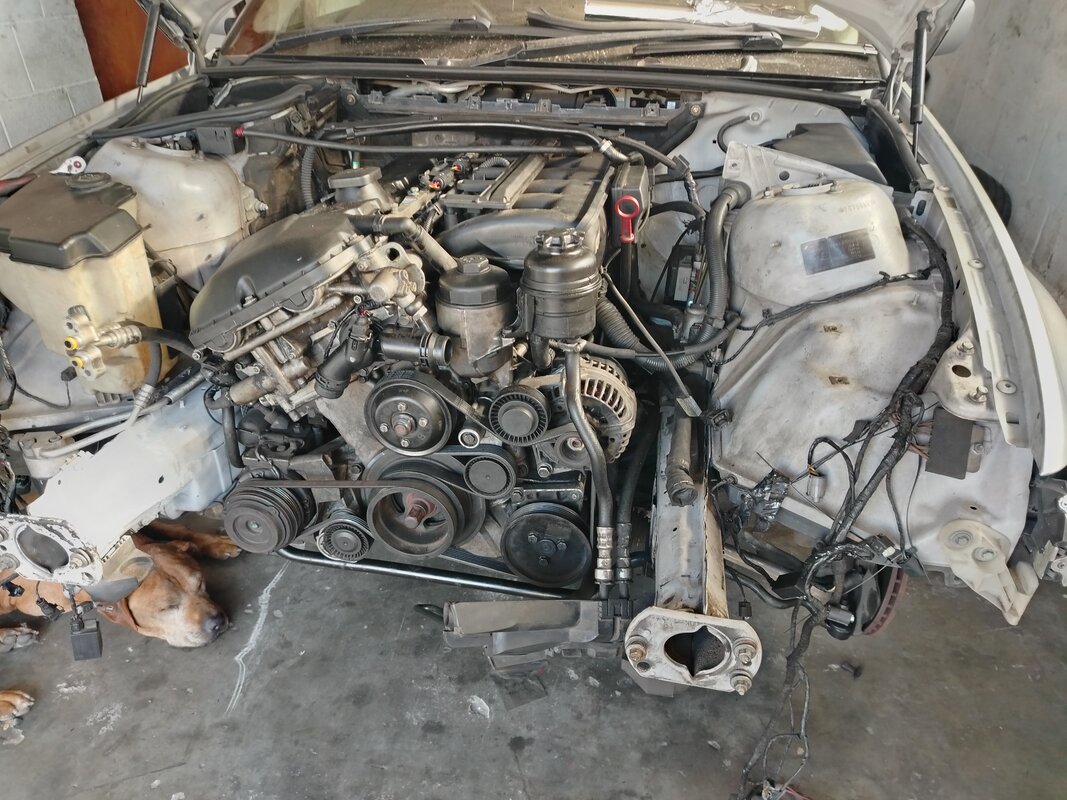
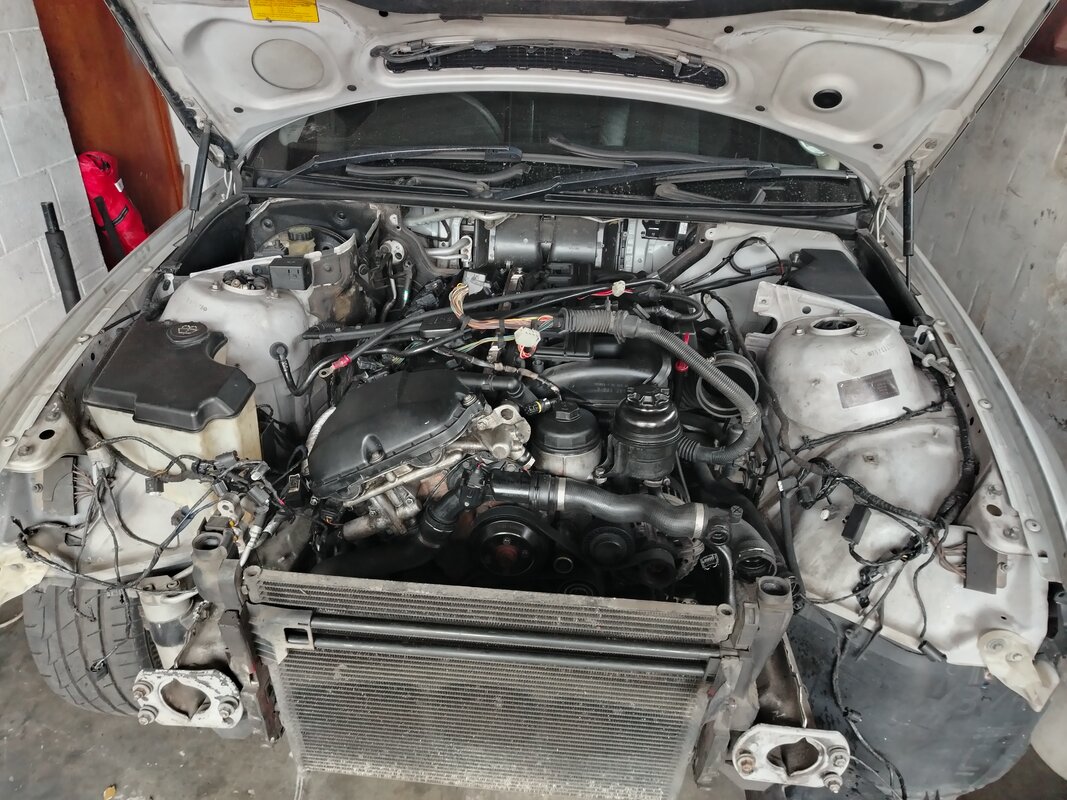
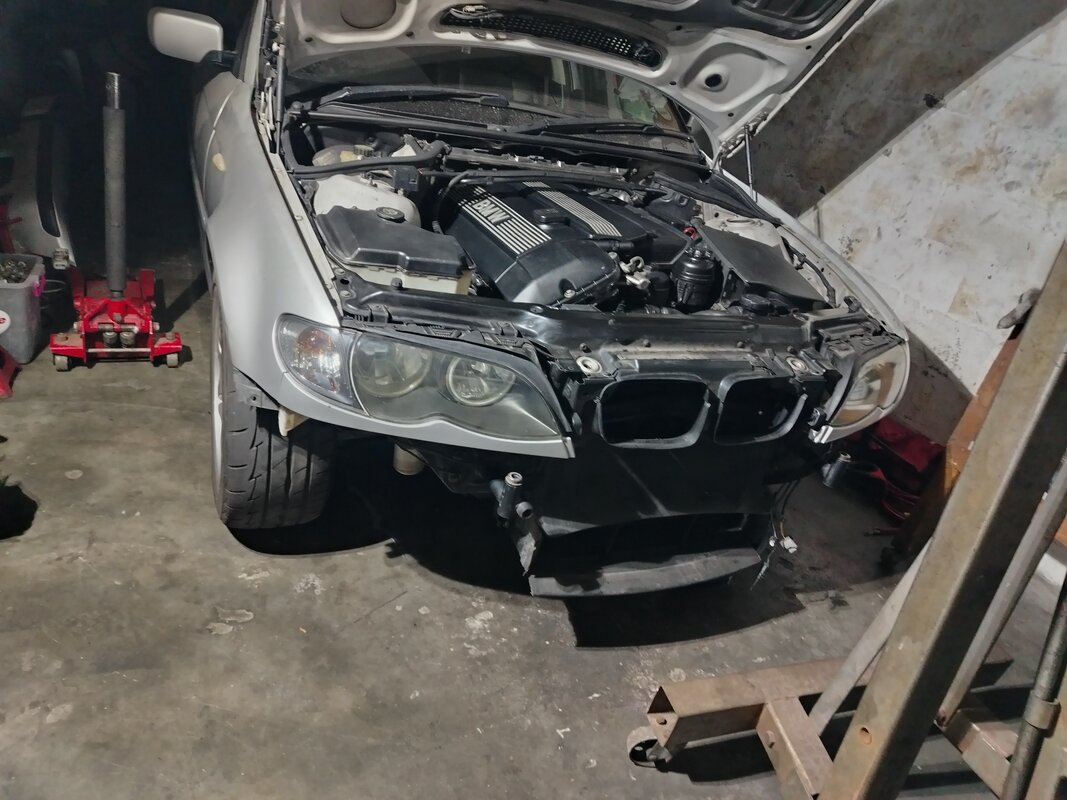
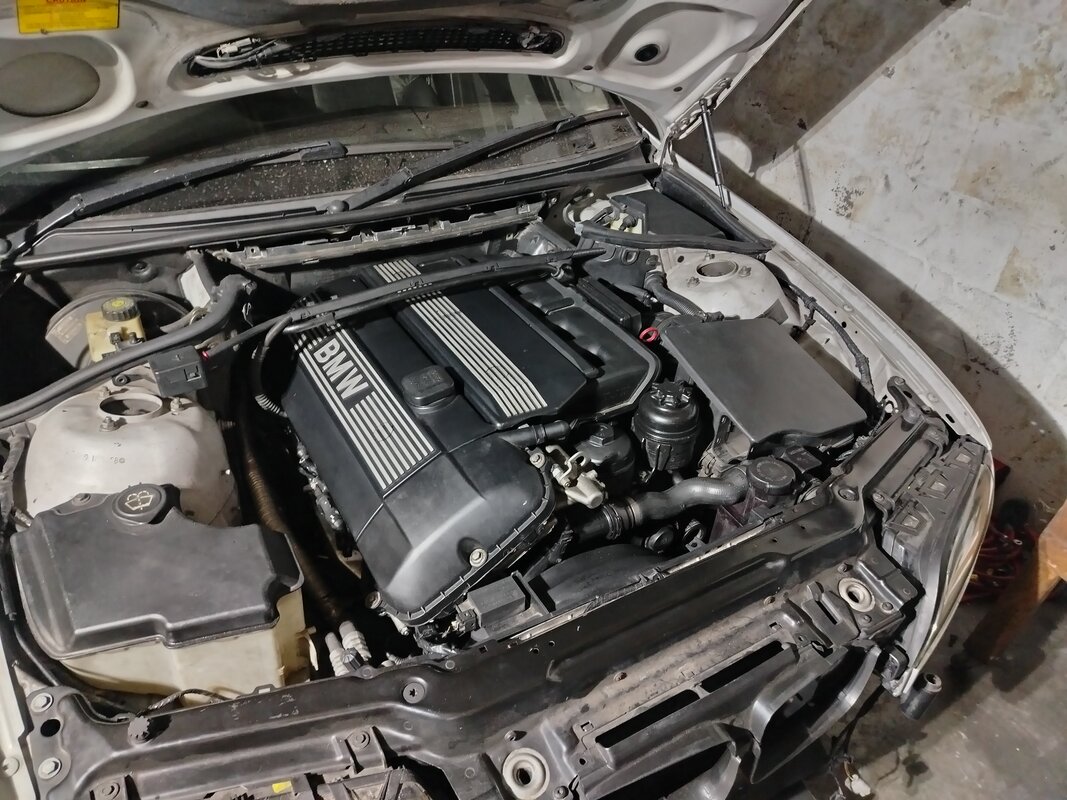
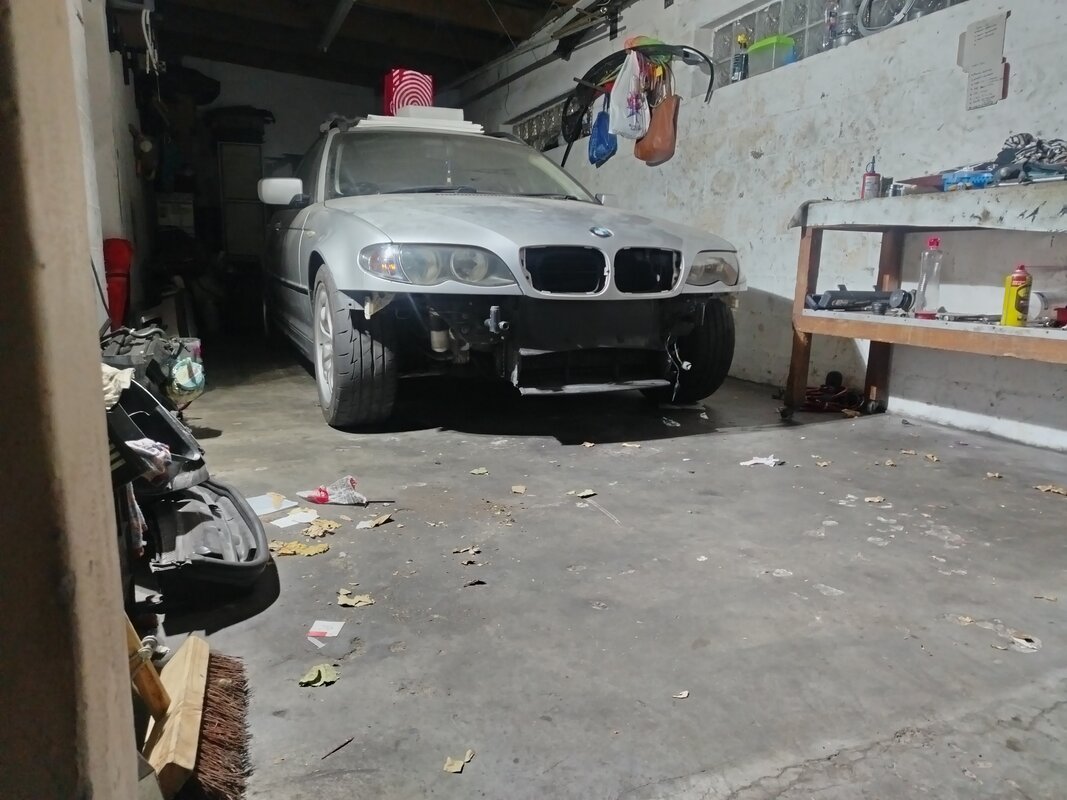
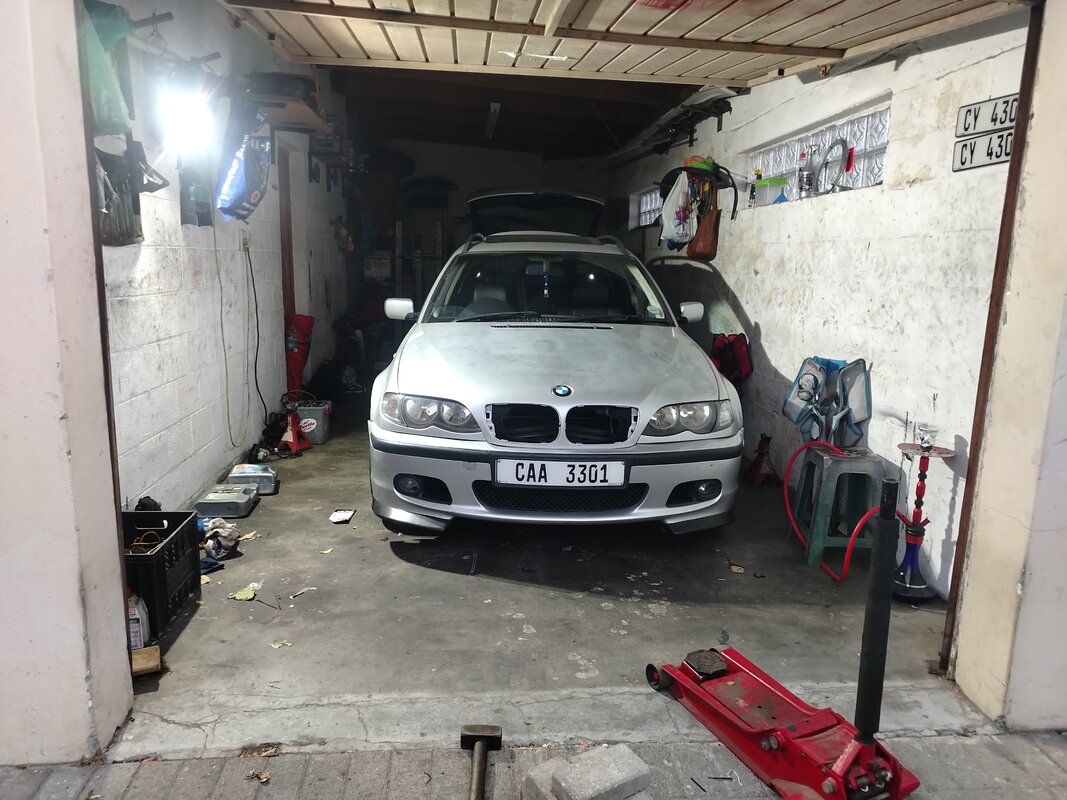
Currently Have about 900Km's on this New, rebuilt engine
Using Motul 5W40 engine oil.
Plans to drain the oil at 1000KM and then inspect oilFilter.
Im just glad there are no errors, and the car started and drove fine from first start.
Further updates to follow

Once head was recieved, Started engine Assembly.
Used LiquiMoly and Redline Assembly Lube on the entire Build
Cames on the Damaged engine was in Perfect condition. No Wear like my old Motors Cams
So i used those cams/buckets/lifters on the rebuild


I did not take images of the Finer Details, as i was too focused on not messing up
SandSAutoWorx brought Timing tool and assisted with putting the timing in.
then on to Installing the engine once all the Accessories and gearbox was mounted


Currently Have about 900Km's on this New, rebuilt engine
Using Motul 5W40 engine oil.
Plans to drain the oil at 1000KM and then inspect oilFilter.
Im just glad there are no errors, and the car started and drove fine from first start.
Further updates to follow
Benji
Well-known member
MONUMENTAL 😎
What an epic update, glad you decided to rebuild the motor, looks like it is ready to do another 275km.
M54 must be butter smooth after all that work
Edit: thank you for your detailed updates, not only is it informative and interesting, it also made me realise my serpentine belt was incorrectly routed 👀 the less said about that, the better, but all fixed now!
Last edited:
Similar threads
- Replies
- 4
- Views
- 1K

