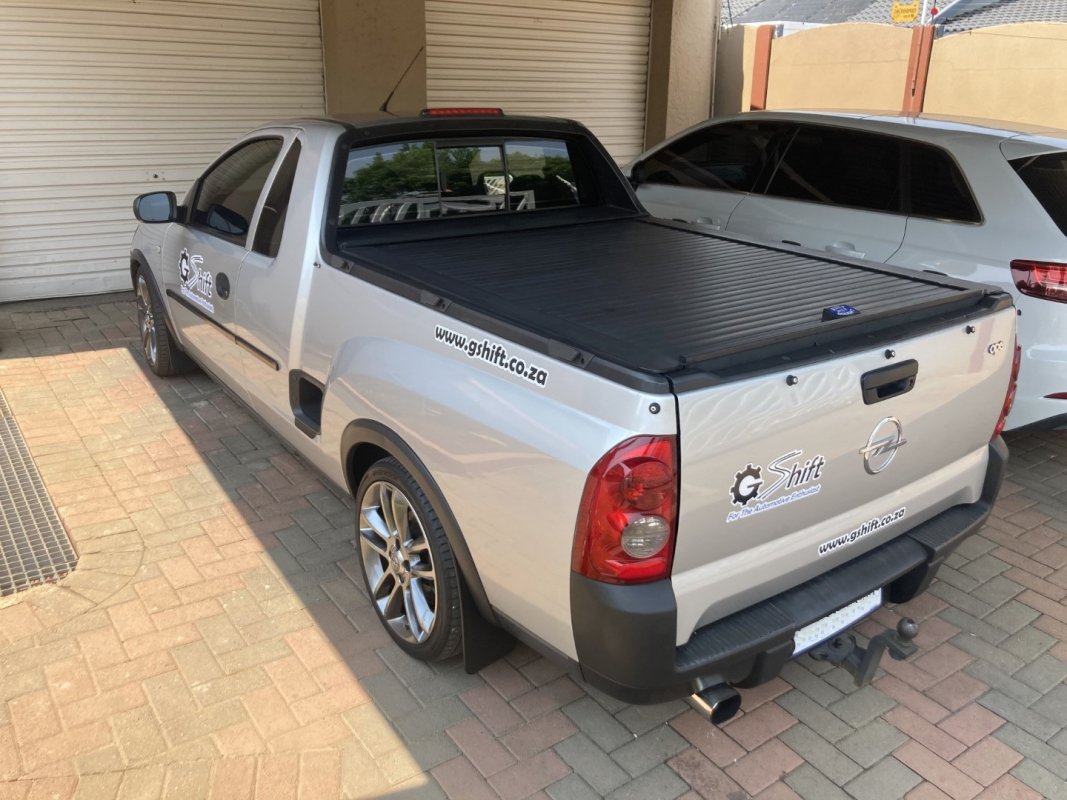
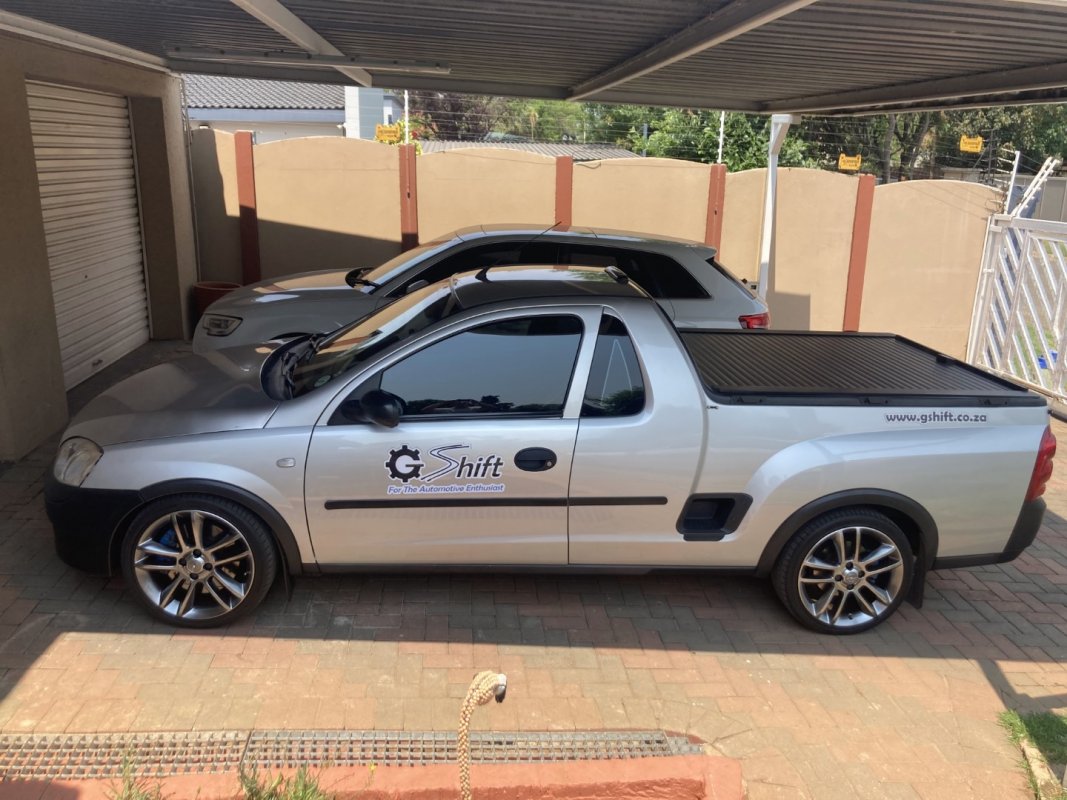
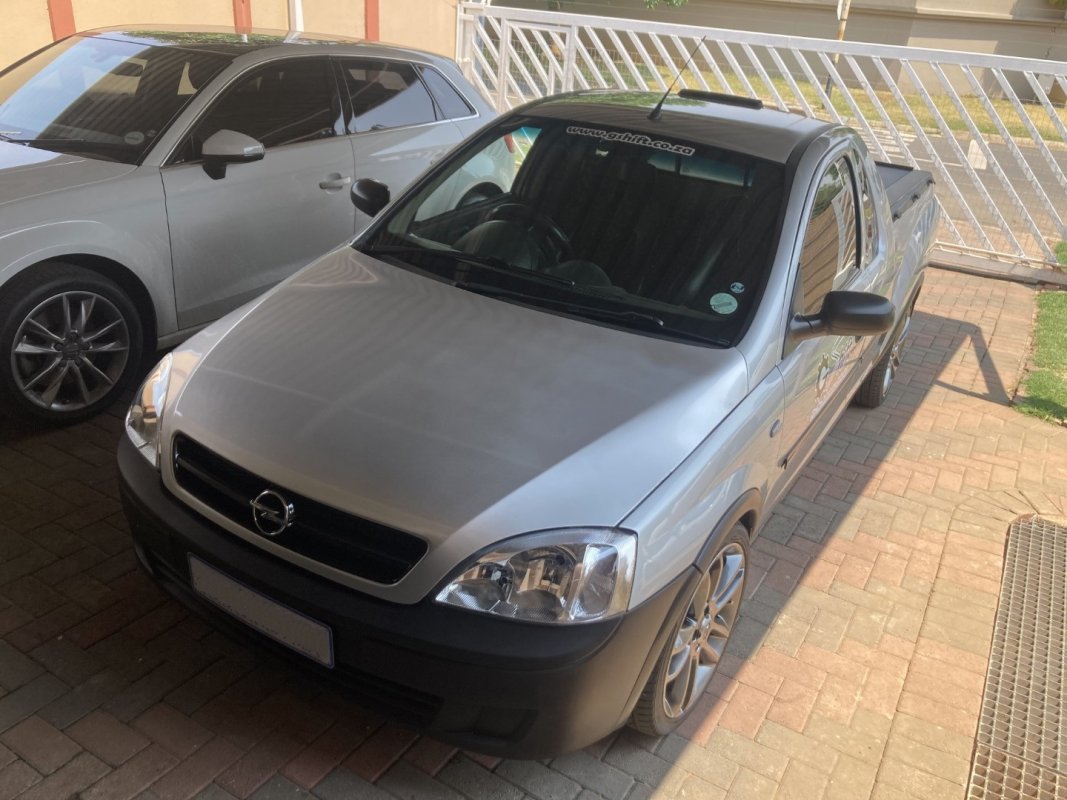
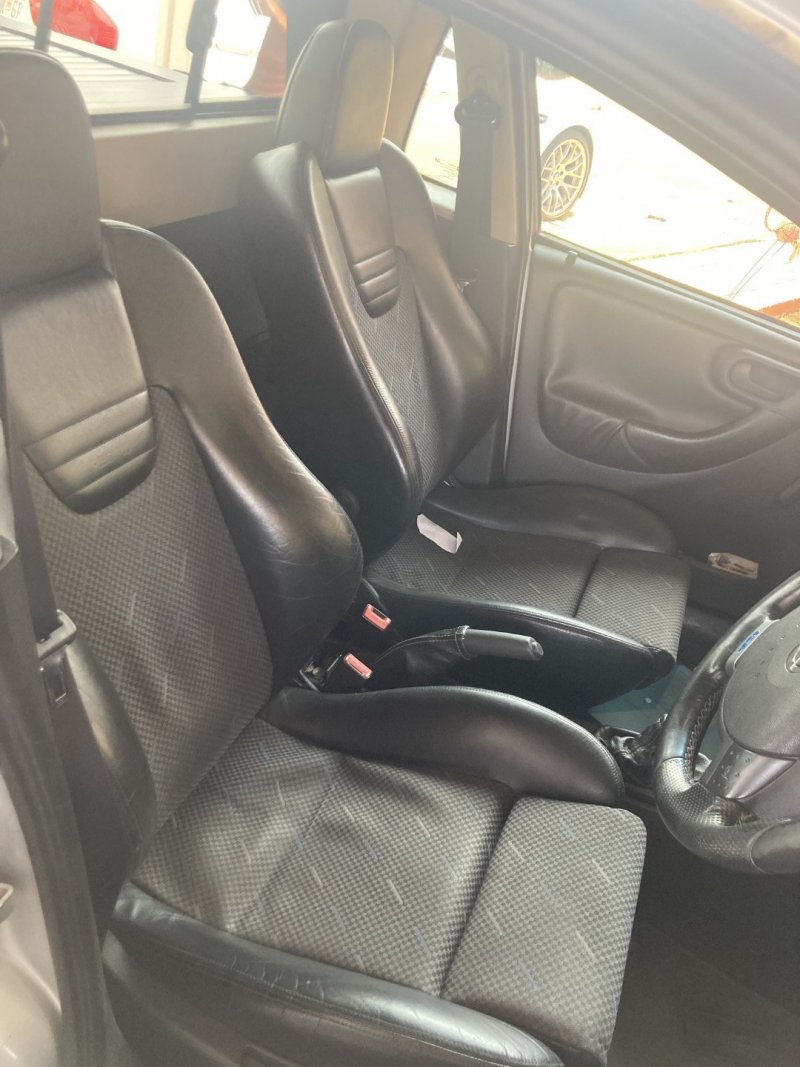
Update: Apr-22 to Oct-22:
This year has been crazy, to say my day job has been demanding the past 6 months would be an understatement. This, coupled with the start of some home renovations from May-July meant that everything else has had to be on auto-pilot: friends, family, car stuff, G Shift, the works. Thankfully some normalisation has returned and I can start to balance things out again.
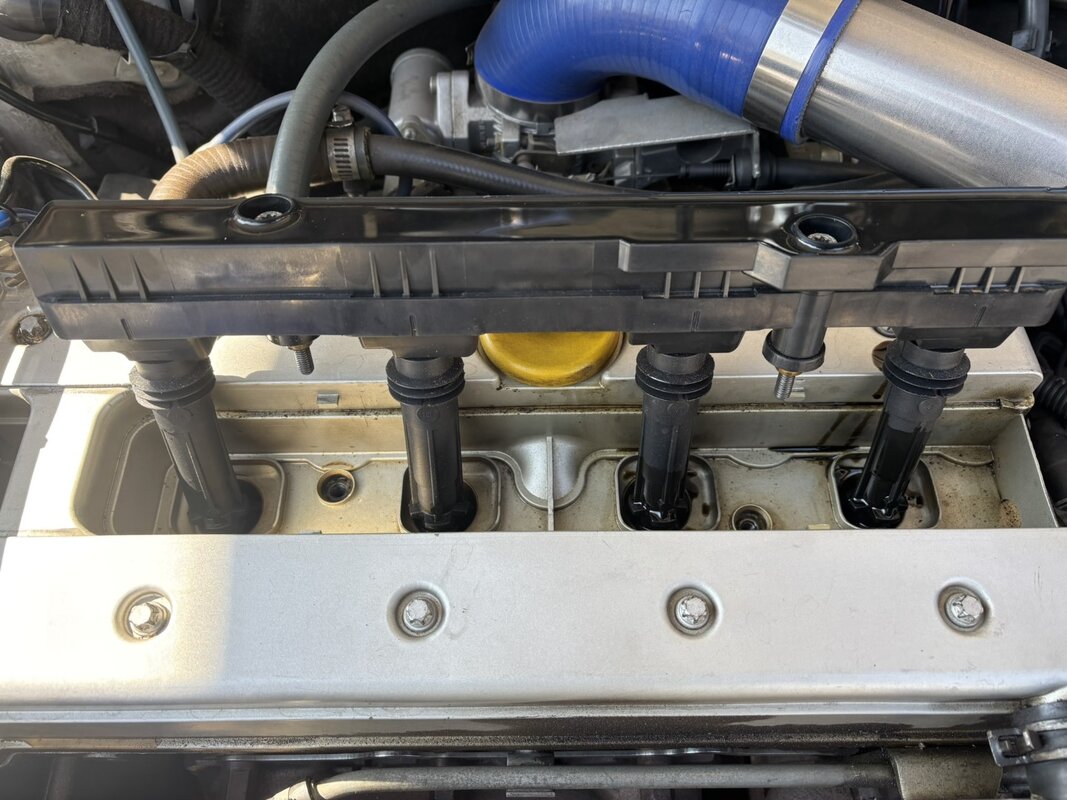
Around the middle of April, I decided to tackle one of the many overdue jobs on the Ute, that being to replace the coil pack plug on the wiring harness. I’ve done this previously. It seems to be a common issue on these, where the rubber insulating piece on the plug itself does not block out all moisture. Over time, the pins in the plug corrode, resulting in poor connection and then subsequent misfire which I was starting to experience. Fast forward a few hours later on a Saturday, and the plug was swapped out, yet the Ute was now idling constantly with a misfire.
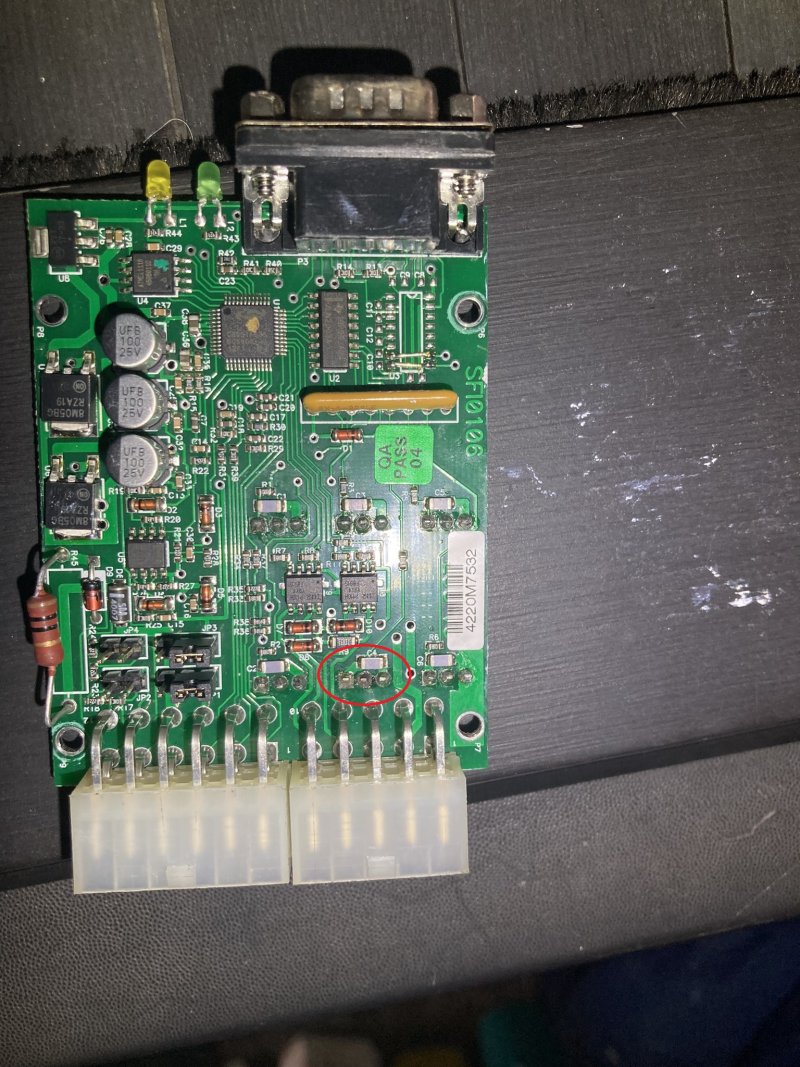
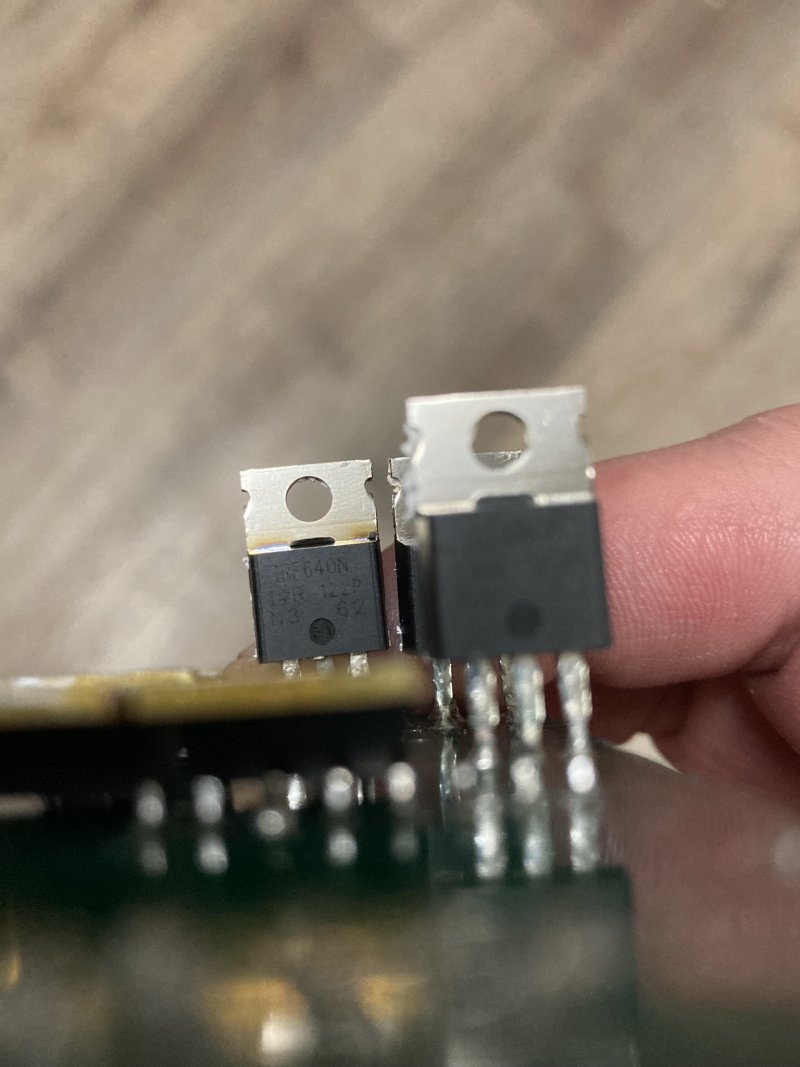
I re-checked all my joins on the new plug, and traced and checked other wires in the harness, fuses and so on – no luck. Eventually, I traced the issue back to an issue on the ECU board itself. I contacted Spitronics and made arrangements to go visit their area agent to check and repair. It turns out that the transistor for ignition to Cyl4 had blown. In the pic below, you will see the suspicious contacts circled in red. And the blown transistor seen from the other side of the board.
About 10mins later the ECU was repaired, at no charge, and I headed back to refit and test. Big thanks to the Spitronics team, their customer service has always been great in my opinion. I refitted the ECU and the Ute started up 1st time and idled smoothly once again. We are not sure what could have caused the transistor to blow, I suspect maybe current jumping between the corroded terminals on the coil pack plug or something.
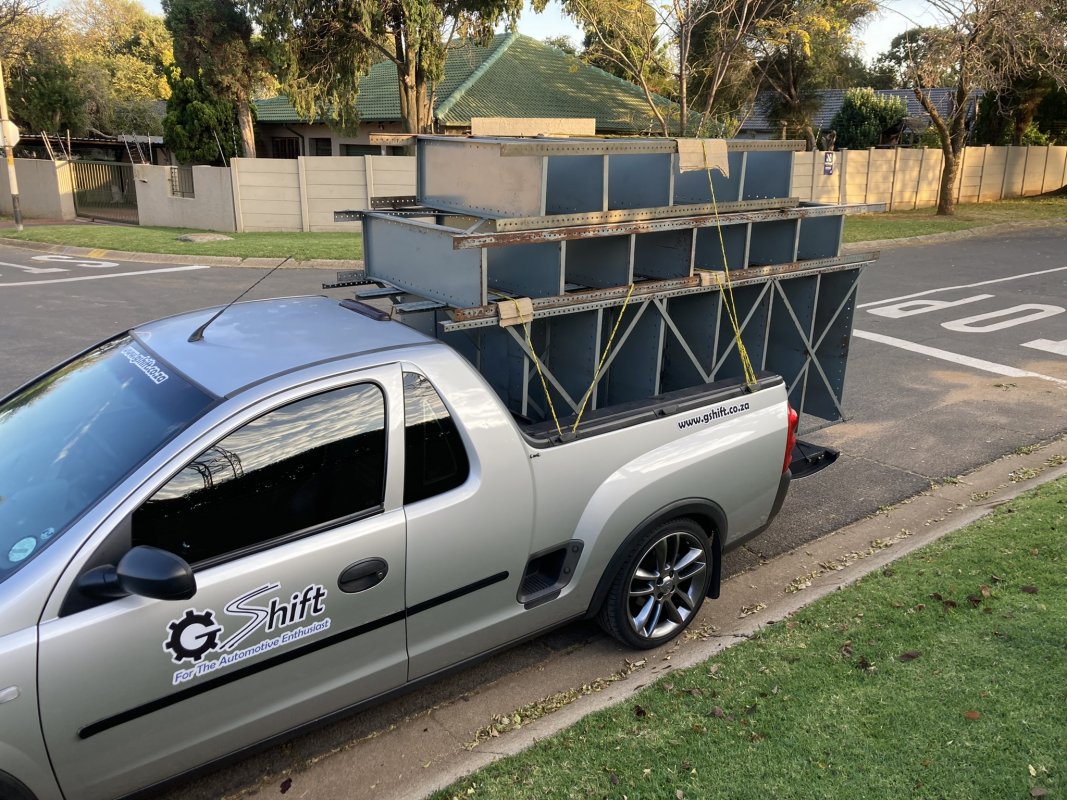
With the Ute back to driving duty, it was about to become a long and hard few months of work ahead. Starting off with clearing out a lot of stuff from my Parent’s house which had been sold. I moved everything from furniture, to boxes, to appliances, to bricks, and of course some shelving. Some pics below of workhorse duties taking place.
This was approx. 250 bricks on the back, and some scaffolding and other bits and pieces:
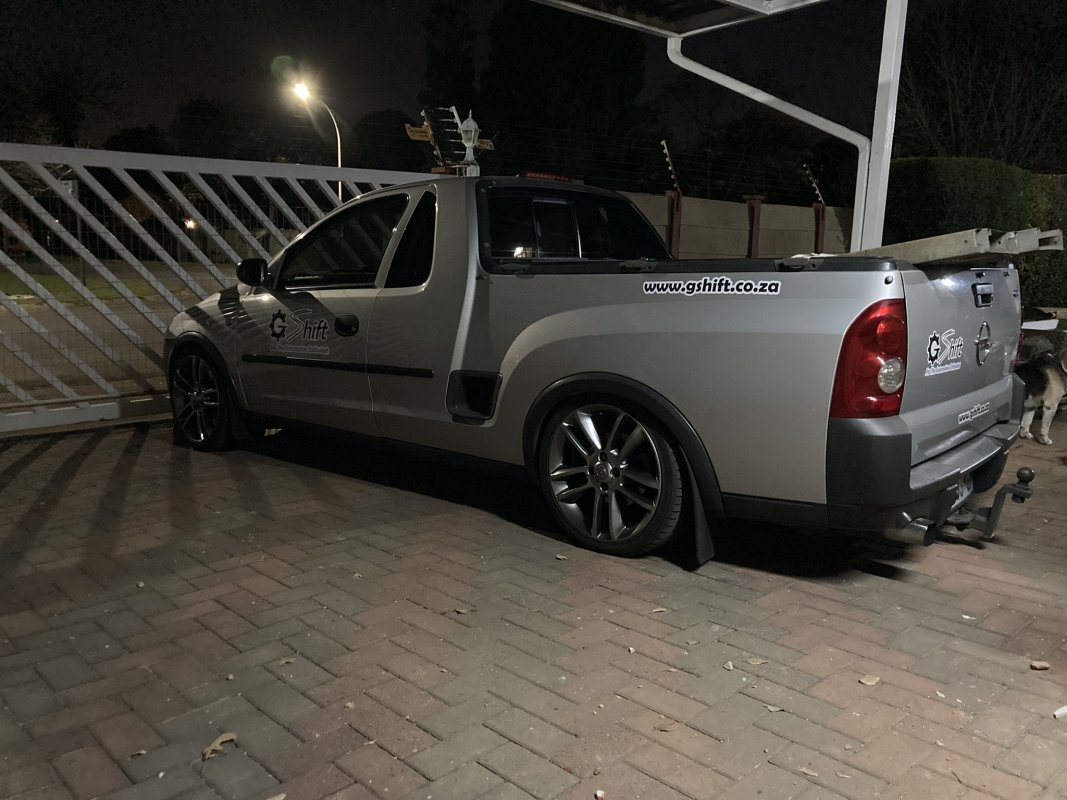
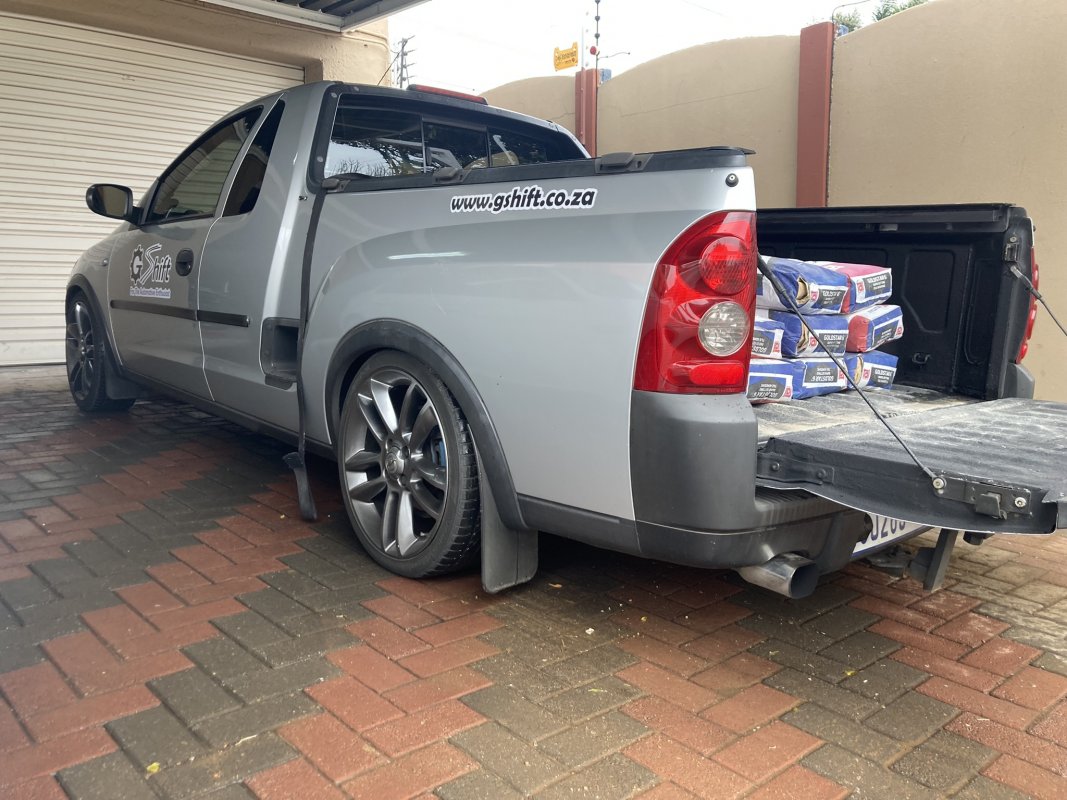
As the move from that house was winding up, we began with some renovations at our home. Once again the Ute became a runner up and down to Builder’s Warehouse countless times to get things which were overlooked / not supplied by the contractors. This included a few loads of tile adhesive:
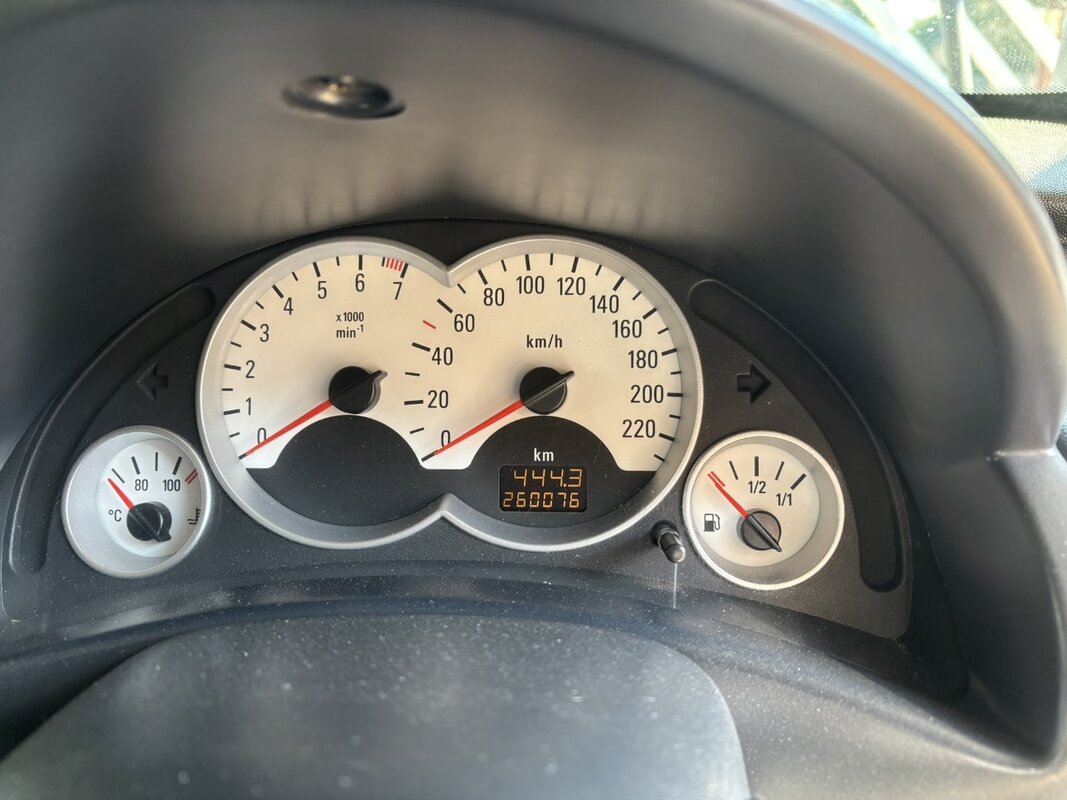
With the Ute working hard daily, the smoking issue became more apparent as the days went by. I have suspected that the valve stem seal(s) were getting a bit tired (200000kms+ on the motor), so one week when things were a bit quiet, I decided to tackle the job. In the months and weeks prior I had gathered all the parts together, so it was just a matter of finding enough time to do it properly and not rush.
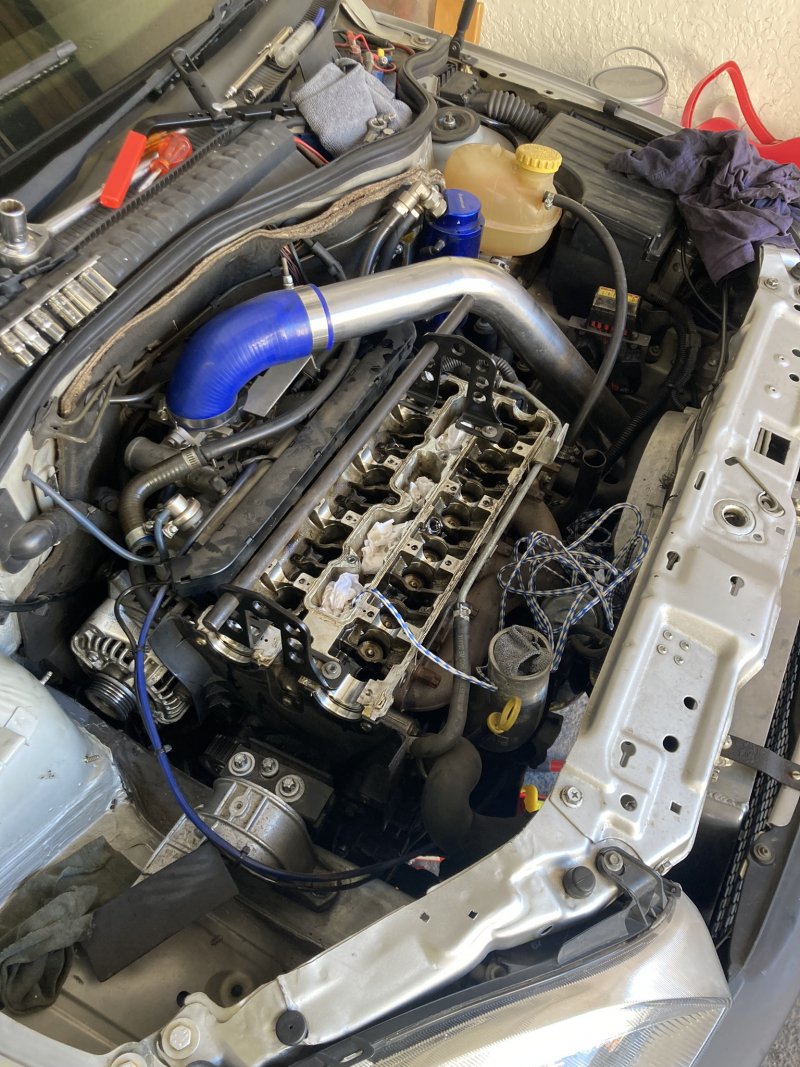
The Ute went up onto trestles, and bits and pieces were removed to slowly but surely expose the inner workings of the head. There are various tools and techniques to do this job, but I was intrigued at trying a method which involved pushing nylon rope down the plug hole, and then turning the motor slowly by hand so that the piston would press the rope up against the valves. This would prevent the valves from dropping down once the retainers and springs were removed. (Another method is to fill the cylinder with compressed air). My brother-in-law came through one day to assist, and we worked through each valve, one at a time, first with the exhaust valves, and then followed by the inlet valves. I have the necessary tools to remove the retainers and springs from the top, but at the end of the day, we also had to improvise a little bit when it came to putting everything back together. There were some tense moments trying to get the cotters to seat correctly in the valves. Some pics below:
Rocker cover removed, camshafts removed, cam followers removed:
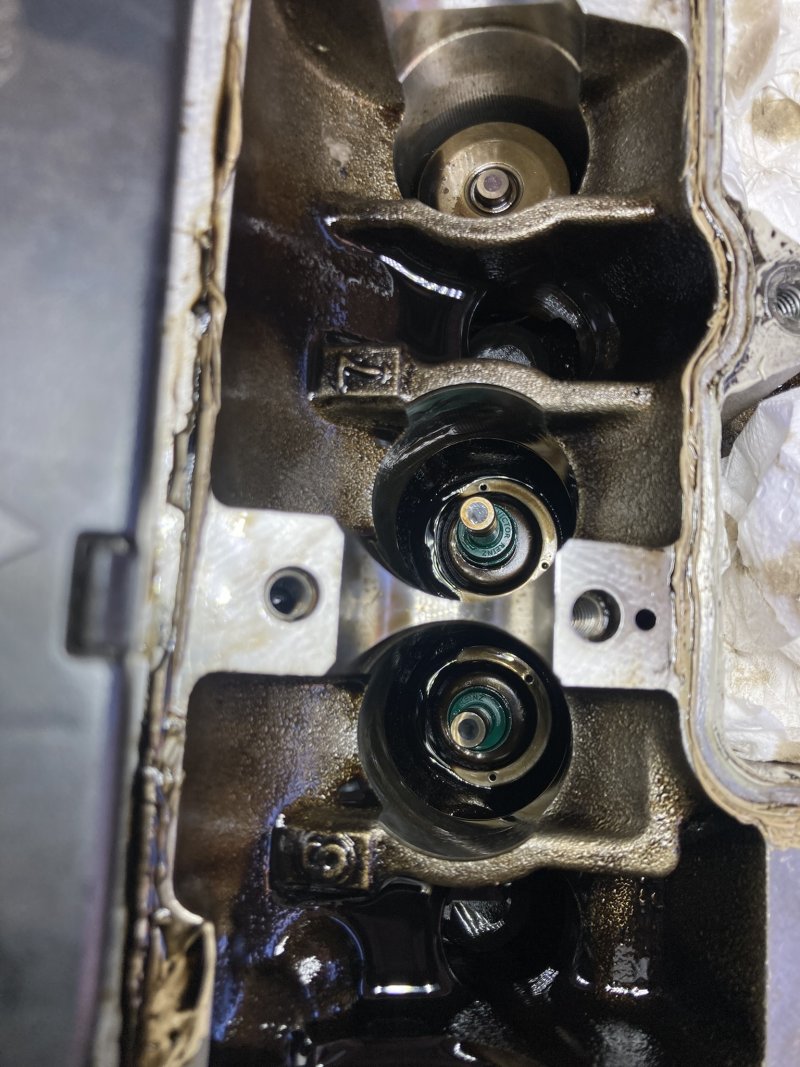
Valve Retainer and Spring removed (valve stem seals are the green bits in the pic):
Starting with reassembly, valve stem seals all replaced, springs and retainers refitted, cam followers installed on exhaust side:
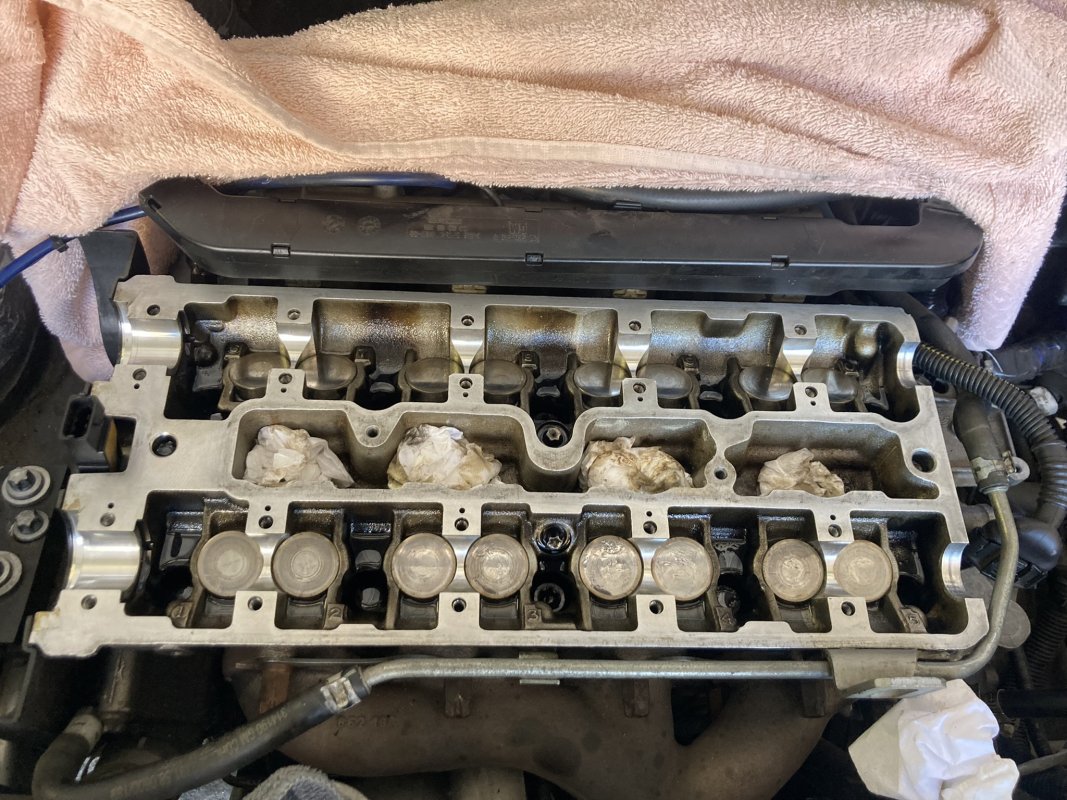
Exhaust cam placed in position with new seal:
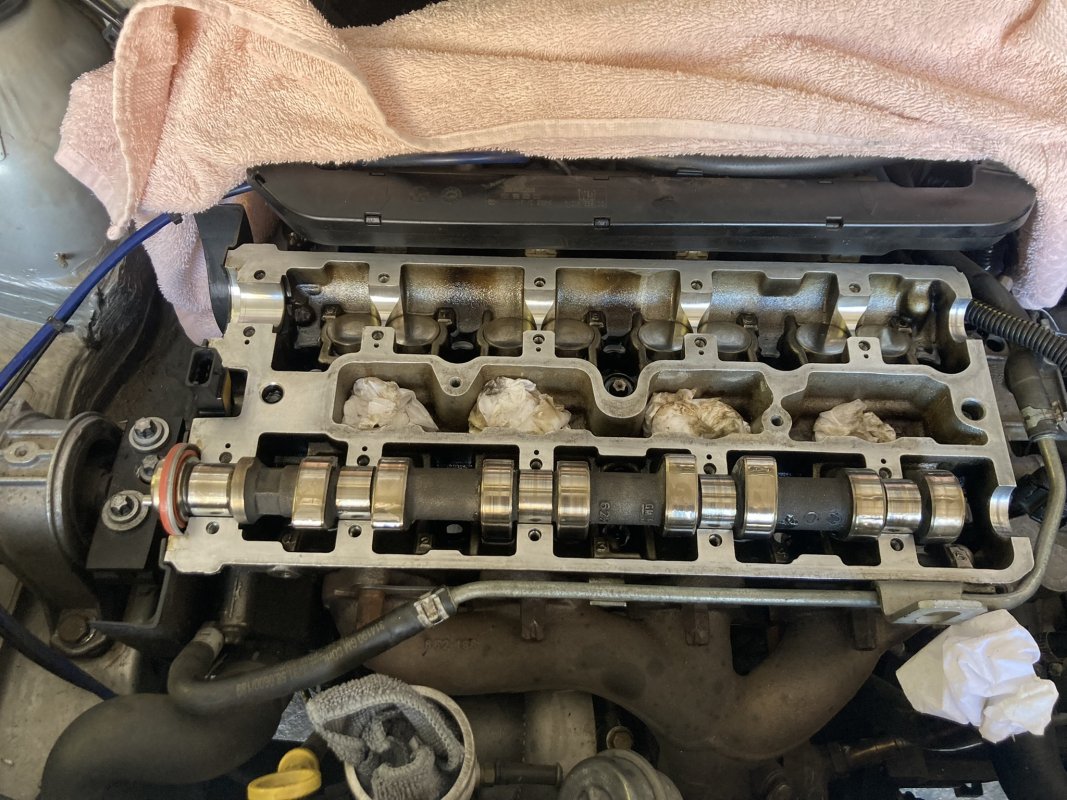
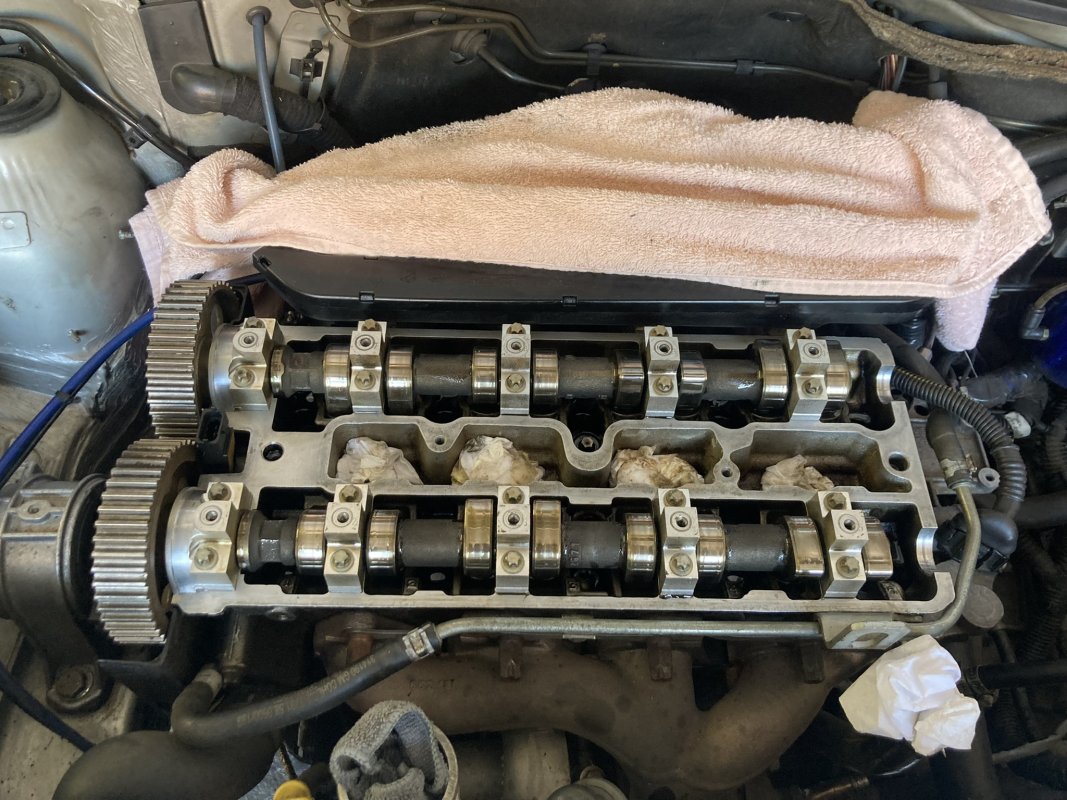
Intake and Exhaust Cams installed:
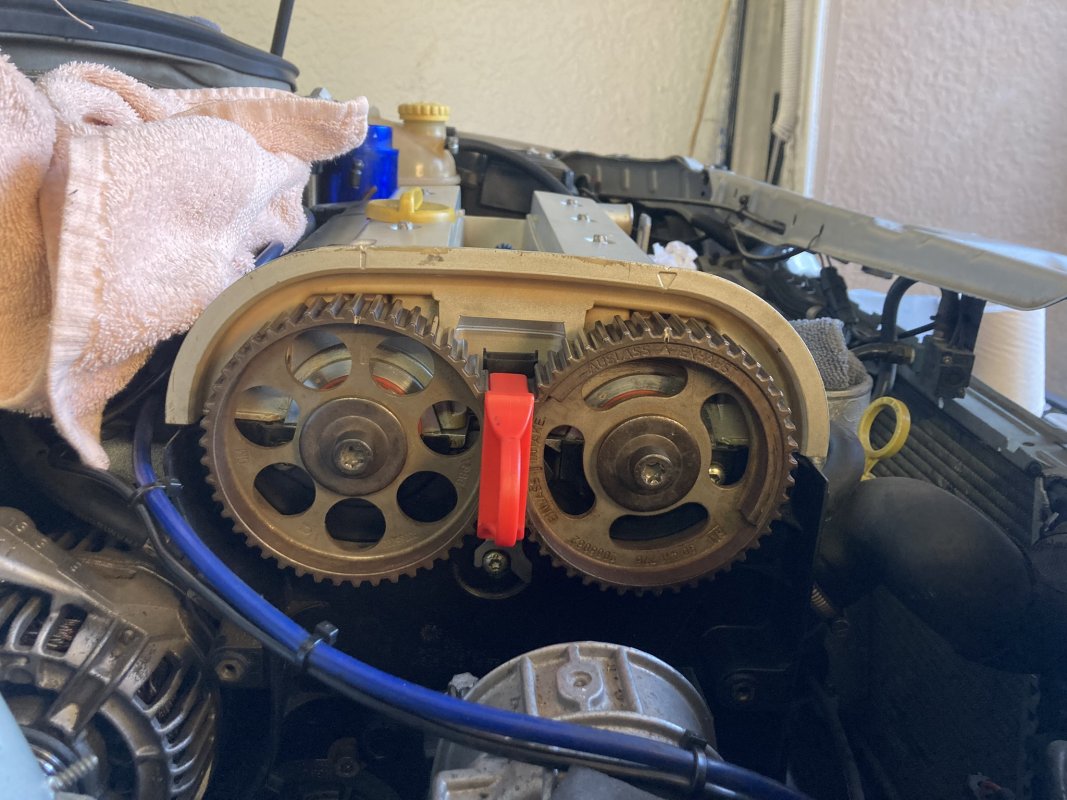
Timing marks lined up:
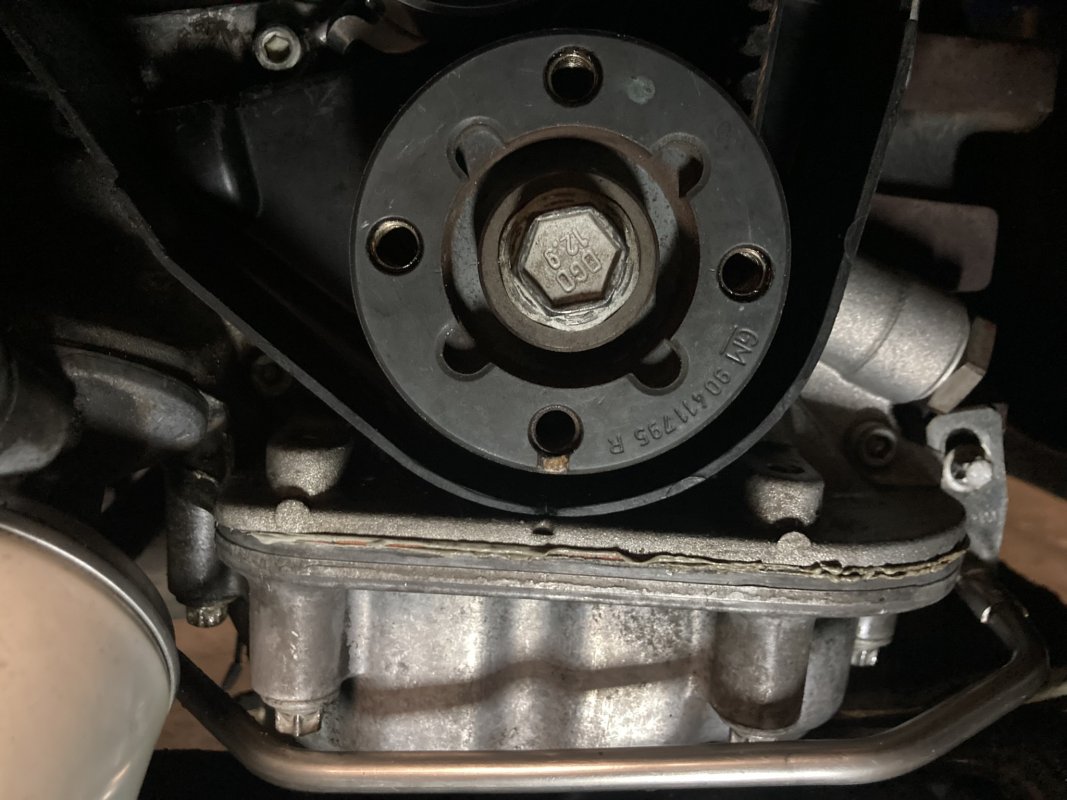
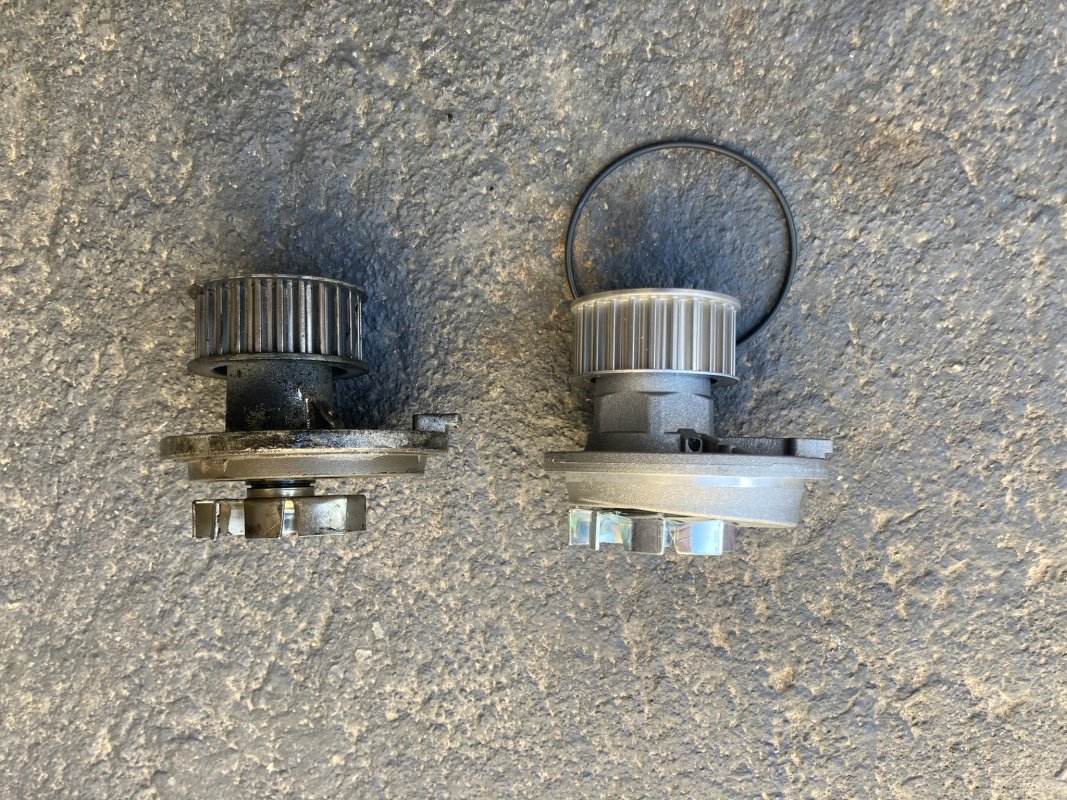
New water pump installed:
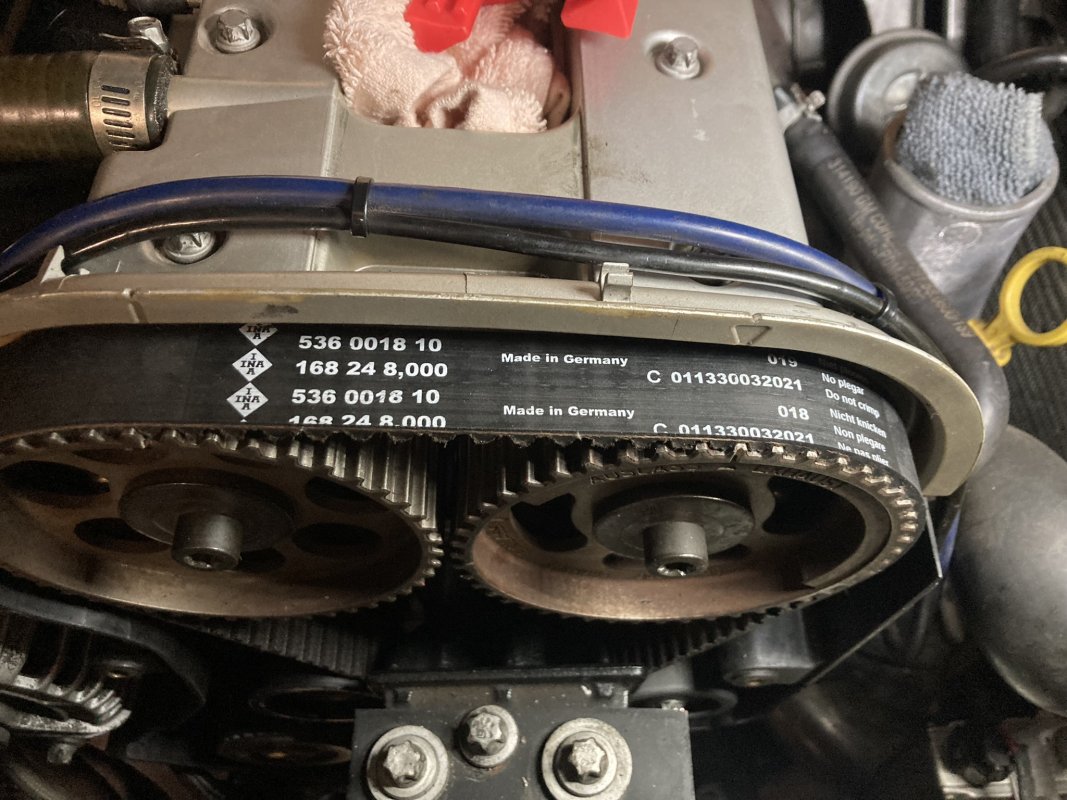
New cambelt installed (incl. all idler pulleys and tensioner):
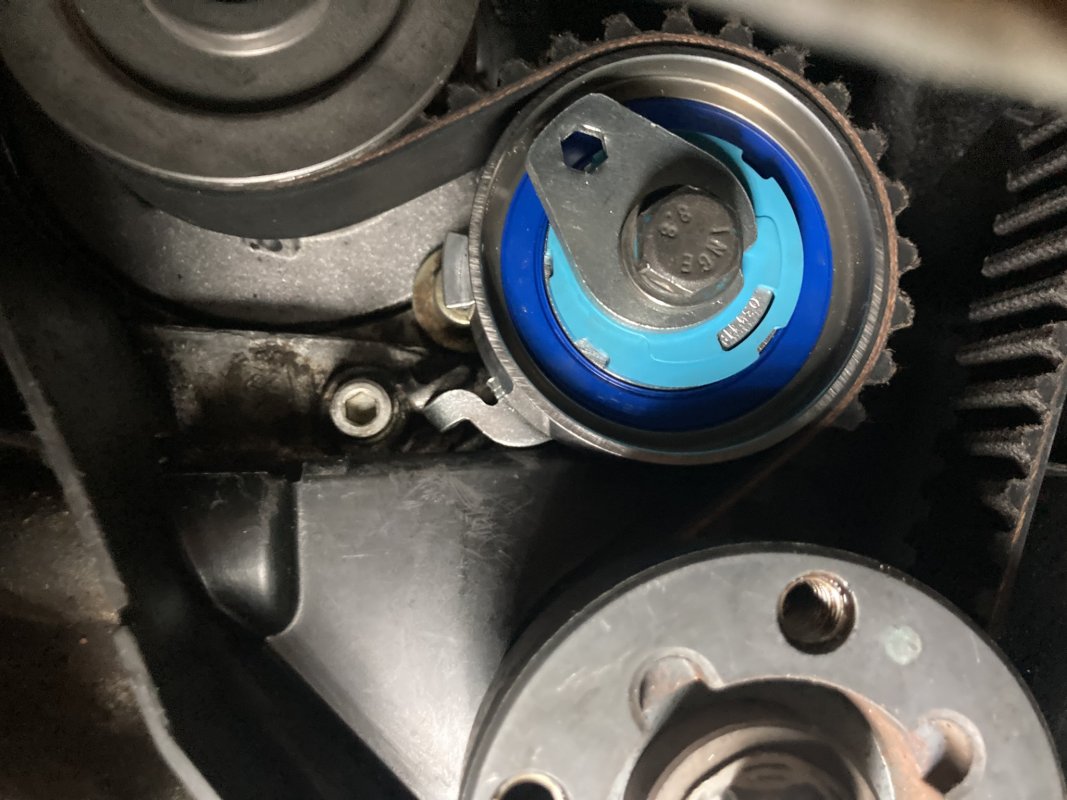
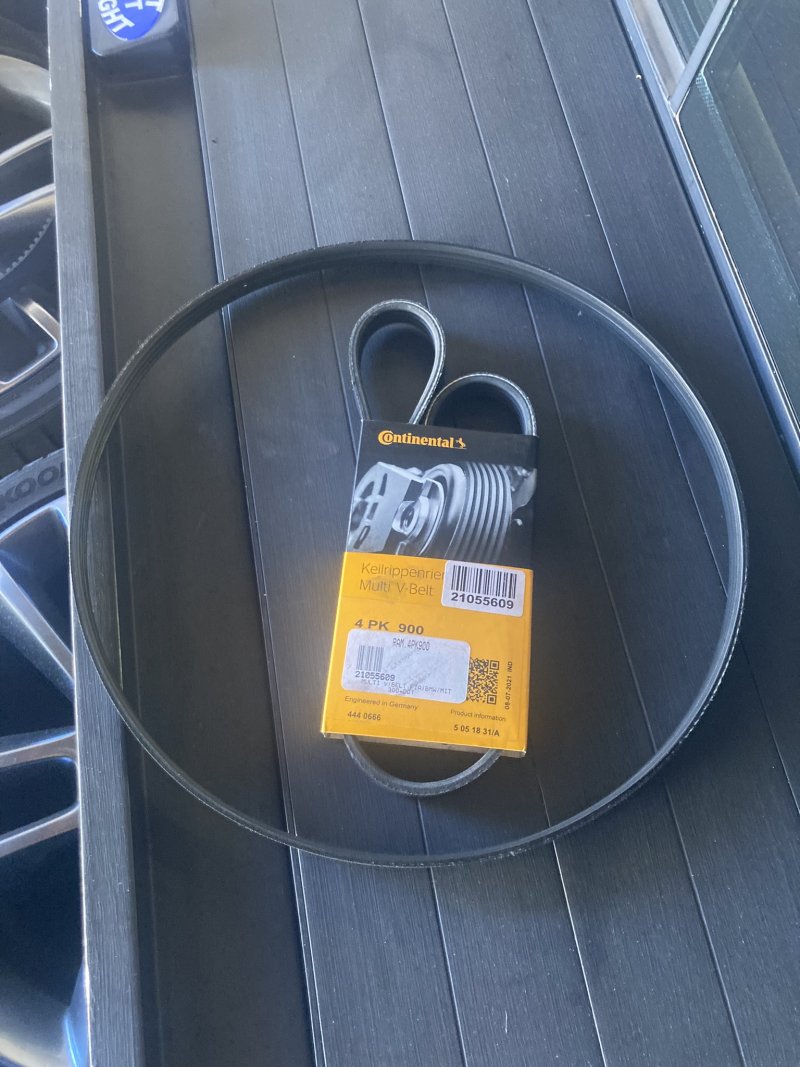
New alternator belt installed:
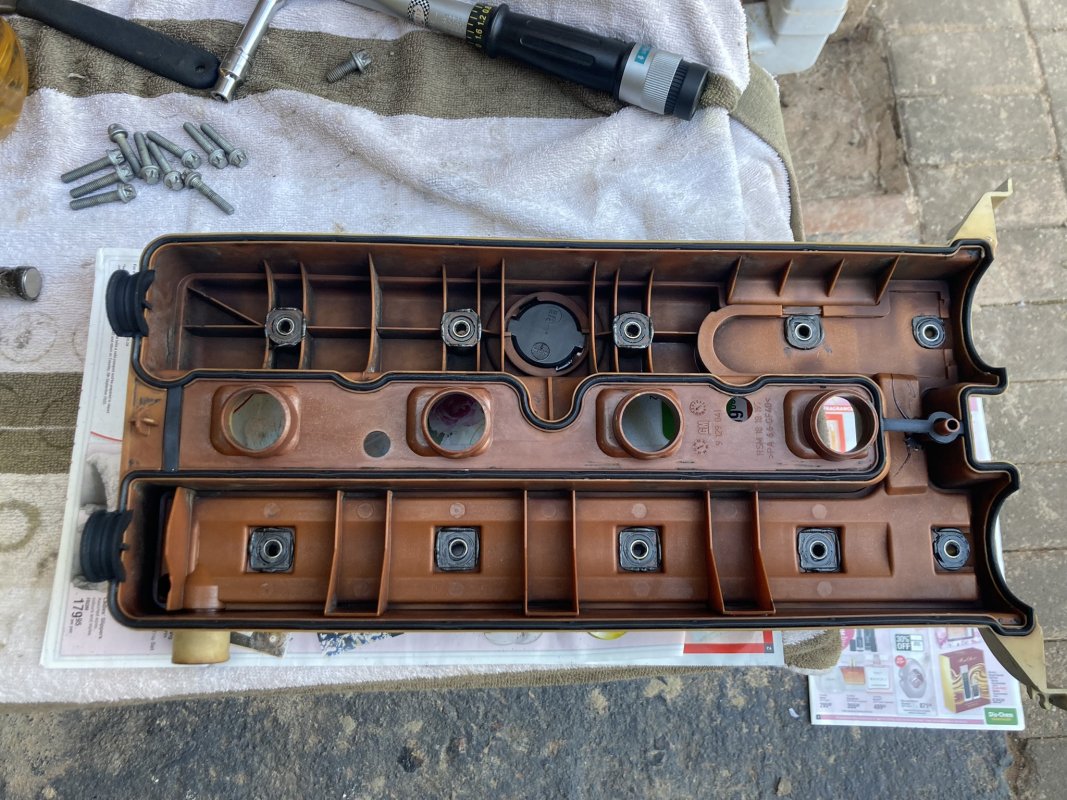
Rocker Cover cleaned up with new gasket:
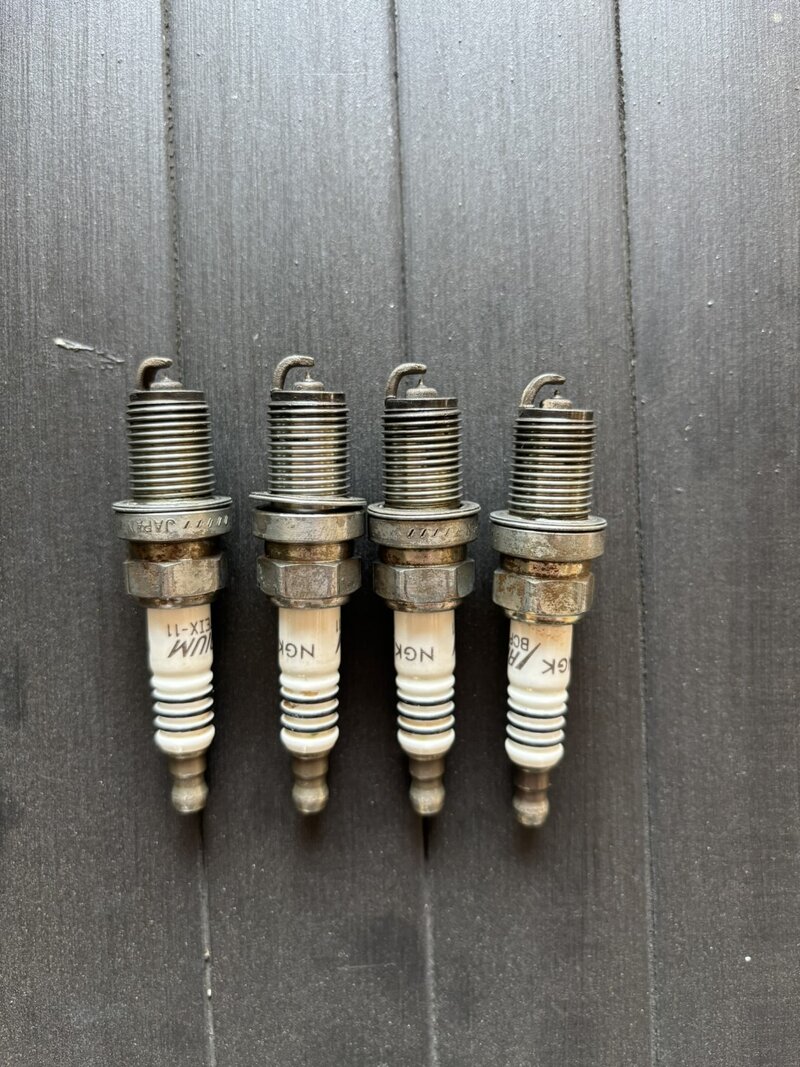
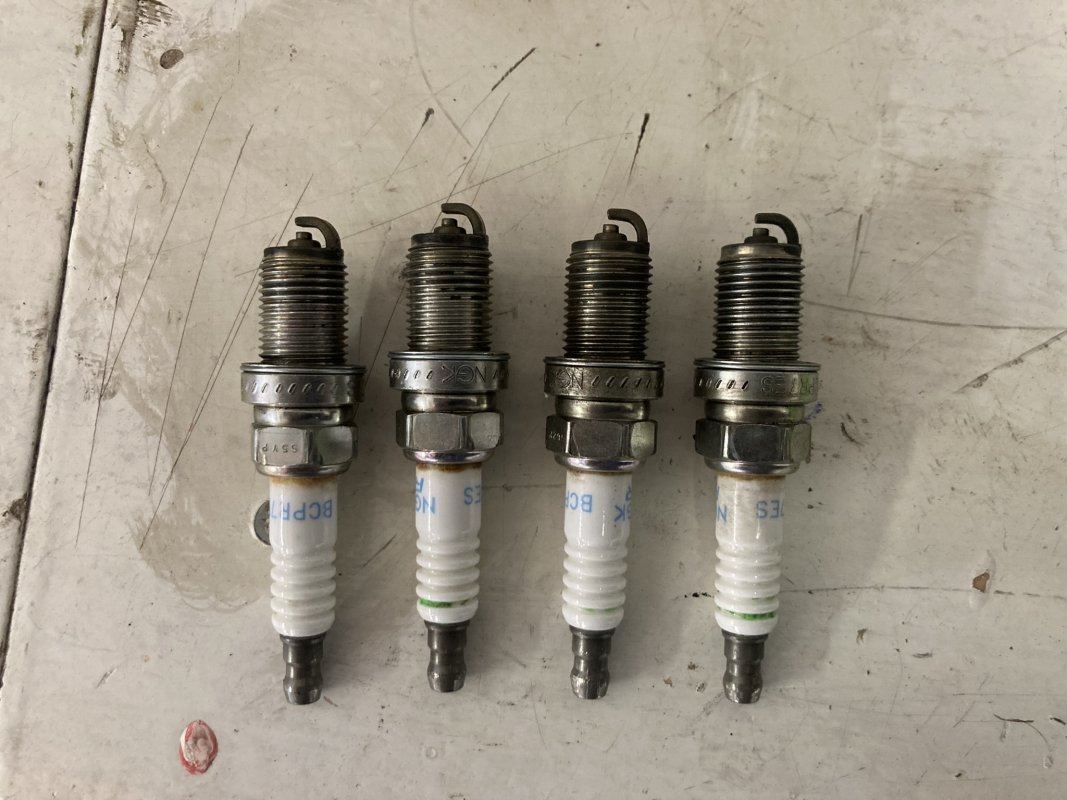
Spark plugs still burning nicely, will be reinstalled:
Closed up and ready to rock and roll again:
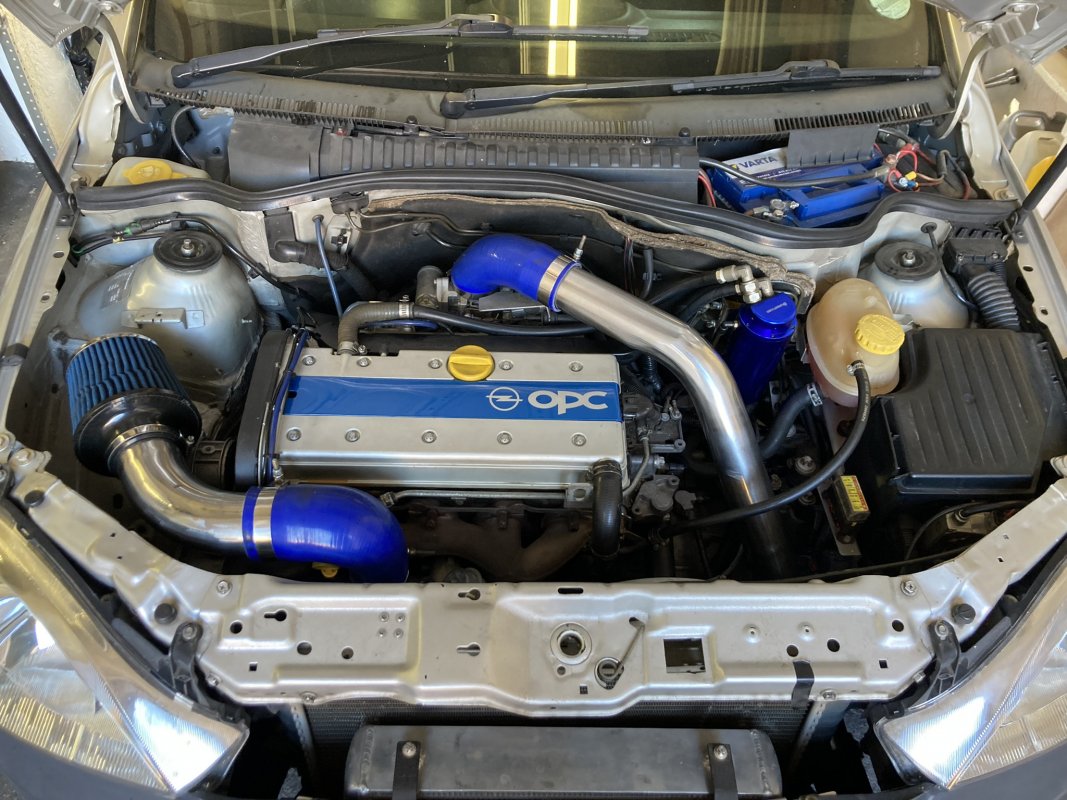
I must say, the first few turns by hand, as well as the first start are always a bit of a nervous time, but thankfully all was well. There was some smoke the first 10-15mins though, but this was probably greasy hands touching the surfaces which get hot and so on.
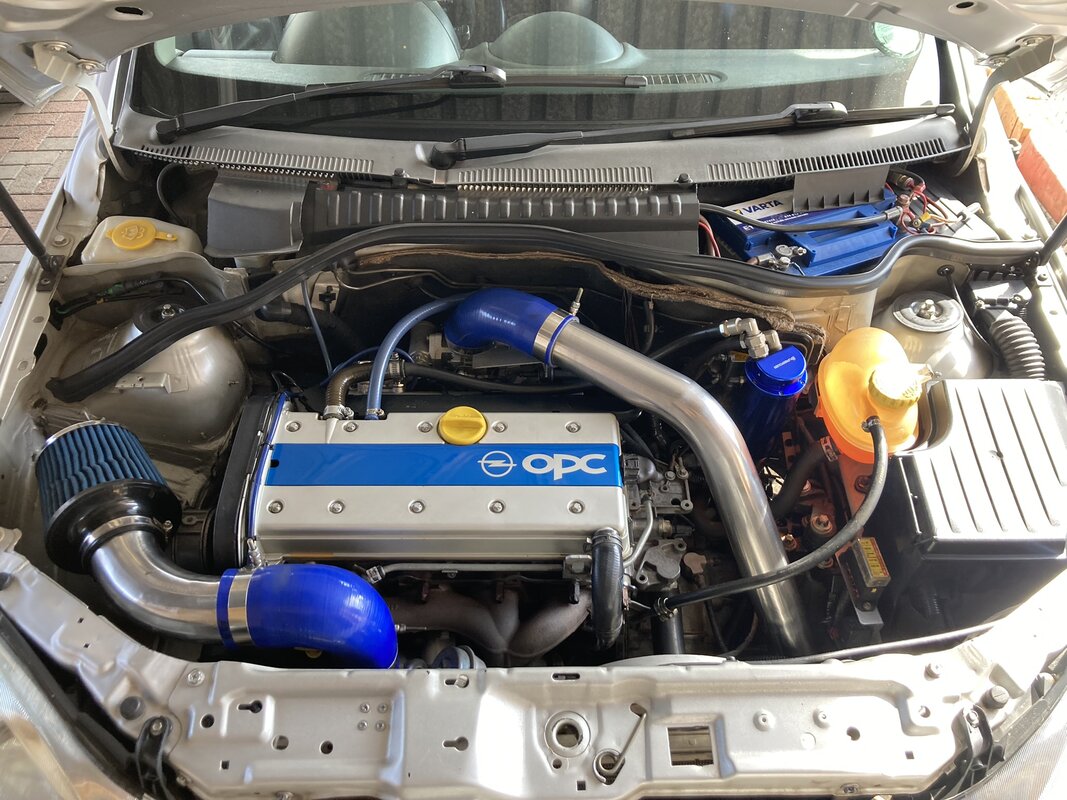
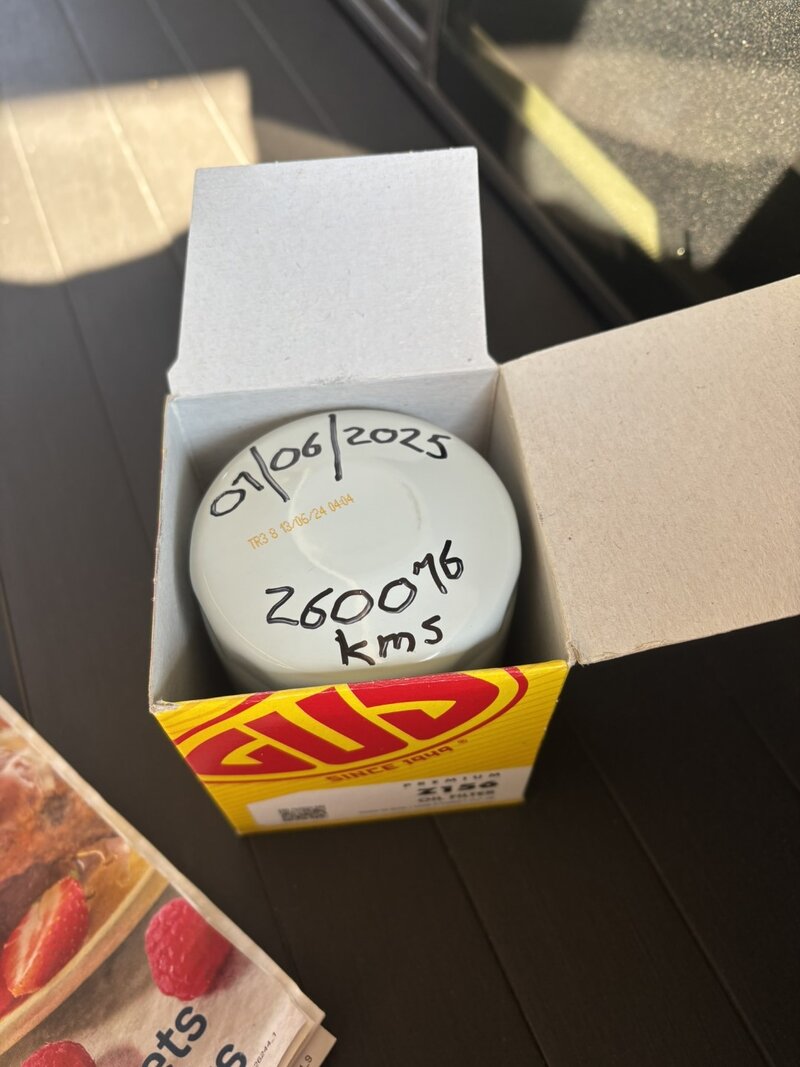
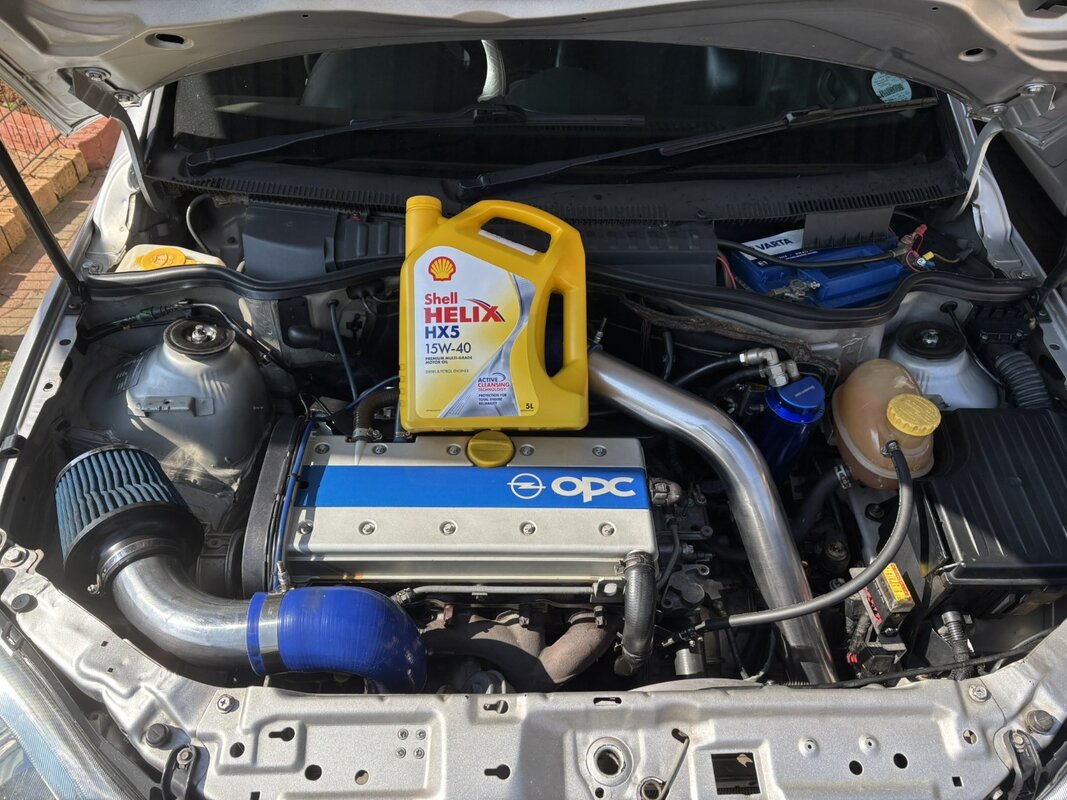
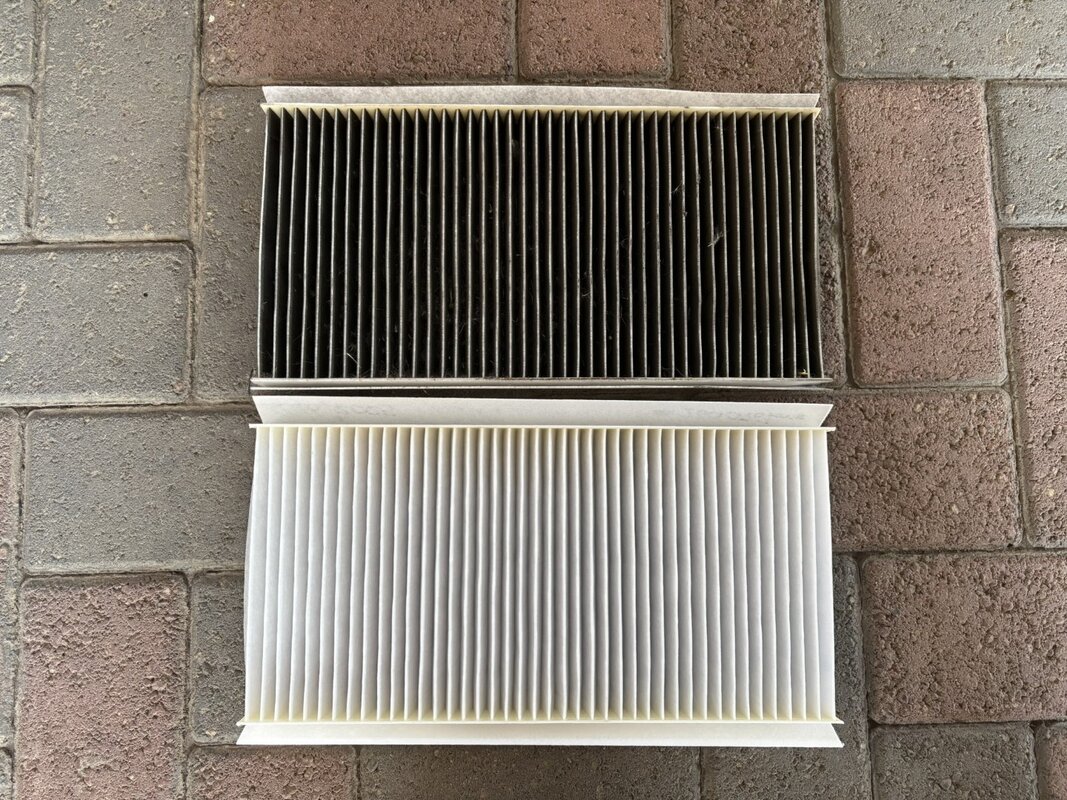
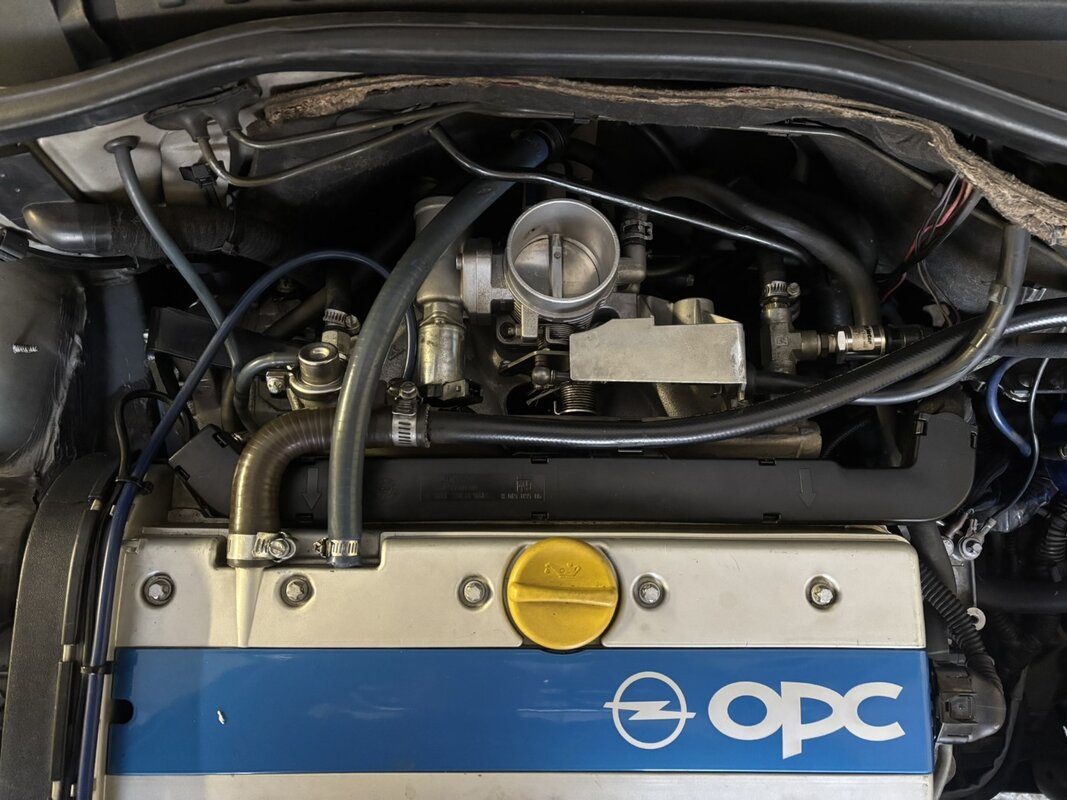
I also ended up rerouting my breather system (more aligned to OEM design now). After the first start was successful, I proceeded with an oil change and cleaned the air filter as well. The Ute was now ready to hit the road again.
June and July also came and went in a blur, but it actually marks 10 years since I carried out the conversion. I’ll have to check records, but its approx. 100000kms that I’ve done with the Ute in this state. It’s been a brilliant brilliant vehicle, definitely one of those “forever cars”. It’s still a daily (for when I actually end up driving these days), it can carry loads with little fuss, it’s comfortable, fast enough to annoy some more modern machinery on the roads and above all else, it’s fun. I look forward to many more years and adventures in my Ute.
Also, I’d like to note a quick shout out to all of those involved in my Ute build, maintenance and adventures over the years, with special mention: my wife and kids, my parents, my brother, Neil, Danny, Ross, Allen and Jabu.
In more recent weeks I’ve fiddled a bit with different car wash and detailing products on the Ute, but will post separate threads on that in due course. That’s all for now, thanks for reading.

