-
Read the WELCOME ALL BMWFANATICS post.
You are using an out of date browser. It may not display this or other websites correctly.
You should upgrade or use an alternative browser.
You should upgrade or use an alternative browser.
Gavsadler's 2011 E90 M3 Sedan M-DCT
- Thread starter gavsadler
- Start date
gavsadler
///Member
Update Nov-21 to Feb-22:
Life has been happening, a lot. As such, I've not spent much time on the forum, or on the cars for that matter. Nevertheless, I'm going to bring all my threads up to date.
Following on from my last flurry of online shopping middle of last year, and to settle some small pet hates and my love of OEM(+) cars, I decided to tackle the next installment of bringing the car to my taste.
The vents in the front fenders, and more specifically, the OEM chrome indicator housings, were not really my cup of tea. In general, I'm not a fan of chrome on cars, so pretty much ever since I got this car, I was checking out options to change. Middle of last year, I bit the bullet and decided to rather keep my stock parts, but also replace with OEM parts, customised by one of the most prominent names in the business stateside: IND Distribution.
After spending a ridiculous amount of $$$ with IND, the first parts to be fitted are new gloss black side markers, as well as lightly tinted indicator lenses. These are all OEM parts which are then painted / tinted as required. I will say upfront that the service from IND has been outstanding, communication is good, and even when there was an error in my order (discussed later), they resolved it speedily. Everything was also packaged extremely well, and I'd be willing to bet that their shipment would survive a trip through our local post office and international mailing centre, haha.
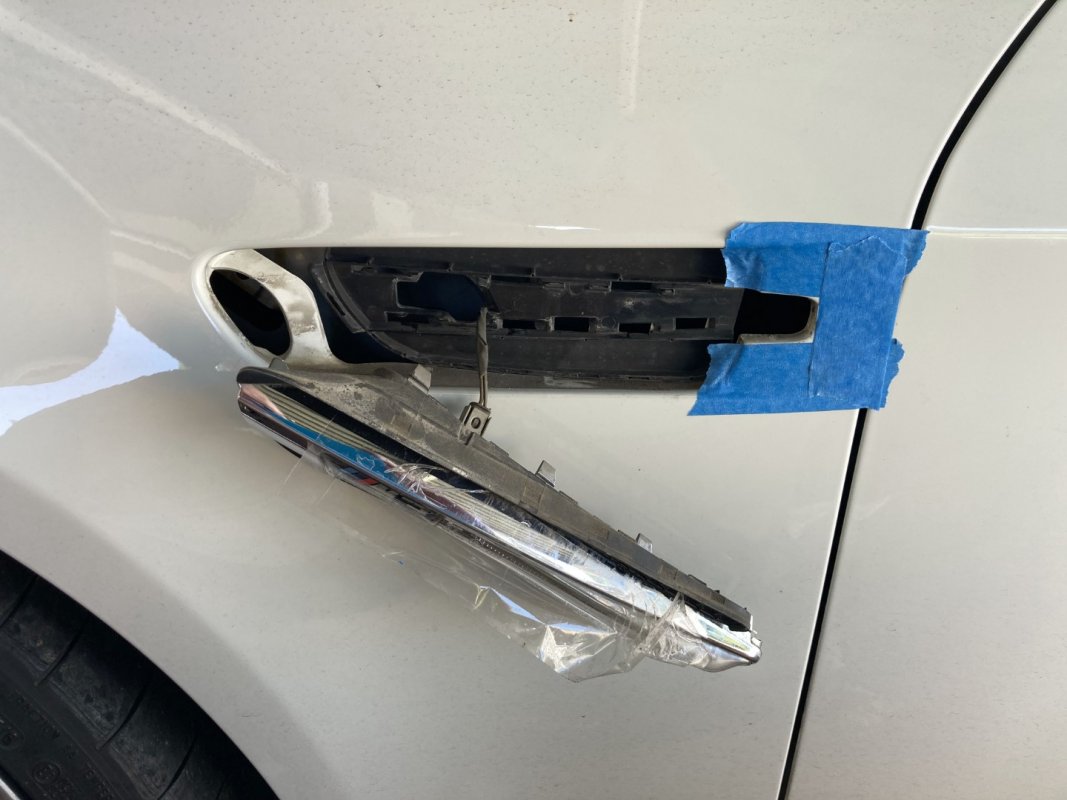
Moving onto the job at hand, some before pics of the stock parts:
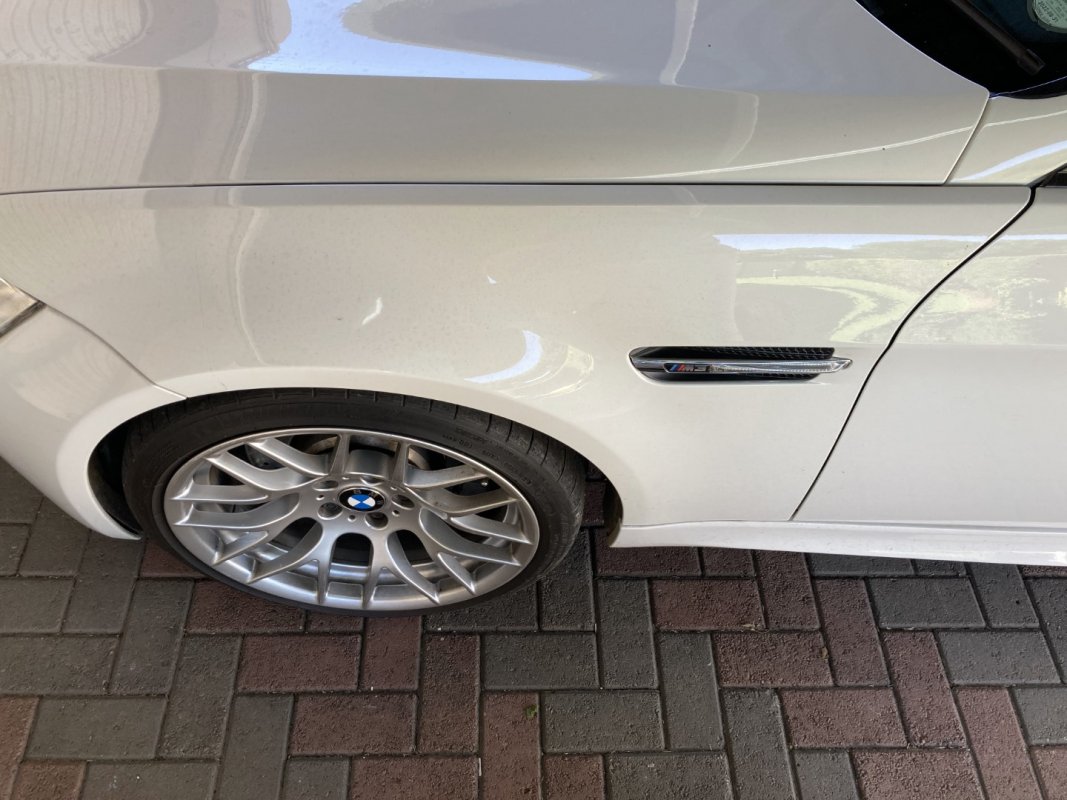
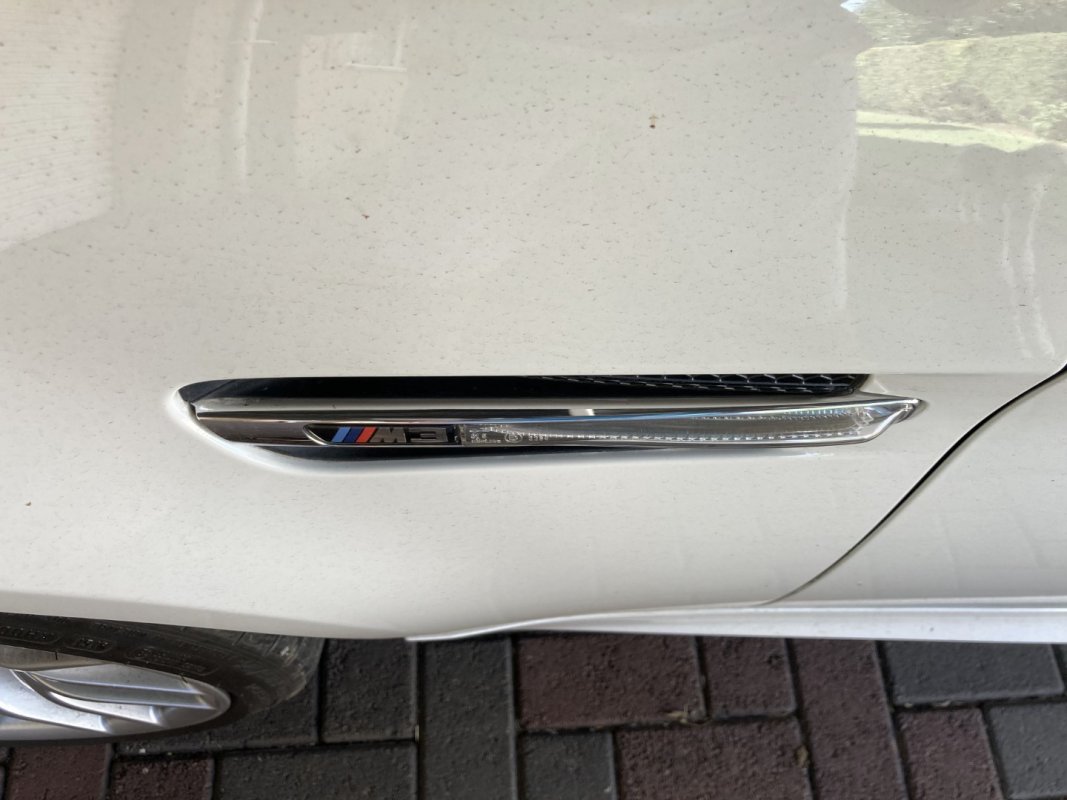
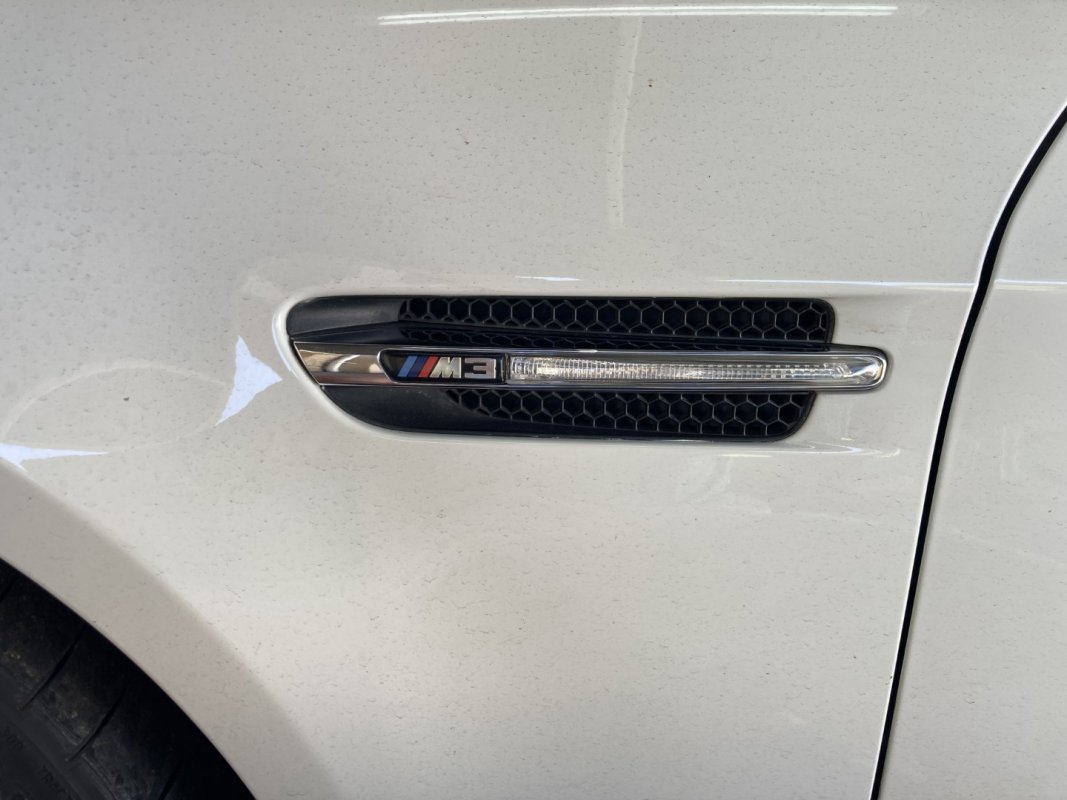
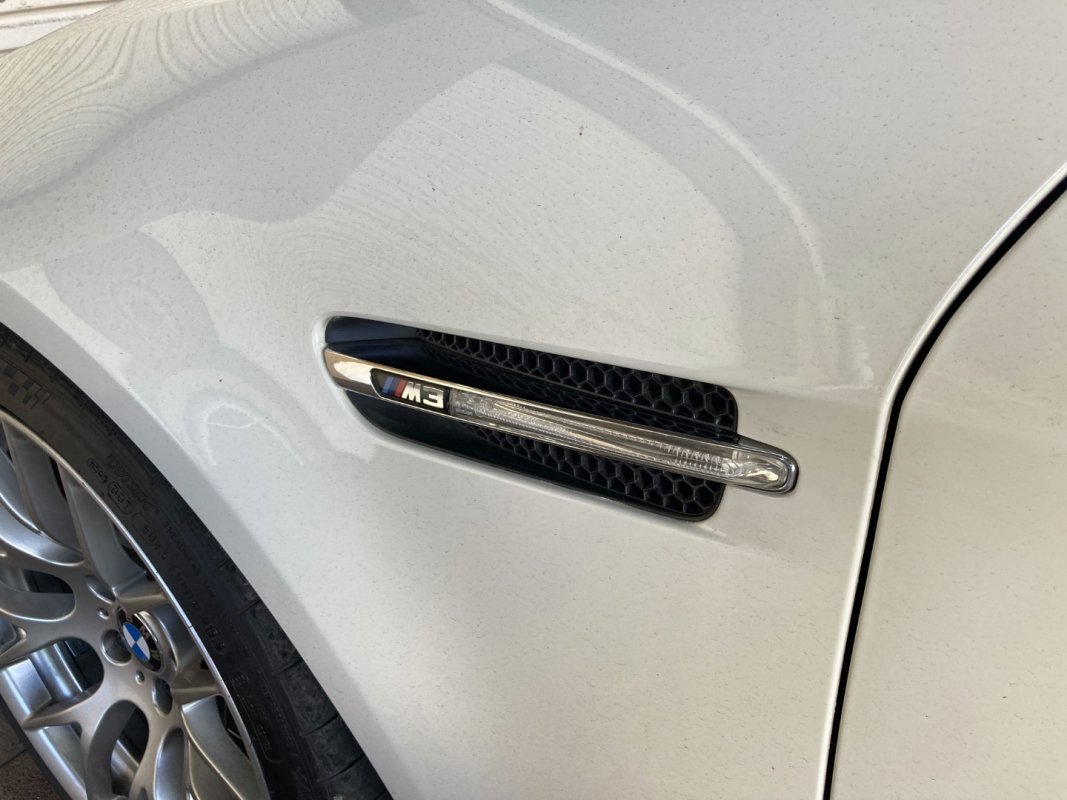
Removing these proved to be slightly tricky (it is much much easier on the E92), and it involved taping up of the work area (after a clean), and careful prying using my trim removal kit. I started off by first removing the indicator itself. Below are some pics of the stock chrome piece next to the new gloss black piece:
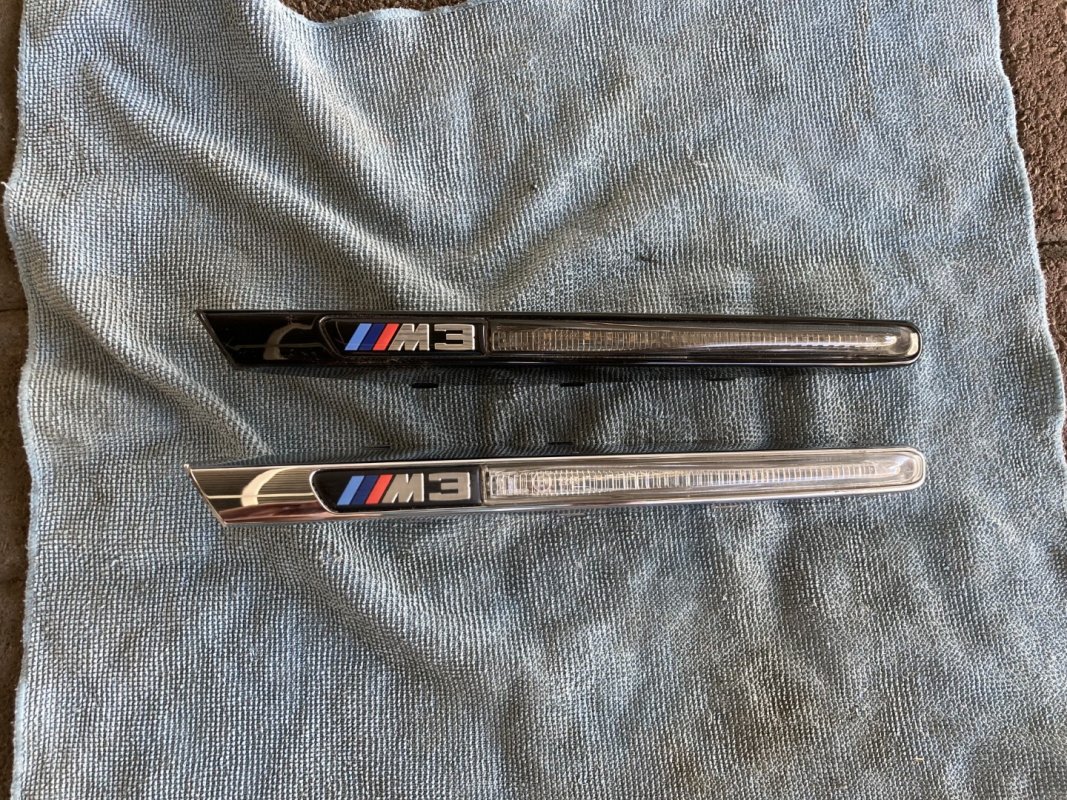
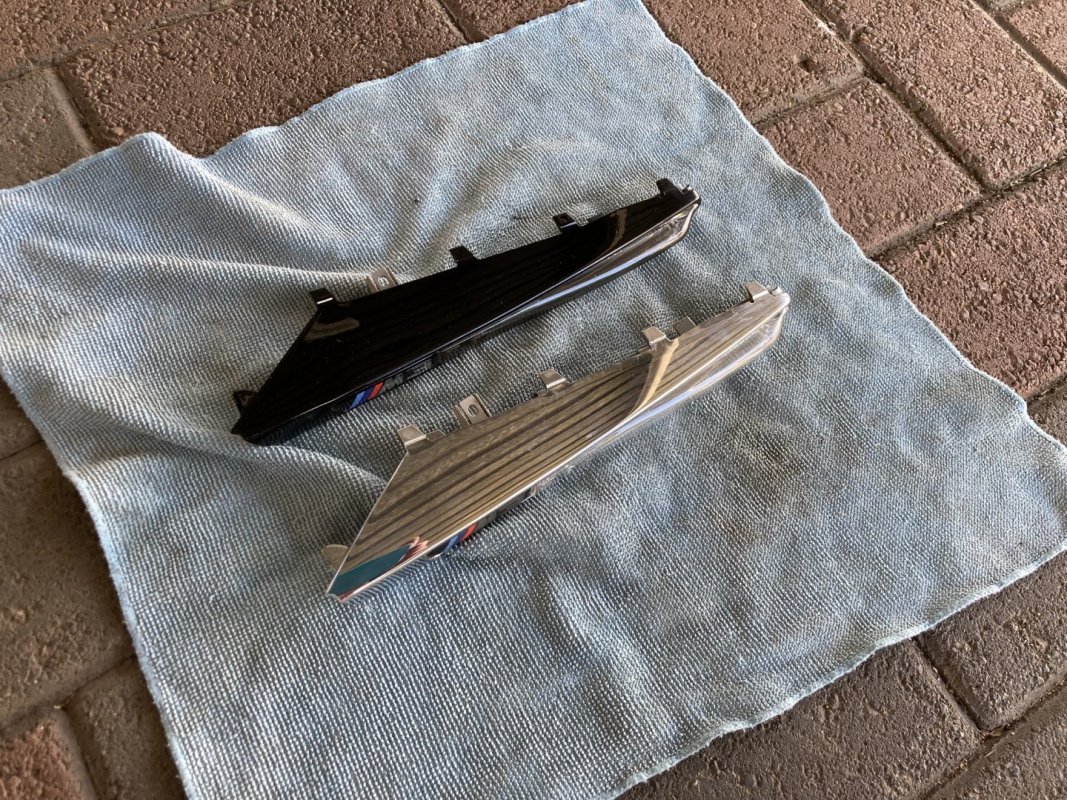
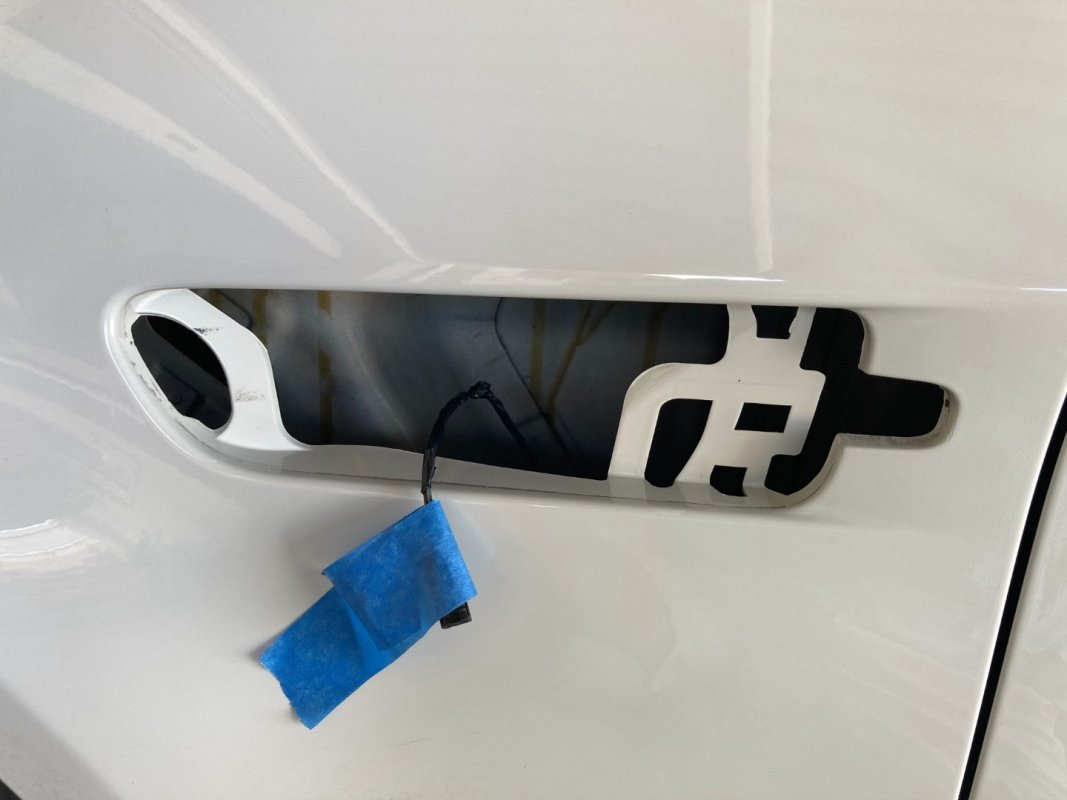
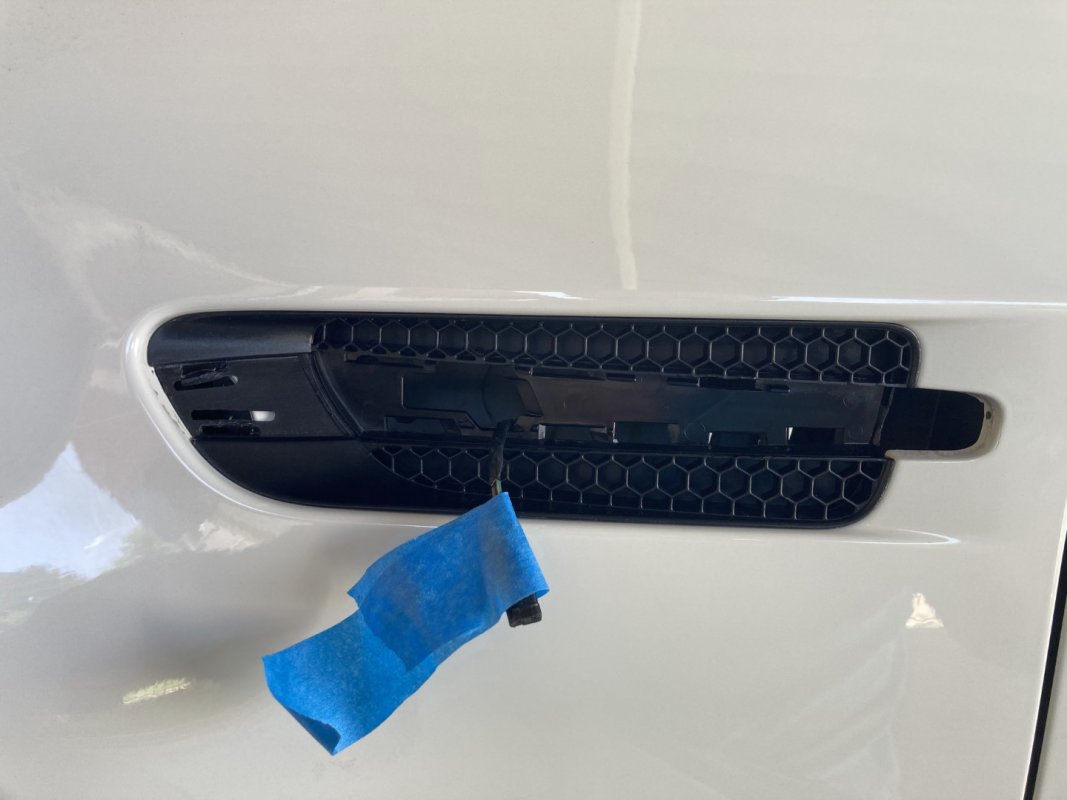
Next up was to remove the grills themselves. These came out fairly easily now, and I then cleaned up the rest of the area and hidden nooks and crannies (incl. polish and sealant). Top tip: tape the wiring for the indicator to the fender, because if it falls into the cave of darkness, you're going to have a real hard time finding it again.
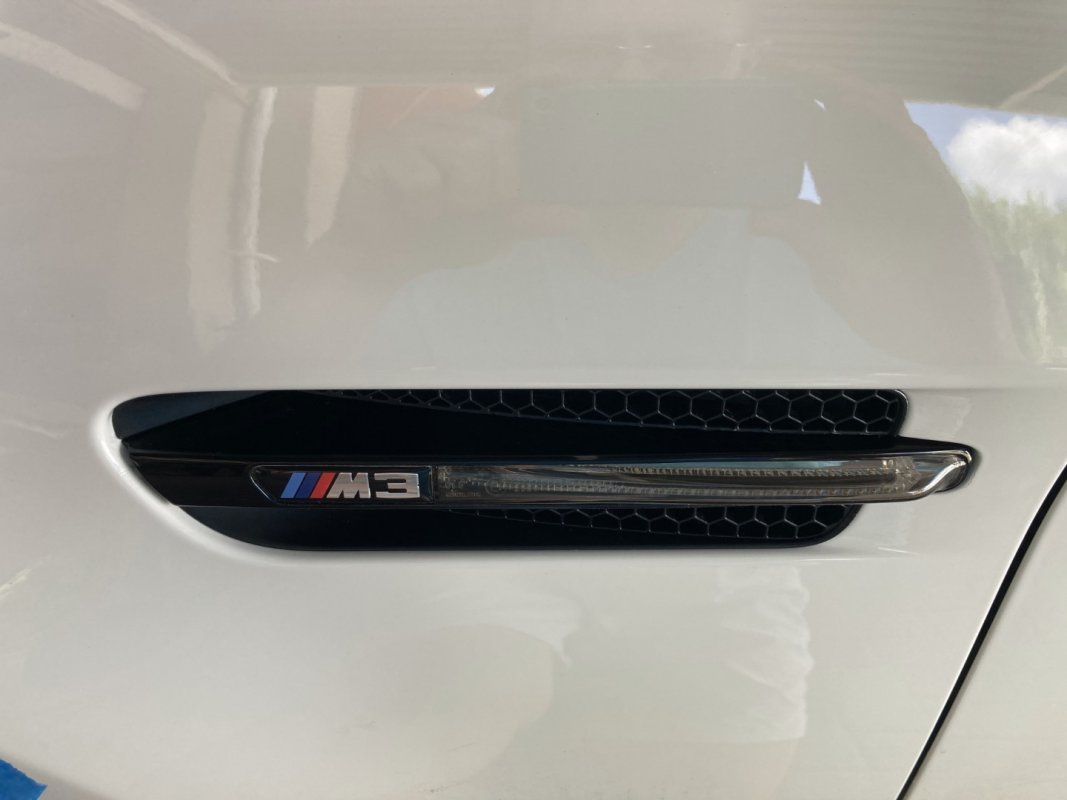
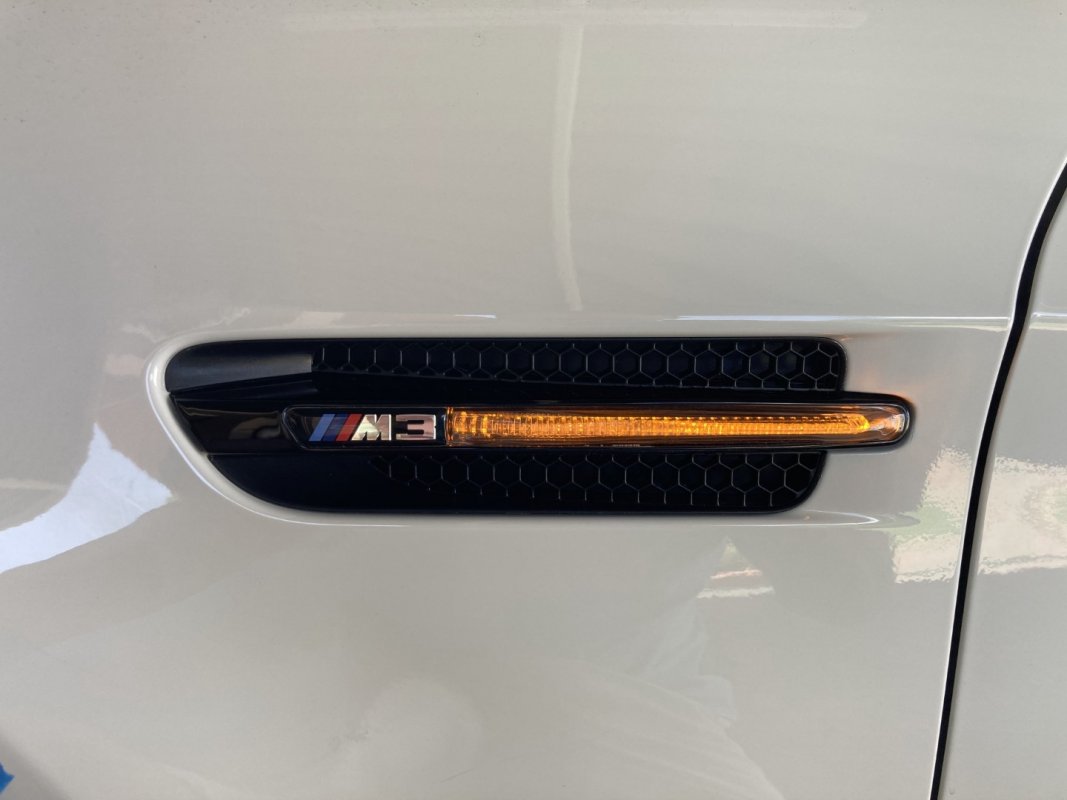
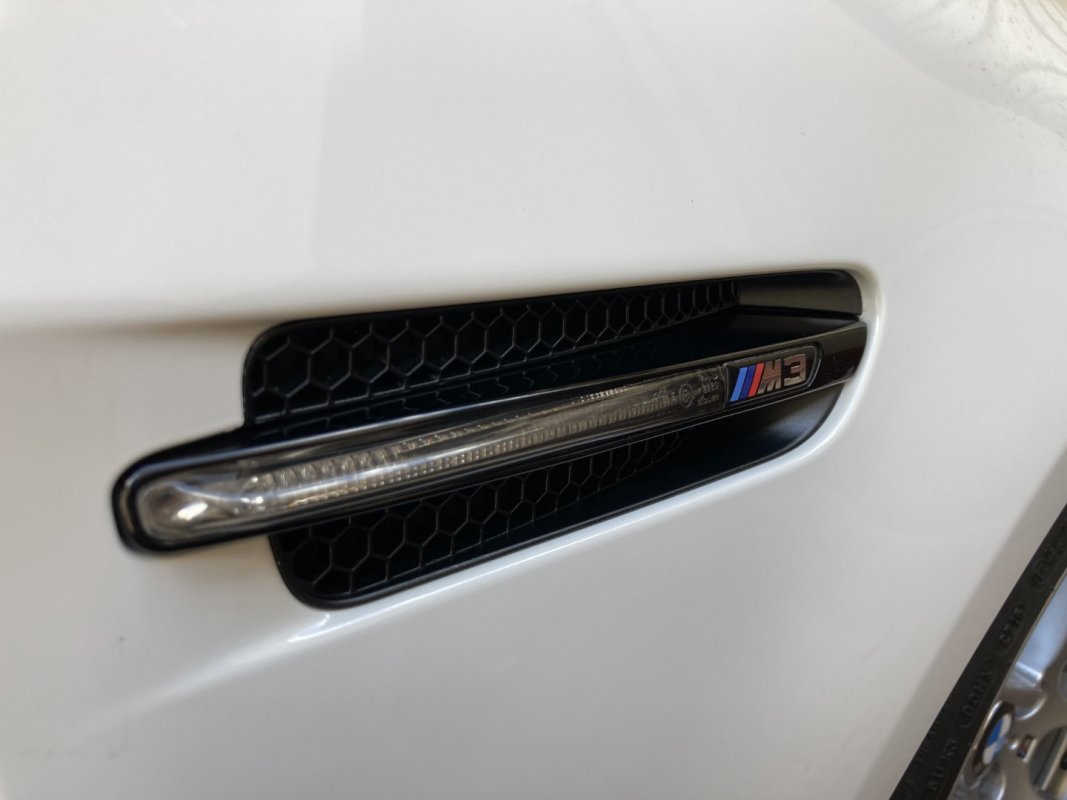
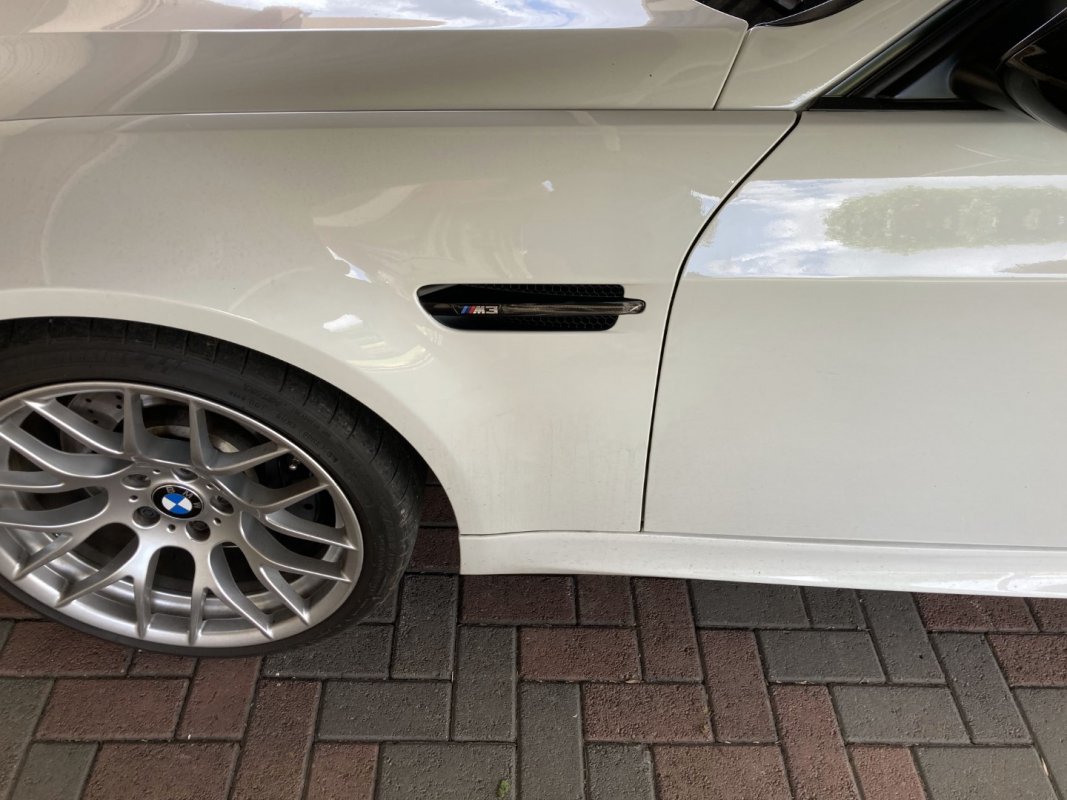
I cleaned up the grilles, and reinstalled, followed by installing the new indicator housings and lenses:
Here's a quick video of the new indicators in action:
Life has been happening, a lot. As such, I've not spent much time on the forum, or on the cars for that matter. Nevertheless, I'm going to bring all my threads up to date.
Following on from my last flurry of online shopping middle of last year, and to settle some small pet hates and my love of OEM(+) cars, I decided to tackle the next installment of bringing the car to my taste.
The vents in the front fenders, and more specifically, the OEM chrome indicator housings, were not really my cup of tea. In general, I'm not a fan of chrome on cars, so pretty much ever since I got this car, I was checking out options to change. Middle of last year, I bit the bullet and decided to rather keep my stock parts, but also replace with OEM parts, customised by one of the most prominent names in the business stateside: IND Distribution.
After spending a ridiculous amount of $$$ with IND, the first parts to be fitted are new gloss black side markers, as well as lightly tinted indicator lenses. These are all OEM parts which are then painted / tinted as required. I will say upfront that the service from IND has been outstanding, communication is good, and even when there was an error in my order (discussed later), they resolved it speedily. Everything was also packaged extremely well, and I'd be willing to bet that their shipment would survive a trip through our local post office and international mailing centre, haha.
Moving onto the job at hand, some before pics of the stock parts:


Removing these proved to be slightly tricky (it is much much easier on the E92), and it involved taping up of the work area (after a clean), and careful prying using my trim removal kit. I started off by first removing the indicator itself. Below are some pics of the stock chrome piece next to the new gloss black piece:


Next up was to remove the grills themselves. These came out fairly easily now, and I then cleaned up the rest of the area and hidden nooks and crannies (incl. polish and sealant). Top tip: tape the wiring for the indicator to the fender, because if it falls into the cave of darkness, you're going to have a real hard time finding it again.
I cleaned up the grilles, and reinstalled, followed by installing the new indicator housings and lenses:


Here's a quick video of the new indicators in action:
gavsadler
///Member
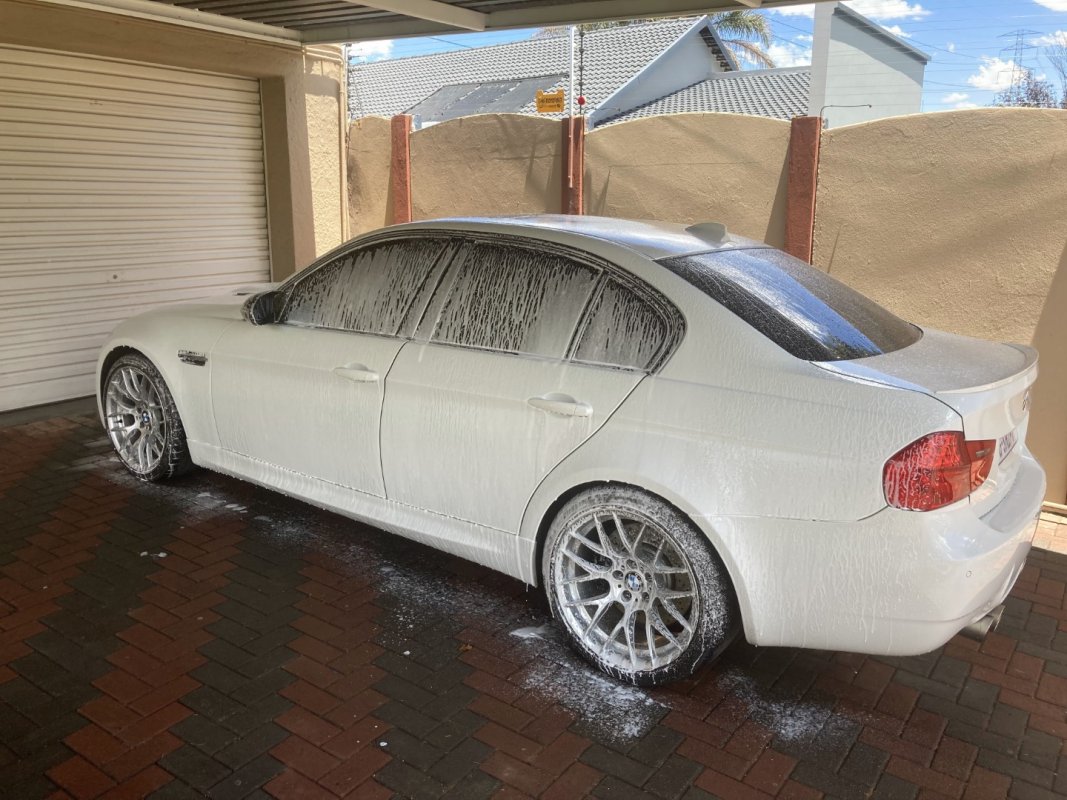
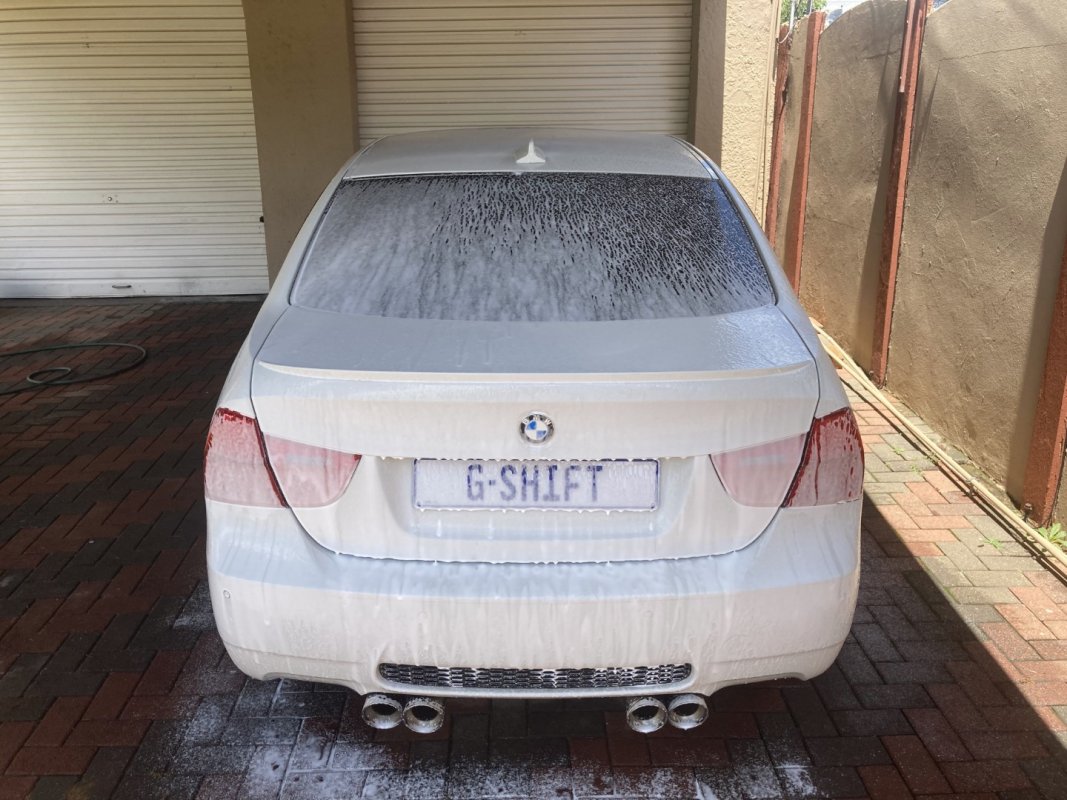
Having installed the indicators, it was time to clean the whole car. I also decided to whip out my iK Foam Pro 12, and give it a pre-wash. Some pics and vids below:
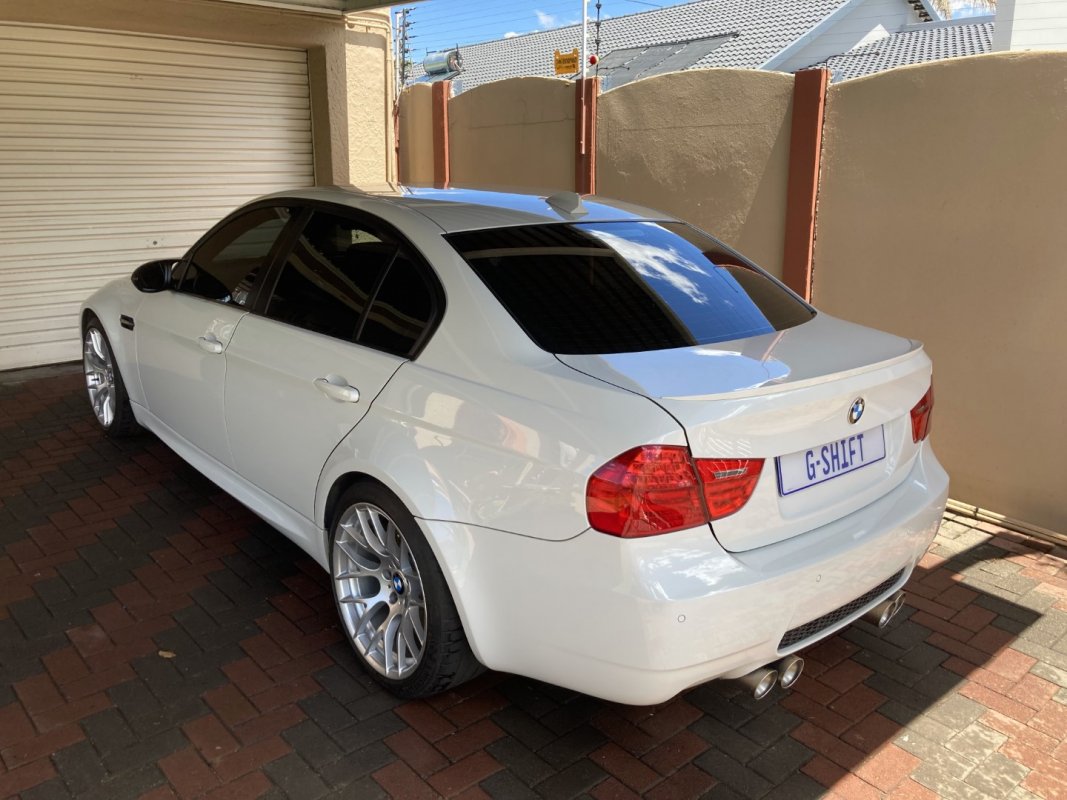
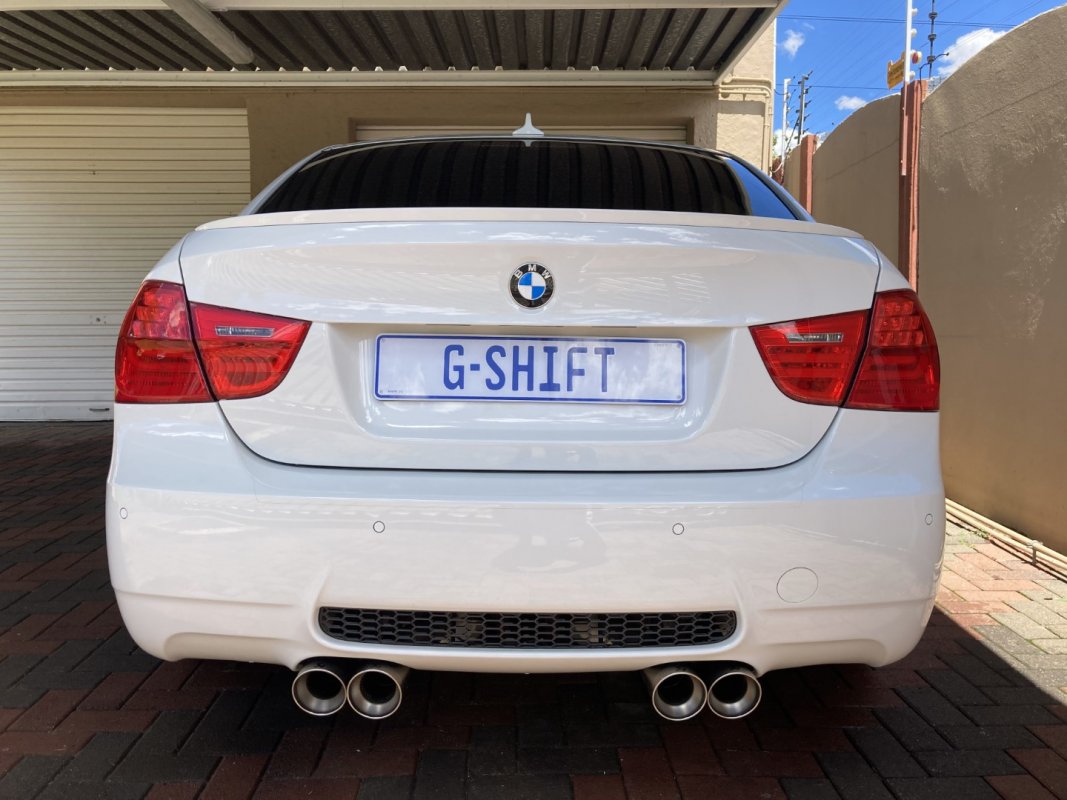
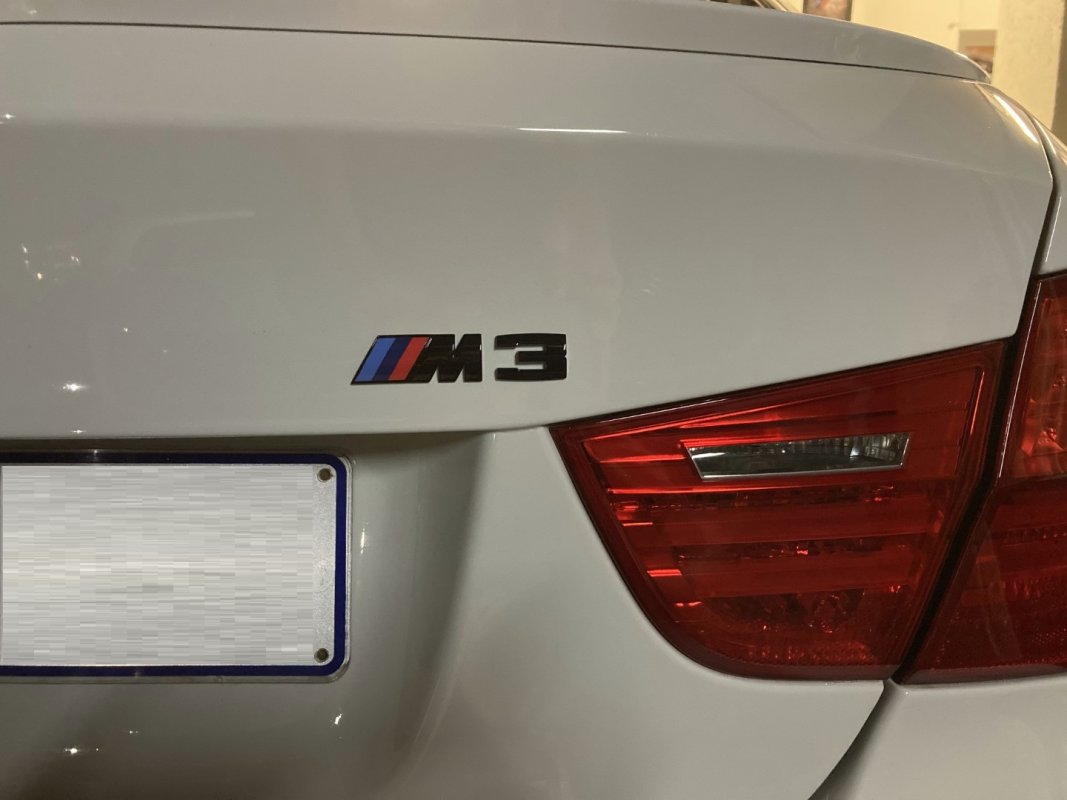
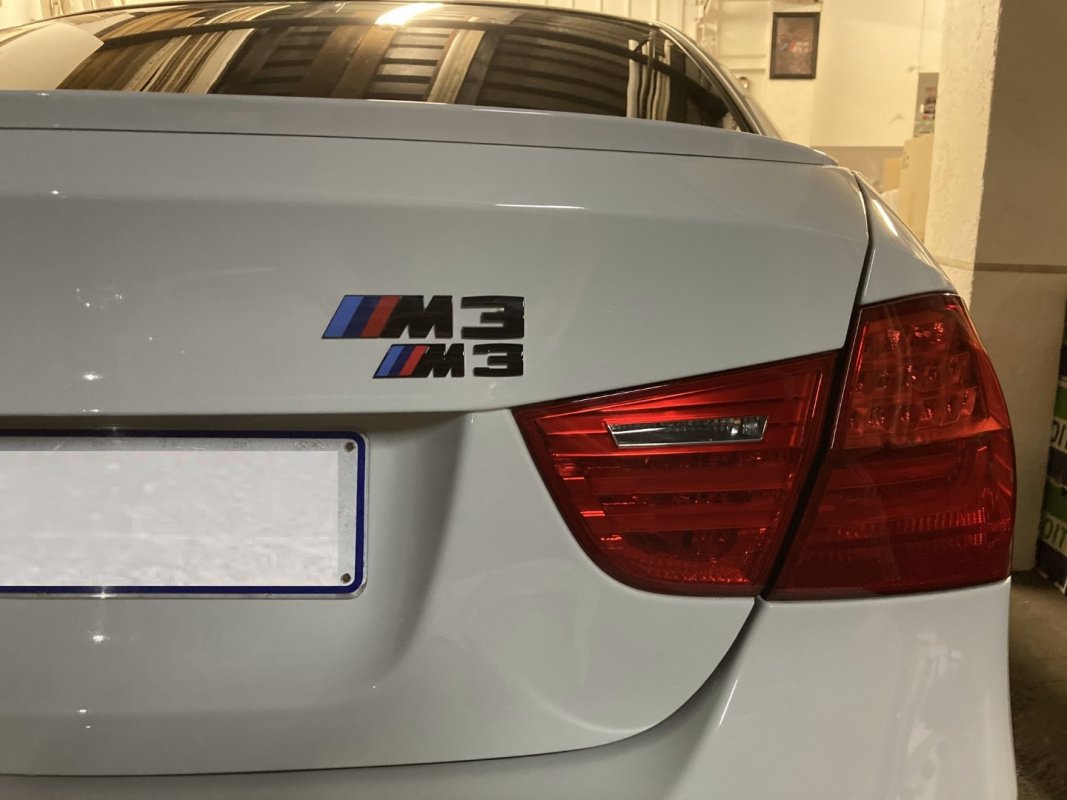
With the side markers sorted, it was time to turn attention to the back of the car again. Specifically the boot emblem. When I bought the car, it had a F80 M3 emblem installed, which was black, but obviously much bigger than the E90 emblem. Taking it a step further, my OCD was also not satisfied that it was installed in the incorrect place. So as you saw previously, it was removed around the time that I changed the exhaust tips.
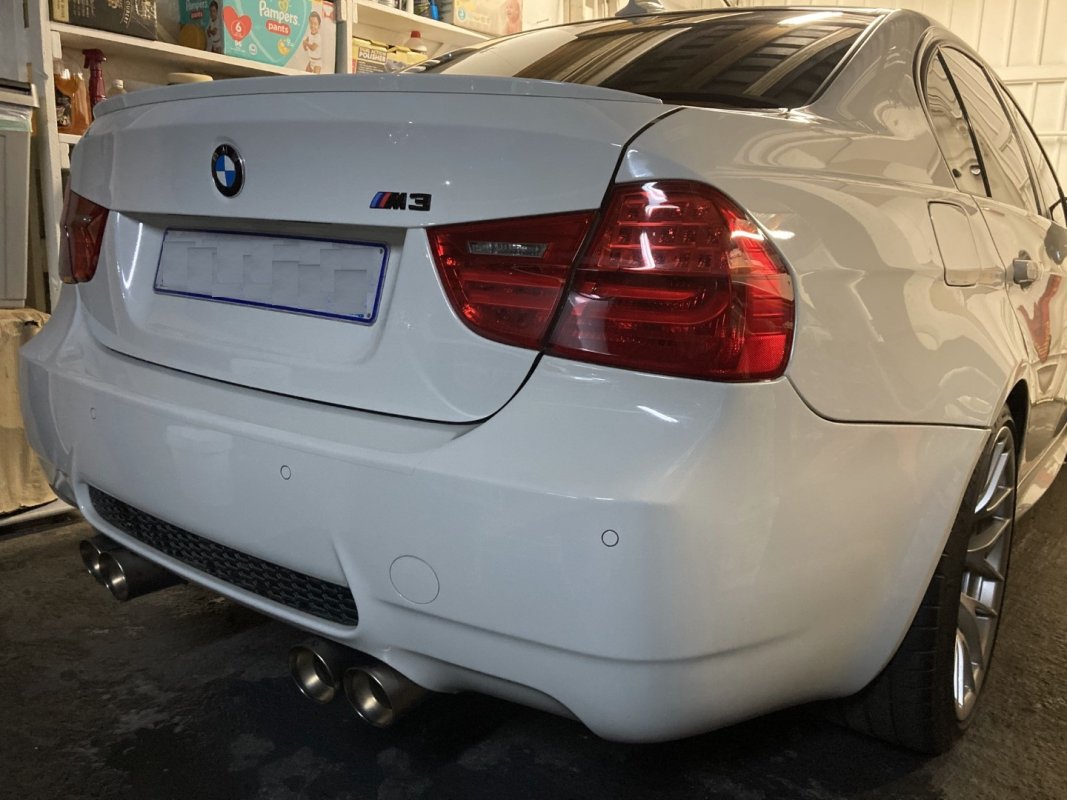
Fast forward a little bit, and I purchased an OEM emblem from IND Distribution, but this time painted in gloss black. There was a slight hiccup on my initial order, as they shipped a G80 M3 badge. Again this is not quite correct, so after raising it with IND, they immediately shipped out the correct emblem to me. What service!
I spent some time measuring and checking everything before installing the new emblem. Interesting point to note is that the mounting location seems to differ slightly between pre-LCI and LCI E90s. Once all measuring and prep was done, the emblem was installed.
I've also included a pic of the previous F80 emblem lined up with the E90 emblem, massive size difference!


gavsadler
///Member
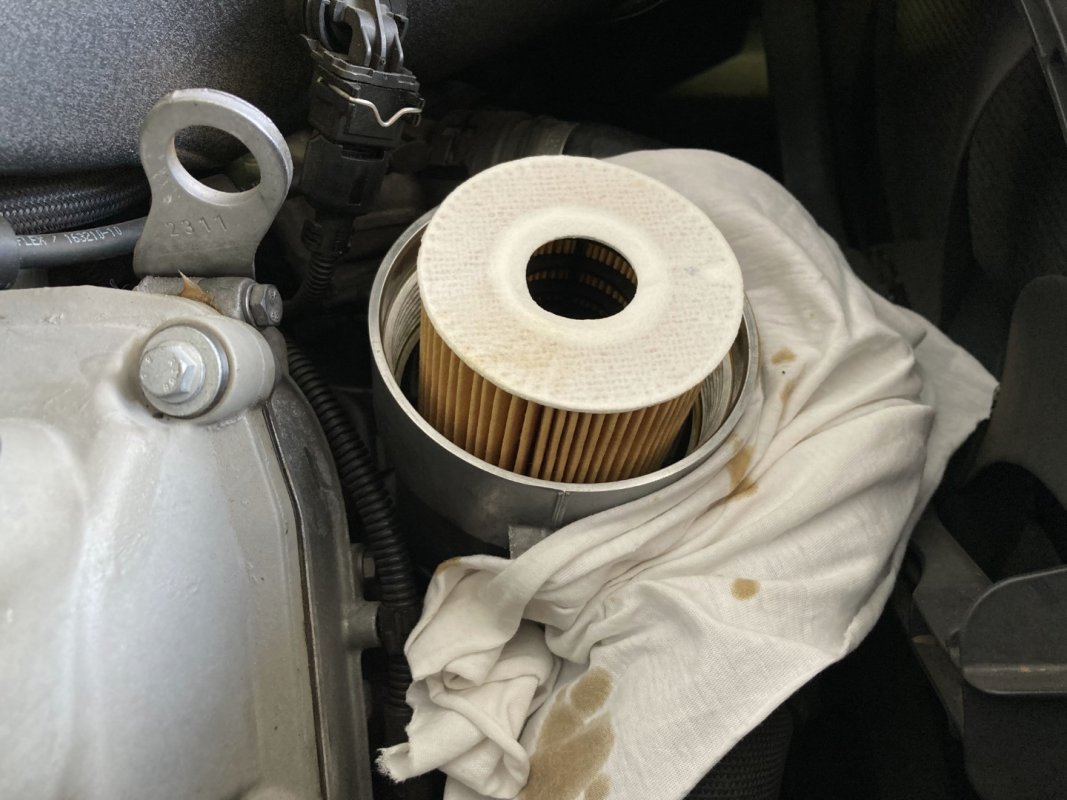
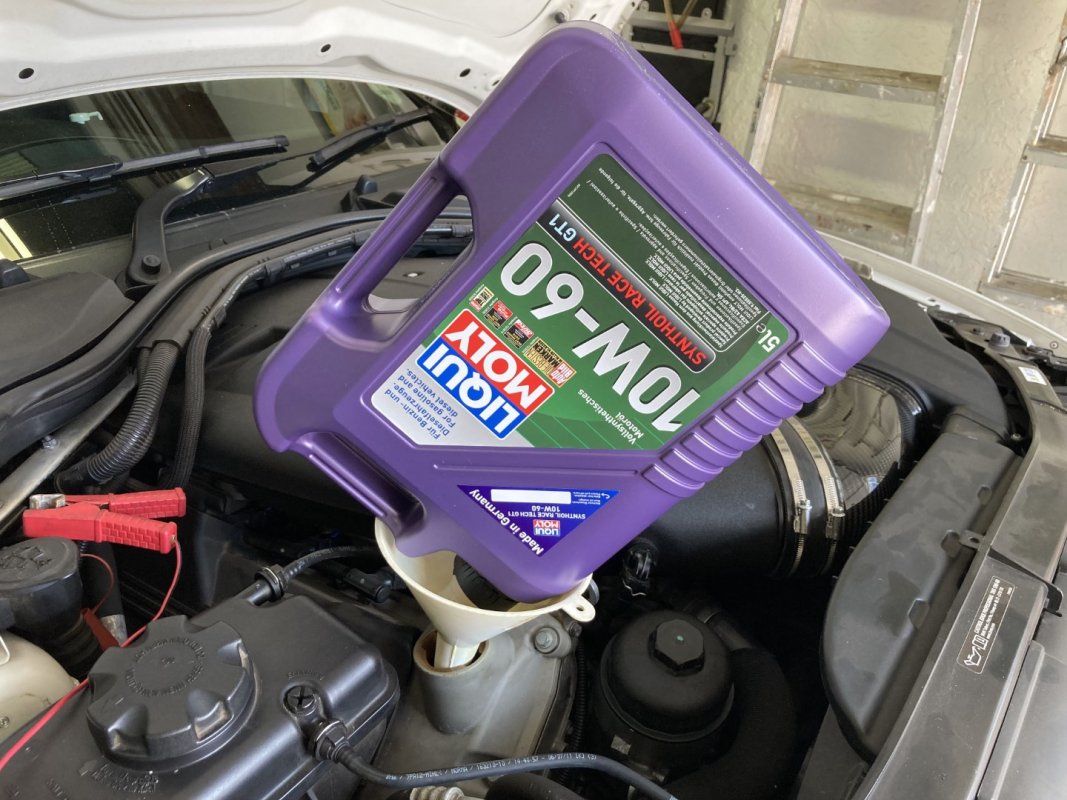
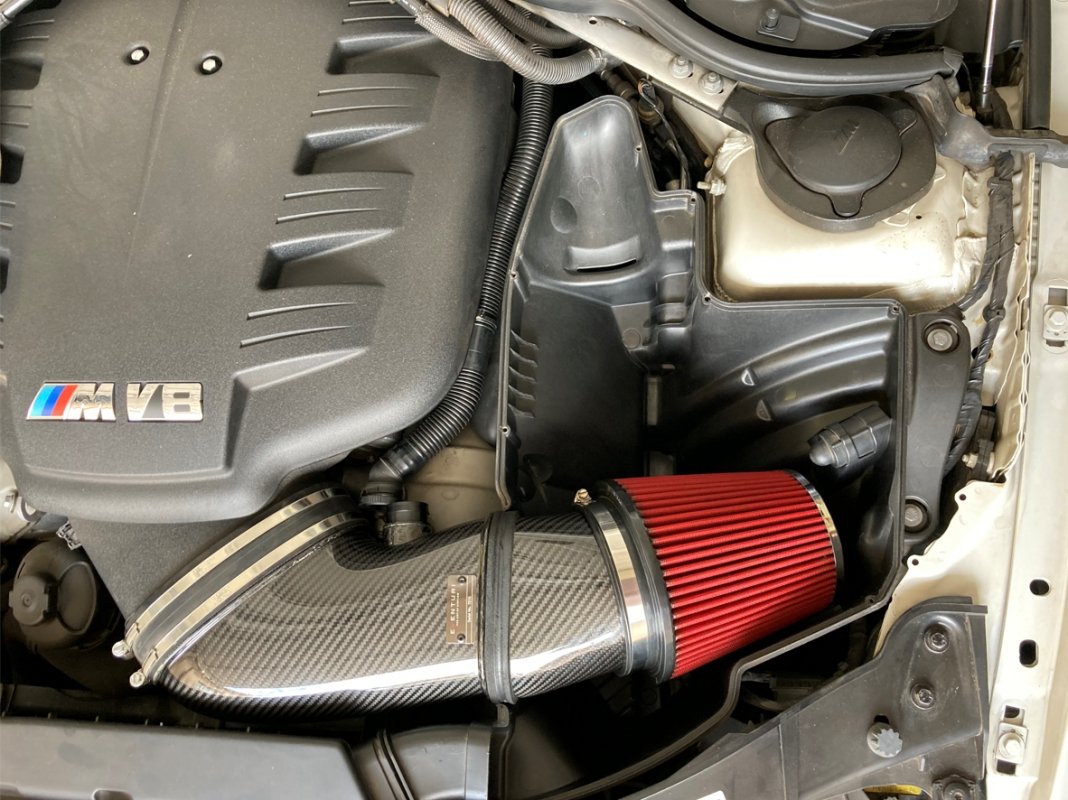
In Feb-22 it was time for a service, so after sourcing the relevant spares and parts, it was time to complete that.
I once again used Liqui Moly 10w60, an OEM oil filter, and cleaned the air filter. Everything else on the car checked out fine.
With the car serviced, a decision was made to go down to the KZN south coast for the last 2 weeks of March. I thought we would pack less luggage than a few years back (prams and what what), yet somehow we packed the same, or even more. Anyway, the car ran well and on the trip down we managed 10.3l per 100kms.
I didn't drive much the first week we were there, and then in the last week, I did a bit more mileage for all sorts of reasons. The car felt really fresh and awake thanks to the coastal air. Quiet roads were few and far between where we were based, so I couldn't stretch legs too much.
I did manage to get in a couple of impromptu runs on a test track. I wanted to try and replicate the same scenario as tested up here in JHB, so I left the car in full auto mode, D3, with Power button engaged. I managed a 5.55s 0-100km/h and 13.32s 1/4mile @176km/h. In JHB on a similar test track (and car setup), I managed 6.15s 0-100km/h and 13.95s 1/4 mile @166km/h. So yes, the car is much fresher down at the coast.
On the drive back up, we managed 10.6l per 100kms. Overall, it was a good car for the long distance drip, there were no major complaints of noise or drone, and comfort was great. That being said, the best holiday vehicle to date has been the F25 X3 35i, super comfortable and also effortless power.
I'm not sure what is next in line for this car, probably just some more small maintenance items, and I'll probably need a set of rear tyres within the next 12 months.
I once again used Liqui Moly 10w60, an OEM oil filter, and cleaned the air filter. Everything else on the car checked out fine.


With the car serviced, a decision was made to go down to the KZN south coast for the last 2 weeks of March. I thought we would pack less luggage than a few years back (prams and what what), yet somehow we packed the same, or even more. Anyway, the car ran well and on the trip down we managed 10.3l per 100kms.
I didn't drive much the first week we were there, and then in the last week, I did a bit more mileage for all sorts of reasons. The car felt really fresh and awake thanks to the coastal air. Quiet roads were few and far between where we were based, so I couldn't stretch legs too much.
I did manage to get in a couple of impromptu runs on a test track. I wanted to try and replicate the same scenario as tested up here in JHB, so I left the car in full auto mode, D3, with Power button engaged. I managed a 5.55s 0-100km/h and 13.32s 1/4mile @176km/h. In JHB on a similar test track (and car setup), I managed 6.15s 0-100km/h and 13.95s 1/4 mile @166km/h. So yes, the car is much fresher down at the coast.
On the drive back up, we managed 10.6l per 100kms. Overall, it was a good car for the long distance drip, there were no major complaints of noise or drone, and comfort was great. That being said, the best holiday vehicle to date has been the F25 X3 35i, super comfortable and also effortless power.
I'm not sure what is next in line for this car, probably just some more small maintenance items, and I'll probably need a set of rear tyres within the next 12 months.
gavsadler
///Member
Update: Aug-22 to Oct-22:
This year has been crazy, to say my day job has been demanding the past 6 months would be an understatement. This, coupled with the start of some home renovations from May-July meant that everything else has had to be on auto-pilot: friends, family, car stuff, G Shift, the works. Thankfully some normalisation has returned and I can start to balance things out again.
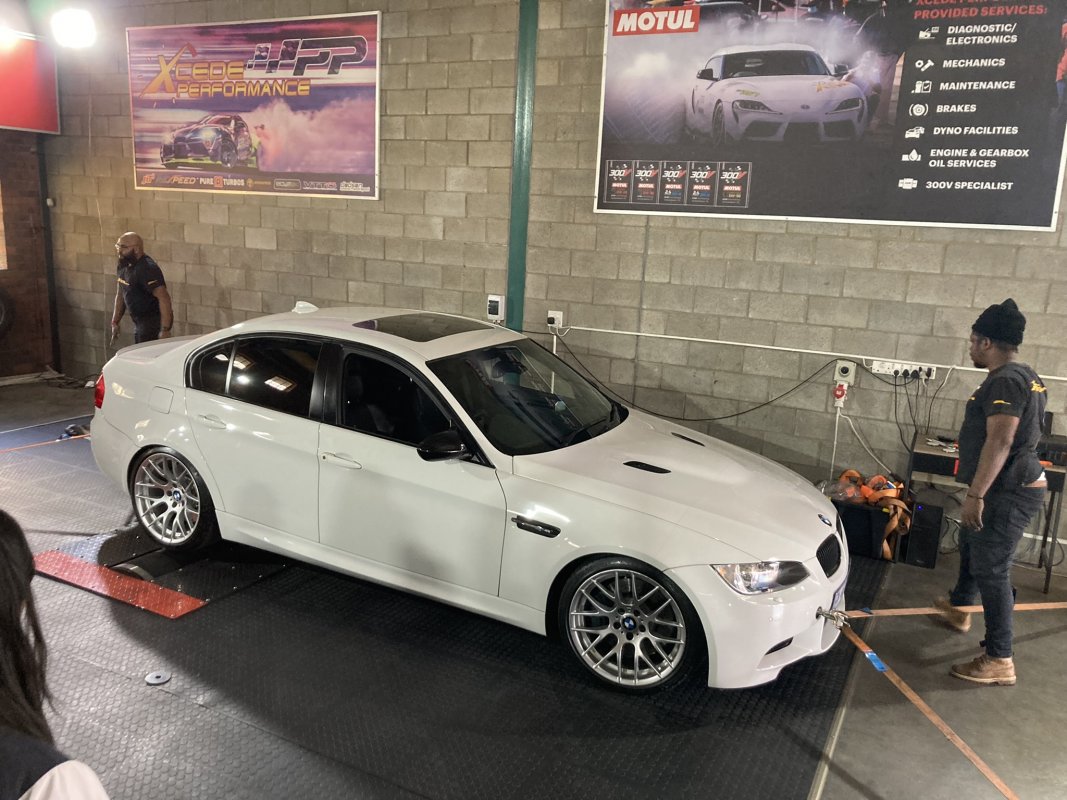
In August, I took off half a day and decided to attend the BMWFanatics Dyno Day, held at Xcede Performance. Having Dyno’d the other cars over the years, I was keen to see what the M3 would do. It’s also weird having owned the car for 3.5 years and I had not yet made the effort or had the opportunity to take the car for a run.
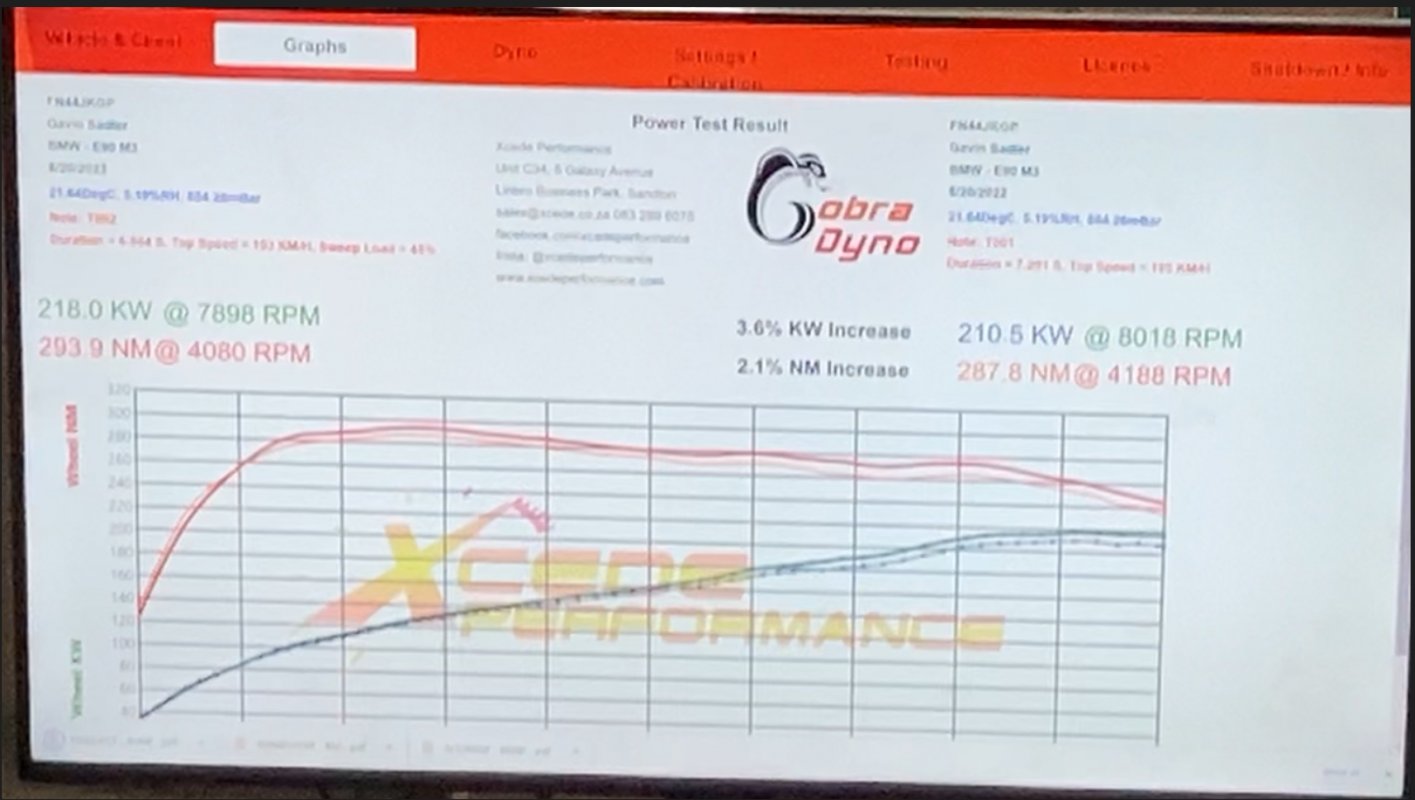
We got there nice and early, and managed to hop onto the rollers within about 30mins. I must say it was great to hear the car revving to the moon. I expected around 220wKw, so was not far off at the end of it all. It’s also nice to see the Table Mountain torque curve, and linear lines for both Power and Torque actually. Brilliant motor!
Overall, the day was well run, and there was a good variety of cars as well. One thing is for sure though, the Turbo cars have moved the game on tremendously. It’s quite remarkable what power can be extracted from these modern engines with relatively minimal work and mods. It was a refreshing change of scenery for me (nice to actually do something recreational on the weekend instead of working), and also marked my 1st car event for the year.
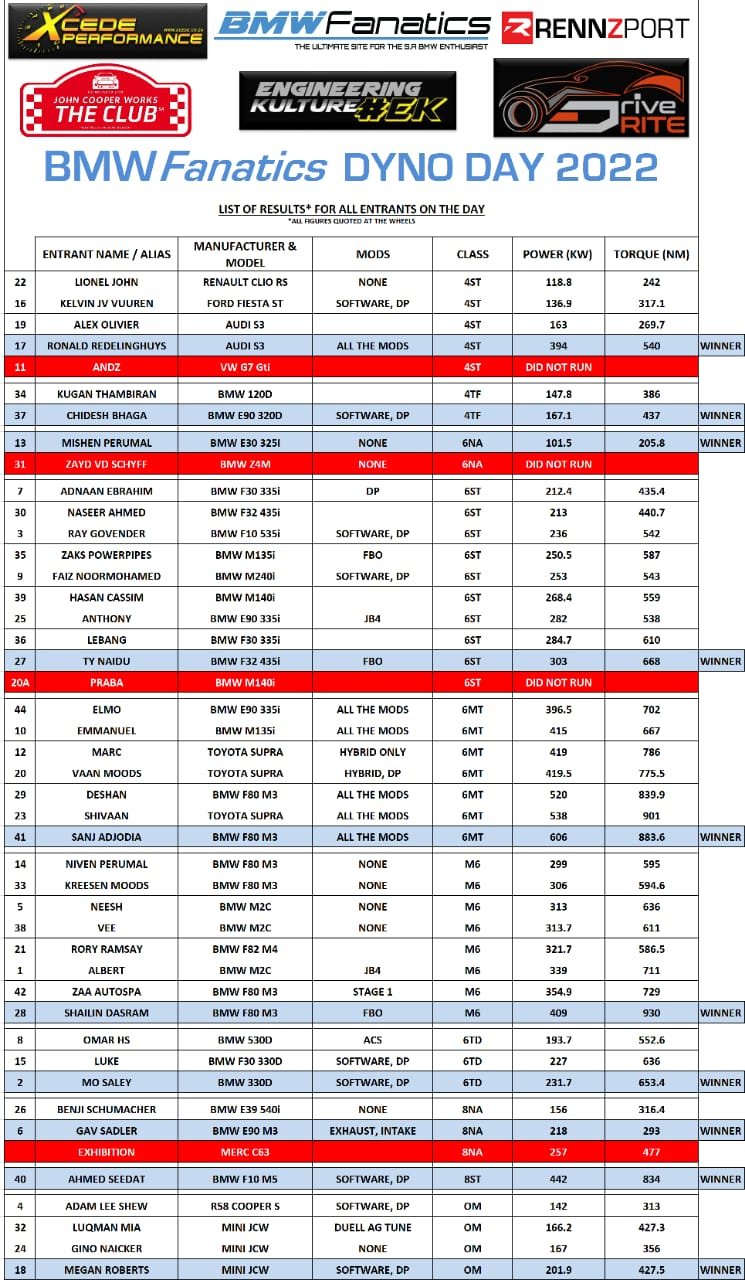
For those who haven’t seen elsewhere on the forum, I’ll post the results below.
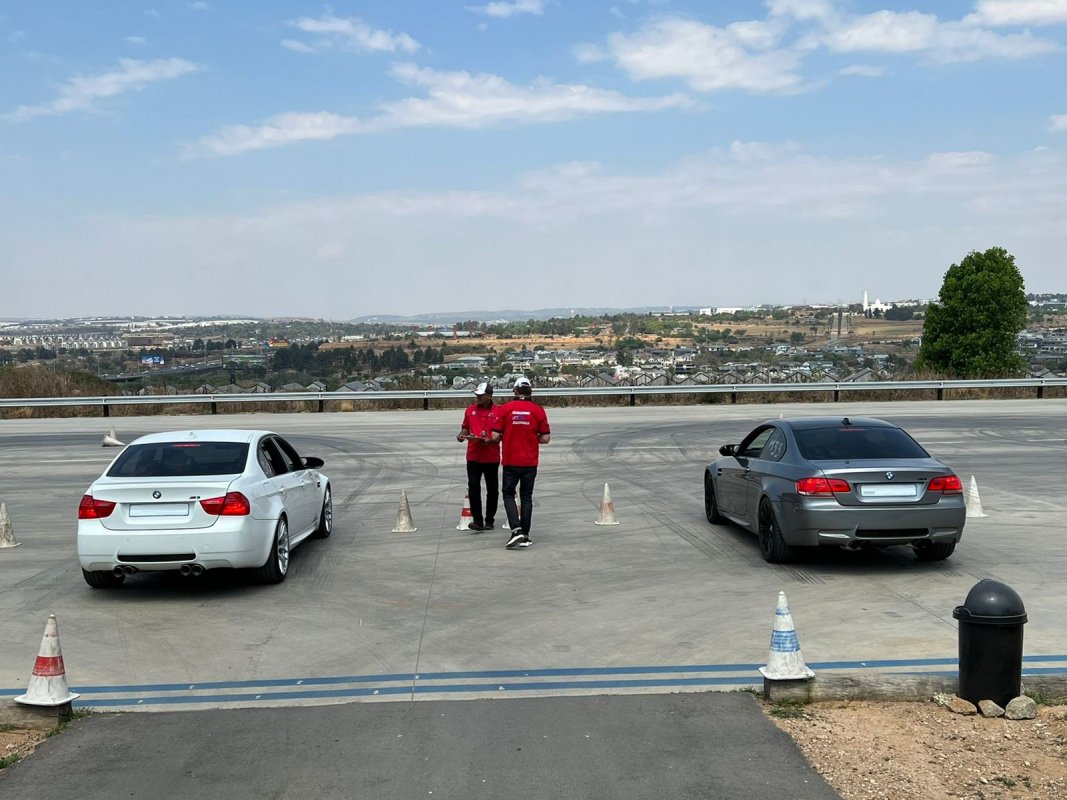
Fast forward about a month, and I made a point of registering for the BMW CCG Skid Pan and X-Drive day. I always enjoy these events, it’s definitely a favourite of mine. This time round, the event was held at the new BMW X Drive Park in Waterfall. We started off the day with an introduction and briefing followed by the outline of the day’s events. Participants were split into 2 groups, half would do the X-Drive course in some rather well kitted out X3s, and the other half would tackle the skid pan.
We started off in the X3s. They were 20d models, which have been kitted out with raised suspension and some big proper off-road tyres. The guys said these vehicles would be travelling to and from Namibia for tours through the sand dunes. Interesting indeed. The X-Drive course had a good mix of different obstacles, and I must say I was impressed with the ability of these models. From simple things like hill descent control, through to proper axle-twisting pot holes, the X3s breezed through it all.
We then moved on to the skid pan, which is a lot smaller compared to the ones at Kyalami and Zwartkops. Also, it’s a dry skid pan, so only smooth concrete to slide around on. This also helped to keep the cars relatively clean. A mirror course was setup, and 2 participants would go head to head, doing a run on one side, before swapping over to the other side. In total, we each did 6 runs, and there was some time left over for a few “freestyle” runs.
I also brought my daughter along, so we had a nice father-daughter day out. She has never been on the skid pan before, or experienced any major craziness in cars before (don’t quote me on that, haha), but she was keen to see what it’s all about. On my first run, I took it easy, to learn the course, and to see if she would freak out at all. Nothing to worry about on that front, so thereafter I decided to just have as much fun as possible. I setup my GoPro in a different spot on each run, to capture different views, and of course our reactions inside the car. Videos below.
Given that it was a small course, I kept the car in manual, 1st gear. On the first run I left TC on, although this was interfering quite a bit, so I decided to switch it off for all the other runs. The car was very easy to control and place, and the LSD certainly made things easier to rotate around the cones. Instant response from the motor also played a big role. Towards the end of my runs, I was managing to get some proper slides and drifts going around parts of the course. Next time, I’d like to get some outside footage from the sidelines.
Despite all my hooning, I got a 2nd place in the M Class. It was also nice to meet up with some fellow Fanatics, and made some new friends on the day too. I’m already keeping my eyes peeled for the next event.
Moving along, despite all the activity and work that has materialised this year, G Shift has been ticking over. I will devote more attention to this in the coming weeks to bring Fanatics up to speed with what has been happening. More recently, I’ve had more time to spend on the cars, and try out some new products too. P&S products are coming to G Shift early in 2023 hopefully, but for now, I’ve brought in a handful of products for customers, and to try myself.
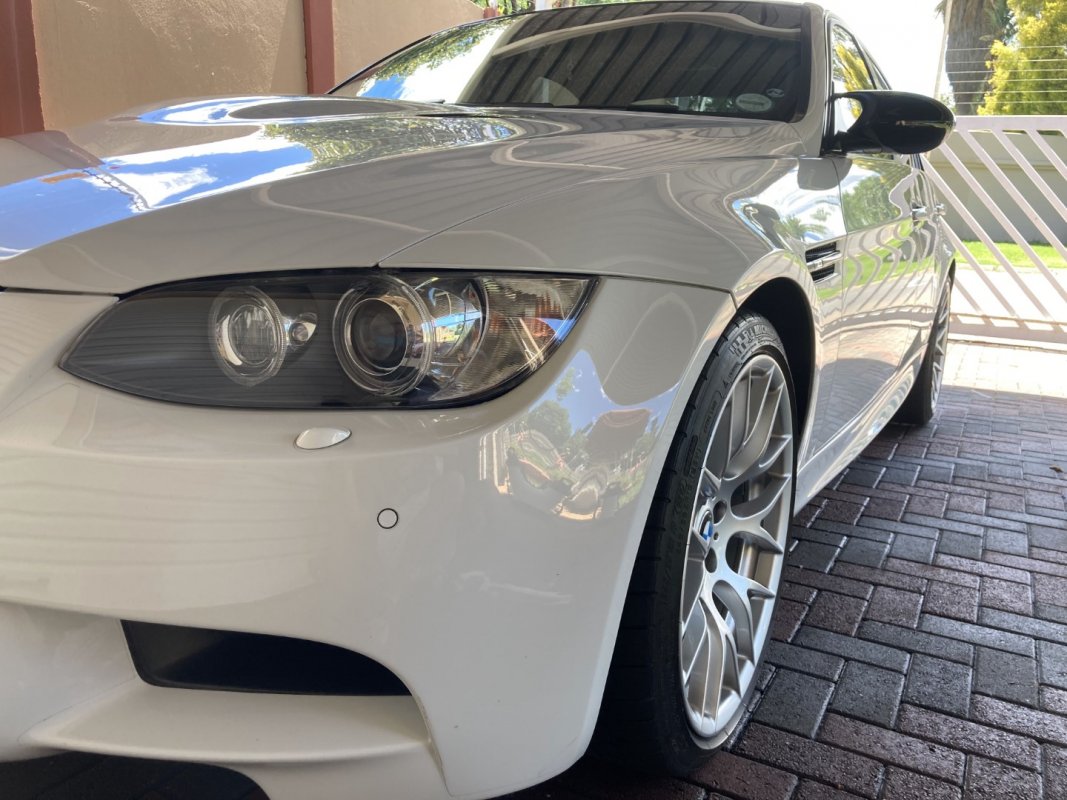
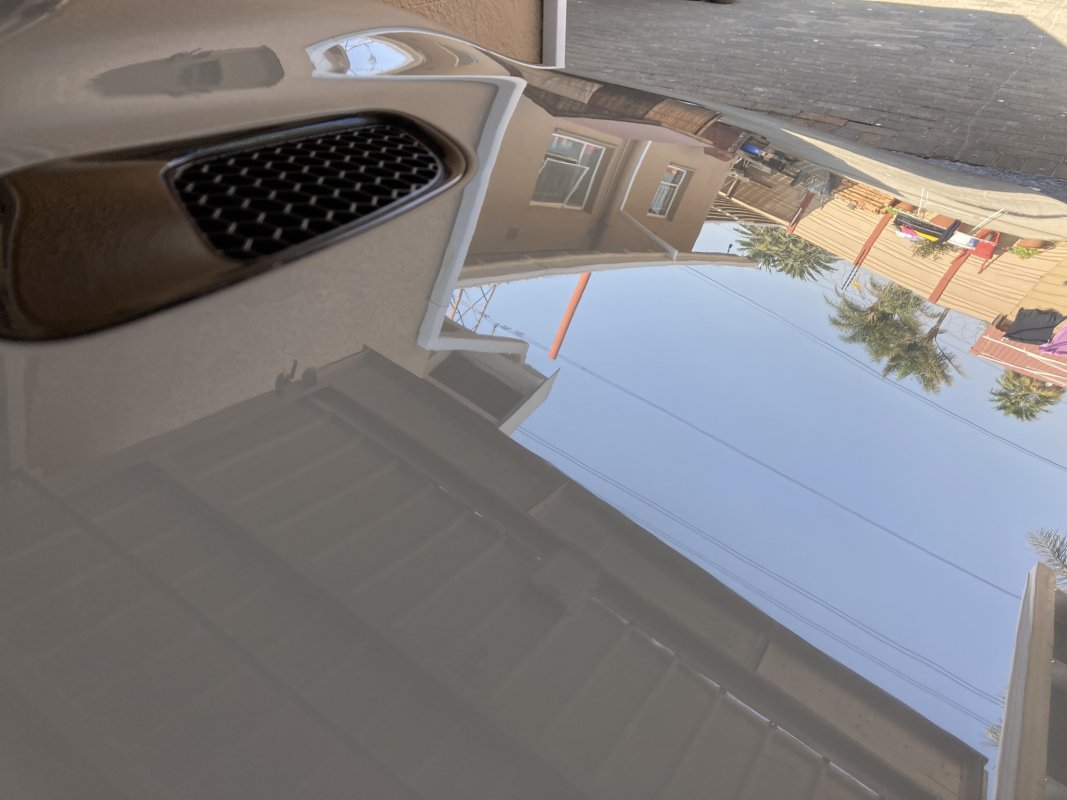
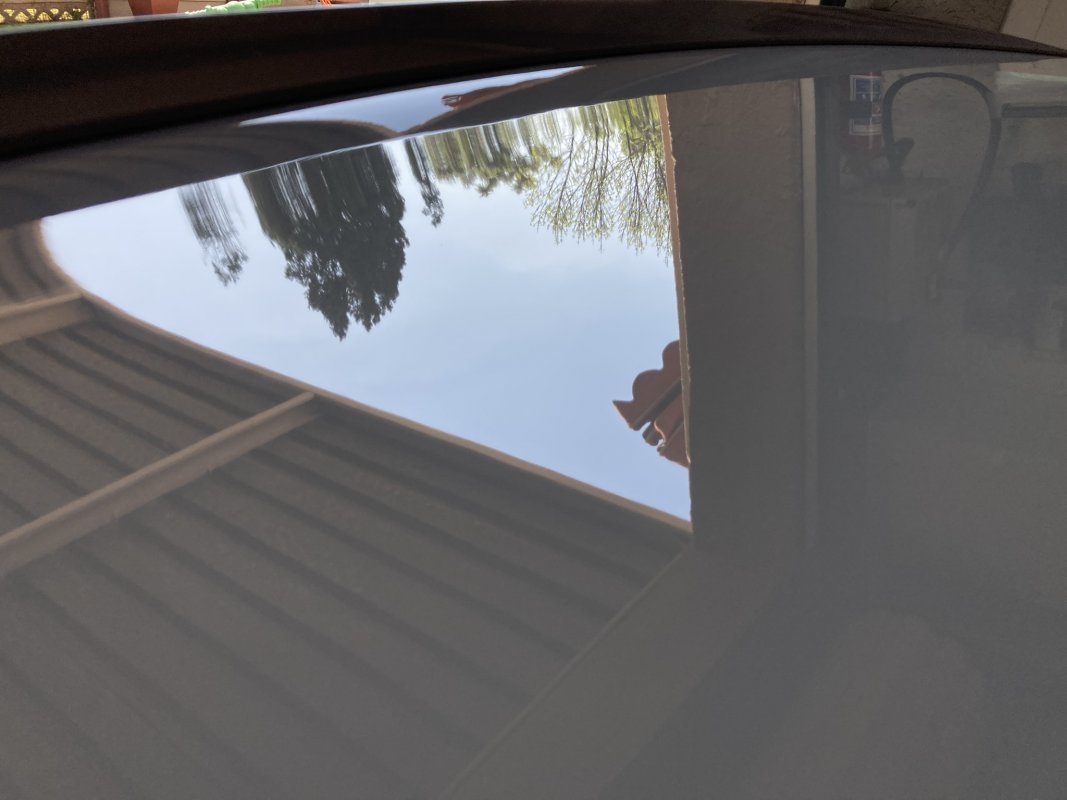
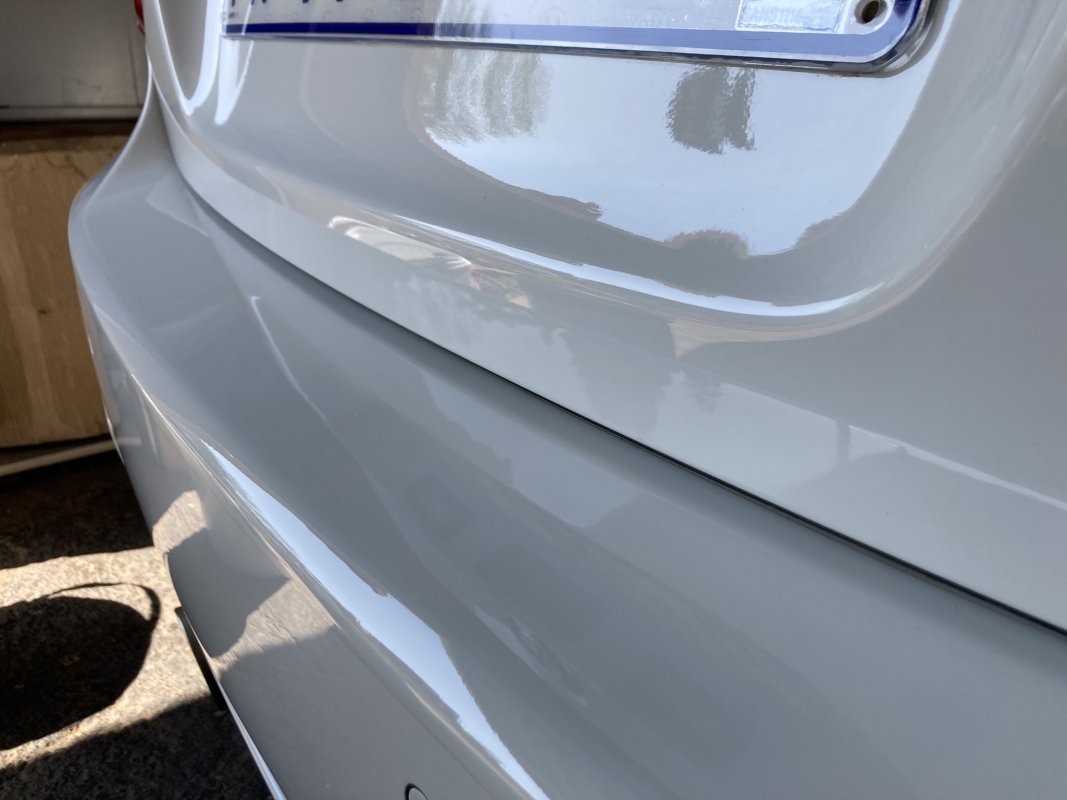
A couple of days after my usual maintenance wash, I decided to try a rinseless wash in the garage. Given that the car was clean and only had some surface dust, I tried out the rinseless wash using Optimum No Rinse (ONR), and followed that up with some application of P&S Bead Maker. The slickness of the paint was awesome after application, I hope the pictures below can do it some justice:
As mentioned, I’ll post elsewhere for details on these products and other developments at G Shift.
To end off this update, a couple of weeks ago, I took the family on a breakfast run organised by one of my customers. We headed to a coffee roastery in Pretoria East. It was a good morning out, with a good mix of cars including a 911 Cabriolet, Toyota 86, Bug Eye Scooby, Z3 M Coupe, E60 M5, 350Z and GR Yaris to name a few.
That’s all for now on this update.
This year has been crazy, to say my day job has been demanding the past 6 months would be an understatement. This, coupled with the start of some home renovations from May-July meant that everything else has had to be on auto-pilot: friends, family, car stuff, G Shift, the works. Thankfully some normalisation has returned and I can start to balance things out again.
In August, I took off half a day and decided to attend the BMWFanatics Dyno Day, held at Xcede Performance. Having Dyno’d the other cars over the years, I was keen to see what the M3 would do. It’s also weird having owned the car for 3.5 years and I had not yet made the effort or had the opportunity to take the car for a run.
We got there nice and early, and managed to hop onto the rollers within about 30mins. I must say it was great to hear the car revving to the moon. I expected around 220wKw, so was not far off at the end of it all. It’s also nice to see the Table Mountain torque curve, and linear lines for both Power and Torque actually. Brilliant motor!
Overall, the day was well run, and there was a good variety of cars as well. One thing is for sure though, the Turbo cars have moved the game on tremendously. It’s quite remarkable what power can be extracted from these modern engines with relatively minimal work and mods. It was a refreshing change of scenery for me (nice to actually do something recreational on the weekend instead of working), and also marked my 1st car event for the year.
For those who haven’t seen elsewhere on the forum, I’ll post the results below.


Fast forward about a month, and I made a point of registering for the BMW CCG Skid Pan and X-Drive day. I always enjoy these events, it’s definitely a favourite of mine. This time round, the event was held at the new BMW X Drive Park in Waterfall. We started off the day with an introduction and briefing followed by the outline of the day’s events. Participants were split into 2 groups, half would do the X-Drive course in some rather well kitted out X3s, and the other half would tackle the skid pan.
We started off in the X3s. They were 20d models, which have been kitted out with raised suspension and some big proper off-road tyres. The guys said these vehicles would be travelling to and from Namibia for tours through the sand dunes. Interesting indeed. The X-Drive course had a good mix of different obstacles, and I must say I was impressed with the ability of these models. From simple things like hill descent control, through to proper axle-twisting pot holes, the X3s breezed through it all.
We then moved on to the skid pan, which is a lot smaller compared to the ones at Kyalami and Zwartkops. Also, it’s a dry skid pan, so only smooth concrete to slide around on. This also helped to keep the cars relatively clean. A mirror course was setup, and 2 participants would go head to head, doing a run on one side, before swapping over to the other side. In total, we each did 6 runs, and there was some time left over for a few “freestyle” runs.
I also brought my daughter along, so we had a nice father-daughter day out. She has never been on the skid pan before, or experienced any major craziness in cars before (don’t quote me on that, haha), but she was keen to see what it’s all about. On my first run, I took it easy, to learn the course, and to see if she would freak out at all. Nothing to worry about on that front, so thereafter I decided to just have as much fun as possible. I setup my GoPro in a different spot on each run, to capture different views, and of course our reactions inside the car. Videos below.
Given that it was a small course, I kept the car in manual, 1st gear. On the first run I left TC on, although this was interfering quite a bit, so I decided to switch it off for all the other runs. The car was very easy to control and place, and the LSD certainly made things easier to rotate around the cones. Instant response from the motor also played a big role. Towards the end of my runs, I was managing to get some proper slides and drifts going around parts of the course. Next time, I’d like to get some outside footage from the sidelines.
Despite all my hooning, I got a 2nd place in the M Class. It was also nice to meet up with some fellow Fanatics, and made some new friends on the day too. I’m already keeping my eyes peeled for the next event.

Moving along, despite all the activity and work that has materialised this year, G Shift has been ticking over. I will devote more attention to this in the coming weeks to bring Fanatics up to speed with what has been happening. More recently, I’ve had more time to spend on the cars, and try out some new products too. P&S products are coming to G Shift early in 2023 hopefully, but for now, I’ve brought in a handful of products for customers, and to try myself.
A couple of days after my usual maintenance wash, I decided to try a rinseless wash in the garage. Given that the car was clean and only had some surface dust, I tried out the rinseless wash using Optimum No Rinse (ONR), and followed that up with some application of P&S Bead Maker. The slickness of the paint was awesome after application, I hope the pictures below can do it some justice:


As mentioned, I’ll post elsewhere for details on these products and other developments at G Shift.
To end off this update, a couple of weeks ago, I took the family on a breakfast run organised by one of my customers. We headed to a coffee roastery in Pretoria East. It was a good morning out, with a good mix of cars including a 911 Cabriolet, Toyota 86, Bug Eye Scooby, Z3 M Coupe, E60 M5, 350Z and GR Yaris to name a few.
That’s all for now on this update.
gavsadler
///Member
Update Oct-2022:
As mentioned elsewhere, I've been bringing in some P&S Detailing products to try out myself, to evaluate and determine whether it's worth bringing in more. Long story short - yes it is. I'll post more details elsewhere re: the various products.
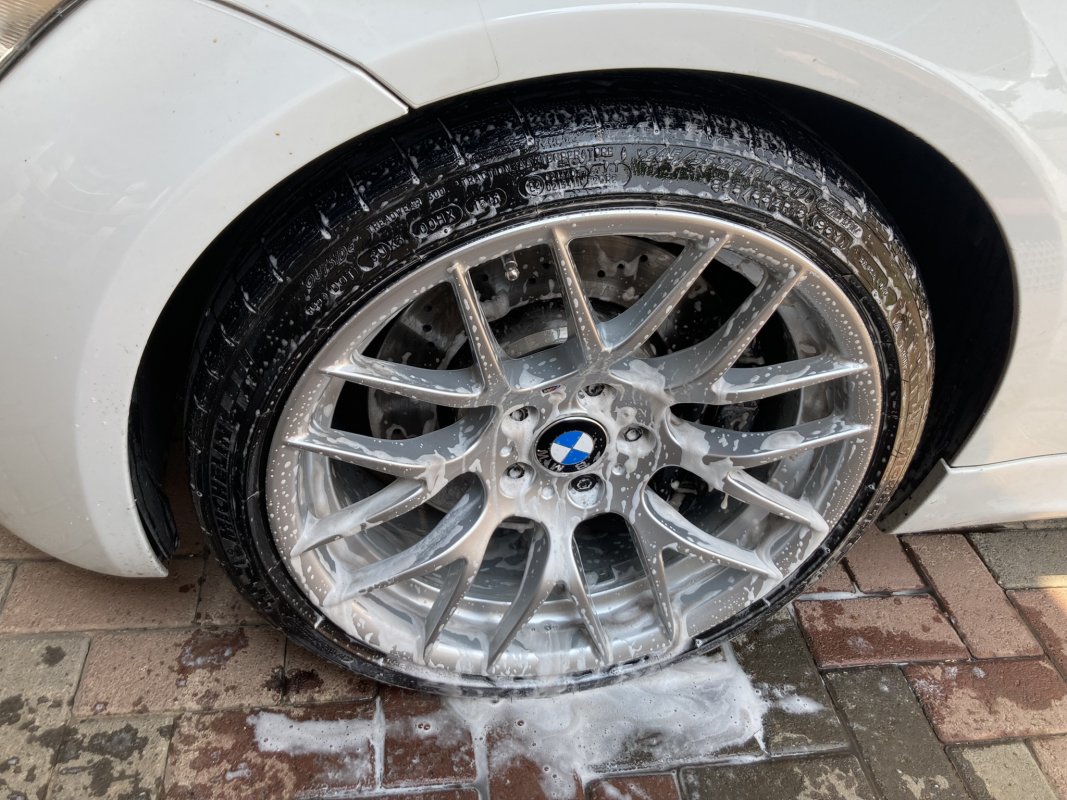
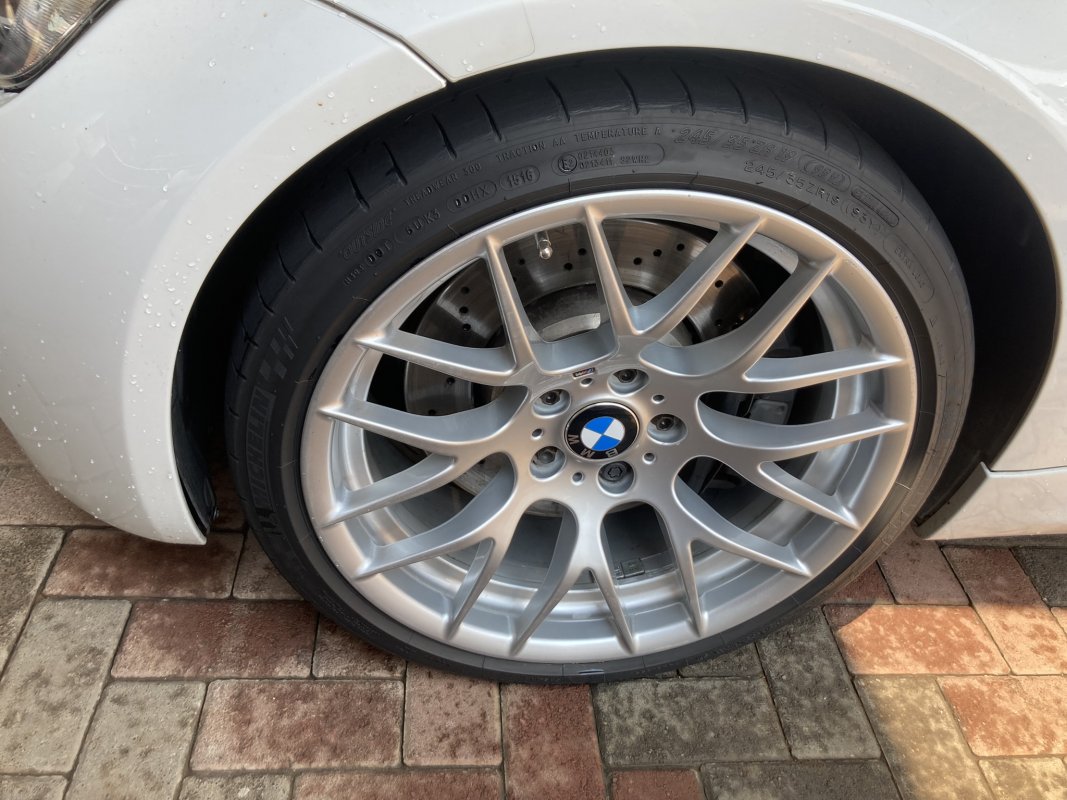
Here was my first attempt at using Brake Buster. IMO, one of the best wheel and tyre cleaners I have ever used. It works great on the wheels, but most impressive for me is how it cleans the tyres. Any previous dressings and coatings are vaporised, leaving a natural, clean tyre sidewall, for fresh dressings to be applied.
The "dirty" wheel:
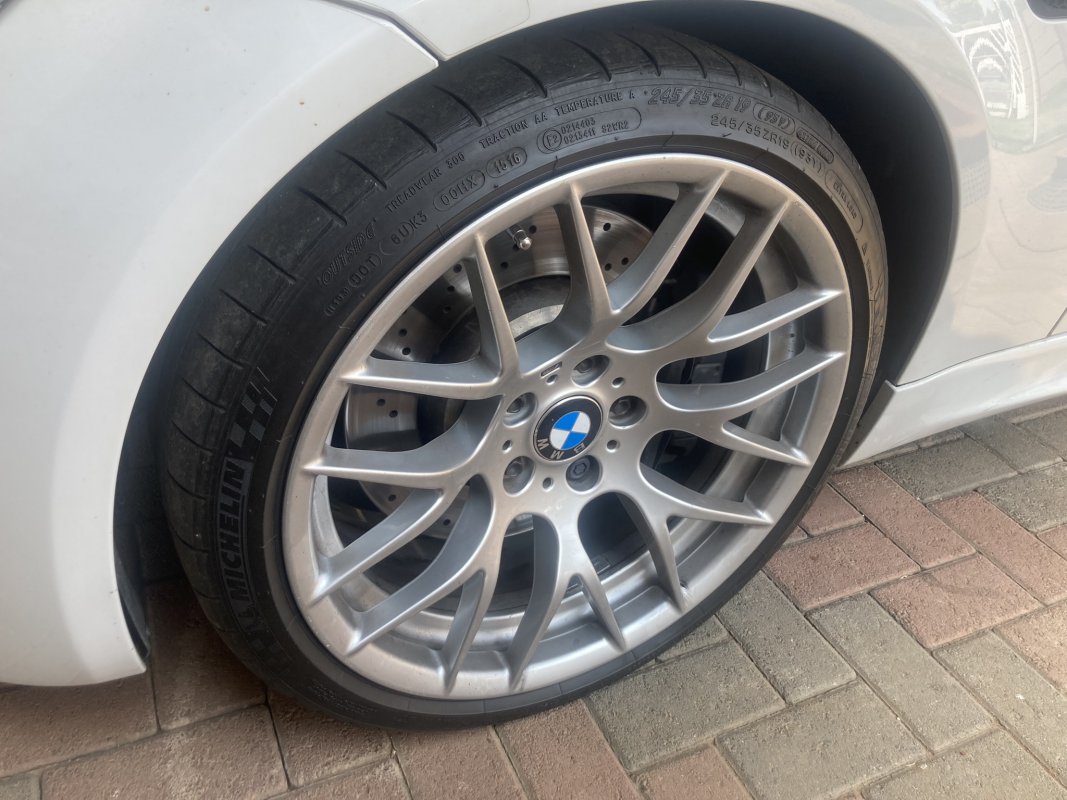
Applying P&S Brake Buster, about 1min of dwell time, without agitation:
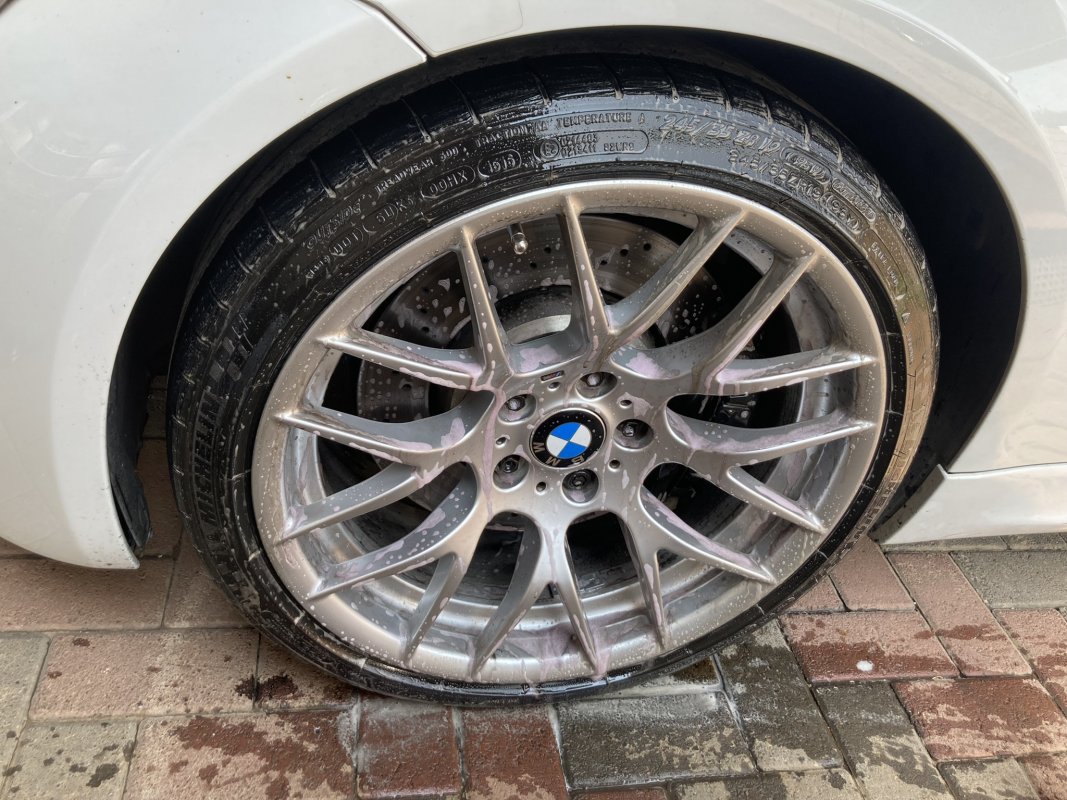
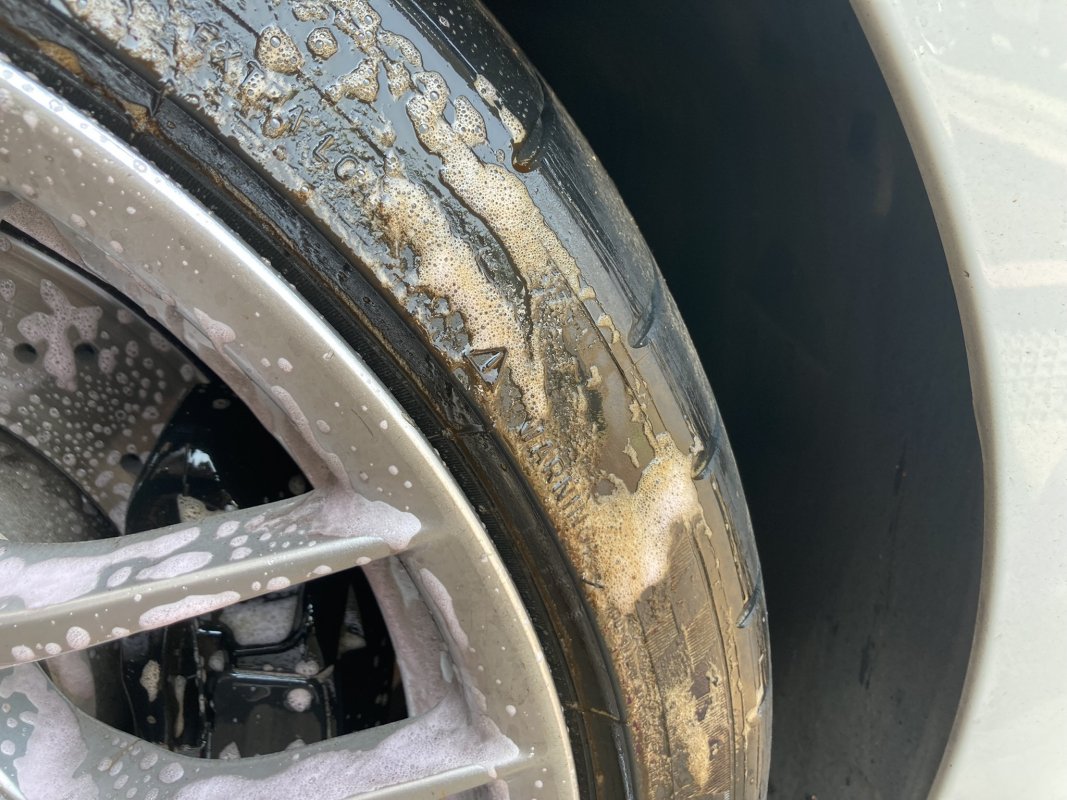
After some mild agitation on the tyre and wheel:
After rinsing and leaving to dry:
This, along with other P&S products are officially available through G Shift on special order at the moment, but plans are in the works to go more mainstream later this year.
As mentioned elsewhere, I've been bringing in some P&S Detailing products to try out myself, to evaluate and determine whether it's worth bringing in more. Long story short - yes it is. I'll post more details elsewhere re: the various products.
Here was my first attempt at using Brake Buster. IMO, one of the best wheel and tyre cleaners I have ever used. It works great on the wheels, but most impressive for me is how it cleans the tyres. Any previous dressings and coatings are vaporised, leaving a natural, clean tyre sidewall, for fresh dressings to be applied.
The "dirty" wheel:

Applying P&S Brake Buster, about 1min of dwell time, without agitation:


After some mild agitation on the tyre and wheel:

After rinsing and leaving to dry:

This, along with other P&S products are officially available through G Shift on special order at the moment, but plans are in the works to go more mainstream later this year.
gavsadler
///Member
Update Nov-2023:
As mentioned in my 130i thread, the final round of the BMW CCG Skidpan Autocross took place in November. It was a family fun day, and both the M3 and 130i went for some fun. I'll avoid duplicating the comments from the day. At the end of all the official timed runs, I switched cars into the M3 and took the girls for a little freestyle hoon. Here's a video from the sidelines:
Update Jan-2023:
Fast forward to 2023, and in January, I got some time to give all the cars a decent mini-detail. This was the usual maintenance wash, followed by clay and then some Menerna Polish and Sealant. Additional P&S Products were also tried out on the tyres, trim, glass and interior. Some pics of a couple of days of work on the M3:
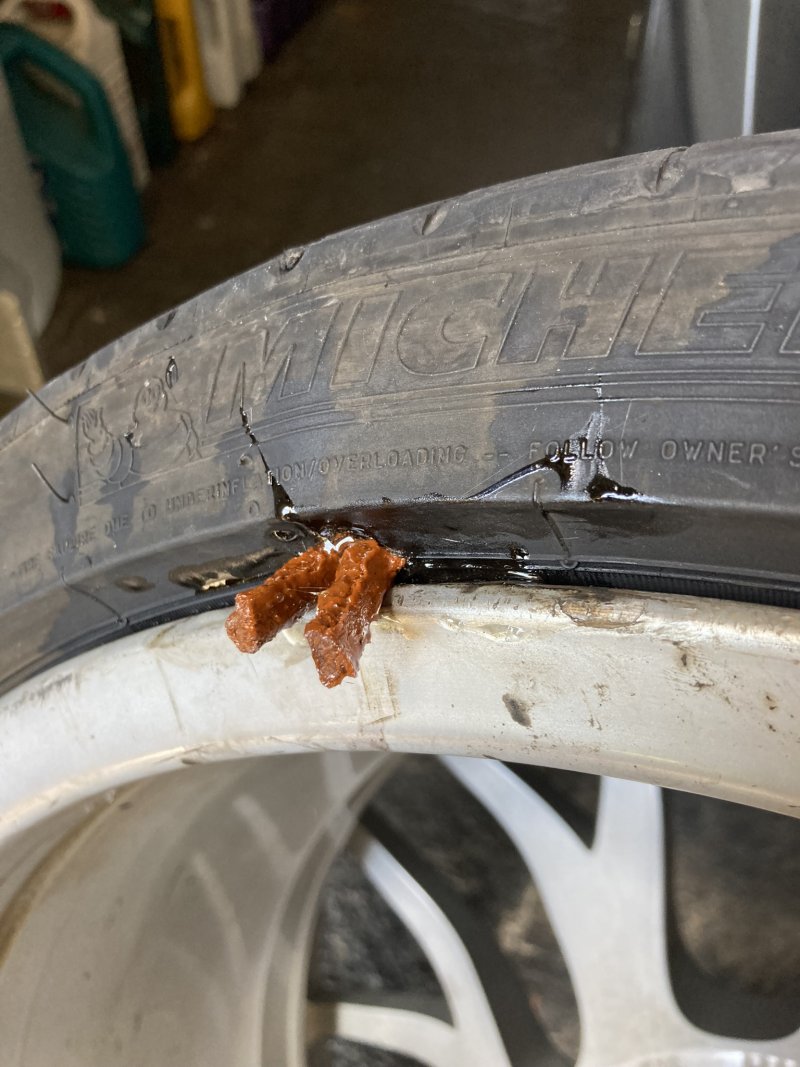
And then, disaster. Whilst on a trip to the local shopping centre, I heard what sounded like crickets chirping away in the grass next to the road, the only problem being that the crickets never went away, and their chirping was speed dependant, and also had a constant tone when stopped. After limping back home, I found a puncture on the front wheel, on the inside just above the rim. I put a plug in it, and it held pressure, so I was able to park the car away. I did not want to drive it in this state, as it looked very likely that the puncture could spread along the sidewall. The car parked for about 6 weeks like this while I sulked and planned my way forward. This was looking to be a VERY expensive puncture.
As mentioned in my 130i thread, the final round of the BMW CCG Skidpan Autocross took place in November. It was a family fun day, and both the M3 and 130i went for some fun. I'll avoid duplicating the comments from the day. At the end of all the official timed runs, I switched cars into the M3 and took the girls for a little freestyle hoon. Here's a video from the sidelines:
Update Jan-2023:
Fast forward to 2023, and in January, I got some time to give all the cars a decent mini-detail. This was the usual maintenance wash, followed by clay and then some Menerna Polish and Sealant. Additional P&S Products were also tried out on the tyres, trim, glass and interior. Some pics of a couple of days of work on the M3:


And then, disaster. Whilst on a trip to the local shopping centre, I heard what sounded like crickets chirping away in the grass next to the road, the only problem being that the crickets never went away, and their chirping was speed dependant, and also had a constant tone when stopped. After limping back home, I found a puncture on the front wheel, on the inside just above the rim. I put a plug in it, and it held pressure, so I was able to park the car away. I did not want to drive it in this state, as it looked very likely that the puncture could spread along the sidewall. The car parked for about 6 weeks like this while I sulked and planned my way forward. This was looking to be a VERY expensive puncture.

gavsadler
///Member
Update March-2023:
It's been a busy month and a bit for the car. After a suitable amount of sulking, I decided to move forward with repairs. I didn't want to buy just 1 tyre, because that is silly. So it would mean a pair of front tyres were needed. Then, the back tyres were also looking a bit tired and worn, so that was a pair of rear tyres added to the shopping list. Also, it's probably a good time to replace the tyres, as they are approx. 6 years old according to the date stamps. Looking closely at the tyres, the fine hairline cracks which come with age were also starting.
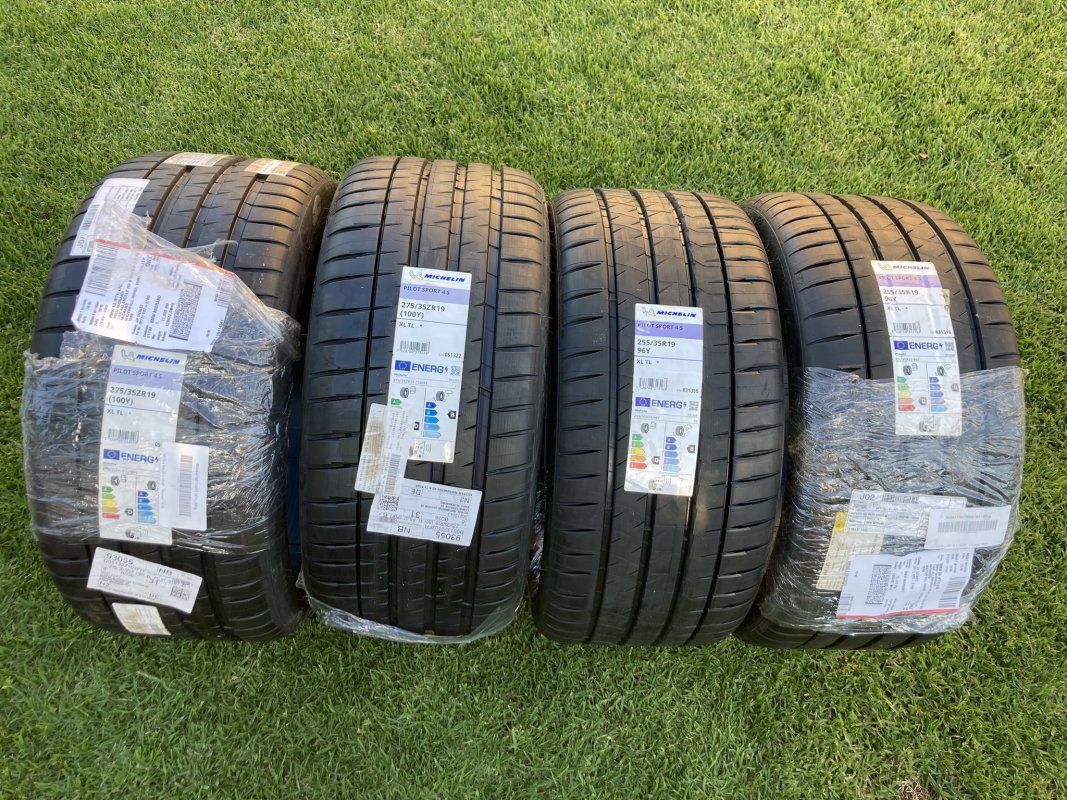
So, after some shopping around, I decided to go with Michelin PS 4S. I went 1 size wider than stock for the front and for the rear (from 245-35-19 to 255-35-19 for the front, and from 265-35-19 to 275-35-19 at the rear).
With tyres on hand, I moved on to my next stage of repairs. The rims had some curb rash on them from the previous owners (out in California), and I never got round to dealing with it for the past 3 years. The intention was to refurbish the wheels once the current set of tyres needed replacing. Based on the mileage I do, that has taken quite some time. I was also concerned that the wheels would be slightly buckled, from previous owner mishaps, or from our fantastic South African roads.
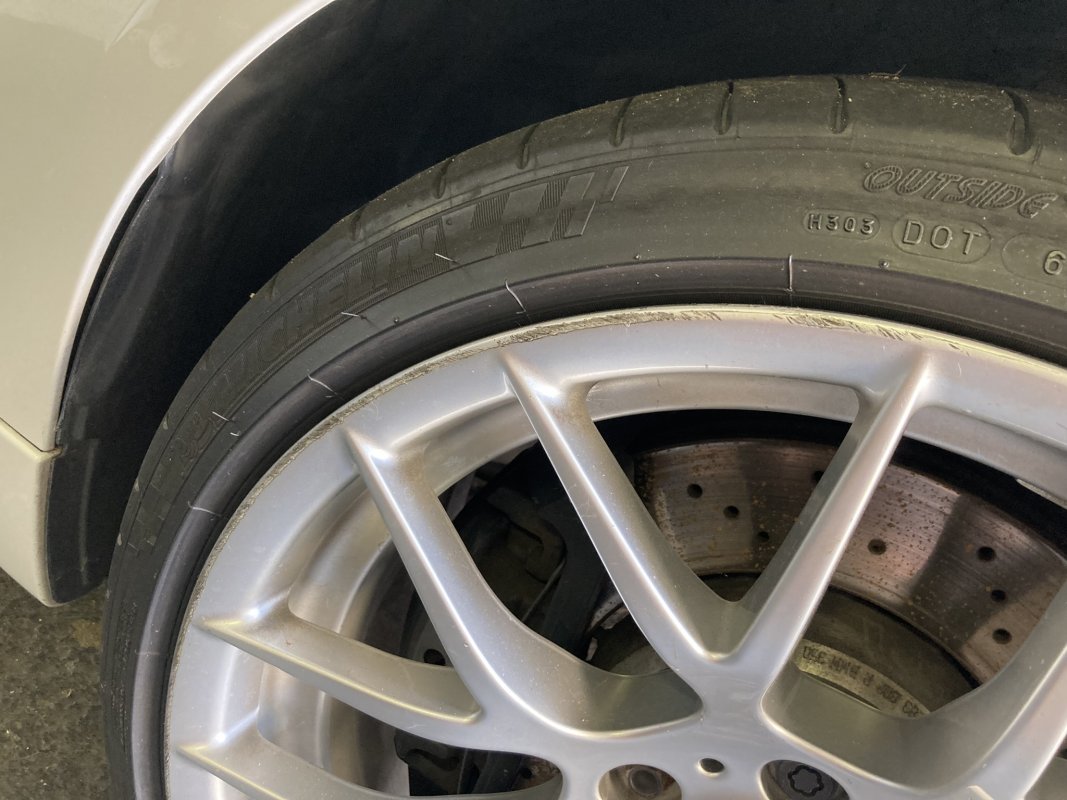
Here you will see an example of a front wheel with the curb rash. Both front wheels look like this, the back wheels are in better condition, but could still do with a refurb.
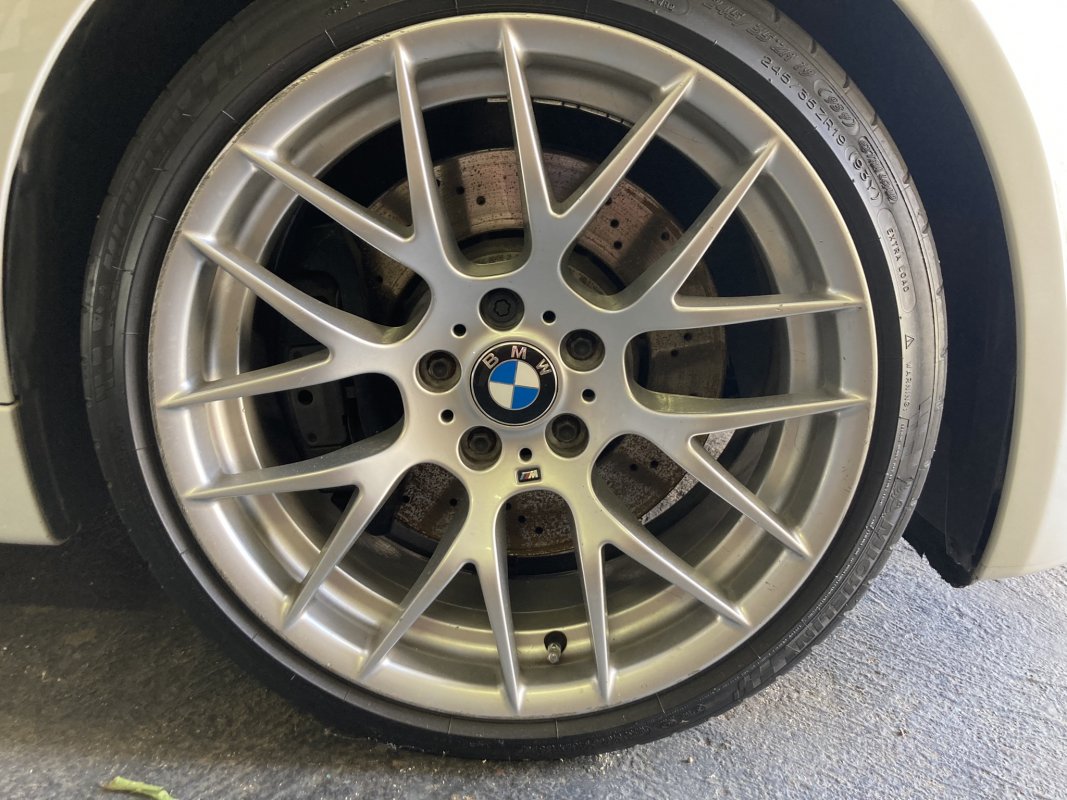
So I loaded them up and went to Hi Tech Mag Repairs in Alrode. They've done all my wheels for the past 20 years and their quality is tops. I've never had a bad experience there thankfully. They would have a full refurb, straightening and paint in the original Hyper Silver.
It's been a busy month and a bit for the car. After a suitable amount of sulking, I decided to move forward with repairs. I didn't want to buy just 1 tyre, because that is silly. So it would mean a pair of front tyres were needed. Then, the back tyres were also looking a bit tired and worn, so that was a pair of rear tyres added to the shopping list. Also, it's probably a good time to replace the tyres, as they are approx. 6 years old according to the date stamps. Looking closely at the tyres, the fine hairline cracks which come with age were also starting.
So, after some shopping around, I decided to go with Michelin PS 4S. I went 1 size wider than stock for the front and for the rear (from 245-35-19 to 255-35-19 for the front, and from 265-35-19 to 275-35-19 at the rear).

With tyres on hand, I moved on to my next stage of repairs. The rims had some curb rash on them from the previous owners (out in California), and I never got round to dealing with it for the past 3 years. The intention was to refurbish the wheels once the current set of tyres needed replacing. Based on the mileage I do, that has taken quite some time. I was also concerned that the wheels would be slightly buckled, from previous owner mishaps, or from our fantastic South African roads.
Here you will see an example of a front wheel with the curb rash. Both front wheels look like this, the back wheels are in better condition, but could still do with a refurb.


So I loaded them up and went to Hi Tech Mag Repairs in Alrode. They've done all my wheels for the past 20 years and their quality is tops. I've never had a bad experience there thankfully. They would have a full refurb, straightening and paint in the original Hyper Silver.
gavsadler
///Member
With the wheels getting sorted out, I decided to geek out a bit and compare the old Michelin Pilot Supersports which came off the wheels, to the new PS 4S tyres. The new fronts are noticeably wider, and my crude measuring showed a good 10-20mm increase across the tyre (this is obviously also taking into consideration the new tread). The rear tyres were less noticeable, and I was not able to accurately measure a noticeable increase in footprint. But there are many factors at play here, including the stretch of the old tyres, tread depth and so on.
Another interesting point I noted was the width of the tread blocks / ribs themselves. On the fronts, again the ribs were much wider than the old tyres. Also wider was the water grooves between the ribs. On the rear, while the water grooves were wider than on the old tyres, the tread ribs themselves were the same, and the centre rib was actually narrower on the new tyre than the old tyre.
Nevertheless, new tyres would be an improvement. The rubber is much softer and more pliable, and the tyres are wider spec, so this should improve the looks and fill the arches a little better. I've never been a fan of the stretch look on BMWs. Also, this tyre combo is widely used overseas and recommended. The uniform increase in width should also not upset the balance and handling characteristics of the car.
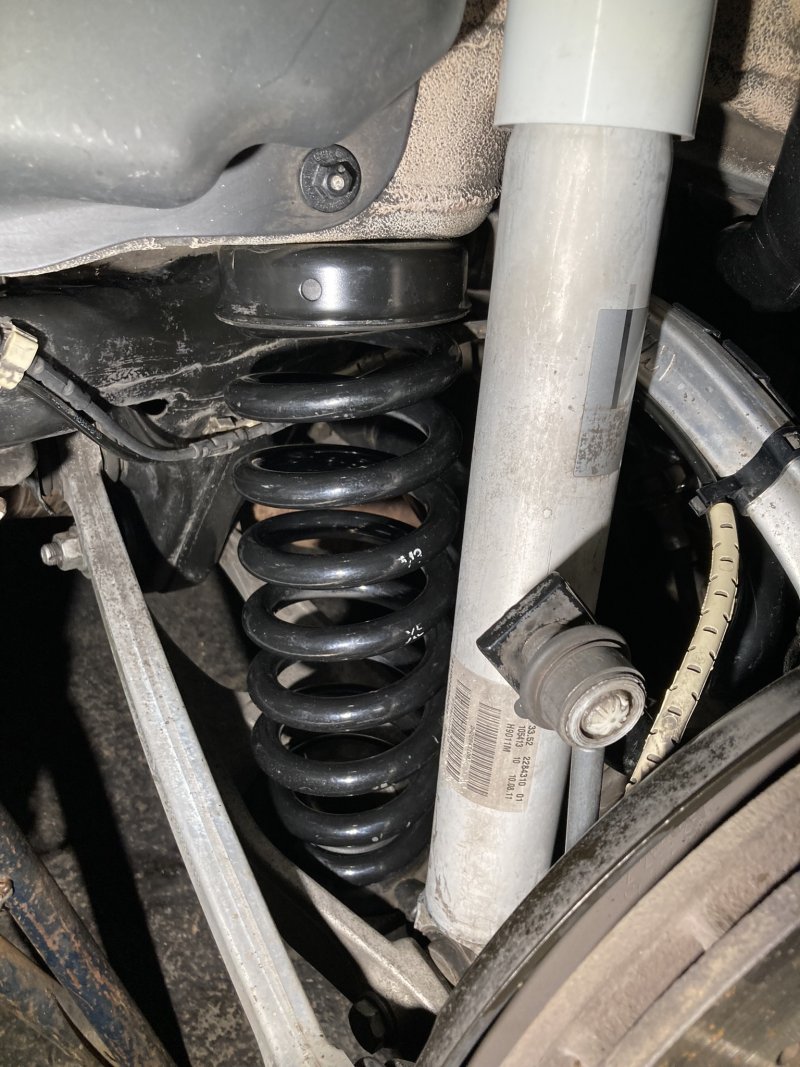
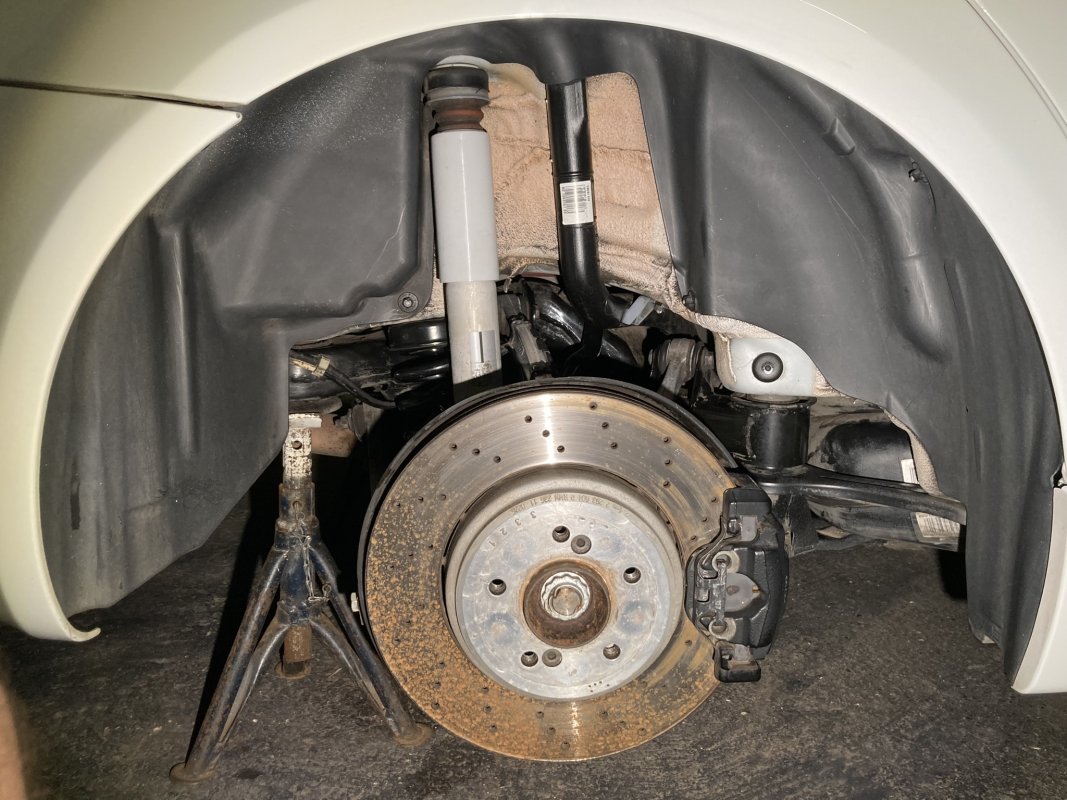
While the car was on trestles, we did some deep cleaning in the arches, to clean off some road dirt and grime. Also, I needed a clean space to work, so that I could install a set of OEM M3 Competition springs. These have been sitting in my shed for nearly 2 years now. Eagle eyes will recall a pic I posted a while back of a box of goodies which arrived from the States one day.
What's interesting to note is the number of different spring rates available for these cars. Both Stock and Competition, the spring rates differ based on the mass of the vehicle, which is influenced by things like sunroof, electric seats and other heavy items. Also, the spring rates (and part numbers) seem to differ again between the Coupe, Convertible and Sedan M3 models. I cannot verify all of this for certain, as the more I researched, the more rabbit holes I went into.
To wind back the clock a bit, about 2years ago I found this set, they came off an E90 M3 Competition LCI, which had sunroof, electric seats and double-hump dash. This was probably as close as I was going to get to what my car is.
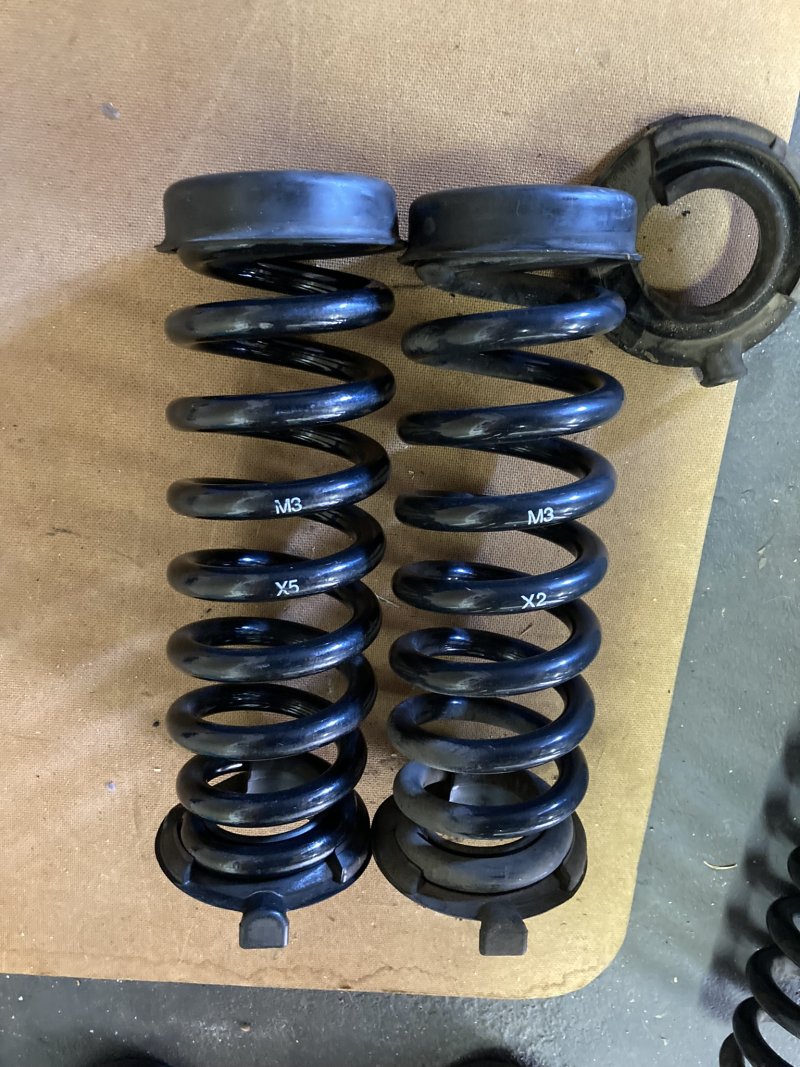
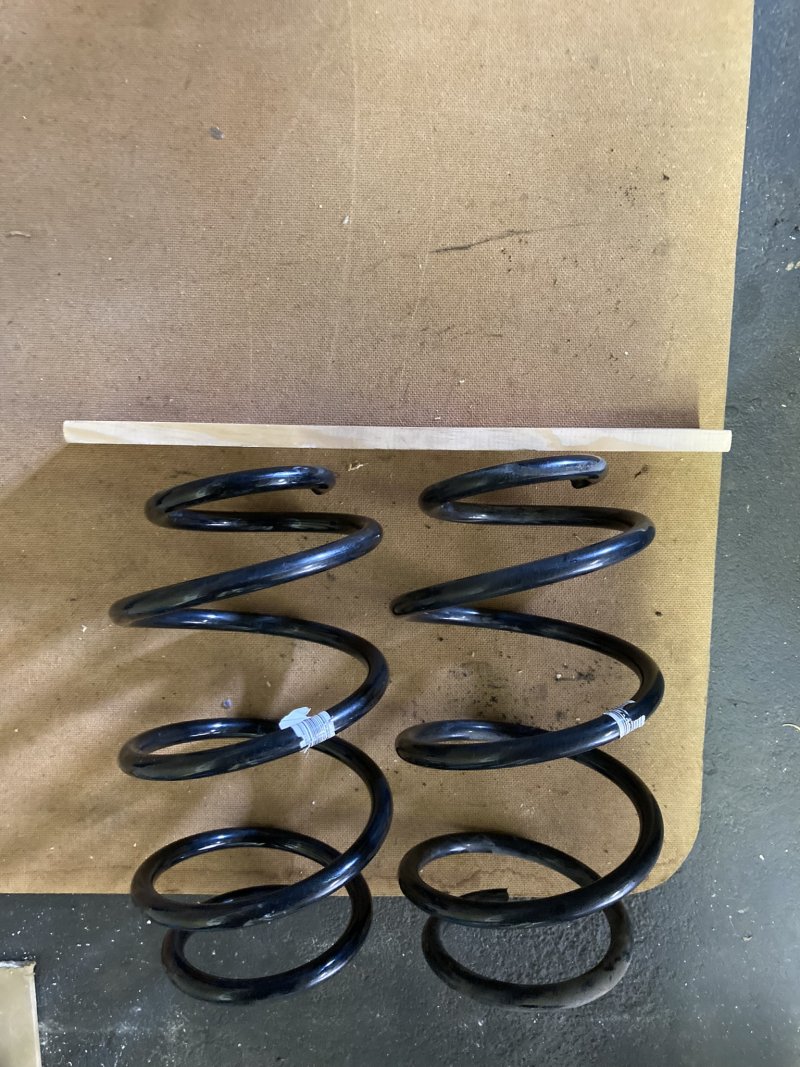
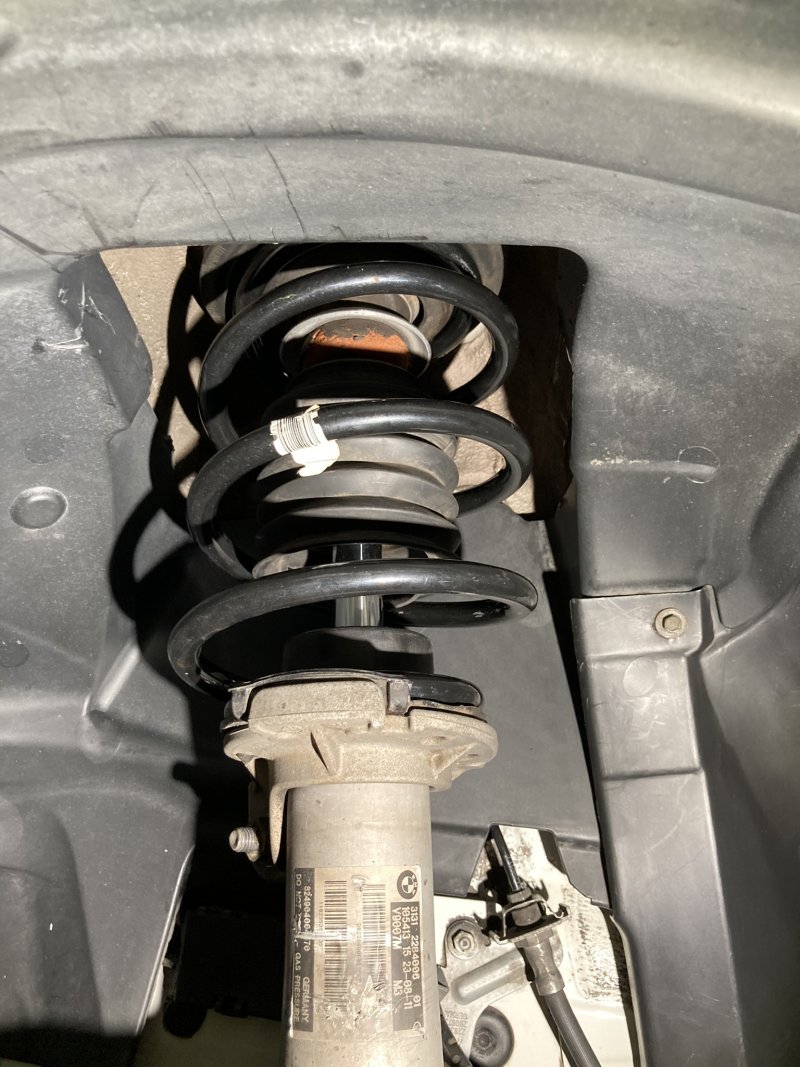
I tried to measure the springs compared to the ones which came out the car. The new Competition springs are on the left, and the stock springs are on the right. For the rear springs, the height difference is almost imperceptible. For the front springs, they are noticably shorter. According to specifications and marketing materials, the Competition variants have a 10mm lower ride height.
Rear Springs:
Front Springs:
Another interesting point I noted was the width of the tread blocks / ribs themselves. On the fronts, again the ribs were much wider than the old tyres. Also wider was the water grooves between the ribs. On the rear, while the water grooves were wider than on the old tyres, the tread ribs themselves were the same, and the centre rib was actually narrower on the new tyre than the old tyre.
Nevertheless, new tyres would be an improvement. The rubber is much softer and more pliable, and the tyres are wider spec, so this should improve the looks and fill the arches a little better. I've never been a fan of the stretch look on BMWs. Also, this tyre combo is widely used overseas and recommended. The uniform increase in width should also not upset the balance and handling characteristics of the car.
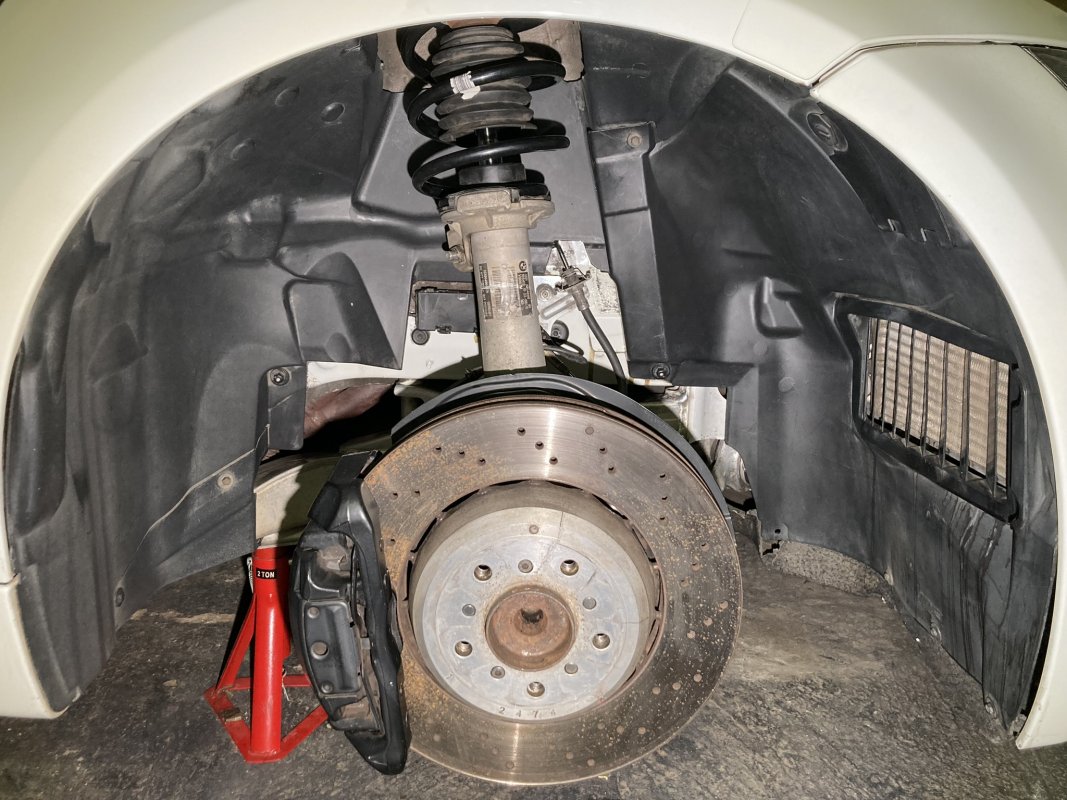
While the car was on trestles, we did some deep cleaning in the arches, to clean off some road dirt and grime. Also, I needed a clean space to work, so that I could install a set of OEM M3 Competition springs. These have been sitting in my shed for nearly 2 years now. Eagle eyes will recall a pic I posted a while back of a box of goodies which arrived from the States one day.
What's interesting to note is the number of different spring rates available for these cars. Both Stock and Competition, the spring rates differ based on the mass of the vehicle, which is influenced by things like sunroof, electric seats and other heavy items. Also, the spring rates (and part numbers) seem to differ again between the Coupe, Convertible and Sedan M3 models. I cannot verify all of this for certain, as the more I researched, the more rabbit holes I went into.
To wind back the clock a bit, about 2years ago I found this set, they came off an E90 M3 Competition LCI, which had sunroof, electric seats and double-hump dash. This was probably as close as I was going to get to what my car is.
I tried to measure the springs compared to the ones which came out the car. The new Competition springs are on the left, and the stock springs are on the right. For the rear springs, the height difference is almost imperceptible. For the front springs, they are noticably shorter. According to specifications and marketing materials, the Competition variants have a 10mm lower ride height.
Rear Springs:


Front Springs:


gavsadler
///Member
About 10 days later, the wheels were repaired and ready for collection:
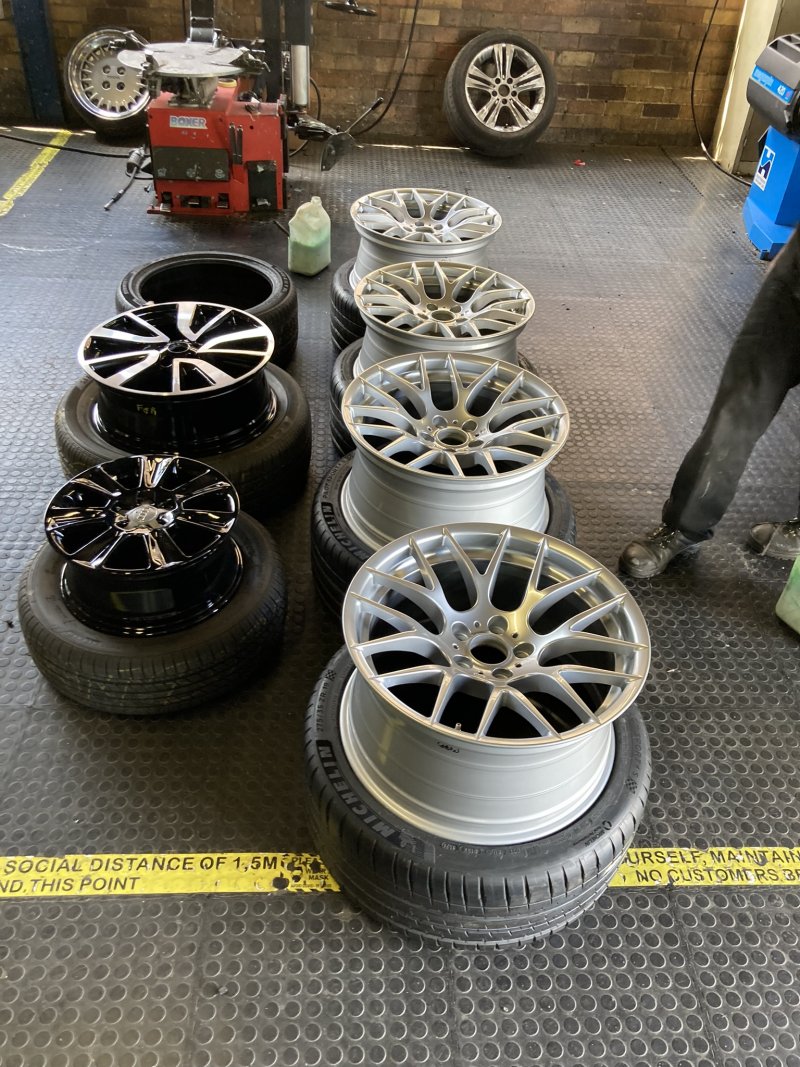
For interest and comparison sake, there also happened to be an (OEM I believe) E46 CSL style wheel on the floor, which had just been repaired. I'll leave this picture here for you to scrutinise the differences between the CSL wheel and the 359M:
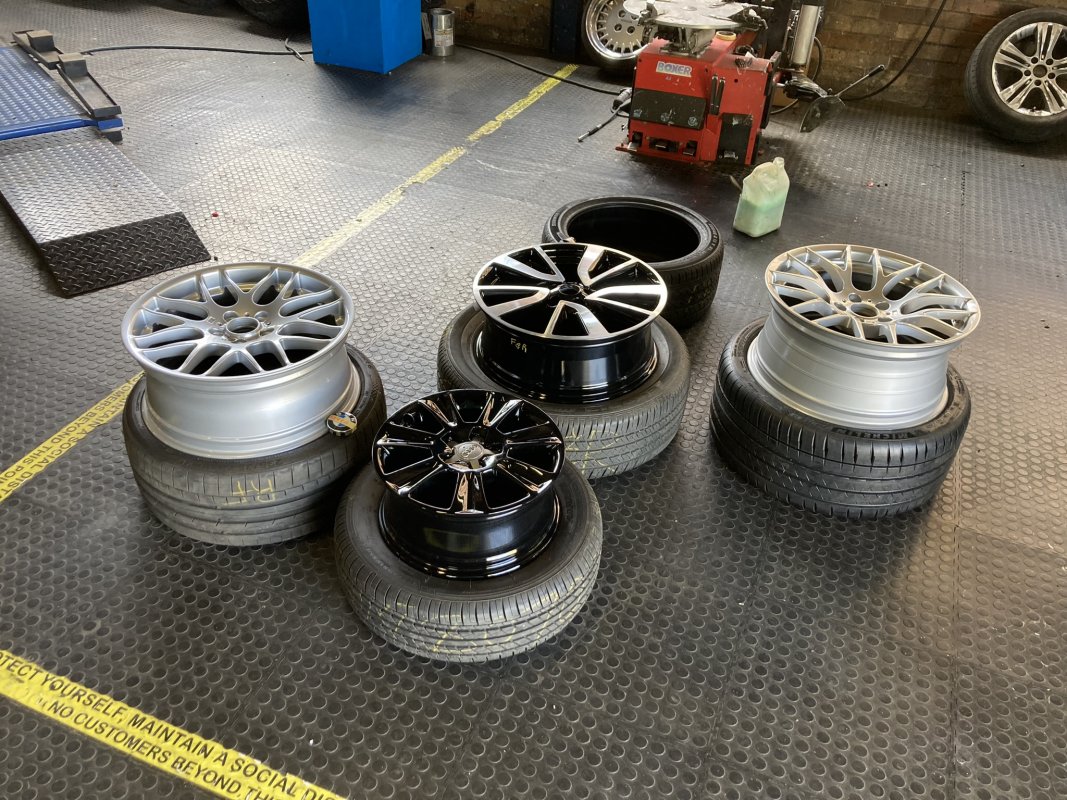
After fitting the wheels, they were balanced, and for the geeks still reading, the wheel balancing weights required for each wheel ranged from 5g to 35g. I'm happy with this. They also mentioned that the rims were not badly buckled at all, only very slightly on the inside of the front wheels. A welcome relief there too that no major machining work was required.
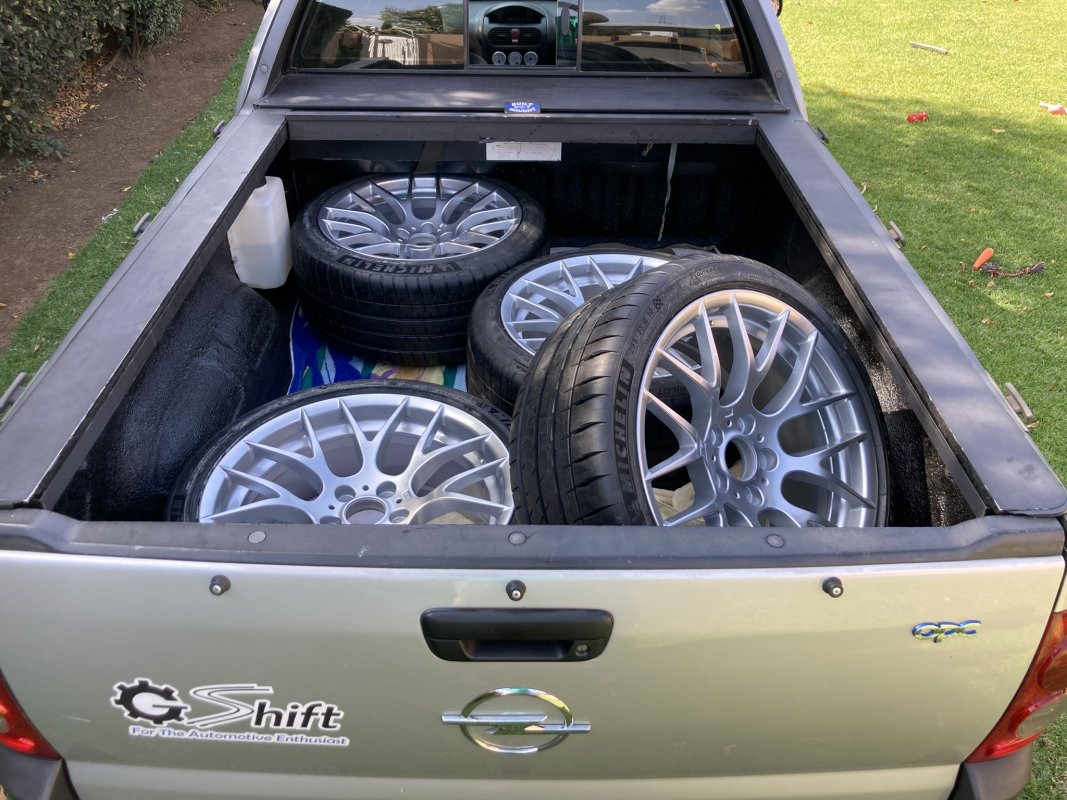
A bit of a nerve-wracking ride back home, with an expensive load of cargo:
Once the wheels were home, they were repeatedly cleaned to get rid of any tyre mounting soap and goop, and any other contaminants. I wanted to polish the wheels, and thereafter ceramic coat them.
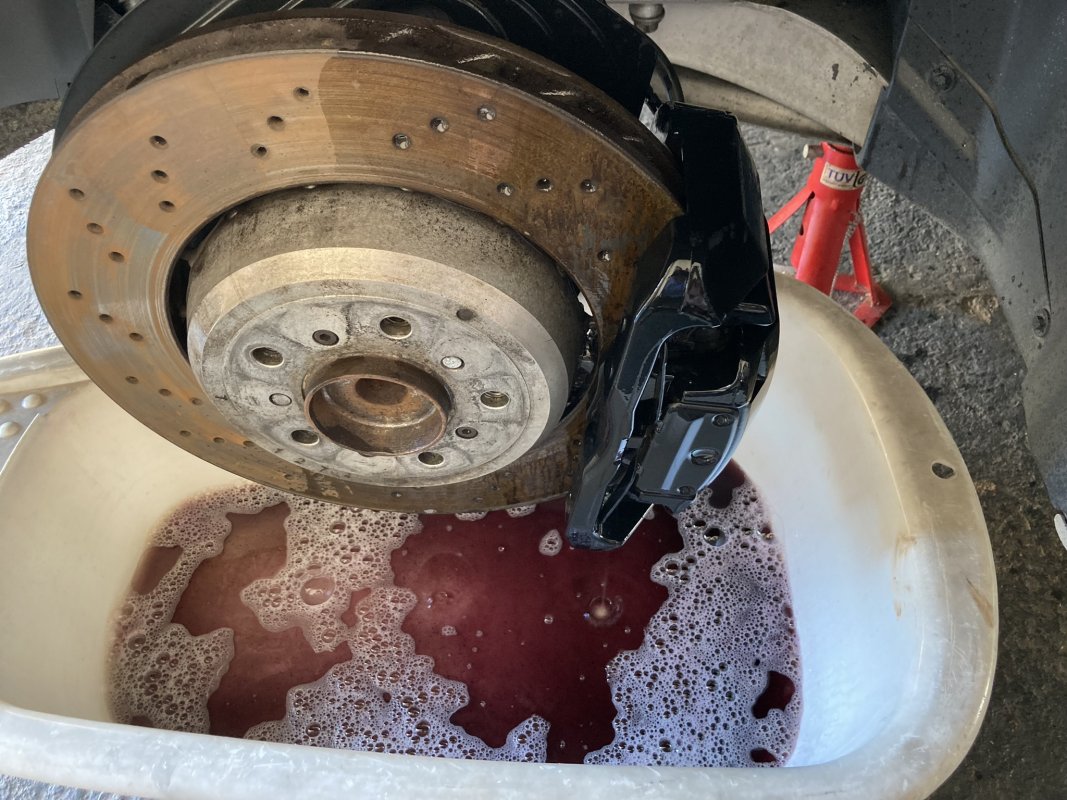
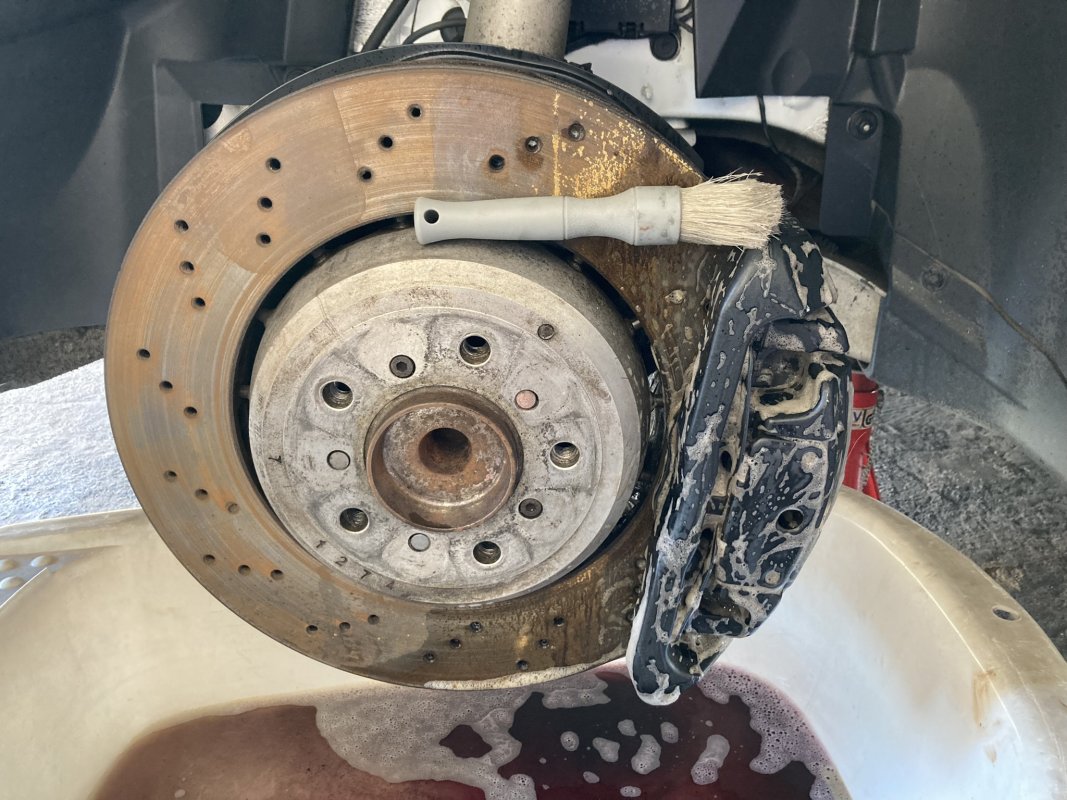
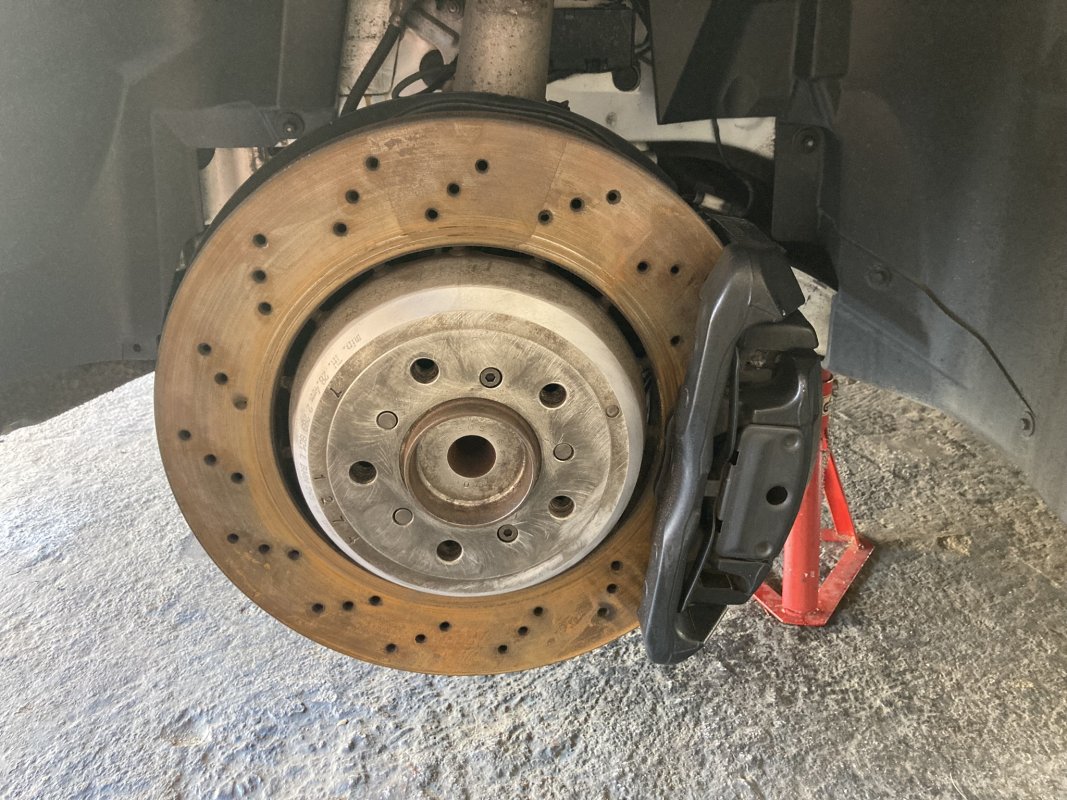
At the same time, I decided to give the calipers another clean (after the deep clean from previously), using P&S Iron Buster, followed by P&S Brake Buster. Once the calipers were cleaned again, they were also ready to be ceramic coated.

For interest and comparison sake, there also happened to be an (OEM I believe) E46 CSL style wheel on the floor, which had just been repaired. I'll leave this picture here for you to scrutinise the differences between the CSL wheel and the 359M:

After fitting the wheels, they were balanced, and for the geeks still reading, the wheel balancing weights required for each wheel ranged from 5g to 35g. I'm happy with this. They also mentioned that the rims were not badly buckled at all, only very slightly on the inside of the front wheels. A welcome relief there too that no major machining work was required.
A bit of a nerve-wracking ride back home, with an expensive load of cargo:

Once the wheels were home, they were repeatedly cleaned to get rid of any tyre mounting soap and goop, and any other contaminants. I wanted to polish the wheels, and thereafter ceramic coat them.
At the same time, I decided to give the calipers another clean (after the deep clean from previously), using P&S Iron Buster, followed by P&S Brake Buster. Once the calipers were cleaned again, they were also ready to be ceramic coated.


gavsadler
///Member
Over the next few days, my fingers would take a beating. It's a lot of work to clean and prep the wheels. Essentially this was what I did:
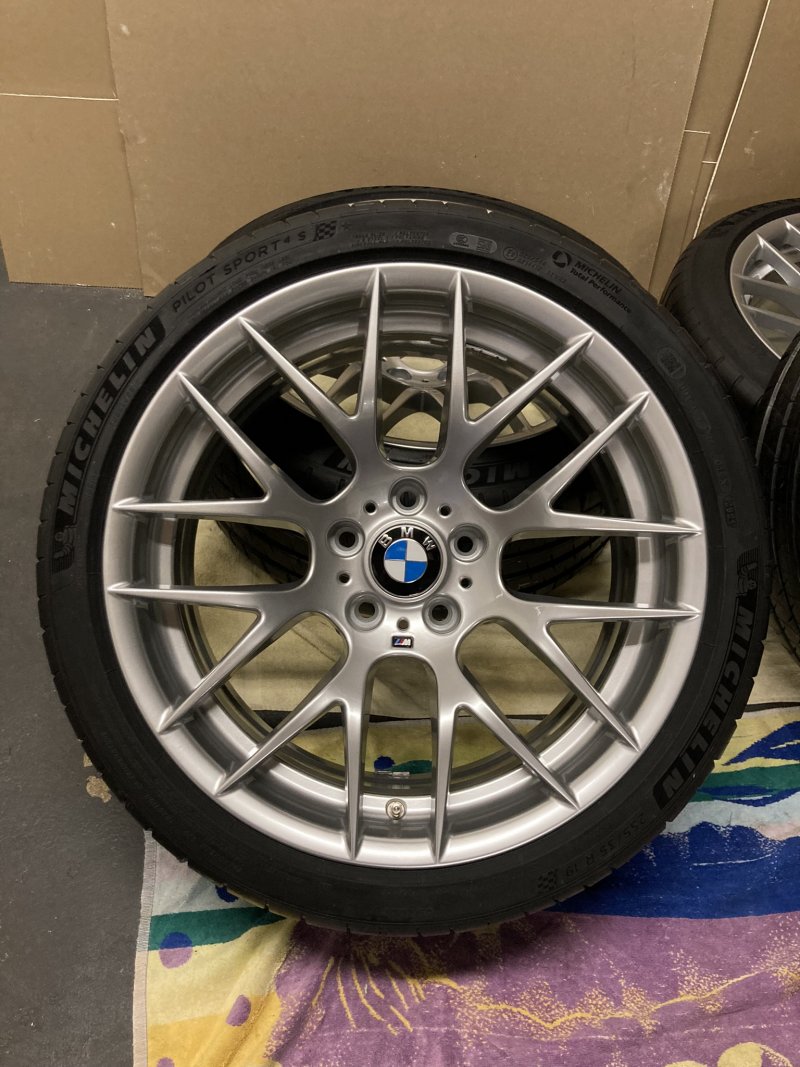
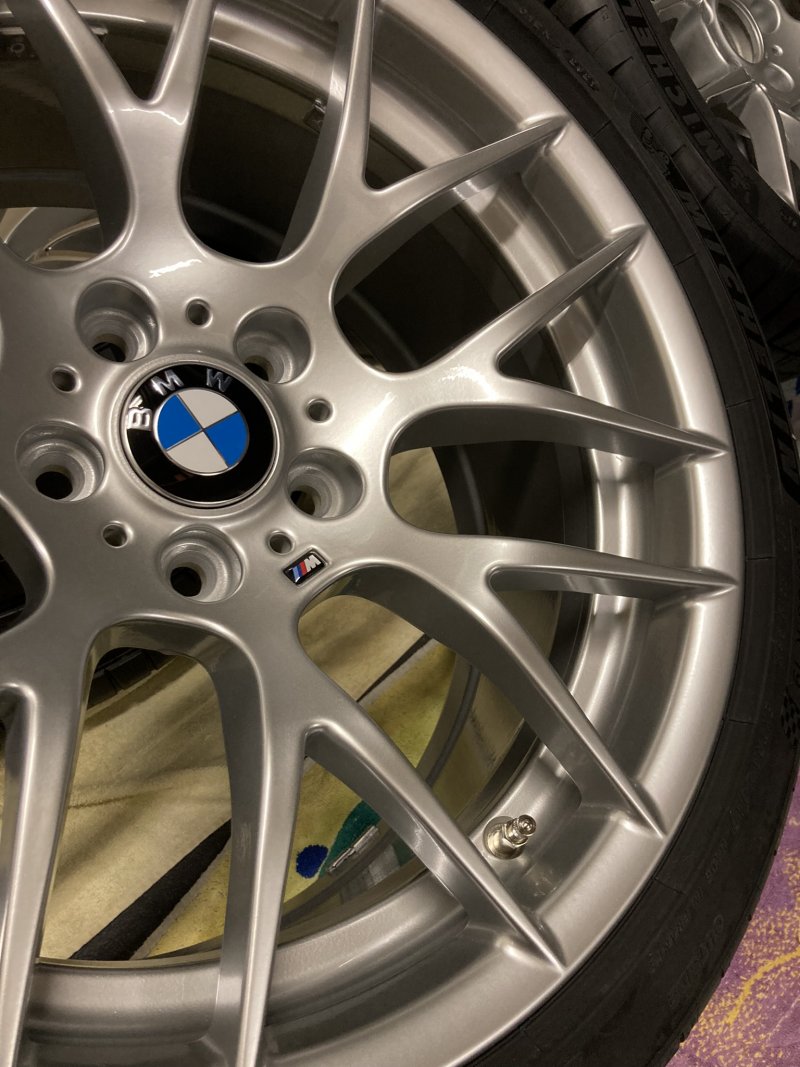
I also caved into my OCD, and emptied a few more Rands on some new bits and pieces:
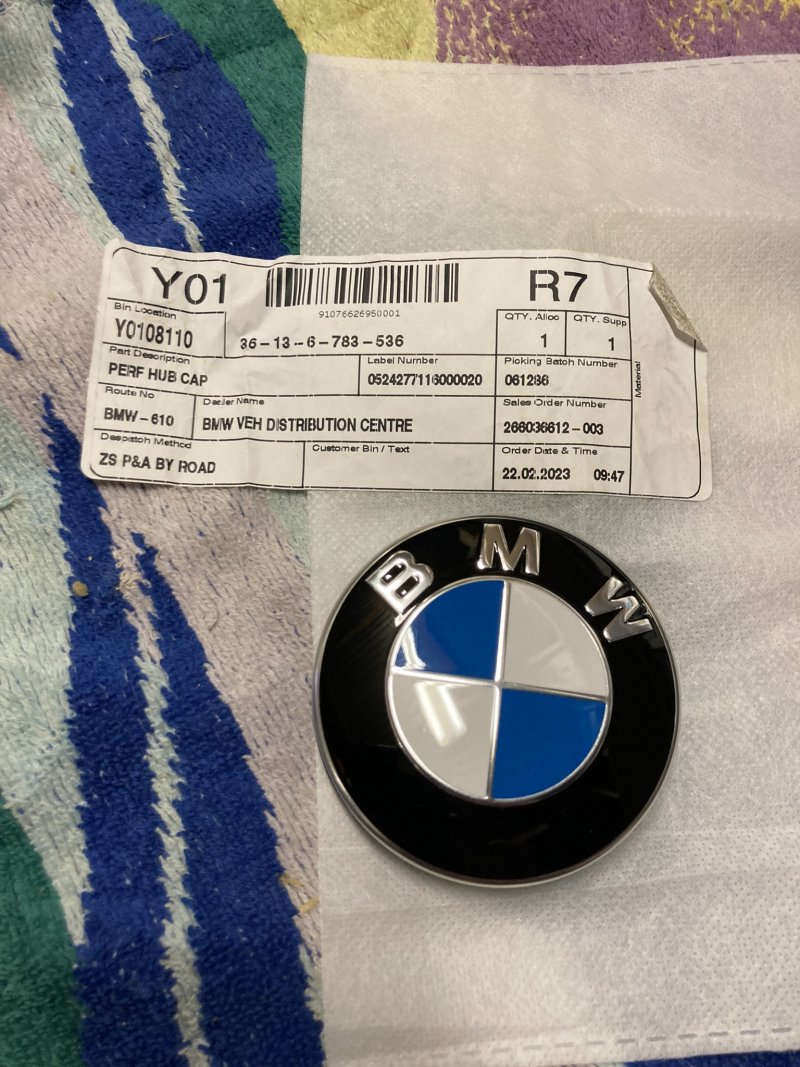
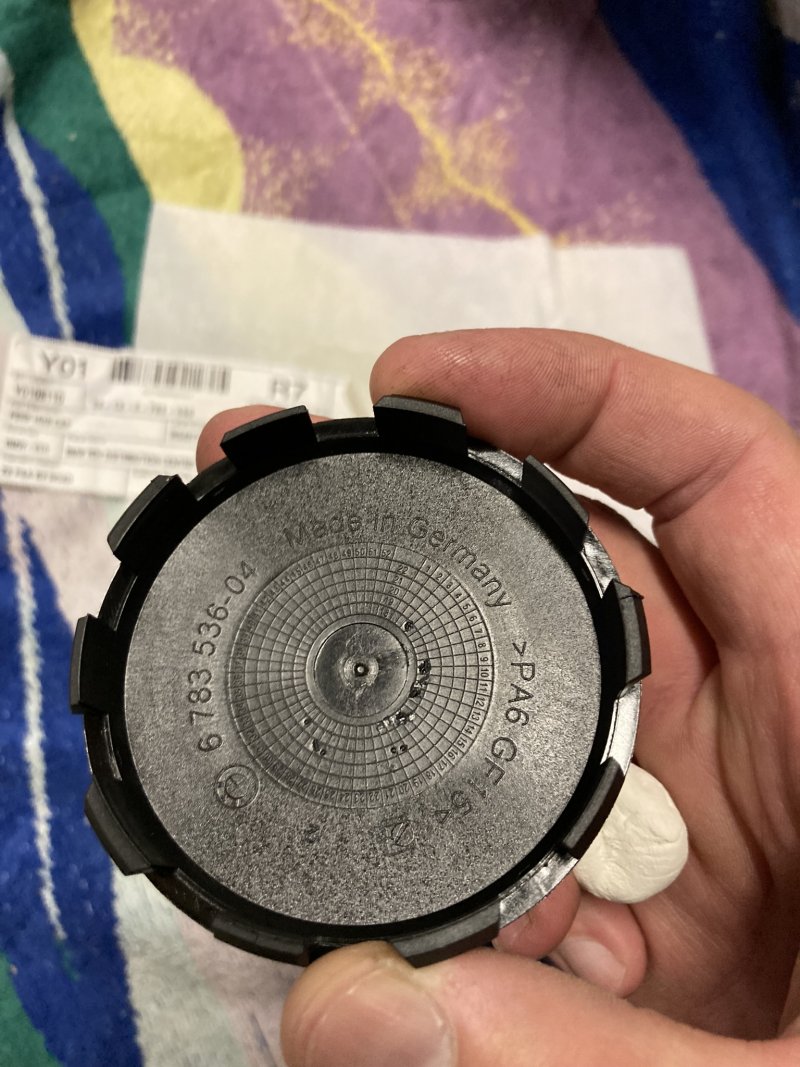
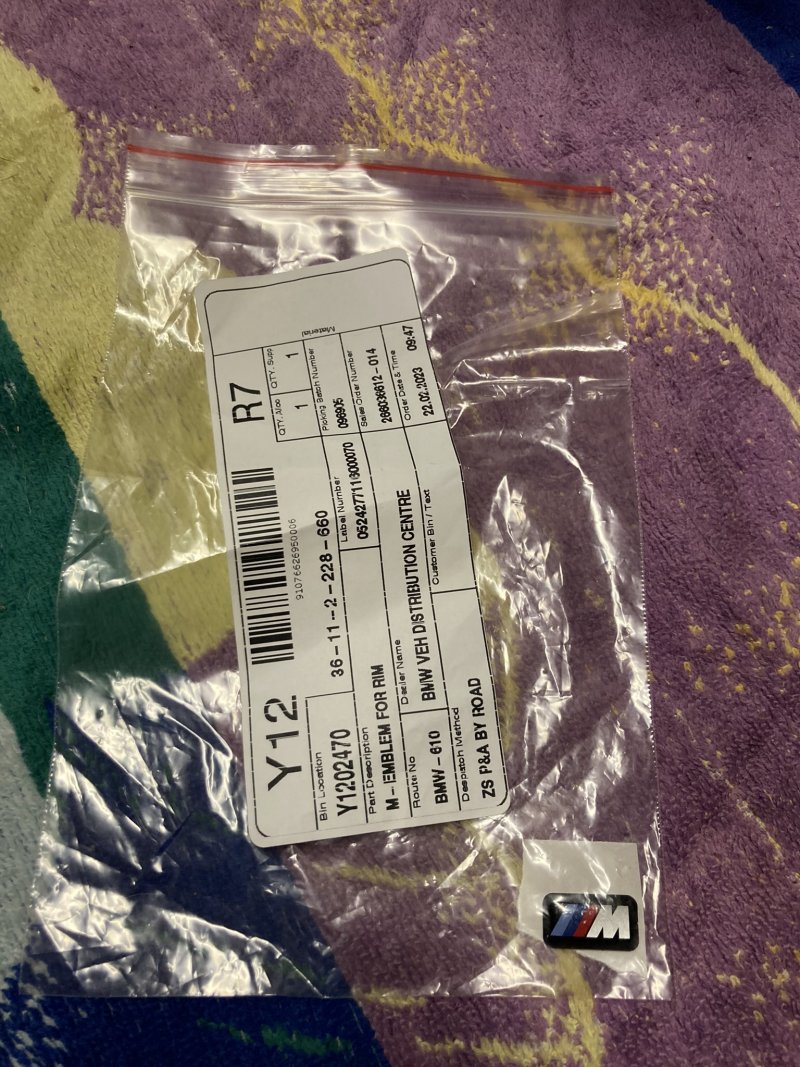
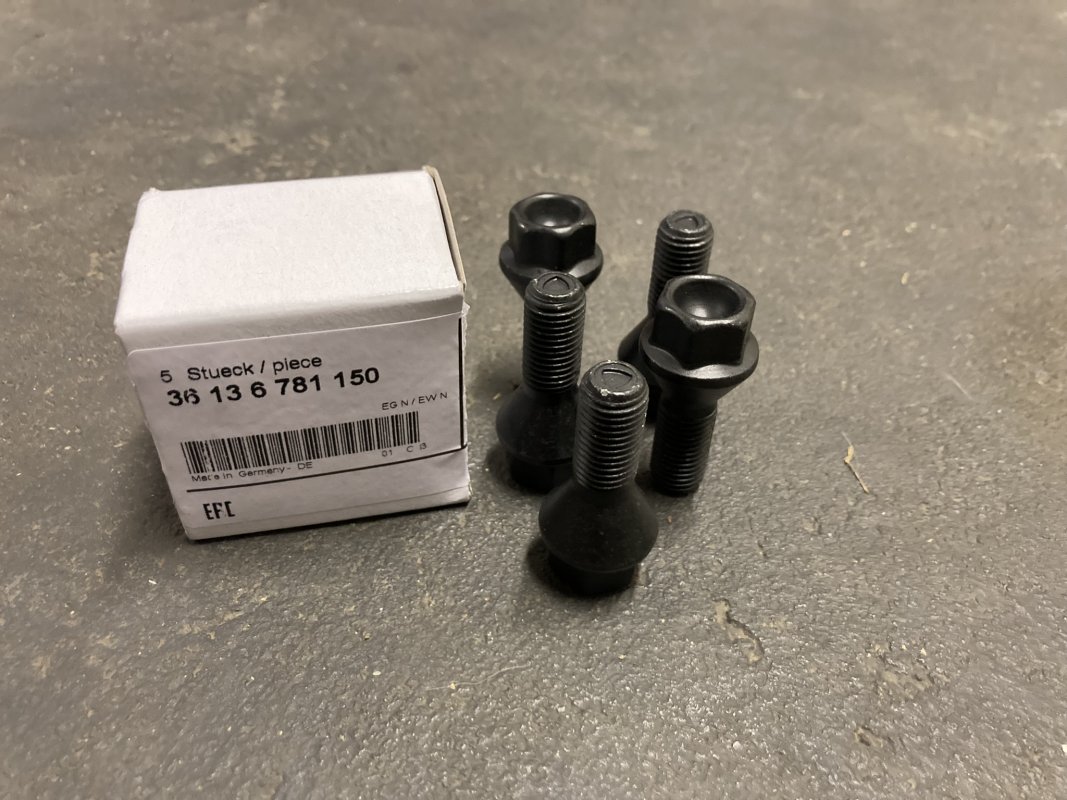
There was a mixup with the centre caps and M emblems, so I only received 1 of each instead of 4 of each, but that will be resolved soon.
Once all the wheels were completed and fitted, the next day it was off to the alignment shop. The guy who worked on my car was slick and experienced. He showed me what to look out for to replace in future (the hinges to adjust the camber), and also took great care to work carefully and not like a chop.
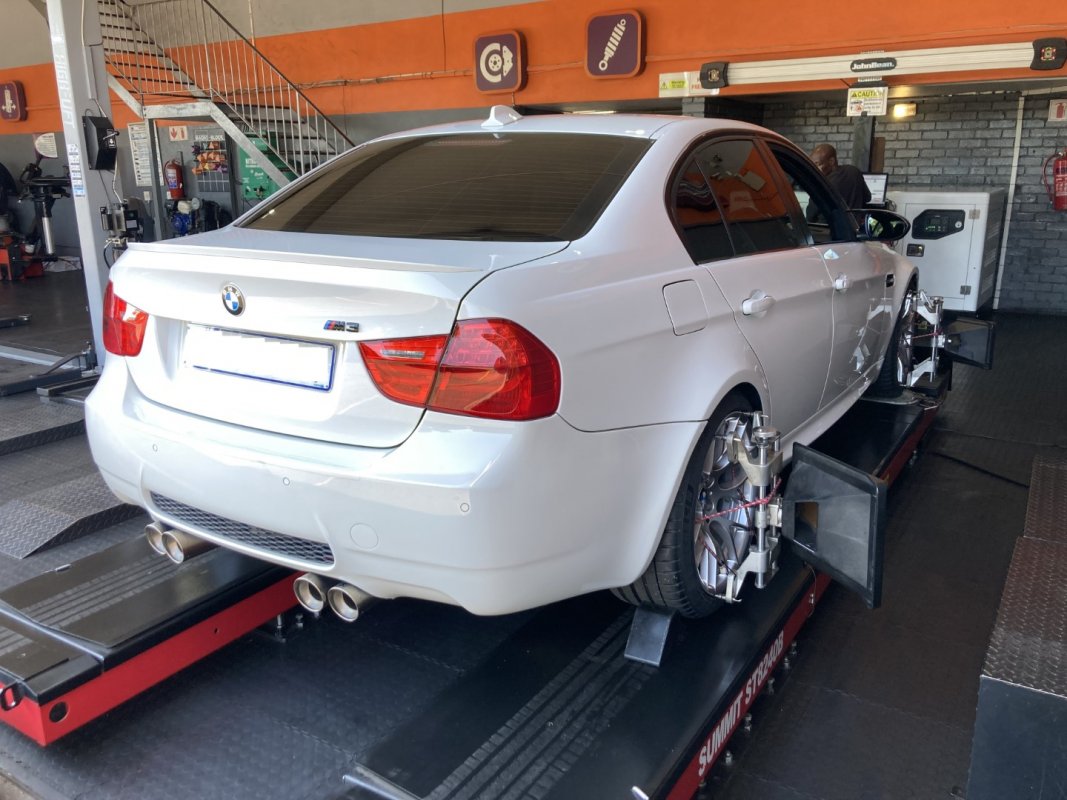
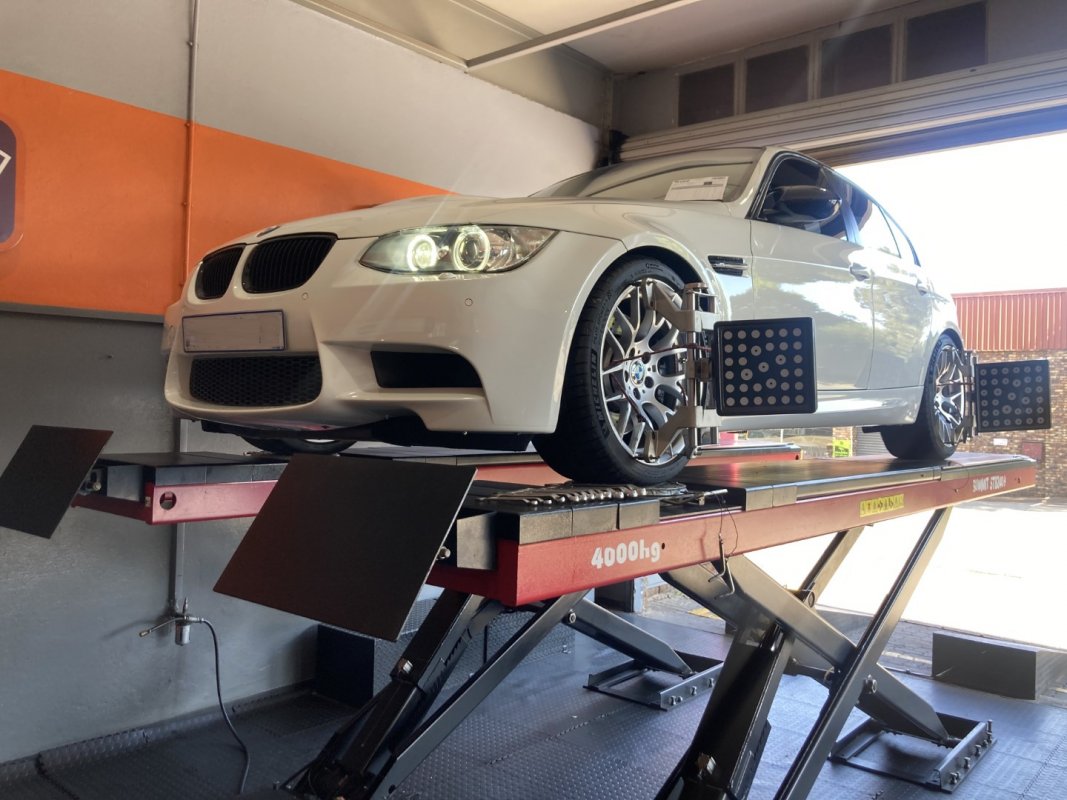
- Wash wheels, leave to dry overnight.
- Polish wheels
- Buff off polish
- Wipe down with prep spray
- Apply ceramic coating
- Wipe off excess product / levelling


I also caved into my OCD, and emptied a few more Rands on some new bits and pieces:


There was a mixup with the centre caps and M emblems, so I only received 1 of each instead of 4 of each, but that will be resolved soon.
Once all the wheels were completed and fitted, the next day it was off to the alignment shop. The guy who worked on my car was slick and experienced. He showed me what to look out for to replace in future (the hinges to adjust the camber), and also took great care to work carefully and not like a chop.


gavsadler
///Member
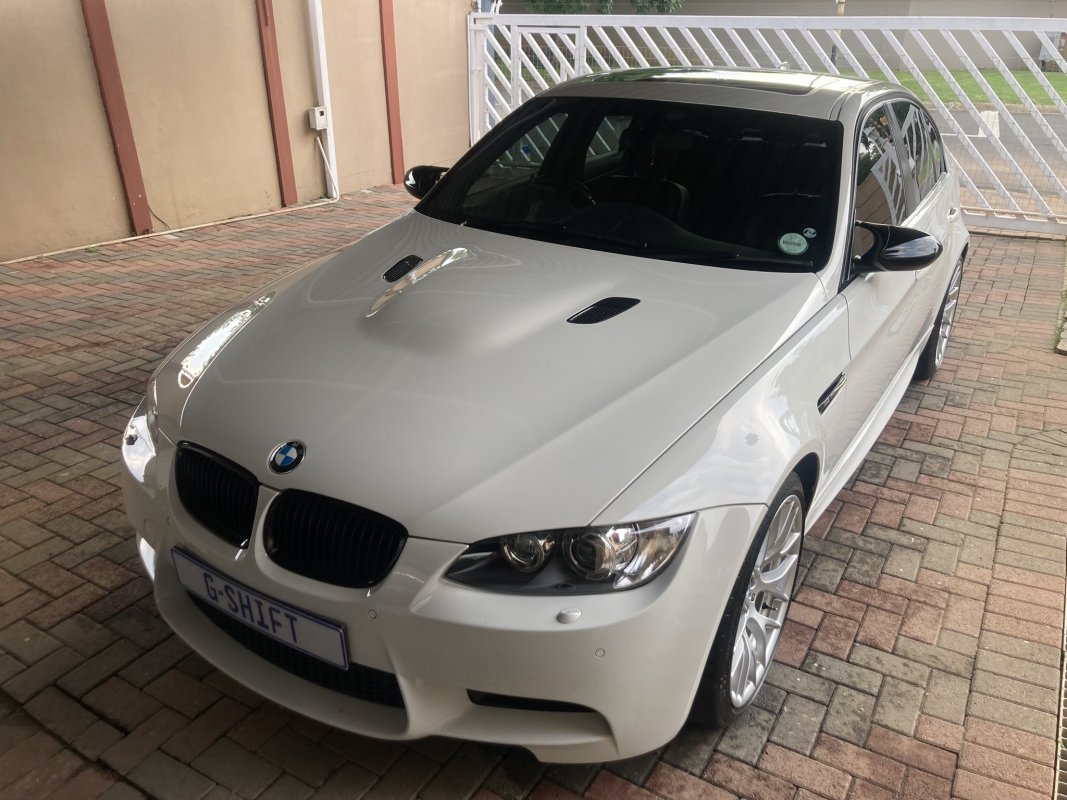
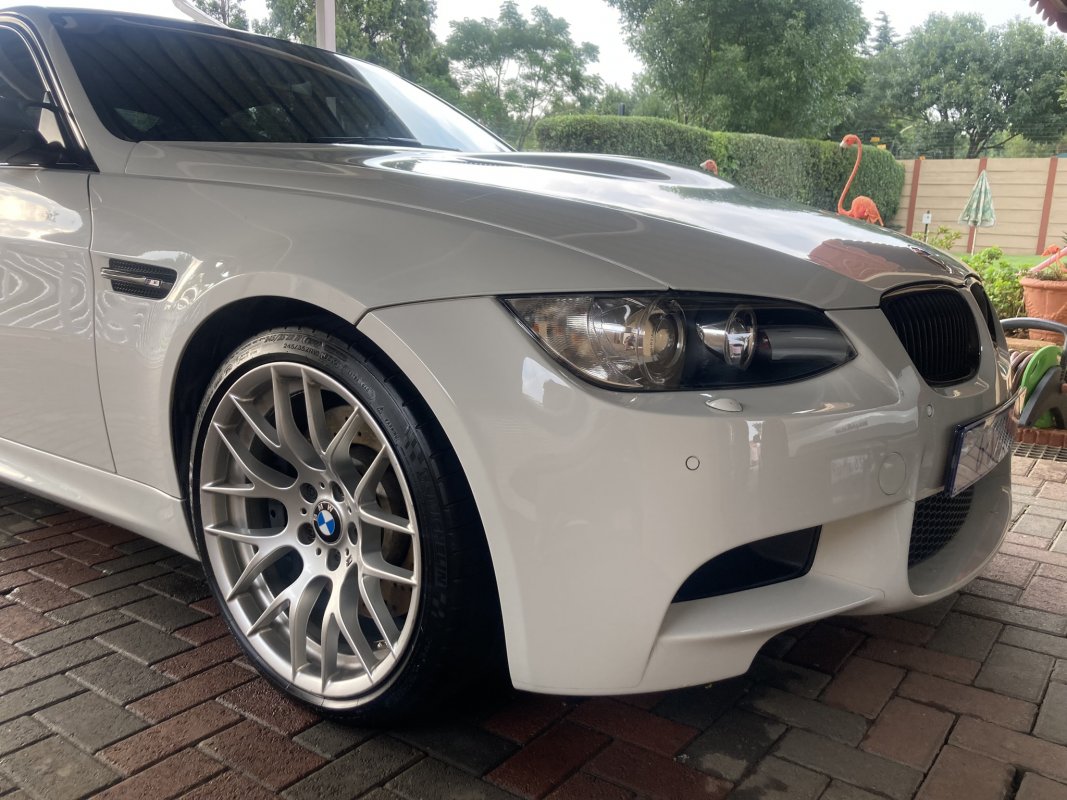
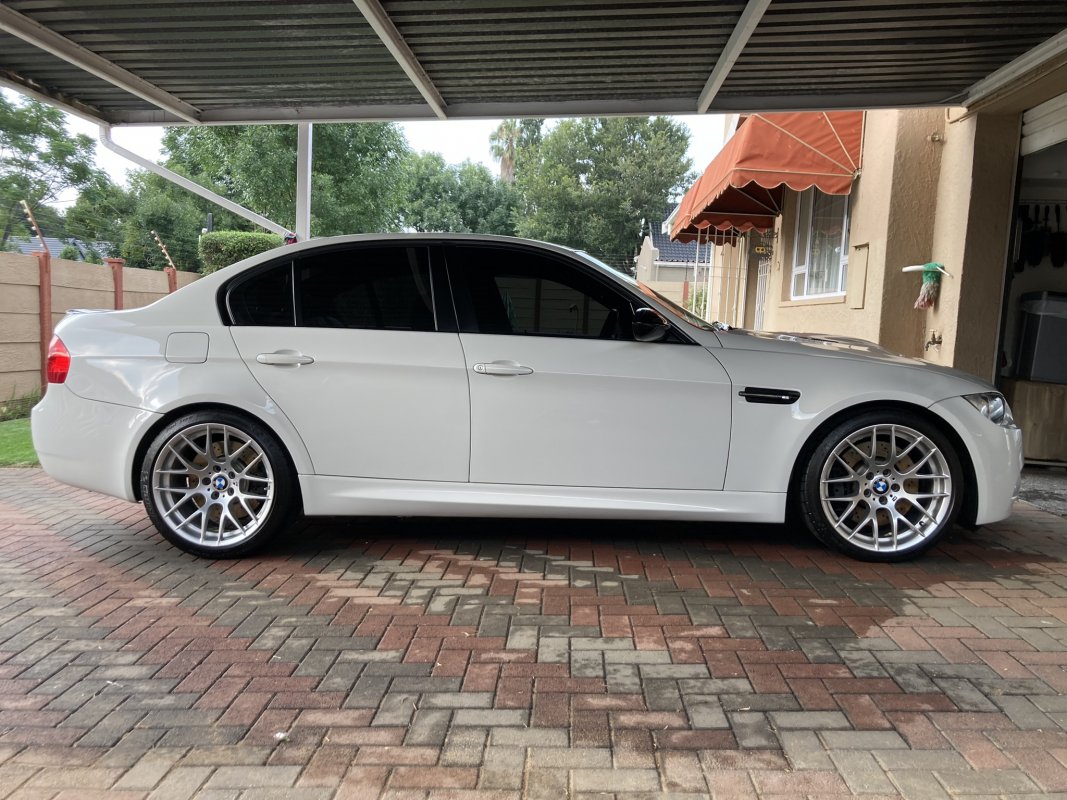
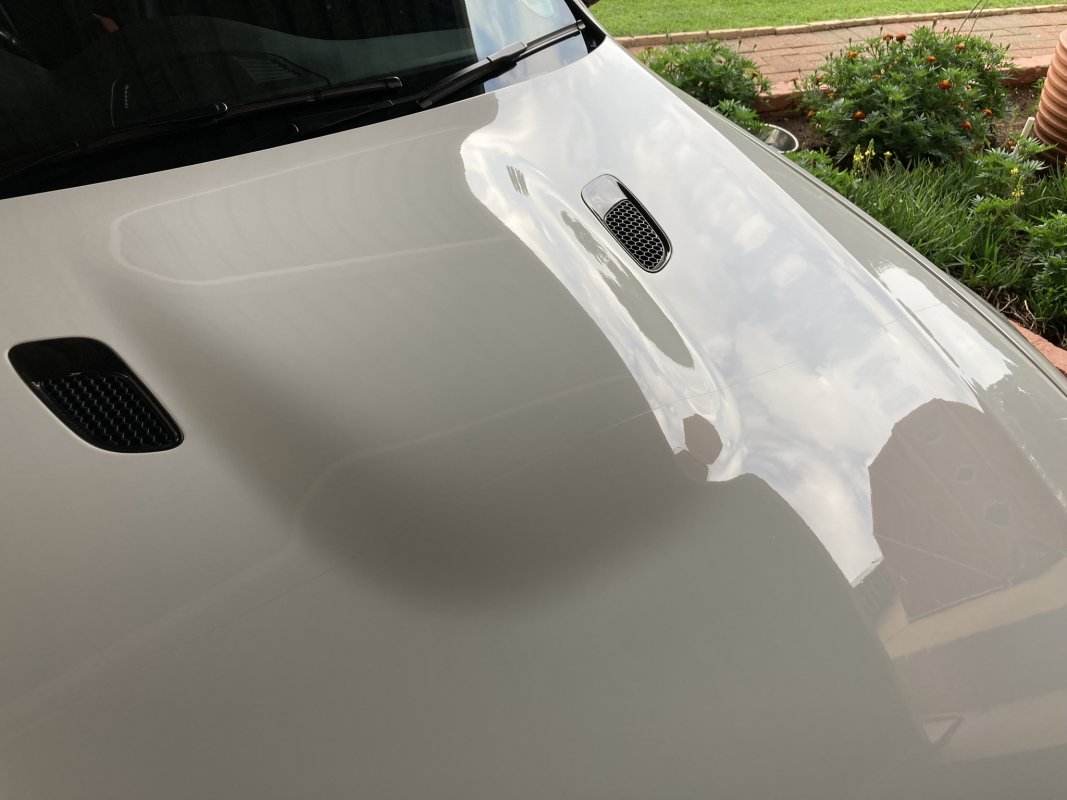
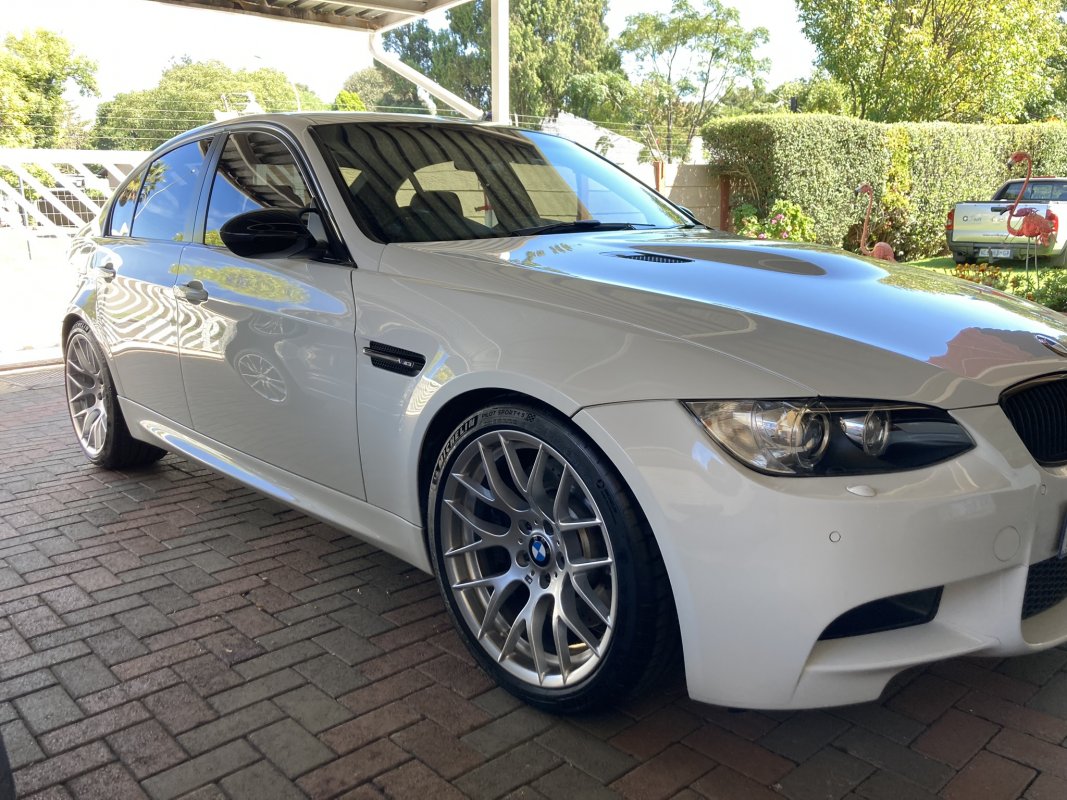
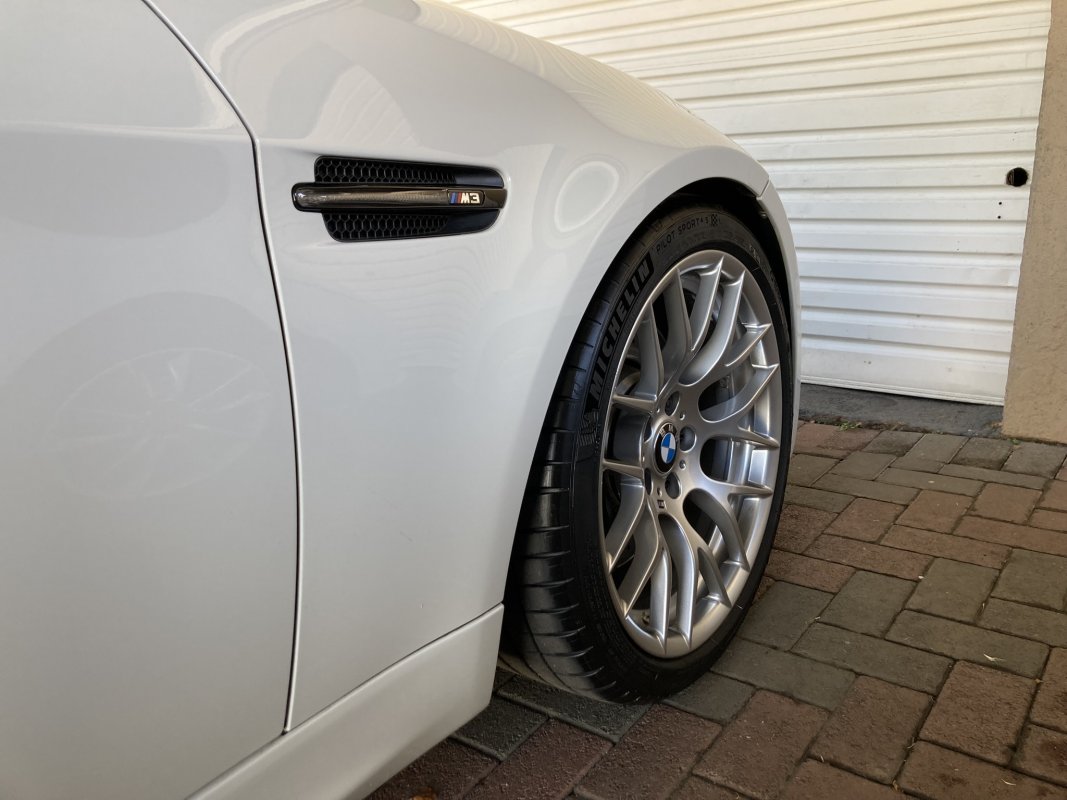
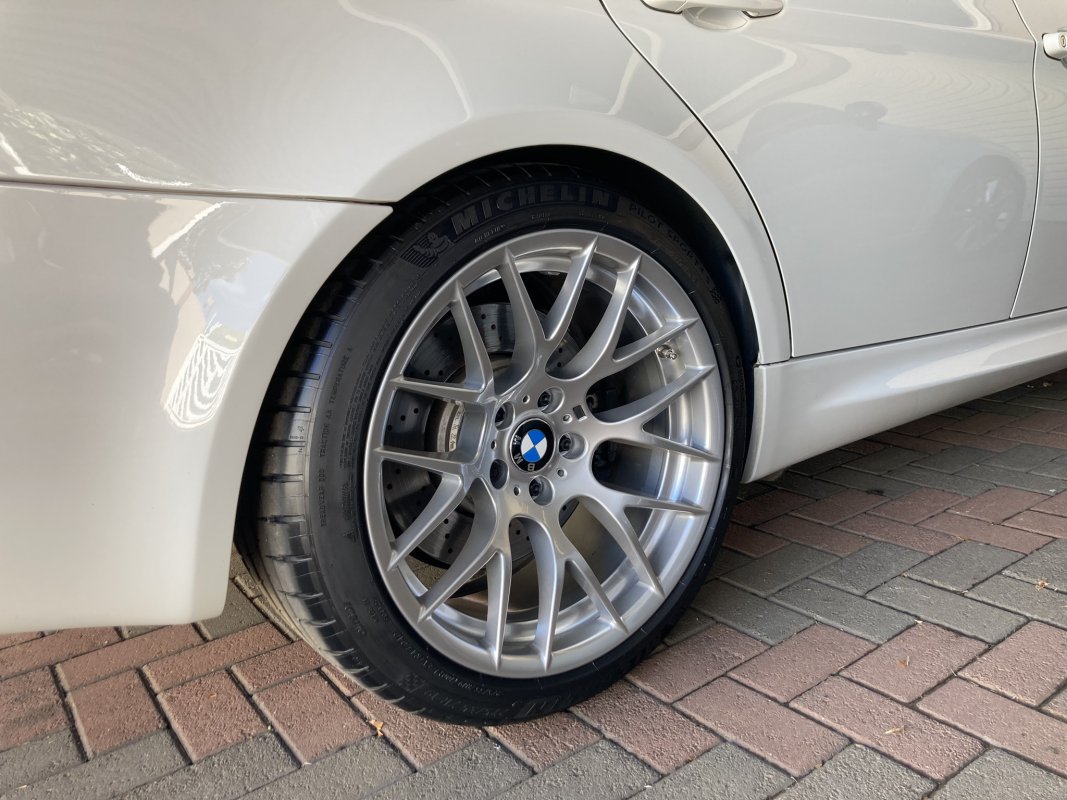
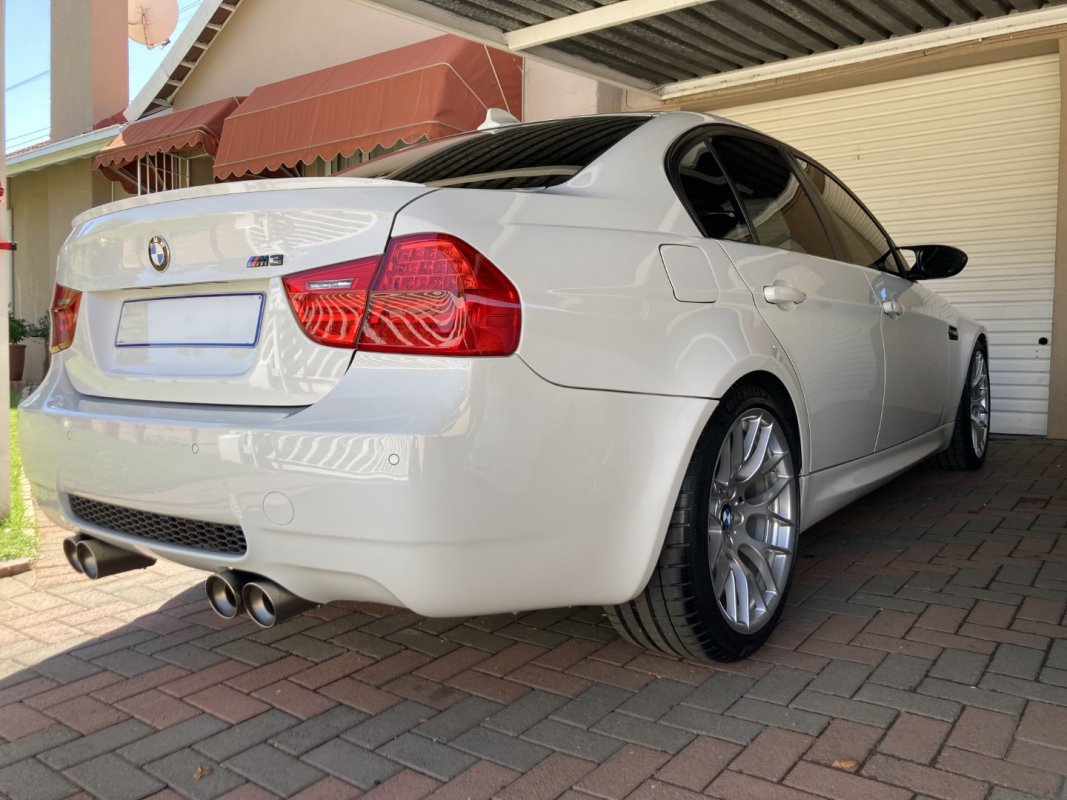
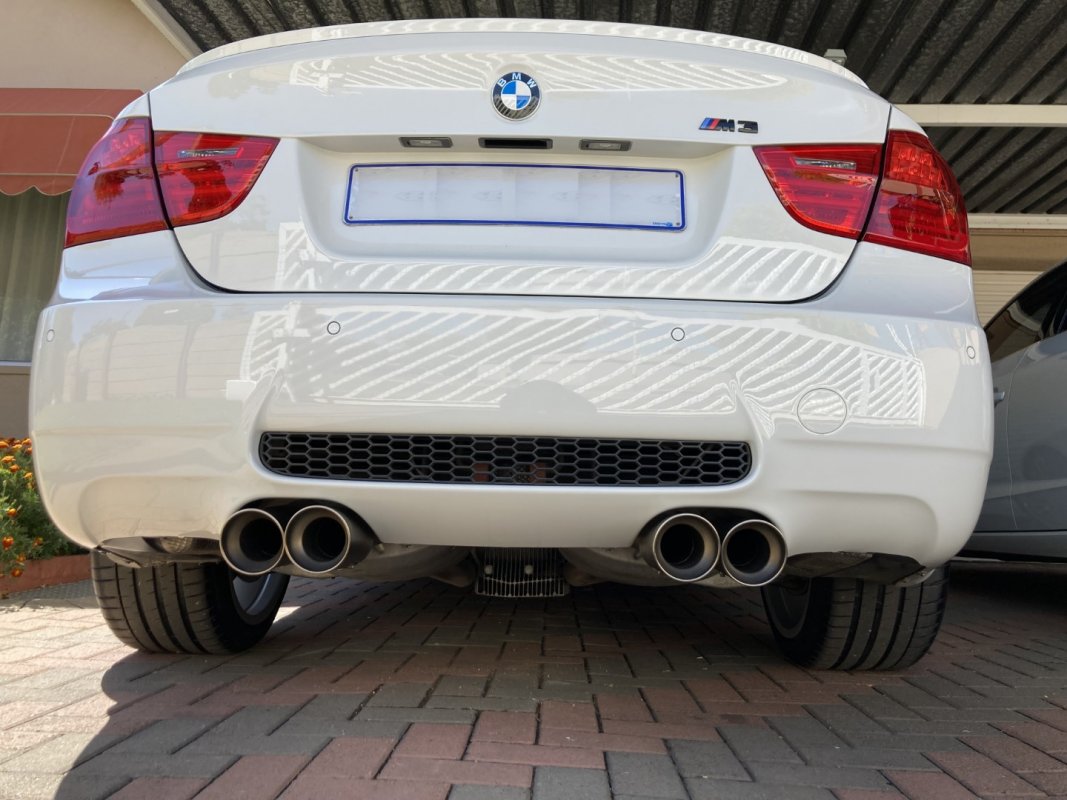
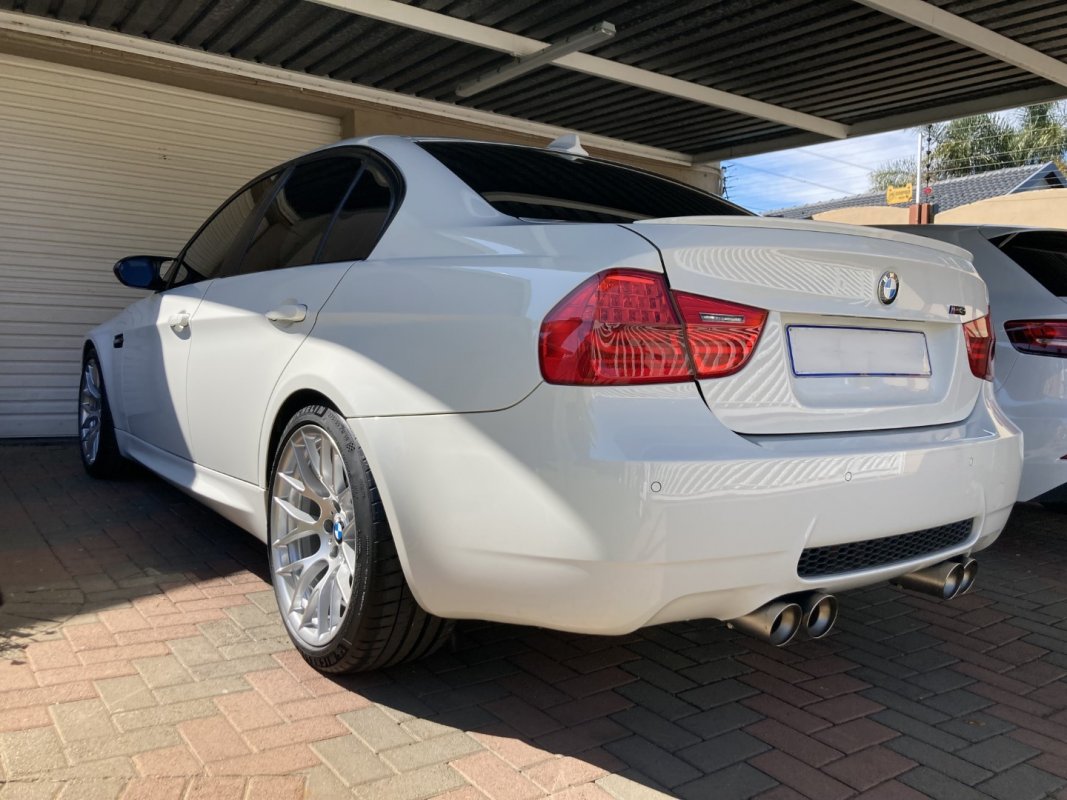
Aaand to end off this marathon posting session, some pics of the car complete: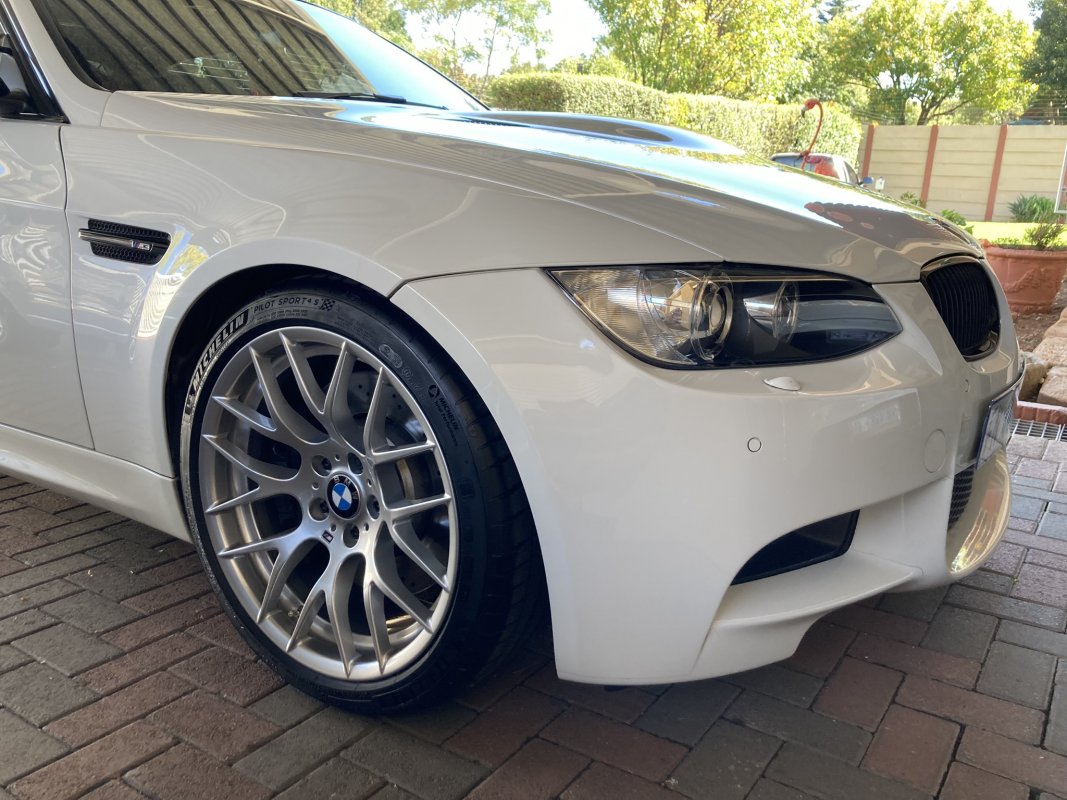
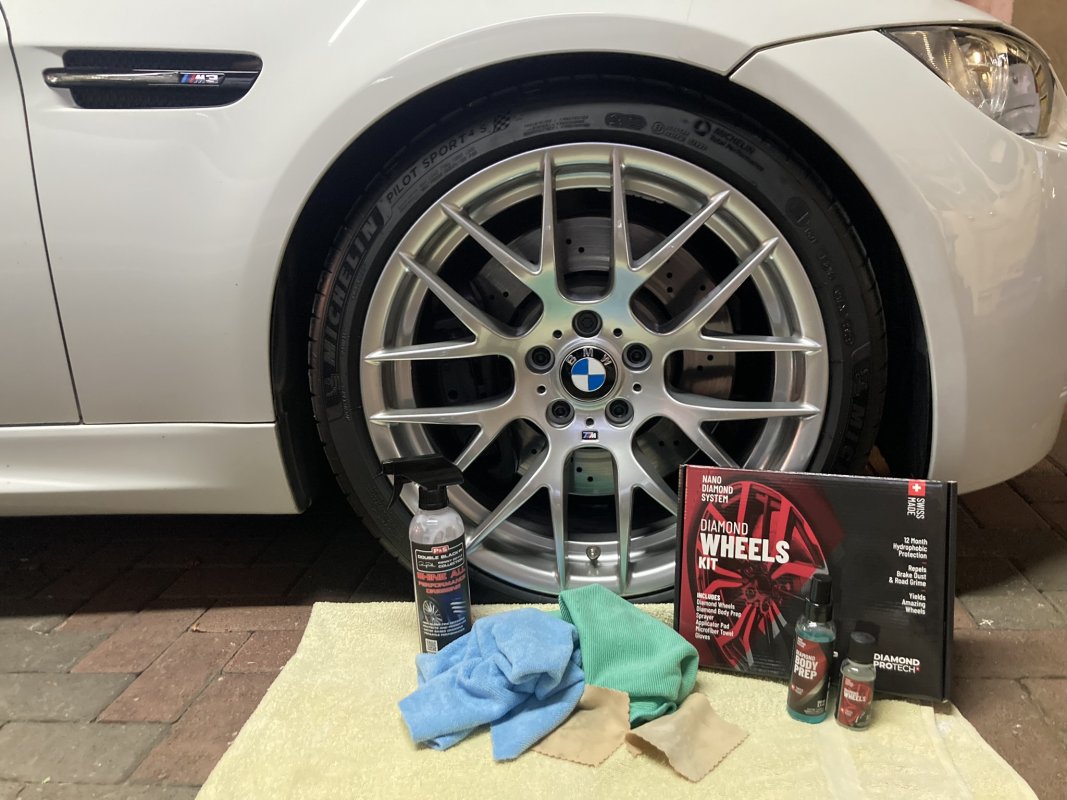
For the wheels, these are some of the products I used:
All products exclusively available through G Shift, if you're interested, pop me a message for more info.
Thanks for reading.
(Now I'm going to go and see when the next Skidpan Autocross is planned for.....)


For the wheels, these are some of the products I used:
- An assortment of microfiber towels, including polishing and buffing towels, prep towels, suede towels for applying the ceramic coating, and a pearl weave towel for coating removal and levelling.
- Tyres dressed with 1 coat of P&S Double Black Shine All Performance Dressing
- Ceramic Coating = Diamond Pro Tech Wheels

All products exclusively available through G Shift, if you're interested, pop me a message for more info.
Thanks for reading.
(Now I'm going to go and see when the next Skidpan Autocross is planned for.....)
