Uber Soldat
///Member
KPM_330 - Thank you sir. Will create separate threads for them. :smilebounce:
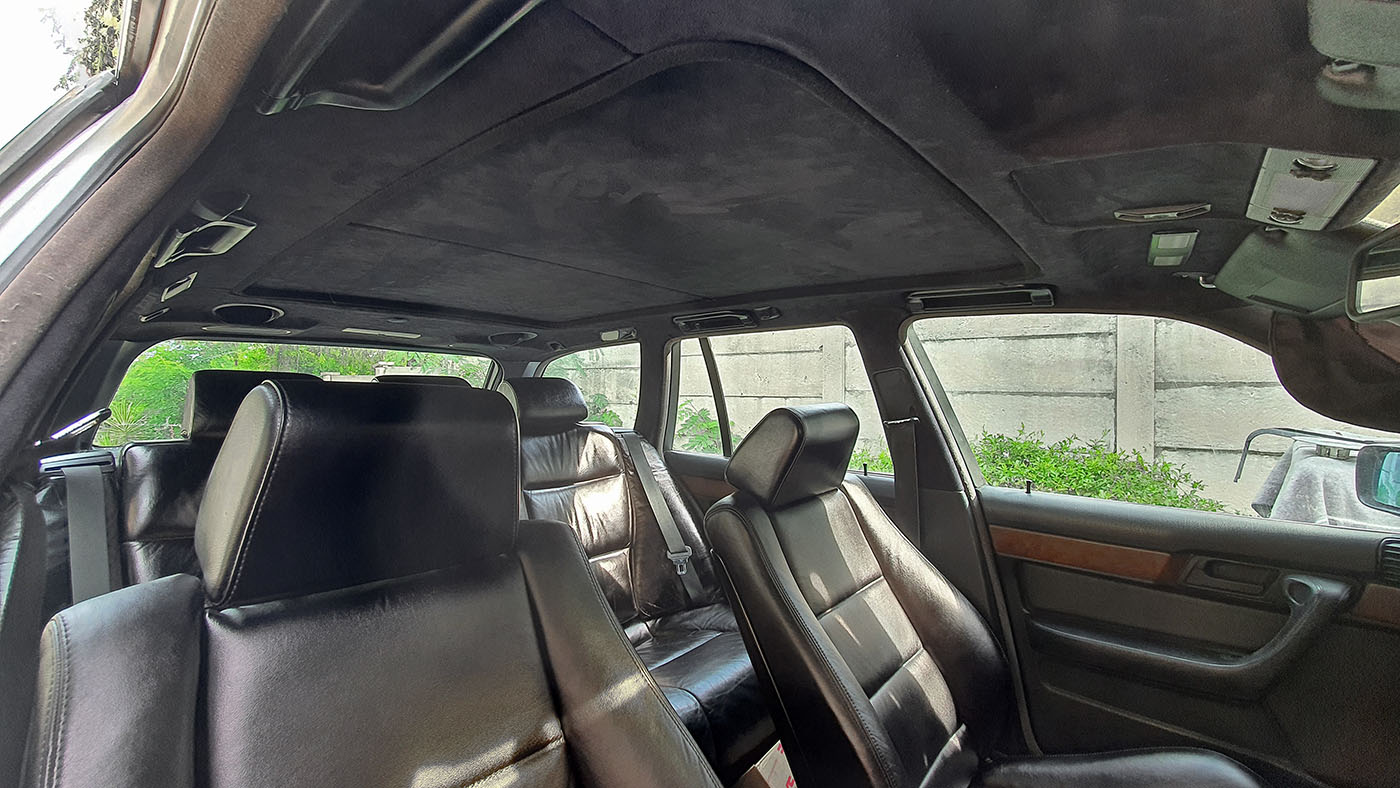
rodga - RIT dye is used for the carpets and plush leather dye is used for the seats.
Sibonelo - That isn't an E28, it's an E24.
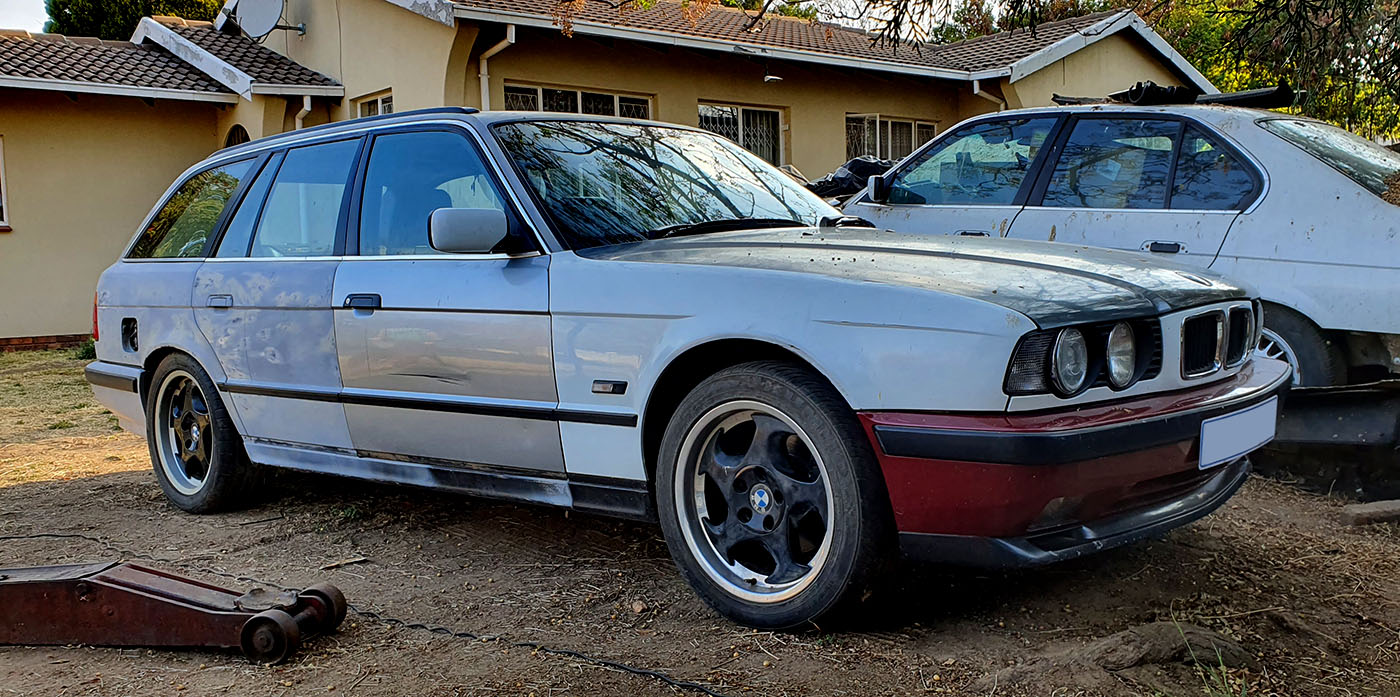
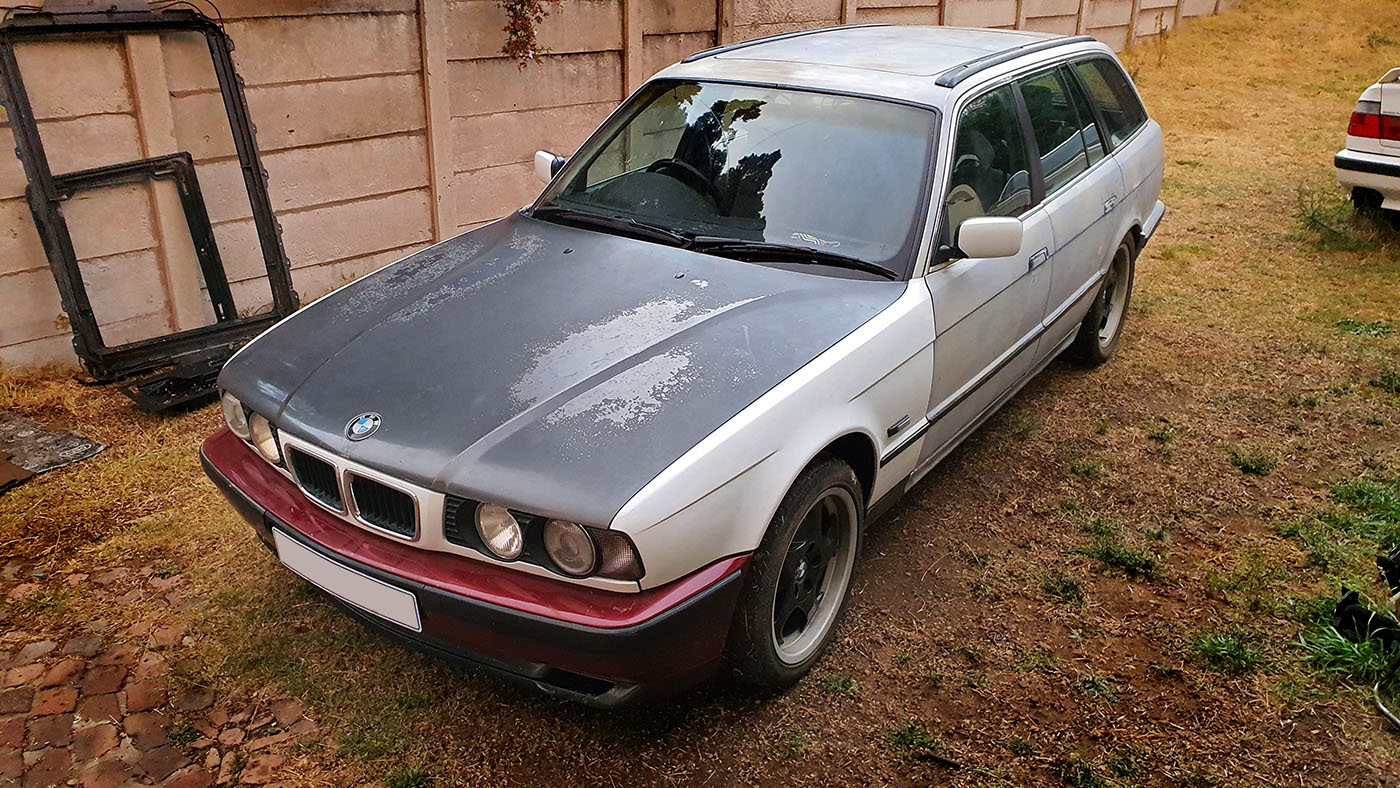
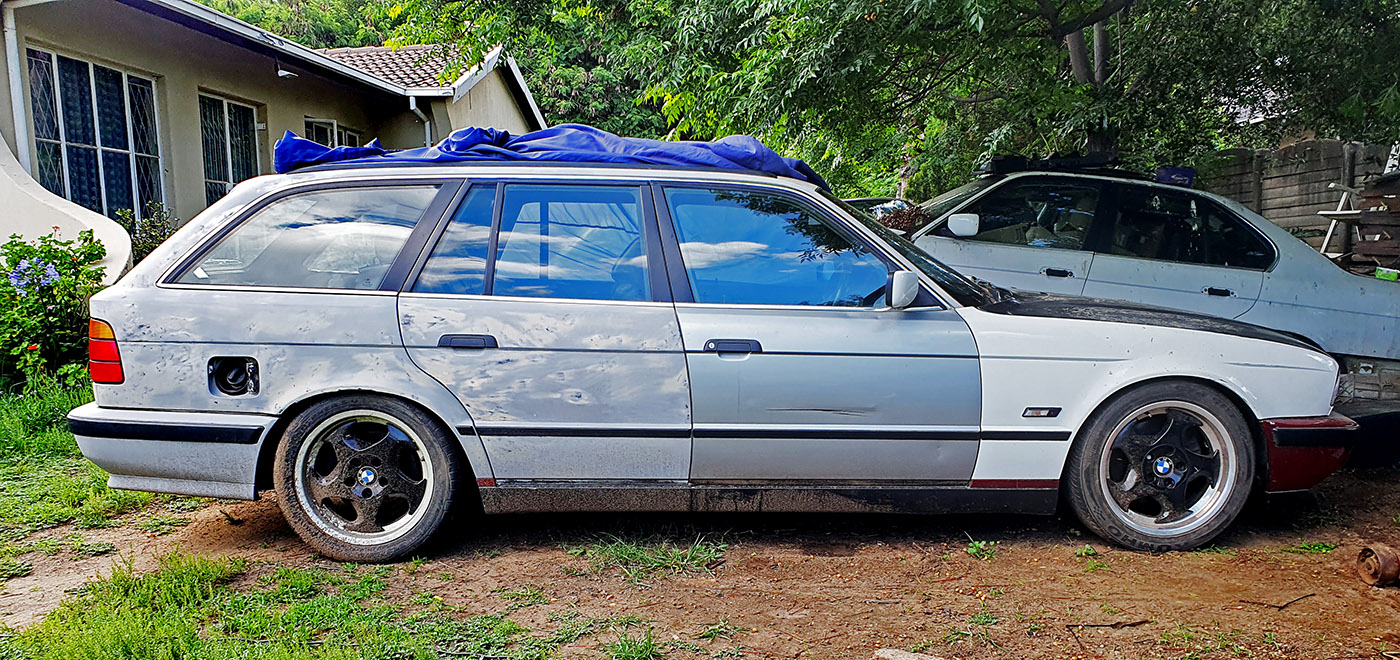
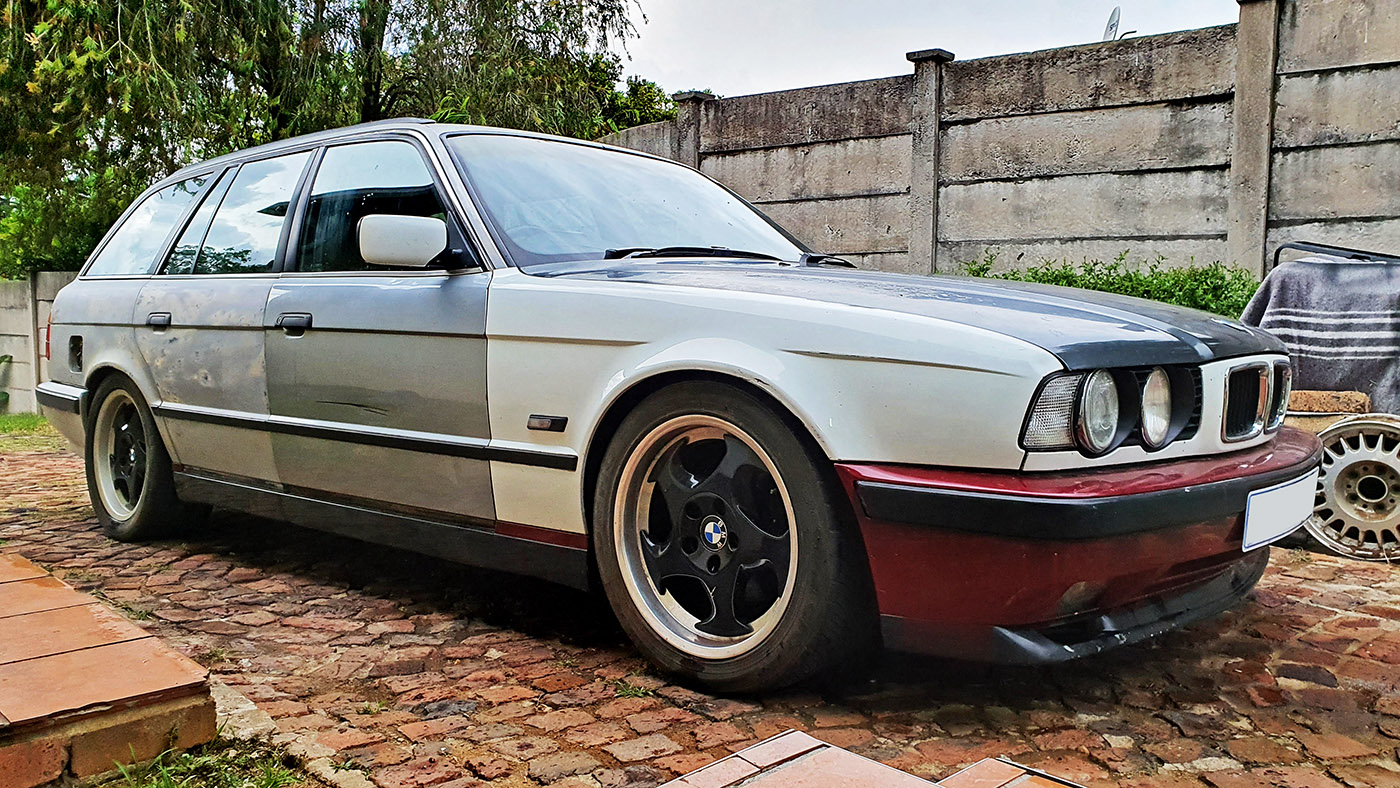
KingKalie - Tis actually grey :smilebounce:
Wes - A little :fencelook:
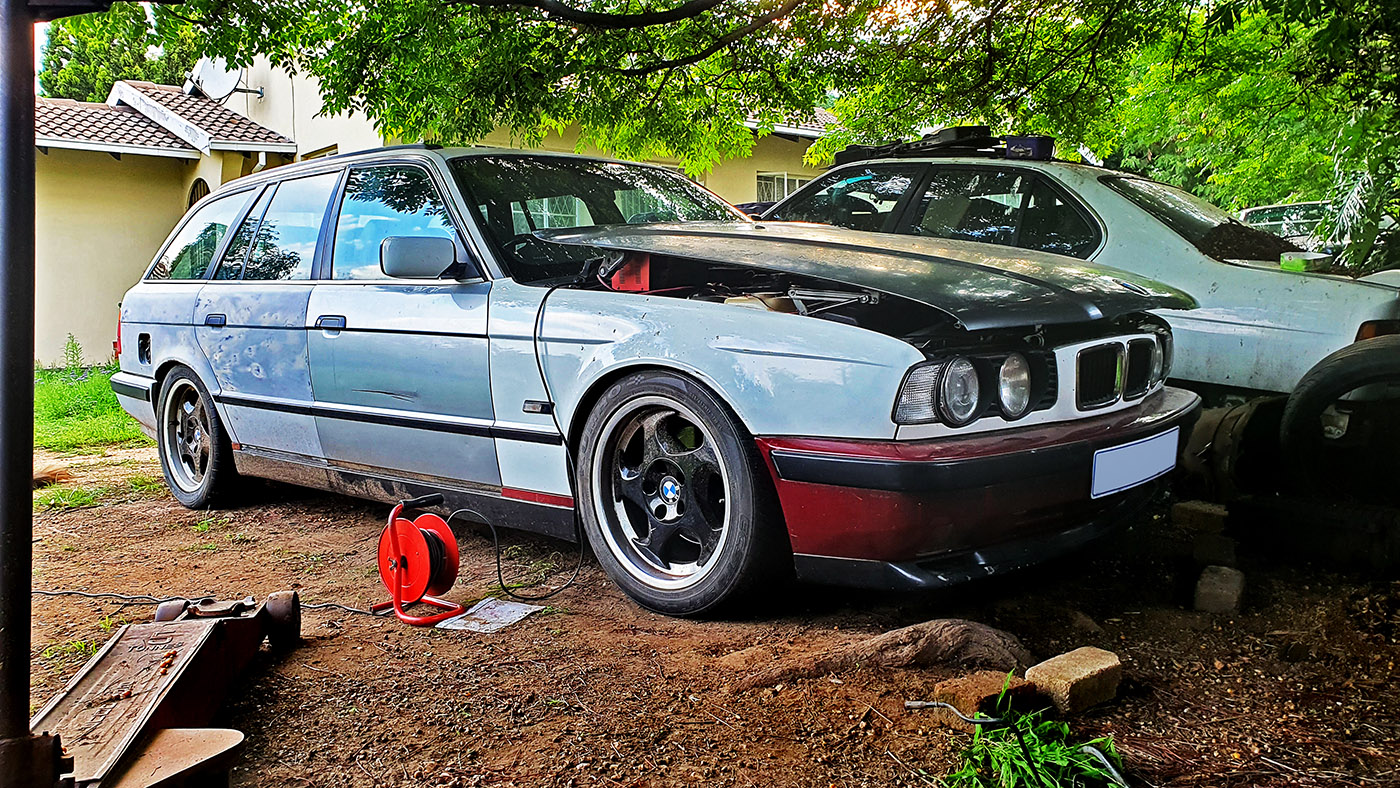
Engine bay primed:


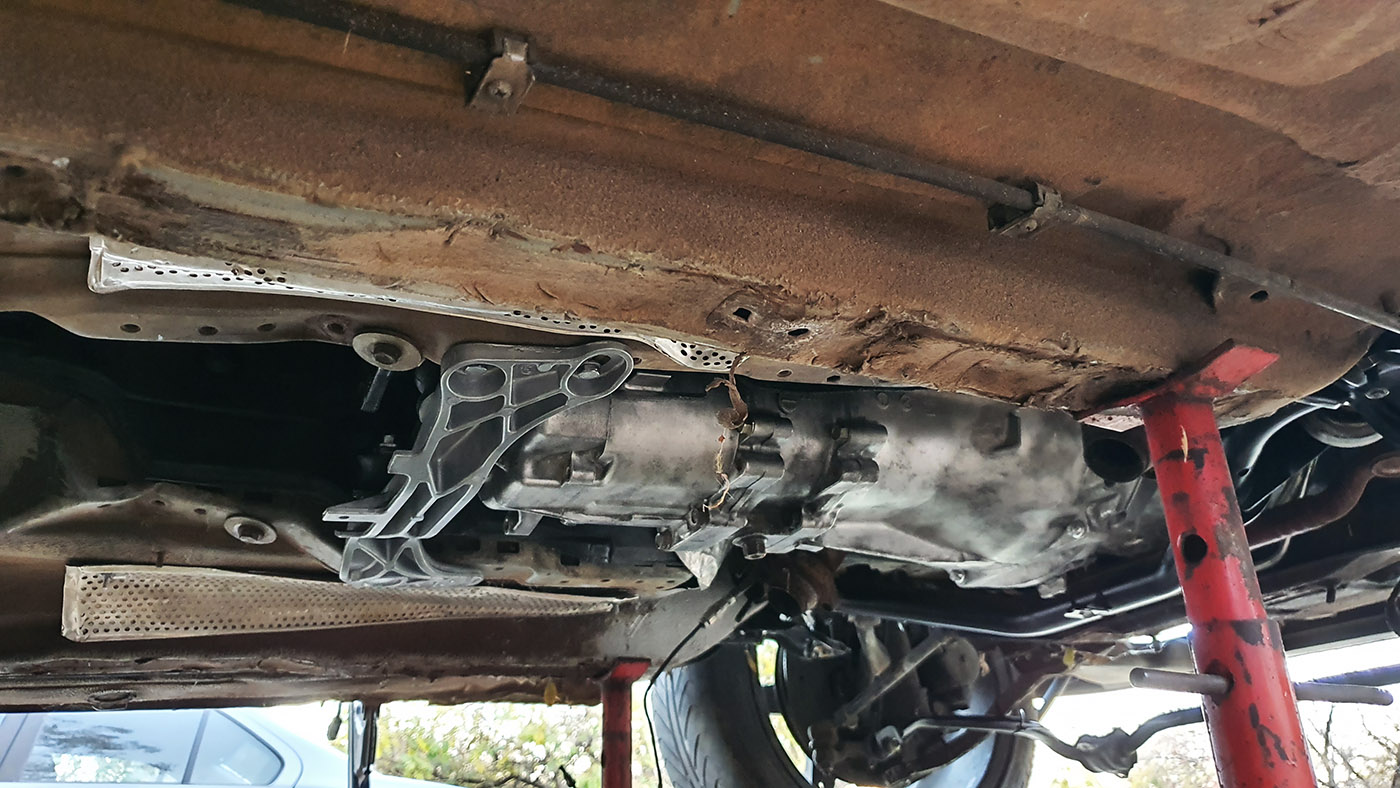
There was a section of metal that had to be removed here as well.

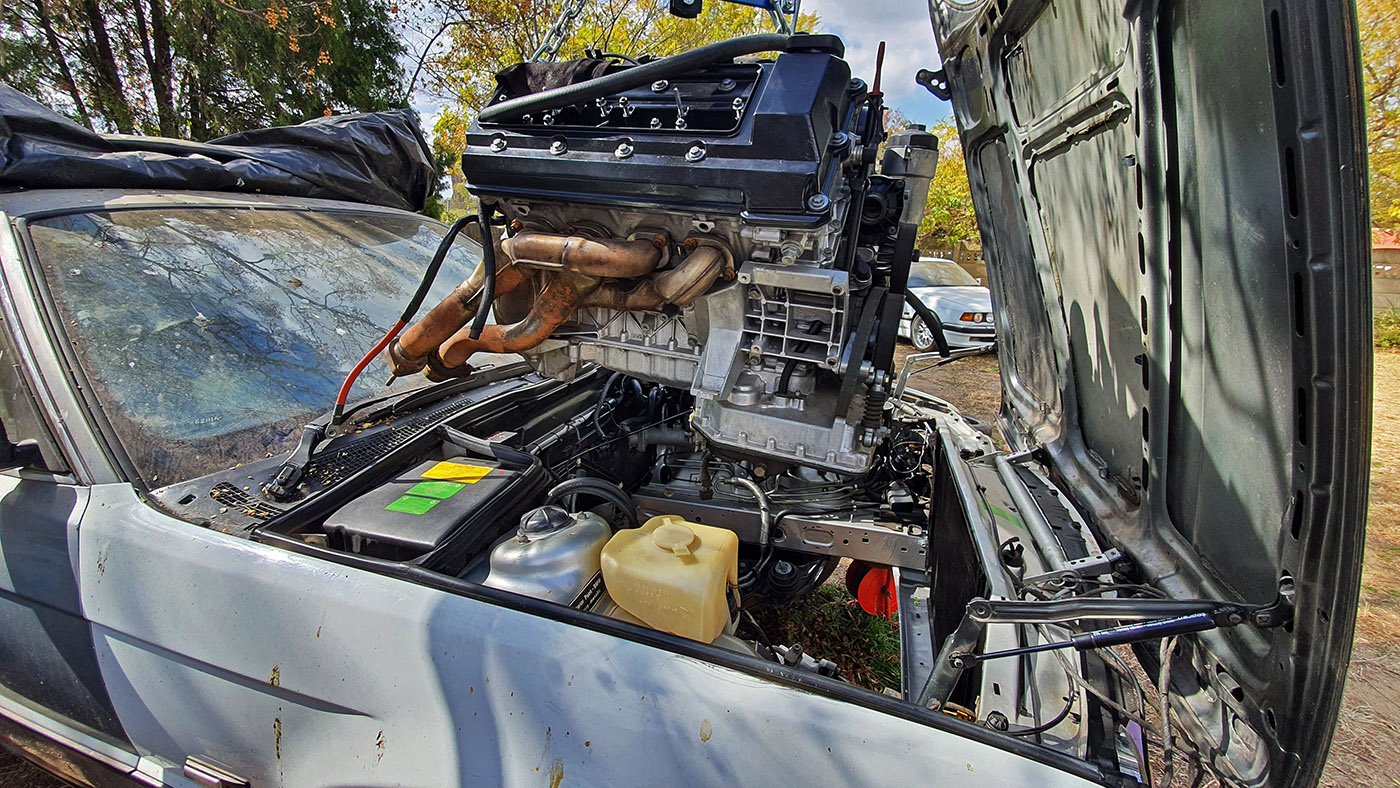
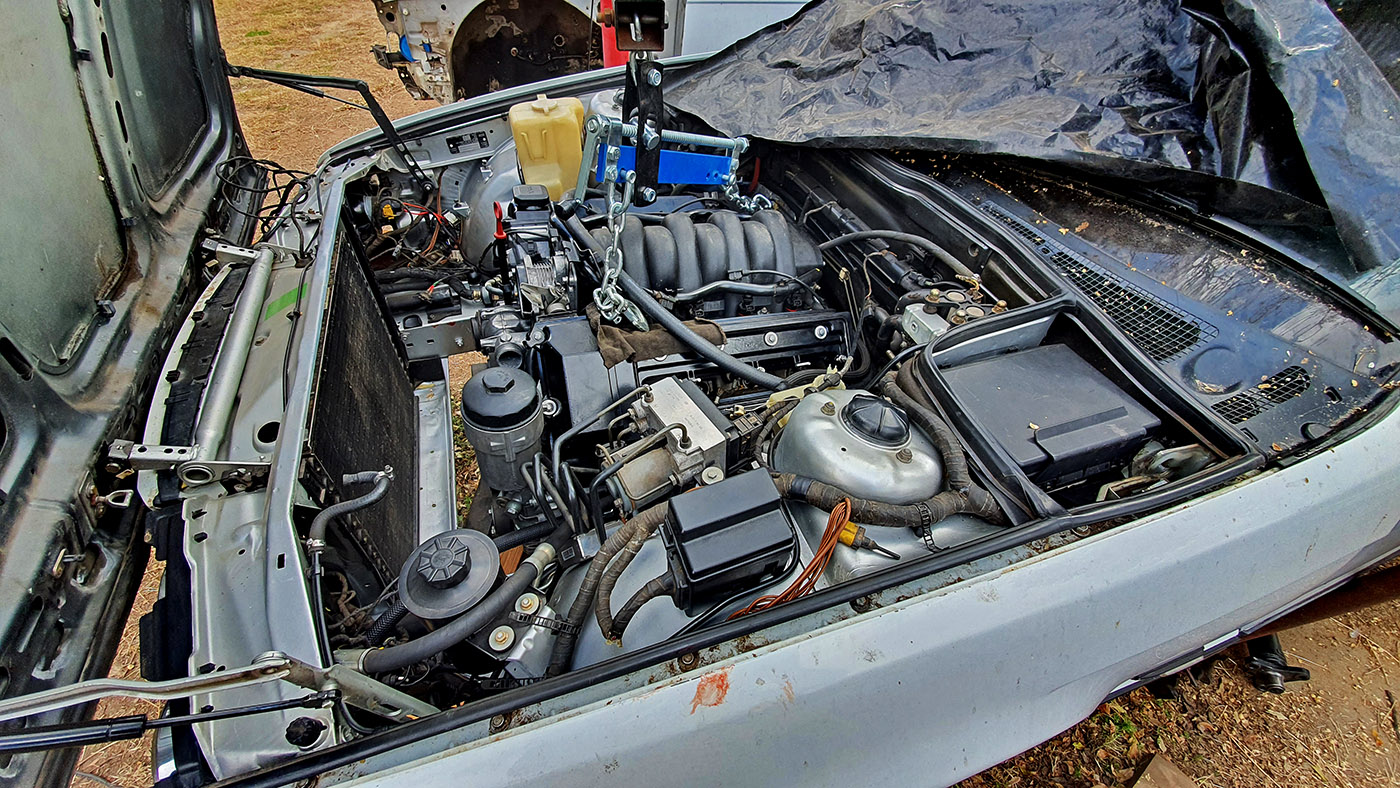
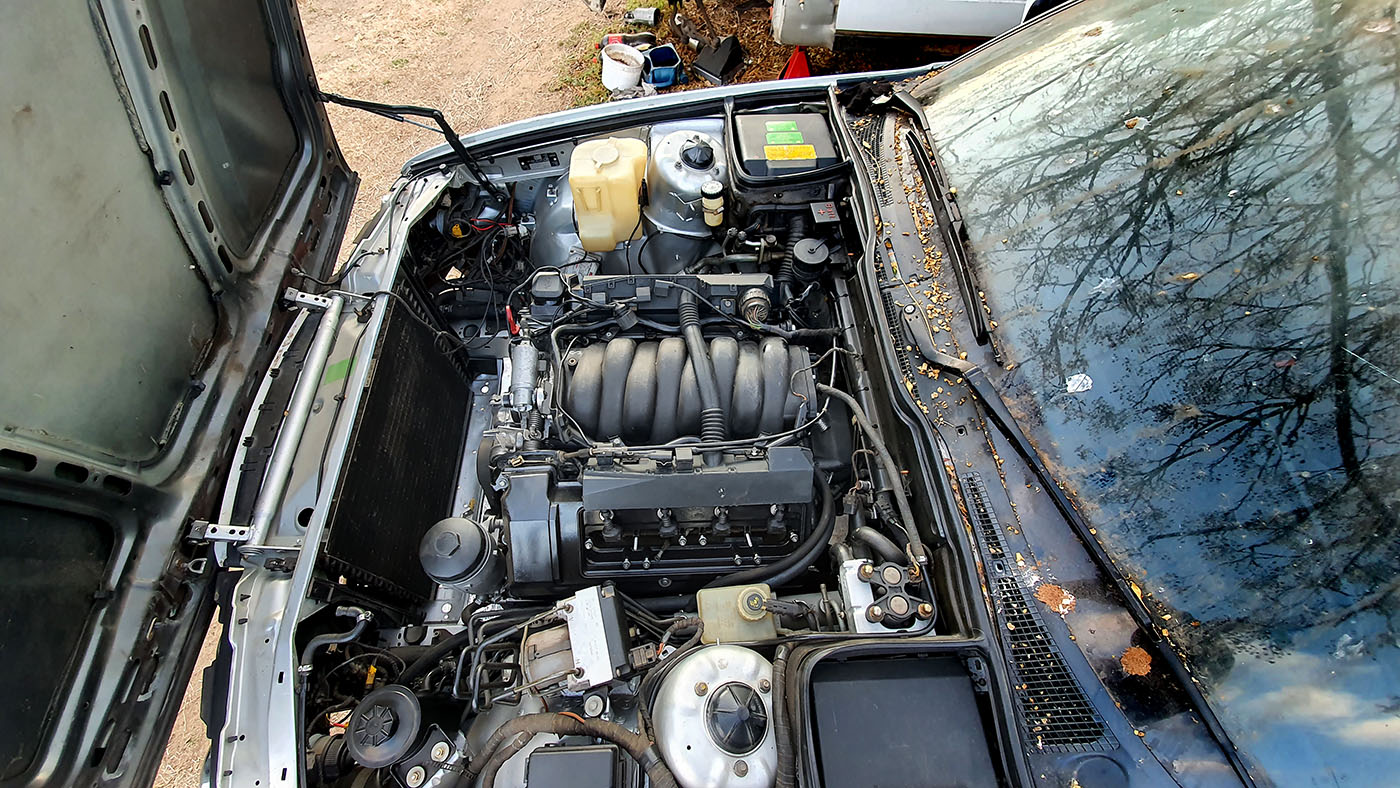
And the bay is sprayed:


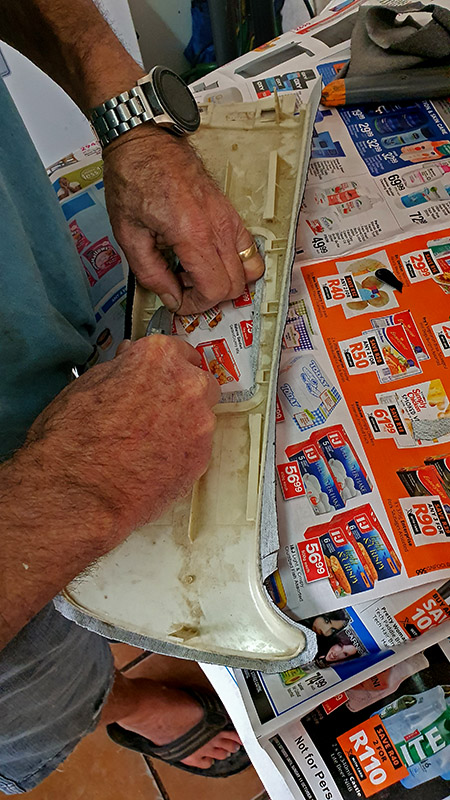
Unfortunately due to some previous owners being a bit heavy handed with somewhat fragile plastic things, we added some hinges to the tool kit holder thingy.


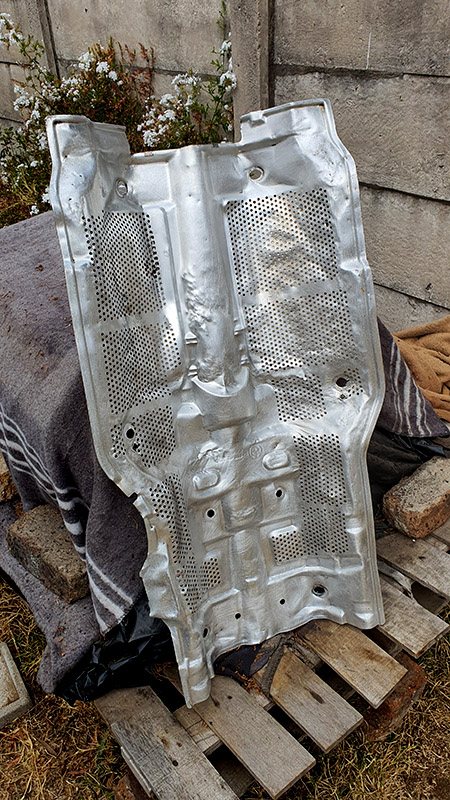
Added some sound deadening and heat shielding:

Brake master cylinder and ABS unit installed:


Aircon compressors stuffs:

Steering box and lines:


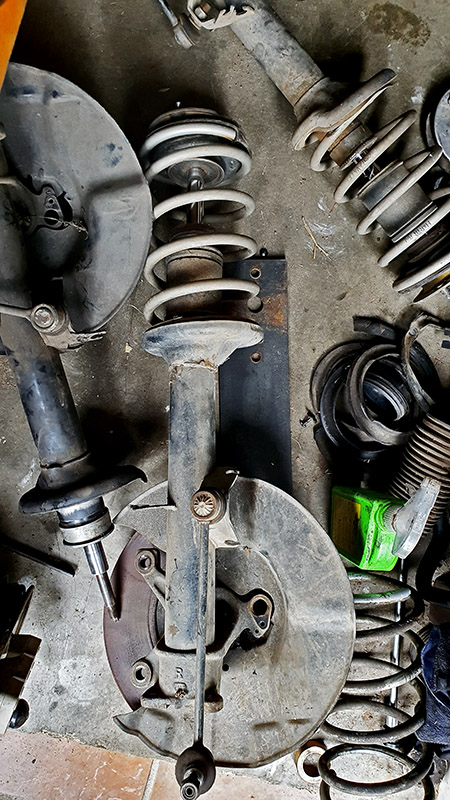
Some front end stuff added:

Installed the front fuse box and associated wiring:

Couldn't quite decide on a colour...

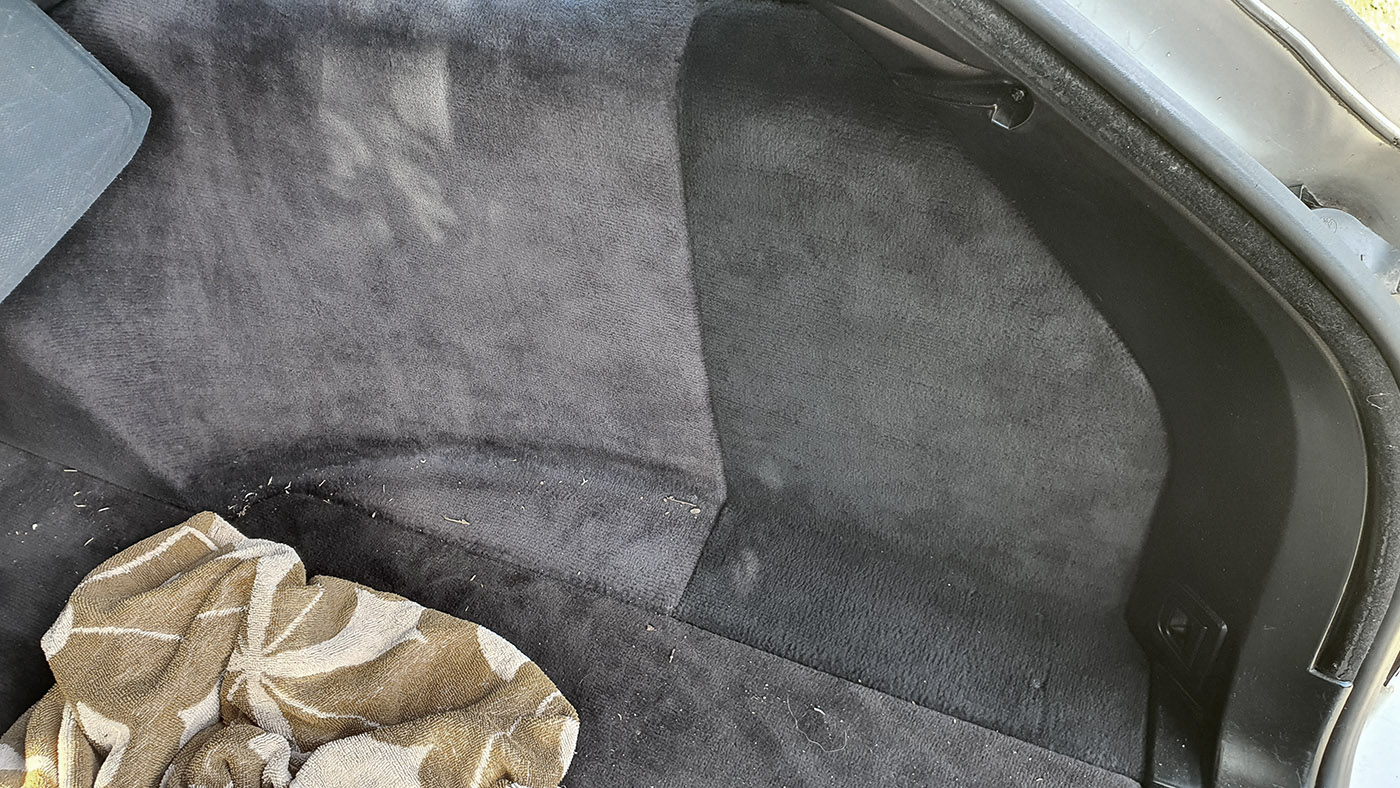
Ready for a carpet:

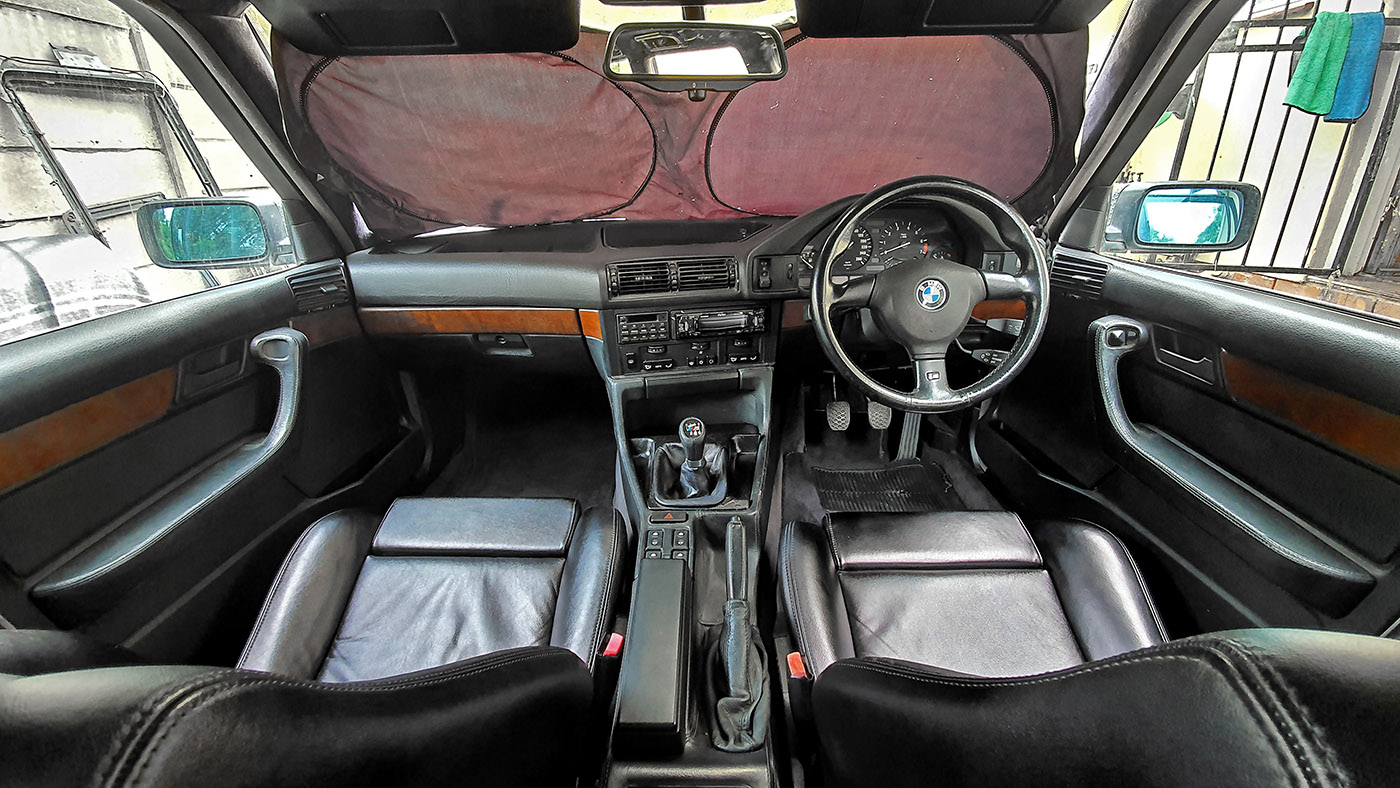
And carpet is in...

Rear sedan door cards trimmed slightly and installed:

Heater core coolant pipes swapped out for non corroded ones and ready to install:


And in

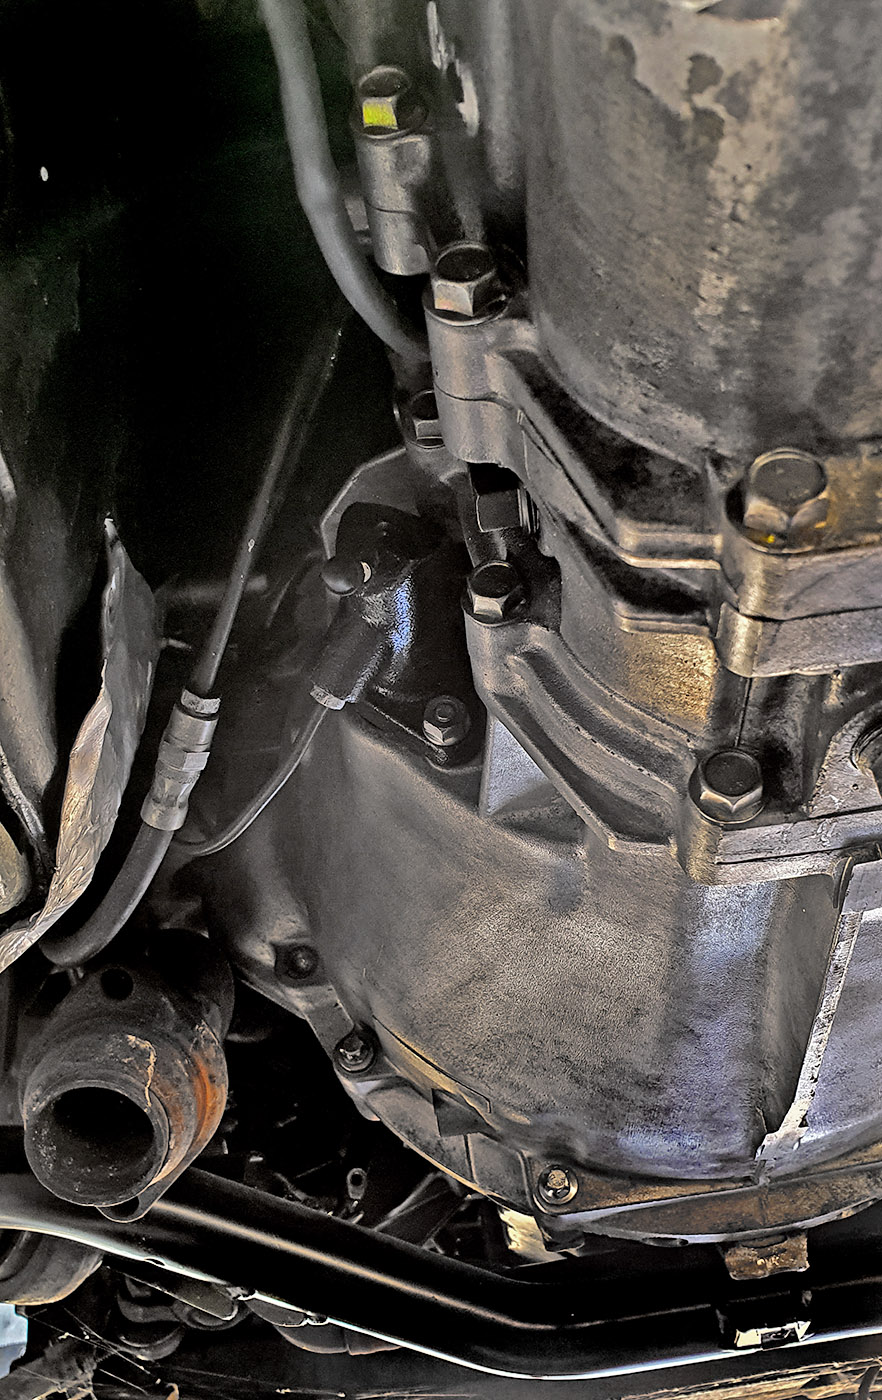
Clutch line and other bits added:

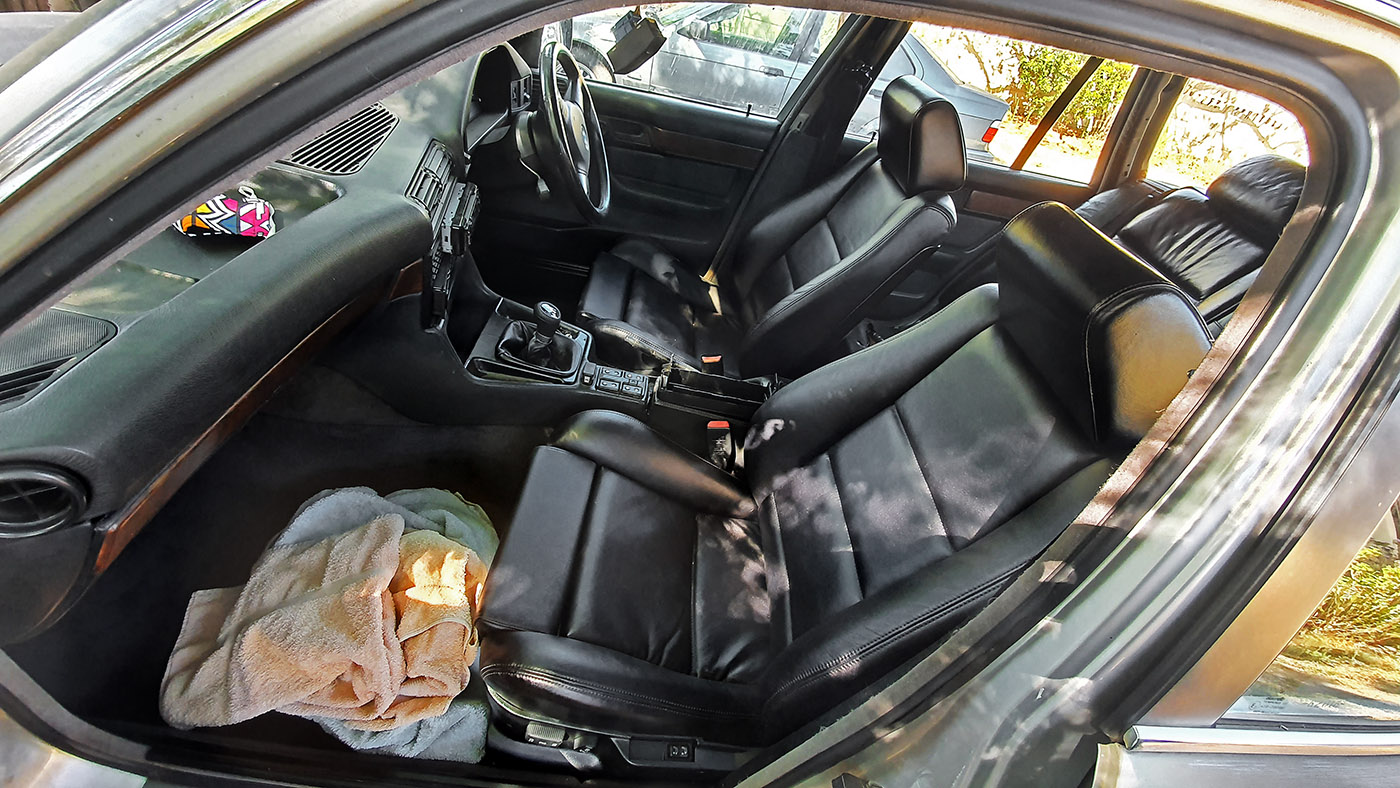
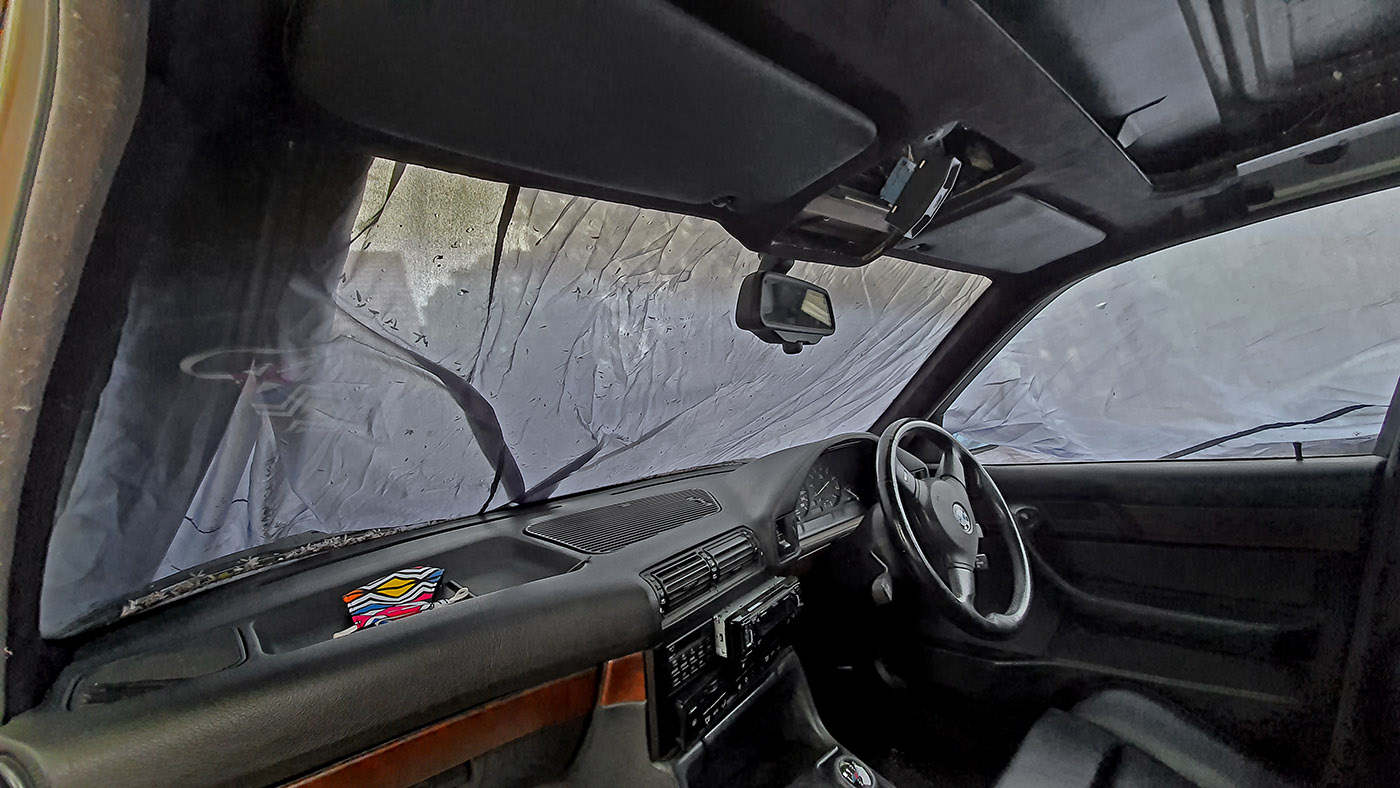
Dashboard is in:

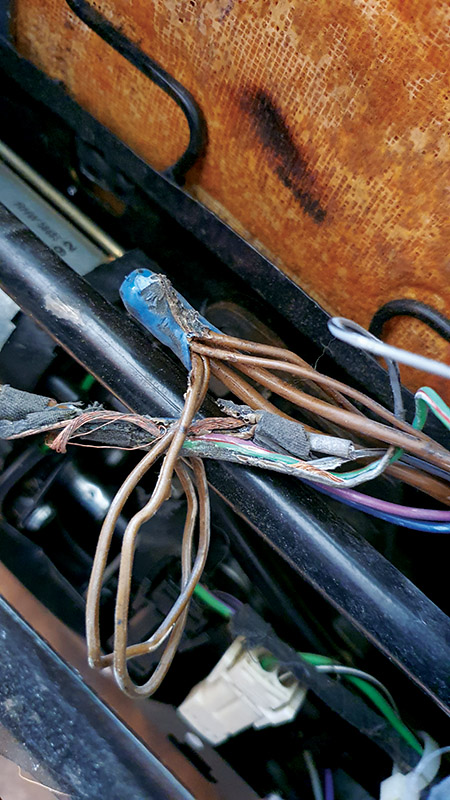
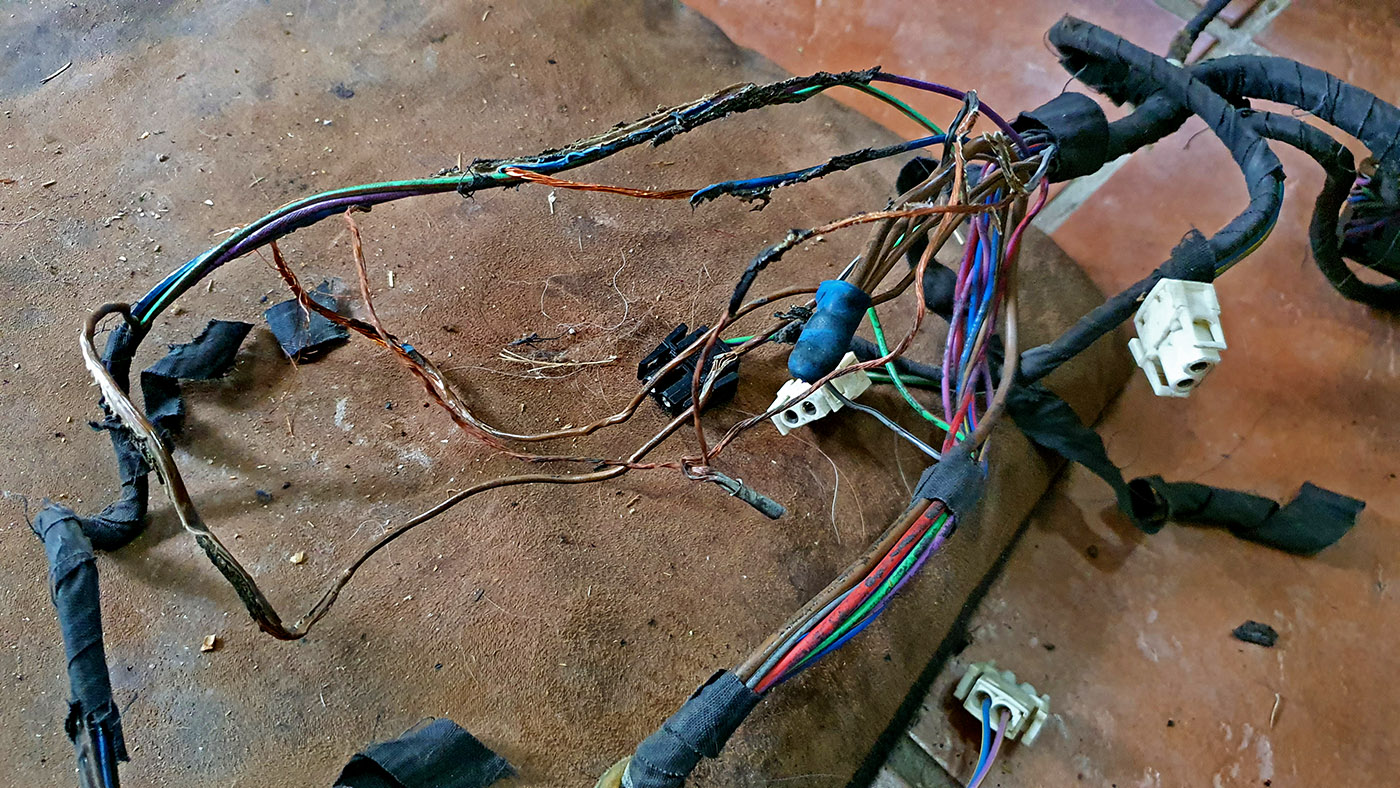
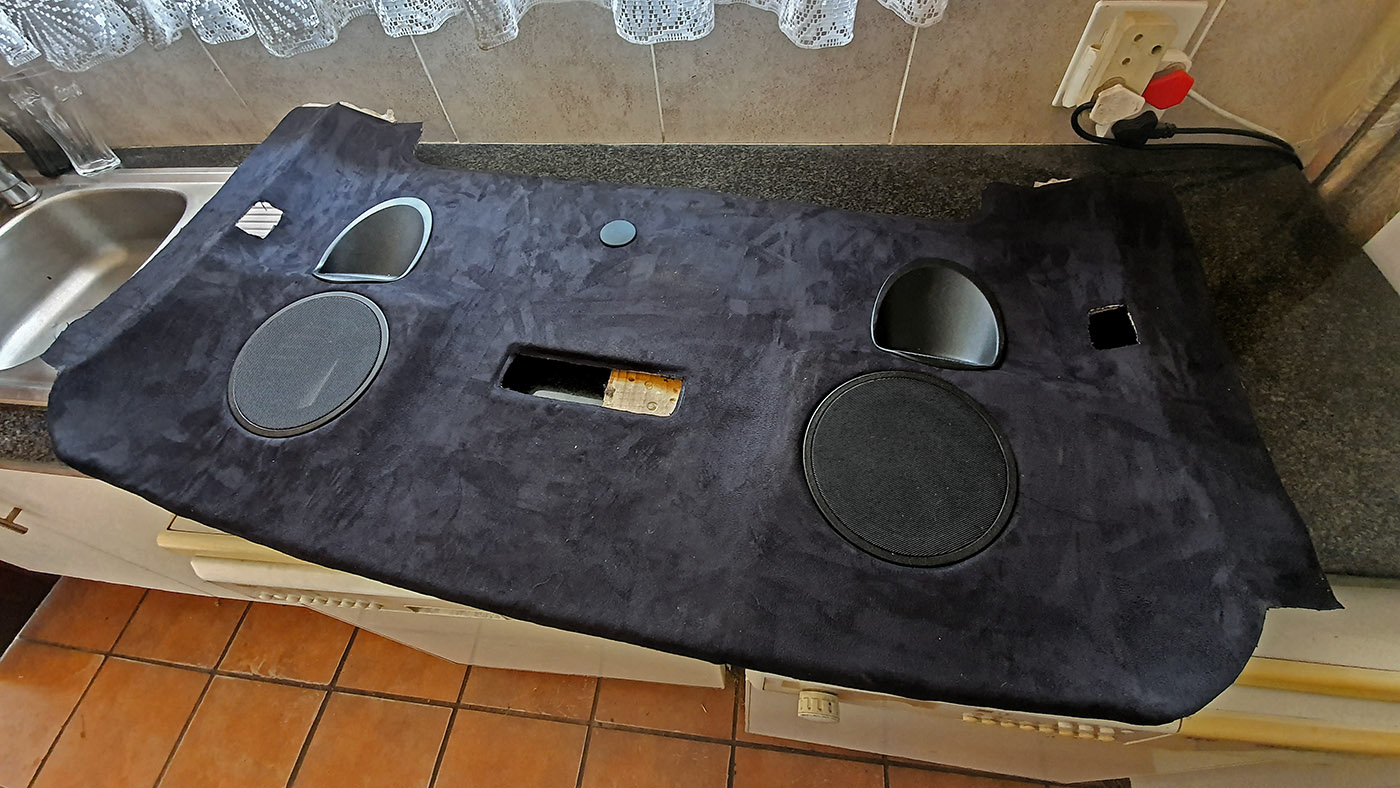
Sometime back we swapped in 540 audio wiring. Since connecting the battery (nothing blew up thankfully) we found that some of the speakers weren't working.

The culprit...

Swapped it out and now all speakers emit wonderful noise.

Front centre console and glovebox are in. Plugged in the battery, nothing blew up fortunately :smilebounce:

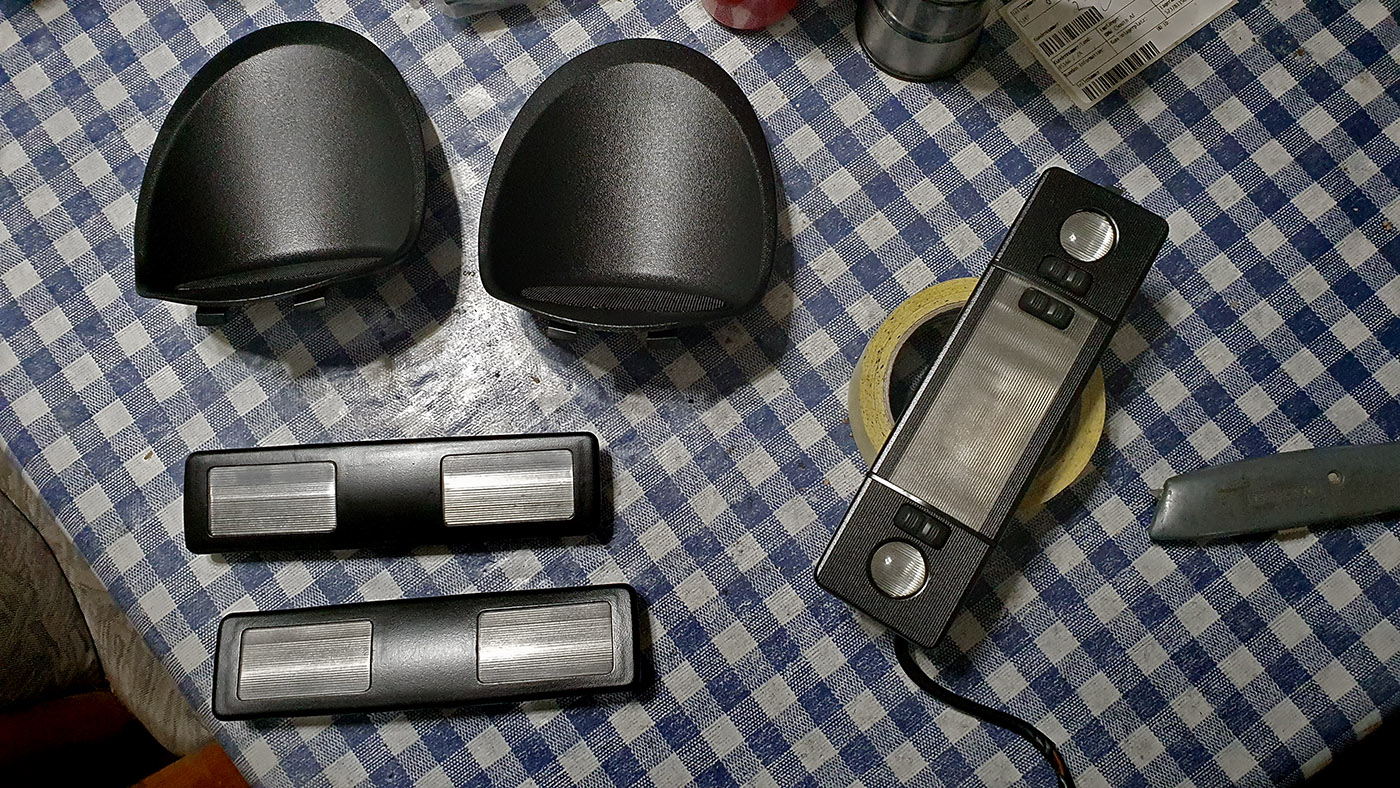
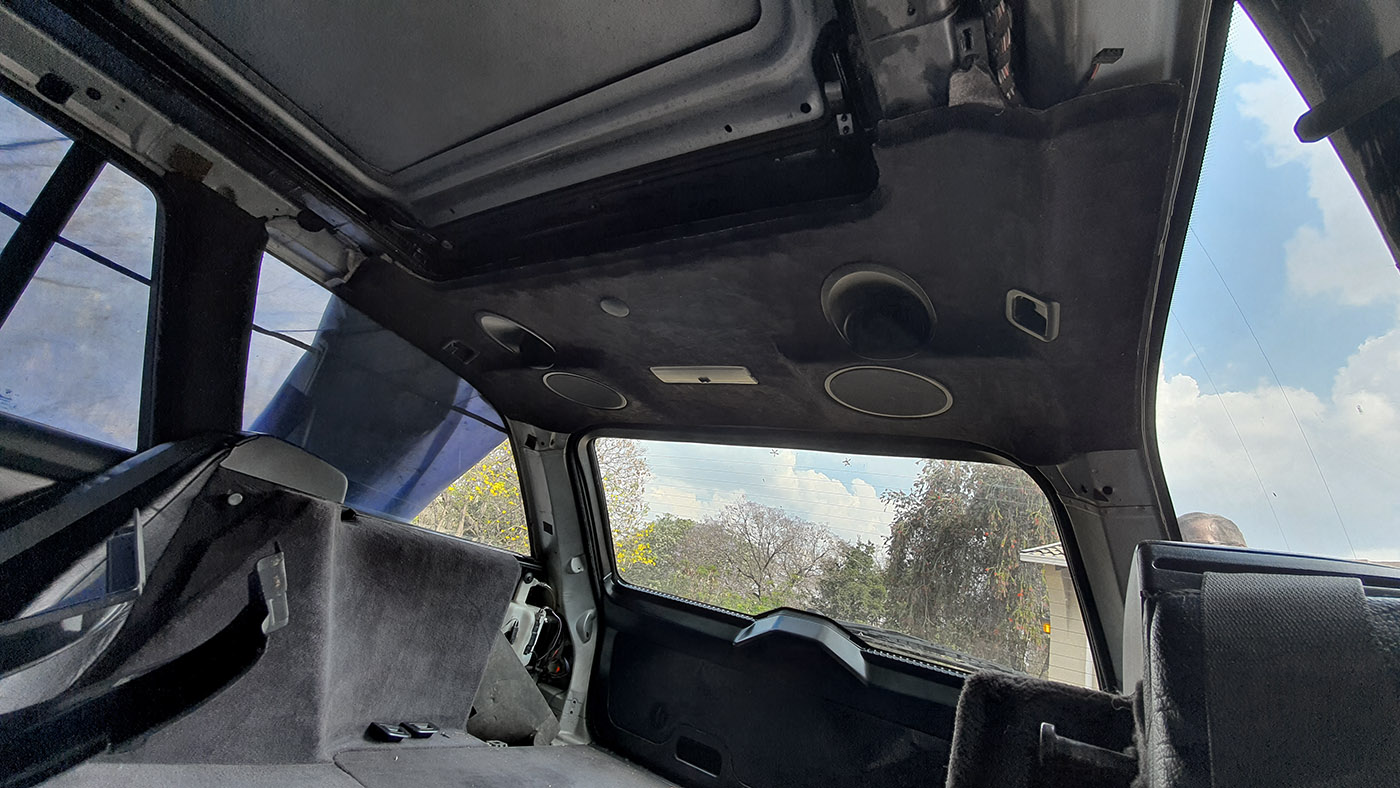
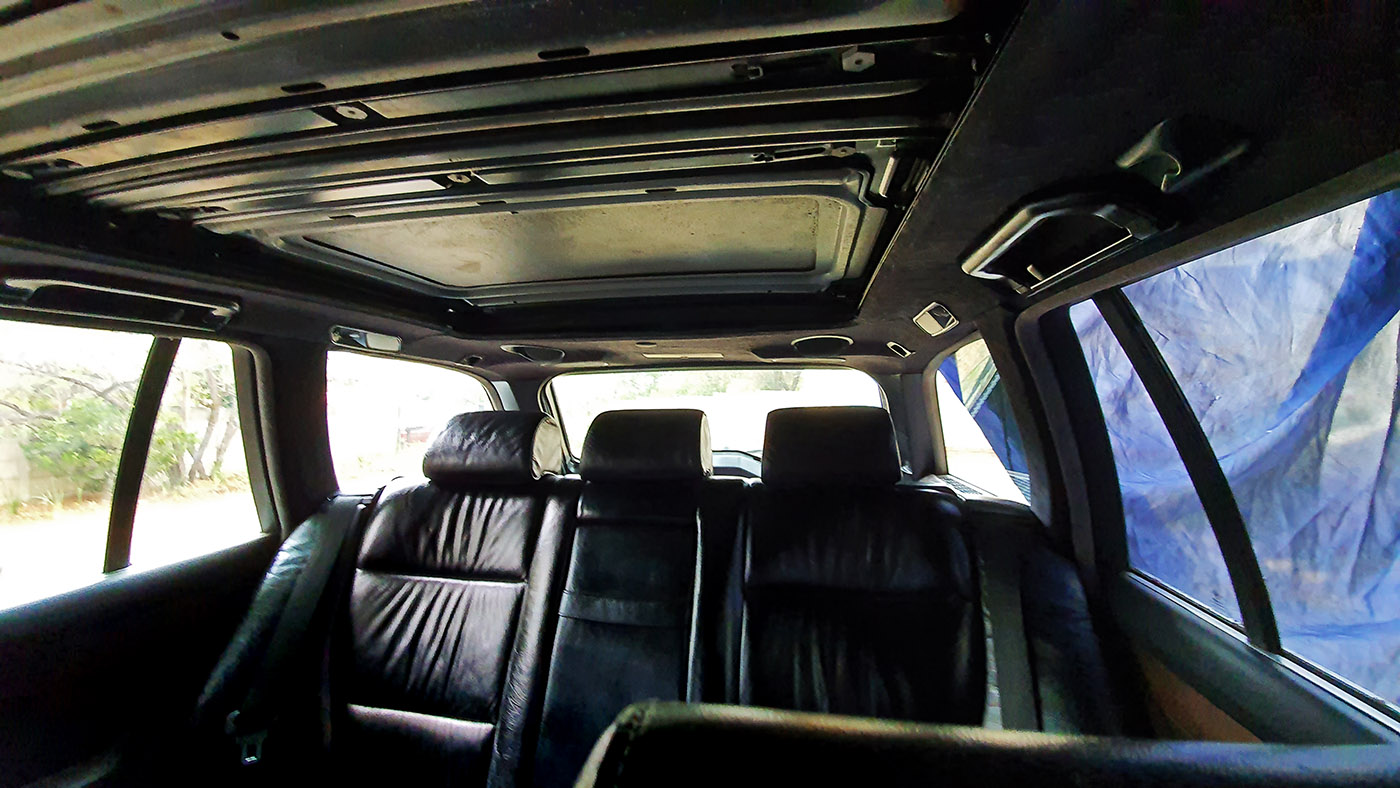
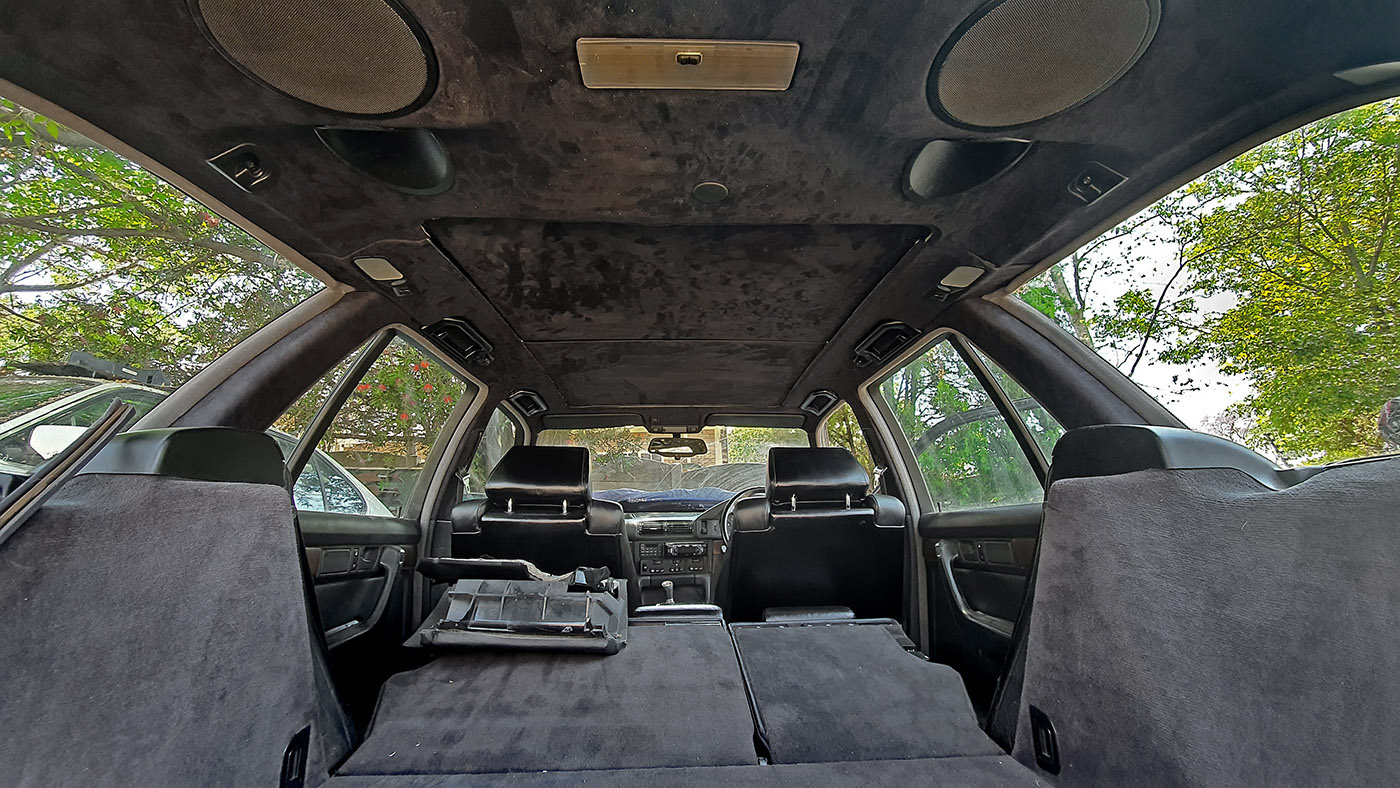
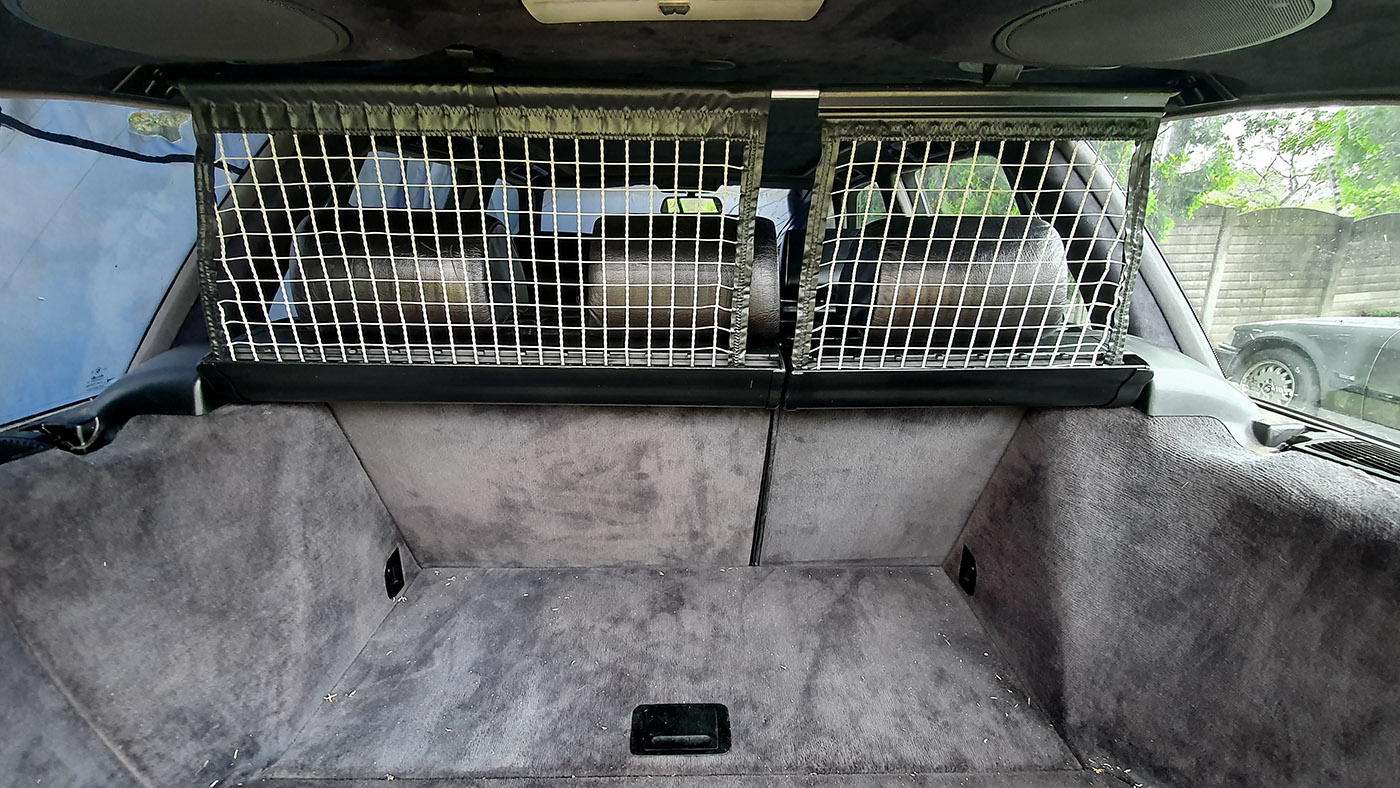
Some more interior pieces added:

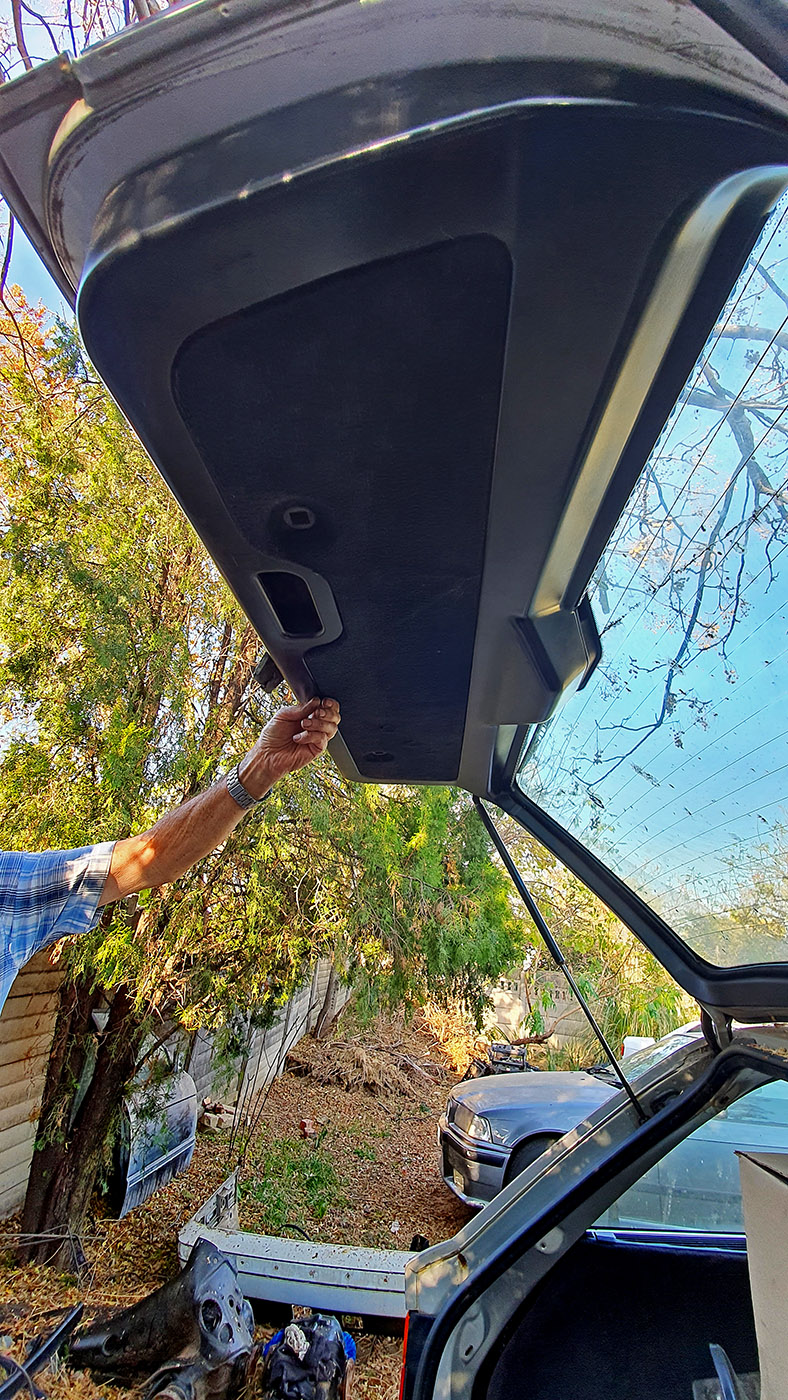
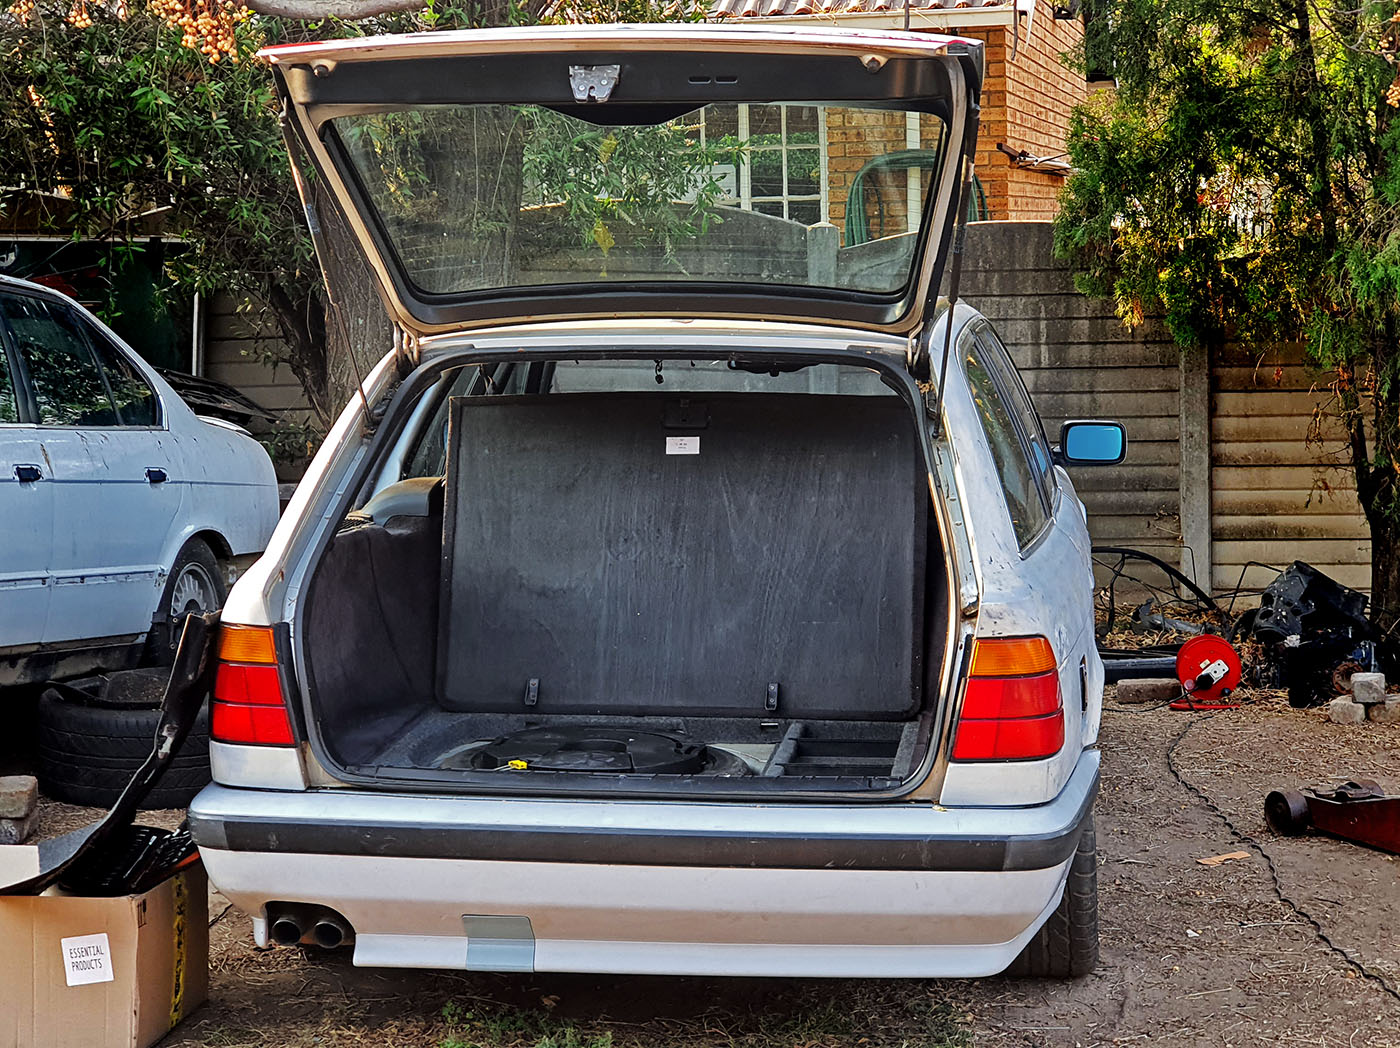
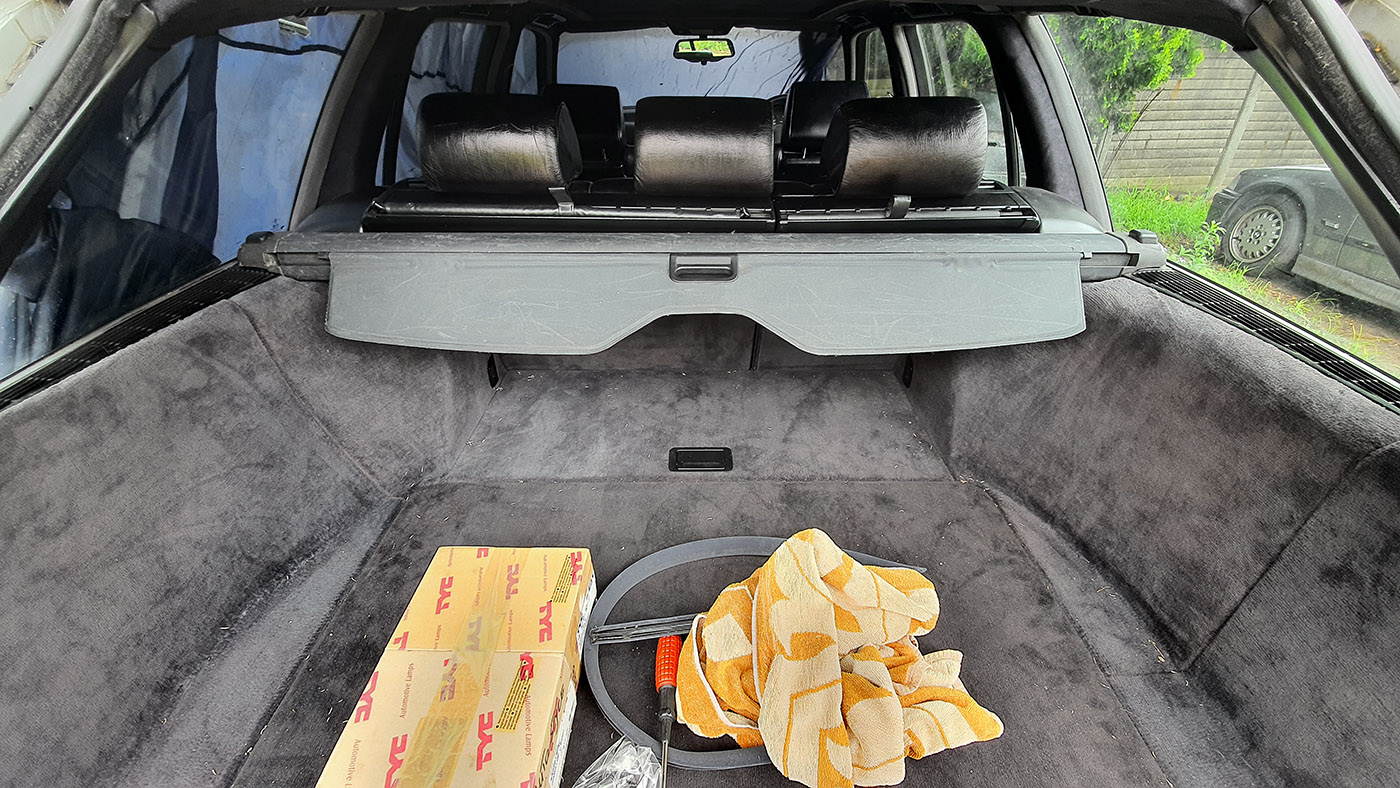
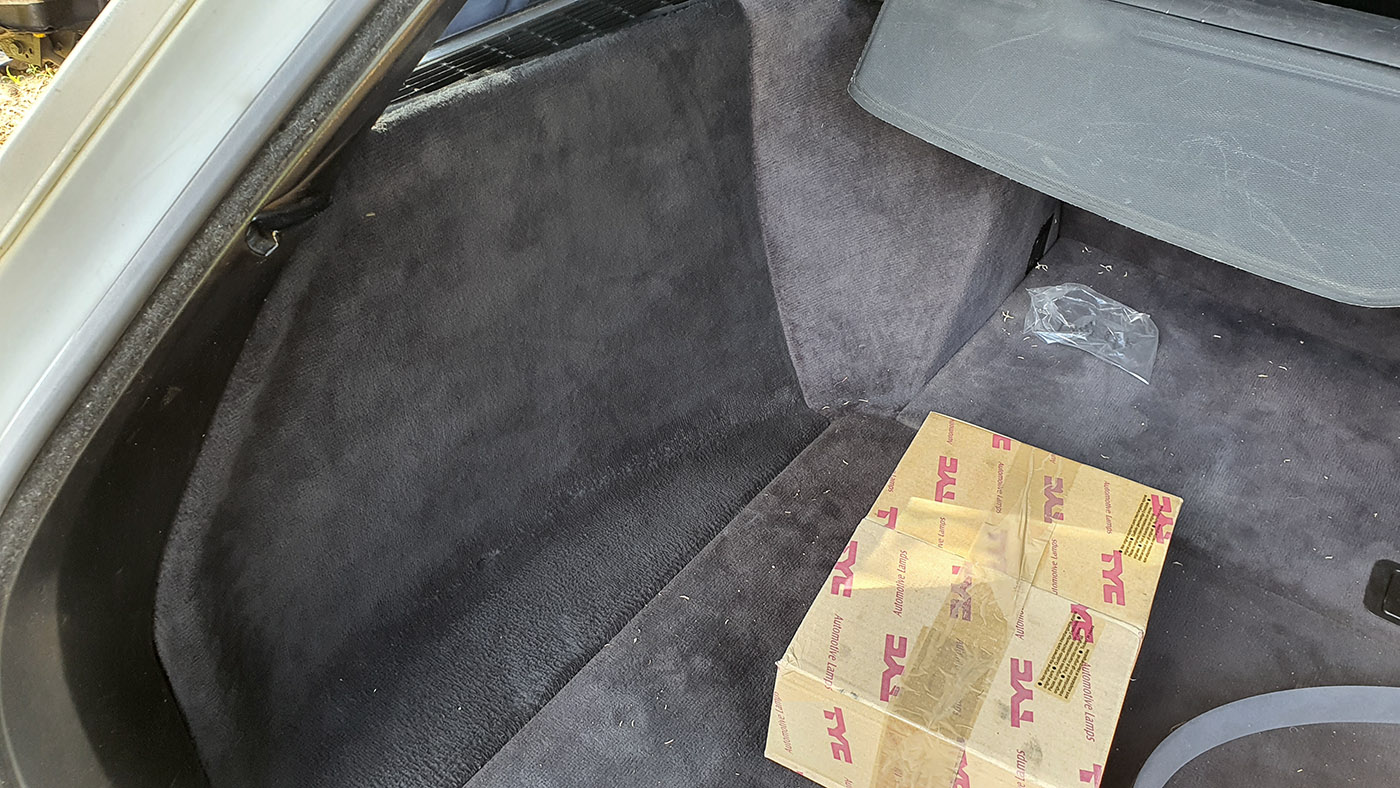
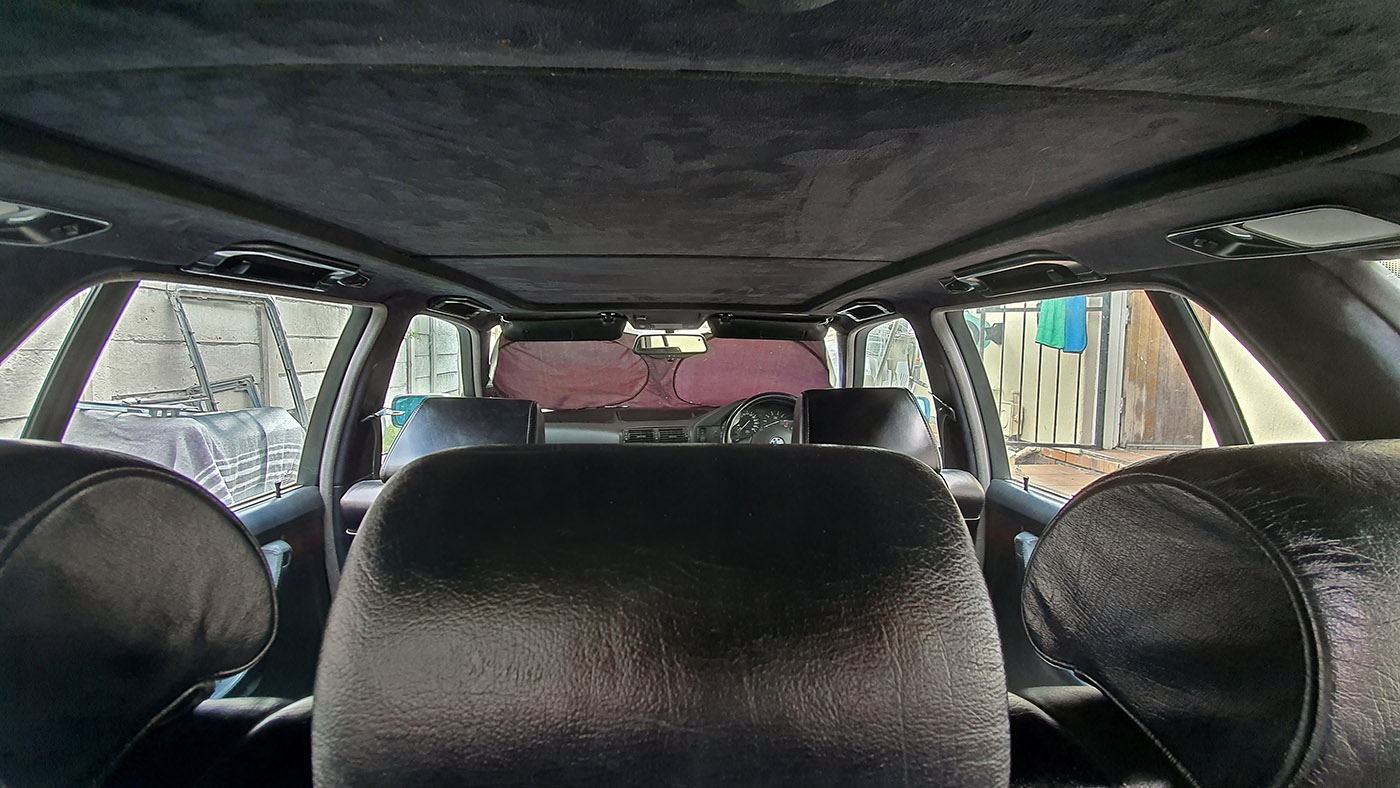
Found out why stuff wasn't working in the rear hatch. I am not surprised. The last time the glass struts were changed...someone kinked the hose for the rear washer nozzle as well.

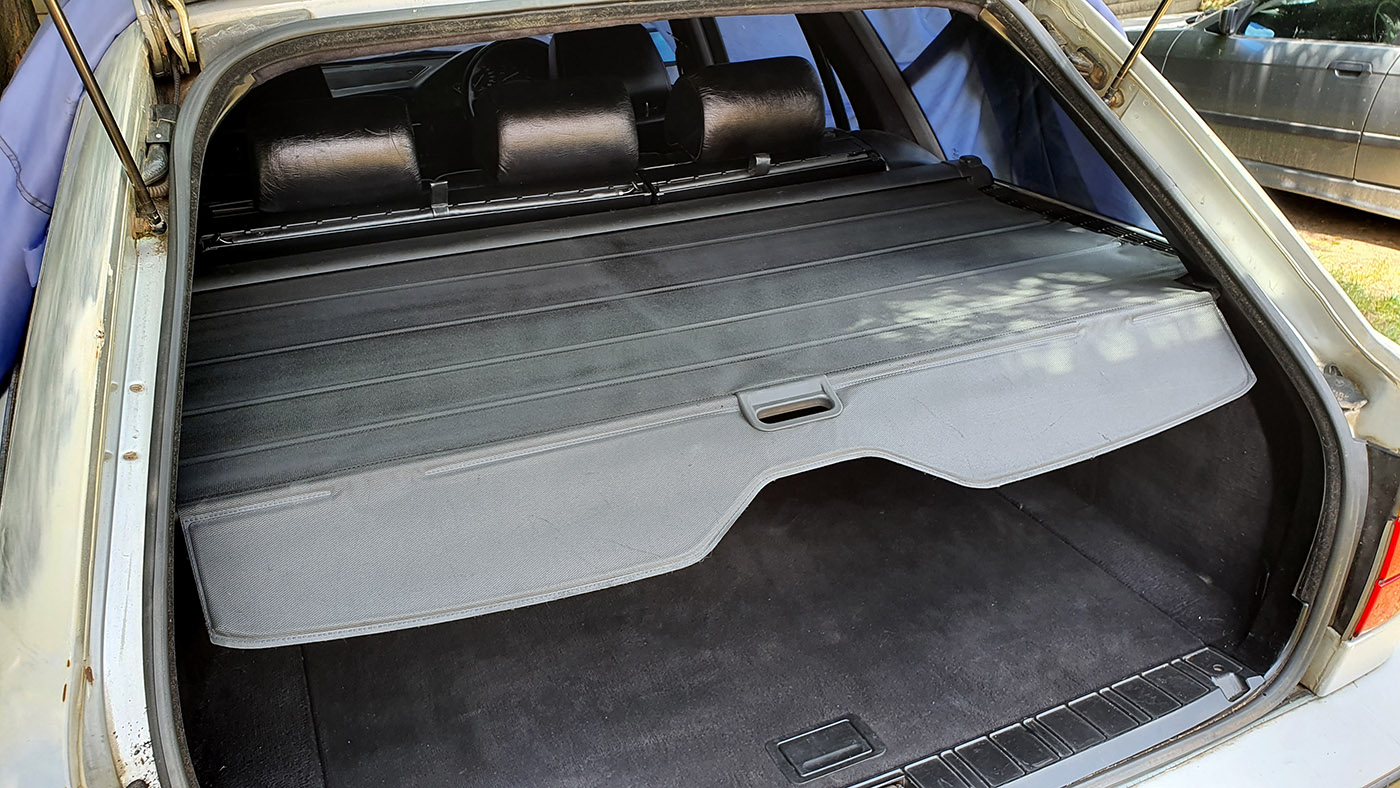
Sorted.

Cut up a front passenger side wiper, trimmed the rear one...and viola.


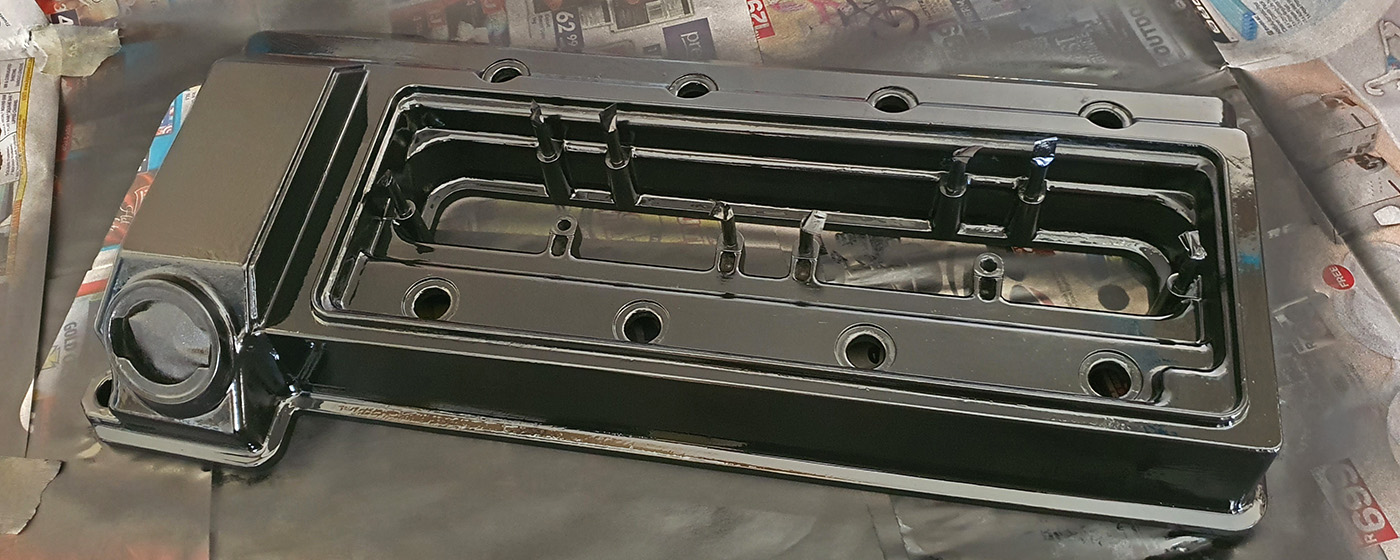
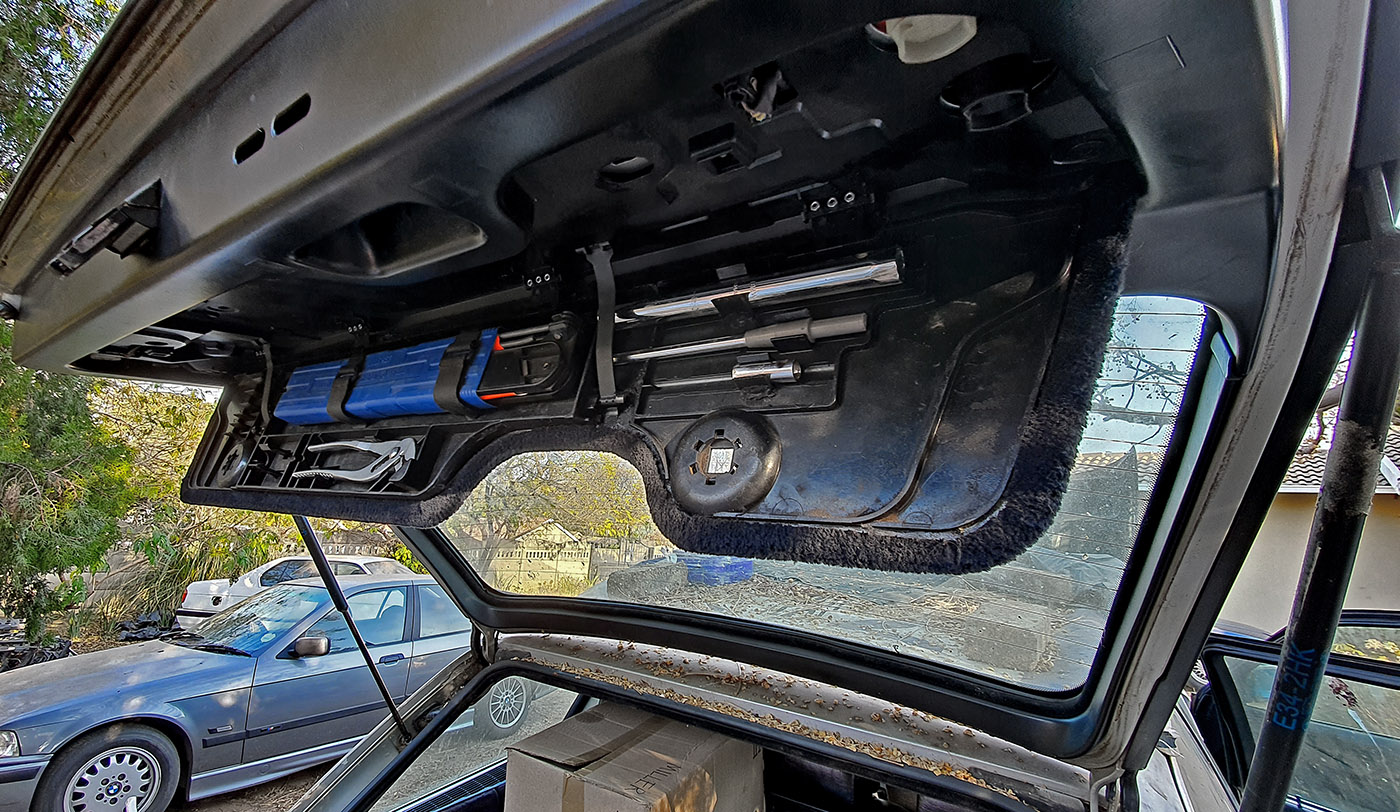
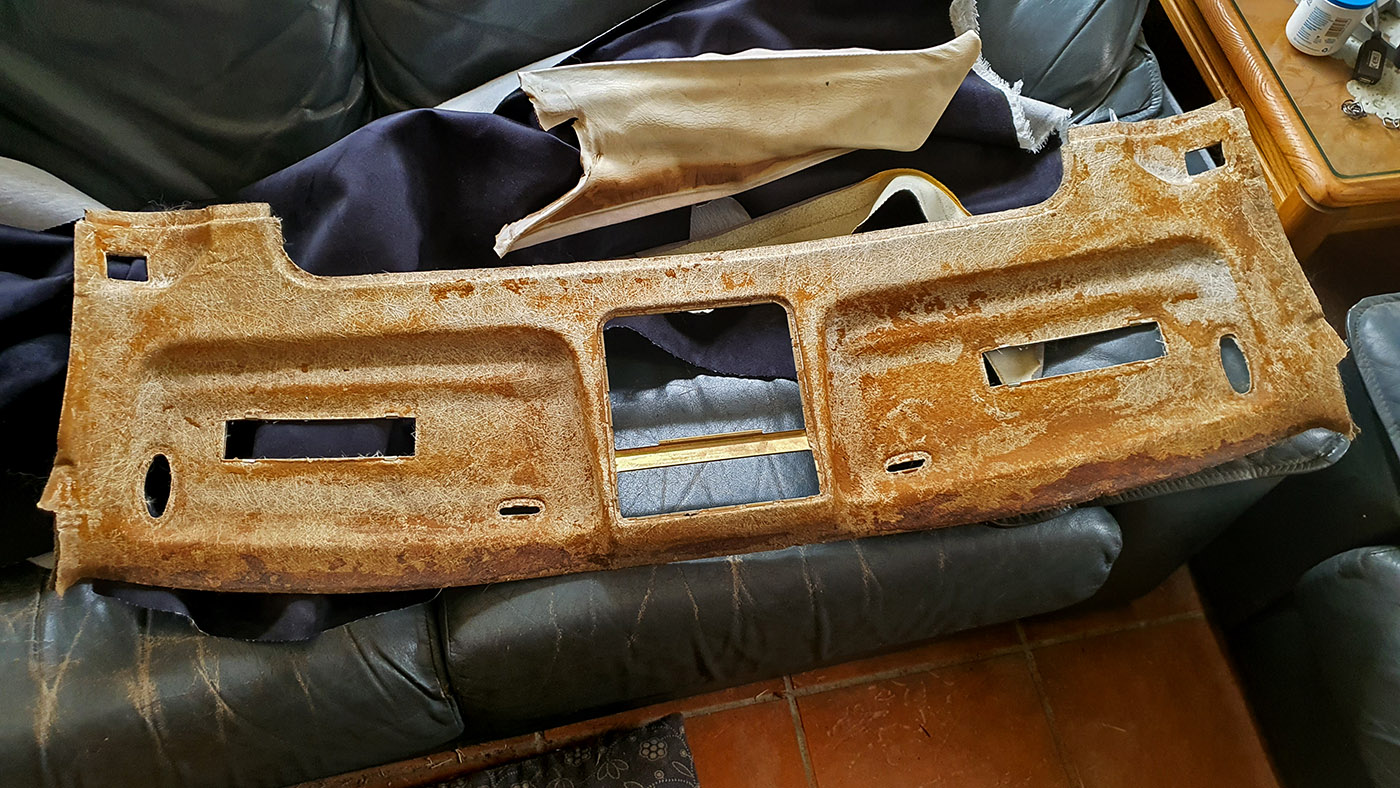
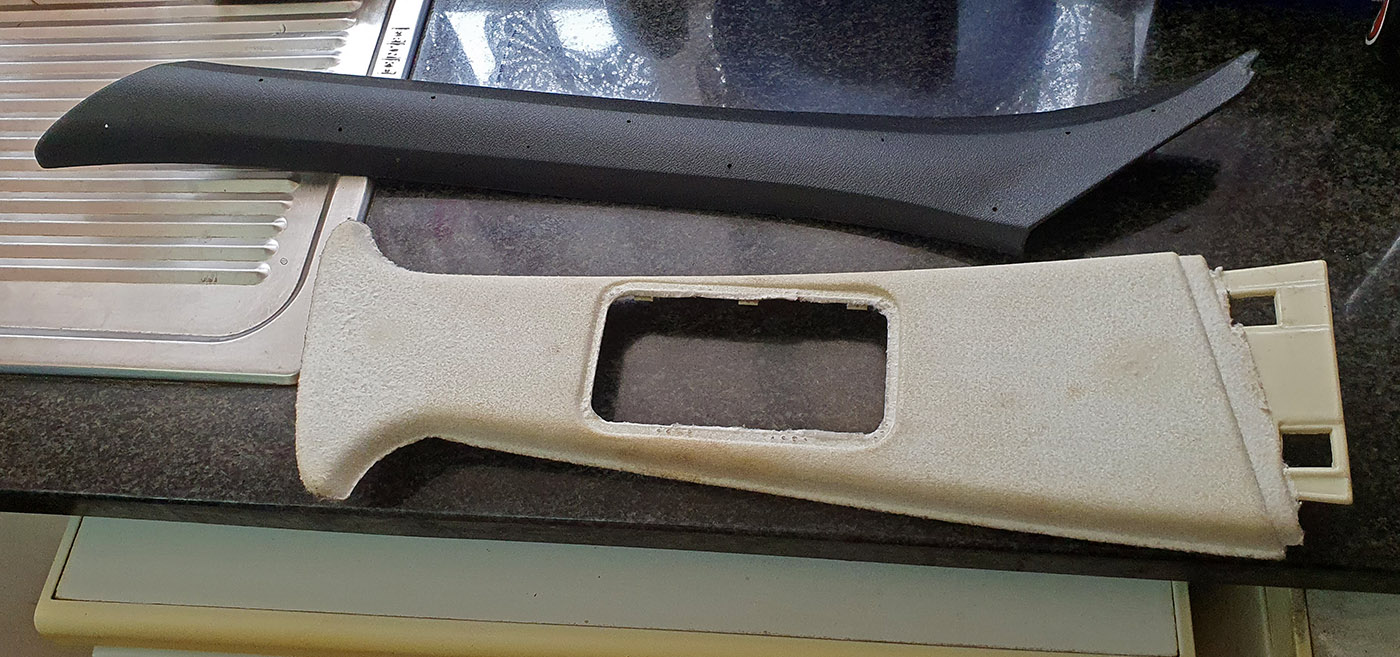
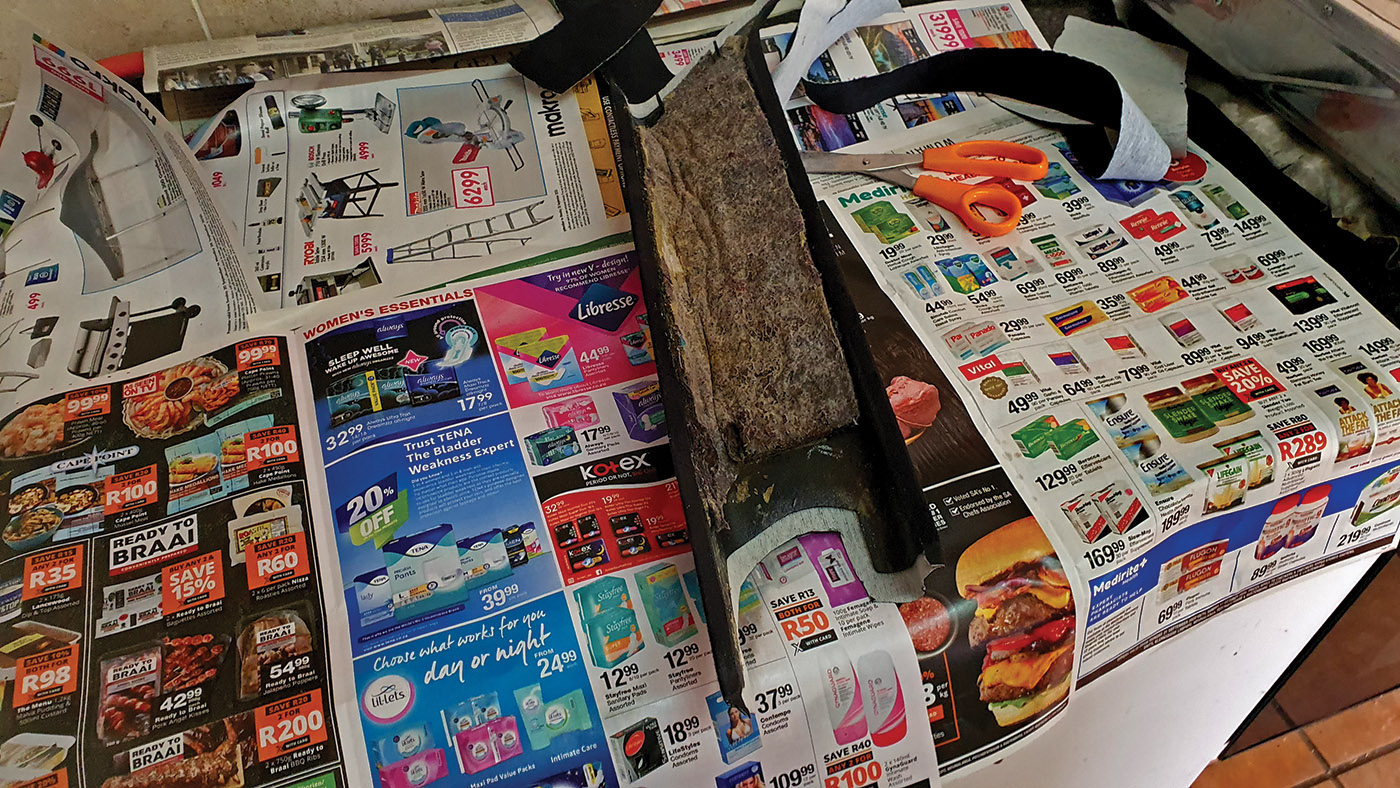
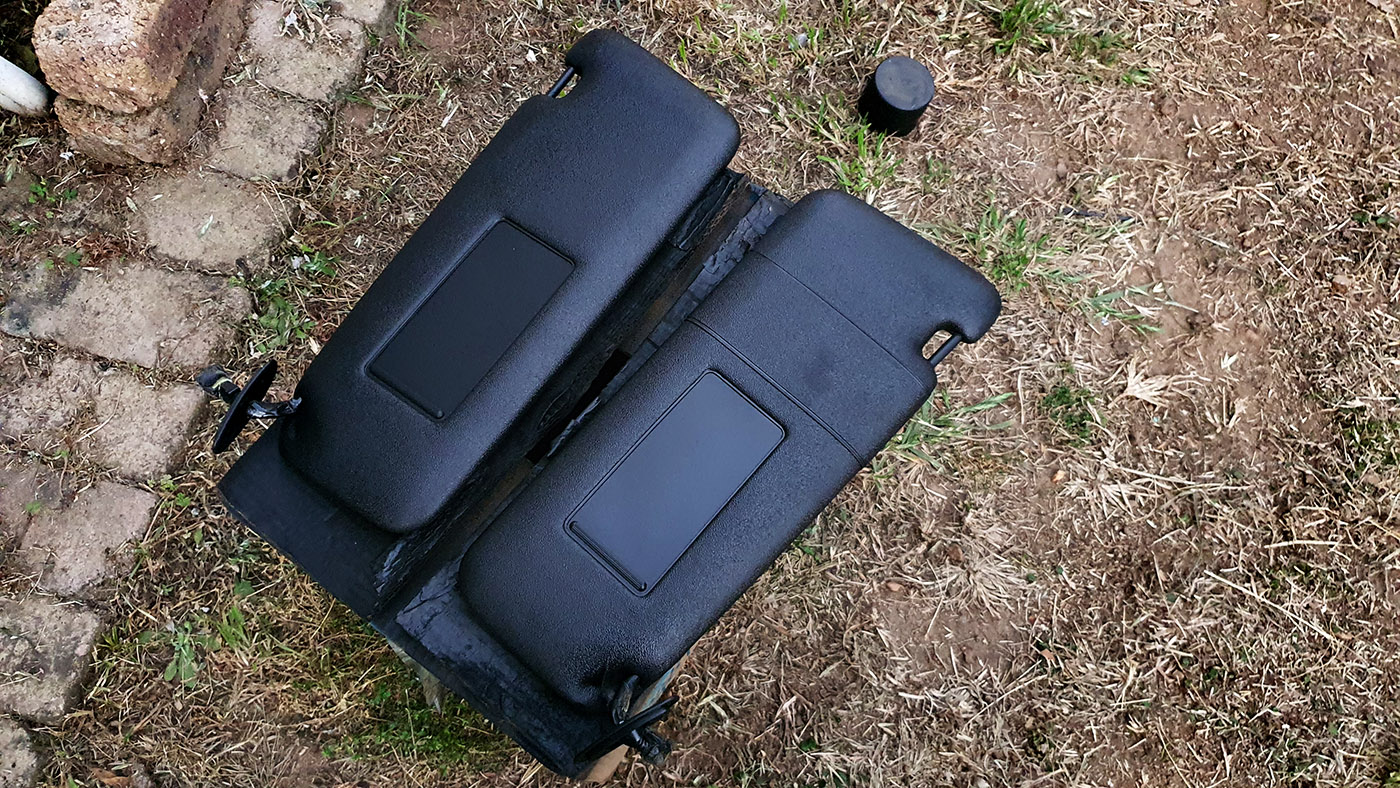
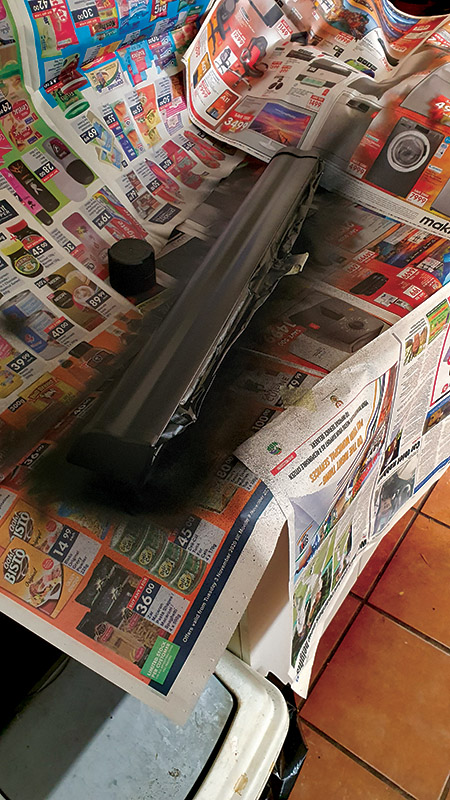
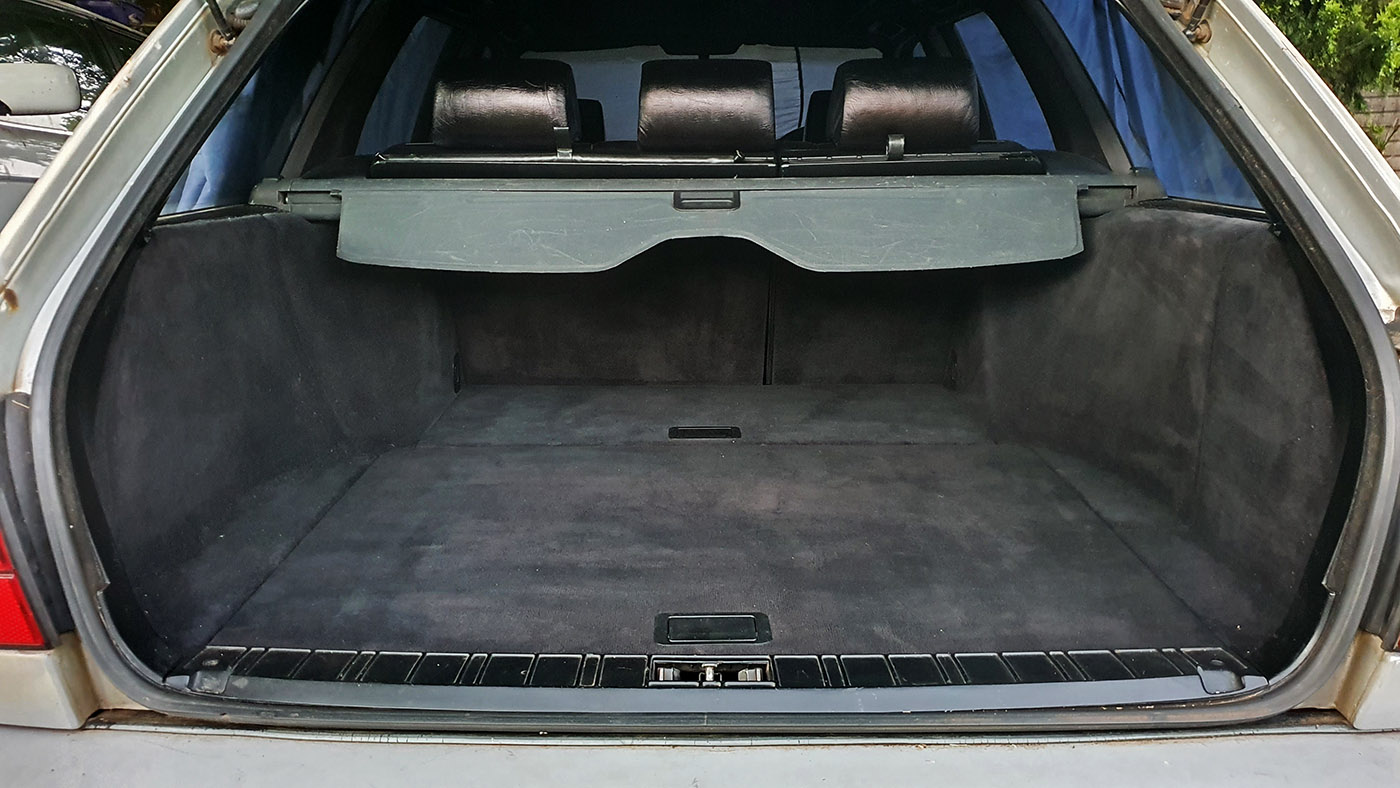
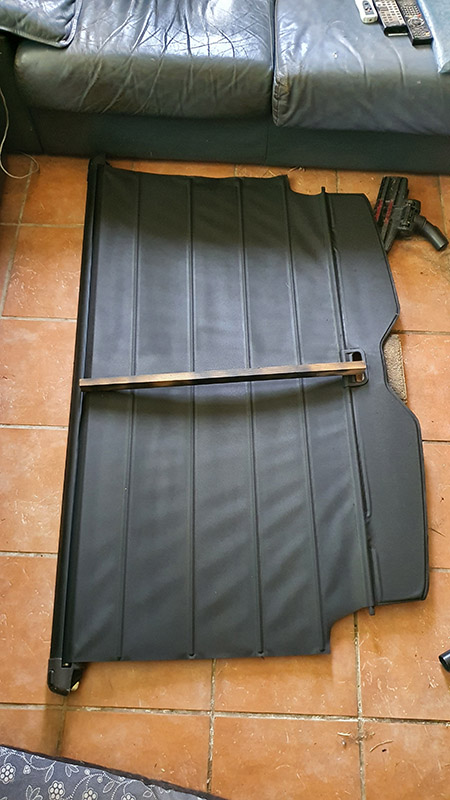
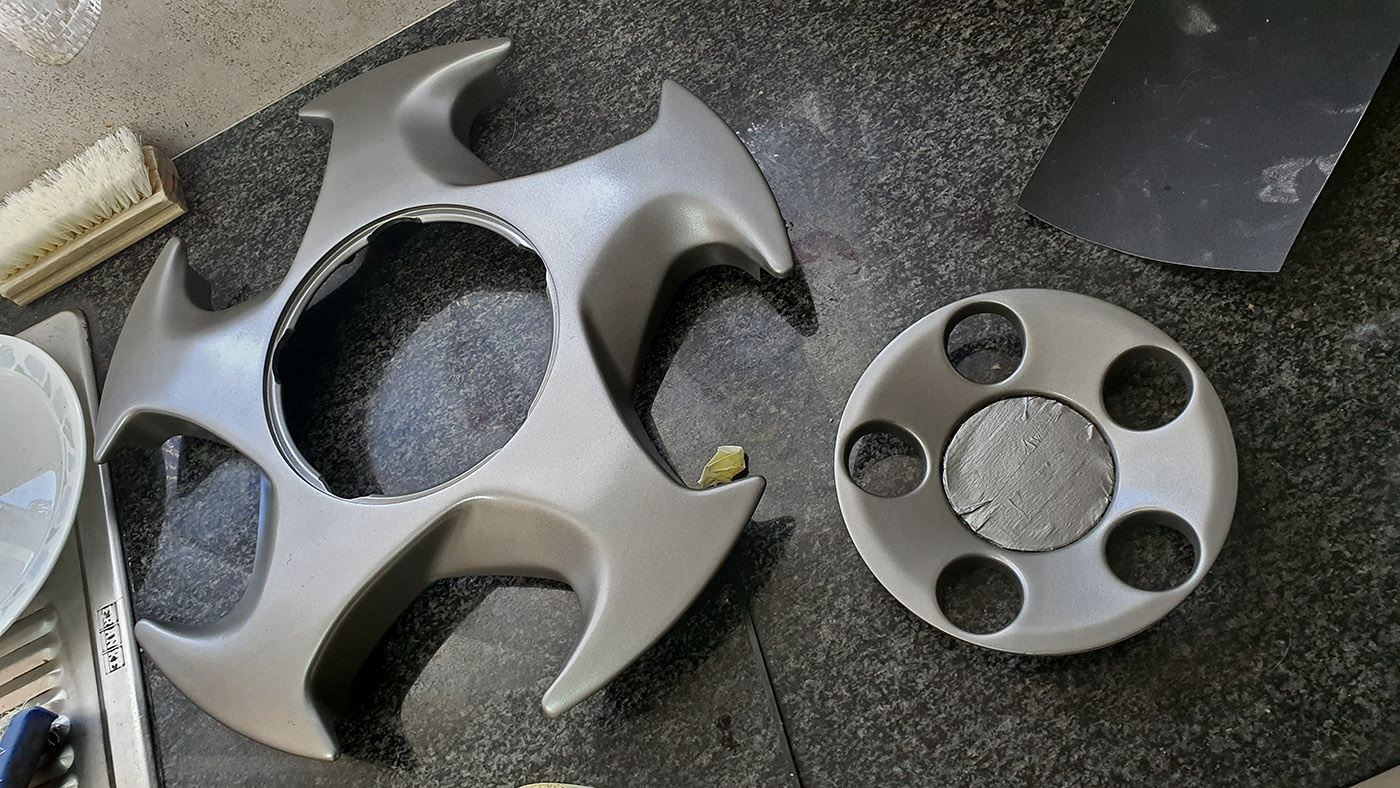
Repaired and painted the hatch tool holder thingy...whatever you call it.

Sprayed some more stuff.

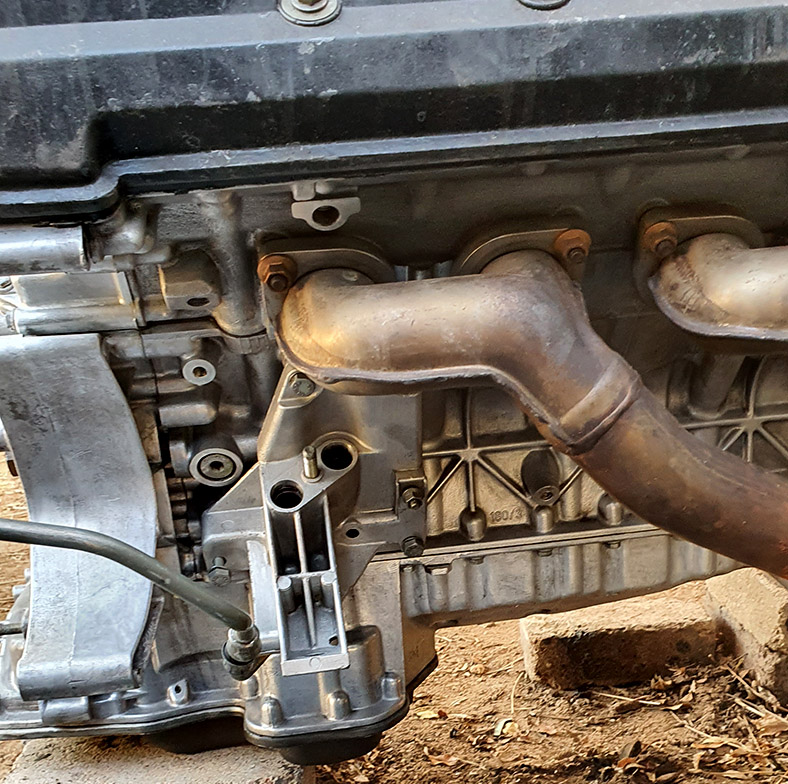
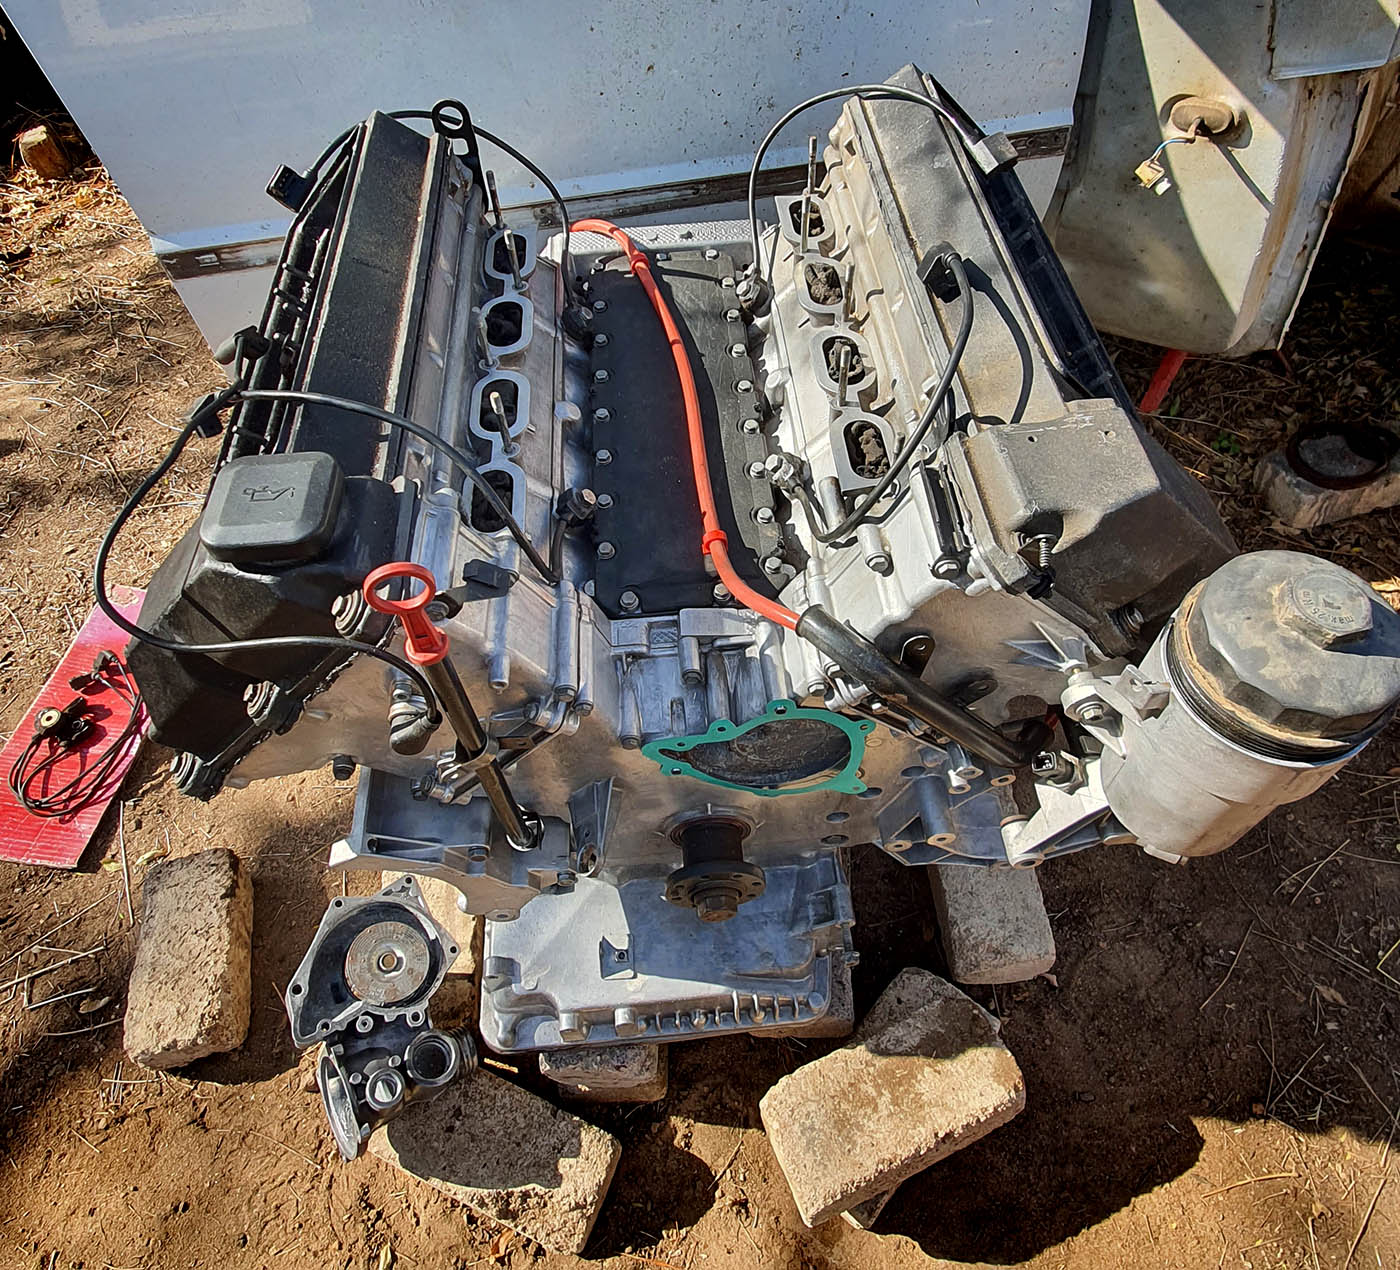
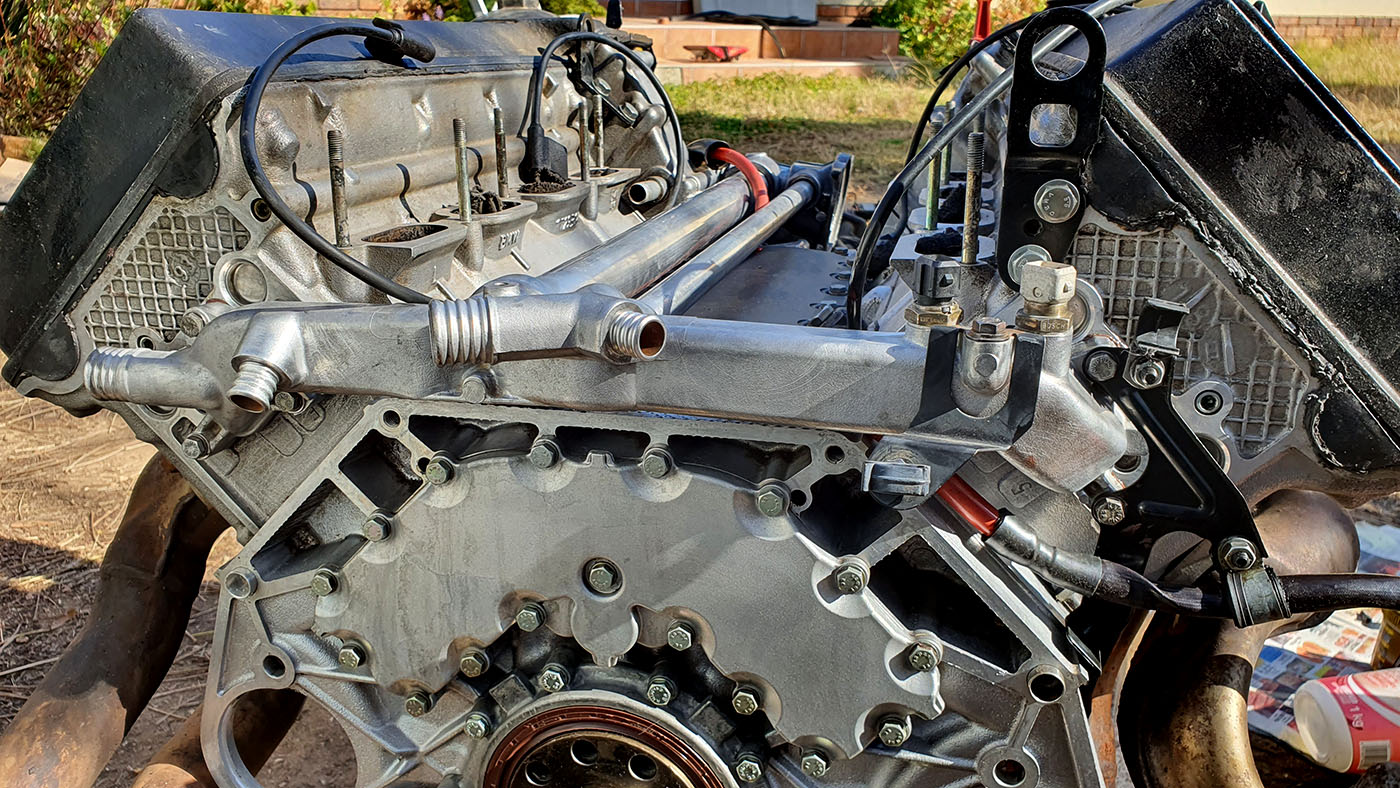
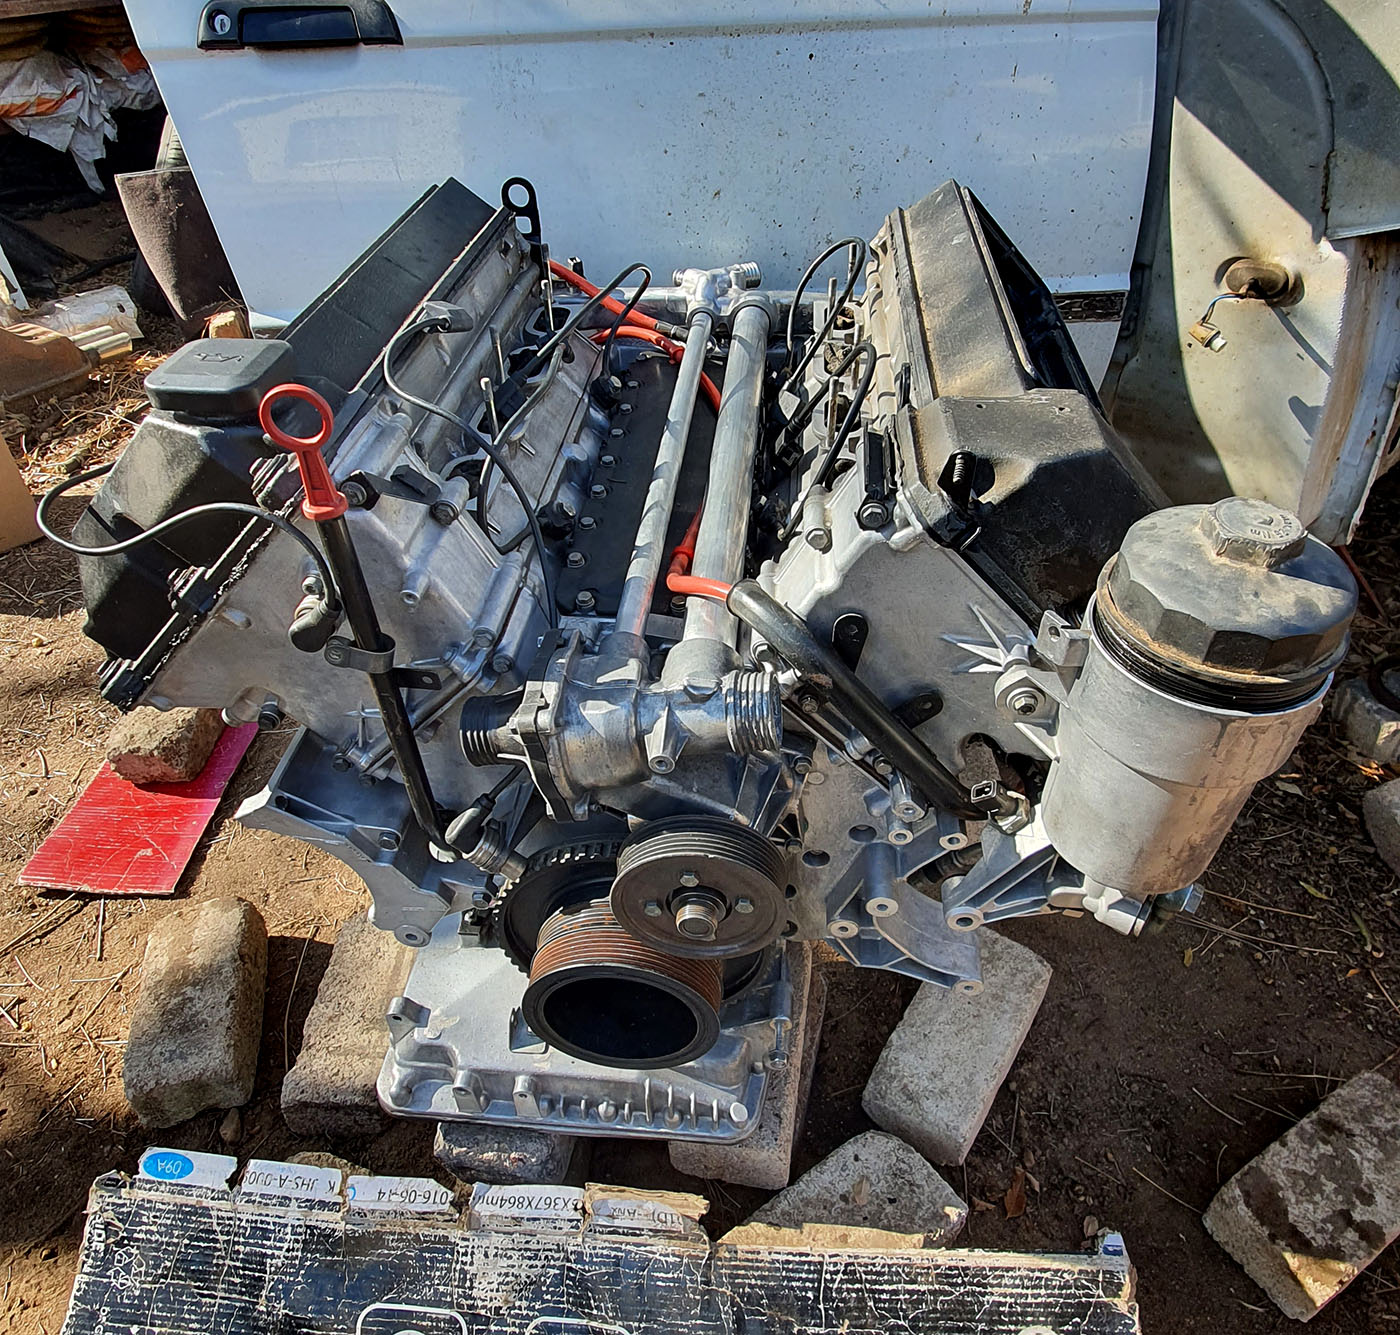
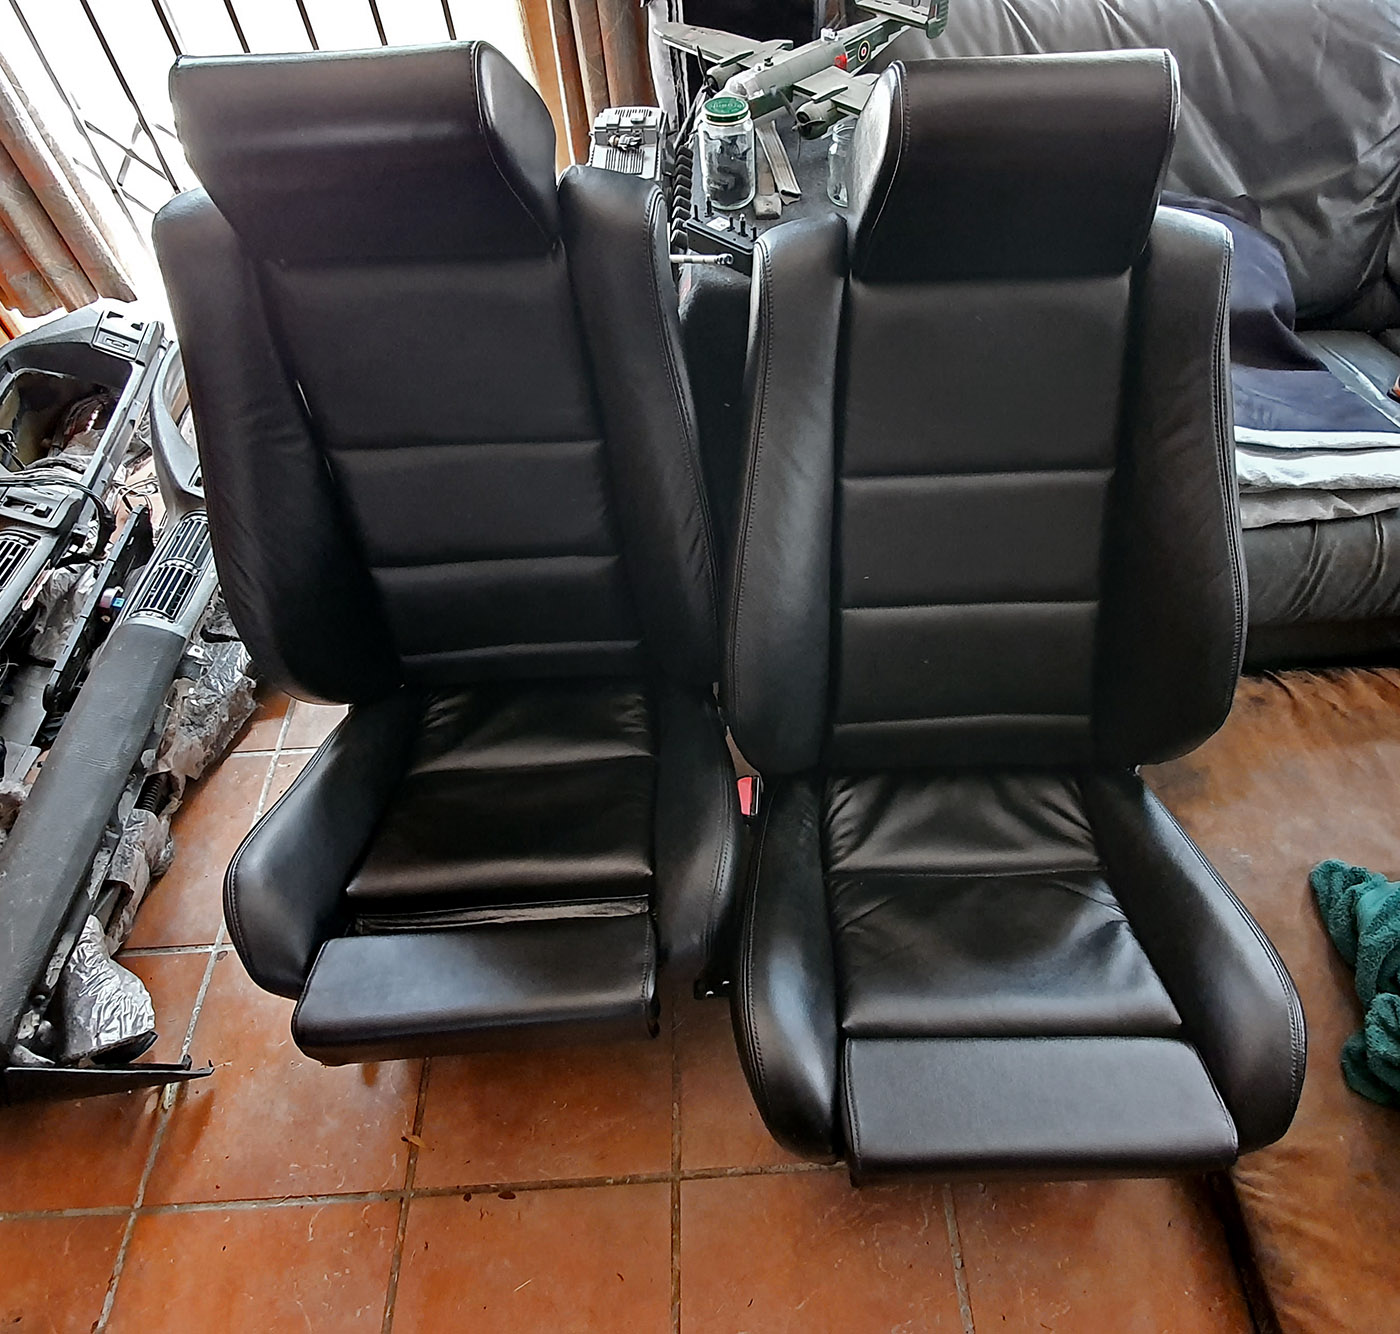
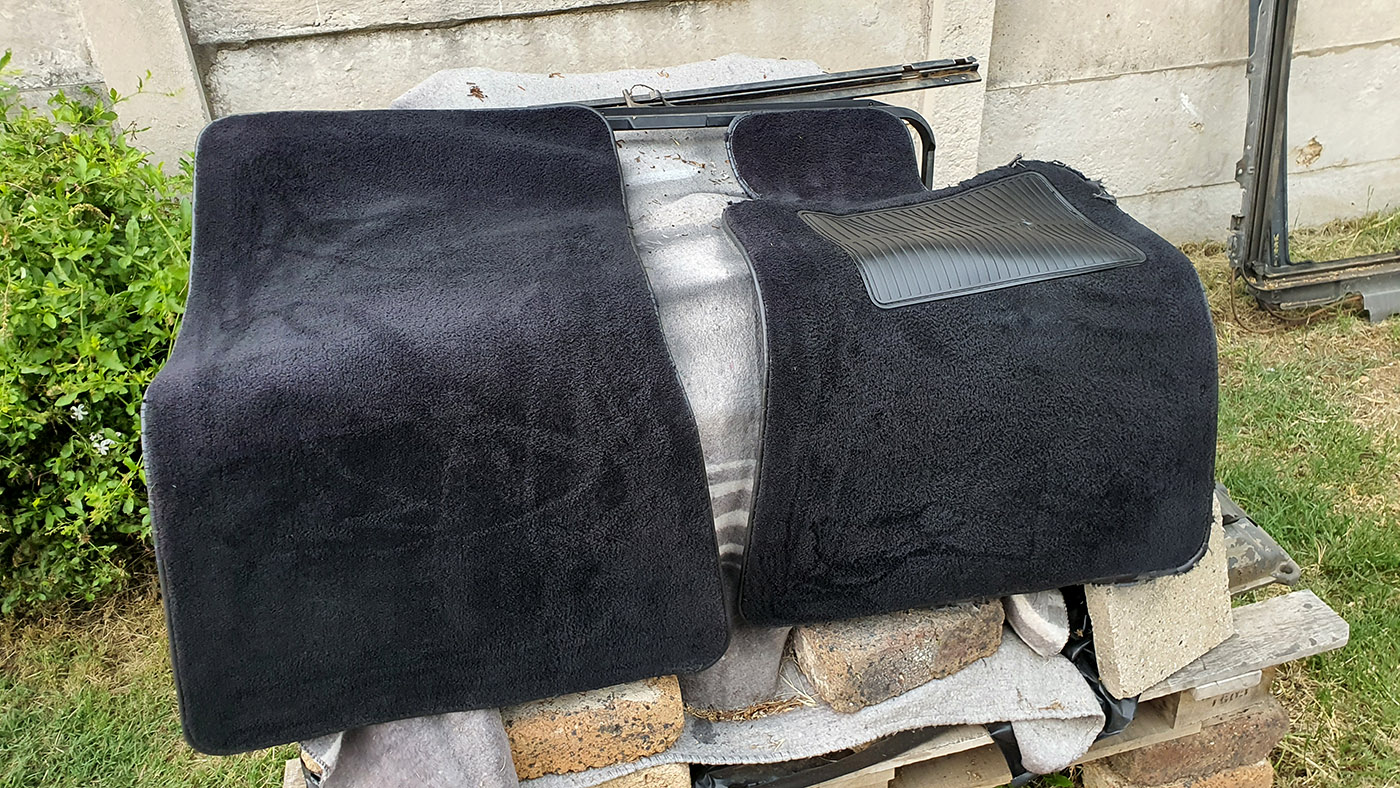
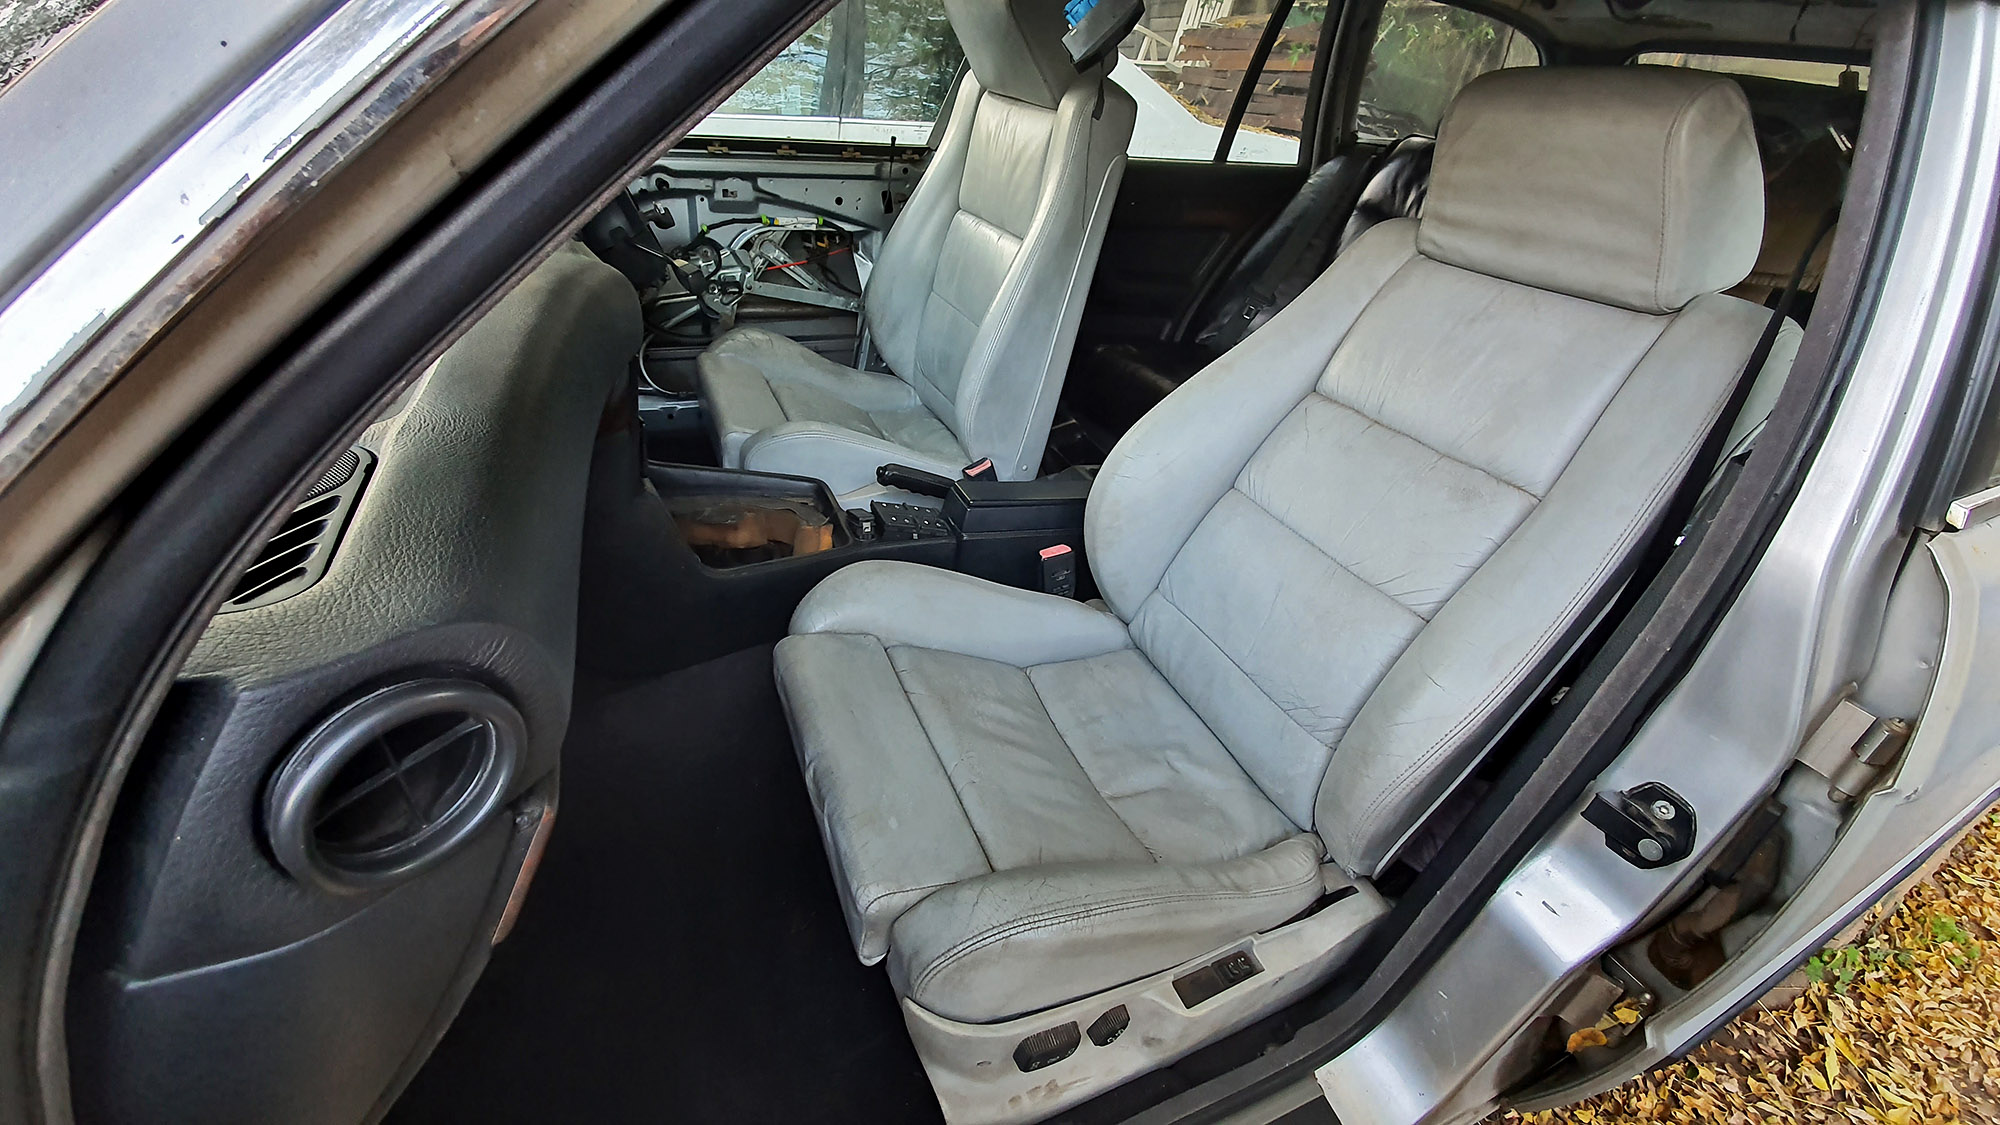
Epic friends are epic. J needed some engine parts...I needed some seats. These will be dyed black eventually.
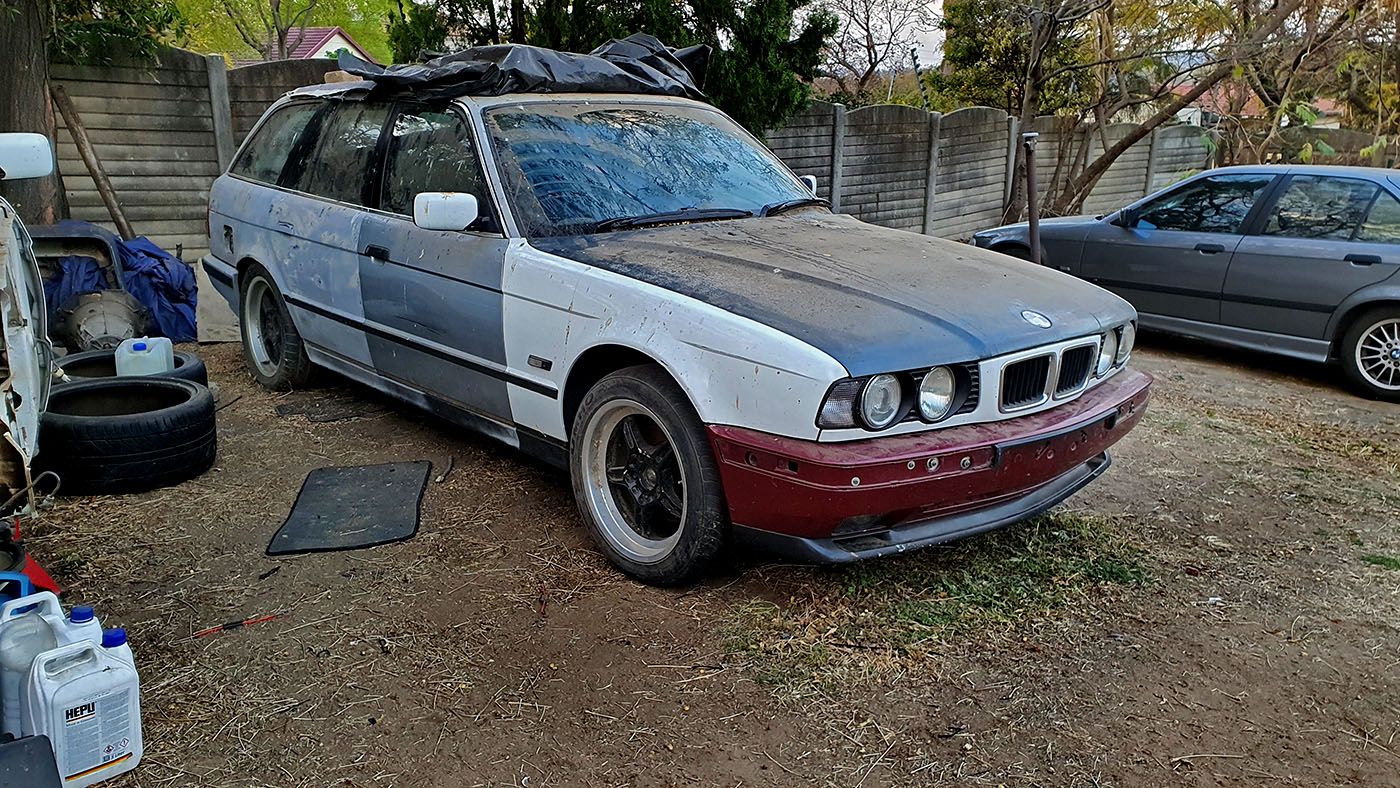
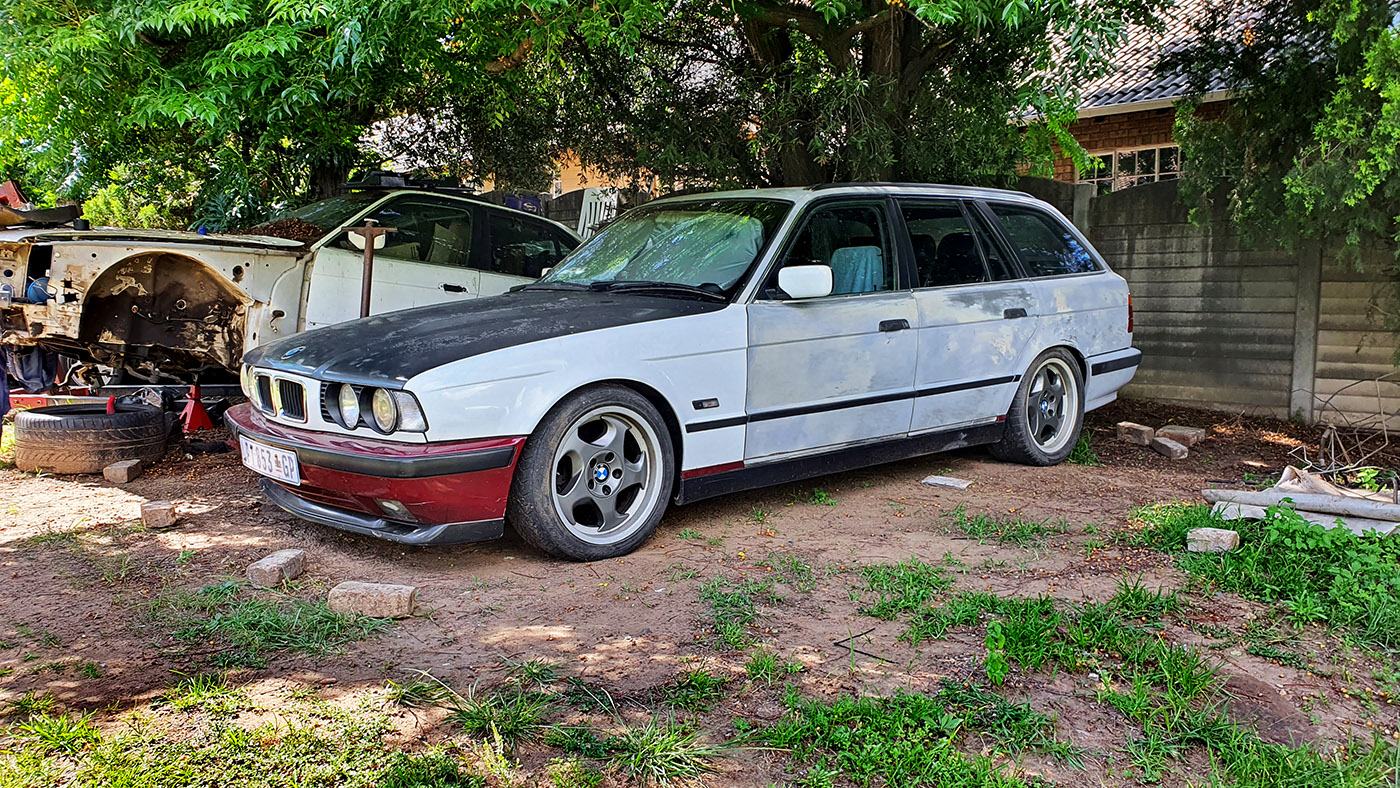
Never thought I'd see a brand new M5 rear bumper. well...yeah.


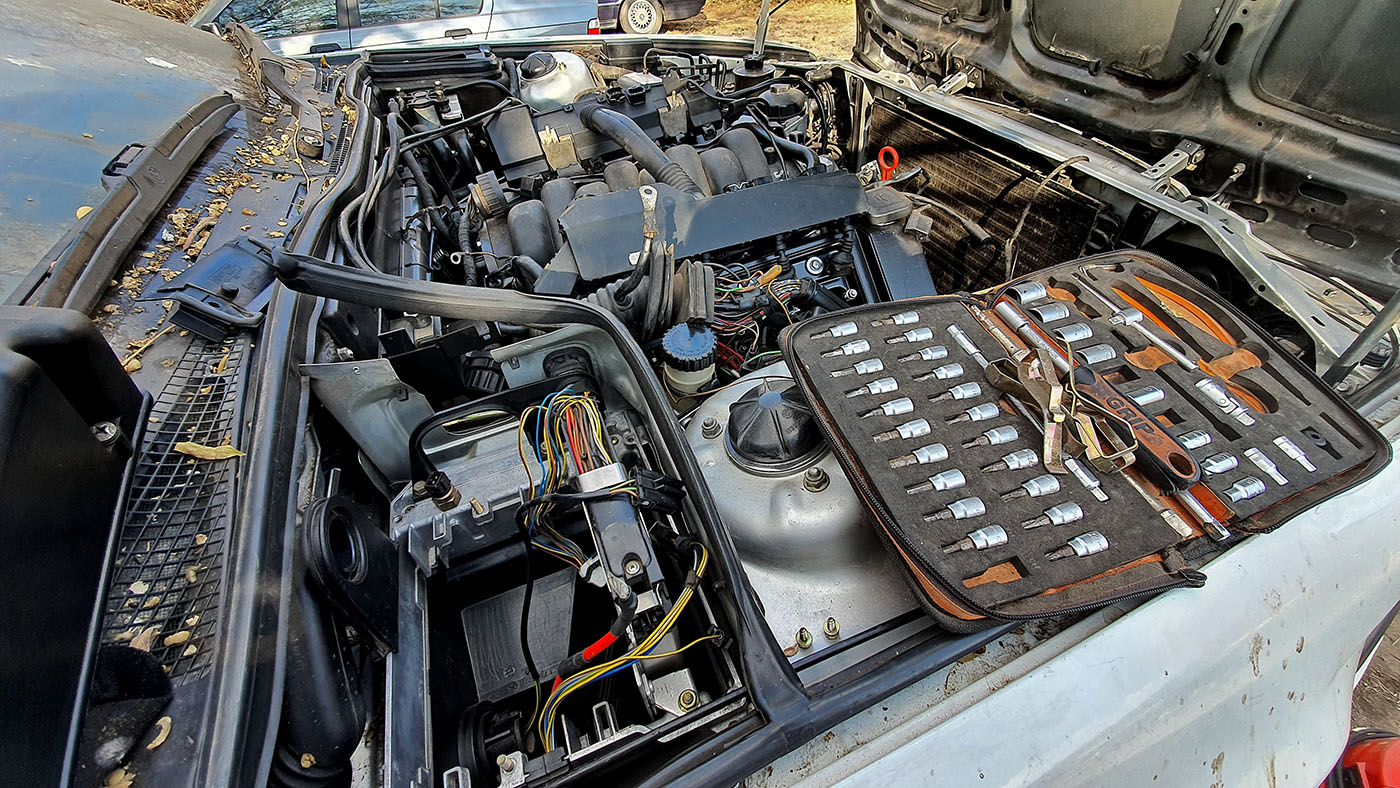
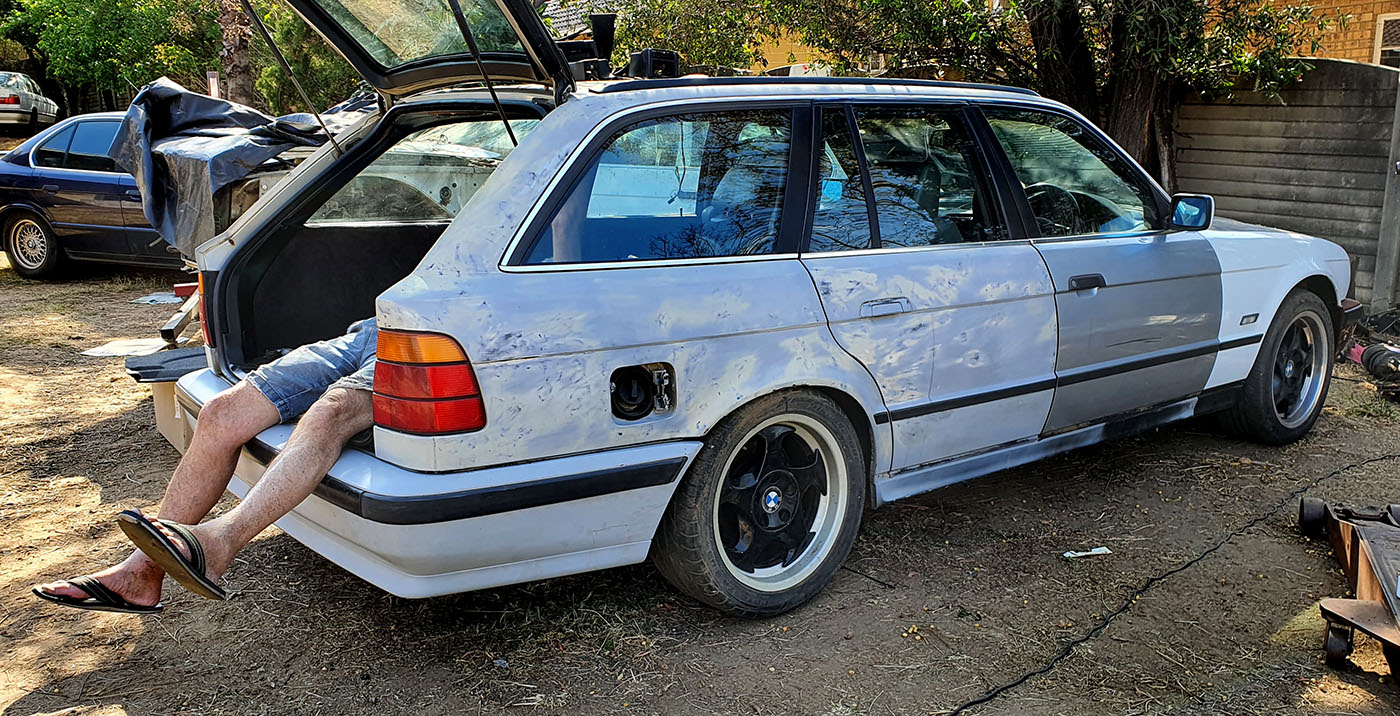
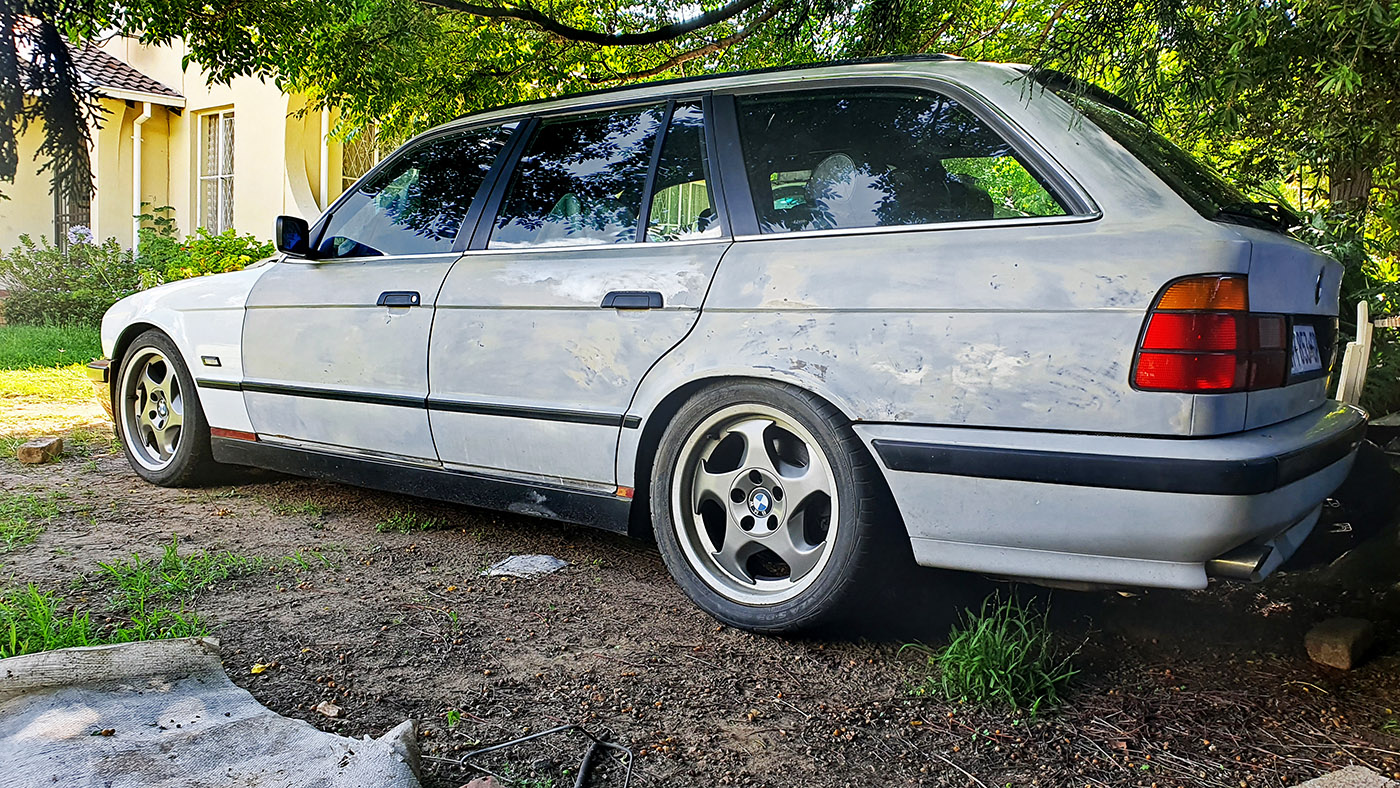
And of course you have to "test fit".


rodga - RIT dye is used for the carpets and plush leather dye is used for the seats.
Sibonelo - That isn't an E28, it's an E24.
KingKalie - Tis actually grey :smilebounce:
Wes - A little :fencelook:
Engine bay primed:
There was a section of metal that had to be removed here as well.
And the bay is sprayed:
Unfortunately due to some previous owners being a bit heavy handed with somewhat fragile plastic things, we added some hinges to the tool kit holder thingy.
Added some sound deadening and heat shielding:
Brake master cylinder and ABS unit installed:
Aircon compressors stuffs:
Steering box and lines:
Some front end stuff added:
Installed the front fuse box and associated wiring:
Couldn't quite decide on a colour...
Ready for a carpet:
And carpet is in...
Rear sedan door cards trimmed slightly and installed:
Heater core coolant pipes swapped out for non corroded ones and ready to install:
And in
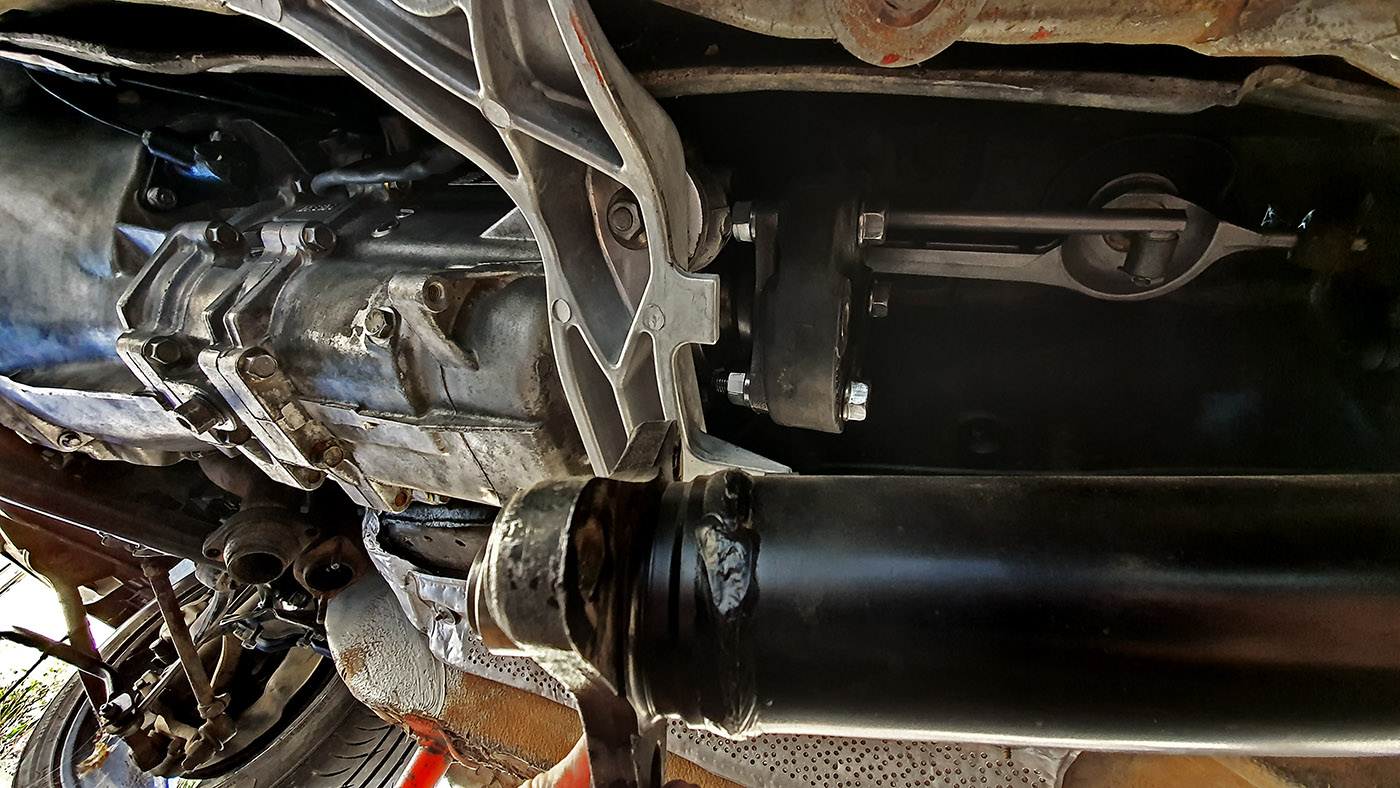
Clutch line and other bits added:
Dashboard is in:
Sometime back we swapped in 540 audio wiring. Since connecting the battery (nothing blew up thankfully) we found that some of the speakers weren't working.
The culprit...
Swapped it out and now all speakers emit wonderful noise.
Front centre console and glovebox are in. Plugged in the battery, nothing blew up fortunately :smilebounce:
Some more interior pieces added:
Found out why stuff wasn't working in the rear hatch. I am not surprised. The last time the glass struts were changed...someone kinked the hose for the rear washer nozzle as well.
Sorted.
Cut up a front passenger side wiper, trimmed the rear one...and viola.
Repaired and painted the hatch tool holder thingy...whatever you call it.
Sprayed some more stuff.
Epic friends are epic. J needed some engine parts...I needed some seats. These will be dyed black eventually.
Never thought I'd see a brand new M5 rear bumper. well...yeah.
And of course you have to "test fit".