Can a 200,000 km F30 320d Still Be a Good Buy?

Clint@MMS AUTO

BMWFanatics Advertiser
Official Advertiser
@Clint@MMS AUTO - please also show the members your new 2012 Pepper Grey Polo 1.6Tdi :devilish: 😬 šŸ‘€
Why you Polo drivers are like this?? :unsure:
st,small,507x507-pad,600x600,f8f8f8.u1.jpg
 
Last edited:

Clint@MMS AUTO

BMWFanatics Advertiser
Official Advertiser
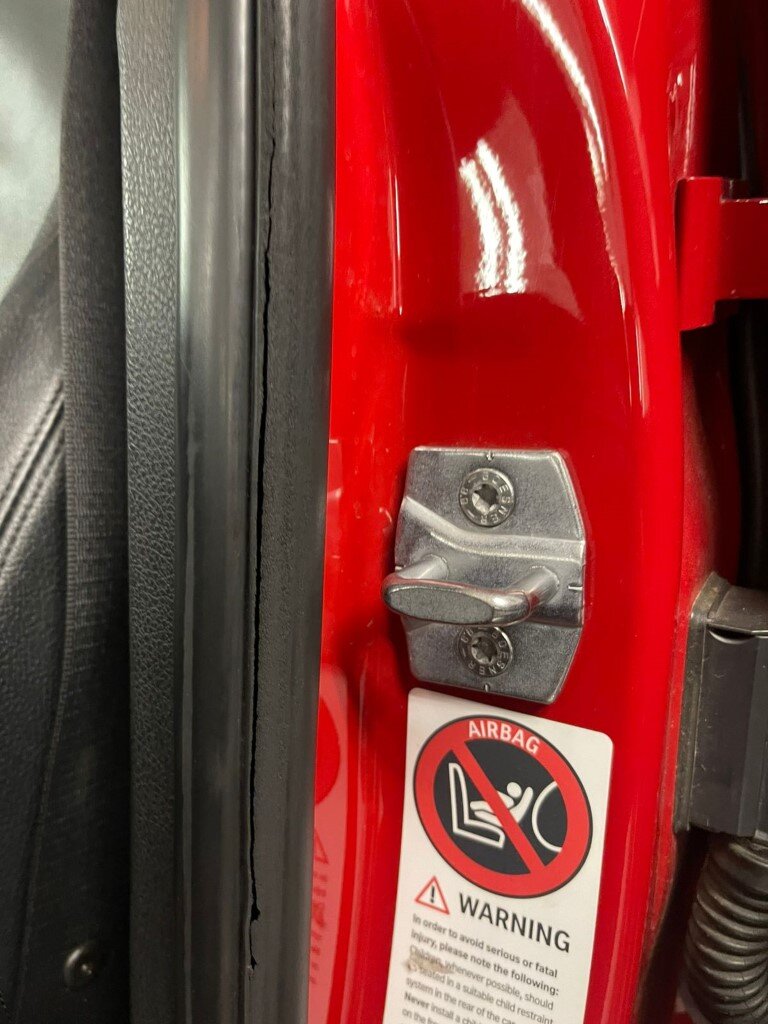
Pic of the old Worn door seal
1.jpeg

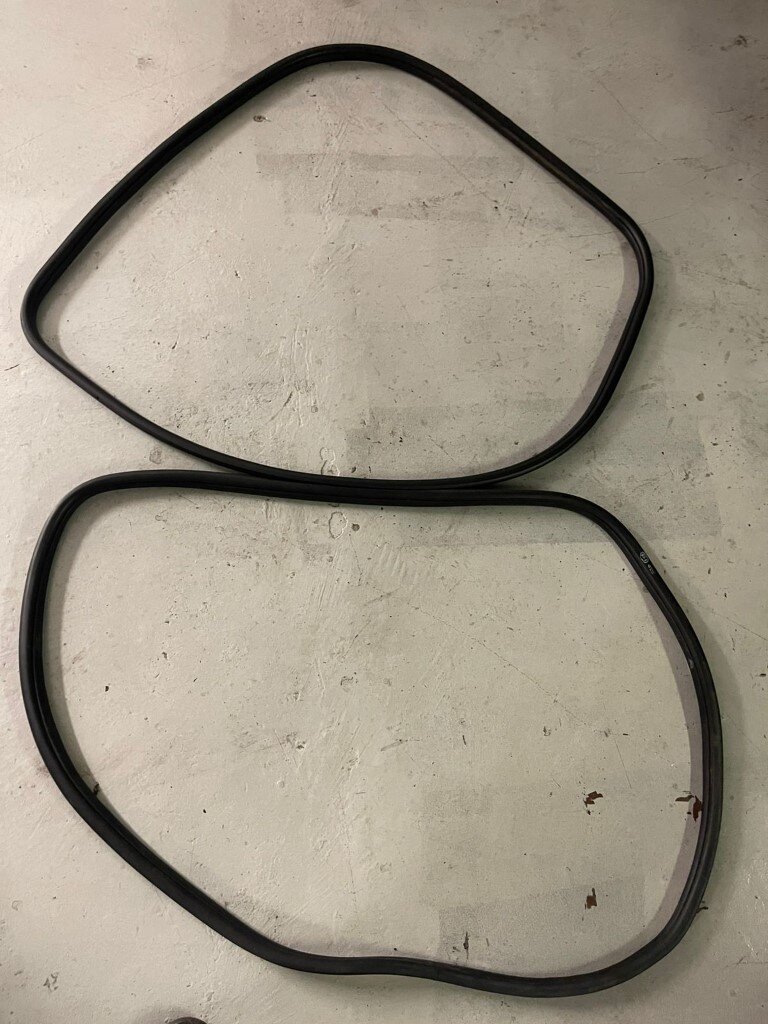
Changing it out
2.jpeg

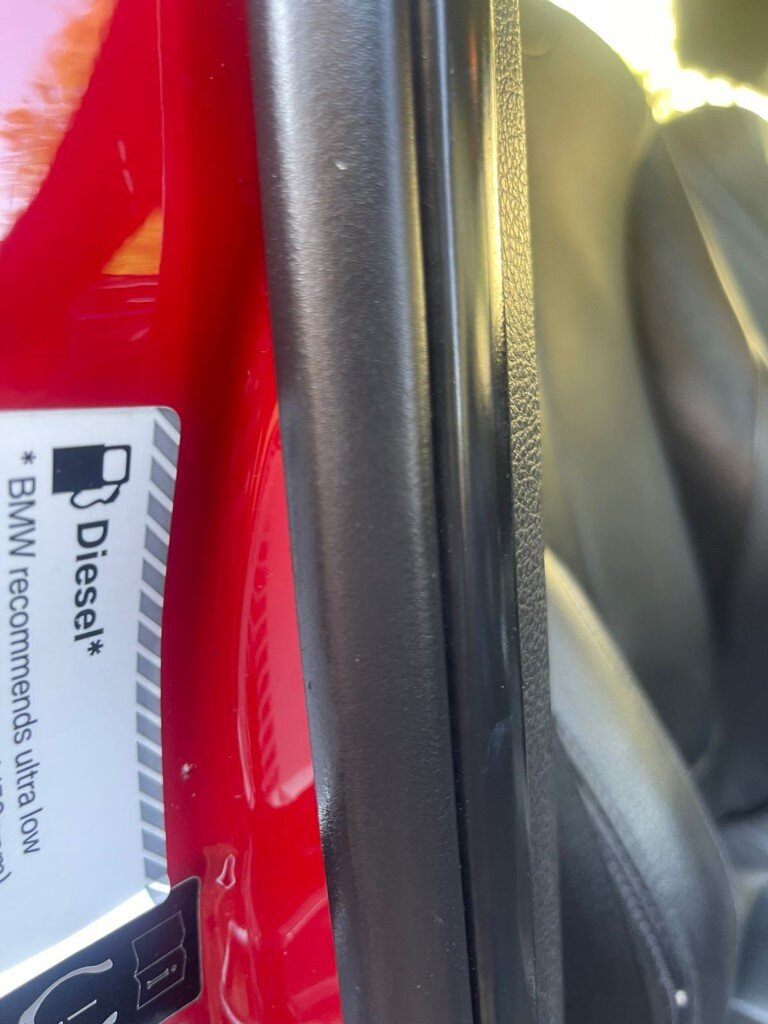
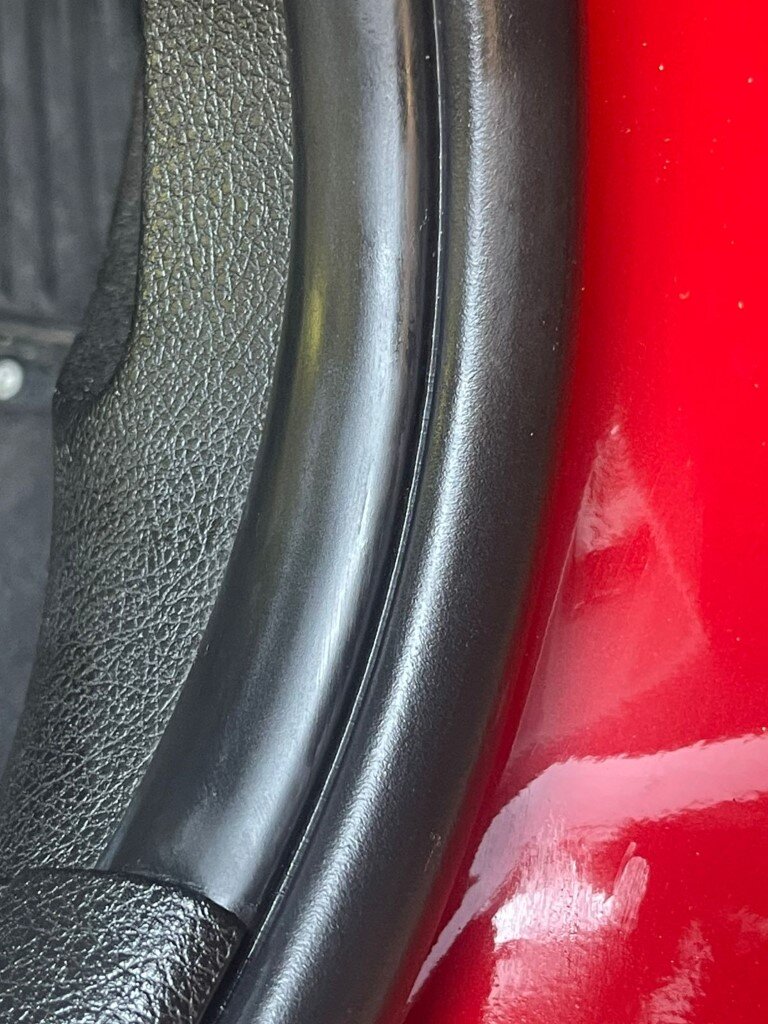
And looking like new after fitting them
3.jpeg4.jpeg

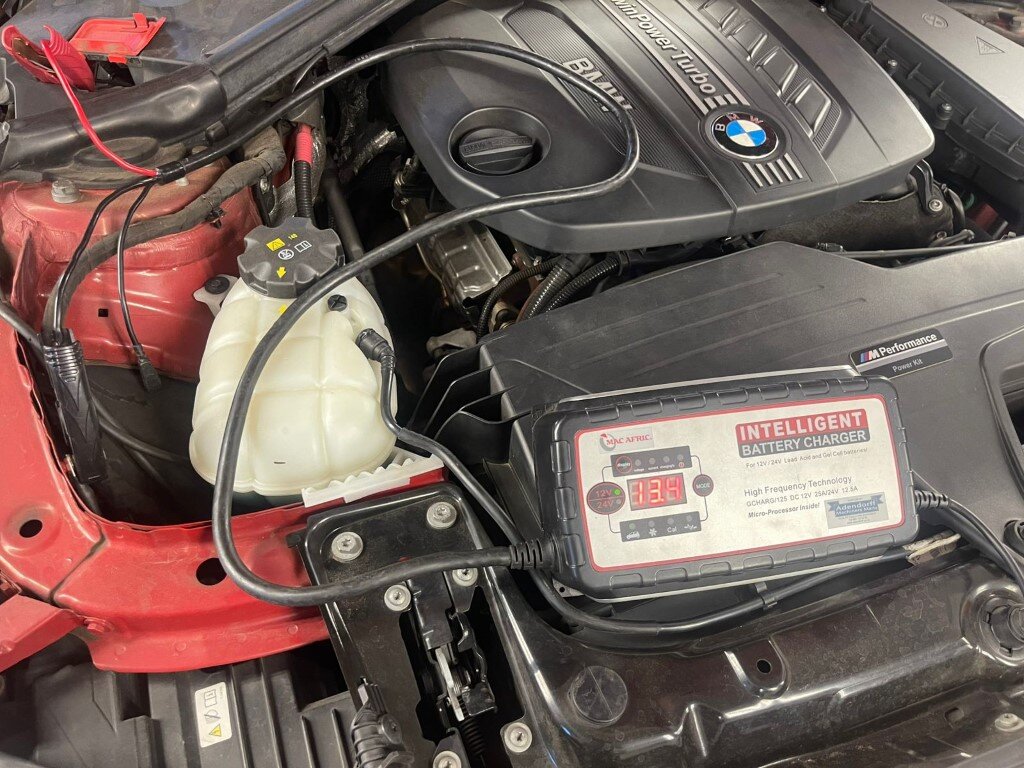
Charged the Battery
5.jpeg

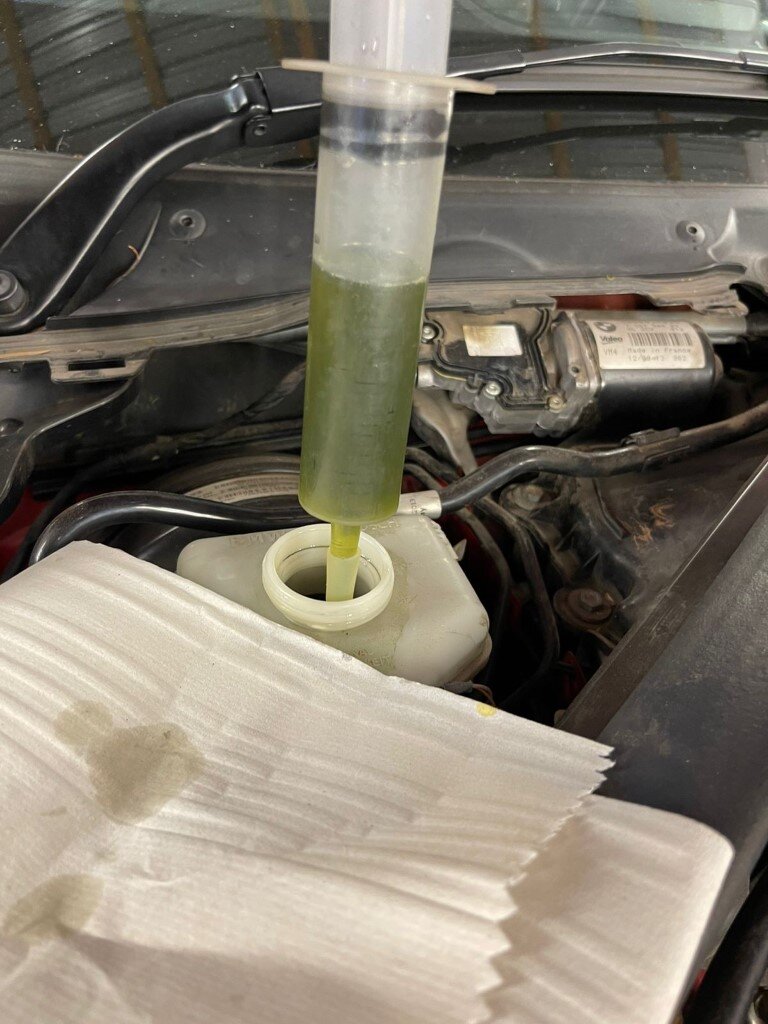
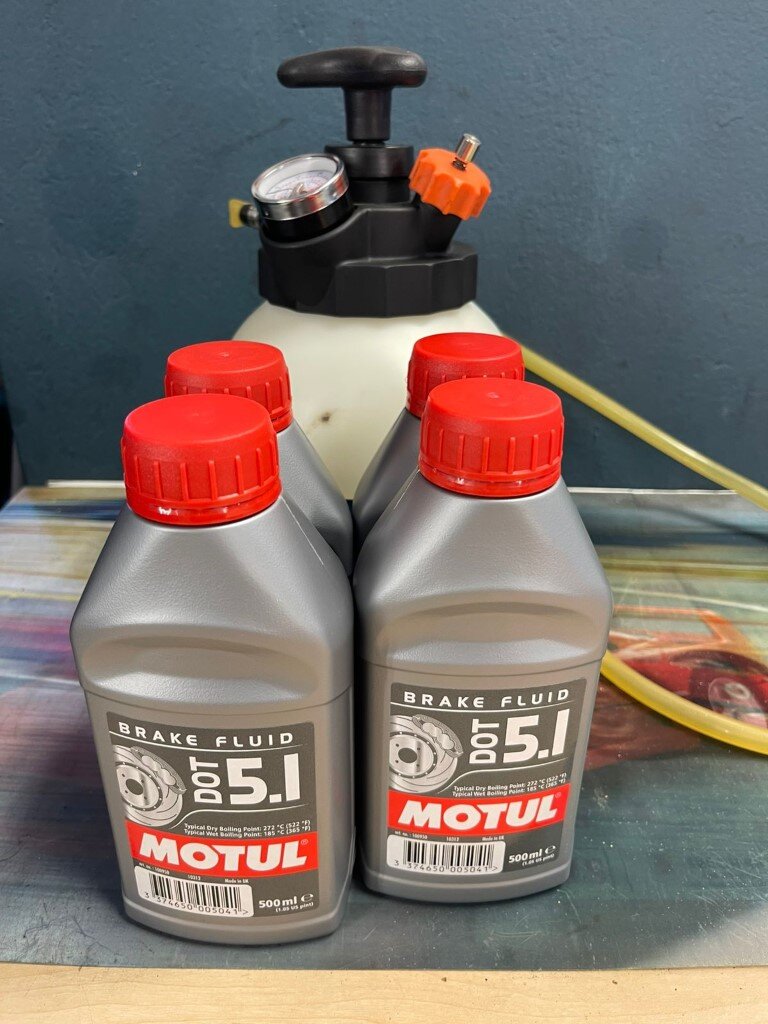
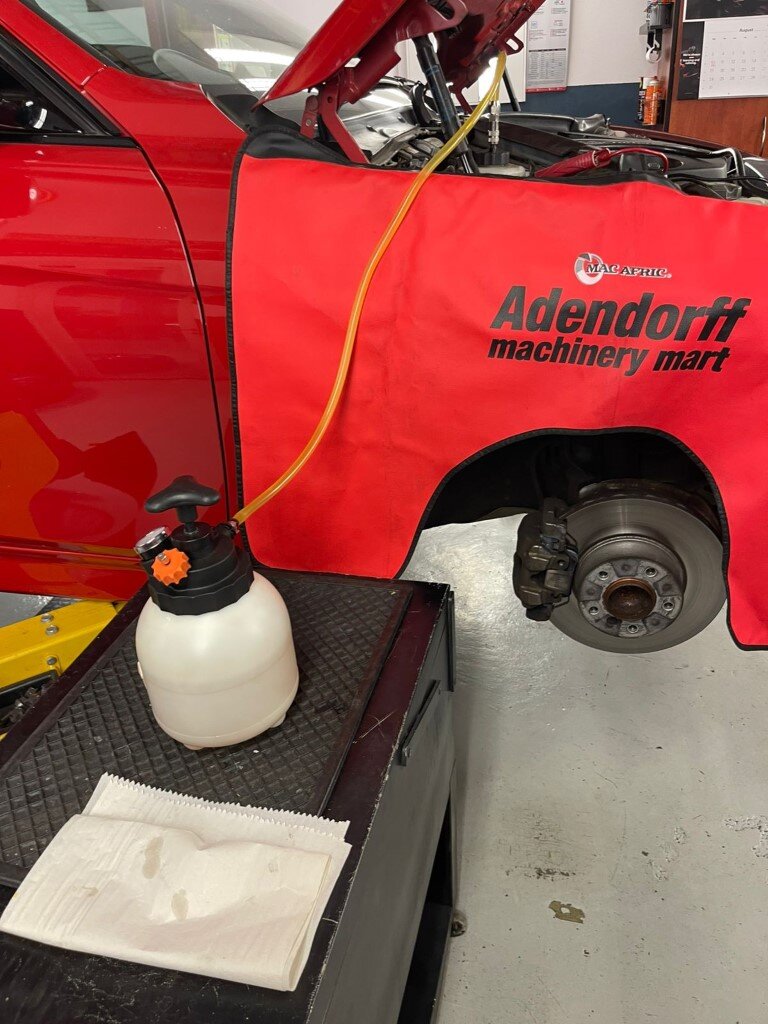
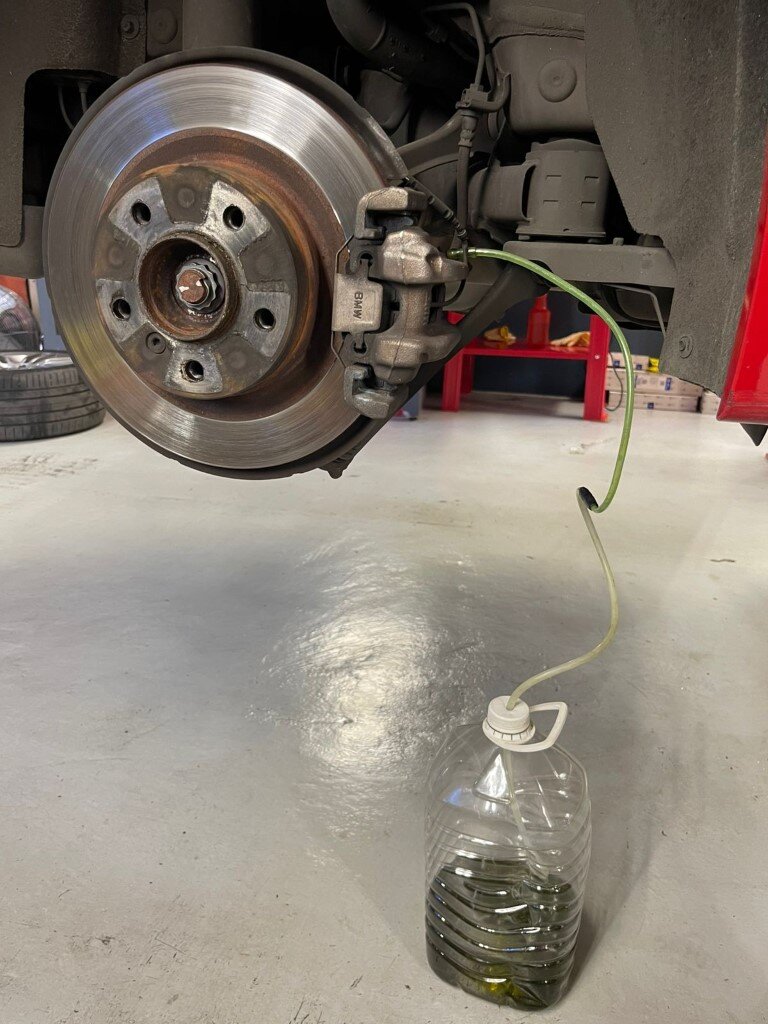
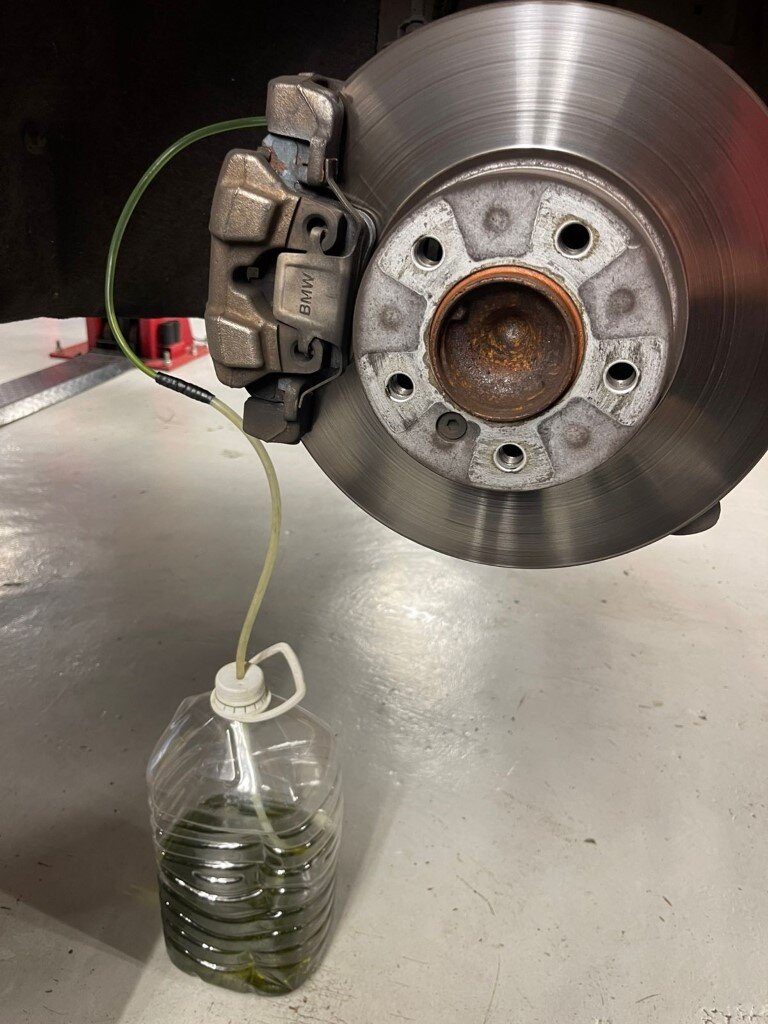
Checked the brake fluid, It wasn't so fresh so i Flushed and bled the system with Motul Dot 5.1 Brake fluid.
6.jpeg
7.jpeg9.jpeg
8.jpeg
11.jpeg13.jpeg

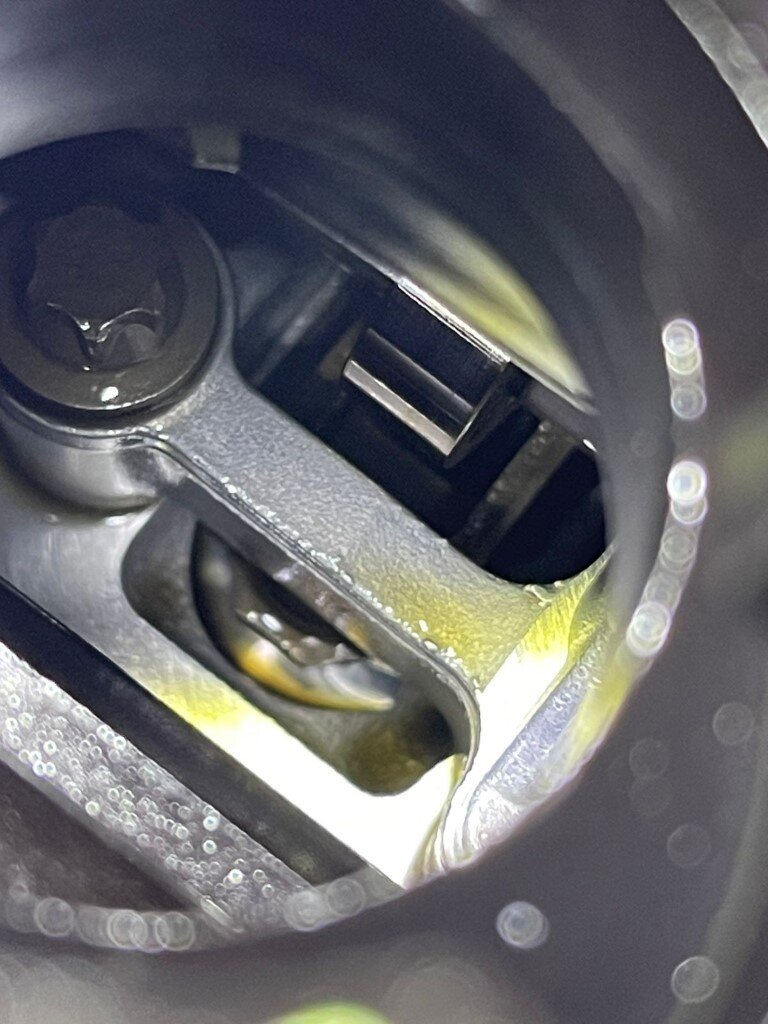
Took a peak inside the engine through the Oil Fill hole, and its looking Clean in the cyl head. will see how the oil looks after 250kms of driving.
16.jpeg

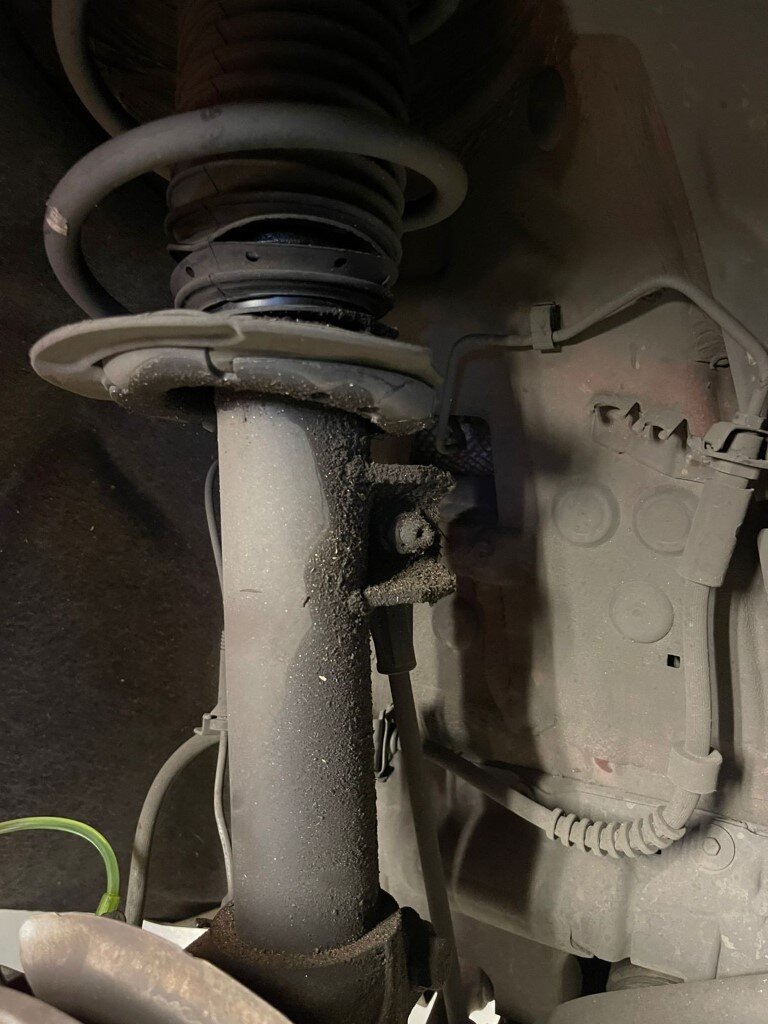
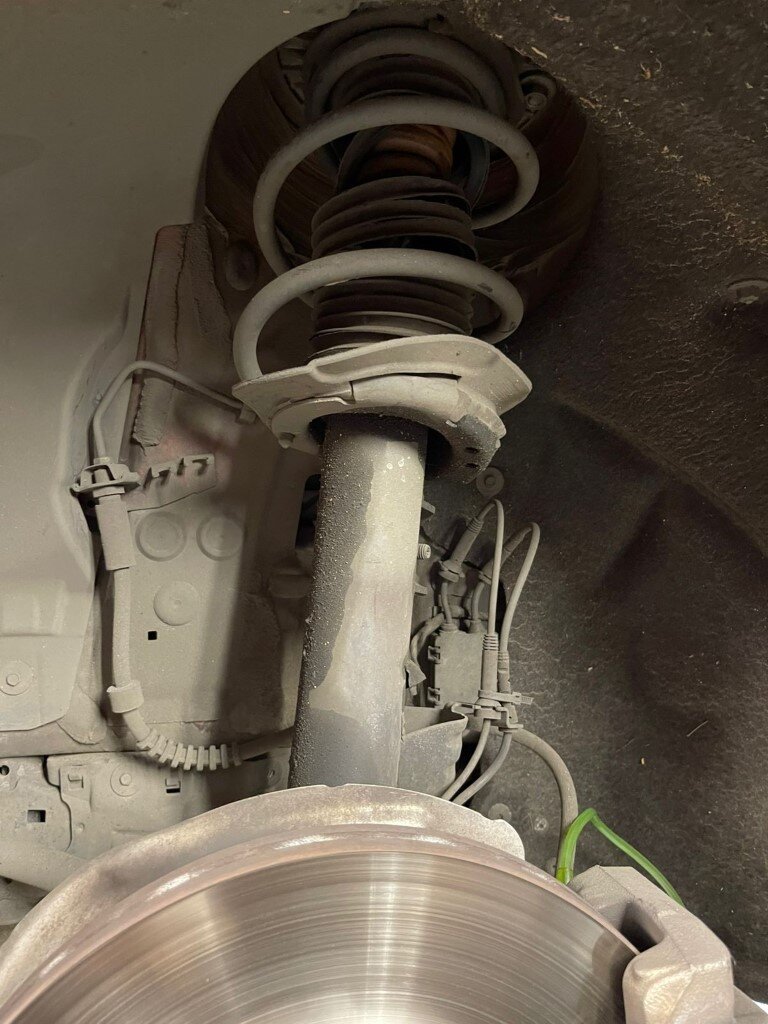
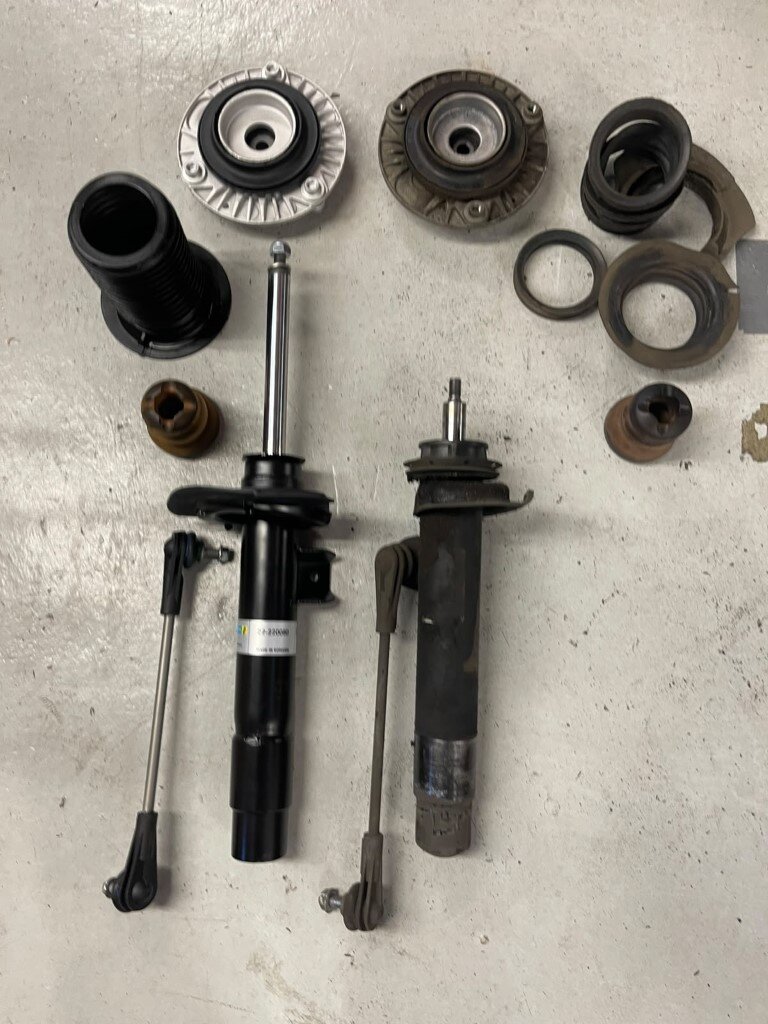
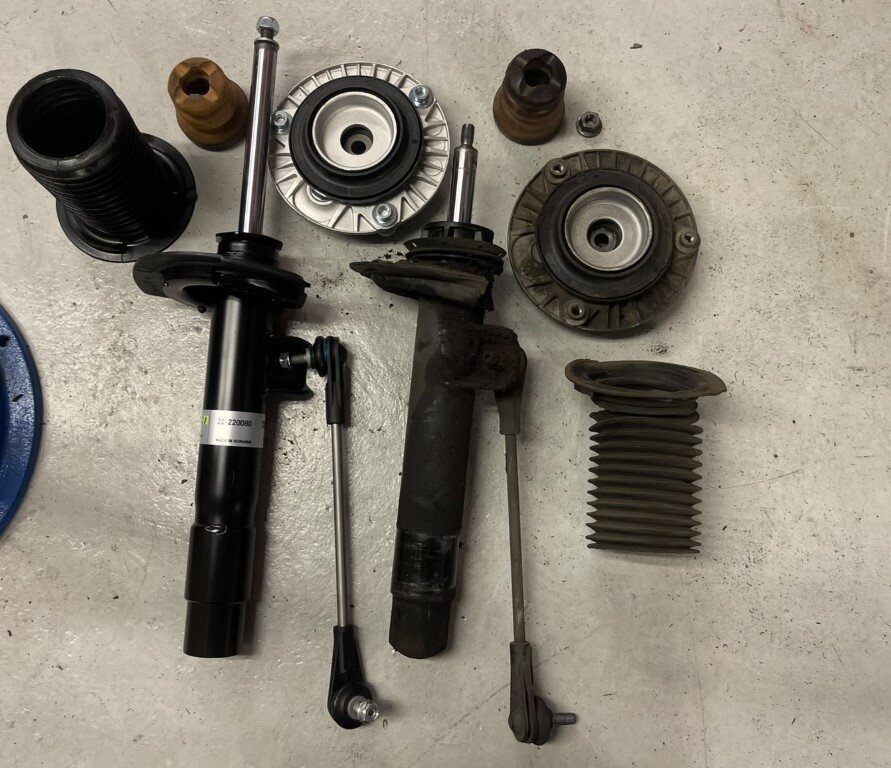
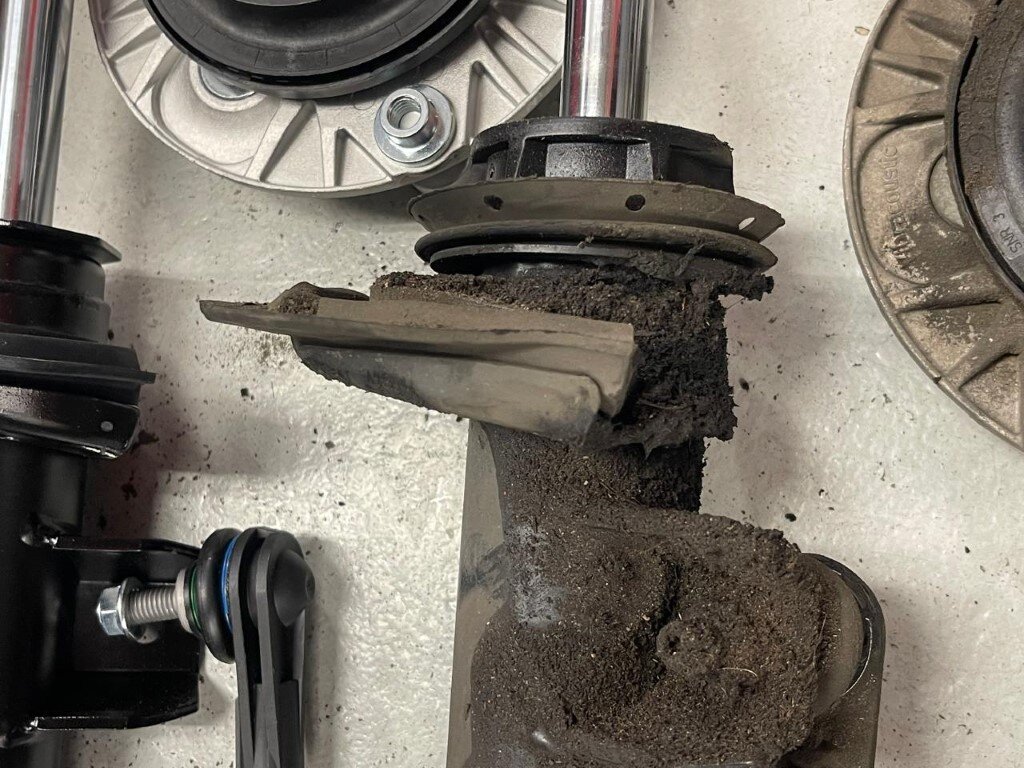
Pics of the old leaking front shocks
14.jpeg
15.jpeg

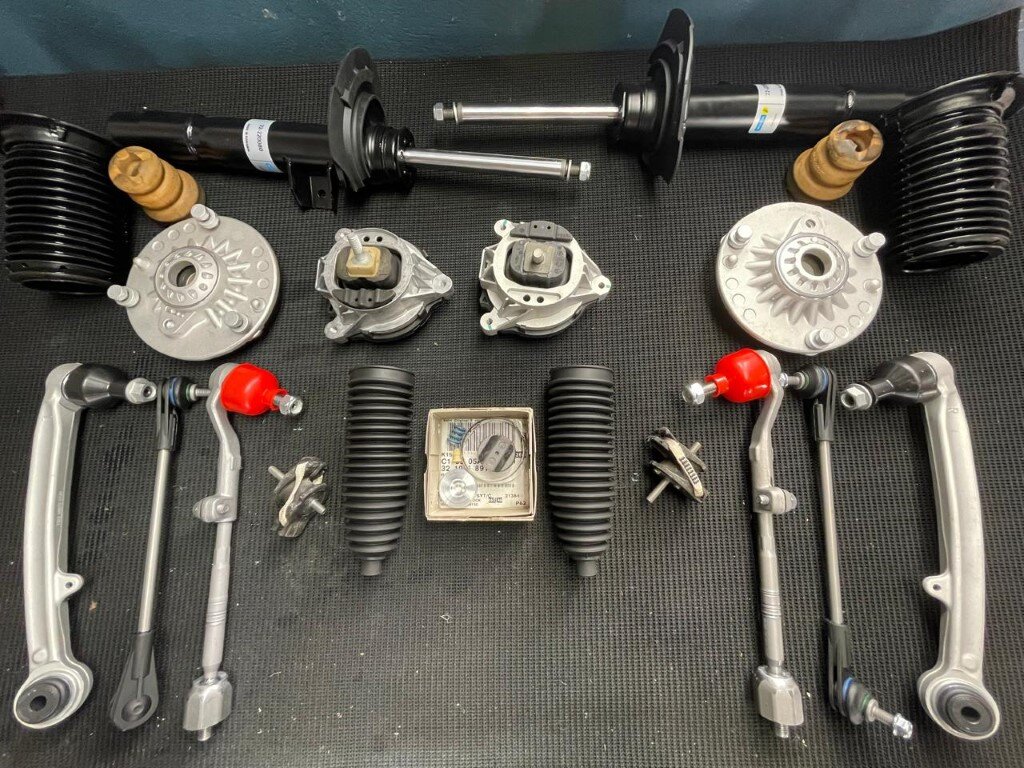
And the new replacement parts are here so might start with it tomorrow.
17.jpeg
 

Clint@MMS AUTO

BMWFanatics Advertiser
Official Advertiser
TODAY’S UPDATE - PCV VALVE & A LITTLE FUEL SYSTEM MAINTENANCE

Didn’t get too much done on the 320d today.

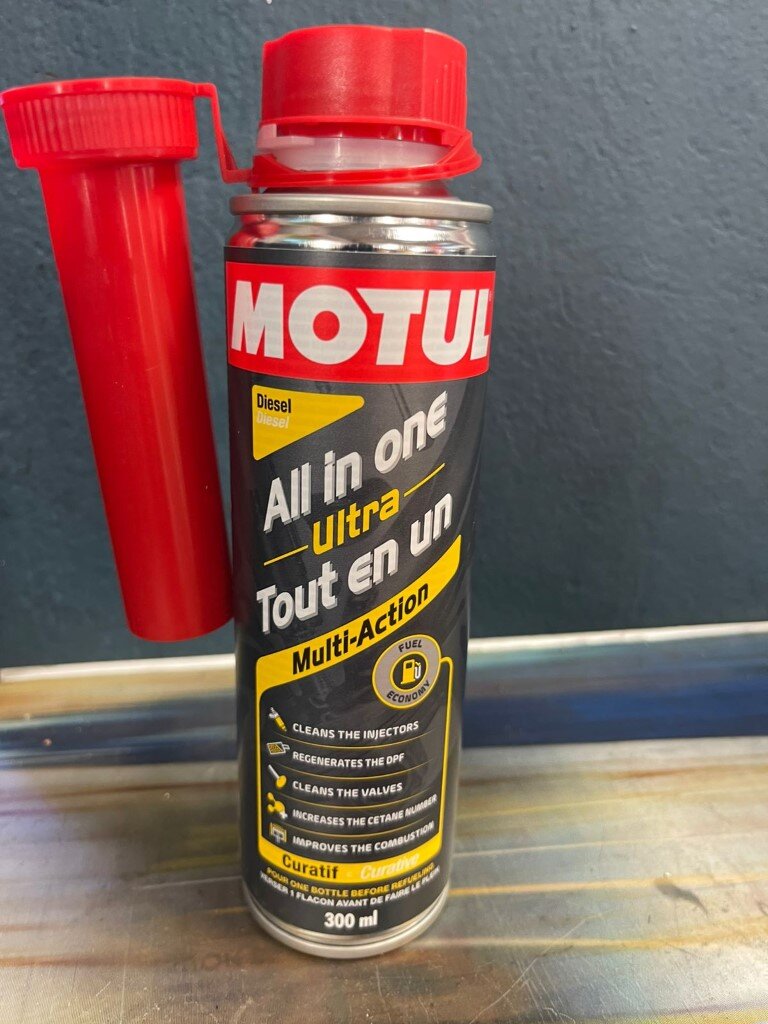
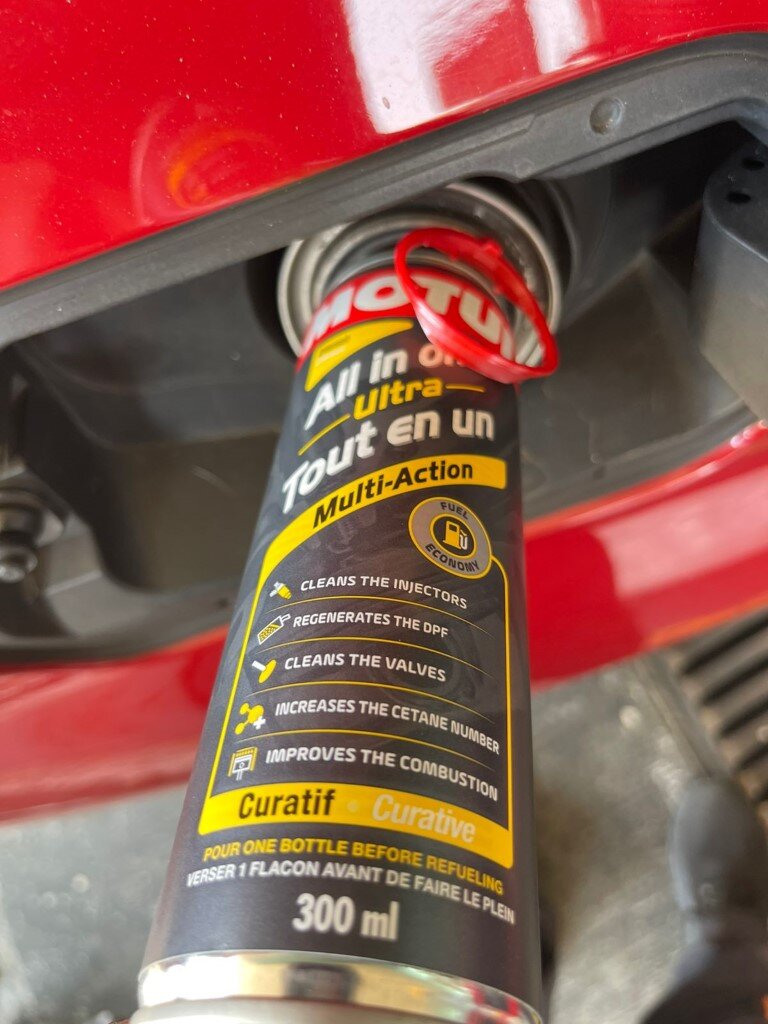
I filled the tank with diesel, so I decided it was a good opportunity to throw in a can of Motul All In One Ultra Diesel.
1.jpeg
2.jpeg

I specifically went with the All In One Ultra rather than just a regular injector cleaner because it’s a more comprehensive treatment for the diesel fuel system.

Apart from cleaning deposits from the injectors, it’s also designed to clean and protect the high-pressure fuel pump, fuel delivery system, combustion chambers and intake valves. It also helps deal with condensation in the fuel system, provides lubrication during the cleaning process and helps prevent loosened deposits from simply settling somewhere else in the system.

It also increases the cetane number of the fuel to help improve combustion and is formulated to assist DPF regeneration, while Motul states that it can help restore performance, improve cold starting and reduce fuel consumption and exhaust emissions where contamination has affected the system.

So rather than being purely an ā€œinjector cleanerā€, I look at it more as a complete fuel-system clean-up treatment.

On a 200,000 km diesel where I’m trying to establish a proper maintenance baseline, it made sense to run a treatment through the whole system after fitting the new fuel filter.

As for actual work today, we were busy with an E30 clutch and gearbox installation for most of the day, so pretty much all the workshop tools were tied up there and the suspension refresh wasn’t going to happen.

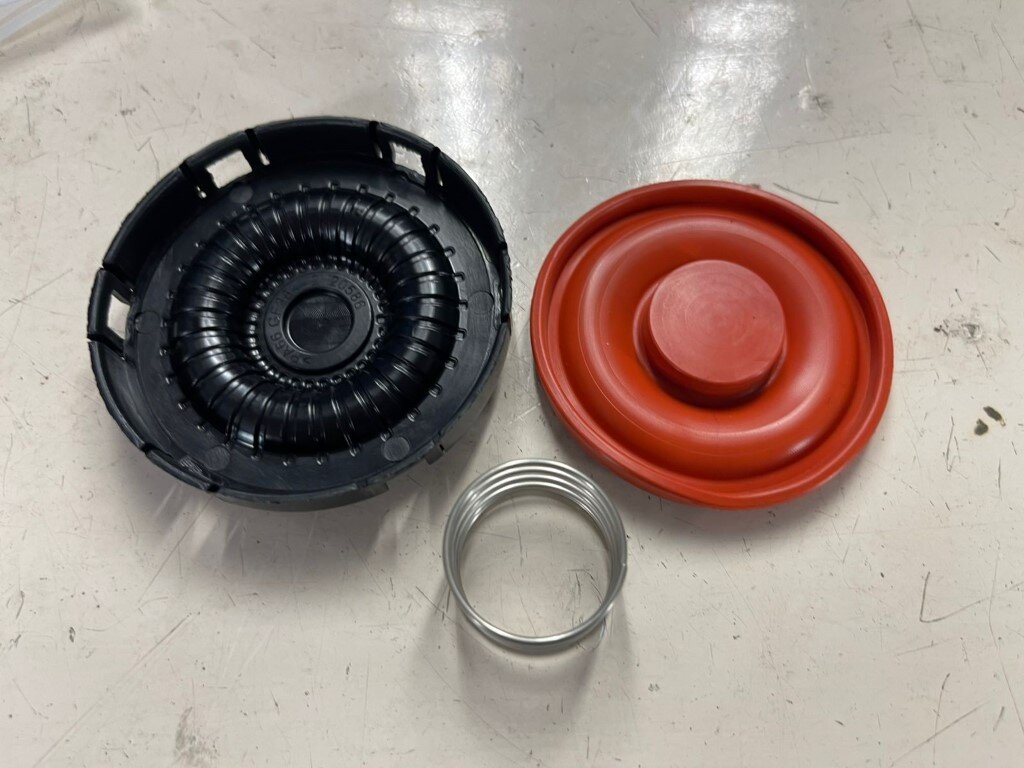
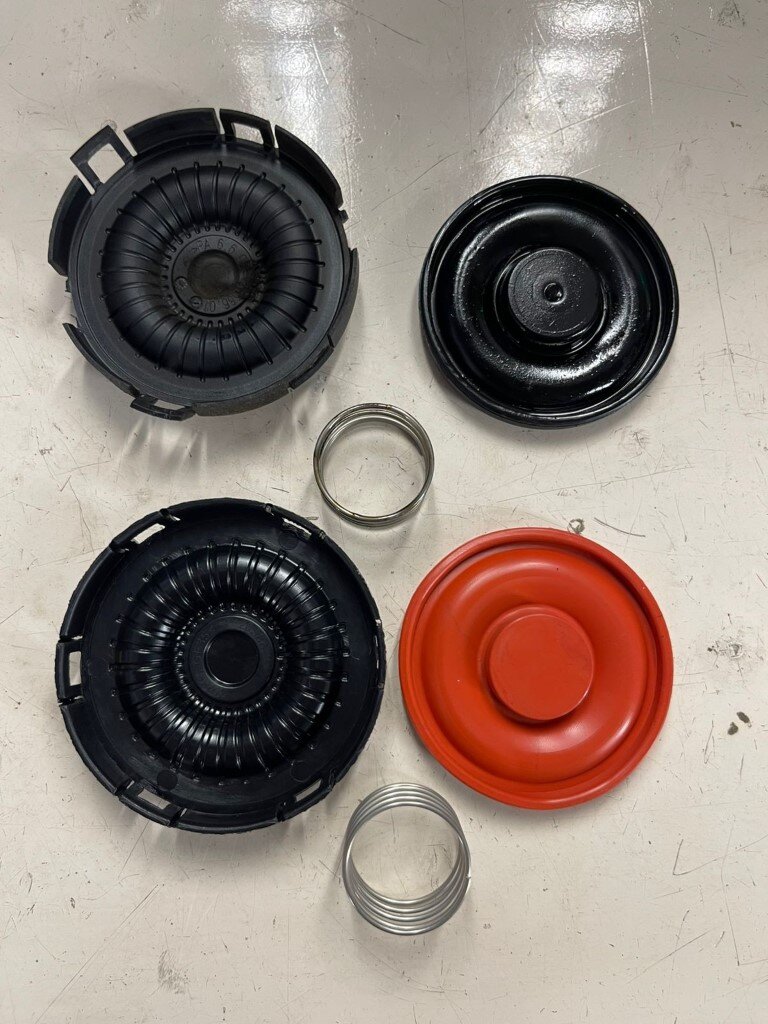
Instead, I knocked out one of the smaller jobs and replaced the PCV valve on the tappet cover.

4.jpeg
5.jpeg

Nothing major today, but another maintenance item ticked off the list.

The suspension will have to wait for another day.

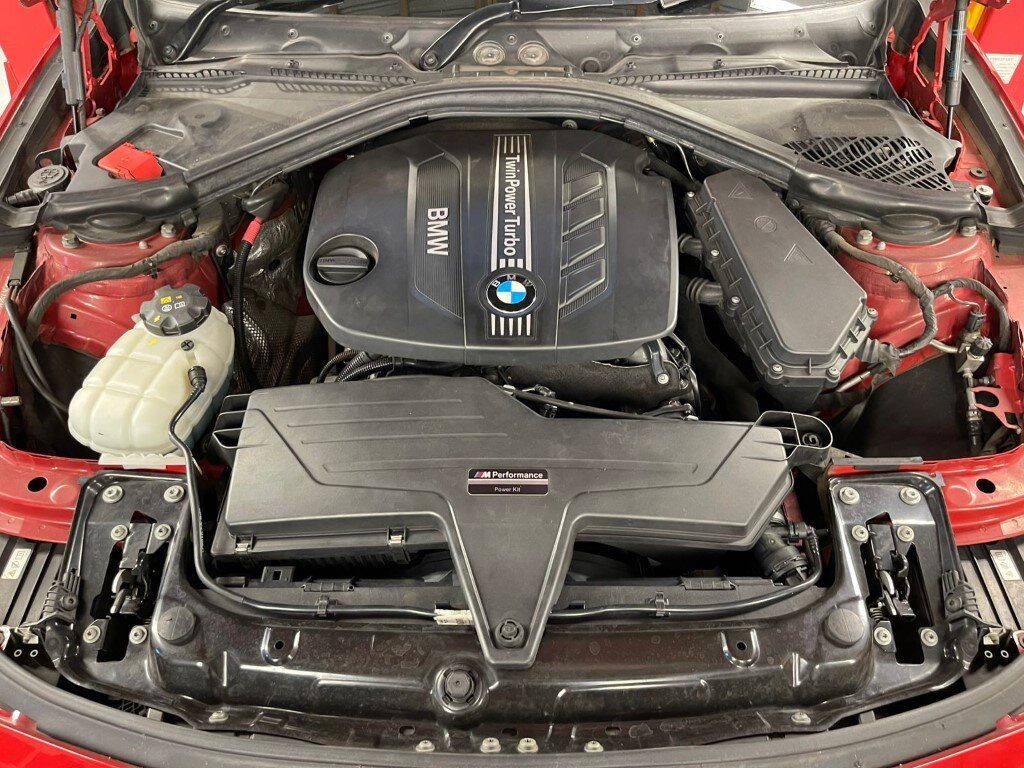
Engine bay Clean up is needed. Soon.

3.jpeg
 

Mytfine

Well-known member
@ Clint

Doing this level of restoration is surely not economically viable but you remind me of my favorite YouTuber M539. Maybe send him a link to your stuff, and as he mainly a BMW man and SA has some very unique BMW's maybe he can collab a project with you
 

joelorgat

Member
I was in the market for an F30 320d — something to run around in, preferably with a bit more mileage on it so that I could document the experience of owning a higher-mileage diesel BMW: what to look out for, what eventually needs attention, what these cars are really like beyond 200,000 km and, at some point, the infamous N47 timing-chain replacement.

Anyway, long story short...
I logged onto the forum the other day for the first time in a while and came across @lebofa 's For Sale thread. Then I realised the thread was about six years old. šŸ˜‚

Since I know him and he literally lives three streets away from me, I figured I’d drop him a message and see what had happened with the sale.

We arranged for me to quickly come and have a look at the car — not inspect it, just spend a few minutes looking at it in his garage.

He mentioned that he had owned it from new, had done oil services every 10,000 km, and had maintained it properly throughout its life.

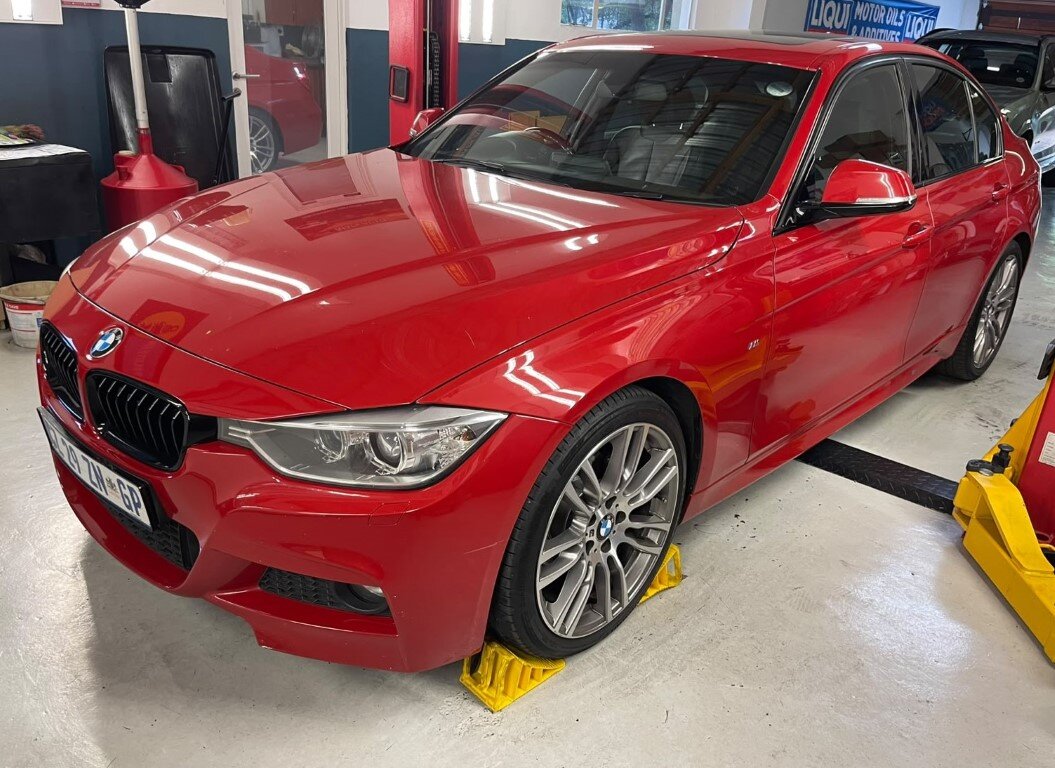
Being a 2014 model, I certainly wasn’t expecting to find a ā€œlike newā€ example. What I found instead was a good, honest car.

It isn’t perfect, but it is in far better condition than probably 90% of the used cars I come across.

We agreed on a price, I paid the deposit that evening, settled the balance the following day, and arranged to collect it on Friday morning at 08:30.

Since he lives so close, I literally walked to his house and drove the car back home. šŸ˜‚

Then my wife saw it... And apparently it is now her run-around because the Fortuner has suddenly become ā€œtoo big to park at workā€. šŸ˜‚

Either way, the goal remains the same: get the car as close to 100% mechanically perfect as possible and use it.

At some point during the day I was ordering parts for another vehicle, so I decided to add a few service items for the 320d to the order.

I ended up with:
• 3 Ɨ oil filters
• Fuel filter
• Cabin air filter
• Engine air filter
• New ZF 8HP oil sump/filter kit

All of the fluids — engine oil, coolant, brake fluid, differential oil, etc. — will eventually be switched over to their Motul equivalents.

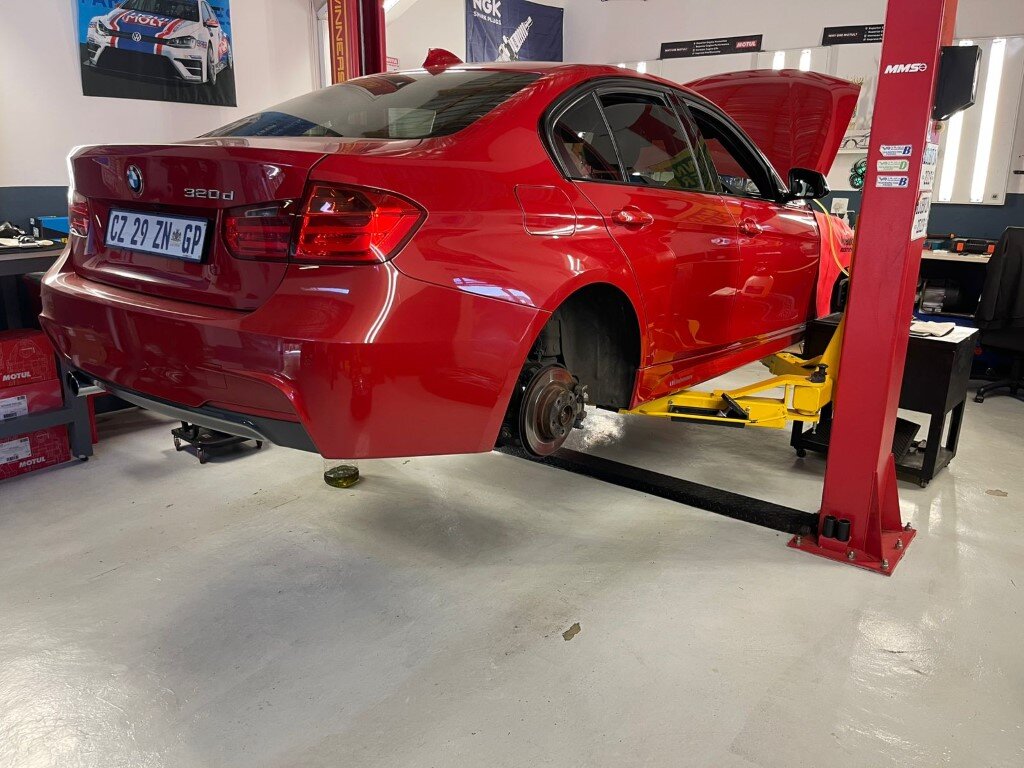
After completing the day’s work and bookings, I moved the 320d into the workshop and put it onto the lift.

My plan with the engine is to gradually clean out whatever accumulated soot, contamination or deposits may be present after 200,000 km by doing three oil services within roughly 1,000 km.

The first two will be done using Liqui Moly 5W-30, mainly because I have some extra stock taking up space in the cupboard.

The idea is simple: fresh oil and filter, run it for a short interval, drain it, replace the filter and repeat. Once I’m satisfied that everything is nice and clean, I’ll make the permanent switch over to Motul engine oil.

Once the car was on the lift, this was actually the first opportunity I had to properly inspect it. For a 200,000 km car, it is a fairly clean and decent specimen.

Things I like about it:​

• Full service history, including 10,000 km oil-service intervals and a file full of invoices covering the car over the years
• Known history, so there are no concerns regarding accident repairs or mileage tampering
• Fairly clean inside and out
• One owner from new
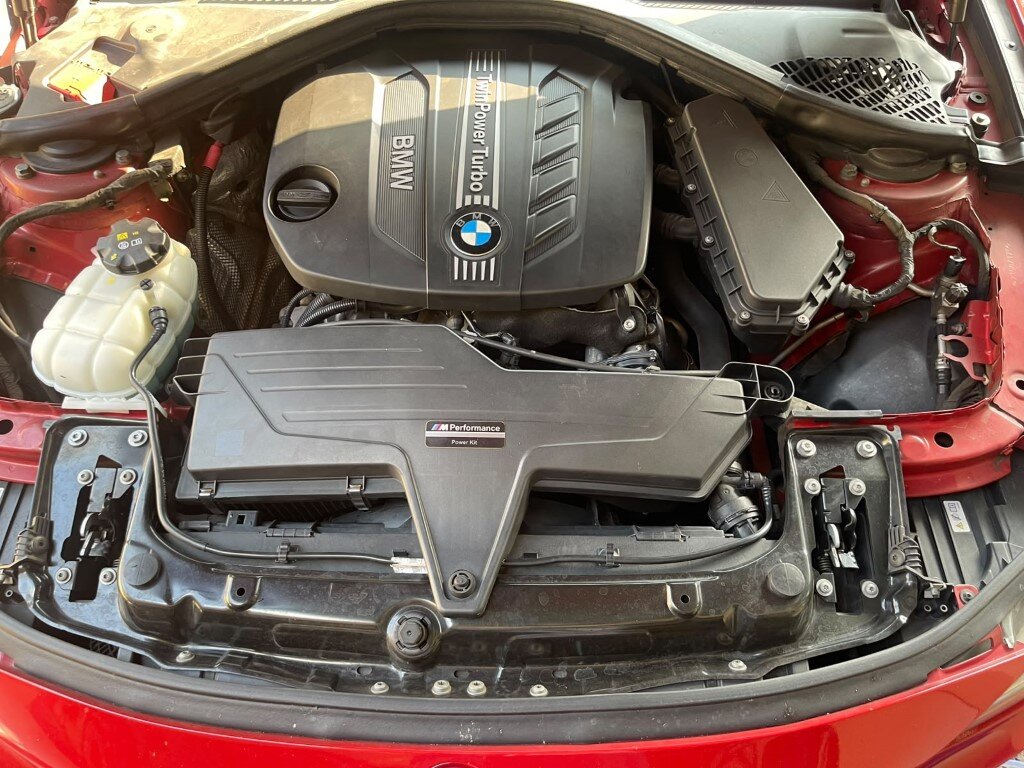
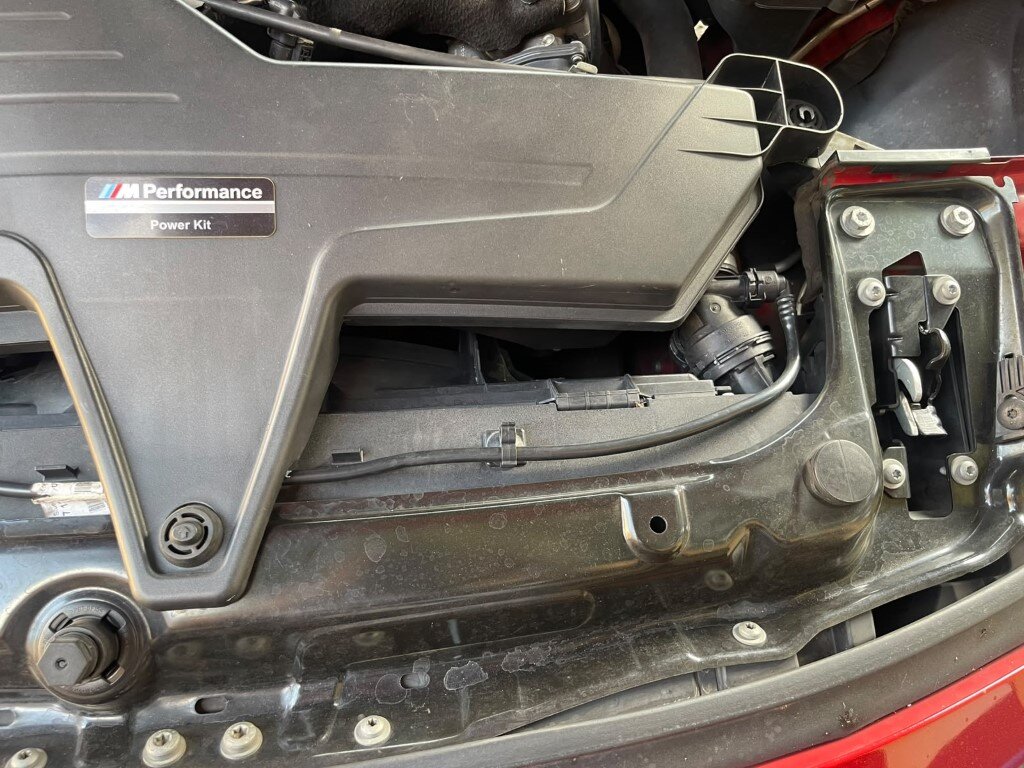
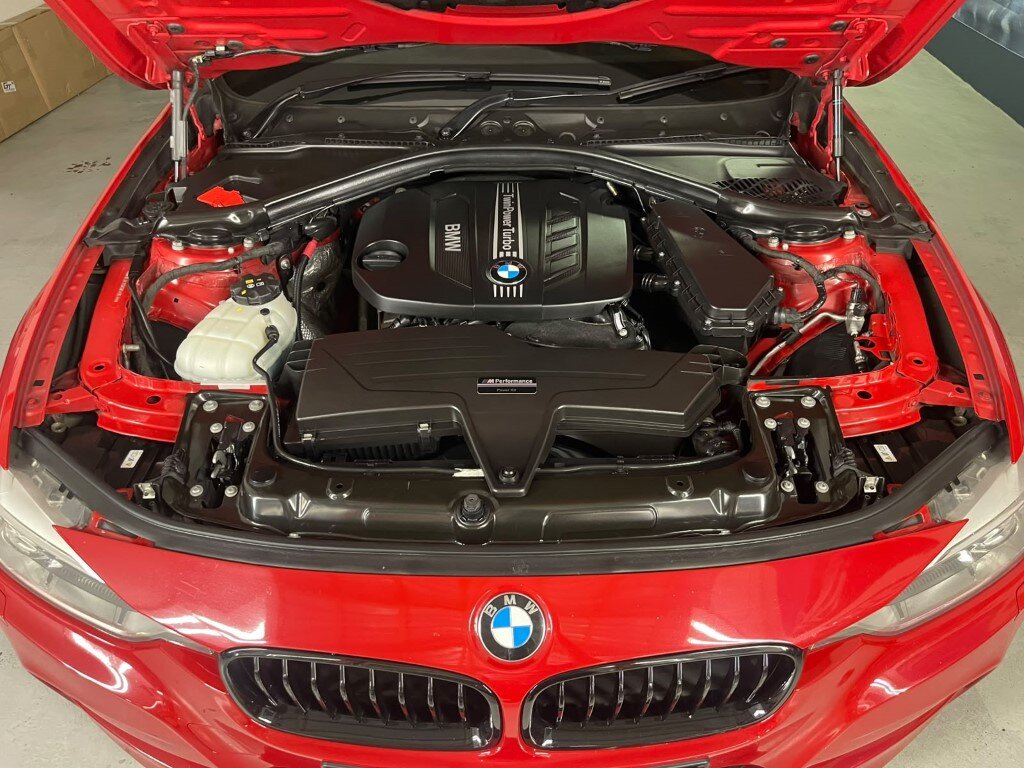
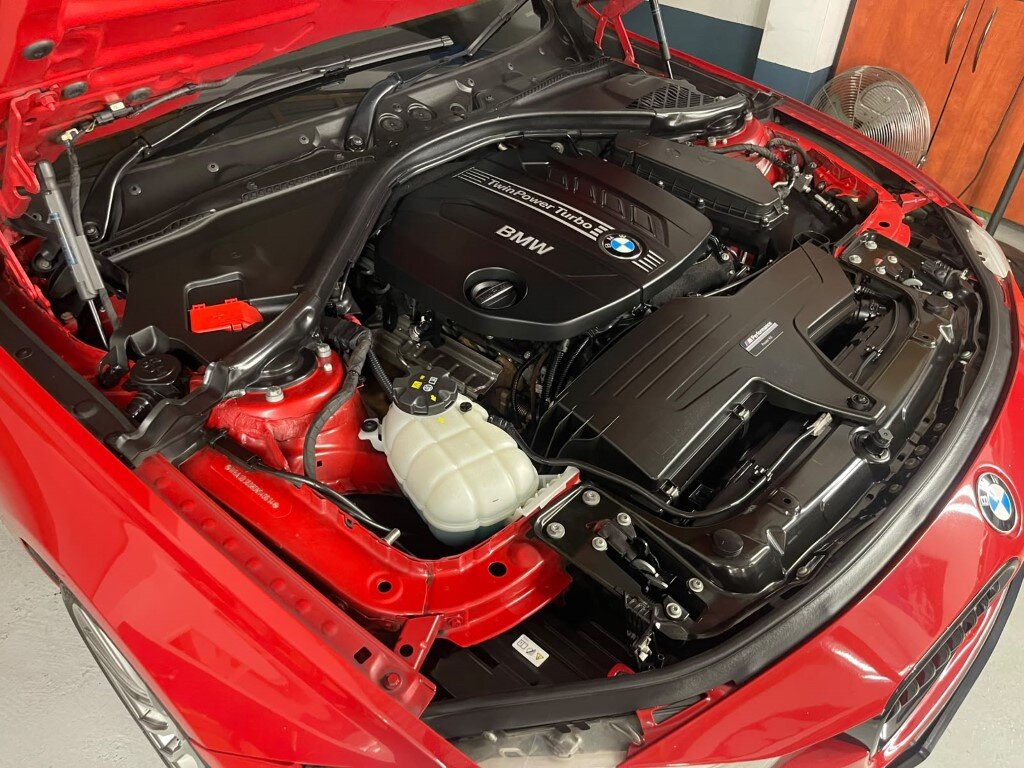
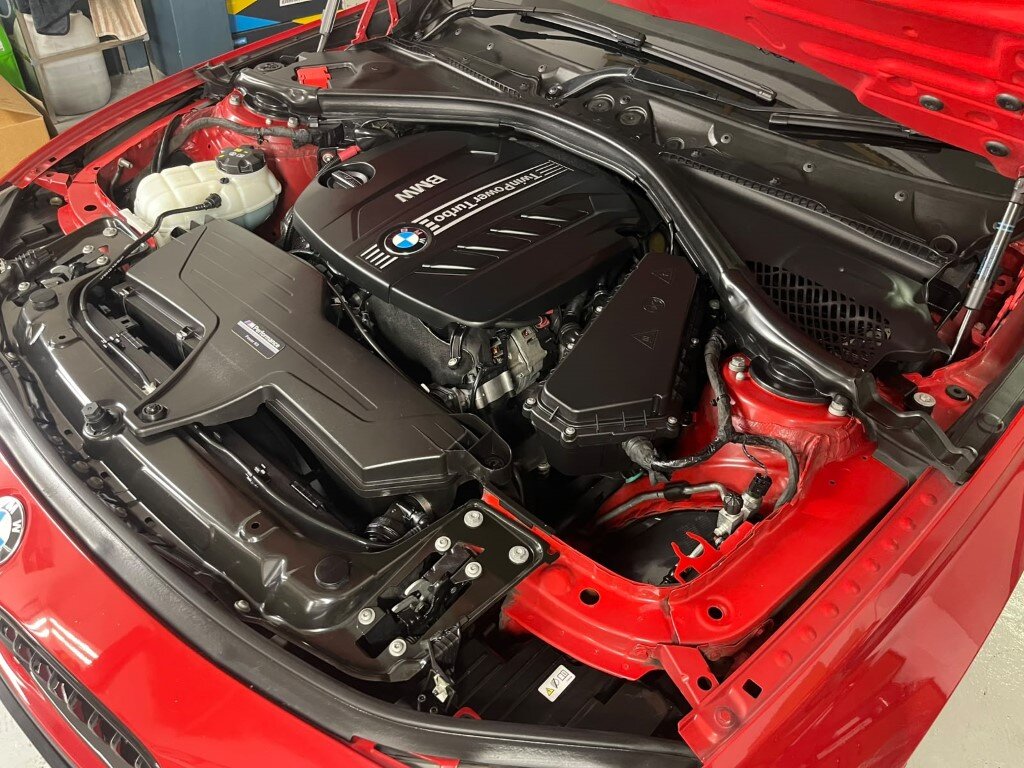
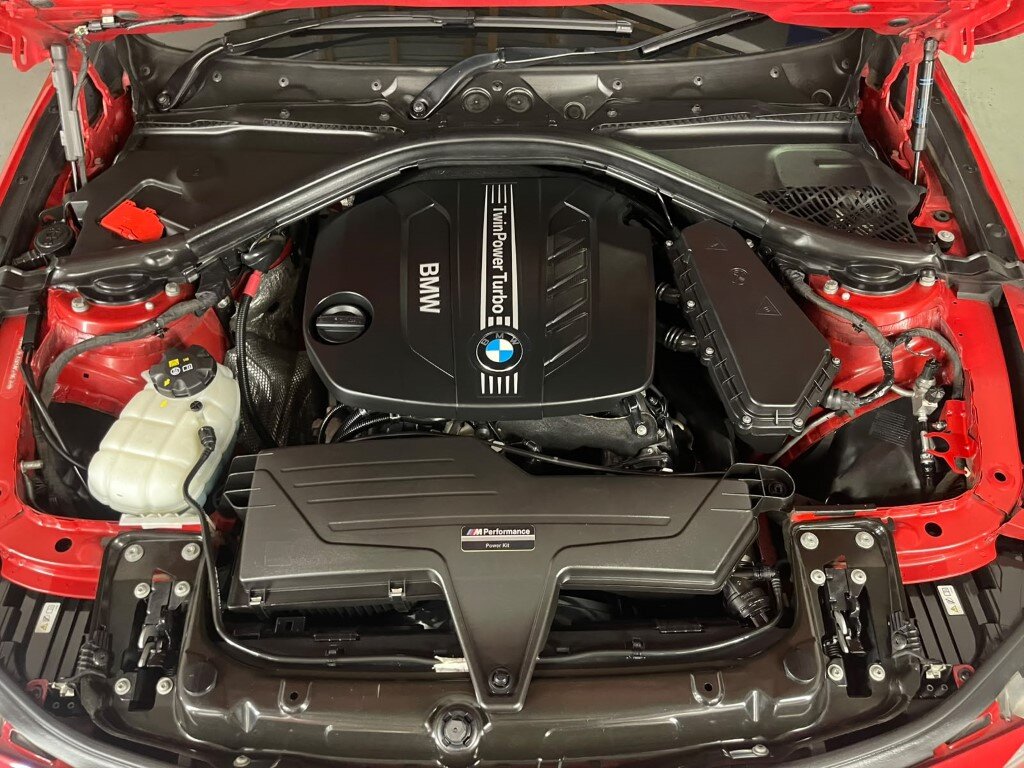
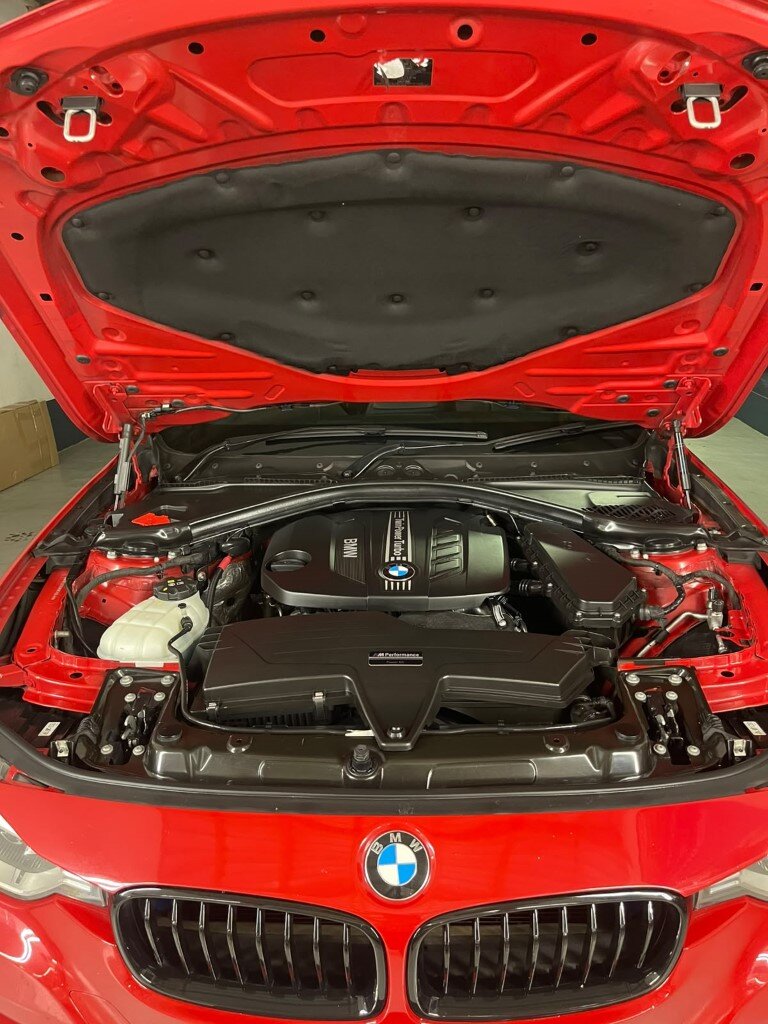
• OEM BMW M Performance Power Kit
• Clearly not abused — mature gentleman owner rather than some punk kid šŸ˜‚
• Drives extremely well: smooth, quiet and no funny business
• OEM BMW water pump, vibration-damper pulley and several other items replaced relatively recently at BMW

Things I picked up that will need attention:​

Front suspension
Both front shocks are leaking.

So the list currently includes:
• Front shocks
• New shock mounts
• Bump stops
• Stabiliser end links
• Steering rack ends
The control arms still look good and were replaced in 2024, so I’ll run those for a little longer before replacing them.

Rear suspension
The rear bump stops have deteriorated and broken apart.
The rear shocks aren’t leaking yet, but considering their age and mileage, I’ll probably replace the shocks and mounts at the same time.

Oil-filter housing
There is quite a bit of old coolant residue around the oil-filter housing.
I’m not sure yet whether there is a very slow current leak or whether it is residue from a previous leak that was repaired.
Either way, at 200,000 km I’m leaning towards replacing the complete housing as preventative maintenance. I may also look at replacing the original plastic housing with an aluminium version.

Front right tyre
The right-front tyre has a cut in the sidewall.
I’ll replace both front tyres rather than just the damaged one.
Rainy season is almost upon us, and fresh front tyres with proper tread depth mean better wet-weather grip and braking performance.
I’ll most likely stick with the Continental ContiSportContact 5 SSRs currently fitted to the car.

Cooling system
The BMW invoices confirm that the water pump has been replaced, but I haven’t seen any mention of the thermostat being done.
I’m therefore considering replacing the thermostat and housing before flushing the cooling system and switching over to Motul coolant.

Engine and gearbox mounts
I can’t find any evidence that these have previously been replaced.
At this mileage, they’re definitely worth adding to the preventative-maintenance list.

Propshaft
There are two flexible couplings/guibos on the propshaft.
Both the front and rear couplings are beginning to show very minor cracking.
Nothing alarming yet, but they will need attention, and while I’m in there I’ll probably replace the centre support bearing at the same time.


DAY 1 — SERVICE & BASELINE MAINTENANCE​

Once the inspection was finished and I had a better idea of what I was working with, I got started.

• Added Motul Engine Clean/Flush and allowed it to circulate before draining the old engine oil

• Removed the oil filter, cleaned the housing and installed a new MANN oil filter and O-ring

• Installed the drain plug with a new crush washer

• Filled the engine with approximately 5.2 litres of Liqui Moly 5W-30

• The engine air filter had last been replaced in October last year, roughly 10,000 km ago, so that was replaced again

• Removed the old cabin/pollen filter and installed a new activated-carbon cabin filter

• Ran a full diagnostic scan, cleared historical faults and reset the engine-oil service reminder

• Ran diagnostics on the EGS/transmission control unit and checked the transmission data to determine whether the gearbox can be safely serviced

• Took the car for a drive to bring the differential oil up to temperature

• Returned to the workshop and put it back onto the lift

• Drained the rear differential oil, which had apparently been replaced last year, and refilled it with Motul Gear oil

That’s where I stopped for Day 1.

I’ll drive it around for the next week and let the fresh oil do its thing.

Then, if I get some free workshop time next week, I’ll continue working through the list.

NEXT UP:​

• Replace the diesel fuel filter — I’ll probably do this together with the gearbox service since I’ll already be working in that area

• ZF 8HP transmission service with a new oil pan/filter kit and Motul ATF

• Flush and bleed the braking system with Motul DOT 5.1 brake fluid

• Replace both front tyres with new Continental ContiSportContact 5 SSRs

• Start collecting the parts for the complete suspension refresh

• Engine and gearbox mounts

• Front and rear propshaft guibos and centre support bearing

• Replace the driver’s door seals — replacement seals came with the car

• Install the steering-rack repair kit — a new kit also came with the car

And obviously, somewhere further down the road...
N47 timing chain. šŸ˜…

The idea with this car isn’t simply to throw parts at it because it has 200,000 km on the clock.

I want to go through it systematically, establish a proper mechanical baseline, address the things that genuinely need attention, carry out sensible preventative maintenance and then document what living with a well-maintained, higher-mileage F30 320d is actually like.

I’ll keep updating this thread as the work progresses.

Here's the pics from day 1
View attachment 35832View attachment 35833
View attachment 35835View attachment 35836View attachment 35837View attachment 35838View attachment 35839View attachment 35840View attachment 35841View attachment 35842View attachment 35843View attachment 35844View attachment 35845View attachment 35846View attachment 35847View attachment 35848View attachment 35849View attachment 35850View attachment 35851View attachment 35852View attachment 35853View attachment 35854View attachment 35855
Congrats buddy on the new whip, hope u get the full use of it n super happy you can show us the proper way to fully maintain a 10+ year old bm trouble u.
 

Clint@MMS AUTO

BMWFanatics Advertiser
Official Advertiser
ONE WEEK IN - ANOTHER SMALL UPDATE

Today’s job was the battery.

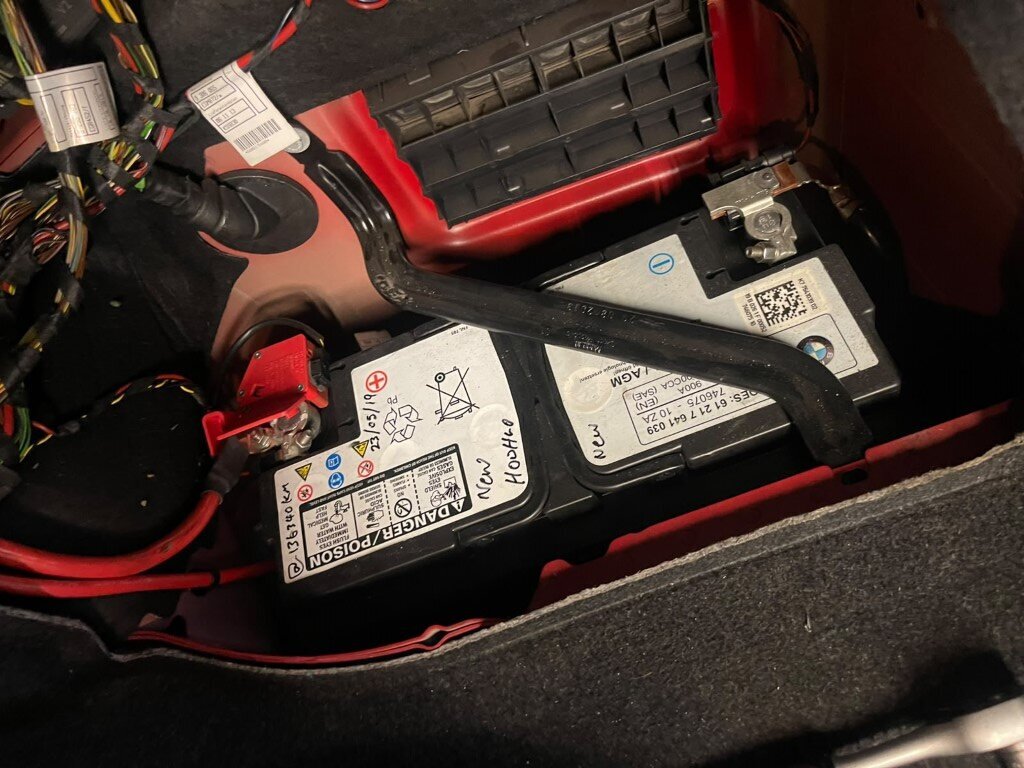
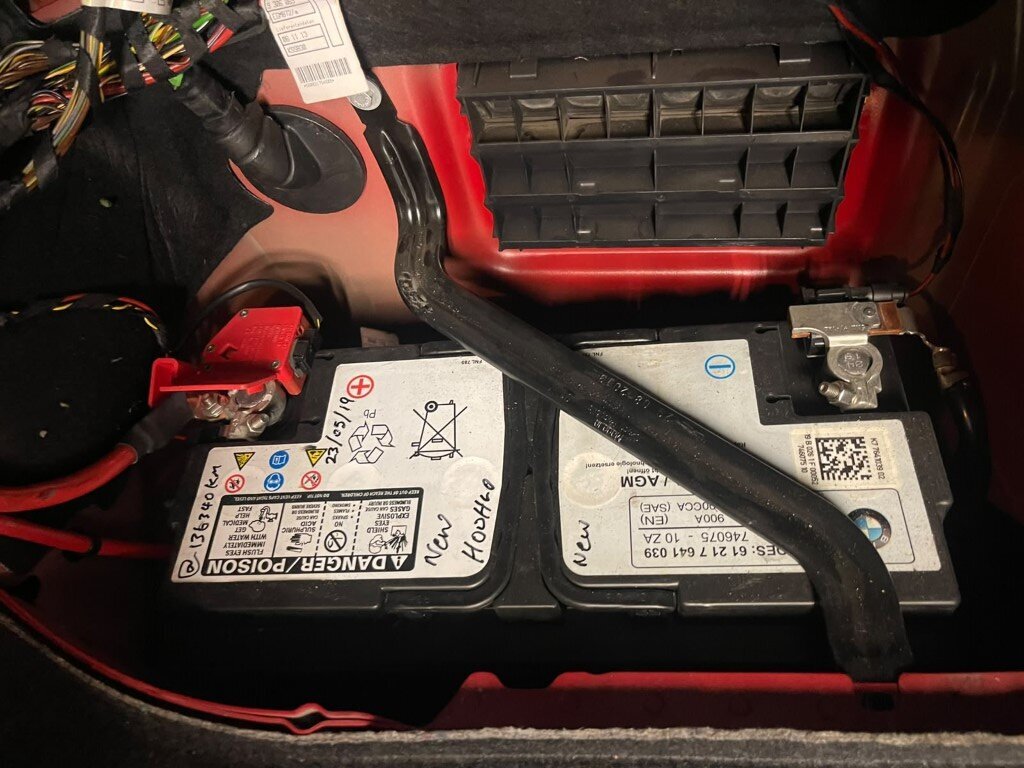
I had noticed that the engine occasionally seemed to take an extra second or so to crank and start. Nothing serious yet, but it was enough to make me check the battery before it became an actual problem.

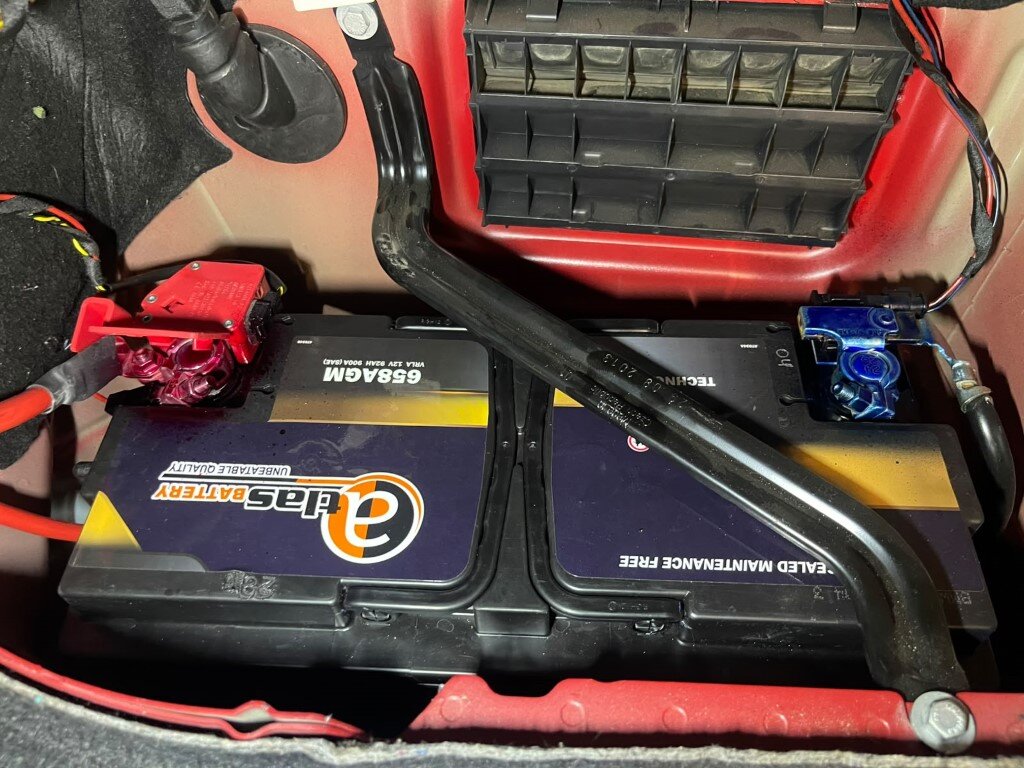
The battery currently fitted to the car dated back to 2019, which is actually a very good lifespan for an AGM battery.
3.jpeg
4.jpeg
At this point I figured there was no real reason to push my luck. An ageing battery can eventually cause slow cranking, low-voltage faults and place additional load on the charging system, so preventative replacement made sense.

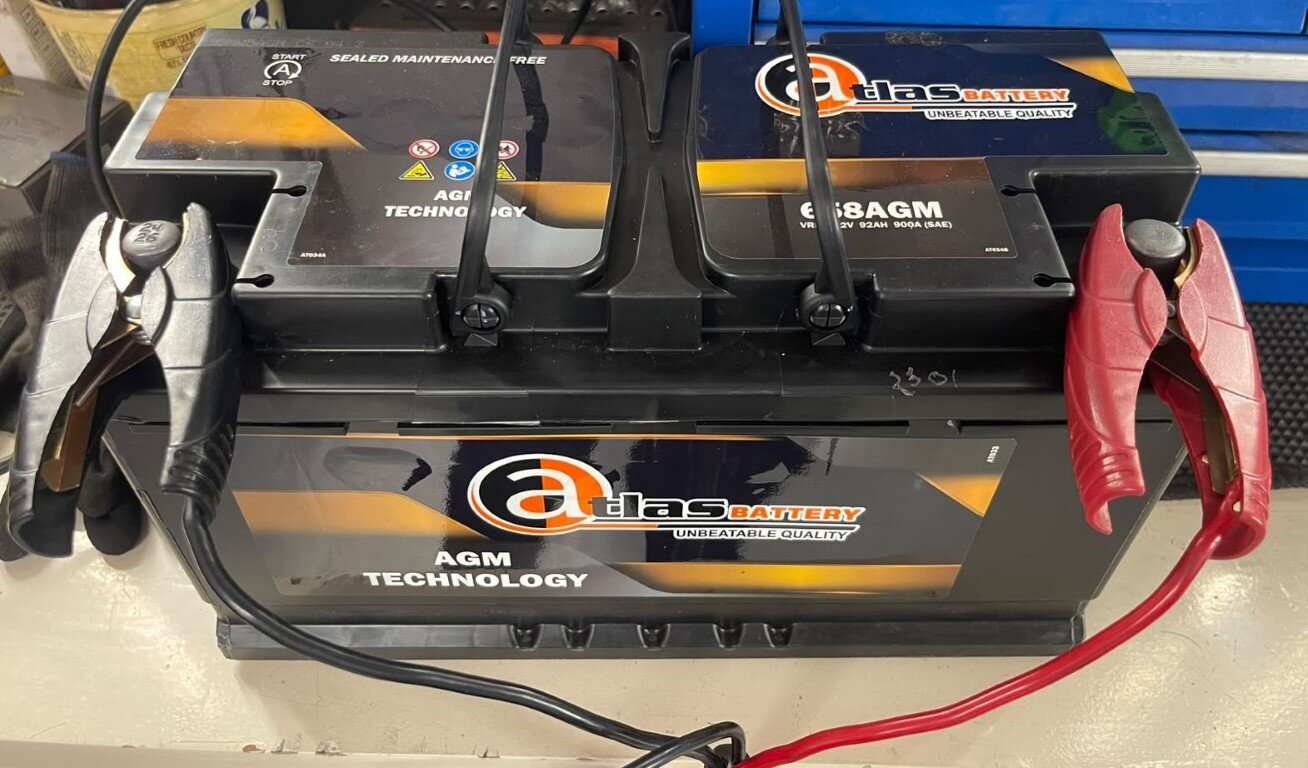
A new 92Ah AGM battery was sourced.
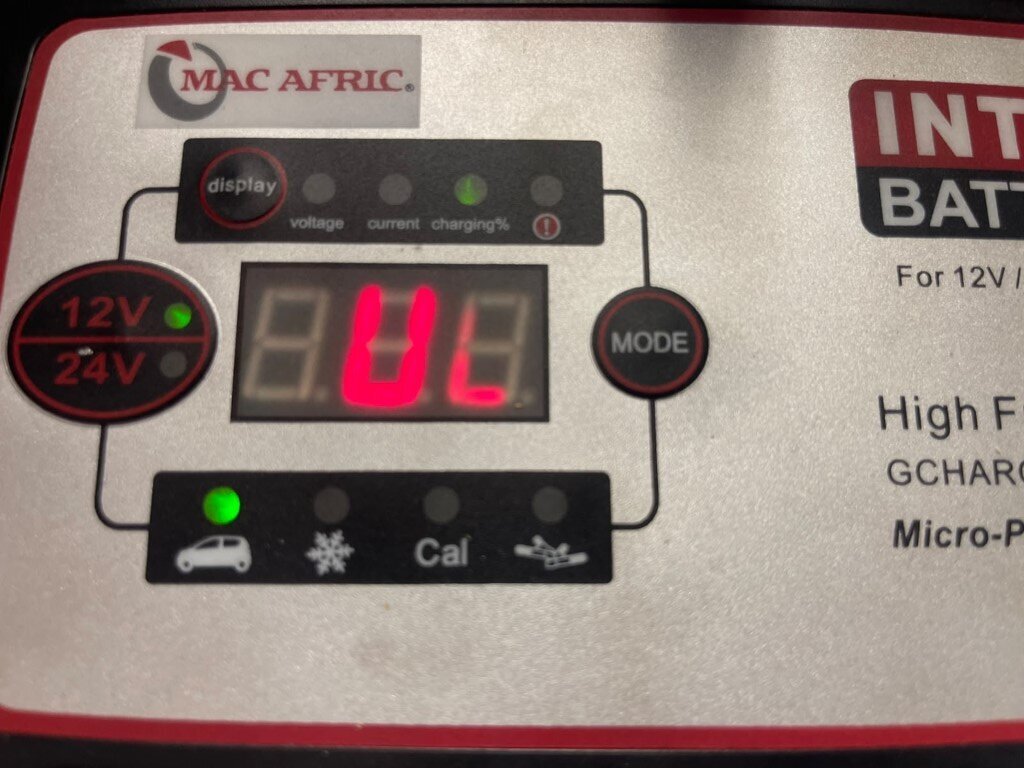
The first thing I did was put the new battery onto the charger before installing it.1.jpeg

Interestingly, it started charging at around 40% state of charge, which again shows that even a brand-new battery straight off the shelf isn’t necessarily fully charged. I’ve seen this with quite a few new batteries over the years.

Once it reached a full charge, installation was pretty straightforward.
2.jpeg

A few 10 mm nuts and bolts, one 13 mm bolt, old battery out and the new AGM battery in.

Before finishing up, I treated the battery terminals with terminal-protector spray - blue on the negative terminal and red on the positive.
5.jpeg

Why bother with terminal protector?
It leaves a protective coating over the battery posts and connections which helps prevent corrosion, oxidation and contamination around the terminals. Keeping those connections clean and protected helps maintain good electrical contact and reduces the chances of voltage-drop related starting issues later on.

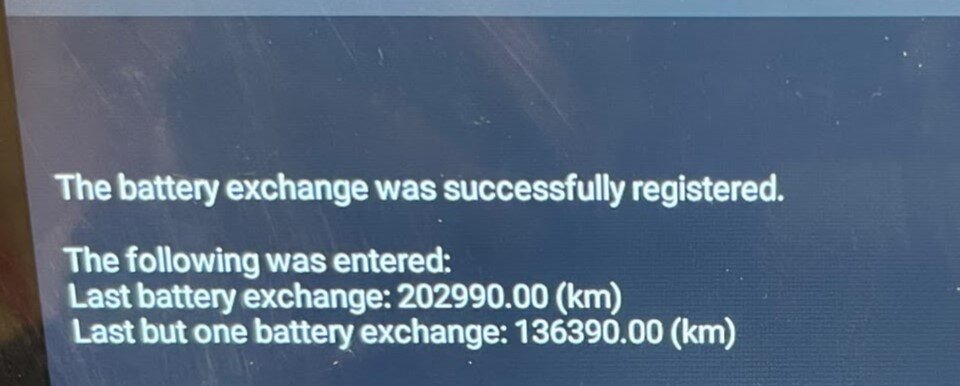
Once the battery was properly secured and everything was back in place, I connected diagnostics and registered the new battery with the car.
7.jpeg

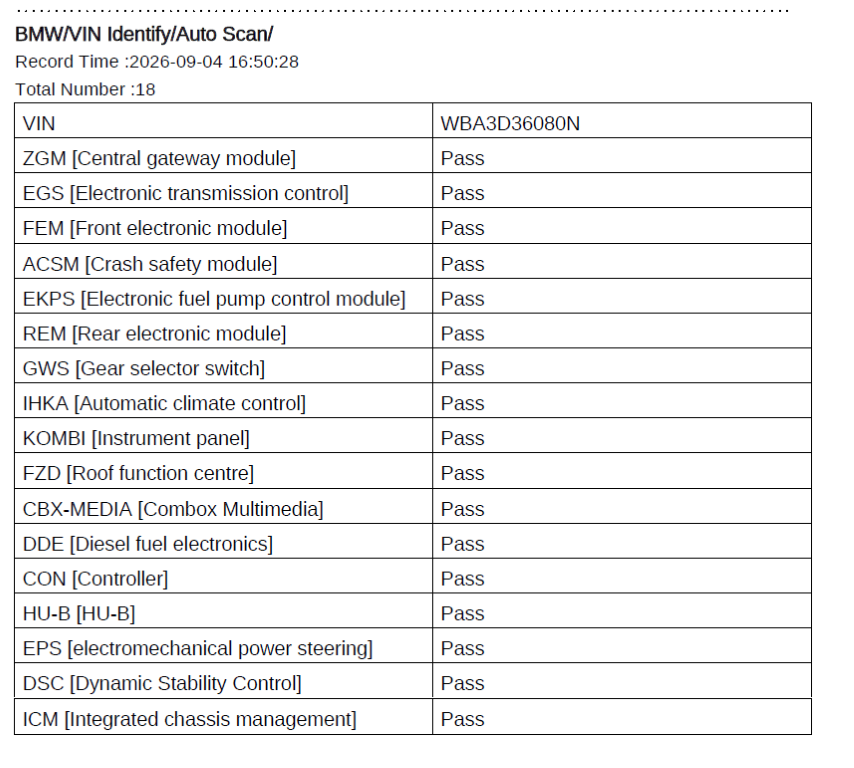
I also ran another fault-code scan and cleared anything historical that was stored.
6.png
So far I’ve driven about 82 km since collecting the car. Mostly short runs around Randburg, but it continues to drive really well. Engine and drivetrain are smooth, and I’m slowly working my way through all the preventative maintenance items and getting the car to the standard I want it.

Stay tuned for more updates.
 

Lvan91

New member
Just came across this thread and already loving it. Thanks for sharing. Already making notes. First time I heard of ā€œgummi pflegeā€ and it’s gone straight on my to do list.


Sent from my iPhone using Tapatalk
 

Clint@MMS AUTO

BMWFanatics Advertiser
Official Advertiser
LATEST UPDATE - A SMALLER ONE

Haven’t had much time to do anything on the 320d recently, although quite a few parts have arrived in the meantime.

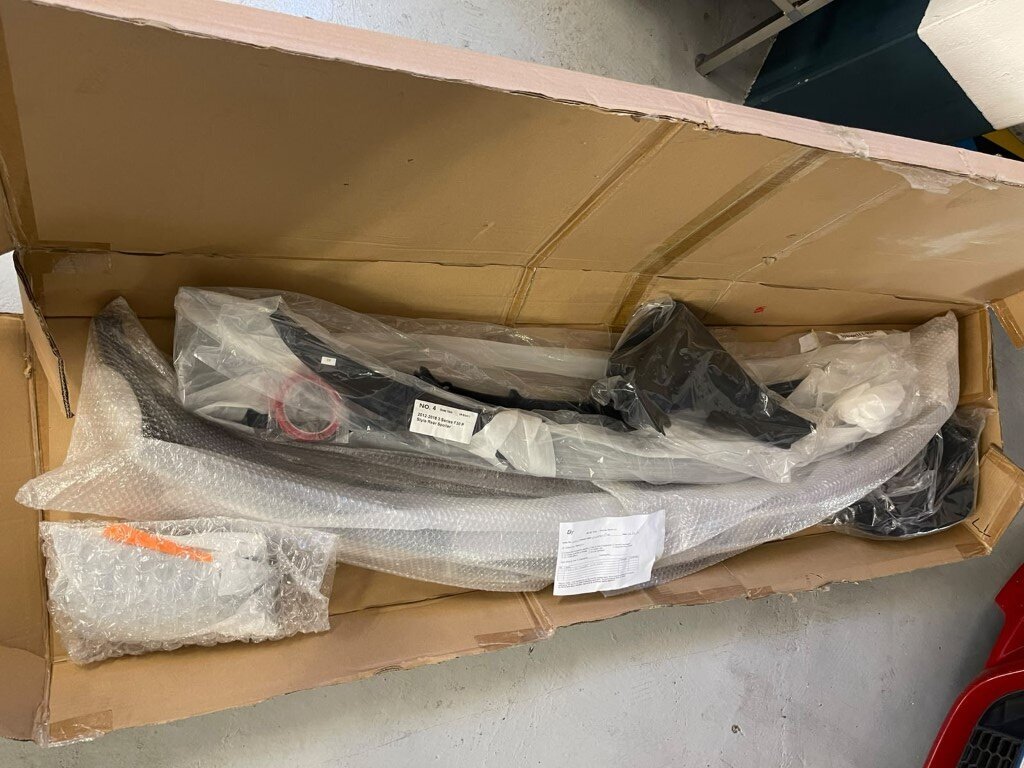
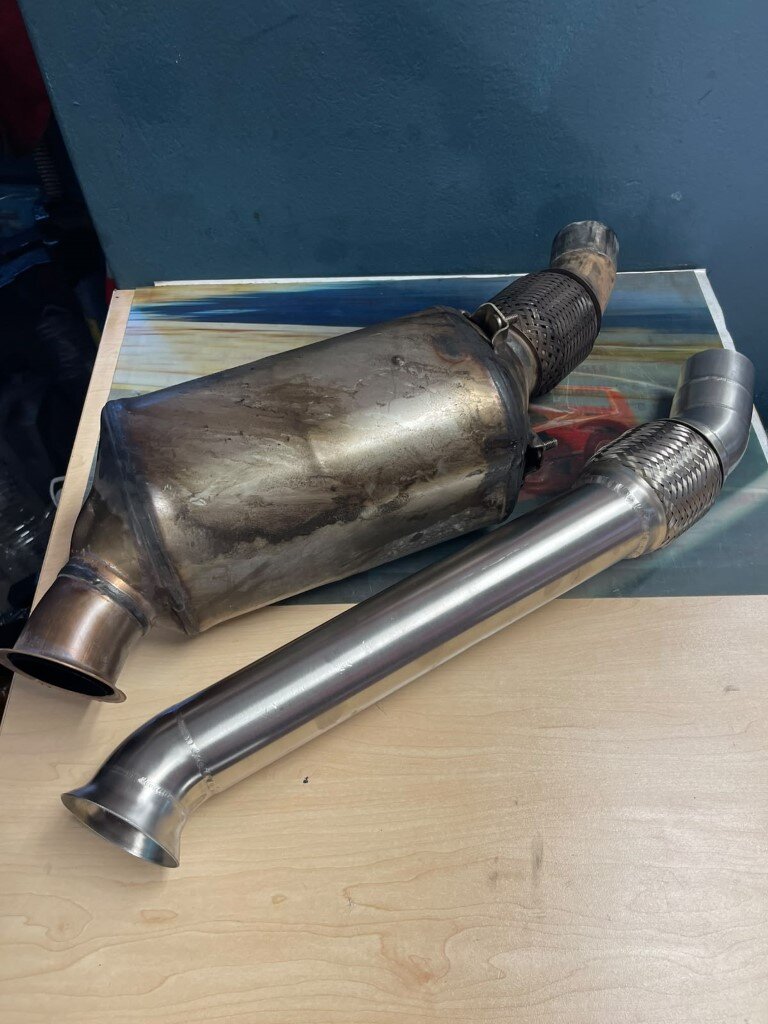
All of the front suspension parts are still waiting to be fitted, the cosmetic bits have arrived, and the EGR delete kit and downpipe are here as well.

So there should be a much bigger update coming once I get some proper time to work through everything.

For now, just a few smaller things.

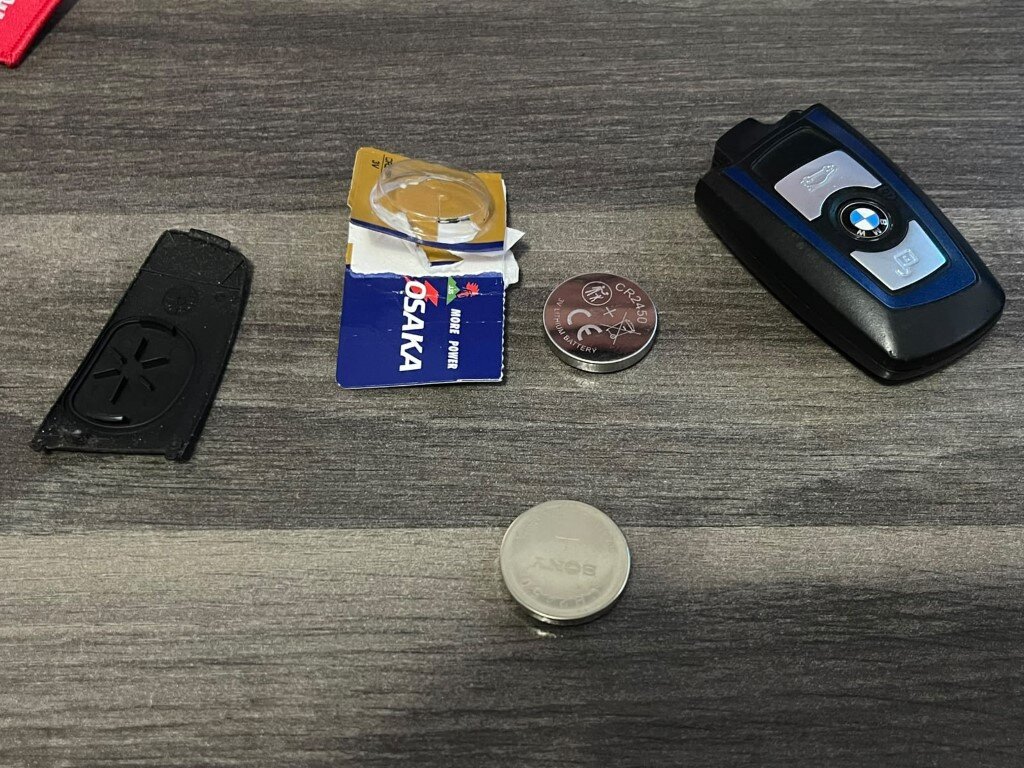
The key battery was dead, so that was replaced.
0.1.jpeg

I also unboxed and checked through the new parts that have arrived to make sure everything is there and ready for fitment.
0.15.jpeg

Since the last engine oil service, I’ve driven roughly 160 km.

The plan is still to do the next oil change at around the 250 km mark and see what the oil looks like after such a short interval. I’m interested to see how much contamination, soot and general dirt the fresh oil has managed to pick up from inside the engine.

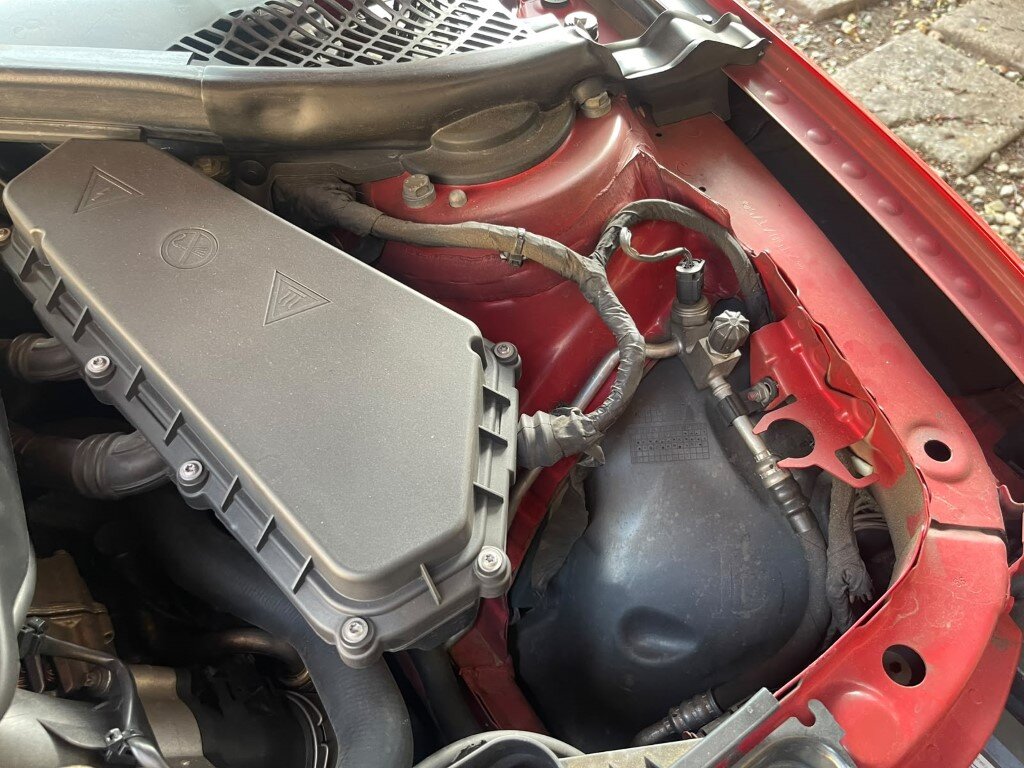
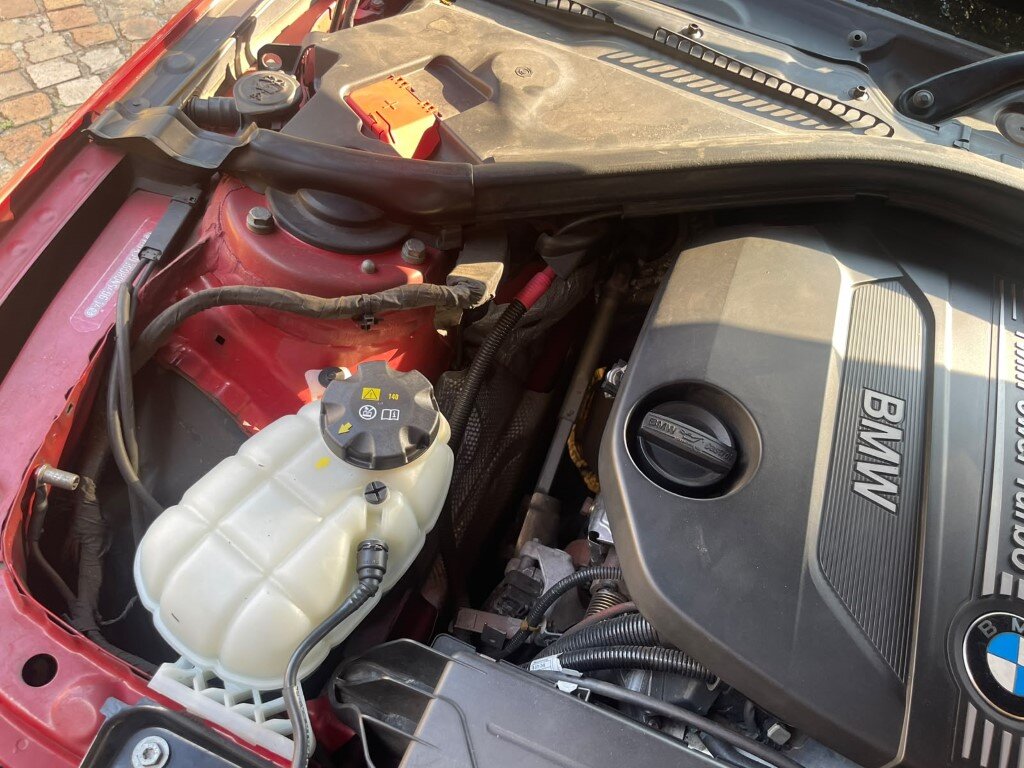
For today, I decided to give the car a proper wash and clean up the engine bay.

Since this was the first time I’ve washed the car myself, it also gave me a chance to go around it properly and get a better idea of all the little battle scars it has picked up over the years.

The paintwork definitely isn’t perfect, but for its age and mileage it’s actually not too bad.

The wheels, however, were another story. šŸ˜‚

They took a fair bit of time to clean properly and were probably the most annoying part of the whole wash.

Nothing major mechanically this time, but the parts pile is growing and everything is slowly lining up for the next round of work.

A much bigger update should be coming soon.

Engine bay before cleaning
1.jpeg
2.jpeg3.jpeg4.jpeg

and After some elbow grease.
5.jpeg6.jpeg7.jpeg8.jpeg9.jpeg
 

Clint@MMS AUTO

BMWFanatics Advertiser
Official Advertiser
BIG UPDATE - CODING, MOUNTS, SUSPENSION & A FEW MORE UPGRADES

As it stands, we’ve now driven a total of around 280 km in the car.
Most of that mileage came from a trip to Pretoria and back. Fuel consumption has been sitting between 4.8 and 5.2 L/100 km, and that’s without really trying to drive conservatively.
So I’m pretty impressed with that so far. I’m sure on proper long-distance trips it should do really well.


I also did a bit of coding recently to personalise a few things.

First up was Auto Start/Stop. I haven’t removed the function completely. It’s still there if anyone ever wants to use it, but the car now starts with Auto Start/Stop switched off by default, so I don’t have to remember to press the button every time I start the car.

I also changed the seat-belt reminder. Again, I didn’t disable it completely. I simply changed it so that it chimes four times and then stops, which is much more manageable.

Sport Automatic Transmission was also enabled. Before doing that, I reset the transmission adaptations, and between that and enabling Sport Auto, the transmission now feels noticeably better.
The gearbox was already smooth after the service, but it now feels even more responsive and refined.

I also enabled the air-conditioning memory function. Previously the AC would switch on every time the car was started. Now, if the AC was switched off when the vehicle was shut down, it remains off the next time the car is started.

I also disabled the car starting in Eco Pro mode every time. Comfort is now the default driving mode.


Then it was onto the mechanical work.

Onto the lift it went.
1.jpeg

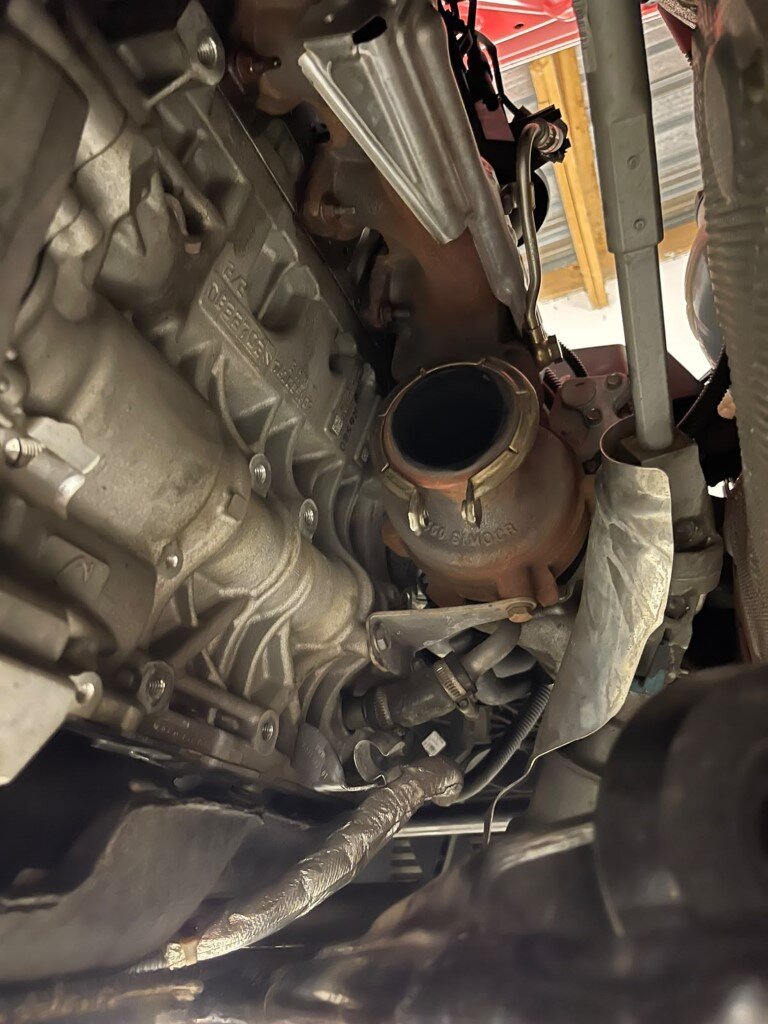
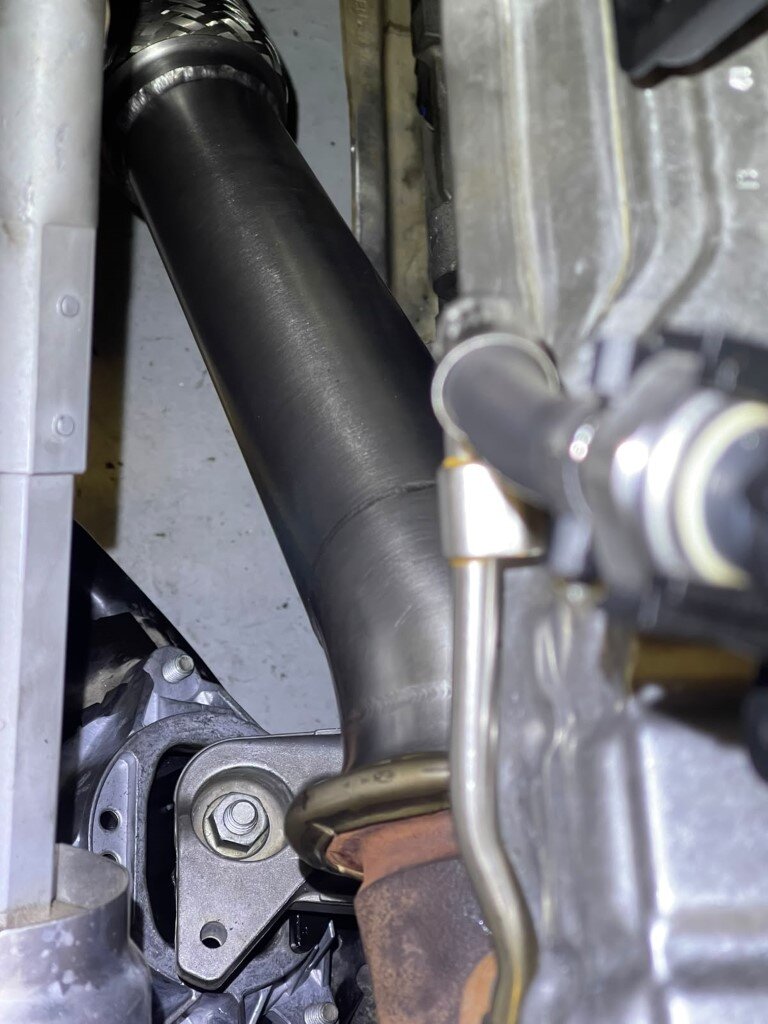
The first thing I tackled was the downpipe.
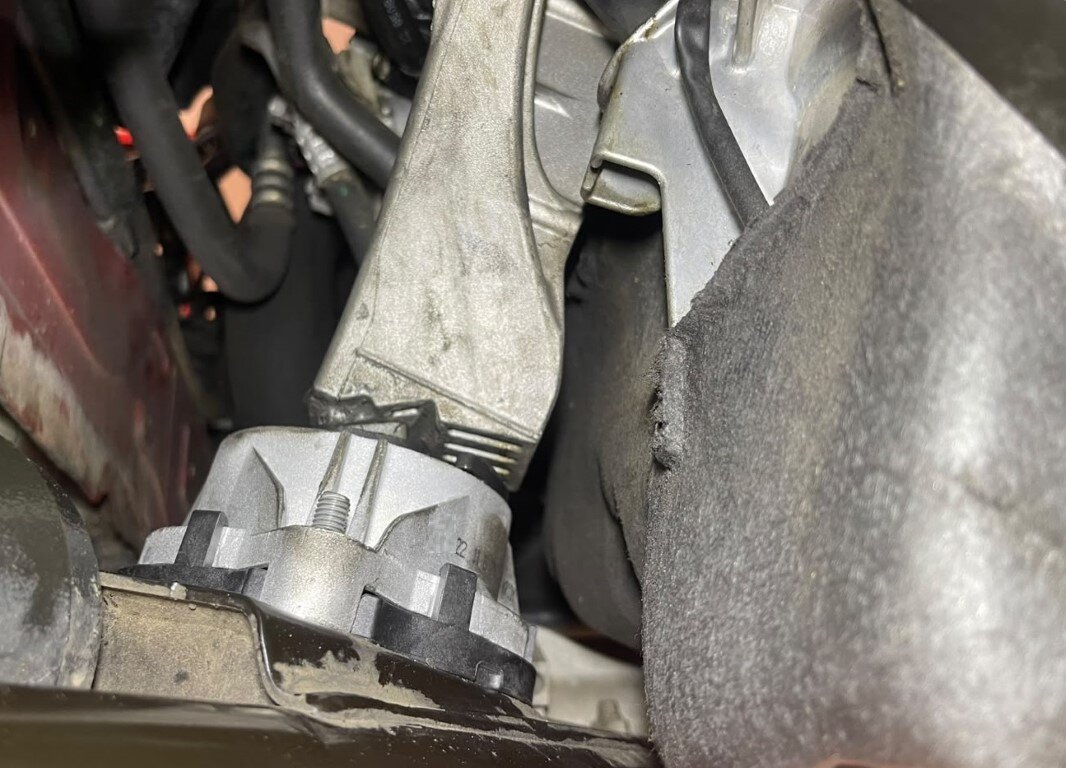
The original DPF was removed, and with all the extra room available in that area, it made sense to replace the engine mounts before fitting everything back together.
2.jpeg

3.jpeg

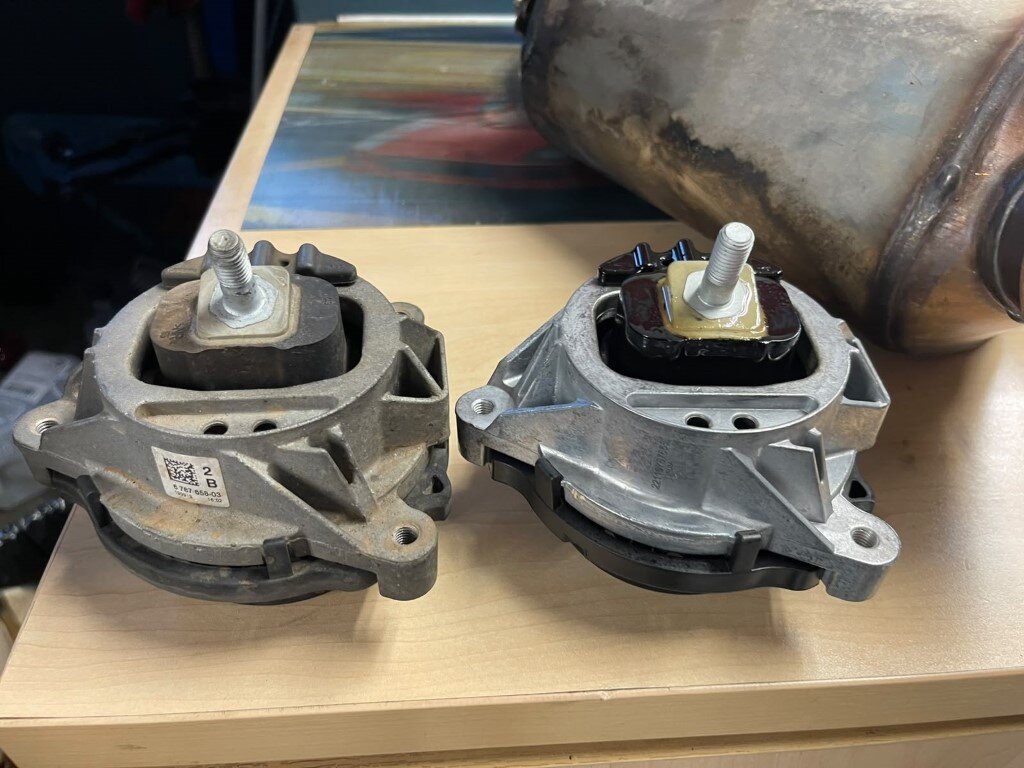
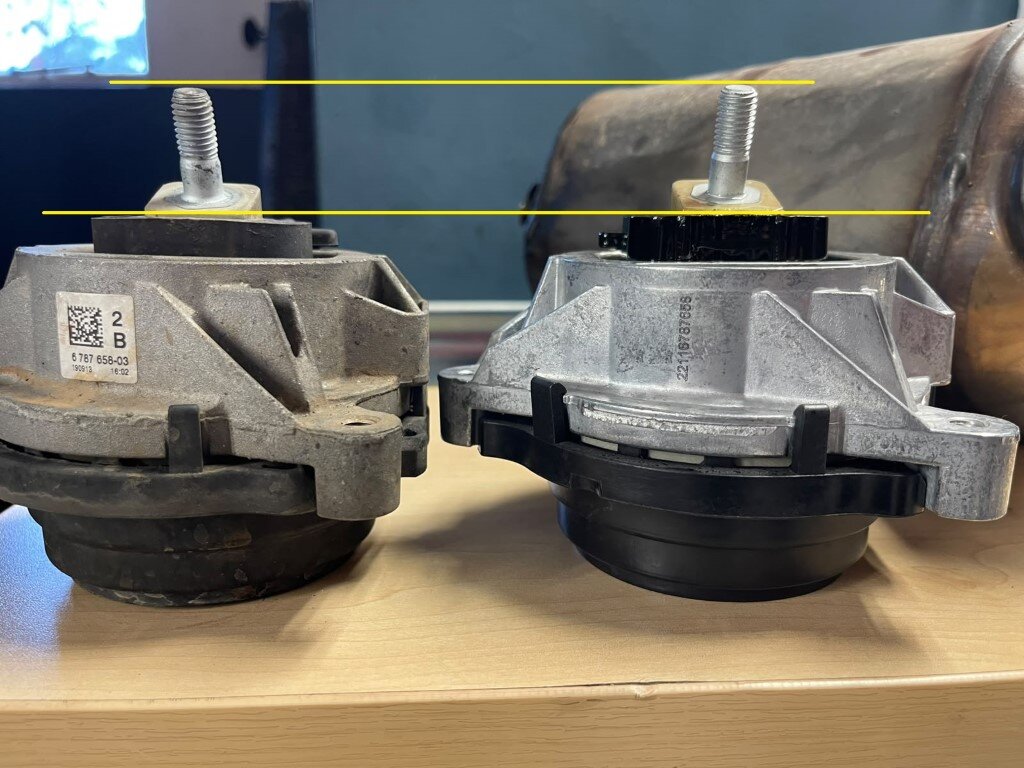
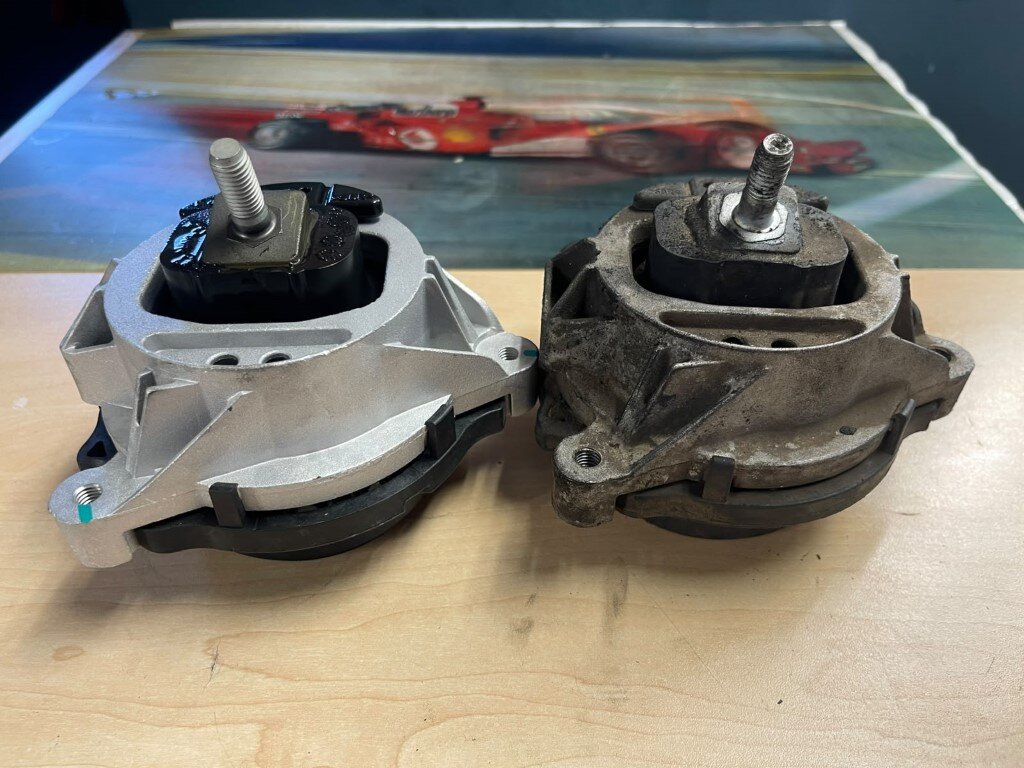
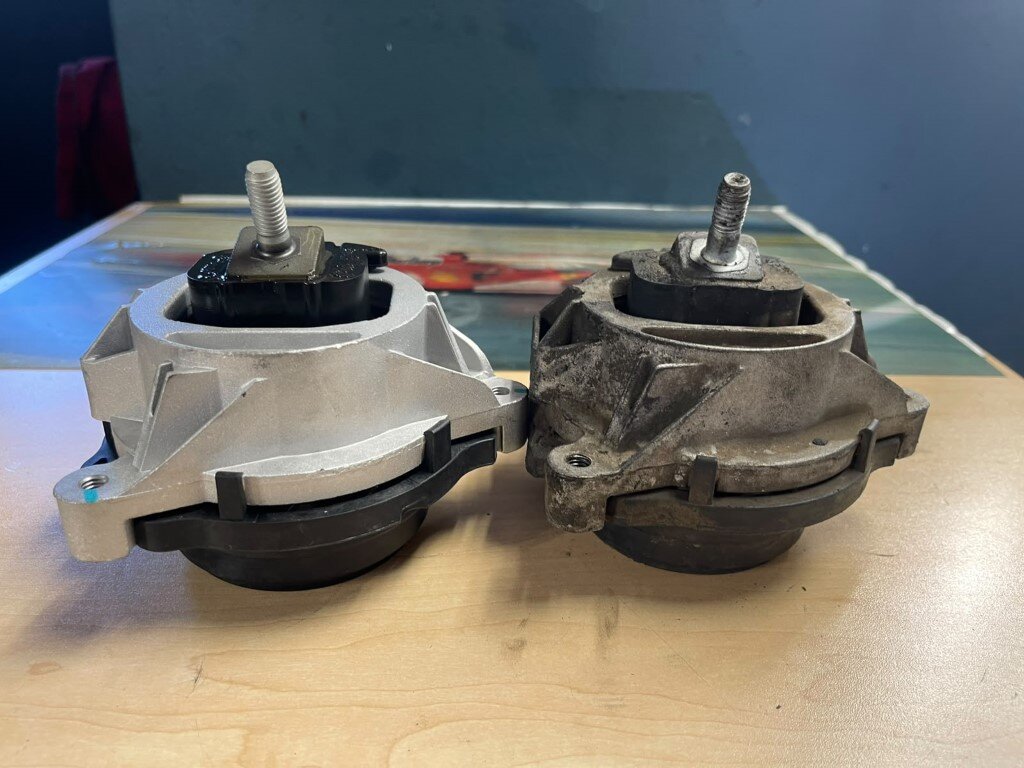
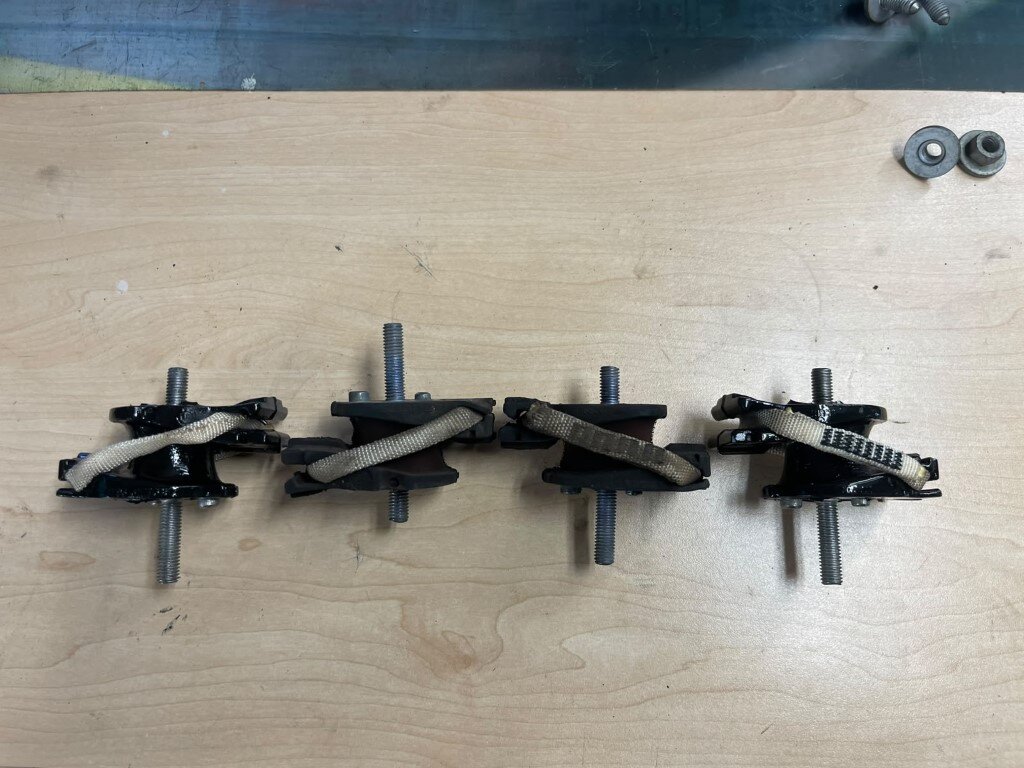
The right-hand-side engine mount was removed first, and you could clearly see how much it had collapsed over the years compared with the new one.
At this mileage, replacing the mounts made perfect sense.
6.jpeg
7.jpeg
9.6.jpeg


Once the RHS mount was done, I moved over to the left-hand side and replaced that one as well.
The left-hand mount wasn’t quite as badly collapsed as the driver’s side, but there was still a noticeable difference between the old and new mounts.
8.jpeg
9.0.jpeg9.5.jpeg
And the Downpipe Fitted

9.7.jpeg


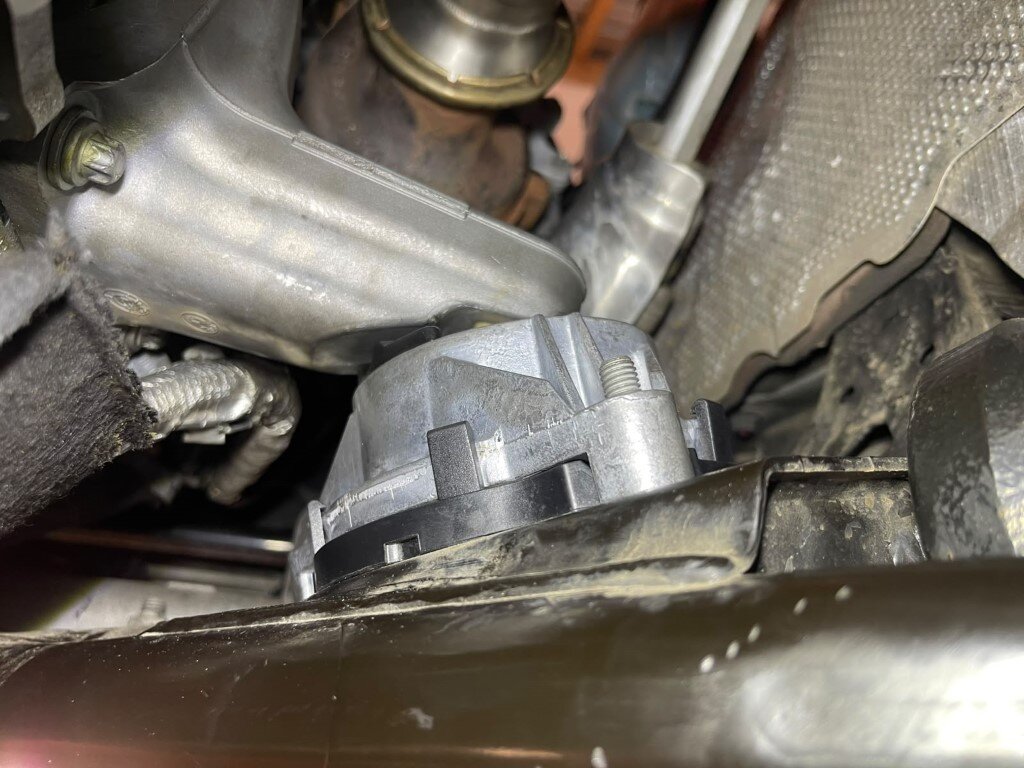
Next up were the gearbox mounts. 10.jpeg
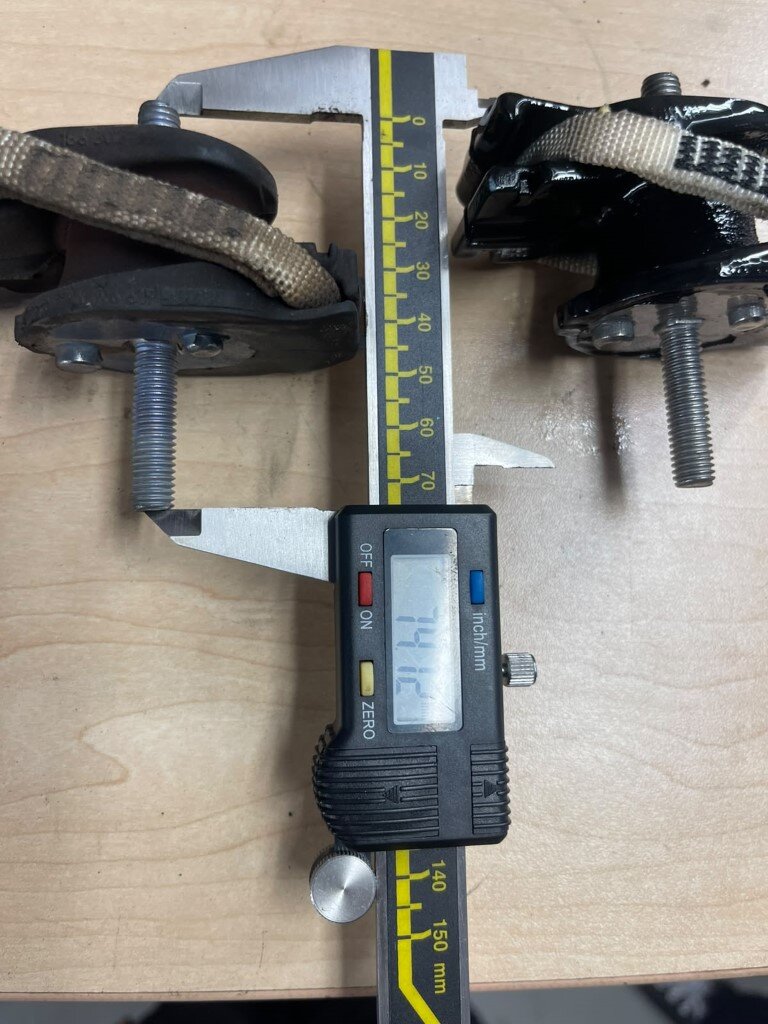
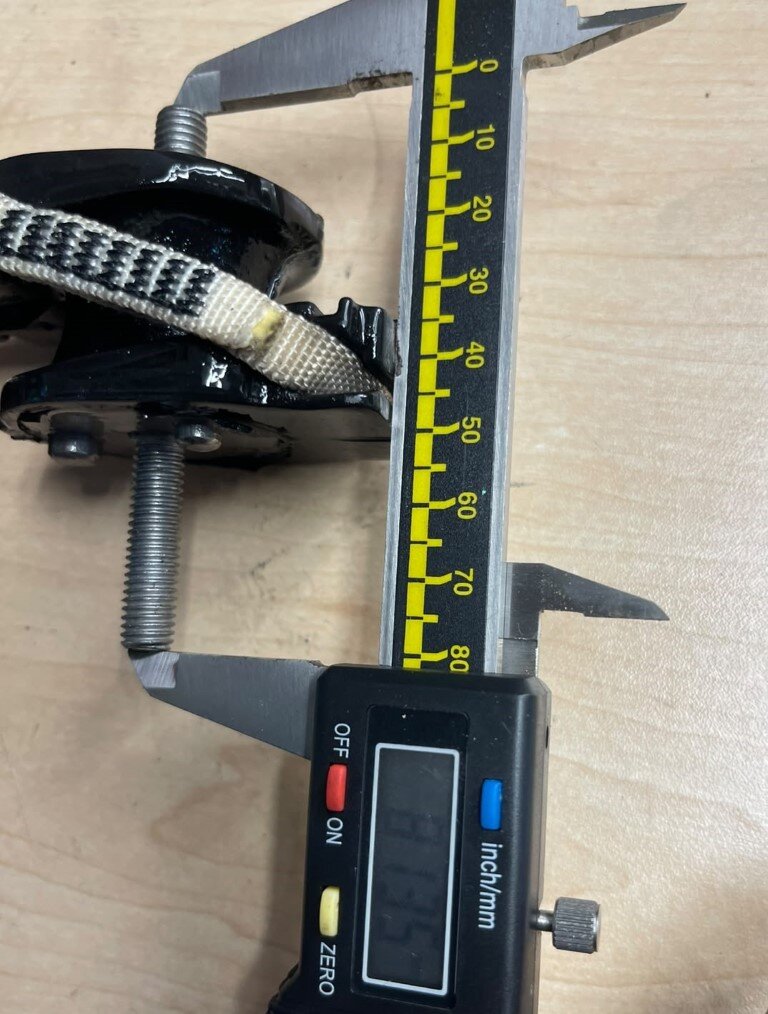
These had also collapsed considerably compared with the replacements. There was roughly a 10 mm difference in height between the old mounts and the new ones.
11.jpeg12.jpeg
So again, definitely worth replacing.

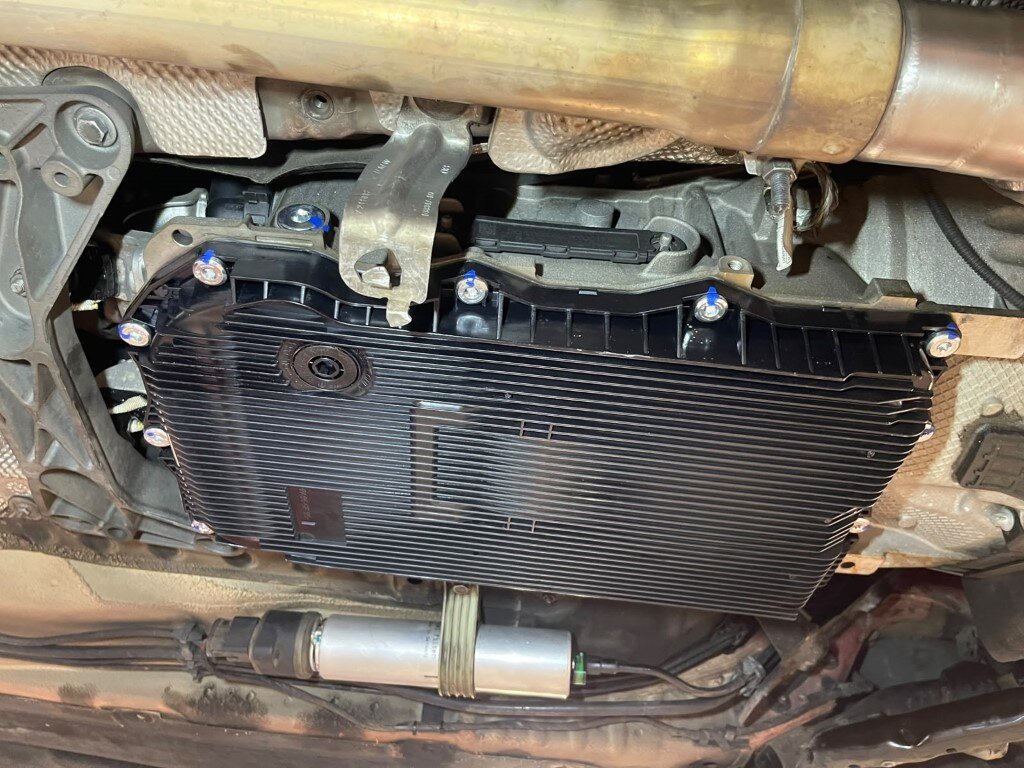
While I was underneath the car, I also had a good view of the gearbox after the recent service.
Happy to report that everything is still perfectly clean and dry with no leaks from the new transmission pan.14.jpeg

Then it was finally time to tackle the one thing that had been annoying me since buying the car - the front suspension.15.jpeg
The front end had a noticeable clunk over bumps and uneven road surfaces, and you could feel that the shocks were basically providing very little damping anymore.
It honestly felt like the car was riding mostly on the springs.
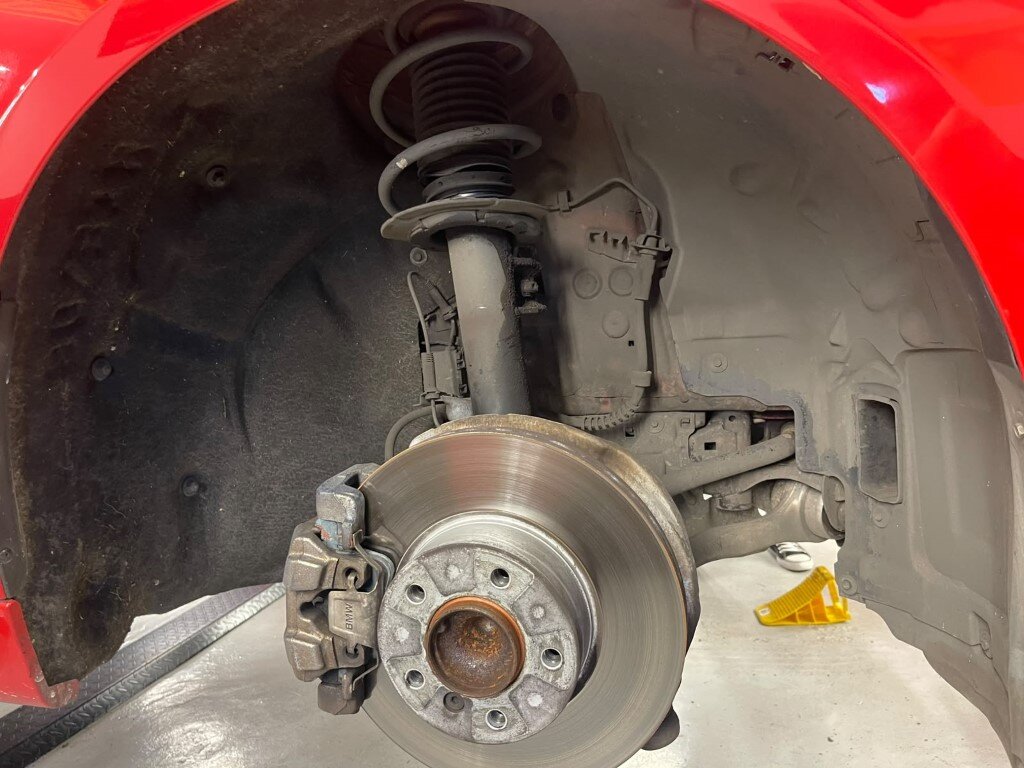
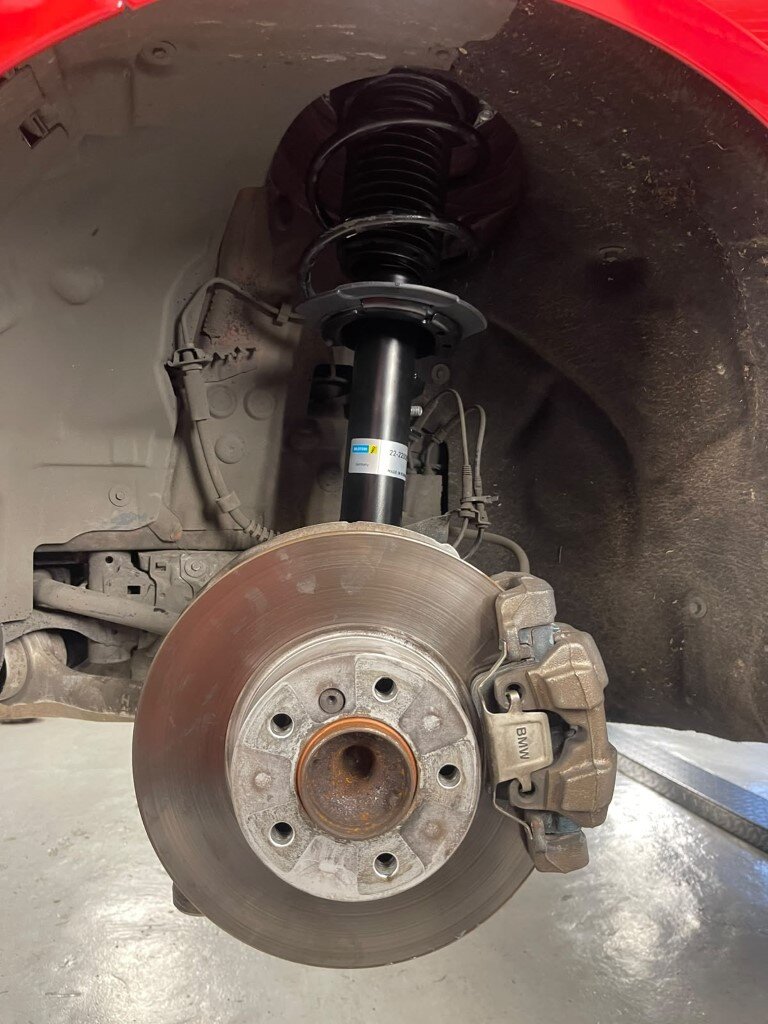
Once the front struts were removed, the problem was pretty obvious.
The old shocks were finished and had been leaking oil badly.16.jpeg17.jpeg
18.1.jpeg


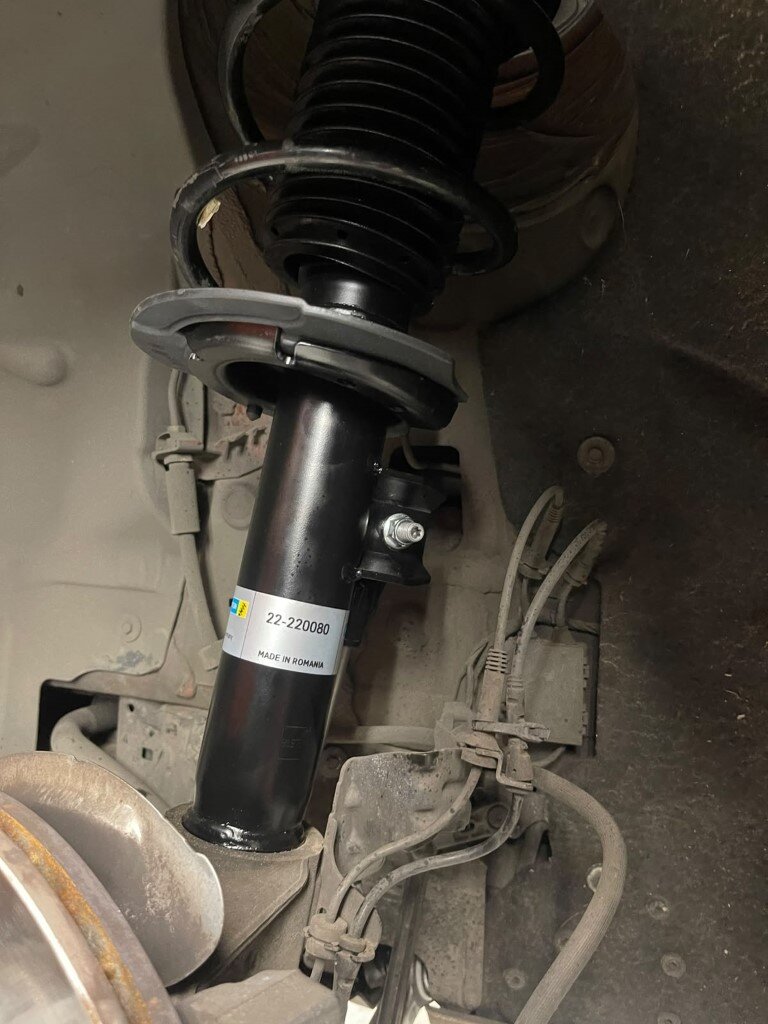
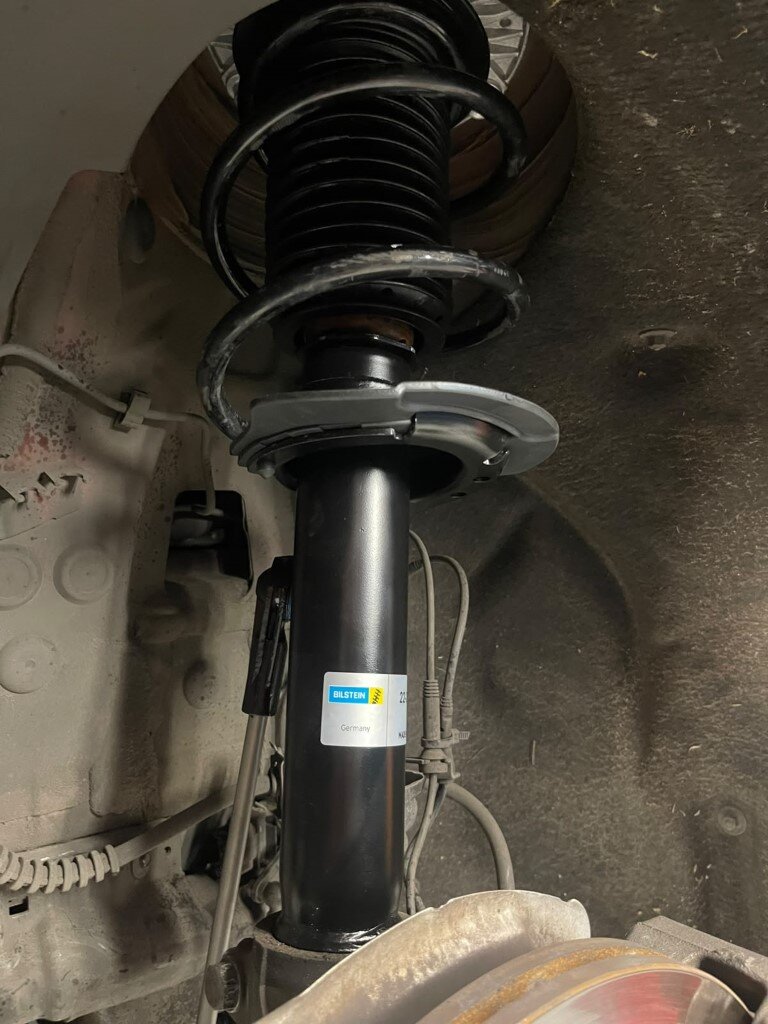
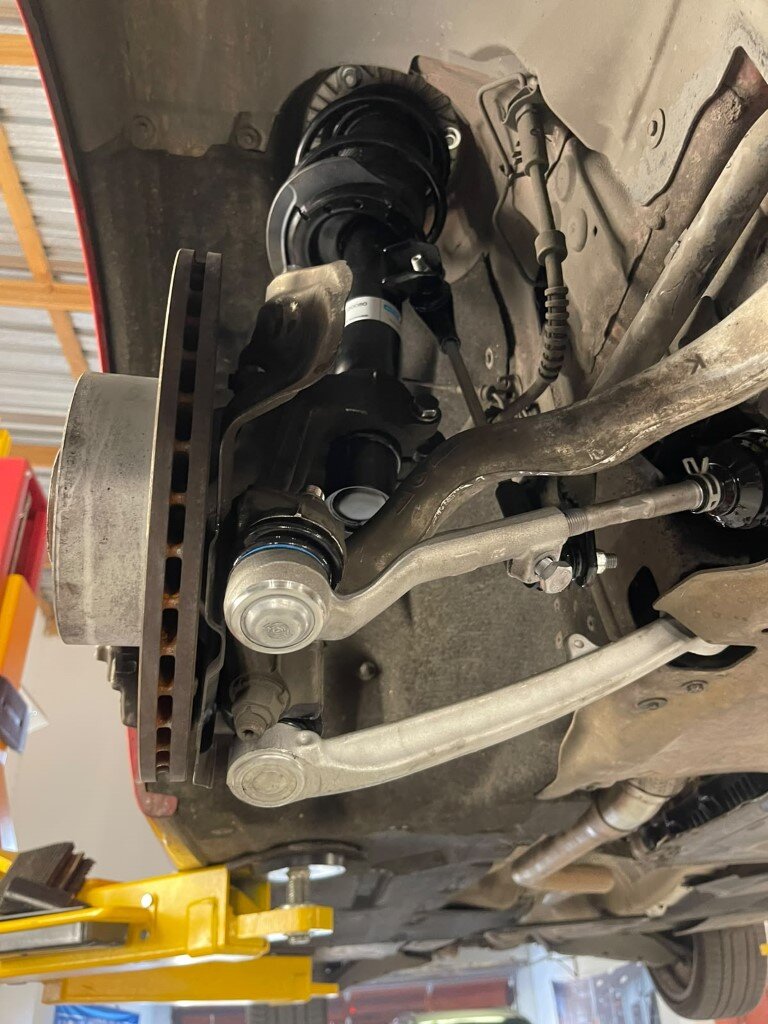
So rather than replacing individual bits and pieces, I basically rebuilt the front struts with new components and reused only the original coil springs.

Once the springs were transferred across and the new front strut assemblies were built, they went back into the car.21.jpeg
23.jpeg24.jpeg


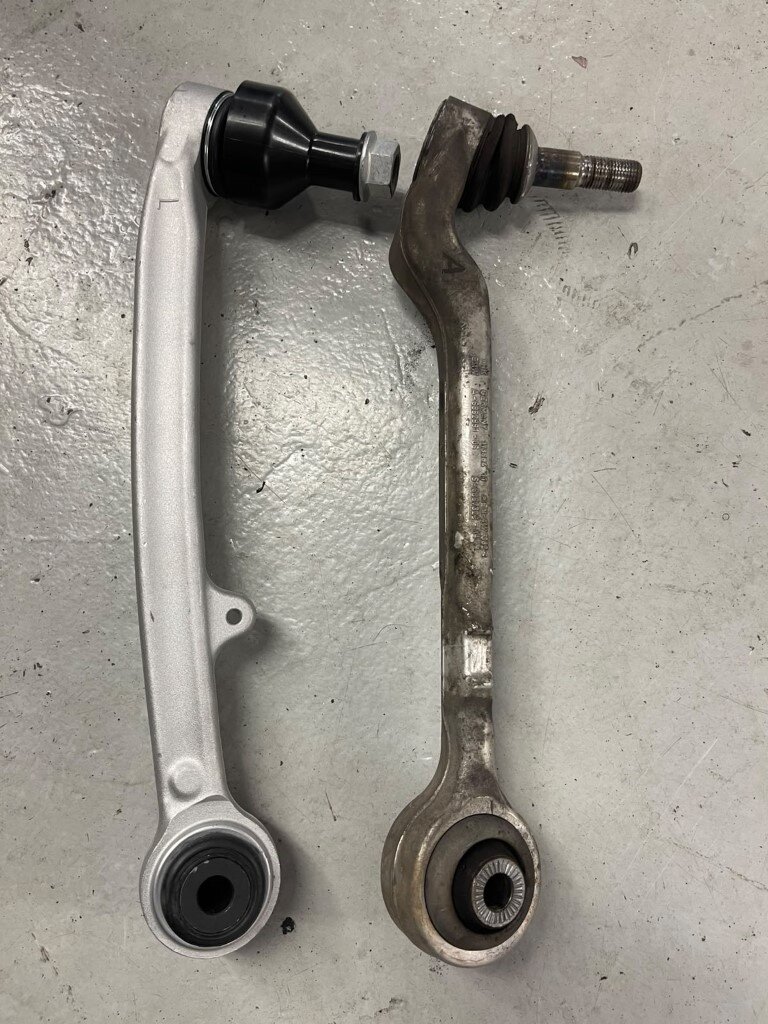
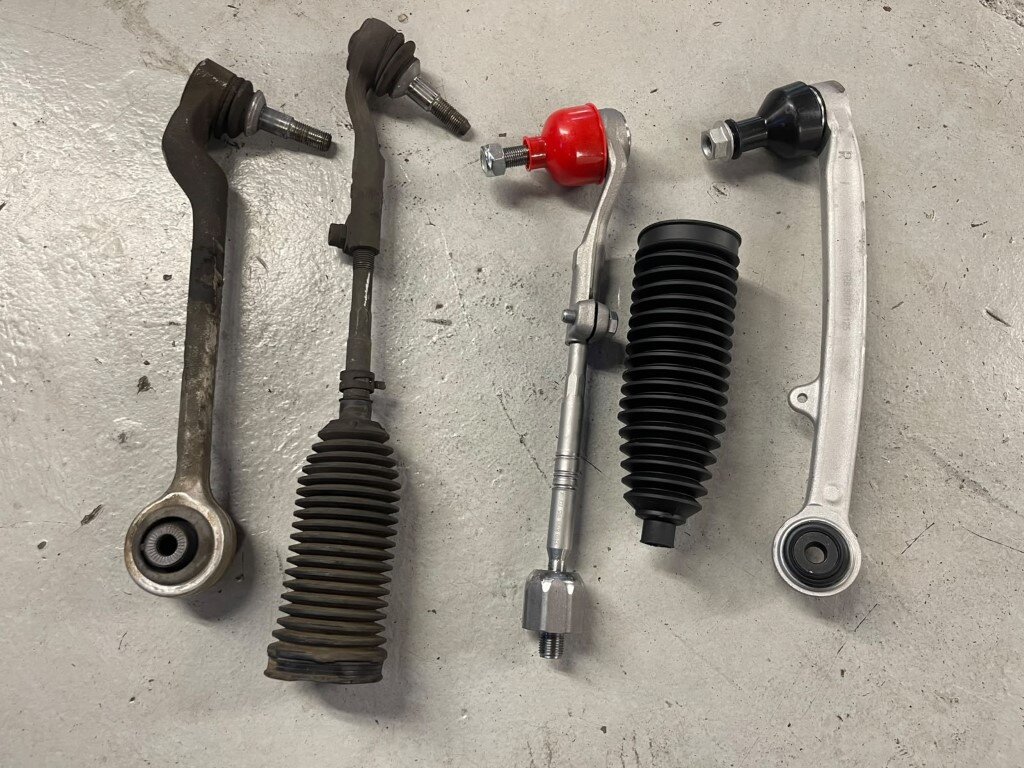
The original lower control arms were then removed and replaced with the F80 M3 lower control arms.18.jpeg
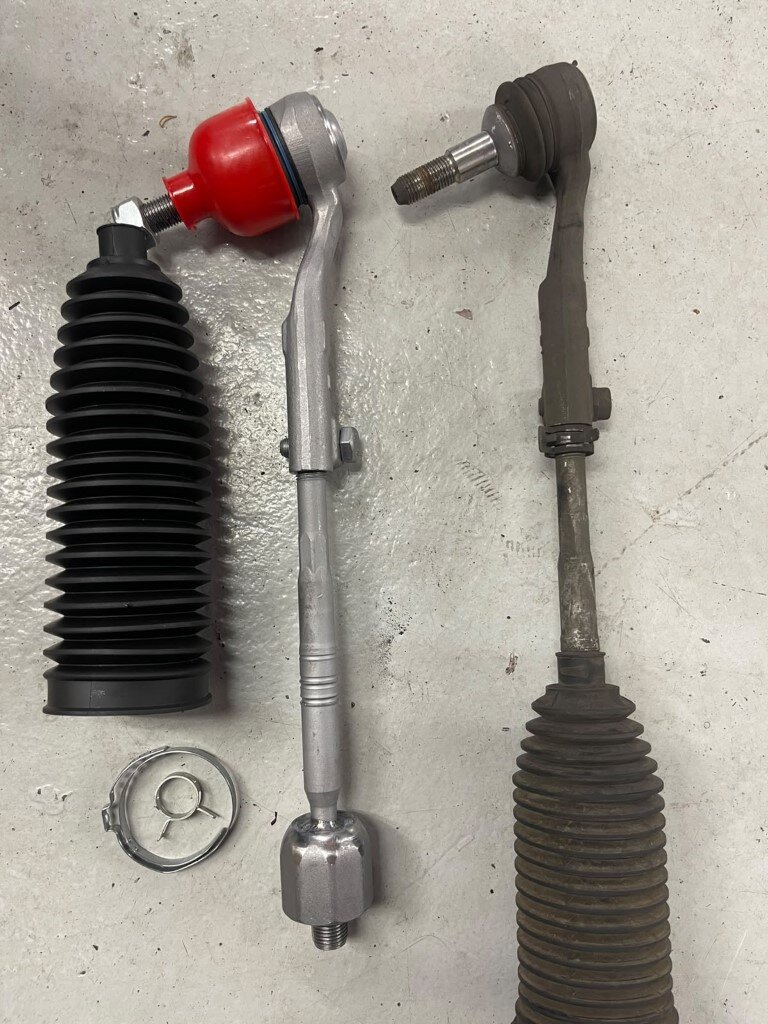
New complete tie rods and steering-rack boots were fitted at the same time.19.jpeg
20.jpeg


One lesson learned here...
Trying to match the new tie-rod lengths to the original setup was a mistake.
Because the F80 M3 lower control arms push the wheels slightly further forward and change the suspension geometry, the toe-in ended up being absolutely insane.
The front wheels were pointing inward so much that there was no way the car could safely be driven like that.25.jpeg

So we adjusted the tie rods by eye until the wheels looked reasonably straight and the car was driveable.
I’ve since taken it for a short test drive and, for an eyeballed alignment, it’s surprisingly good.
The steering wheel sits straight while driving and the car tracks reasonably well, but obviously this is only temporary.
It’s booked to go for a proper wheel alignment tomorrow, where everything can be dialled in properly.
From the short drive I’ve done so far, the difference in the front end is already massive.
The suspension is quiet, it absorbs bumps properly again, and the front end feels far more planted.
Cornering also feels noticeably sharper with the F80 control arms.
I’m really looking forward to getting the alignment done properly and then taking it out for a decent drive to see how everything feels.
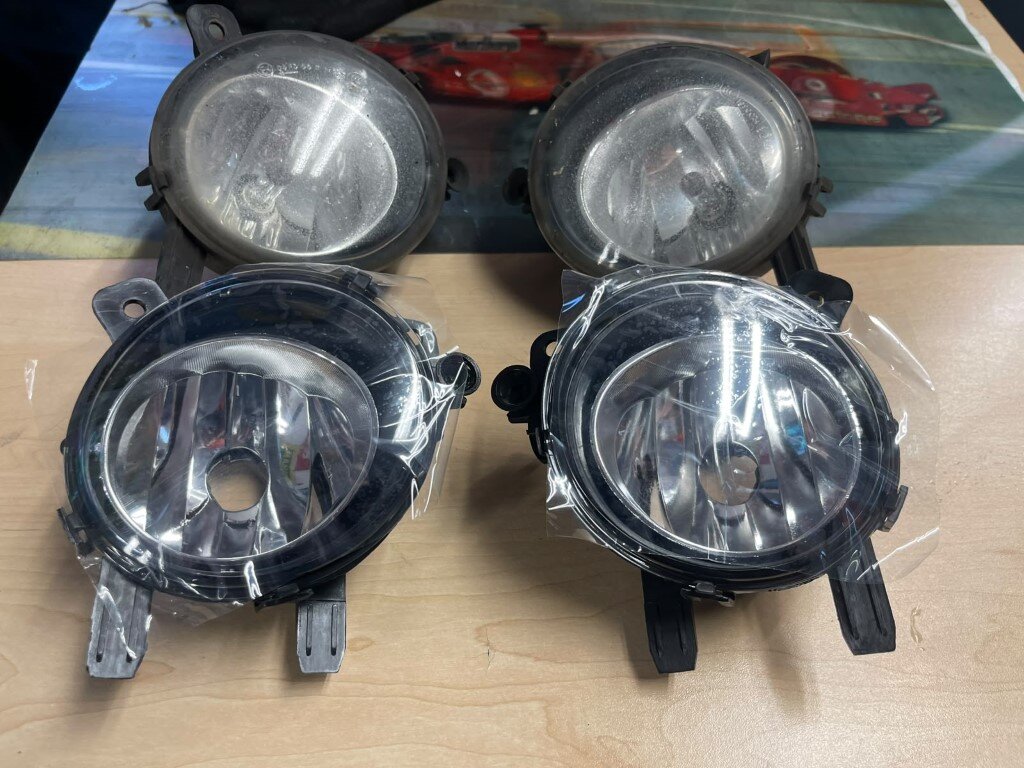
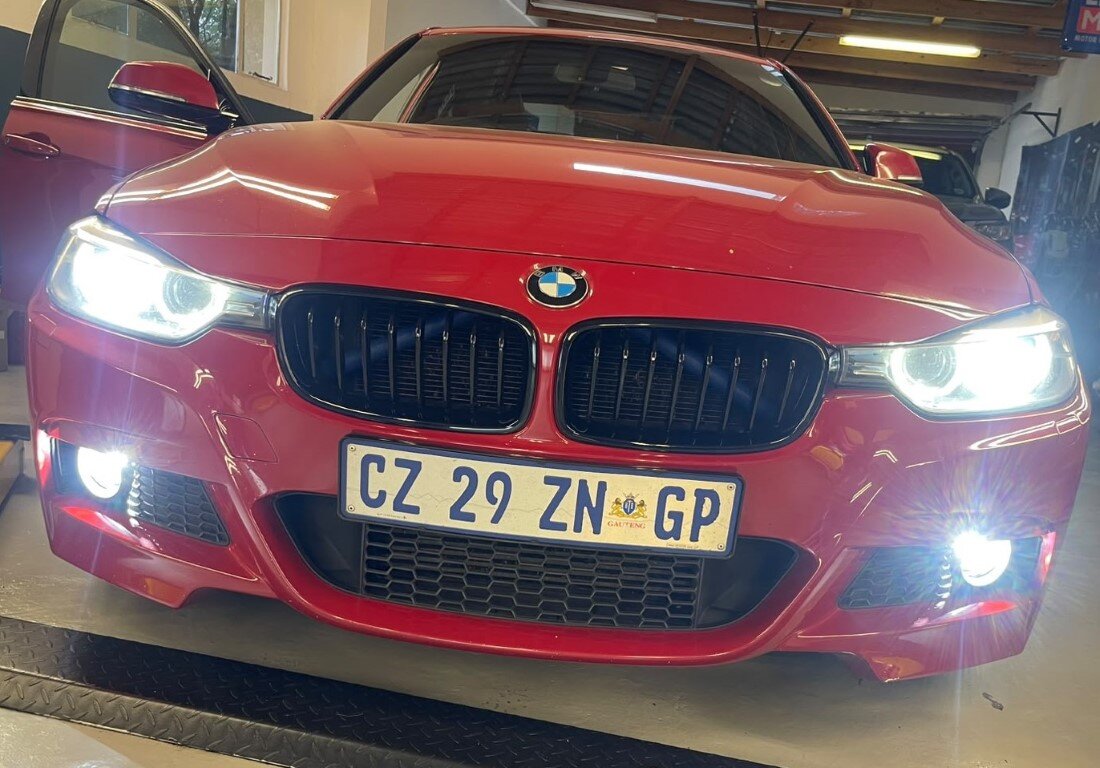
Lastly, I replaced the fog lights and fitted LED bulbs to brighten them up.26.jpeg
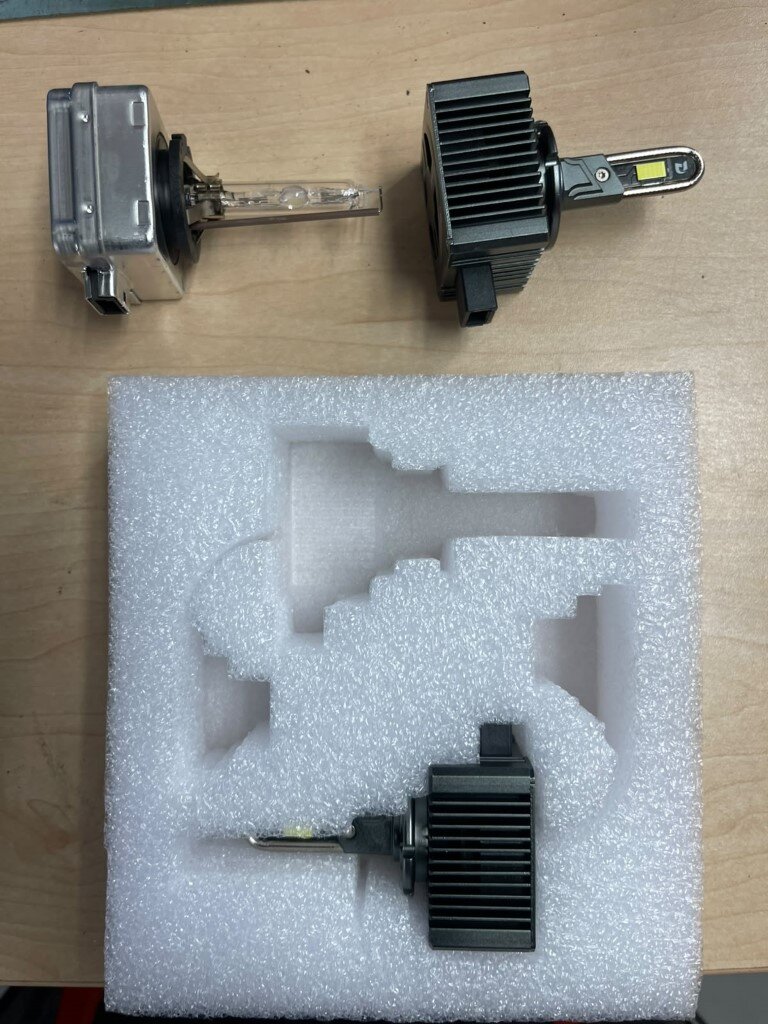
The headlight bulbs were also replaced with LEDs.27.jpeg

I coded the relevant settings in the FEM so that the LEDs don’t flicker during the cold/warm bulb checks on startup and the car is configured correctly for the LED lighting.


28.jpeg

So that’s where we are for now.
280 km into ownership and quite a bit has already been done.
The car is slowly getting closer to the standard I want it at, and the biggest improvement so far has definitely been sorting out the front suspension.

Next step is the proper alignment, followed by some more road time to see how the whole package comes together.

And that’s all for now, folks. On the next episode we might also be retrofitting Paddle Shifters if everything arrives in time..
 
Last edited:
Top