E46 M3 RACP (subframe) repair

dillonmo

Member
Good Morning All.
I’m looking to have the racp reinforcement work done on my M3. My questions to the more experienced members is:

1. recommended workshop in JHB.
2. Structural epoxy (not foam) vs weld for bonding reinforcement plates. What are the pros and cons?

Anyone who has done the epoxy method, how is it holding up?

Thanks.
 

PaKiMoNSTeR

Active member
Can't comment on the epoxy method but most of the track guys weld them in. I have a turner Motorsport kit on my E36 and it's been many years with no issues. Is epoxy an option? Haven't heard of this method before.
 

dillonmo

Member
I am inclined to welding, but did not realize epoxy was an option. But a workshop that I spoke to recently advised that it is, and is apparently stronger than weld 🤷‍♂️. After some research, it seems like something that is done overseas, but not as common as weld.
 

AlpineWeiss

New member
Personally looking to have the same work carried out on my '02 M3 as well. I would say it depends on the state of the RACP. If there are cracks present, they must be repaired by first being stop-drilled, welded & then ground flat. From this point, the reinforcement plates can either be welded into place or epoxied. Also, if cracks are present, spot welds have most probably failed and these also need to be repaired with plug welds. Redish Motorsport (the best in the business) do not use epoxy at all in their process.

Epoxy - less heat is introduced into the flimsy (0.7mm) RACP sheet metal, but reinforcement plates get less of a positive connection to the RACP. When one welds the plates onto the RACP, certain welds are plug-welded to connect the plates to the threaded subframe receivers.
Essentially the opposite of the above but also needs further care to prep & clean up & protect the RACP surface after welding.

Most importantly, closing the gap between the RACP and the chassis leg is paramount to longevity! See here - Redish Motorsport also supplies this plate.
 

AlpineWeiss

New member
I've just gone through the process of getting my RACP repaired and reinforced with the CMP weld-in front & rear brace. Let's just say it was a process (even though I didn't physically partake in it). Can definitely recommend the kit from CMP, but installation is a bit of a hassle.
 

zabbo

///Member
I've just gone through the process of getting my RACP repaired and reinforced with the CMP weld-in front & rear brace. Let's just say it was a process (even though I didn't physically partake in it). Can definitely recommend the kit from CMP, but installation is a bit of a hassle.
Please share some pics of the process and costing if possible. I think it will be beneficial to the group as it is something that most would need to do at some point.
TIA
 

AlpineWeiss

New member
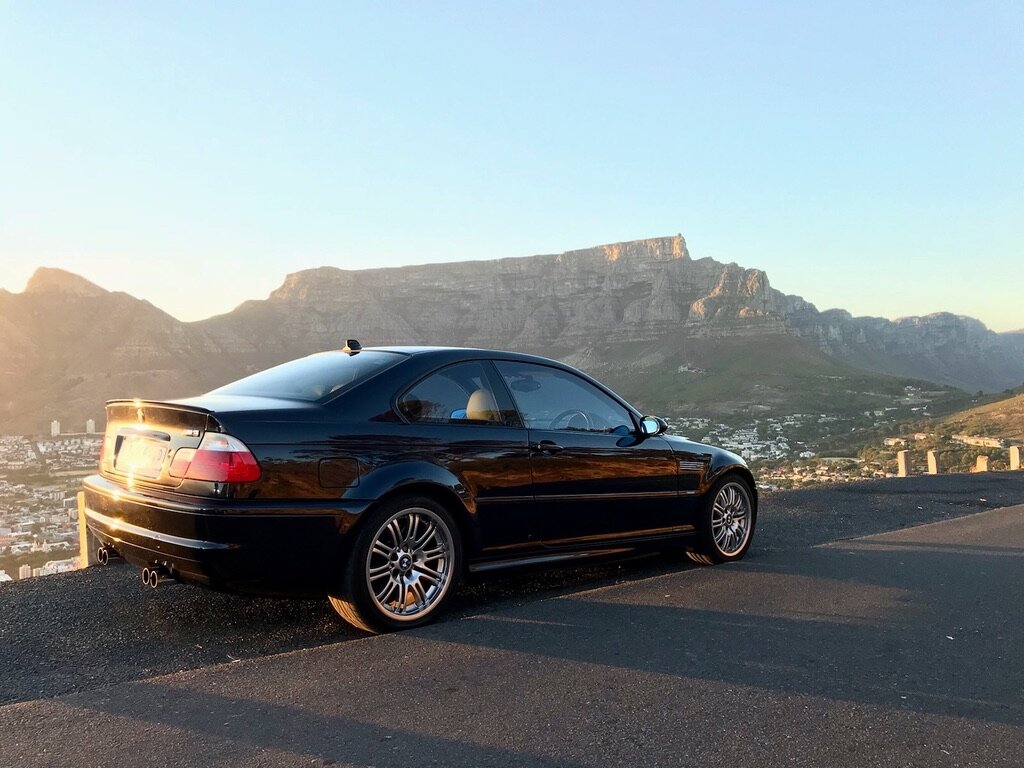
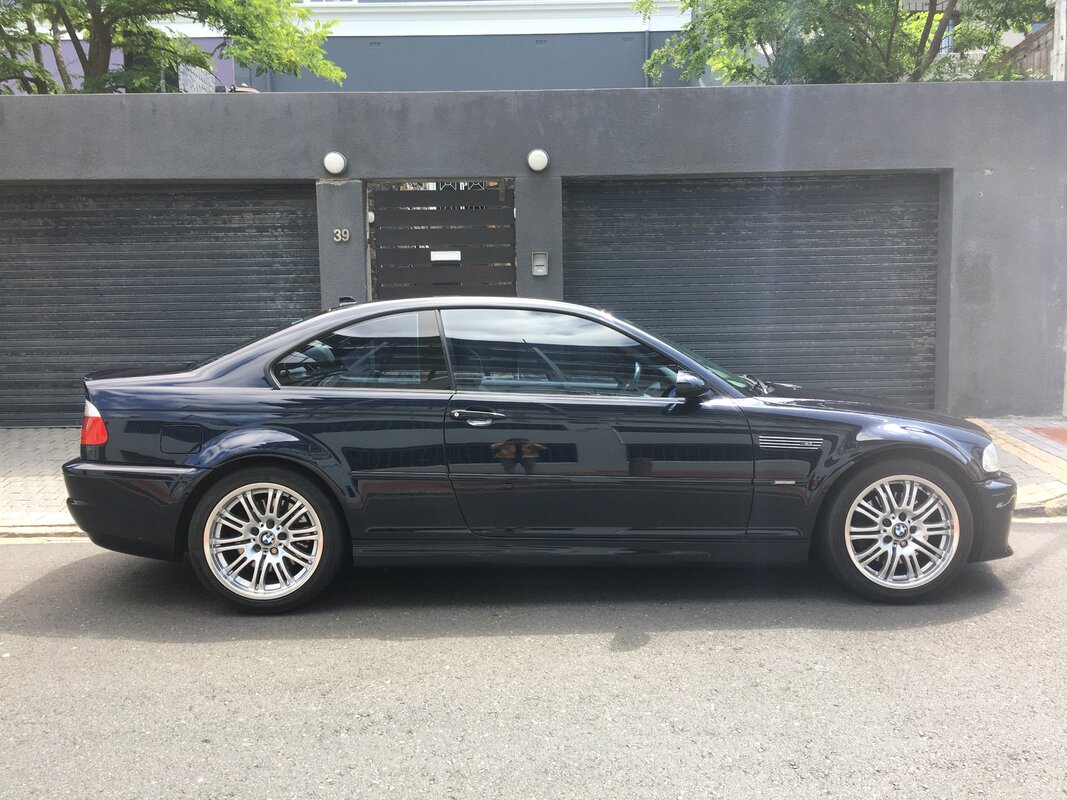
First off, here's the car! A 2002 Carbon Black Manual, bone stock, with 130k km now. I've owned the car for nearly 6 years, and have done roughly 2k km, but have had the car stored until I could afford the RACP reinforcement to be done correctly. I was not interested in getting the job done to just drive the car, it needed to be a Reddish Motorsport level of attention to detail and to add value to the car.

1723026158008.jpeg

IMG_8400.JPG

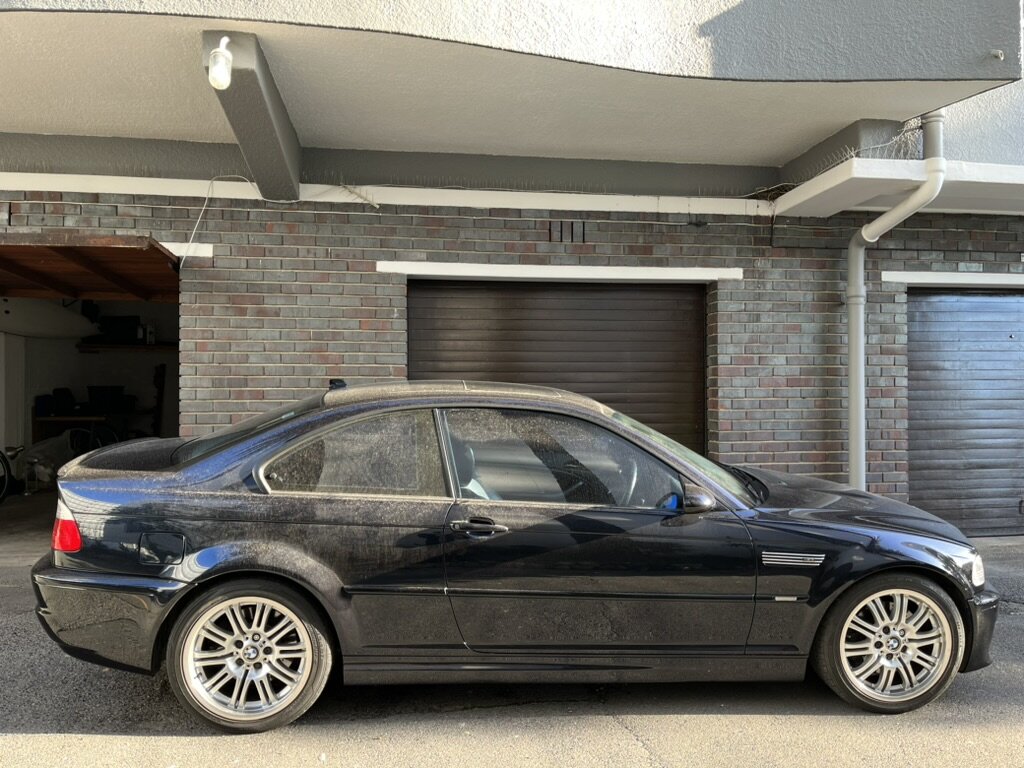
Coming out of storage - the dust of being stationary for too long.

1723026210573.jpeg

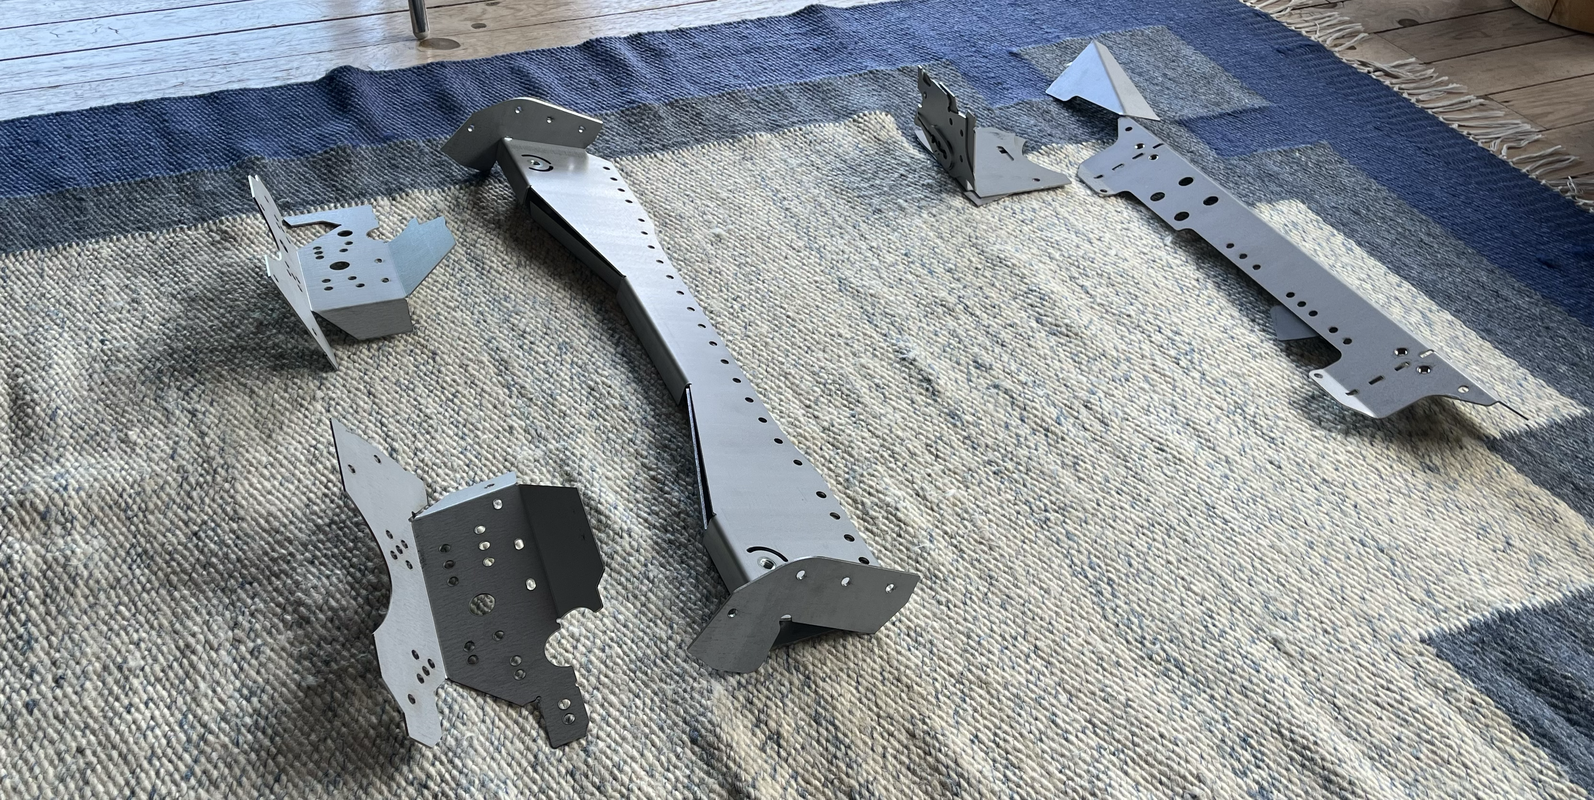
So let's just that was a process (getting the RACP repaired and reinforcements installed) 😅 Since my car had medium levels of fatigue damage, I went with CMP as their basic offering (underneath plates & plates to connect RACP to chassis) is very similar to Reddish, but they offer the further reinforcements I was after due to the condition of my RACP. I went with the CMP kit which included plates welded to the RACP from the underside of the car, plates that connect the RACP to the chassis legs (from inside the boot) and internal/inside the car reinforcement beams front & rear. The front reinforcement beam mimics that of the E46 touring, which was added to increase the stiffness of the chassis by BWM and the rear beam is a piece that further connects the two rear chassis legs to add stiffness. Part of the kit, layed out - the front reinforcement beam being furthest from the camera.

1723026048646.png

It took many many years of research (endless Reddish Motorsport YouTubing - I think I could work for them now) & contemplating how to get the job done the right way, visiting body shops, advice from those in the auto industry, building relationships with prior cars & body shops, fear, finances etc.

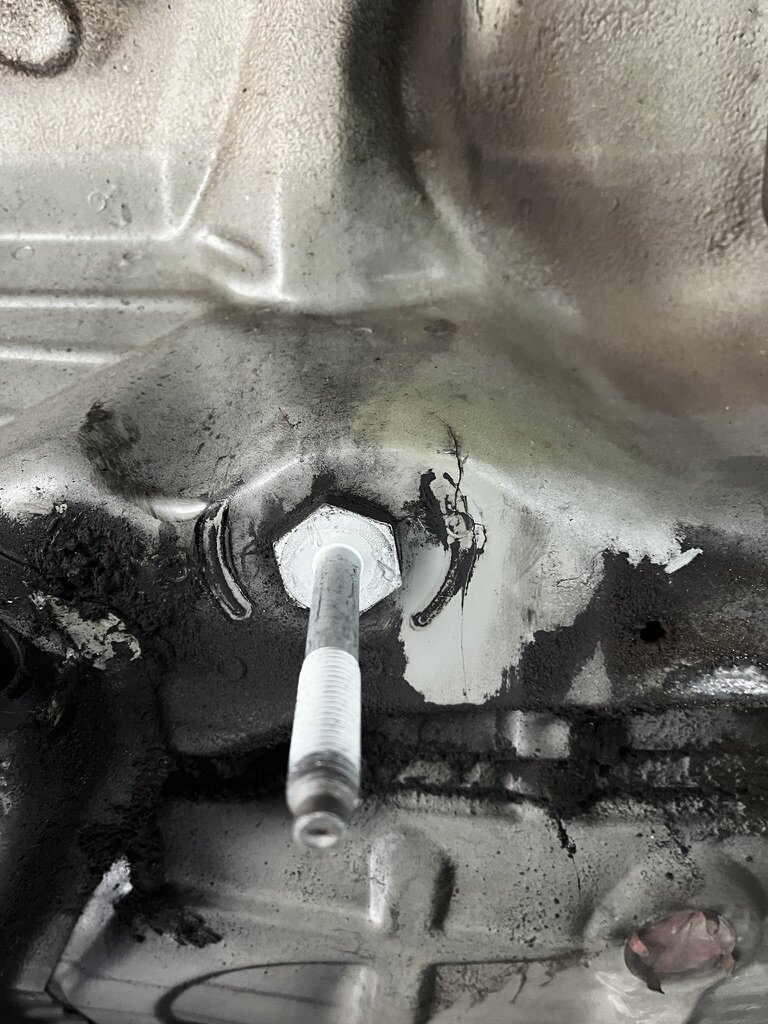
The state of my RACP, front right mount first - not too bad, but 1 spot weld clearly failed and a fatigue crack spreading from it - this is from the subframe bush impacting the RACP (note the half-ish circle imprints on either side of the subframe mounting stud).

1723024946196.jpeg

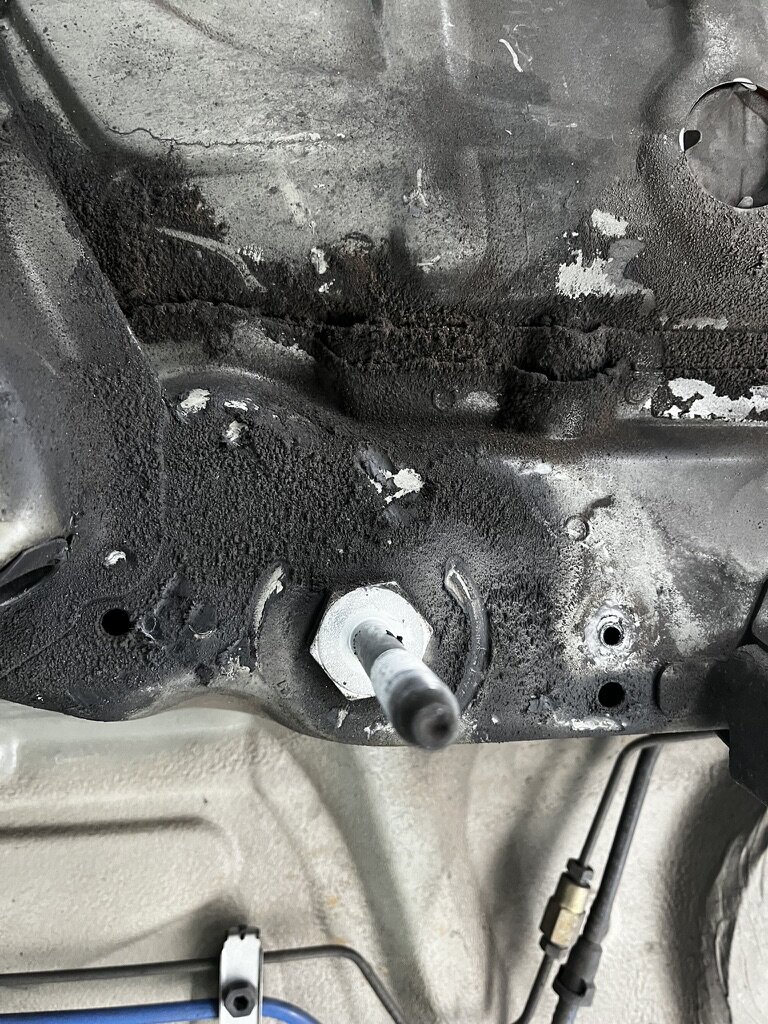
front left, looks good

1723025746866.jpeg

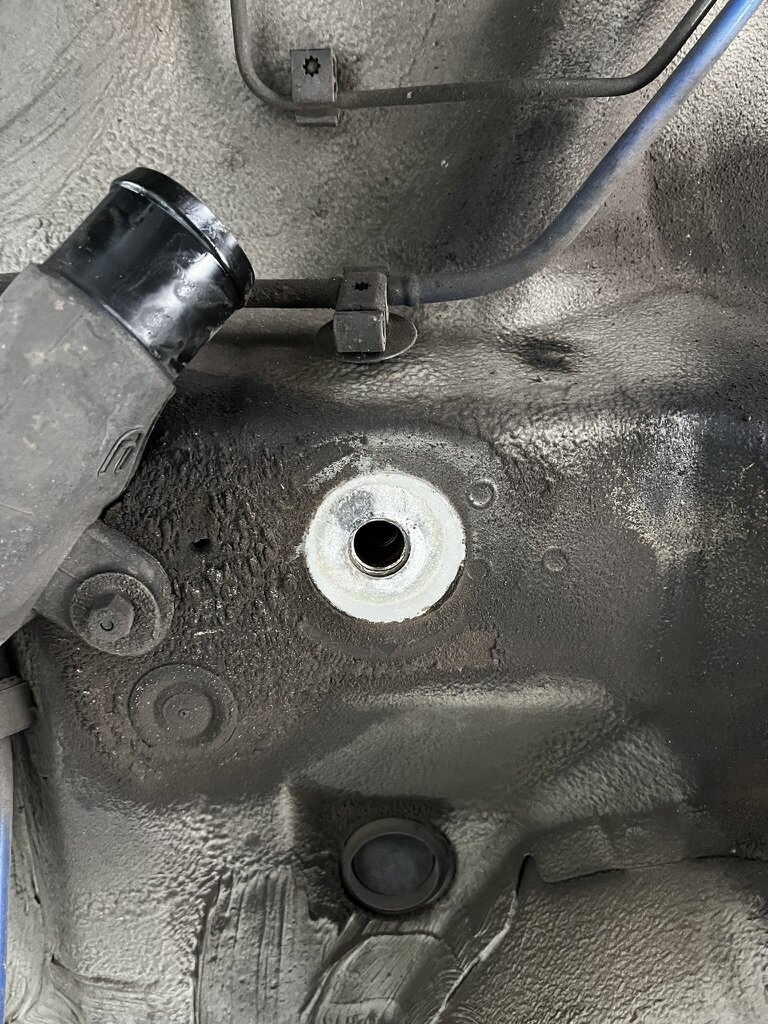
Next is the right rear (note the fuel tank feed line) - 0 damage.

1723025326731.jpeg

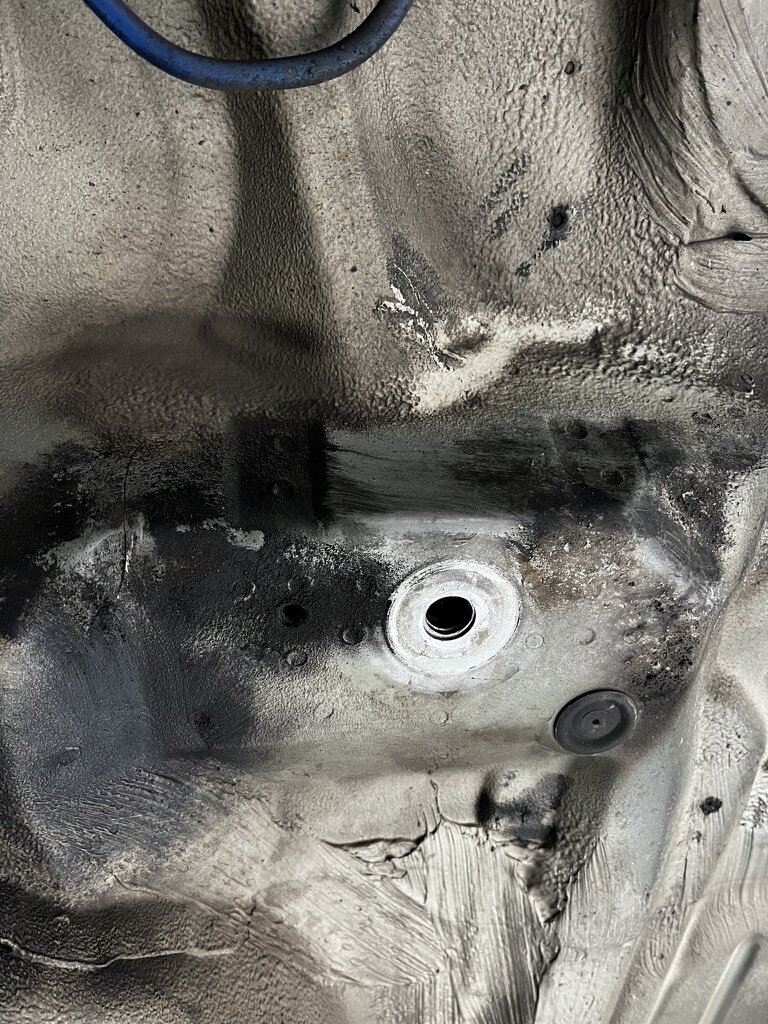
but the left rear has the classic fatigue crack in the fold of the sheet metal. The spot welds on the vertical section in front the stud mounting point look good as well.

1723025394840.jpeg

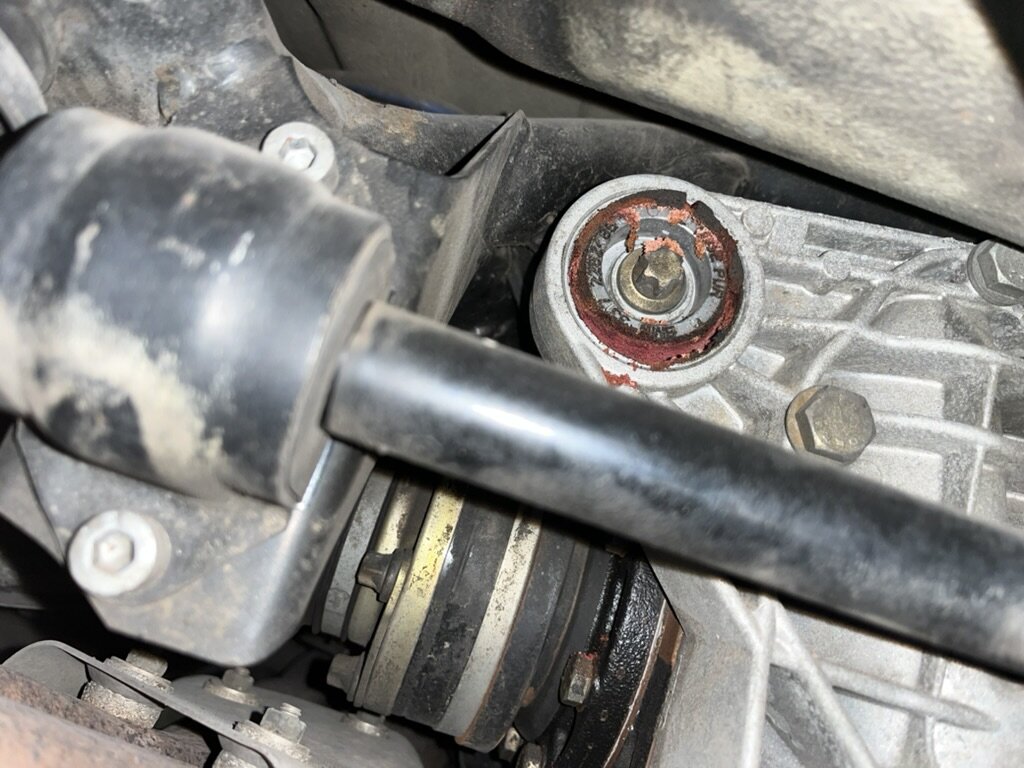
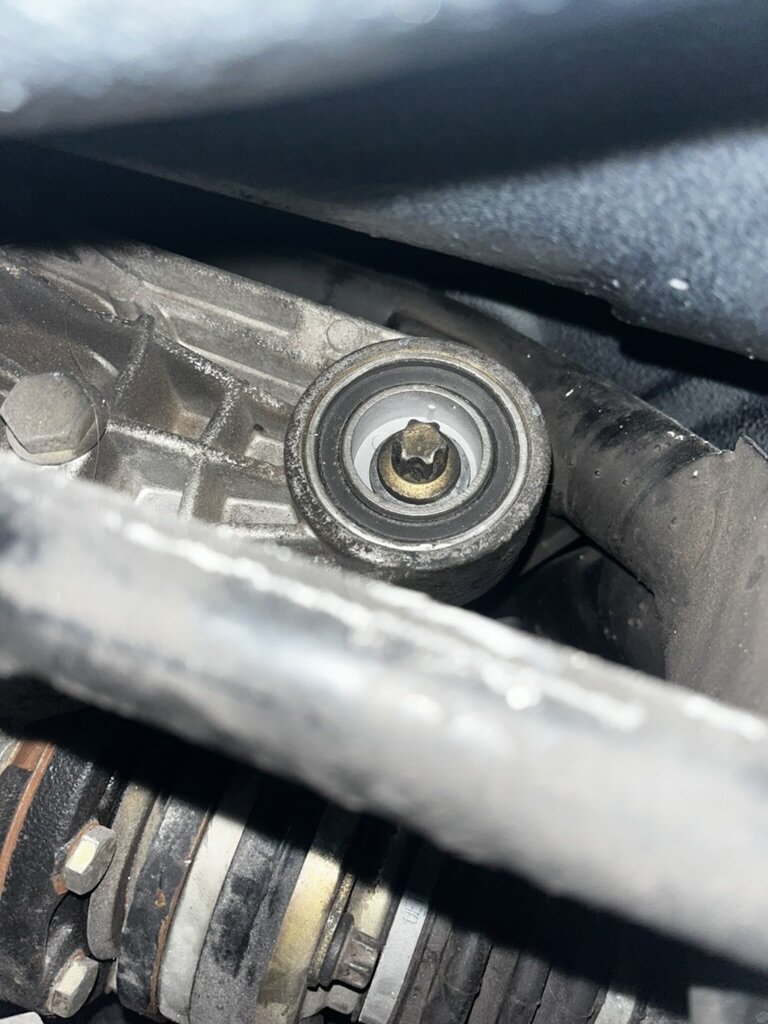
as a bonus, the state of the diff mounting bushings 🤣 the cork-like material has completely failed and there's probably 5mm at the bottom of the circle, in free play. Getting the car to the body shop like this was a nightmare - the noise if you mistimed a gear change by 1 microsecond.

1723026428025.jpeg
 

AlpineWeiss

New member
I'm not going to mention who I got the do the work as I'm not happy with them and will not be getting them to do similar work in the future. The kit from CMP comes with extensive instructions (which I printed and had bound for them) and for a bodyshop with tons of experience and a highly regarded name, I expected them to nail this. Also bodyshops that are tasked to repair 992 GT3 Cup Cars. And high end manufacturers like Ferrari. I told them time was not a constraint and I was upfront that I was willing to pay what it was going to cost, it just needed to be done right.

Safe to say, I had to spoon-feed them, visit them continually & do quality checks multiple times, continually prod them for information and tell them how to/ask them how they did repair cracks. This simple point of contention was around the need to stop drill the ends of the crack and weld the crack closed - they were adamant that you didn't have to stop drill the cracks. As someone with a degree in mechanical engineering, I've studied fatigue cycles in metal and how it is repaired and had to really push them to take my opinion seriously (also, watch a Reddish Motorsport video - it's how it's done). Not fun. I was aware this was not their speciality, but with ample time & my willing to pay, I did not expect this low level of workmanship & professionalism.

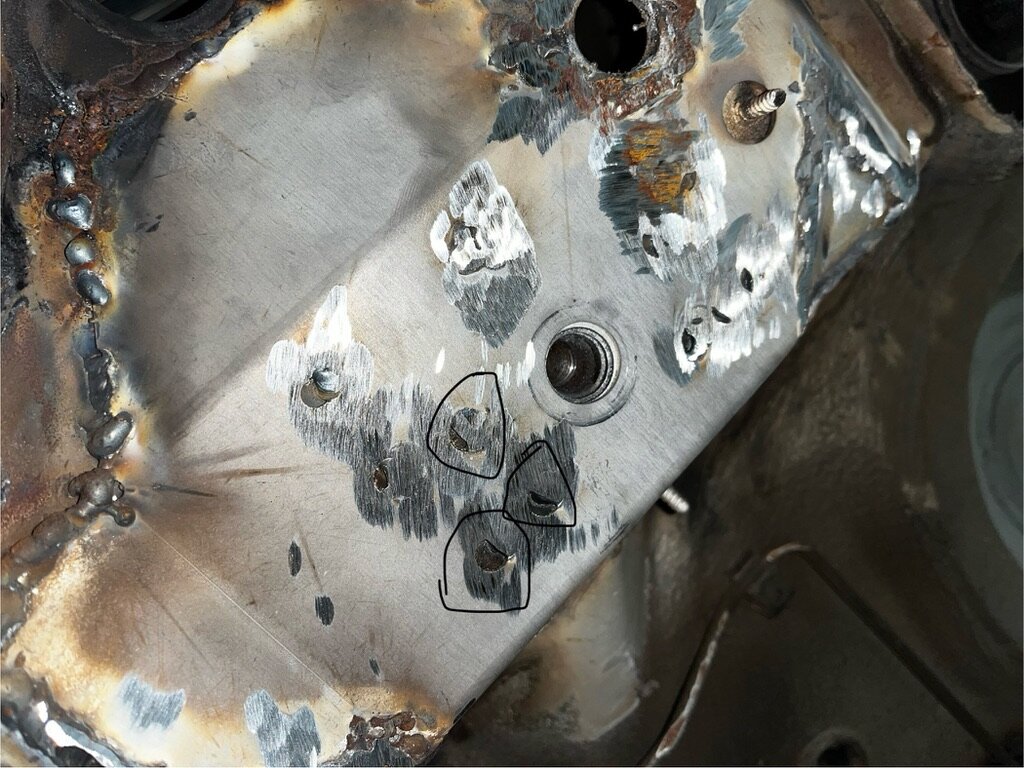
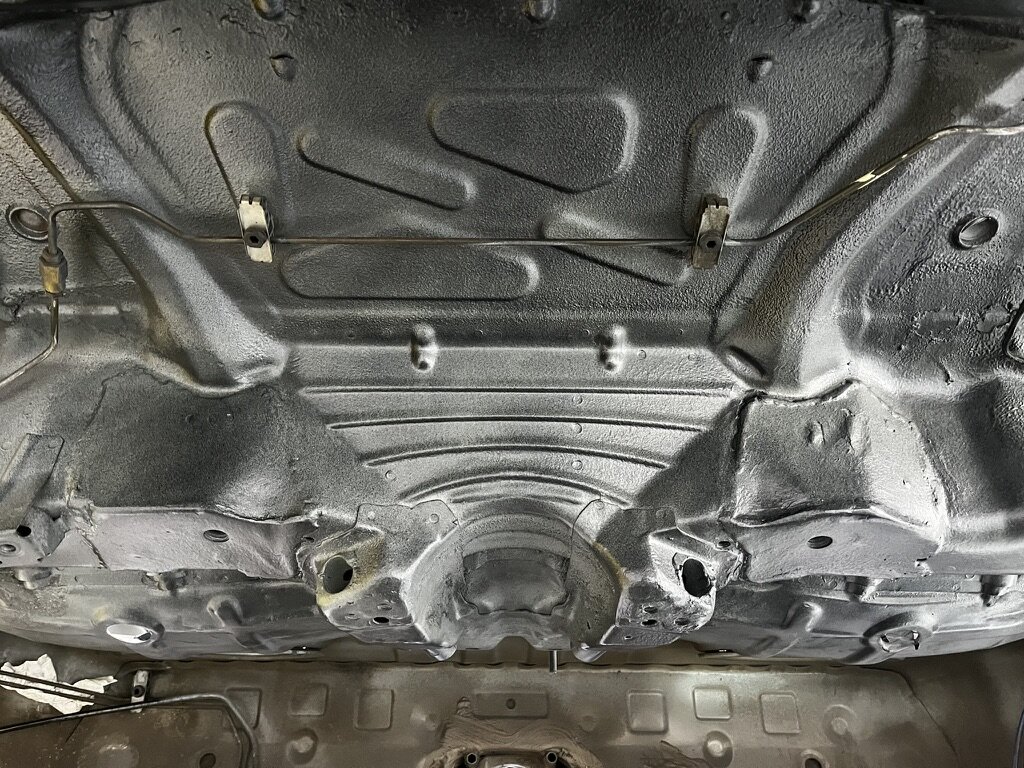
Once the repair started and welding kicked off, the real horror began. I'll drop a single picture (okay maybe 2) and that's it, but the quality of metal work & welding was appalling. I have connections to a company that produces licensed industrial cranes for the offshore market, a company which has many professional welders onsite and the feedback was that if an intern came and produced these welds, they'd be asked to not come back. Here's one of the plates, partly welded onto the underside of the RACP. Note the black circles where the pre-drilled holes have not been filled with the weld pool (indicating poor penetration) and the haphazard stop/start welding of the perimeter of the plate. The temperature of the welding was too high as well - note the extreme colours & evidence of burning metal.

1723027296112.jpeg

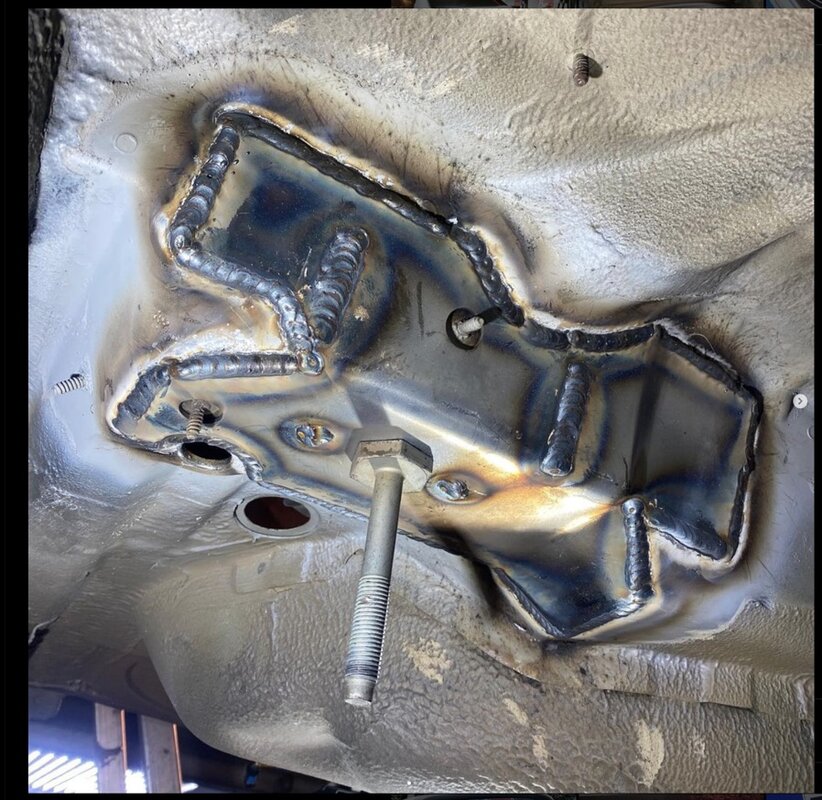
How a plate should be welded:

1723027457230.jpeg

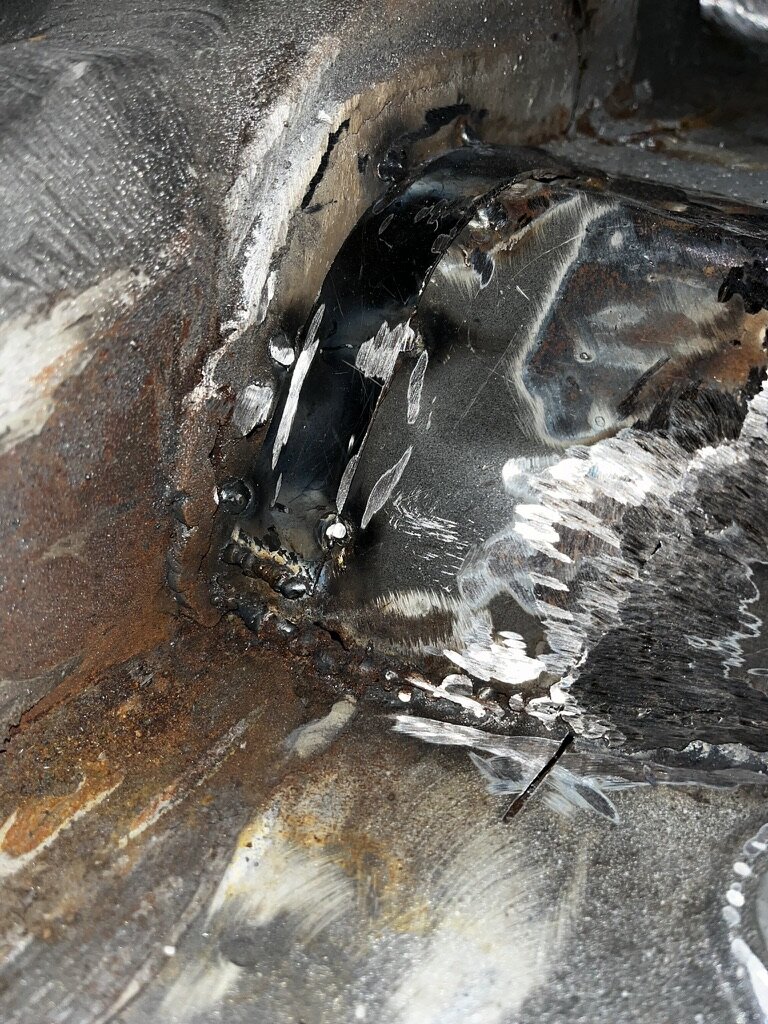
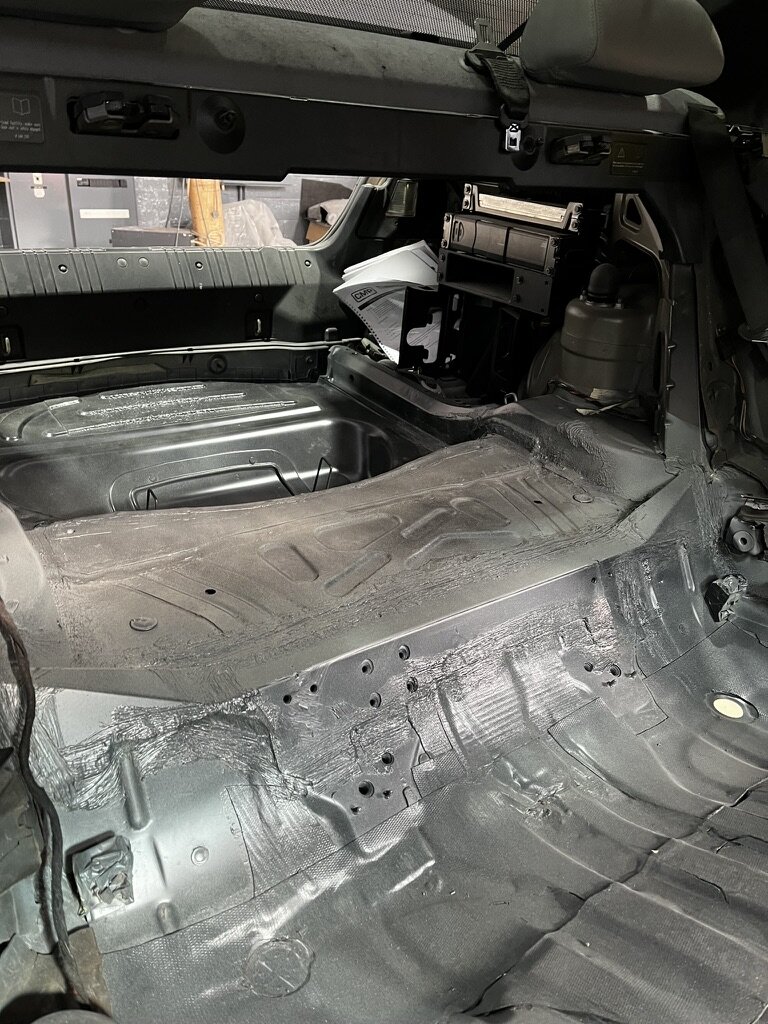
Just 1 more of the horror, now on the inside of the car - this is covering the plates the connect the chassis legs to the RACP underneath. WTF is going on in the bottom left of the picture. Seriously. Also, why is there a random cut in my floor????

1723027493866.jpeg

At this point I was stuck frozen. I wanted to run away with my car and somehow rescue the situation. But the way to do this was not clear. More relationship building time. I told them to stop working on the car (which they didn't) so I could make a plan.
 

M3boi

Well-known member
I'm not going to mention who I got the do the work as I'm not happy with them and will not be getting them to do similar work in the future. The kit from CMP comes with extensive instructions (which I printed and had bound for them) and for a bodyshop with tons of experience and a highly regarded name, I expected them to nail this. Also bodyshops that are tasked to repair 992 GT3 Cup Cars. And high end manufacturers like Ferrari. I told them time was not a constraint and I was upfront that I was willing to pay what it was going to cost, it just needed to be done right.

Safe to say, I had to spoon-feed them, visit them continually & do quality checks multiple times, continually prod them for information and tell them how to/ask them how they did repair cracks. This simple point of contention was around the need to stop drill the ends of the crack and weld the crack closed - they were adamant that you didn't have to stop drill the cracks. As someone with a degree in mechanical engineering, I've studied fatigue cycles in metal and how it is repaired and had to really push them to take my opinion seriously (also, watch a Reddish Motorsport video - it's how it's done). Not fun. I was aware this was not their speciality, but with ample time & my willing to pay, I did not expect this low level of workmanship & professionalism.

Once the repair started and welding kicked off, the real horror began. I'll drop a single picture (okay maybe 2) and that's it, but the quality of metal work & welding was appalling. I have connections to a company that produces licensed industrial cranes for the offshore market, a company which has many professional welders onsite and the feedback was that if an intern came and produced these welds, they'd be asked to not come back. Here's one of the plates, partly welded onto the underside of the RACP. Note the black circles where the pre-drilled holes have not been filled with the weld pool (indicating poor penetration) and the haphazard stop/start welding of the perimeter of the plate. The temperature of the welding was too high as well - note the extreme colours & evidence of burning metal.

View attachment 24167

How a plate should be welded:

View attachment 24168

Just 1 more of the horror, now on the inside of the car - this is covering the plates the connect the chassis legs to the RACP underneath. WTF is going on in the bottom left of the picture. Seriously. Also, why is there a random cut in my floor????

View attachment 24171

At this point I was stuck frozen. I wanted to run away with my car and somehow rescue the situation. But the way to do this was not clear. More relationship building time. I told them to stop working on the car (which they didn't) so I could make a plan.

Been looking forward to this update Gerry, sorry to hear you had such a bad experience with that body shop. That really does look appalling :(
 
Last edited:

AlpineWeiss

New member
So after a week, I had a plan. I connected with a friend of a friend of a friend in my network, someone who specialises in metal fabrication - an artisan. I visited the bodyshop with said artisan and had the professional inspect the situation. Remember when I said I told them to stop working on the car? Well, when we arrived more metal work had been done (and a man with an angle grinder was under the car??). Said professional agreed with me on the low quality of workmanship, but also that the project was too far gone to uproot and start over. We had to give them objective feedback to improve their work, to best rescue the situation. Also, with the amount of scaffolding going into the car, the artisan was confident that even poor workmanship could be accounted for.

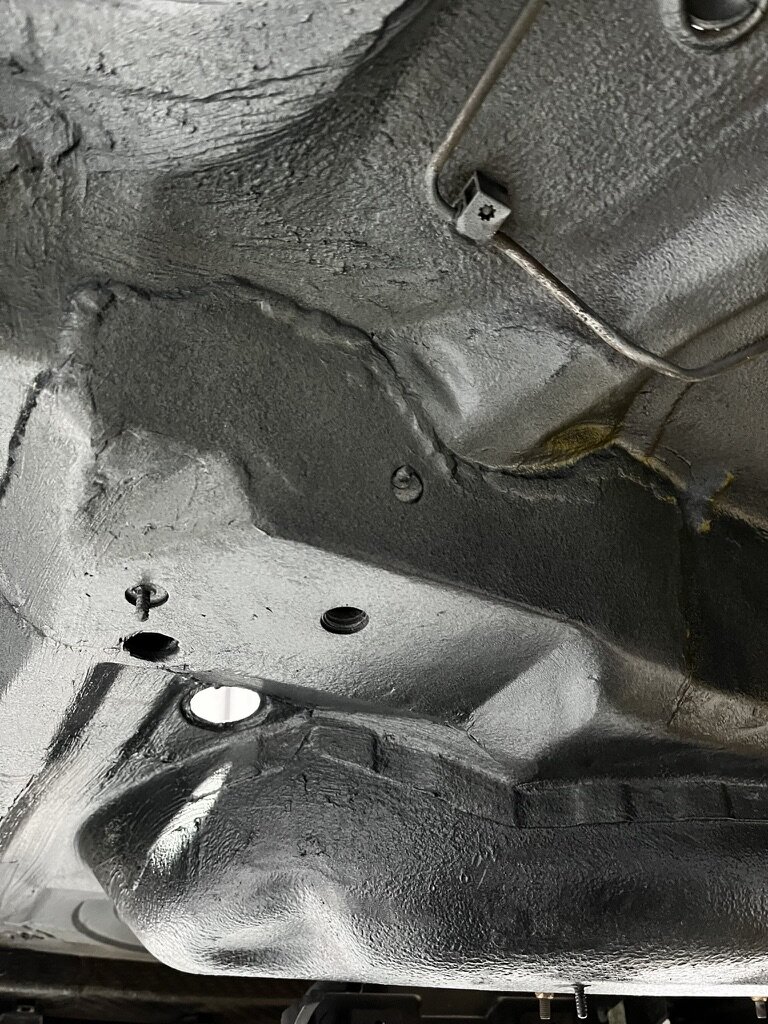
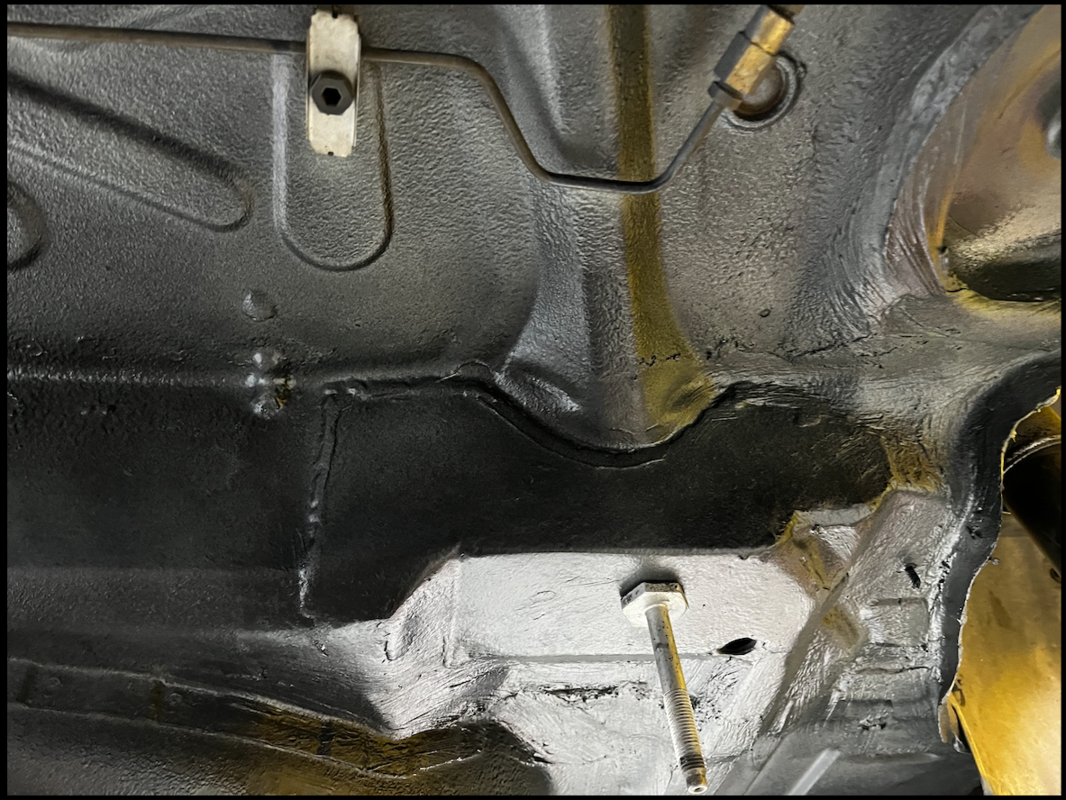
So fast forward a few weeks, more visits to the body shop, me pointing out welds that had to be re-done and pointing out missed details, here we are. The front two mounting points with plates installed

1723028120847.jpeg
and rear two mounts

1723028155570.jpeg


Screenshot 2024-08-07 at 12.57.34 PM.png

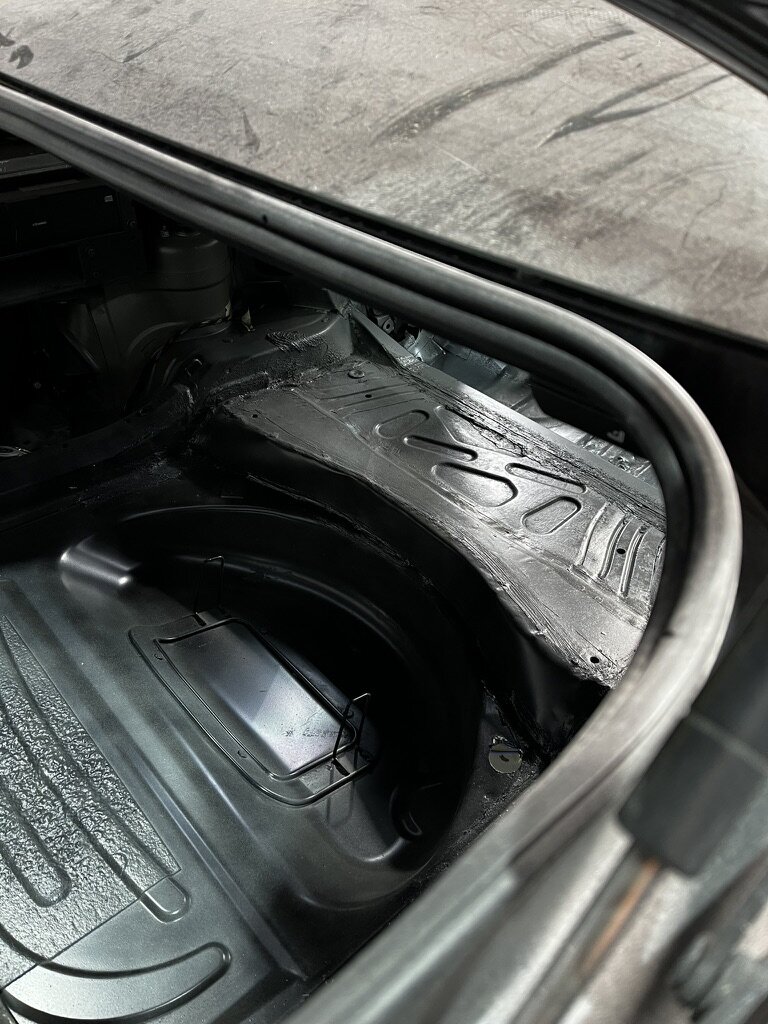
and a peep inside!! Here's the rear beam installed, and tidied up extensively 😅

1723028377489.jpeg

and the front beam installed (that mimics the E46 touring) - note the bound instructions hiding in the rear of the boot

1723028432659.jpeg

not too bad eh? Yes, I didn't sleep well for +-2 weeks thinking about this palaver.

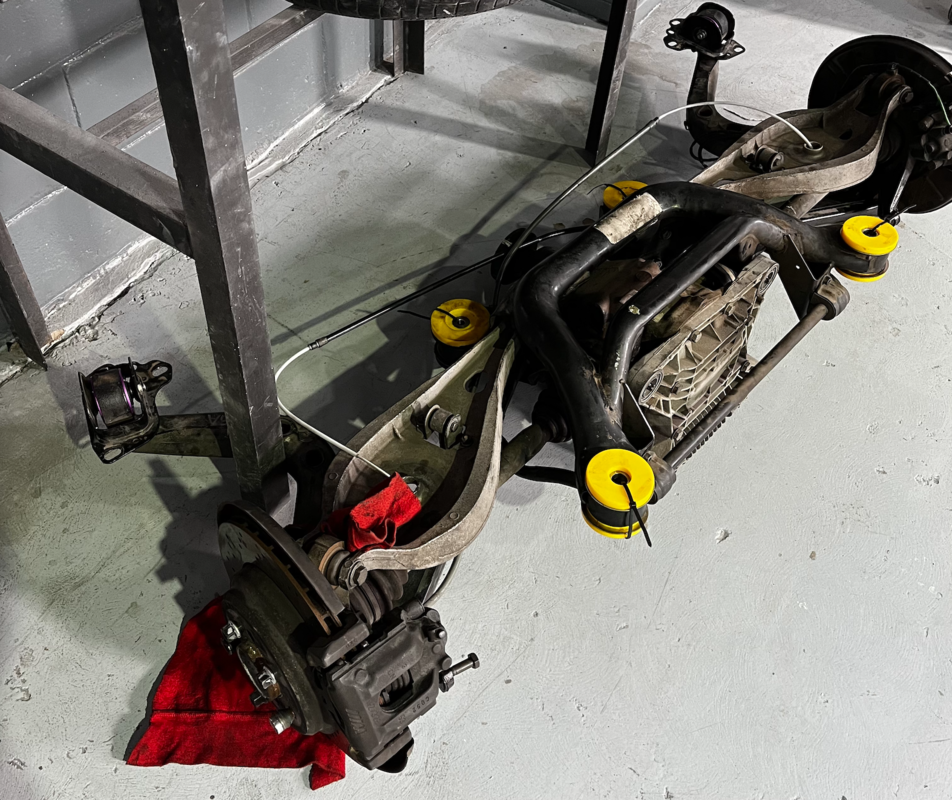
While I was in there, I added CMP (look for the pink) monoball rear trailing arm bushes (RTAB), Powerflex street (yellow) subframe bushes and 3x OEM differential mounting bushes.

Screenshot 2024-08-07 at 1.09.22 PM.png

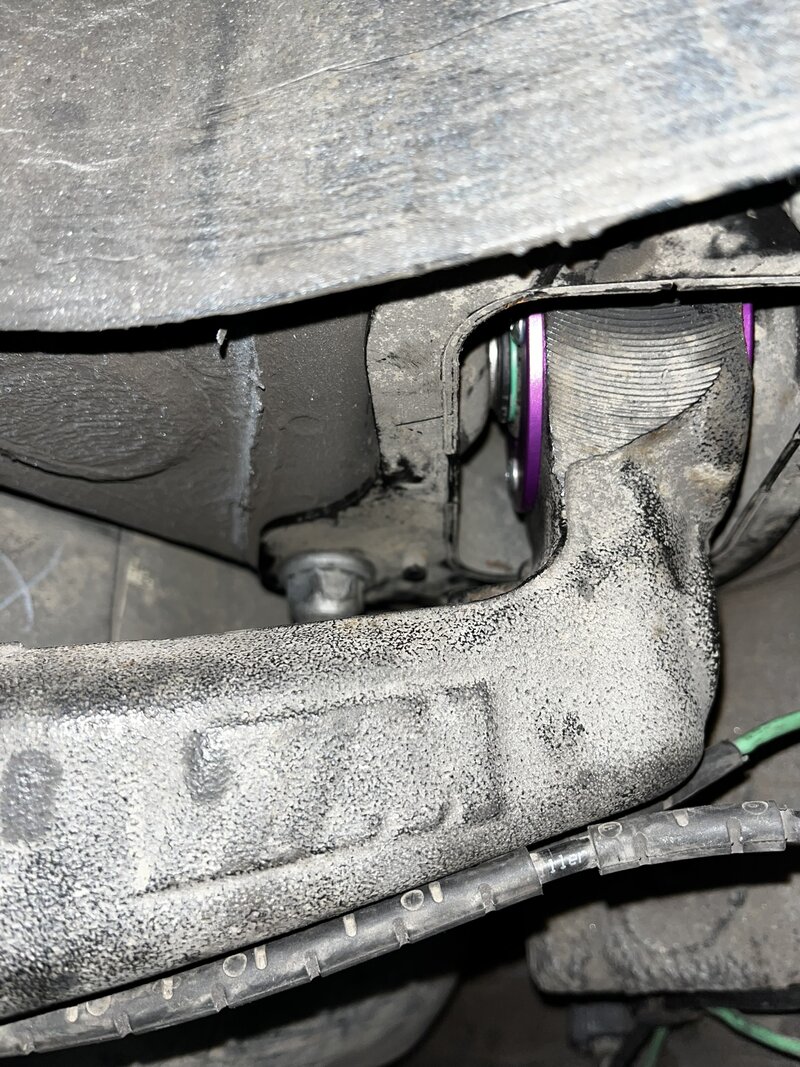
The CMP monoball RTAB in place below 😍 I wanted monoball instead of rubber as this bush is required to move in more than 1 degree of freedom and rubber is not quite up to the task. Also, the M3 used to catch uneven road surfaces and get some fairly solid rear steer. I noticed this one day when driving on a road where one lane had been resurfaced and the other not - crossing over between made the car feel like it had 5 degrees of steering angle on the rear wheels 🤣 safe to say, the monoball transforms the way the rear end feels.

1723029341882.jpeg

The new OEM diff mount bushes (or at least, 1 of them). Go have a look at the old one 🤣

1723029119470.jpeg
 
Last edited:

TBP88

Well-known member
I'm not going to mention who I got the do the work as I'm not happy with them and will not be getting them to do similar work in the future. The kit from CMP comes with extensive instructions (which I printed and had bound for them) and for a bodyshop with tons of experience and a highly regarded name, I expected them to nail this. Also bodyshops that are tasked to repair 992 GT3 Cup Cars. And high end manufacturers like Ferrari. I told them time was not a constraint and I was upfront that I was willing to pay what it was going to cost, it just needed to be done right.

Safe to say, I had to spoon-feed them, visit them continually & do quality checks multiple times, continually prod them for information and tell them how to/ask them how they did repair cracks. This simple point of contention was around the need to stop drill the ends of the crack and weld the crack closed - they were adamant that you didn't have to stop drill the cracks. As someone with a degree in mechanical engineering, I've studied fatigue cycles in metal and how it is repaired and had to really push them to take my opinion seriously (also, watch a Reddish Motorsport video - it's how it's done). Not fun. I was aware this was not their speciality, but with ample time & my willing to pay, I did not expect this low level of workmanship & professionalism.

Once the repair started and welding kicked off, the real horror began. I'll drop a single picture (okay maybe 2) and that's it, but the quality of metal work & welding was appalling. I have connections to a company that produces licensed industrial cranes for the offshore market, a company which has many professional welders onsite and the feedback was that if an intern came and produced these welds, they'd be asked to not come back. Here's one of the plates, partly welded onto the underside of the RACP. Note the black circles where the pre-drilled holes have not been filled with the weld pool (indicating poor penetration) and the haphazard stop/start welding of the perimeter of the plate. The temperature of the welding was too high as well - note the extreme colours & evidence of burning metal.

View attachment 24167

How a plate should be welded:

View attachment 24168

Just 1 more of the horror, now on the inside of the car - this is covering the plates the connect the chassis legs to the RACP underneath. WTF is going on in the bottom left of the picture. Seriously. Also, why is there a random cut in my floor????

View attachment 24171

At this point I was stuck frozen. I wanted to run away with my car and somehow rescue the situation. But the way to do this was not clear. More relationship building time. I told them to stop working on the car (which they didn't) so I could make a plan.
Name and shame, that's horrible :( Sorry dude.
 

AlpineWeiss

New member
So, the situation was rescued (eventually) and then it was time for the car to come home. Oh wait, they forgot to paint & seam seal something, so that had to be done before it was time to come home. Safe to say that was one of the most stressful undertakings of my adult life, but came out of it with 75% of what I wanted, new relationships & a path forward for anyone looking to do this in the future. My initial considerations were either:
1. Get the job done at mechanic's shop - get them to strip the rear end, have the car on the lift for a while, hire a freelance welder (who'd be competent) and then figure out paint/seam sealing/cavity waxing on the fly, and then have the mechanic reassemble. Downsides were you'd need a shop with space & who'd be happy to have the car on the lift for say 2 weeks, but most importantly that the painting of the underside would be the potential weakest link in the job. But since SA has very moderate weather, and lots of M cars sleeping during winter, maybe this wouldn't be such a big deal. Also, we don't experience the corrosion that UK & US based cars do.
2. Get a body shop to do the entire job. They have mechanics right? Lifts? Check. Experienced welders? Sure, they don't stitch-weld race cars all day, but surely a competent in MiG/TiG operator? And they'd be able to dress the job the nicely once done, and rust surely wouldn't be a concern going forward into the future. Enjoy the car in the wet if you're so inclined.

I ended up going with option 2 because of fear and wanting to rely on someone experienced in the industry/task. But what I've learnt is Reddish Motorsport is not in South Africa, quality workmanship is hard to come by and similar to home renovations, you need to hire an expert for each phase of the job, if no expert exists for the entire project, and project manage it yourself. I should've known that an external person won't manage the entire project to your standards - you need to get involved.

So how I'd do it going forward is:
1. Get the car stripped by a mechanic, and have a trolley to be able to transport the car.
2. Get an experienced artisan in to do the metal work/fabrication.
3. Get the car off to a restoration-type body shop - think a body shop that focusses on classics/restorations.
4. Get the car back to the mechanic to reassemble.

This all sounds complicated, and it is. But if you have the right team/facilities lined up, it can be fairly straightforward. And completed to a sufficient level of detail, without having to install grey hairs or have your wallet extorted. The job is not that complicated, there are just lots of moving parts and unknowns. Through the process I've learnt who these people are, where they're based and am keen to try this whole process again. TO THE LEVEL OF QUALITY I DEEM SATISFACTORY. I think I've learnt enough in this process to be able save someone a ton of headaches, money and get the job done right. Small things you know? Like BMW not selling E46 M3 rear diff mount bushings, only the entire cover with the bushes pre-installed at $260?!?! There is another BMW that uses the same bushes, which are available from Goldwagen and cost +-R600 for the pair. That solid/poly subframe bushes don't affect the NVH much, but that diff mount bushings do (since they can isolate the drive line shock/vibration from the car body). Where to look for cracks, what parts of the RACP repair is non-negotiable to get 100% right etc.

Oh, and cost you ask? This job cost me R36500, ex-vat - the ex-vat part I think this was the bodyshop trying to make amends and somehow give me a "discount". So that's R42k for other mortals, just for disassembly, metal work, paint & reassembly. When I showed the fabricator the car when it was still at the body shop and after we went through the CMP install instructions, his estimate was less than R10k for a weeks worth of (QUALITY) metal work. Then I'd want the entire underside of the car degreased & cleaned, plates seam sealed and blown over with fresh paint. I think we can get it done for less that I payed and at a much higher level of quality, with 1/10th of the stress for all parties. Also, nicely documented for the owner? I received 1 photo from the body shop. 1

Well, with all the new bushings and having the worry of the RACP falling out no longer being present, the first drive was a hoot. The rear end felt SO responsive, I was blown away. And wow, old tires are a hazardous. Just on the "relaxed" test drive (DSC off you say? Is that relaxed to you?) around the industrial park at the body shop, the car wanted to sideways & nearly bit me. She's got more torque than a M54 320i, that's for sure. But what a feeling!

Here she is, getting the first fill-up in a while (3 years?!?)
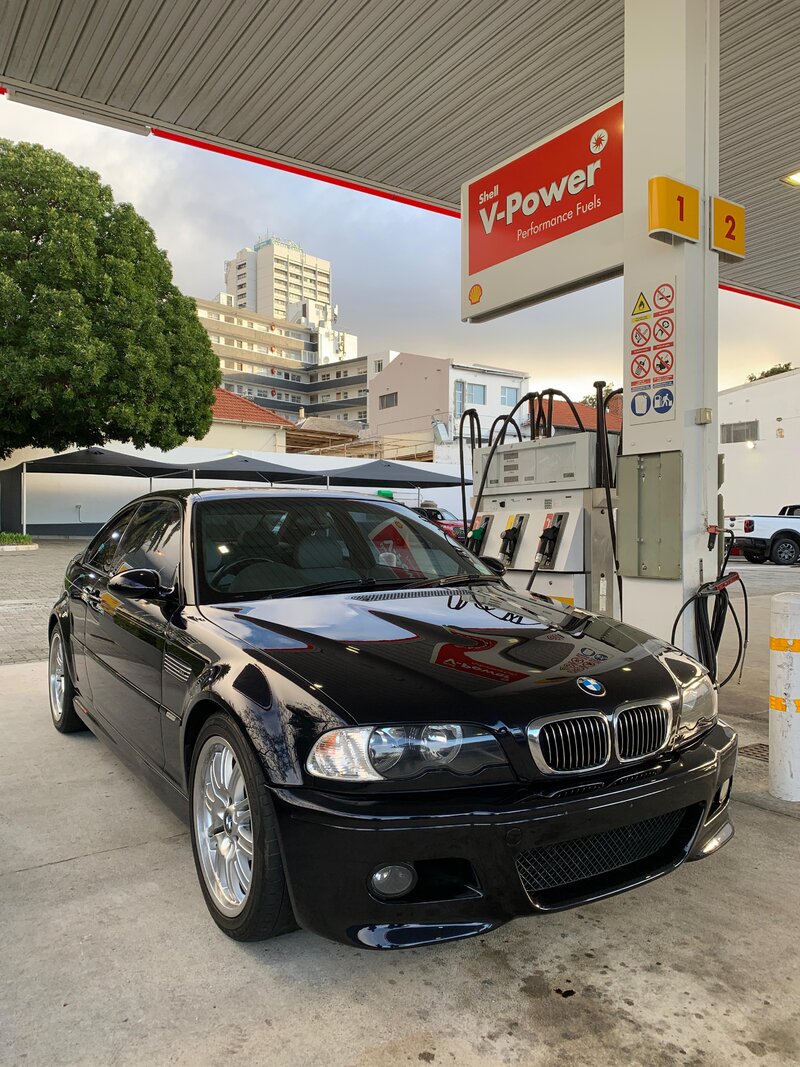
first_fill_up.jpeg
 
Last edited:

AlpineWeiss

New member
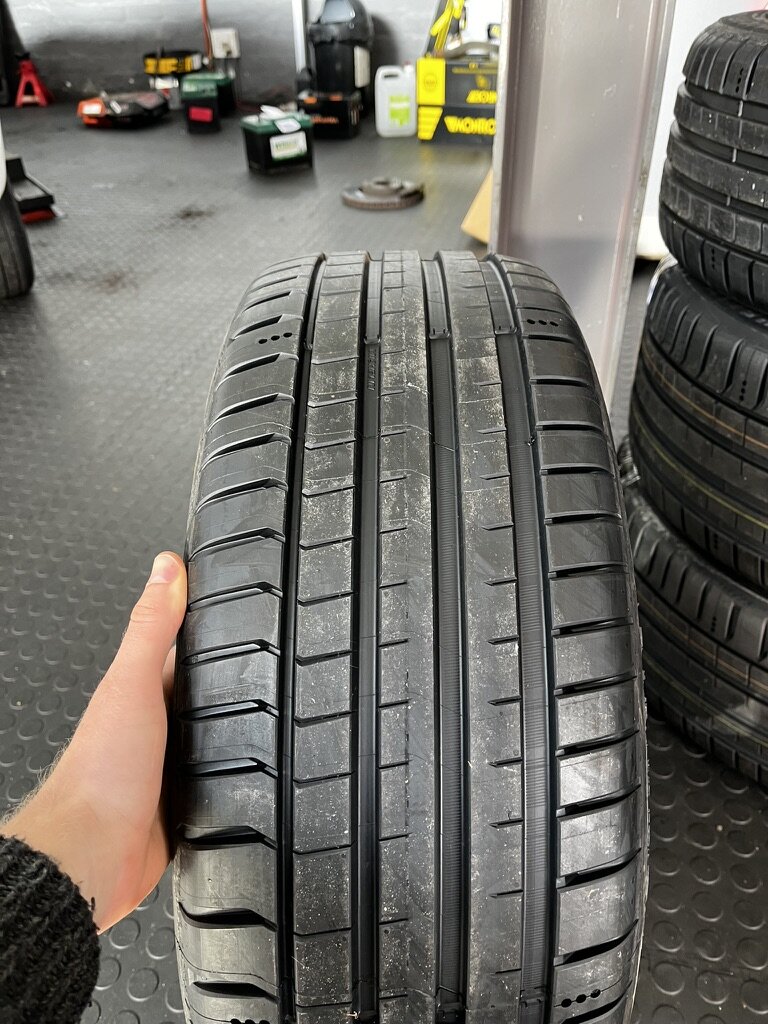
Next up is replacing the old rubber bits to restore the car to an OEM/OEM+ driving experience. Started off replacing the biggest piece of rubber in the car - the ancient Falken's with a set of . . .
1723035724235.jpeg
 

tyronejames

///Member
where are you planning to get them installed?
I was Reffered to Kings Auto body in Killarney gardens. I haven't done it yet. Reading this just made me a whole lot more scared. The car hardly moves due to time but really need to get it done before summer. I would like to go the option 2 route you suggest, but I simply don't have the time.
 
Top