-
Read the WELCOME ALL BMWFANATICS post.
You are using an out of date browser. It may not display this or other websites correctly.
You should upgrade or use an alternative browser.
You should upgrade or use an alternative browser.
The unexpected E36 328i find.
- Thread starter M3boi
- Start date
Oh shut up.Nott dangerous at all...
No wonder there are so many accidents on Franschoek Pass.
Reckless
You can clearly see these guys have chosen the time of day with the least amount of other road users present, what do you expect them to do for thrills? Attach wings to each door and rather fly over Table Mountain?
M3boi
Well-known member
M3boi
Well-known member
Oof that 3RS. Absolute dream car.
Was a bit squeaky bum when I saw the wet patches, especially with your RE71-RS and the likely Cup 2 on the 3RS.
71RS handled the wet patches really well! The guys on Cup2's did struggle a bit, but luckily no one pushing hard enough for it to be a real problem.
Leon
Member
Yeah Sure.....Oh shut up.
You can clearly see these guys have chosen the time of day with the least amount of other road users present, what do you expect them to do for thrills? Attach wings to each door and rather fly over Table Mountain?
Until you you hit innocent people from the back of even worse, head on head. Or someone on a bicycle.
There are race tracks you can enjoy.
No excuse for driving these speeds on a tight twisty public road with no run off area.
I lost friends on mountain passes, you think you are in control till you are not.
Buy a adventure bike and take the roads less travelled through the Tankwa.
922-ZN
Well-known member
After watching the footage, I tend to agree with you.Nott dangerous at all...
No wonder there are so many accidents on Franschoek Pass.
Reckless
M3boi
Well-known member
Ha, another update. Not one I necessarily wanted to do because the car was happy and running well. But it happened and just have to accept that stock components are not always going to be the best for what I do with this car.
Long story short, the radiator let go on my way home from a game of tennis and a sunset cruise with another E36 friend.
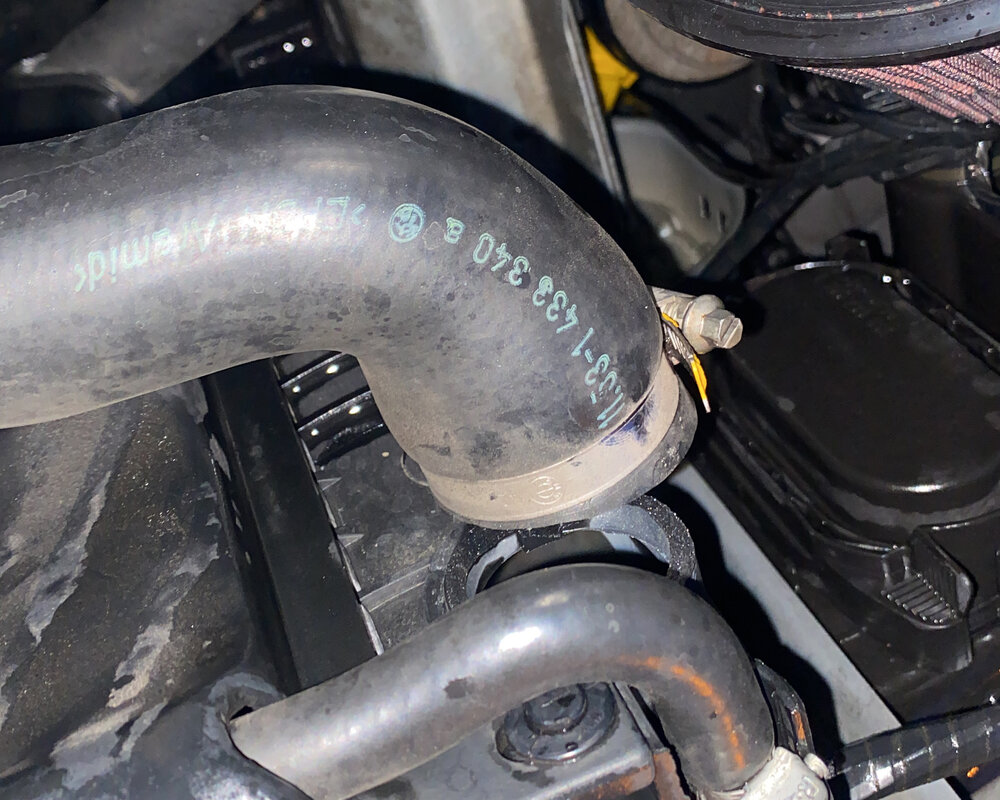
I hate wasting time, so got the car towed home that night and pulled the old radiator out the following day, and went to collect the new one.
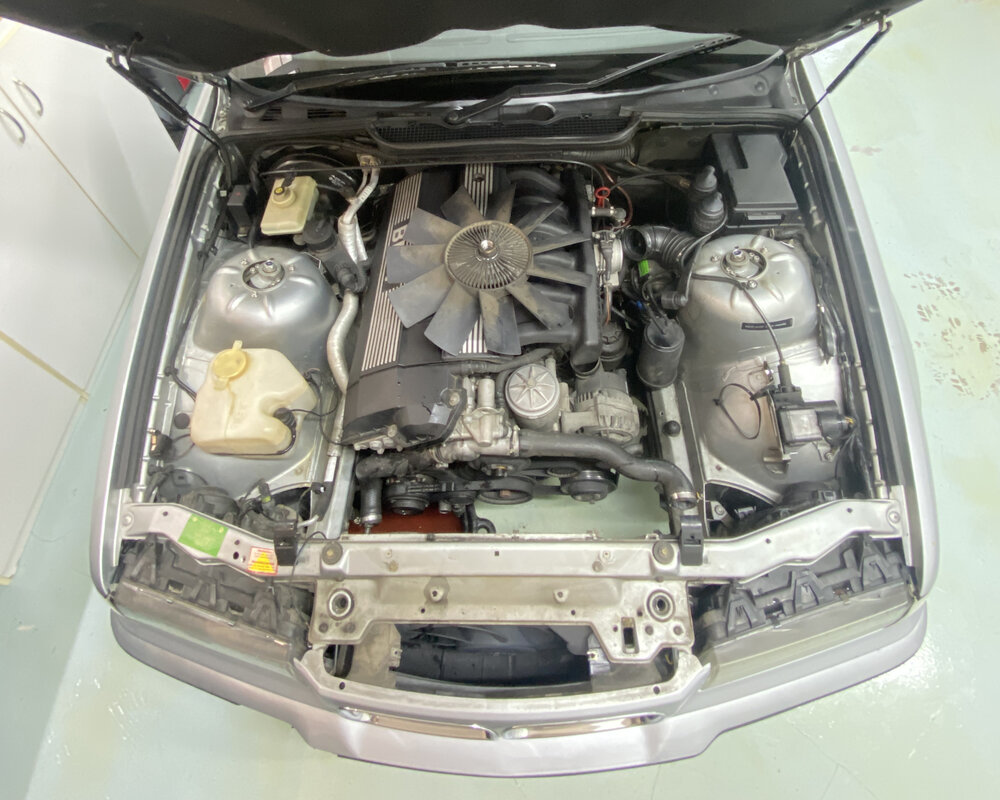
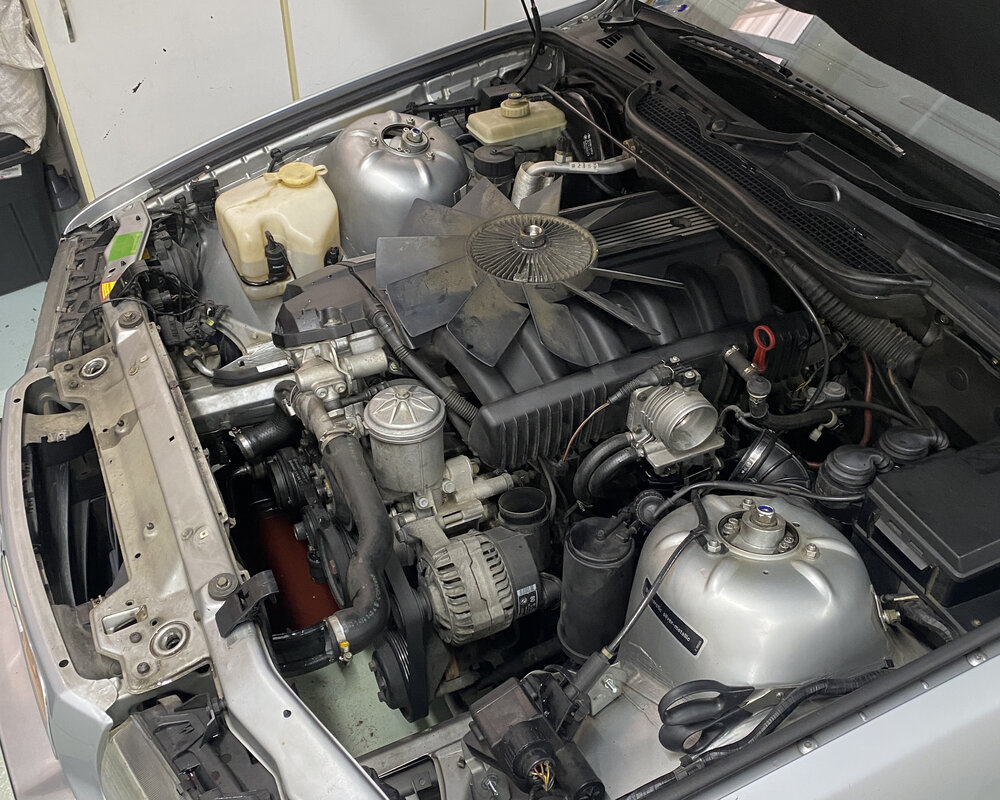
Stopped by NDT Racing:
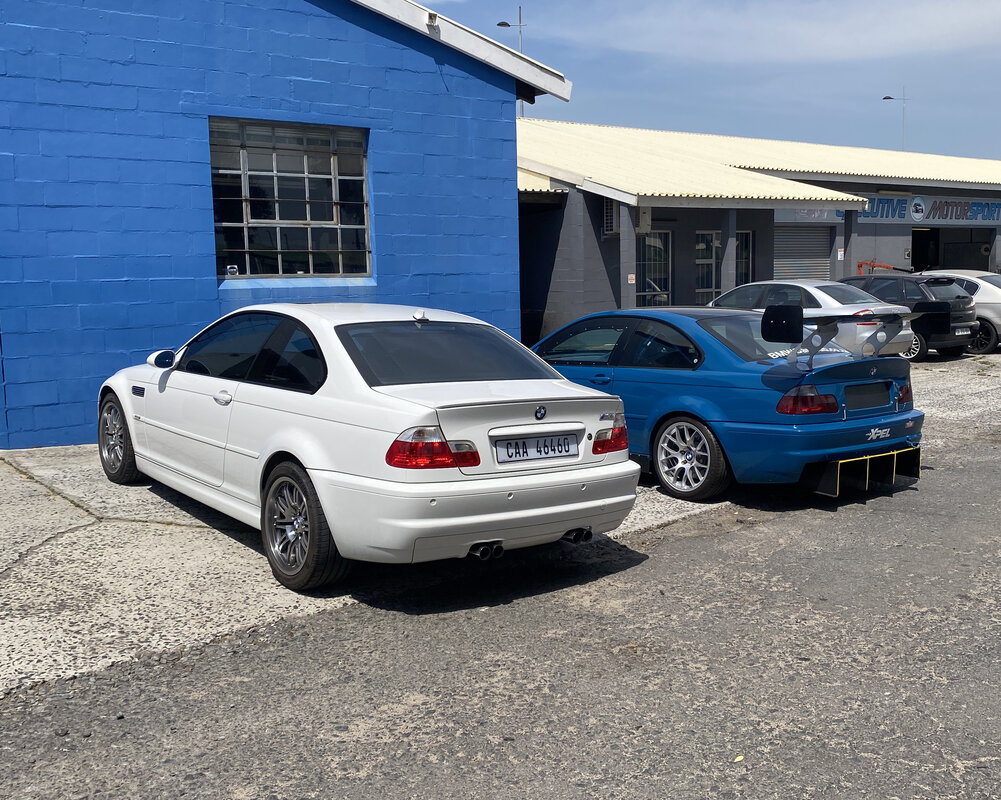
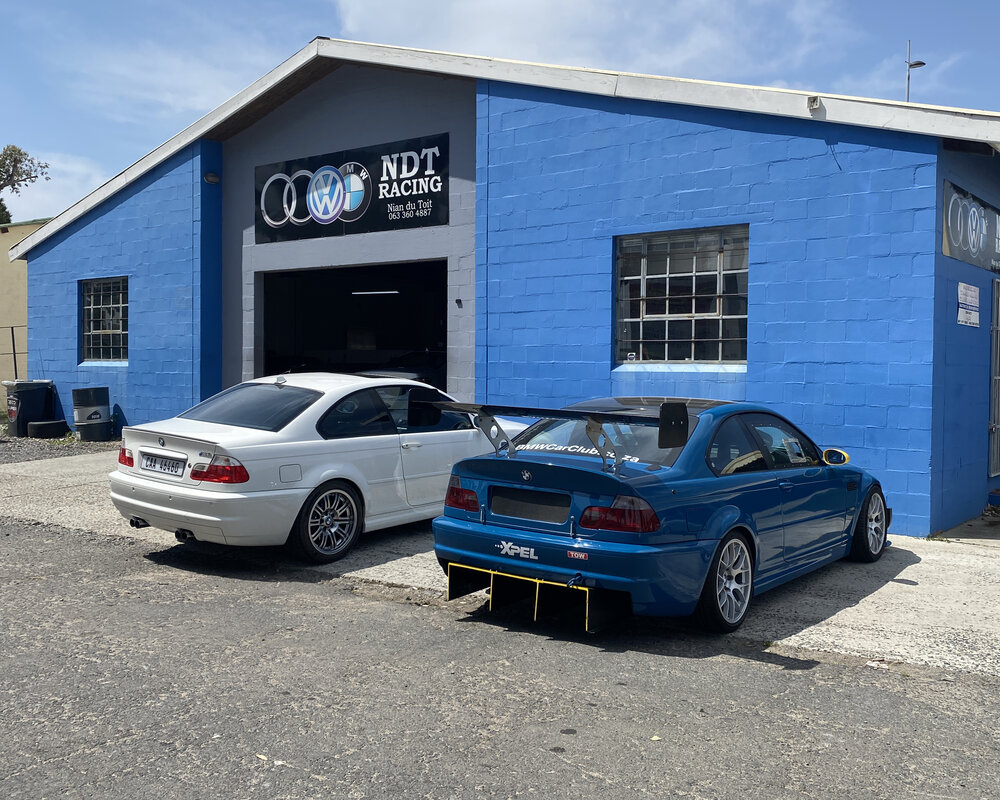
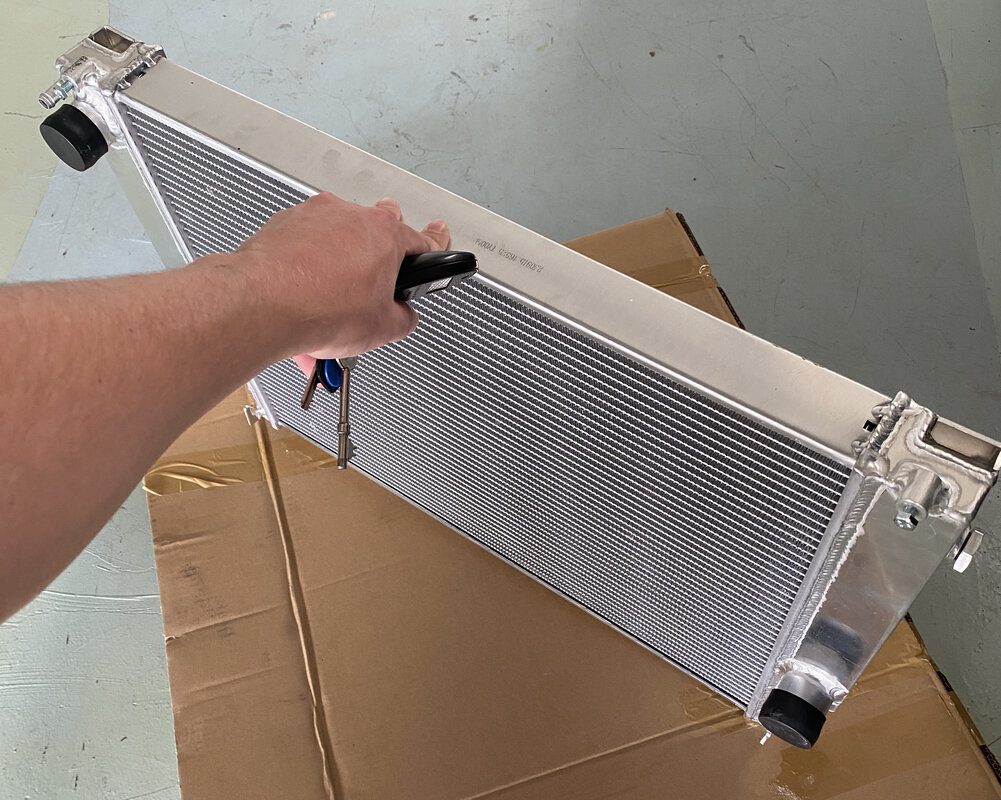
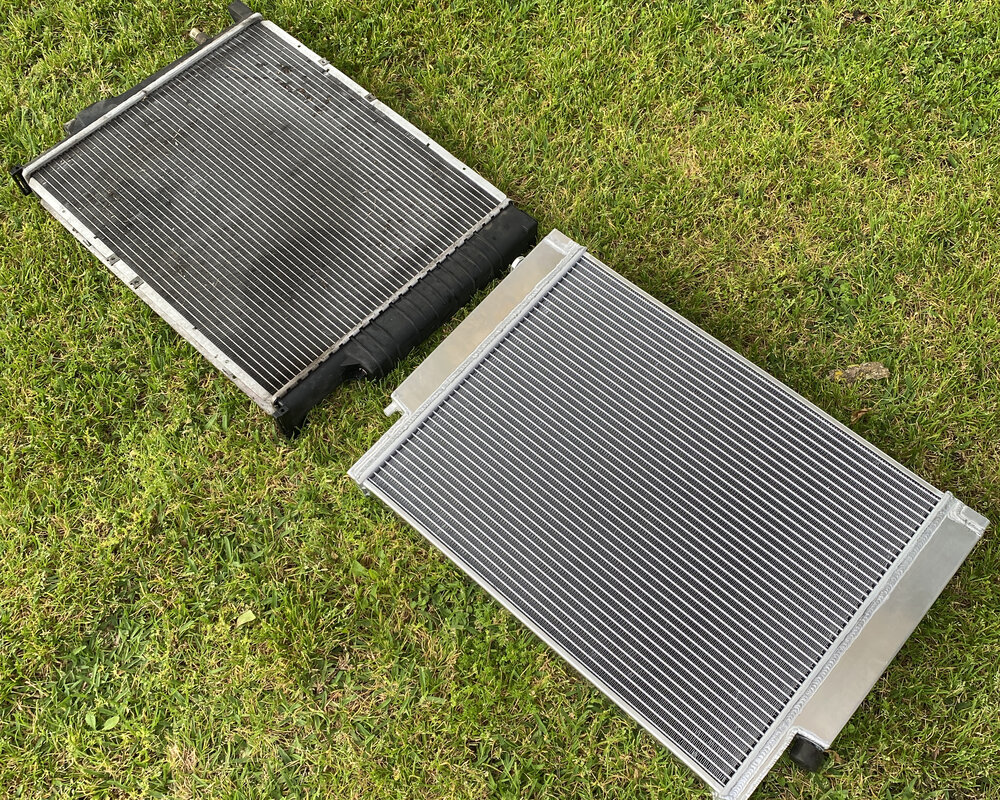
And picked up the new radiator, as well as a bunch of other parts to refresh the cooling system. There's obviously no point in replacing with stock components, so I opted for a bigger, full aluminium radiator to help keep the temps down and minimize the risk of another failure:
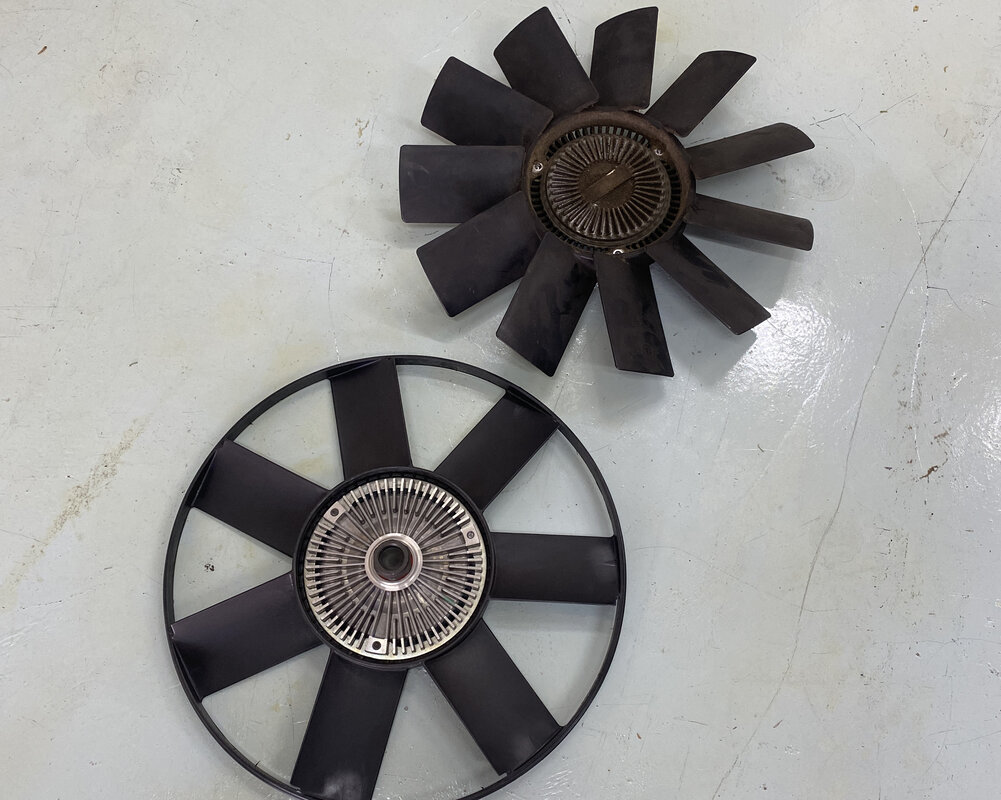
Changed the fan blade to a 325 TDS fan and replaced the viscous (which I ended up taking out and putting the OEM viscous back in). I'll do an electric fan at some stage but for now the viscous does a really great job of keeping the car cool.
The radiator was not just a bolt-in straight fit upgrade, I did have to do some modifications to the shroud to make it work because of the different sizing.
Took a bit of time but eventually got everything in, including ditching the stock coolant bottle and relocating the new VW coolant bottle to the passenger side of the engine bay. This is moves the bottle away from the stock location close to the exhaust manifolds, and simplifies the cooling system quite a bit in terms of the length of the coolant hoses, and make bleeding the system a breeze. They're also less prone to failing and pretty robust. I'll wire in the level sensor when I get a chance, just need to find a used pigtail and extend the harness for the plug and the level sensor will work like factory. Also ignore the ratchet intake.
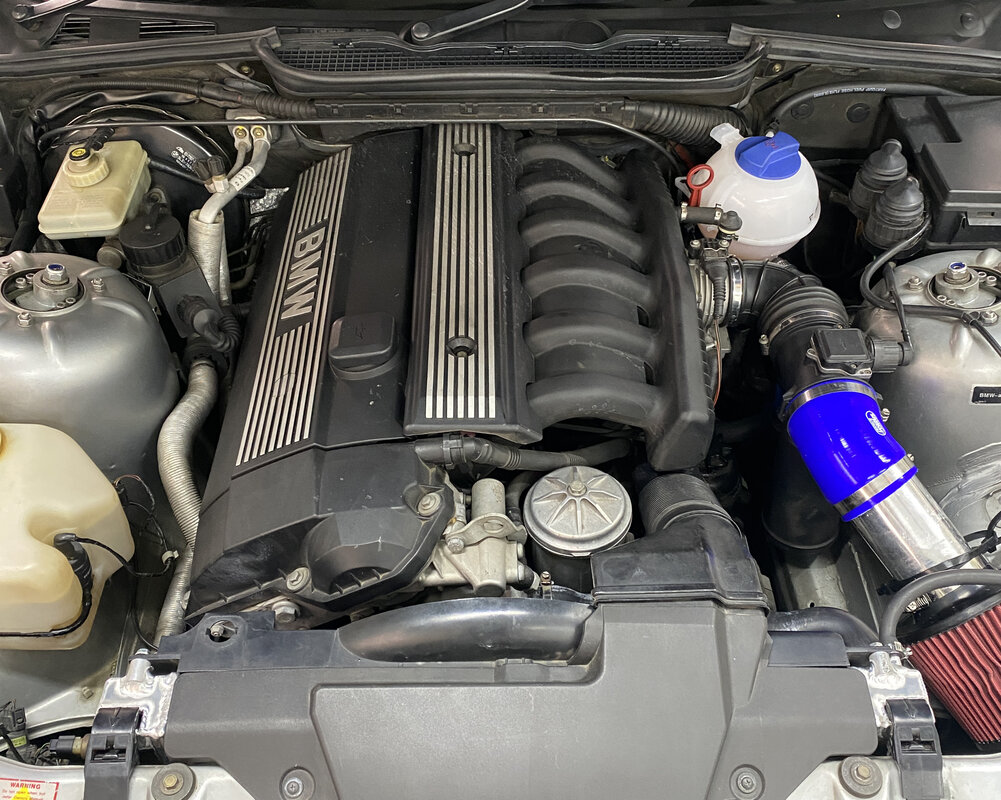
Went to bleed the system, but after an hour of trying it just wasn't bleeding and the lower hose was still cold. Time to pull everything apart again.
Pulled the thermostat housing off and boiled the thermostat. Guess what
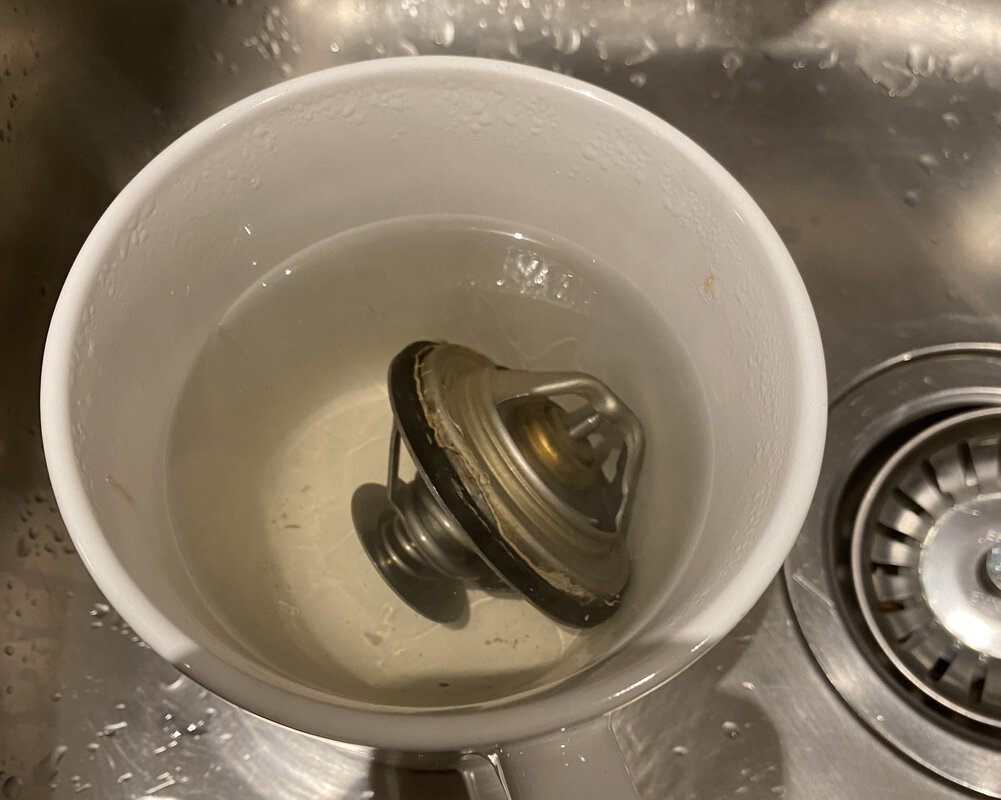
It didn't open. I'll assume this was the cause of the radiator popping.
Luckily I had a new aluminium thermostat housing and lower temp thermostat, so replaced those and put it back together again (didn't take pictures).
This time bleeding the system was a breeze, took 15-20 minutes and it was done.
The car stays super cool now and so far, no issues or leaks!
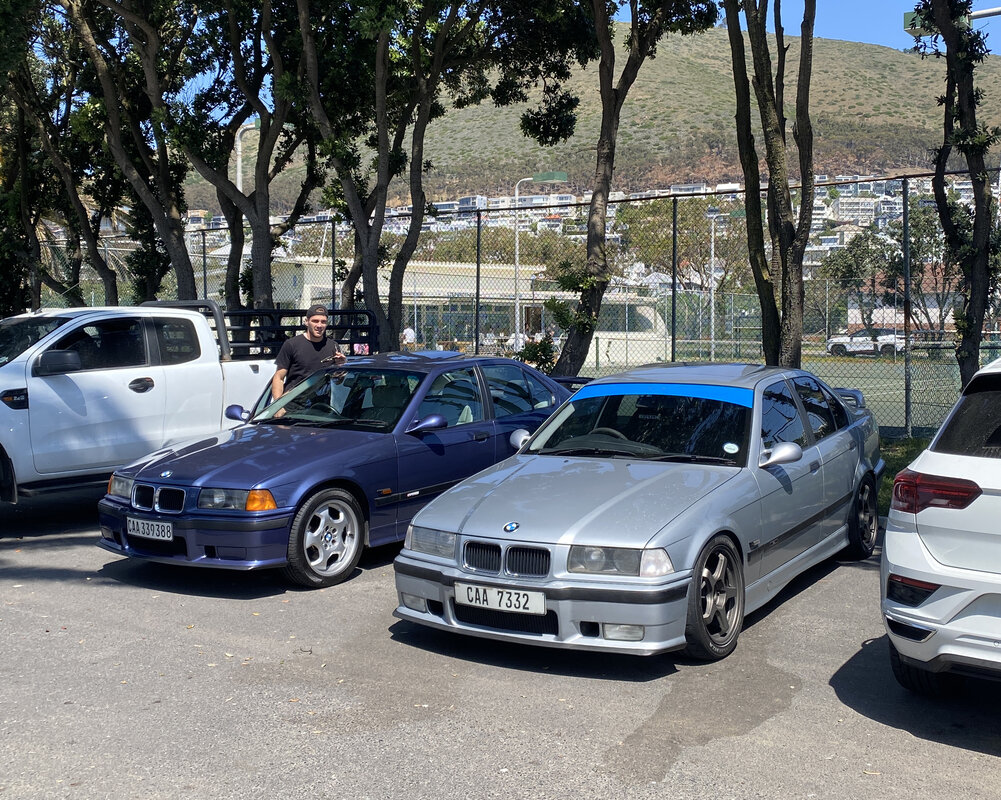
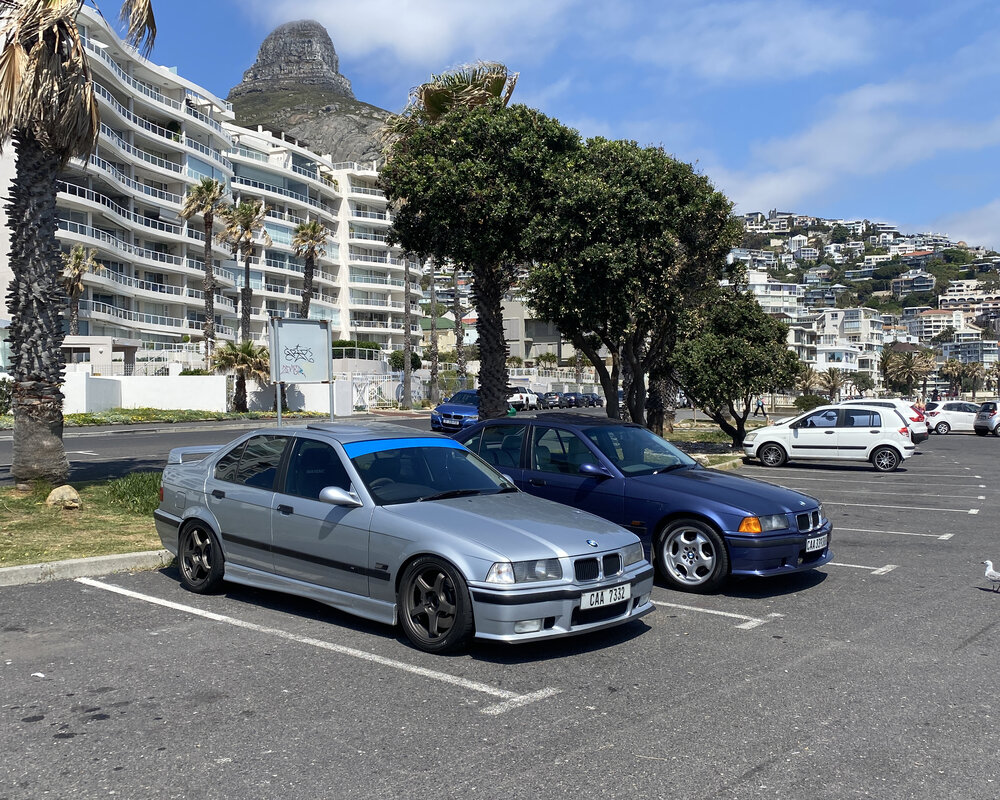
Funnily enough a mate of mine had a leaky coolant bottle on his 328i (the car my Contour wheels have ended up on), so he ended up doing exactly what I did a few days later (alu rad, coolant hoses, VW coolant bottle etc etc) so we went for a little cruise to check that both cars were good and cooling systems were operating correctly. We've been having 35'C+ weather so if they were going to overheat or have issues, it would've happened.
Next up is the dual fuel pump setup I need to do before the next private trackday, so that'll be the next update.
Long story short, the radiator let go on my way home from a game of tennis and a sunset cruise with another E36 friend.

I hate wasting time, so got the car towed home that night and pulled the old radiator out the following day, and went to collect the new one.


Stopped by NDT Racing:


And picked up the new radiator, as well as a bunch of other parts to refresh the cooling system. There's obviously no point in replacing with stock components, so I opted for a bigger, full aluminium radiator to help keep the temps down and minimize the risk of another failure:


Changed the fan blade to a 325 TDS fan and replaced the viscous (which I ended up taking out and putting the OEM viscous back in). I'll do an electric fan at some stage but for now the viscous does a really great job of keeping the car cool.

The radiator was not just a bolt-in straight fit upgrade, I did have to do some modifications to the shroud to make it work because of the different sizing.
Took a bit of time but eventually got everything in, including ditching the stock coolant bottle and relocating the new VW coolant bottle to the passenger side of the engine bay. This is moves the bottle away from the stock location close to the exhaust manifolds, and simplifies the cooling system quite a bit in terms of the length of the coolant hoses, and make bleeding the system a breeze. They're also less prone to failing and pretty robust. I'll wire in the level sensor when I get a chance, just need to find a used pigtail and extend the harness for the plug and the level sensor will work like factory. Also ignore the ratchet intake.

Went to bleed the system, but after an hour of trying it just wasn't bleeding and the lower hose was still cold. Time to pull everything apart again.
Pulled the thermostat housing off and boiled the thermostat. Guess what

It didn't open. I'll assume this was the cause of the radiator popping.
Luckily I had a new aluminium thermostat housing and lower temp thermostat, so replaced those and put it back together again (didn't take pictures).
This time bleeding the system was a breeze, took 15-20 minutes and it was done.
The car stays super cool now and so far, no issues or leaks!
Funnily enough a mate of mine had a leaky coolant bottle on his 328i (the car my Contour wheels have ended up on), so he ended up doing exactly what I did a few days later (alu rad, coolant hoses, VW coolant bottle etc etc) so we went for a little cruise to check that both cars were good and cooling systems were operating correctly. We've been having 35'C+ weather so if they were going to overheat or have issues, it would've happened.


Next up is the dual fuel pump setup I need to do before the next private trackday, so that'll be the next update.
M3boi
Well-known member
Not too many updates here lately tbh. Did a private trackday session with Tracktion a few weeks ago which was so great, 4 hours of completely open track time with no timed sessions. Highly recommend doing their private sessions when they pop up, was very well organized and you end up getting a lot more track time vs a Killarney public trackday.
They also did a fun timing challenge, and the old girl pulled put a 1:30.5 in the hot and greasy conditions, car was sliding around quite a lot. Just 0.2sec off the two M2 Competitions that ran on the day. Not bad for a 140kw 1400kg E36 with an average driver 😜
An oil cooler is definitely on my list, started getting lifter tick in the super high temps that day. Everyone seemed to struggle with oil temps getting way too hot. I'll overfill it slightly for the next session as well which should help.
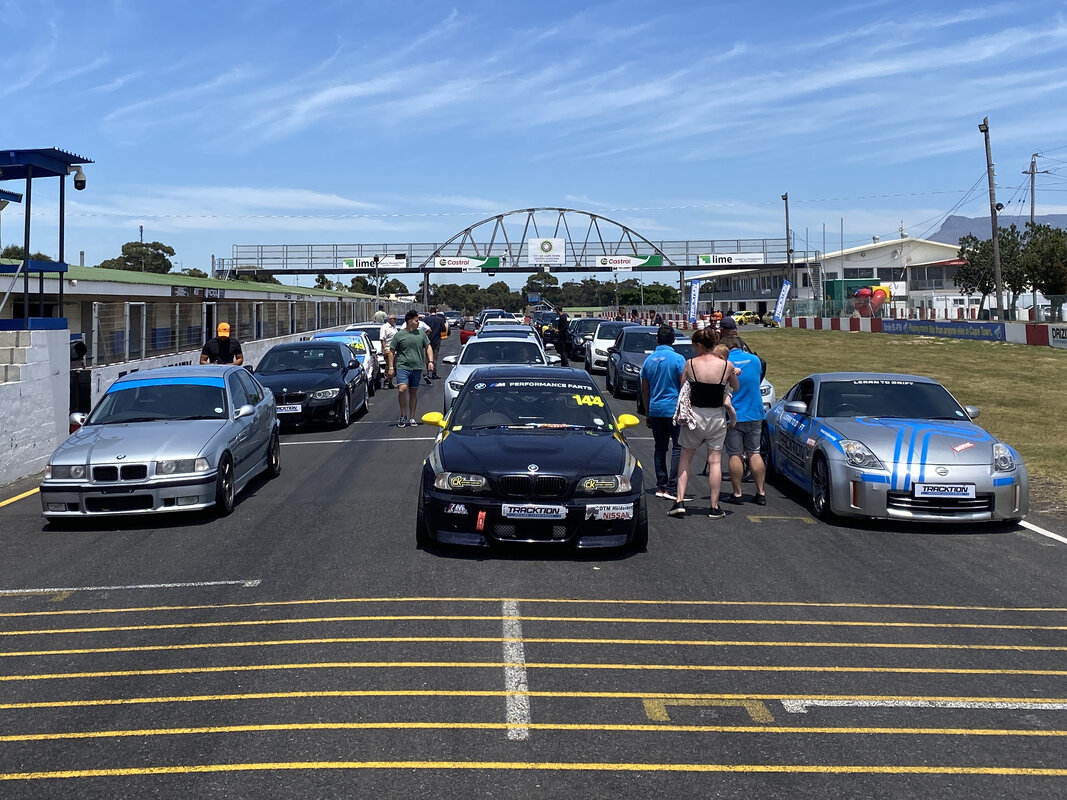
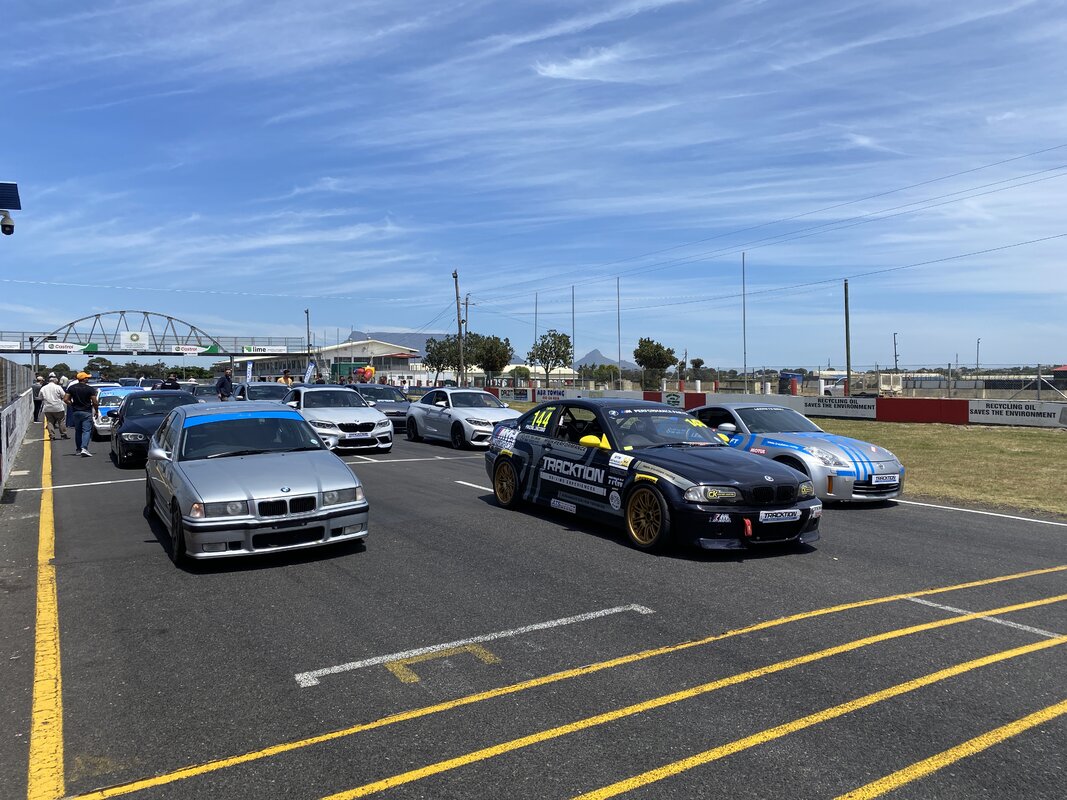
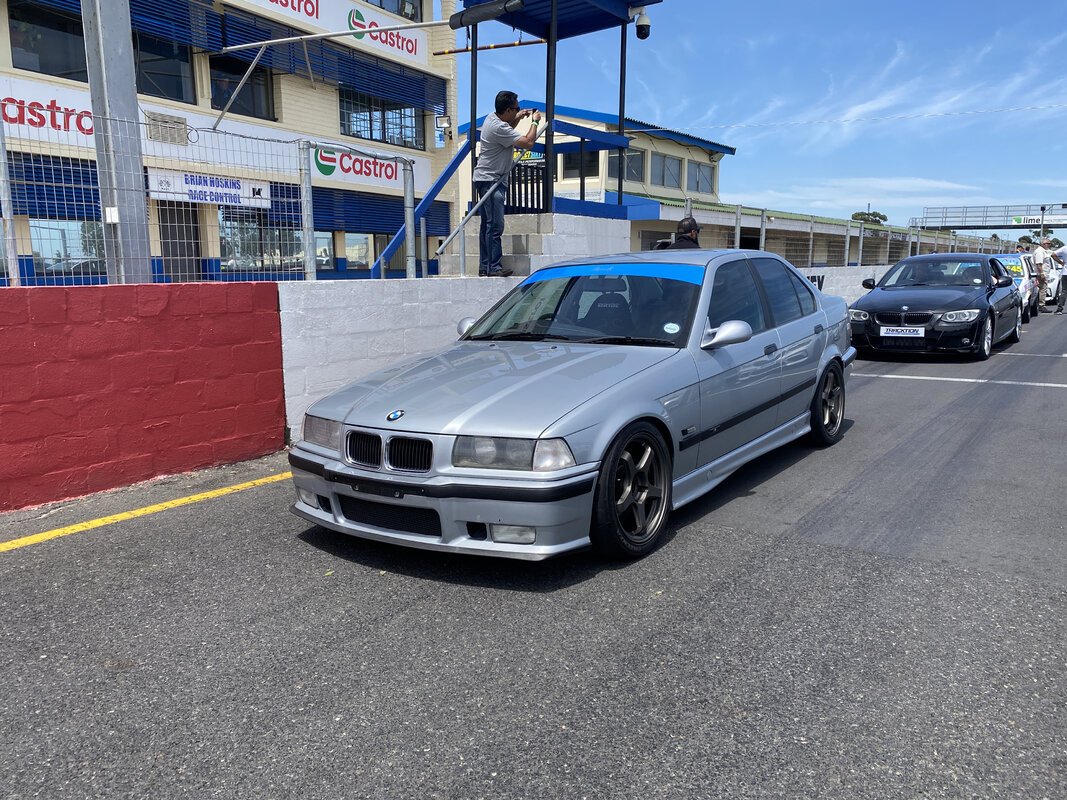
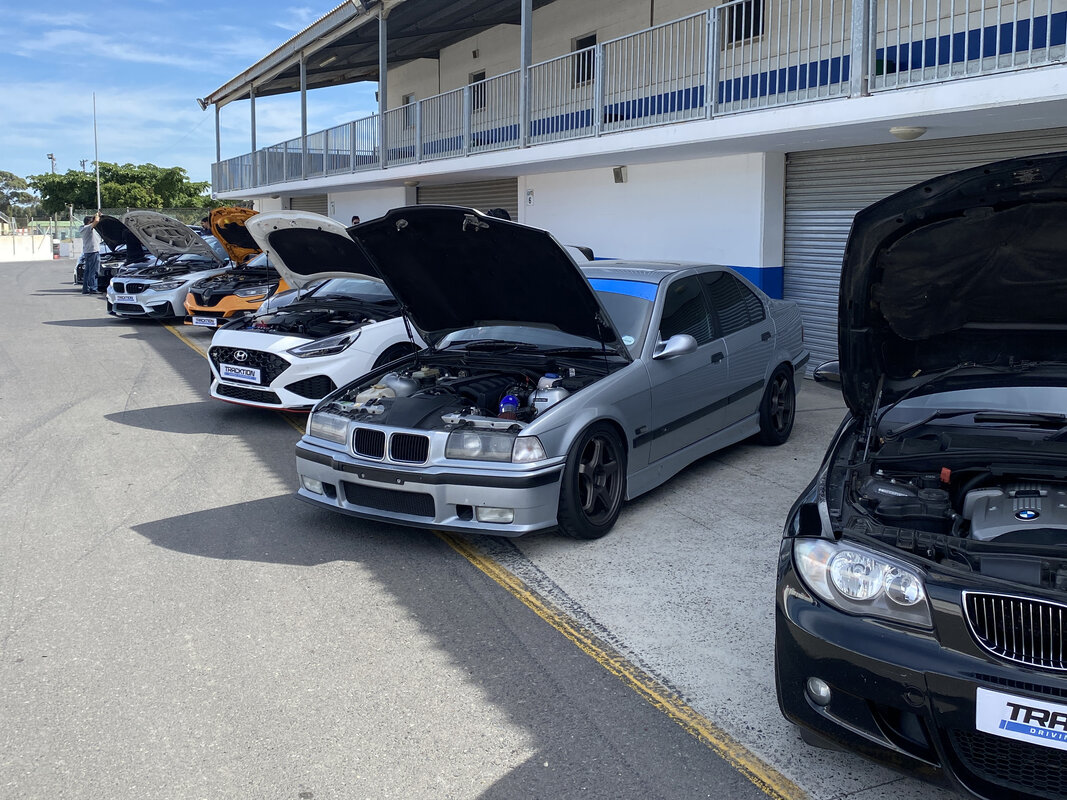
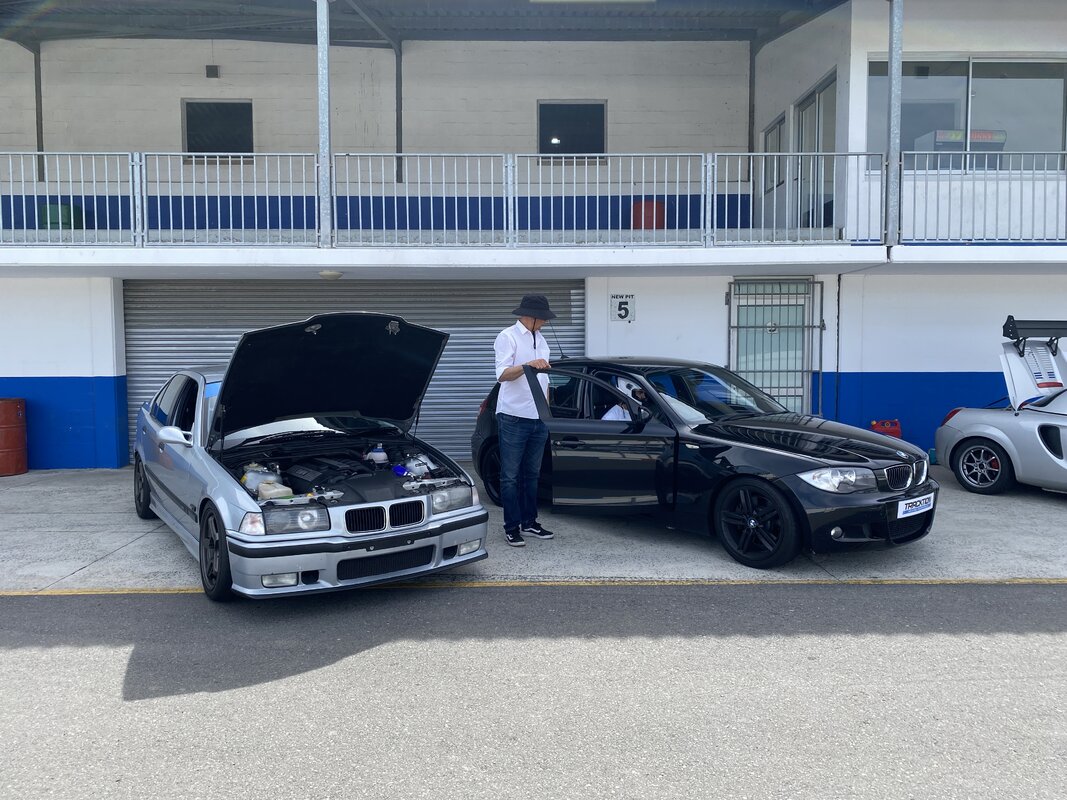
I also fitted the dual fuel pump setup before attending to try and help with the fuel starvation (which I didn't document, sorry). The second pump has helped with starvation in all the other corners except turn 5, so I'll need to end up doing to stealthy surge tank setup in the spare wheel well in the new year. That fuel starvation is costing me ±1.2 seconds in T5, which would put the car into the low 1:29's. Still lots left in it!
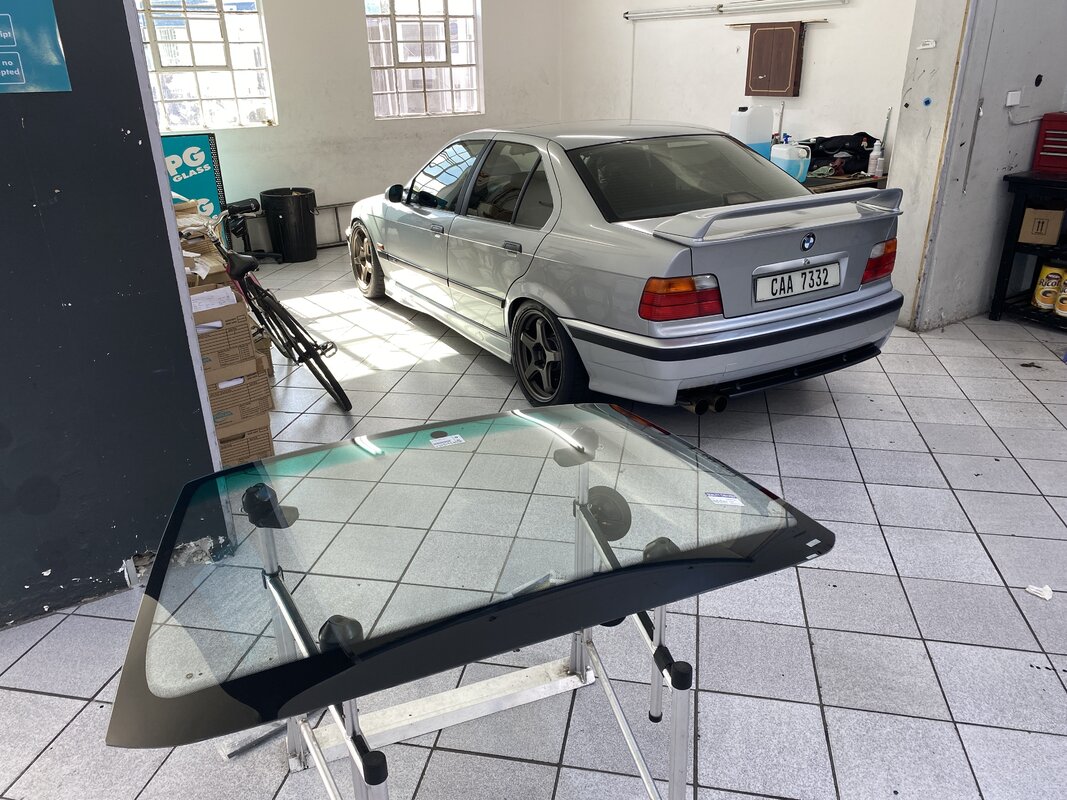
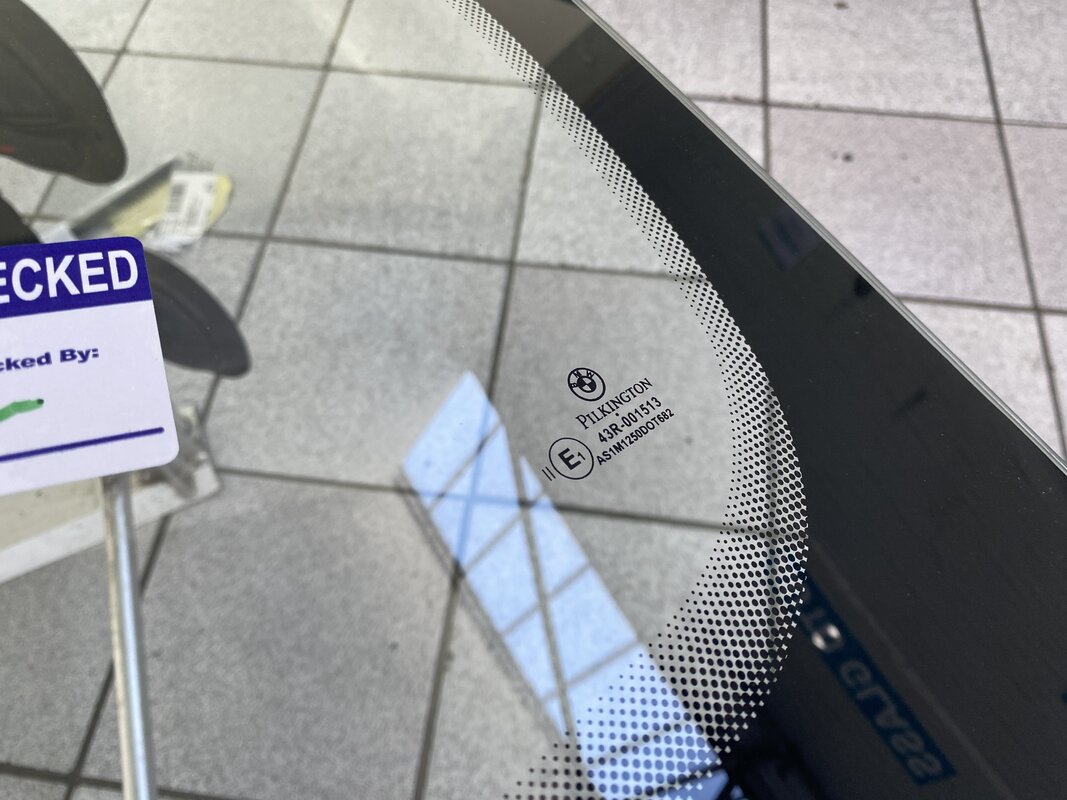
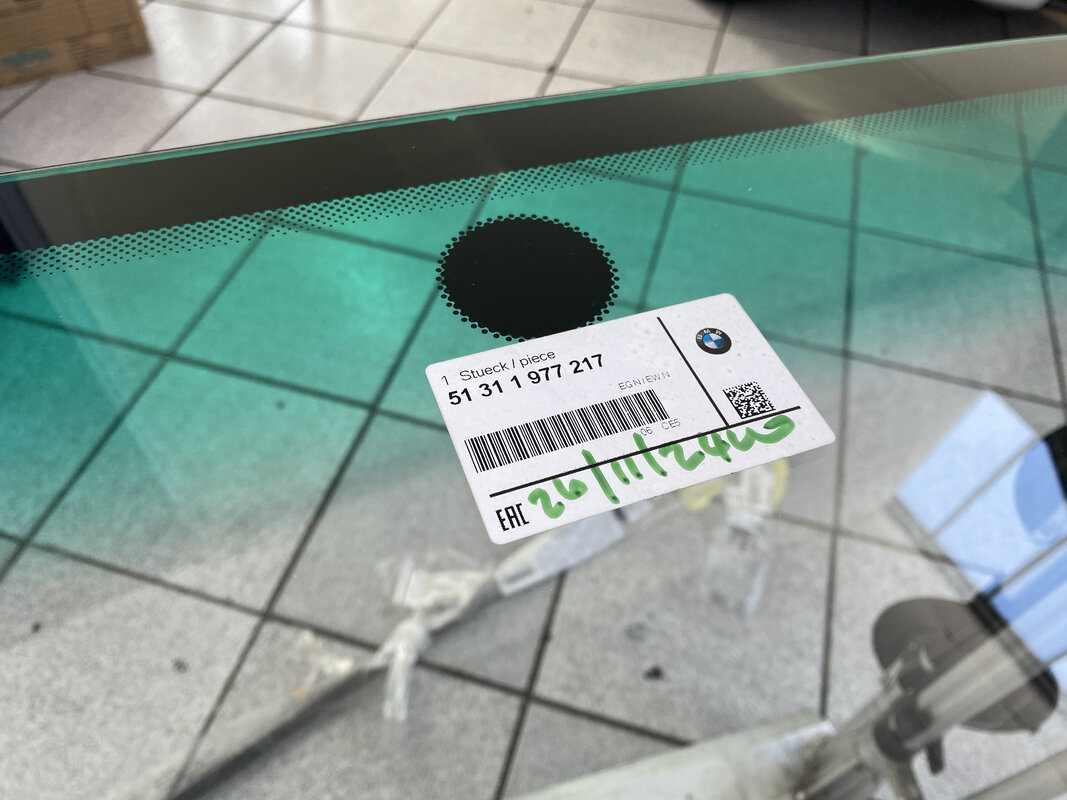
And a couple of weeks ago a large stone hit the winsdcreen and created a large crack. Thought I'd be a little extra and specify to insurance that the glass be OEM. Previous windscreen was OEM too and held up very well, so worth doing I think. Took a week to come in from Germany.
That's all for now!
They also did a fun timing challenge, and the old girl pulled put a 1:30.5 in the hot and greasy conditions, car was sliding around quite a lot. Just 0.2sec off the two M2 Competitions that ran on the day. Not bad for a 140kw 1400kg E36 with an average driver 😜
An oil cooler is definitely on my list, started getting lifter tick in the super high temps that day. Everyone seemed to struggle with oil temps getting way too hot. I'll overfill it slightly for the next session as well which should help.


I also fitted the dual fuel pump setup before attending to try and help with the fuel starvation (which I didn't document, sorry). The second pump has helped with starvation in all the other corners except turn 5, so I'll need to end up doing to stealthy surge tank setup in the spare wheel well in the new year. That fuel starvation is costing me ±1.2 seconds in T5, which would put the car into the low 1:29's. Still lots left in it!
And a couple of weeks ago a large stone hit the winsdcreen and created a large crack. Thought I'd be a little extra and specify to insurance that the glass be OEM. Previous windscreen was OEM too and held up very well, so worth doing I think. Took a week to come in from Germany.


That's all for now!
M3boi
Well-known member
Haven't updated this in a while because, well, there haven't been any updates haha. Car has been an absolute pleasure, just use and enjoy.
The only thing I did do, which I've been wanting to do for a while, was take the coilovers out, take them apart, clean everything and put back together without the helper springs. The helpers were creating A LOT of preload for the height I wanted, which I didn't like and was causing some slight binding. But now without them, the car is a little too low, and I don't have more adjustment to raise the car. So I'll be getting some slightly longer and stiffer springs to combat this. I'd like to be at around a finger gap between arch and tyre all round. At least it still doesn't rub anywhere.
How they came out. Helper spring doing absolutely nothing besides making up for height:
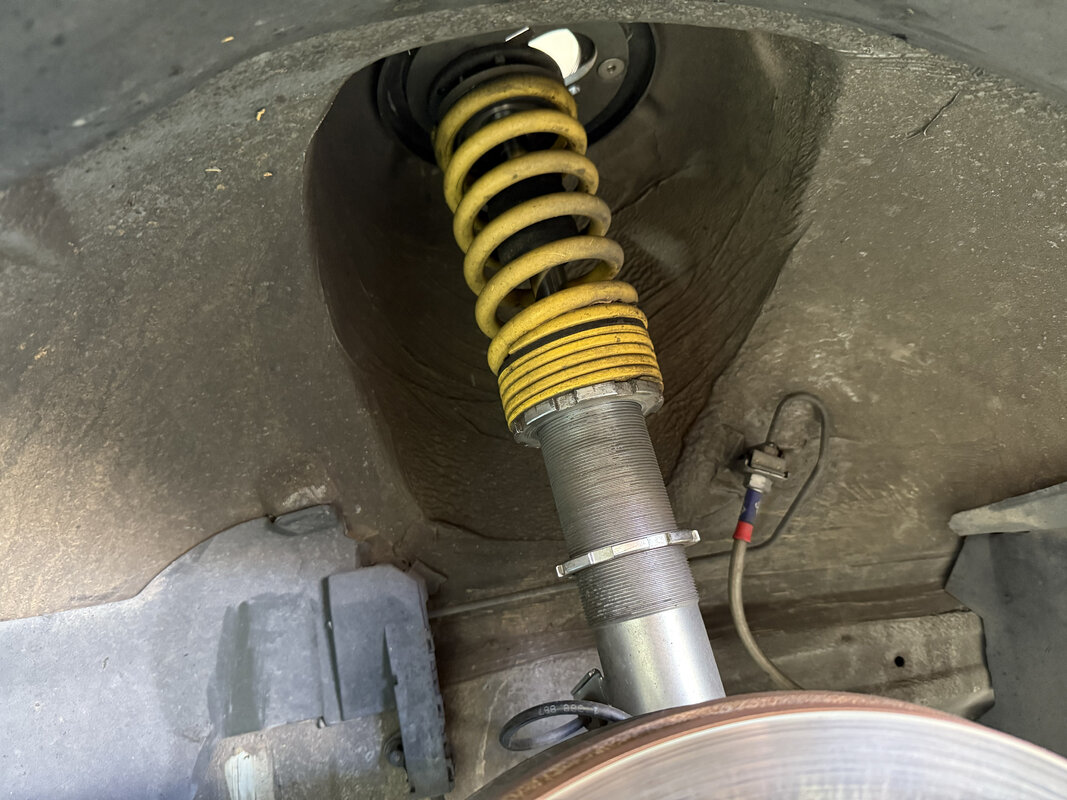
3mm of preload. The car would be WAY too low like this:
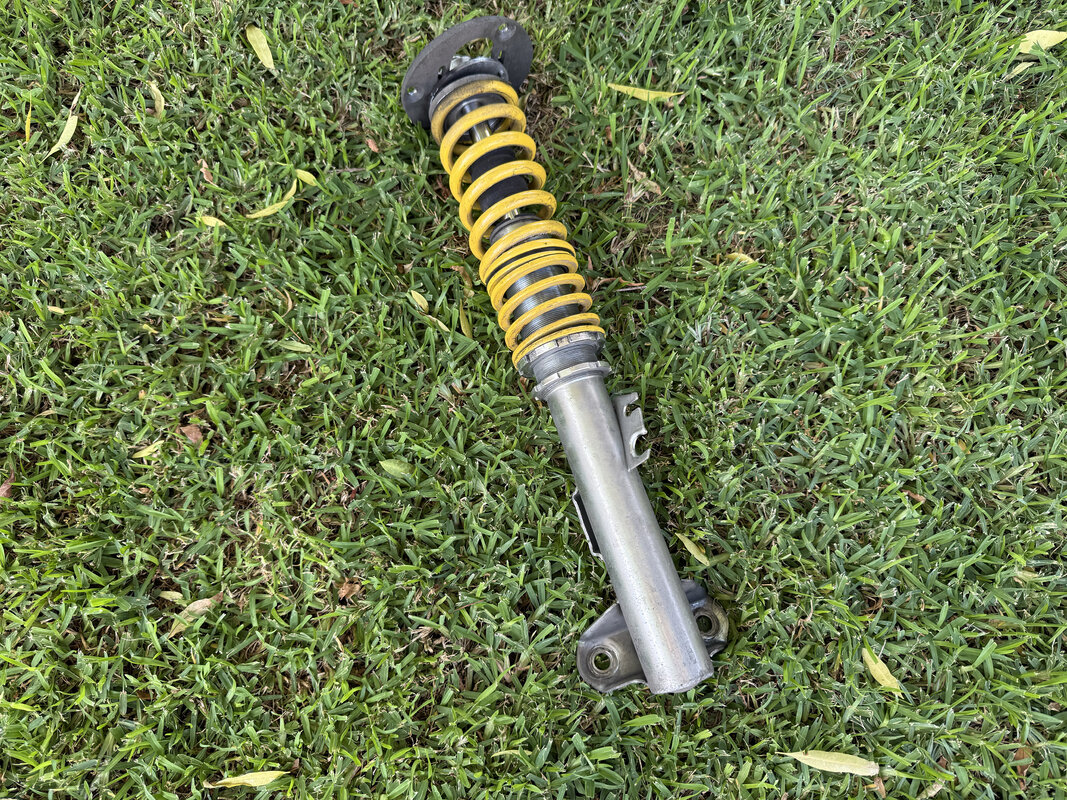
Cleaned and reassembled, height adjustment maxxed out:
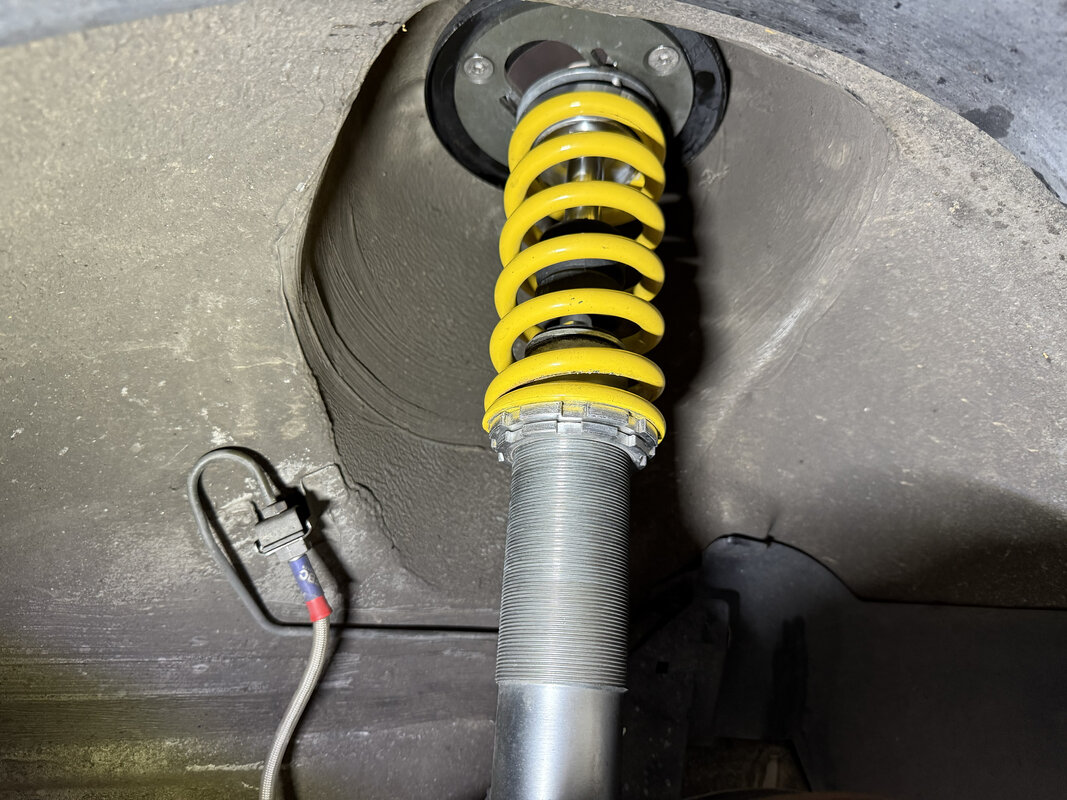
Also got some 8mm spacers for the rear to fill the gap, the 12mm's were too wide and would rub under high load. No rubbing with the 8mm:
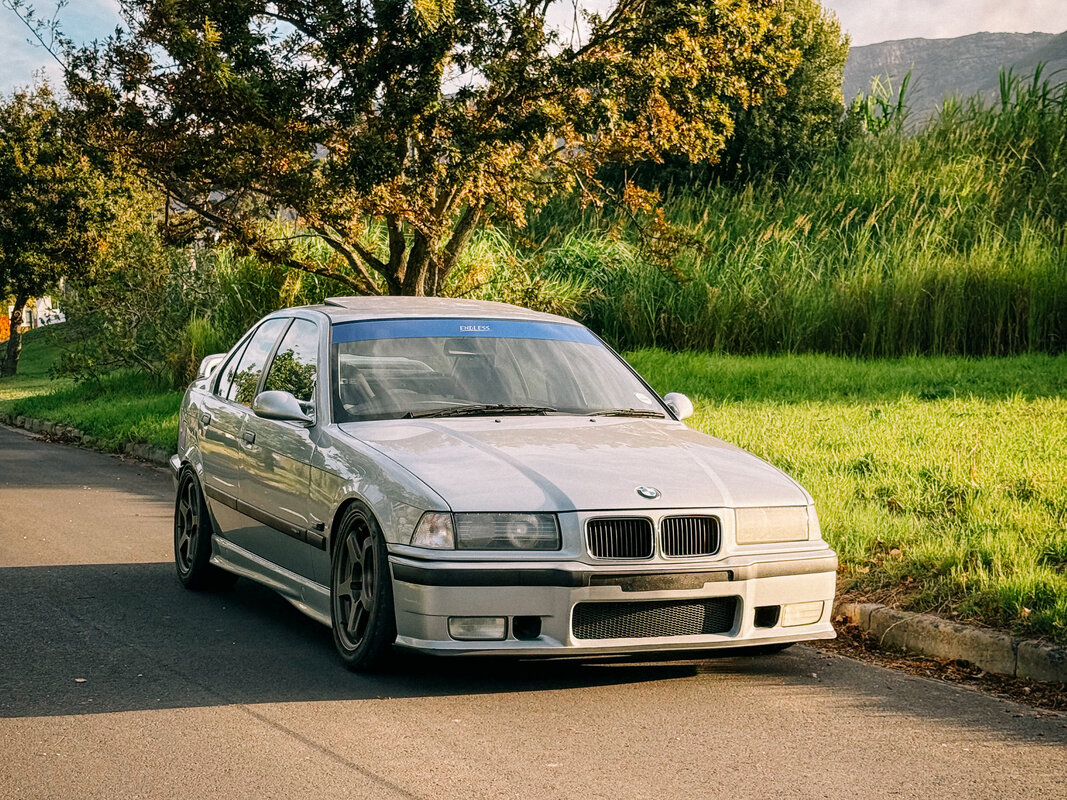
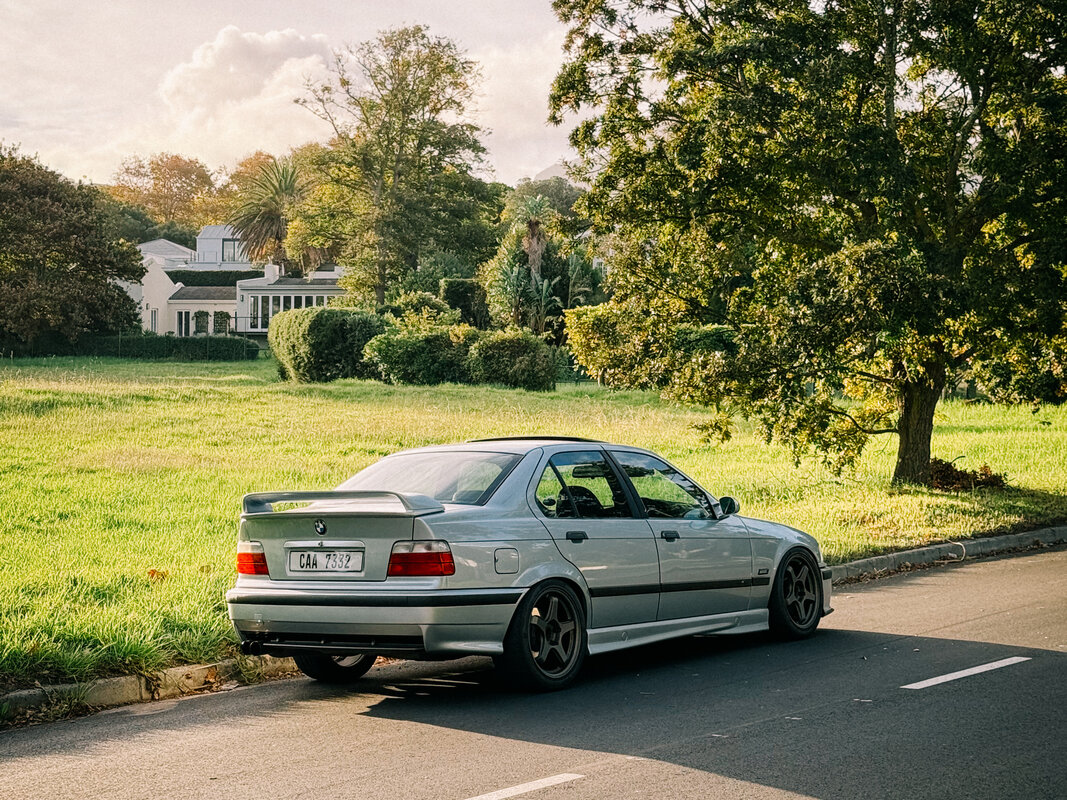
I'll never get tired of this thing. E36 good.
The only thing I did do, which I've been wanting to do for a while, was take the coilovers out, take them apart, clean everything and put back together without the helper springs. The helpers were creating A LOT of preload for the height I wanted, which I didn't like and was causing some slight binding. But now without them, the car is a little too low, and I don't have more adjustment to raise the car. So I'll be getting some slightly longer and stiffer springs to combat this. I'd like to be at around a finger gap between arch and tyre all round. At least it still doesn't rub anywhere.
How they came out. Helper spring doing absolutely nothing besides making up for height:

3mm of preload. The car would be WAY too low like this:

Cleaned and reassembled, height adjustment maxxed out:

Also got some 8mm spacers for the rear to fill the gap, the 12mm's were too wide and would rub under high load. No rubbing with the 8mm:


I'll never get tired of this thing. E36 good.
///M Individual
Well-known member
Damn that looks good 😍
Benji
Well-known member
Yeah that looks proper 😎
Maybe I lack mental capacity, but Ive never understood the point of a helper spring, it is literally a spring spacer unless you have a wheel in the air where they give you more shock travel without any real "spring-yness"...maybe useful if you are getting a lot of air time offroad, but then I'd rather just have a longer travel spring for that application
Maybe I lack mental capacity, but Ive never understood the point of a helper spring, it is literally a spring spacer unless you have a wheel in the air where they give you more shock travel without any real "spring-yness"...maybe useful if you are getting a lot of air time offroad, but then I'd rather just have a longer travel spring for that application
M3boi
Well-known member
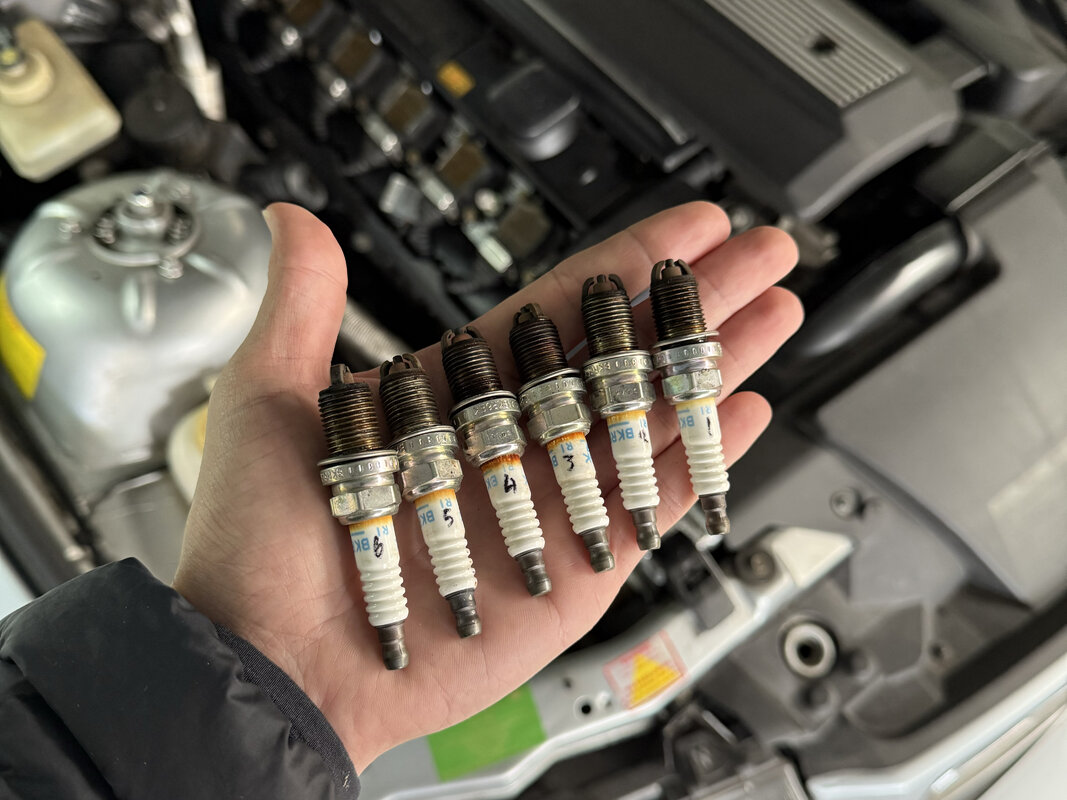
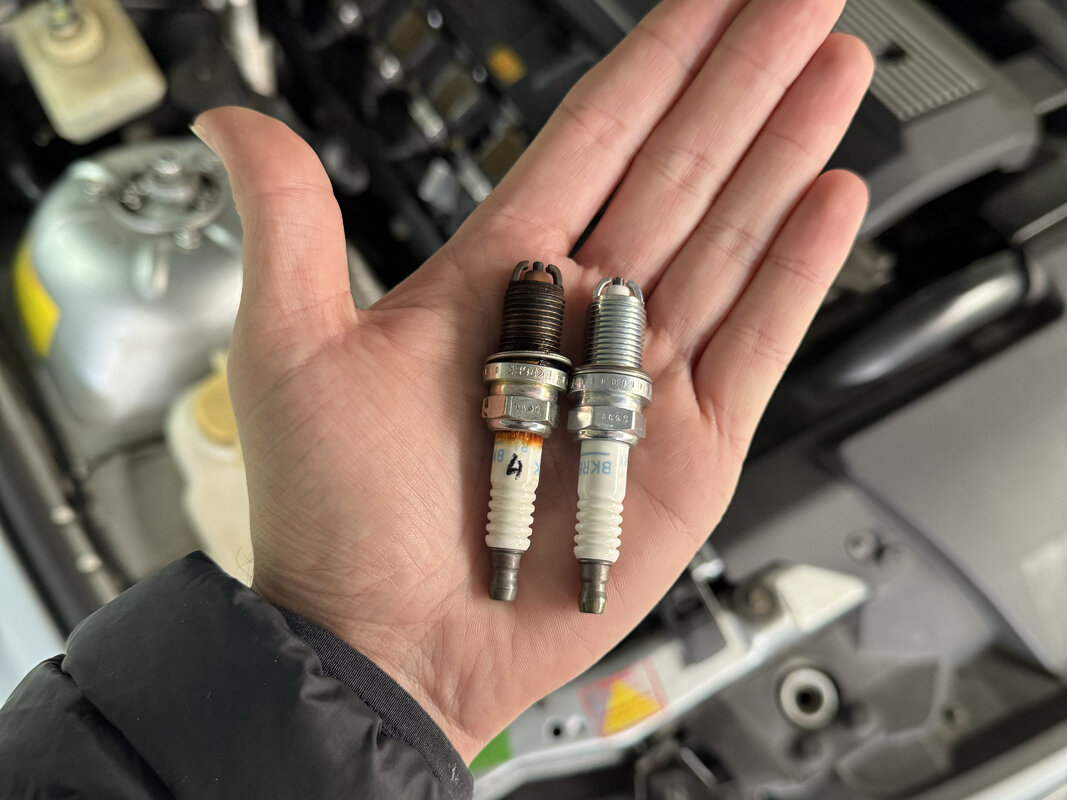
After my Simola plans didn't work out, I decided to attend the trackday at Killarney this past weekend. Before I did, I went through the car to make sure all was good, and remembered I hadn't changed spark plugs since I bought the car. Good thing I checked:
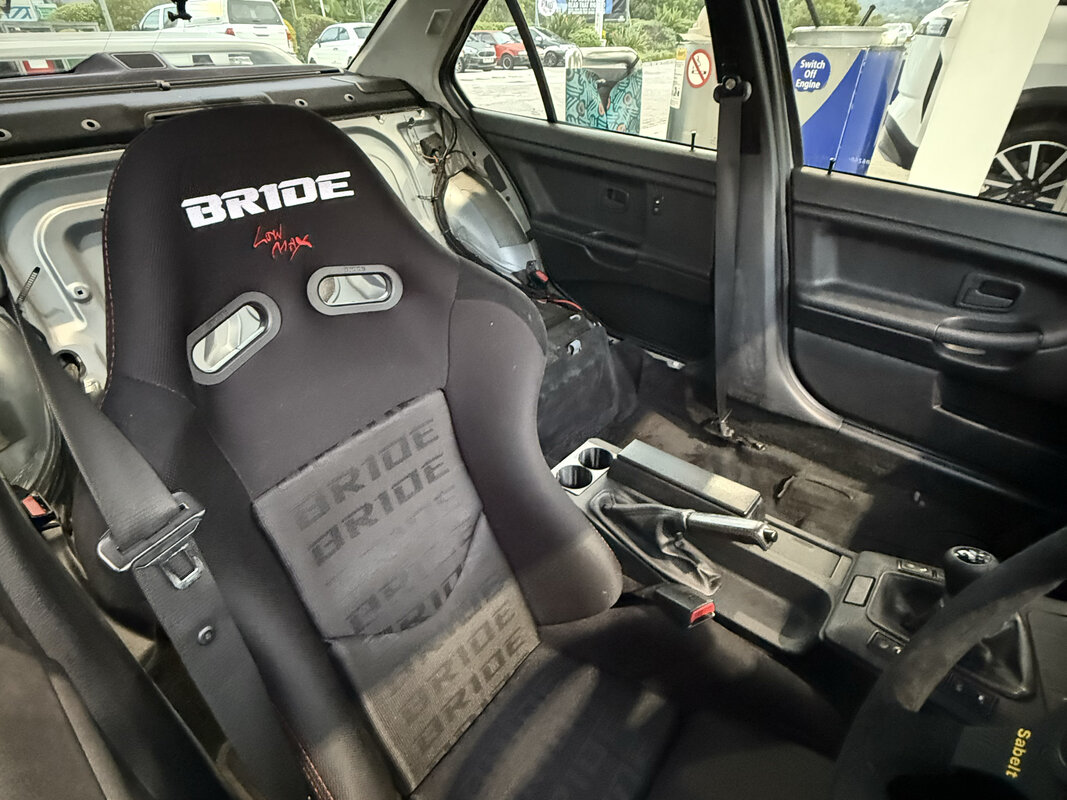
In the background I've also been removing the rear interior including seat bench, belts, rear boot mat etc and the passenger seat for now to make way for a half cage and another bucket seat. 60kg down, so should be noticeable. Haven't really documented this as it was a little tedious, so only have one picture. Also cleaned up the wiring a little and wrapped everything in OEM Tessa tape to make it look a little nicer. Will have to get a photo of this.
Other than the plugs, the car was sorted and ready for some more track driving. The first one for the year, surprisingly.
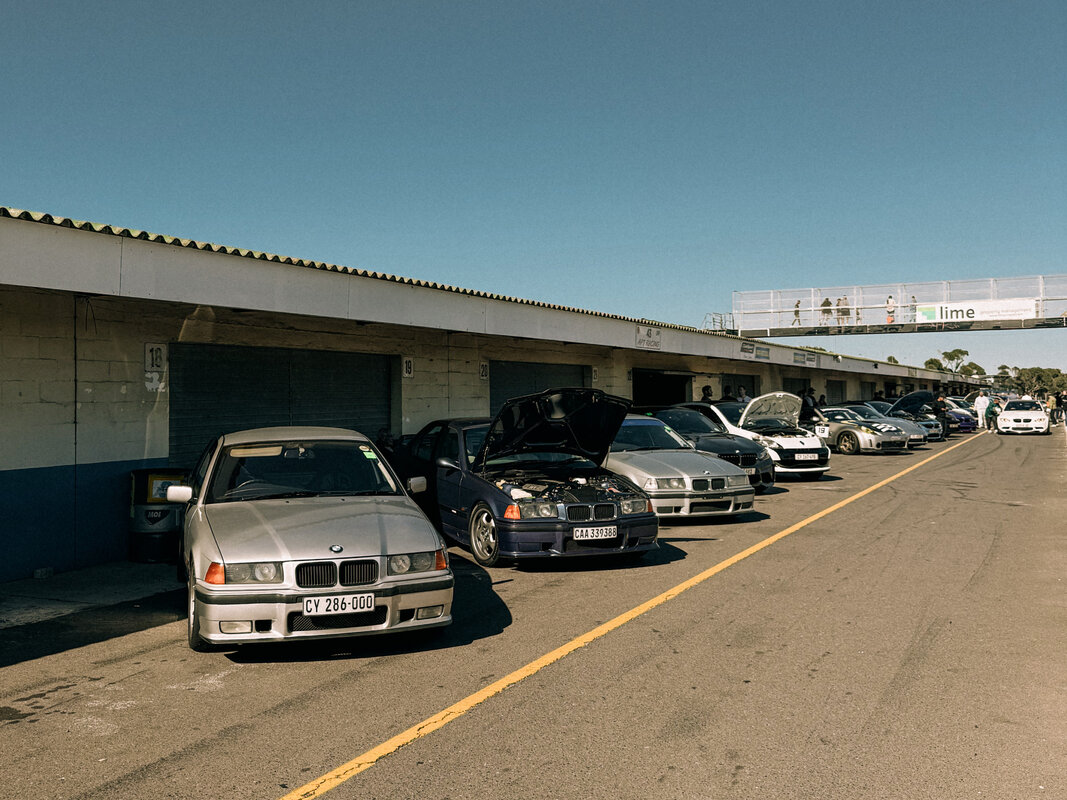
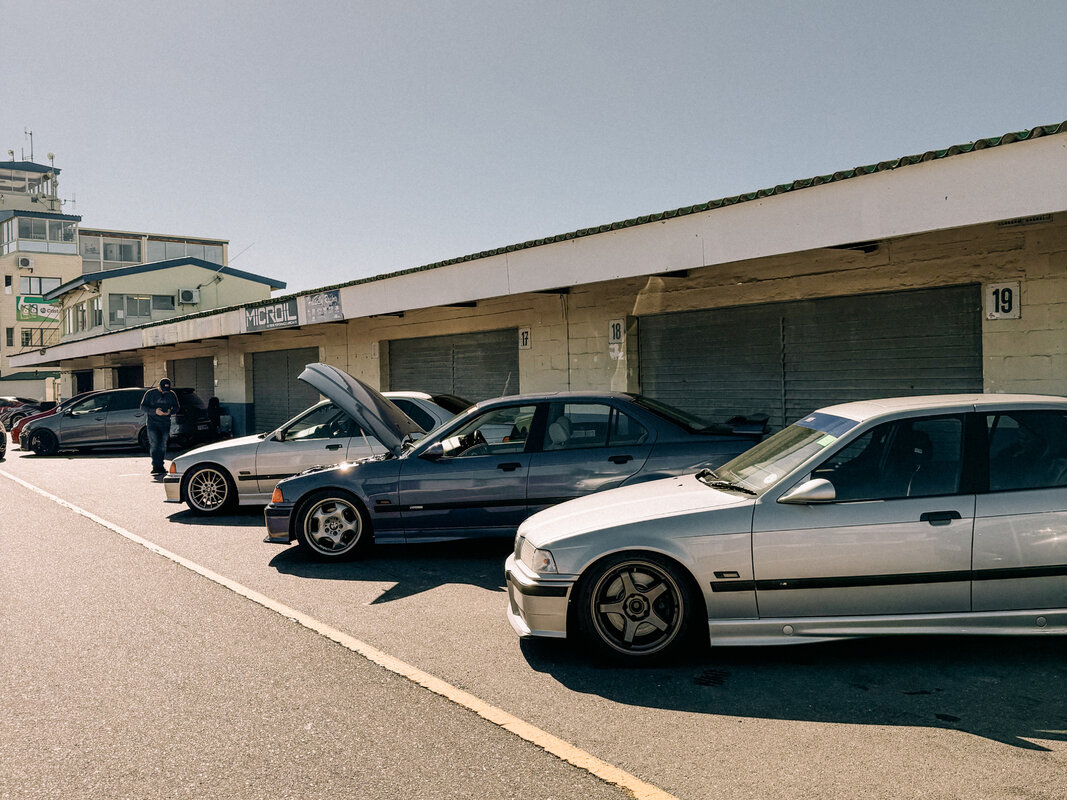
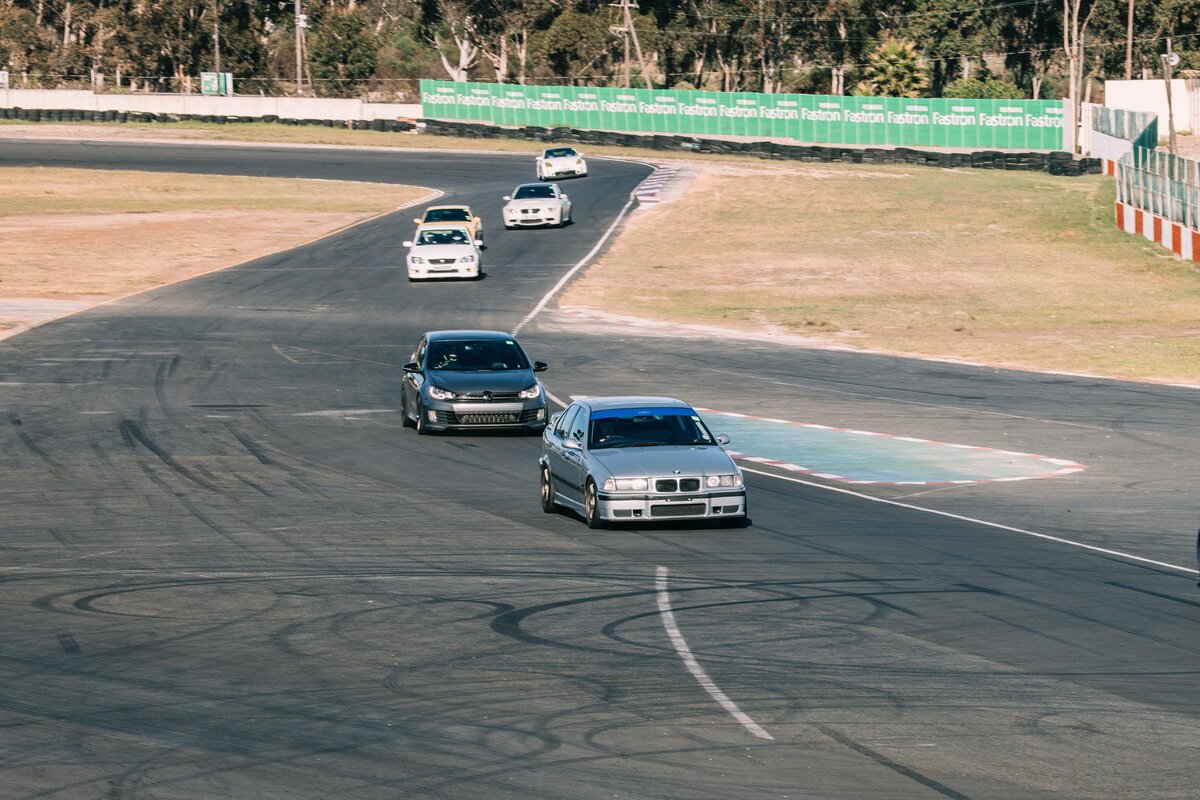
Had a nice little one lap chase with Yaseen in his M3 with a freshly built motor. It was previously making 230kw vs my 140kw, so was nice to see the differences in straight line vs braking and cornering. Really enjoyed the chase!
Overall, a very good day for me. Conditions were amazing, track was fairly busy but I went in the group 3 (race/expert group) and it was much easier to get clean laps in.
Sadly I had GoPro issues after session 1, so didn't manage to film for the rest of the day went out in session 3 and had some clean space.
After being stuck at a 1:30.3 for so long, I managed to go out and do a 1:28.9, backed it up, and then did a 1:28.7! Super super stoked with the new PB, and there were definitely things in that lap that could be improved on. So I know the car has a 1:27 in it which makes me super excited, as that is what the fully stripped out, higher power E36 race cars are doing time wise on stickier tyres.
I think that will be the last trackday for me before the winter break. I'd like to send the car to NDT Racing to have a few things done and for him to go over the car completely, so I'll update this as that gets done. Then we can go chase that 1:27!
Have I mentioned how much I fekking love this car?
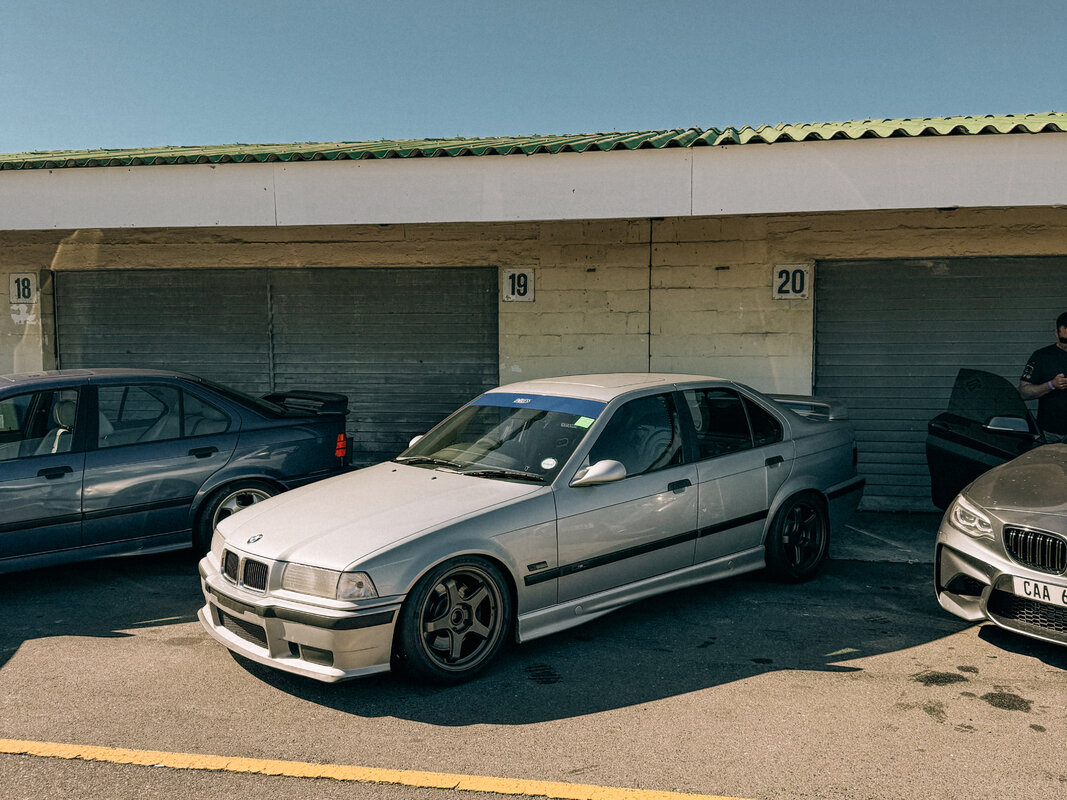


In the background I've also been removing the rear interior including seat bench, belts, rear boot mat etc and the passenger seat for now to make way for a half cage and another bucket seat. 60kg down, so should be noticeable. Haven't really documented this as it was a little tedious, so only have one picture. Also cleaned up the wiring a little and wrapped everything in OEM Tessa tape to make it look a little nicer. Will have to get a photo of this.

Other than the plugs, the car was sorted and ready for some more track driving. The first one for the year, surprisingly.


Had a nice little one lap chase with Yaseen in his M3 with a freshly built motor. It was previously making 230kw vs my 140kw, so was nice to see the differences in straight line vs braking and cornering. Really enjoyed the chase!
Overall, a very good day for me. Conditions were amazing, track was fairly busy but I went in the group 3 (race/expert group) and it was much easier to get clean laps in.
Sadly I had GoPro issues after session 1, so didn't manage to film for the rest of the day
After being stuck at a 1:30.3 for so long, I managed to go out and do a 1:28.9, backed it up, and then did a 1:28.7! Super super stoked with the new PB, and there were definitely things in that lap that could be improved on. So I know the car has a 1:27 in it which makes me super excited, as that is what the fully stripped out, higher power E36 race cars are doing time wise on stickier tyres.
I think that will be the last trackday for me before the winter break. I'd like to send the car to NDT Racing to have a few things done and for him to go over the car completely, so I'll update this as that gets done. Then we can go chase that 1:27!
Have I mentioned how much I fekking love this car?

TBP88
Well-known member
His gap is plugged on the regular, don't worry about that.Cool! Did you gap the plugs?
M3boi
Well-known member
Gotta love a reliable race car, well done on your PB!
Also, didnt know these kinds of plugs needed to be gapped...?
Thank you!
And they don't, replace and send it.


