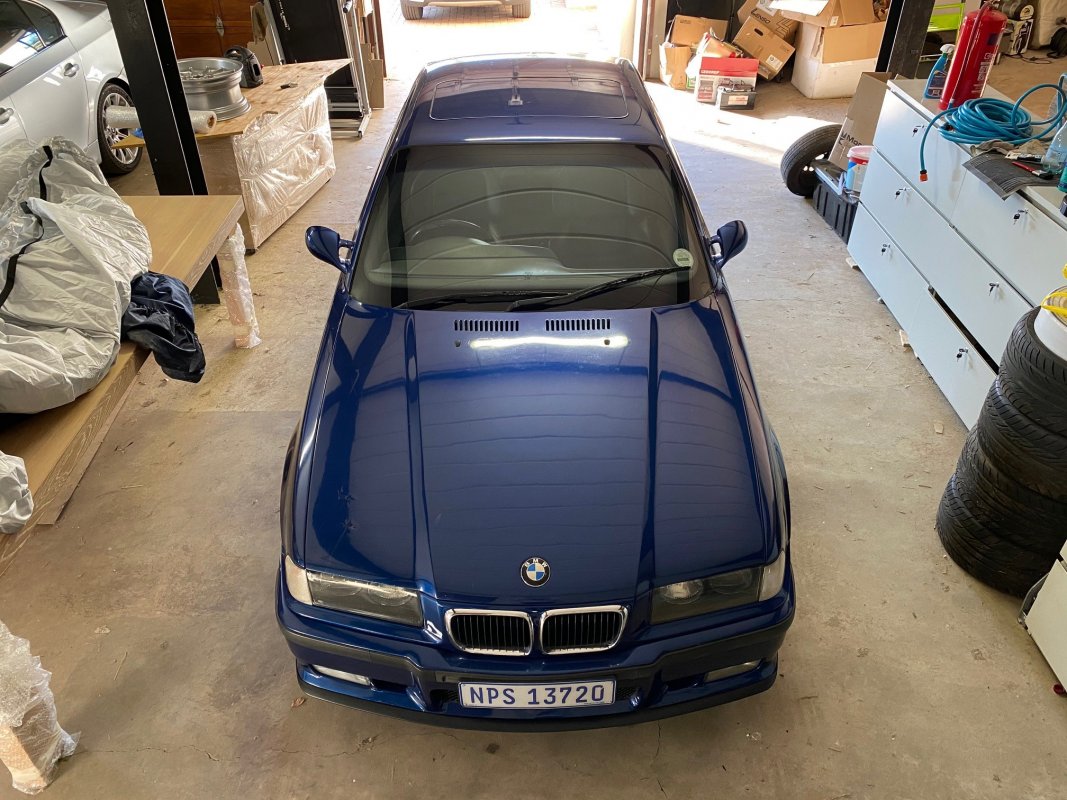
Project E36 M3 Street - Build and Document Thread

Elton_LV

Active member
Roll on to 2021, life was still stressful but manageable. the 60+ hour work weeks started to become 40+ hours and my energy levels returned.
Needed something to do during the on and off lockdown stages and early curfew's.
Always loving cars but mainly outsourcing almost all of the work, I decided it's time to try my hand at it myself.
Steps in my head were, detailing, small fixes like trim, interior and the easier mechanical stuff across my car collection.

Started by practicing detailing and fixing small imperfections on the e28 M5
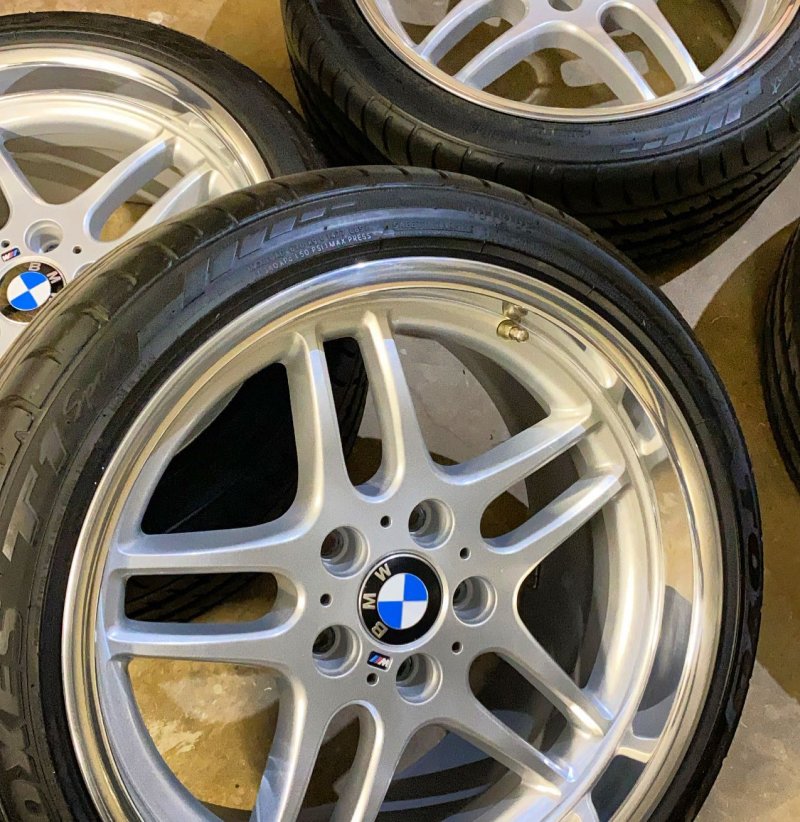
Put on the throwing starts to be able to clean, polish and ceramic coat the M-Parallels.
Still need to do some proper photos of the car, but a few pics I did take just for kicks
(Picked up a lot of products, compounds, microfiber towels, orbital polisher etc between Gav at G-Shift and Crazy Detailer)

The day that made me want to pick the M5 first to detail.
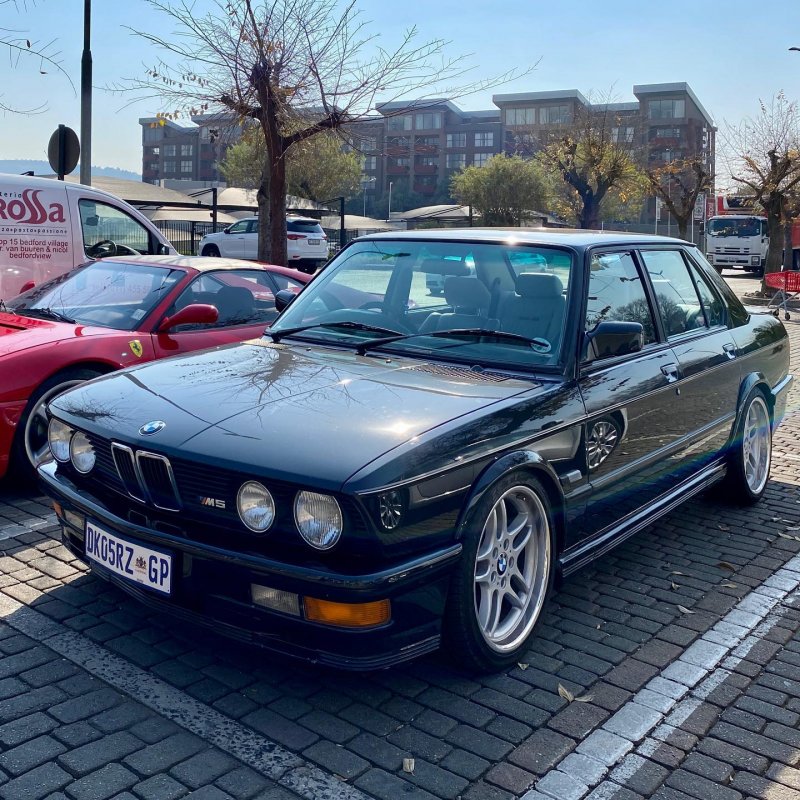
e28 pre detail.jpg

The start of the process, 2 step wash. Needless to say I probably washed 4 times to make sure all dirt and contaminants were removed.
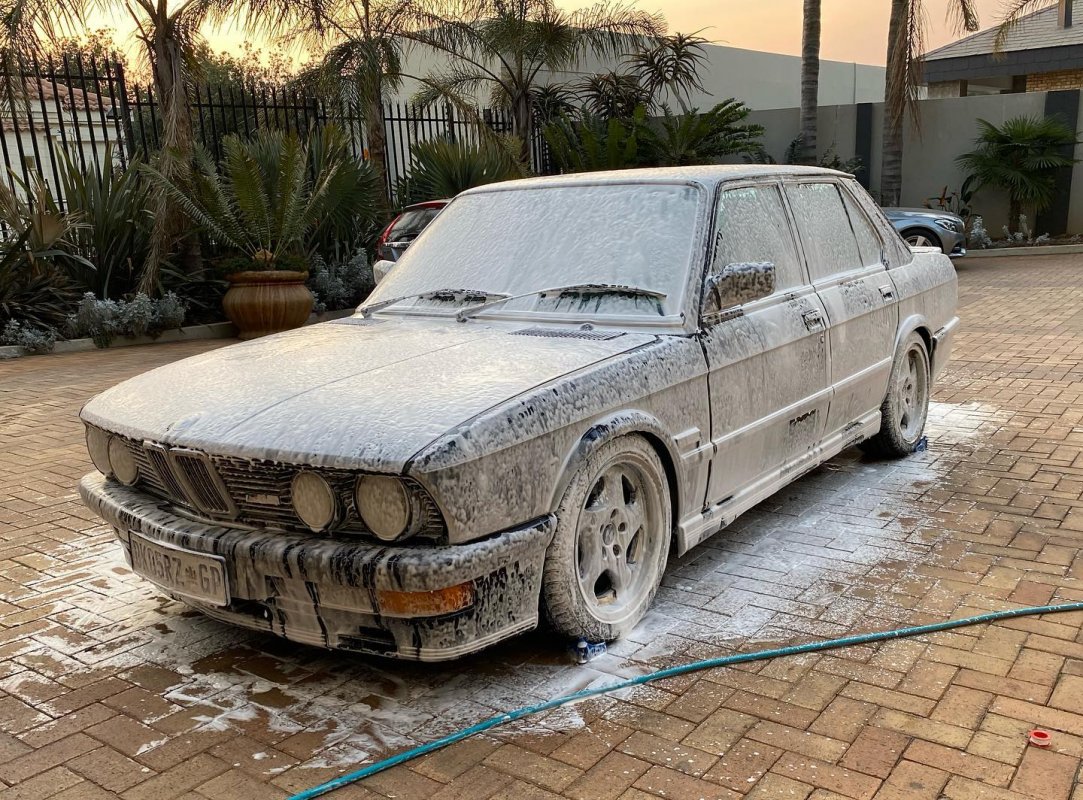
E28 Wash.jpg


Next was iron and mineral decontamination and clay bar, wont show pic's of this step as its pretty boring.
Then examination (photos) of the condition of the paint and coat up close.
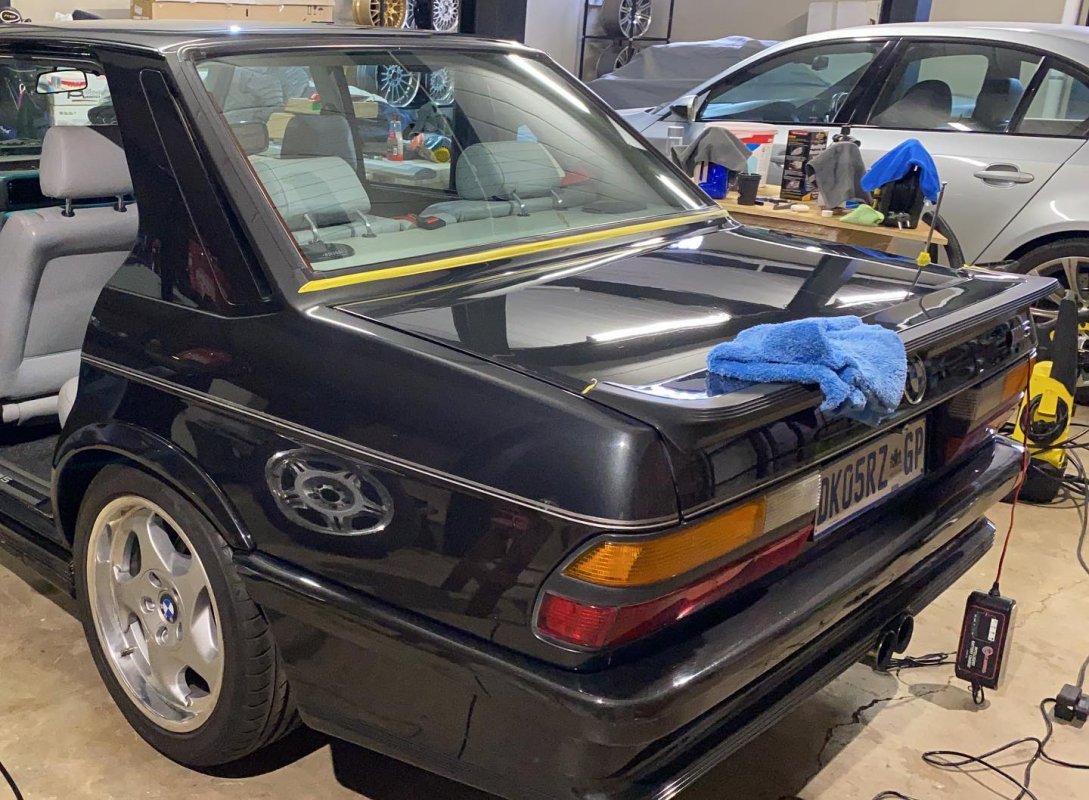
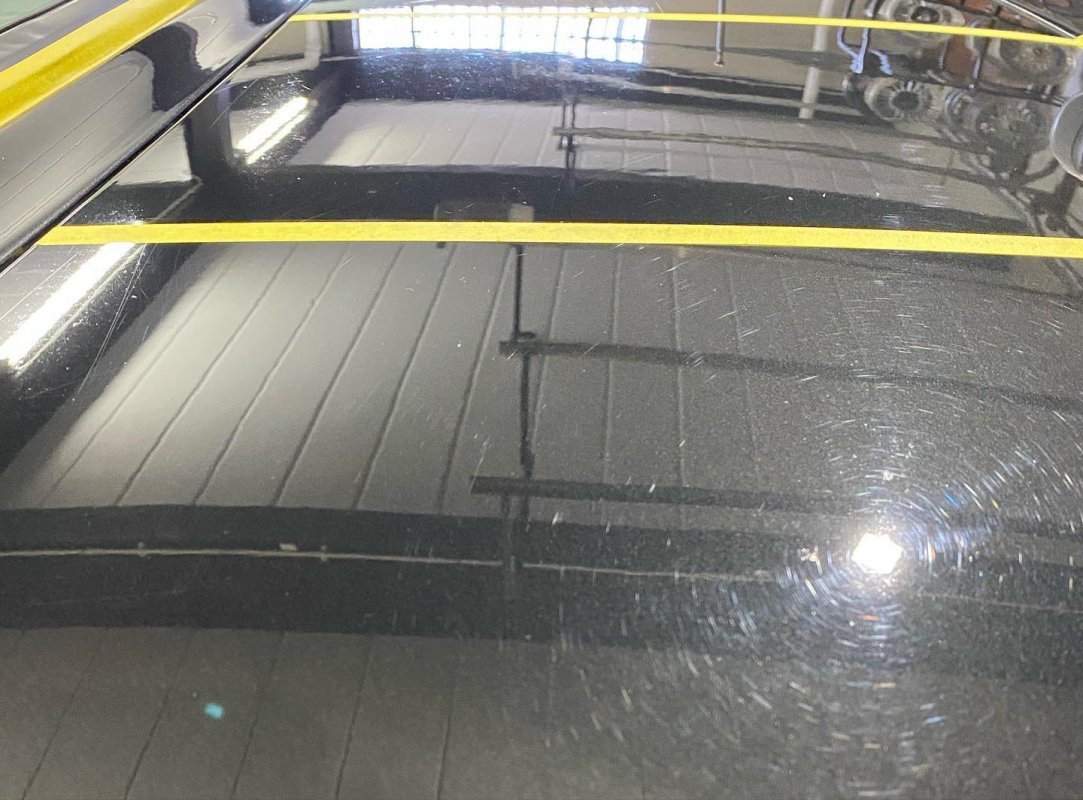
E28 WIP.jpg

e28 M5 paint condition.jpg

Picked 3 different types of compounds to test before taking on the whole car.
Thanks Fuzz for the advice and guidance

Below photos of me splitting hairs in which to pick for the whole car
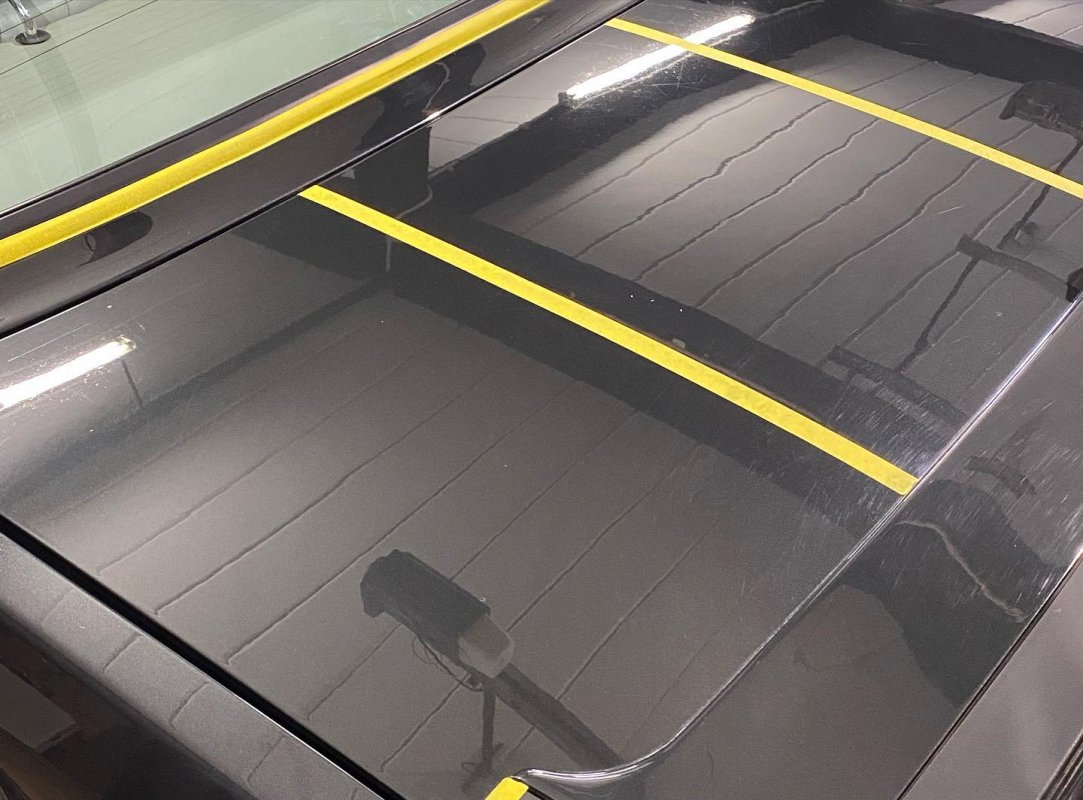
e28 testing cutting and polishing compunds.jpg

e28 splitting hairs on compounds.jpg

e28 final cut.jpg

Settled on using a single stage compound: Menzerna FG400 with a first pass cut pad and second pass polish pad.
Then it was onto masking and getting the car ready for a full polish. Remove trim that I could and cover trim that wouldn't get in the way of a polisher.
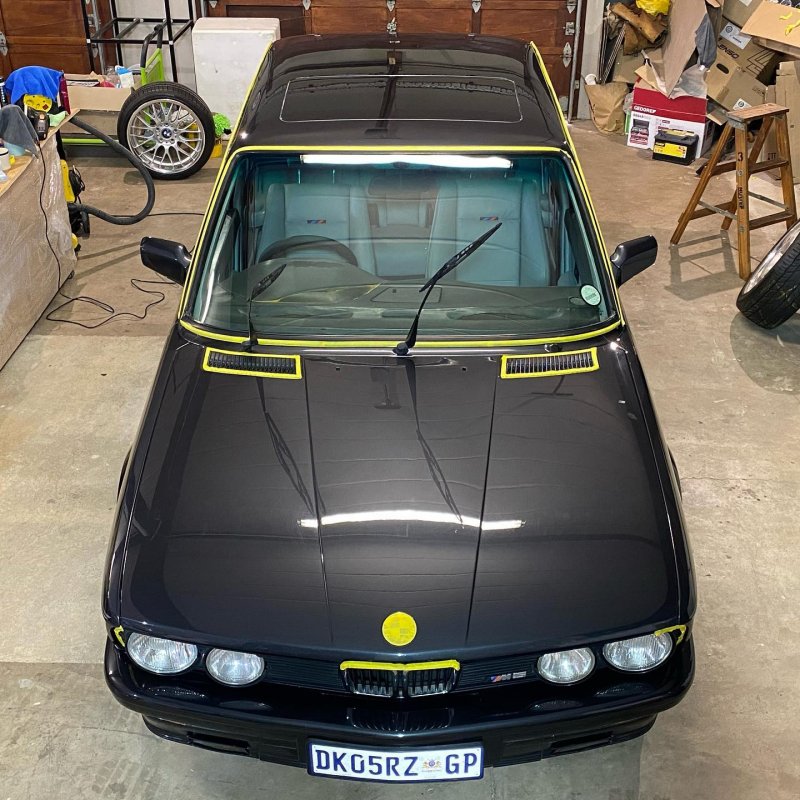
e28 testing done.jpg
 
Last edited:

Elton_LV

Active member
Must say, am pretty happy for my first attempt at full car detailing.
I now fully understand why good detailers charge what they do.
Hours and hours pass looking for 1% improvements, lighting areas to see if you done it well enough and you obsess about is it (interior) clean enough . You actually become obsessive about the whole process.

Onto some quick post detail photos

PS: Used Opticoat Gloss Ceramic Gloss Coat.
Picked this as it lasts 3 years and is easier to remove than pro if I got it all wrong and had to start again.

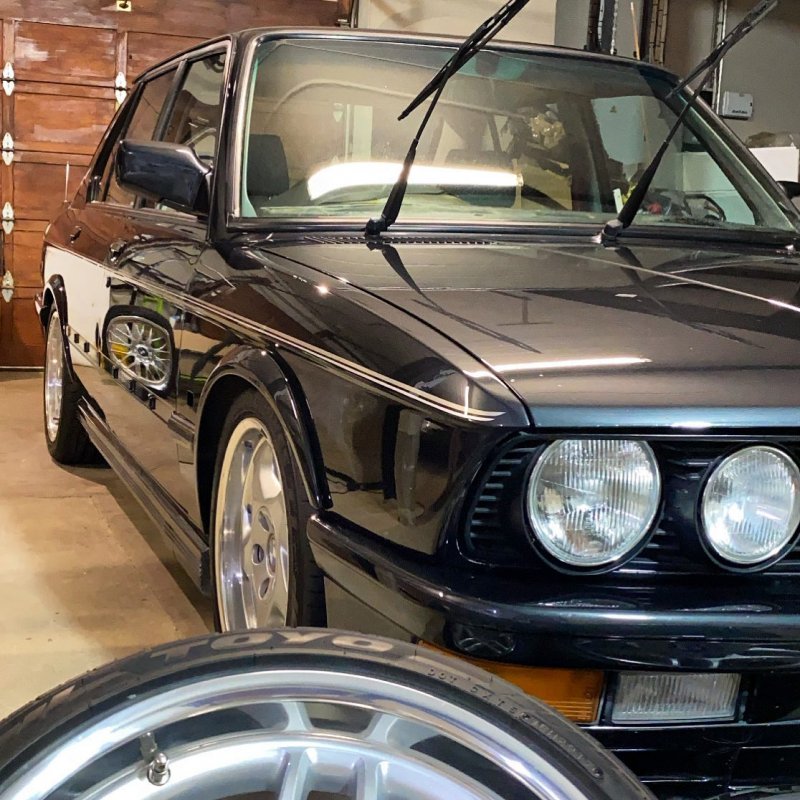
e28 M Parallel's.jpg

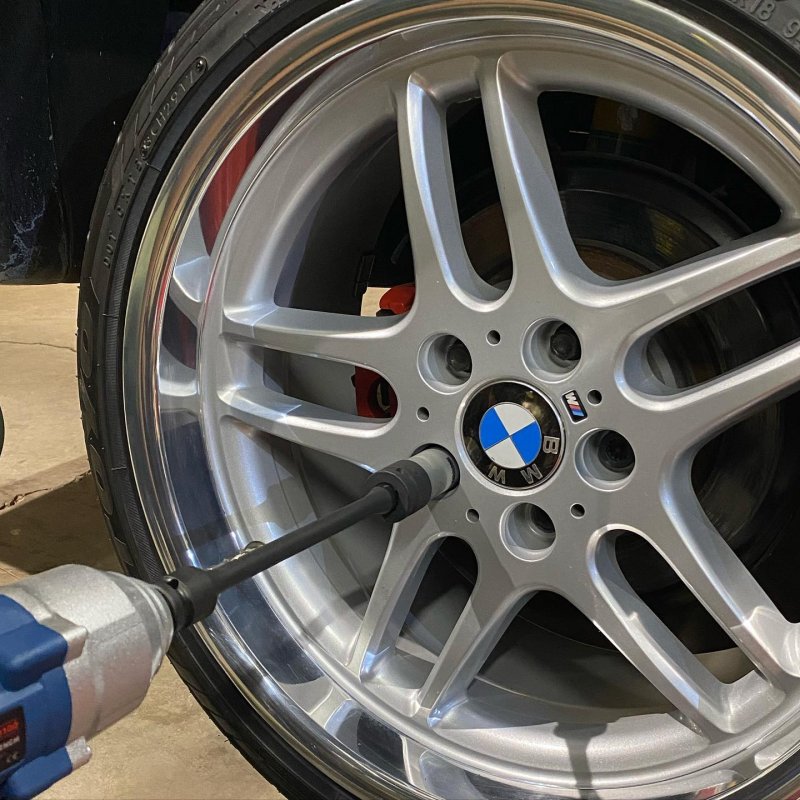
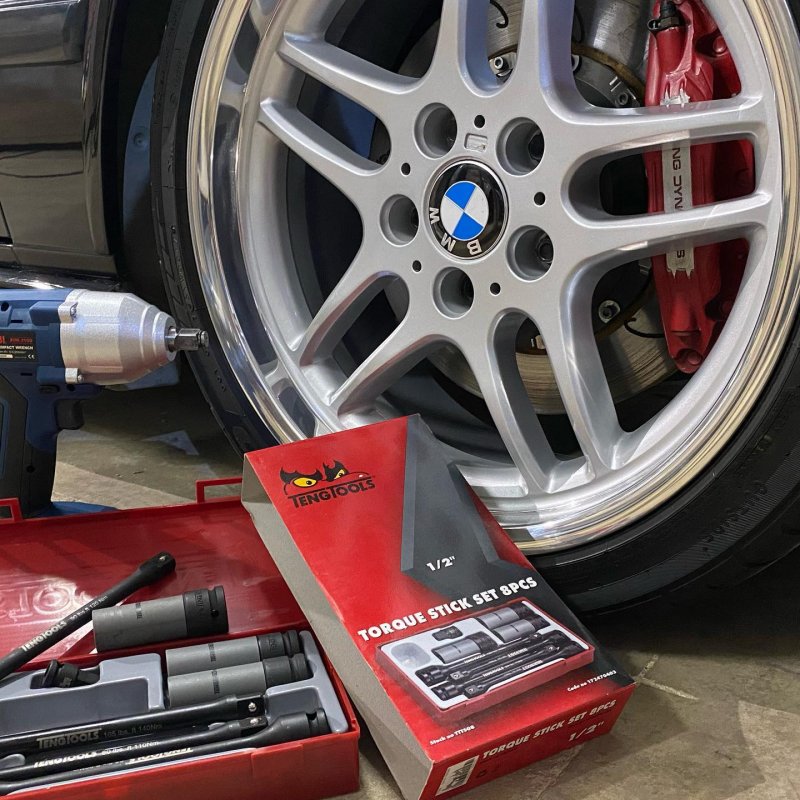
Picked up a torque stick and plastic covered socket from Teng Tools.
Makes changing wheels FUN

e28 m pars.jpg

e28 wheels.jpg

e28 complete.jpg

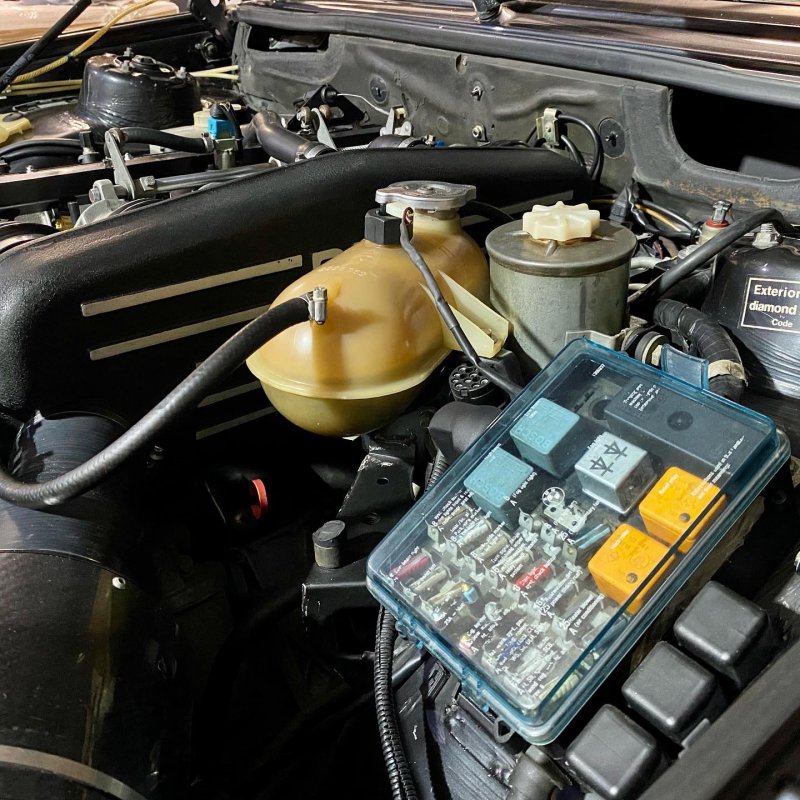
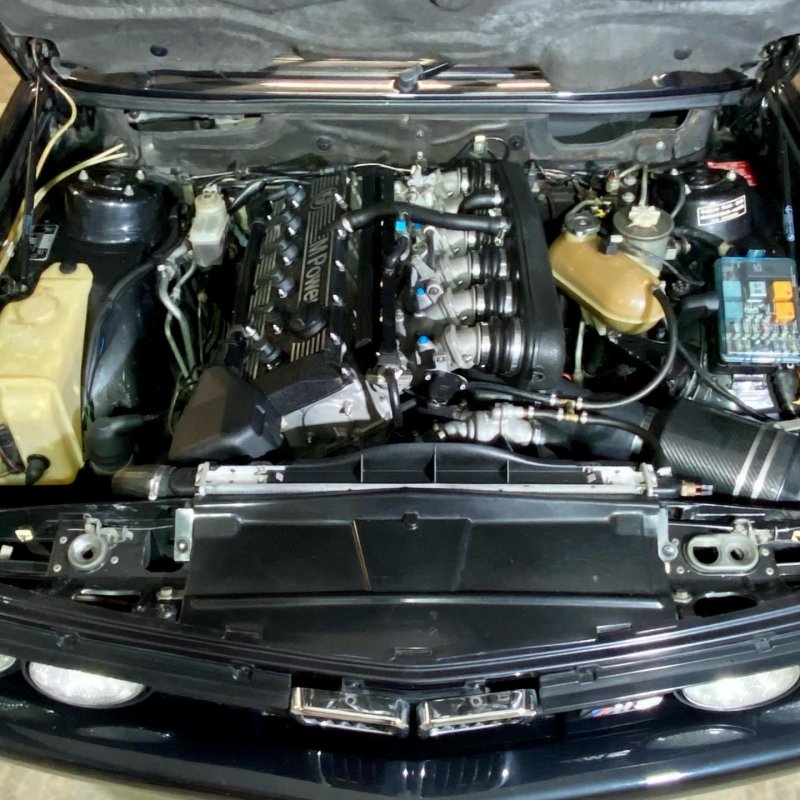
e28 e bay.jpg

e28 ebay 2.jpg

e28 ebay 3.jpg


e28 interior 2.jpg

e28 interior.jpg

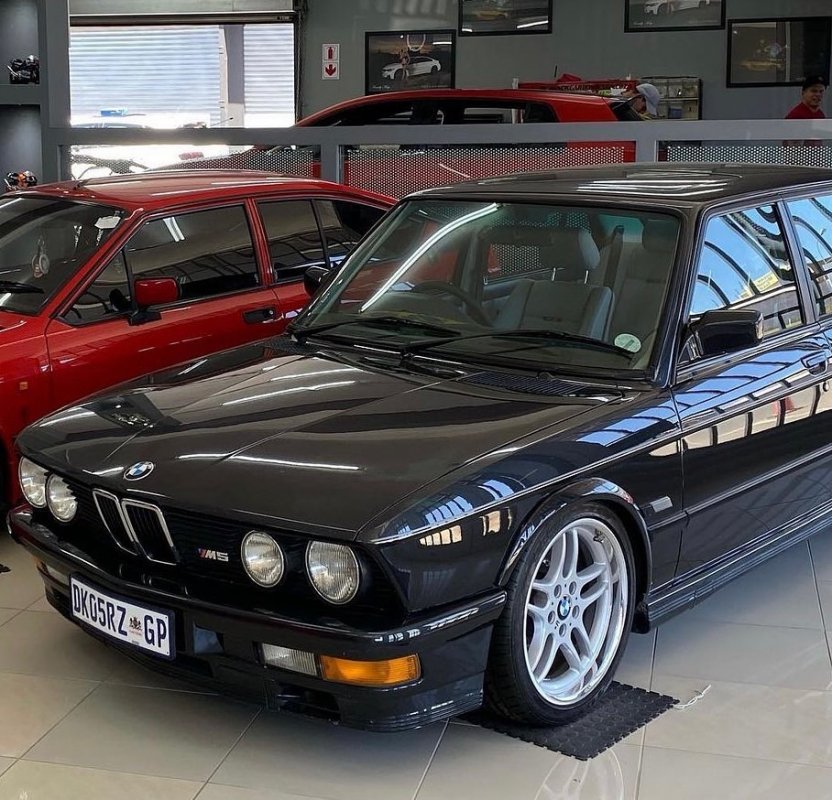
Not to bad for a car from 1988
What am I saying and who am I trying to fool.
It's probably one of the best cars from the 80's, or at least that's my opinion.
Looking at it now, Peter K and I should have posted the whole build/restore process on this car.
Mechanically she is absolute pure perfection (Peter really is a perfectionist, not great for ones wallet, but great for the outcome. LOL) and now she looks as good as she drives.
There is something about getting into an older car and knowing you will definitely reach your destination without not only breaking down but that you can really drive it hard and enjoy every piece of tar you cover.
Thank You Peter Karvelas

e28 detail.jpg
 
Last edited:

Elton_LV

Active member
Back onto the M3
Pulled the car into the workbay area I had been creating in the garage.
Thought, let me have a closer look at it. Worst and best decision so far this year, LOL.
Best because it reignited my passion, hobby and got me out of work work work mode and constantly living in my head during this pandemic, economic crunch times and a great distraction that most of us don't realize we need.
Worst because it is becoming a money pit (as they all do), but I can't really complain, as I had/have something quite different in mind for the car

Once in the workbay, every few days I'd look at it and think to myself how I missed my previous one, that I didn't drive my previous one enough (was to mint), how well the platform drove, and what it would be like to build an E36 Street toy.
These thoughts eventually lead to me calling my cousin and making him and offer for the car.
HE SAID YES........

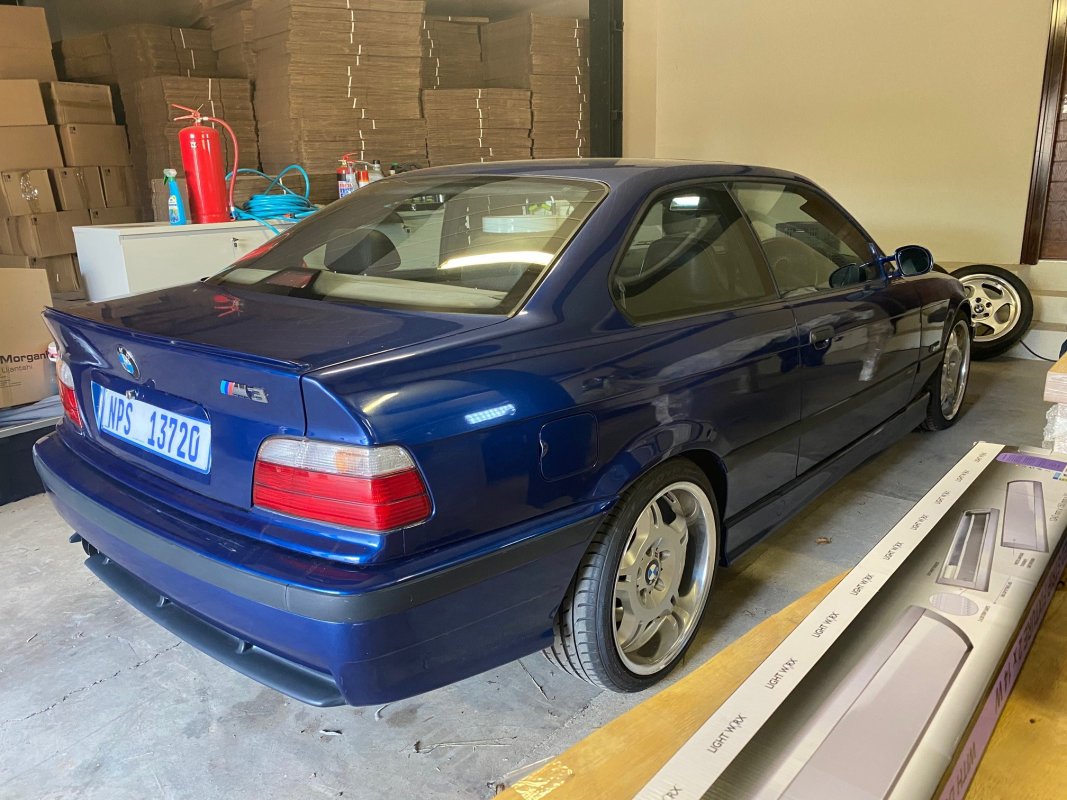
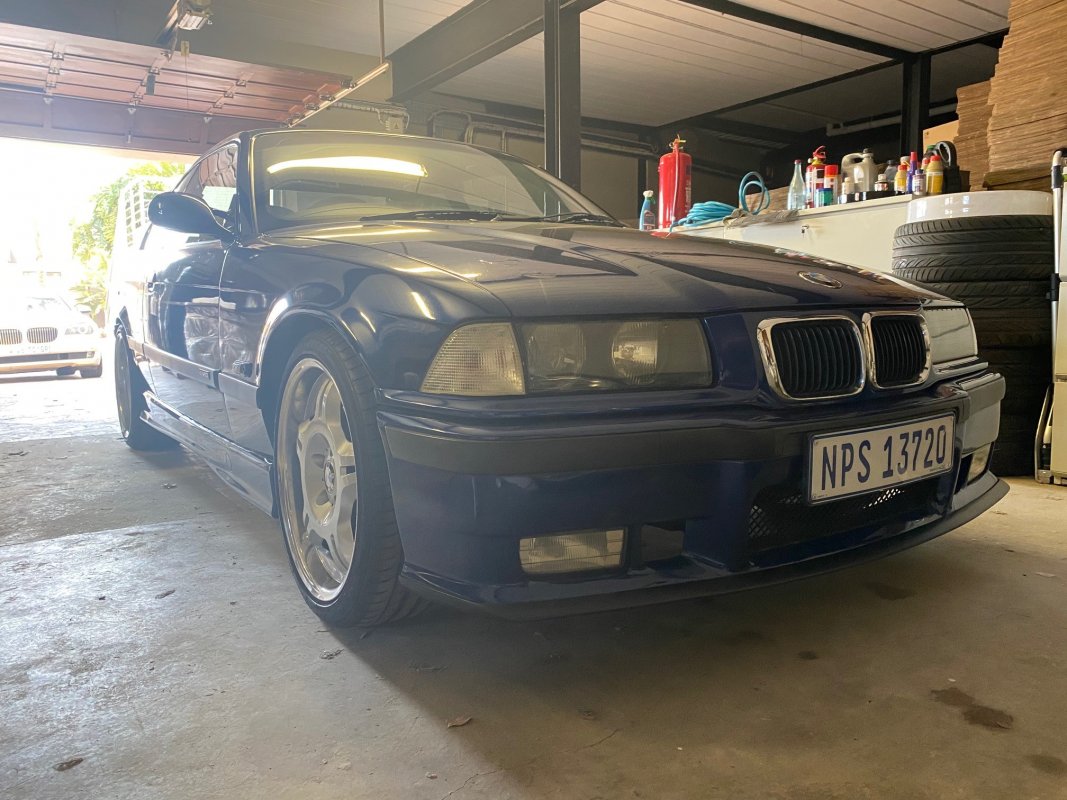
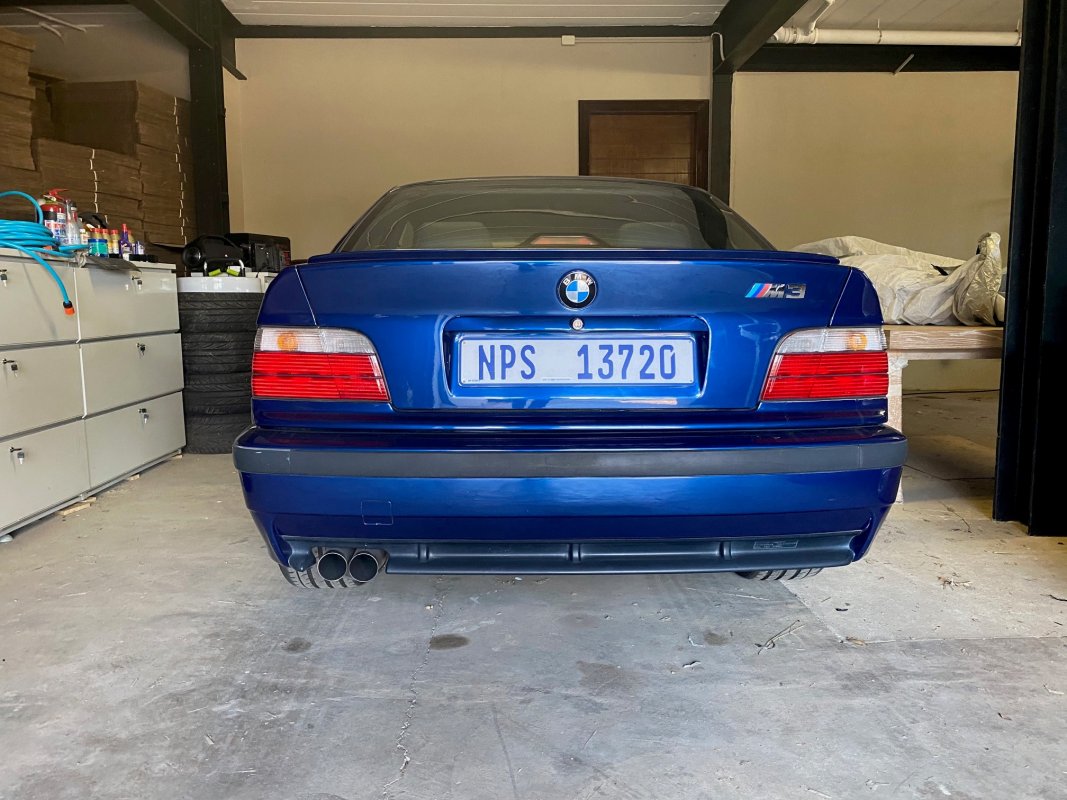
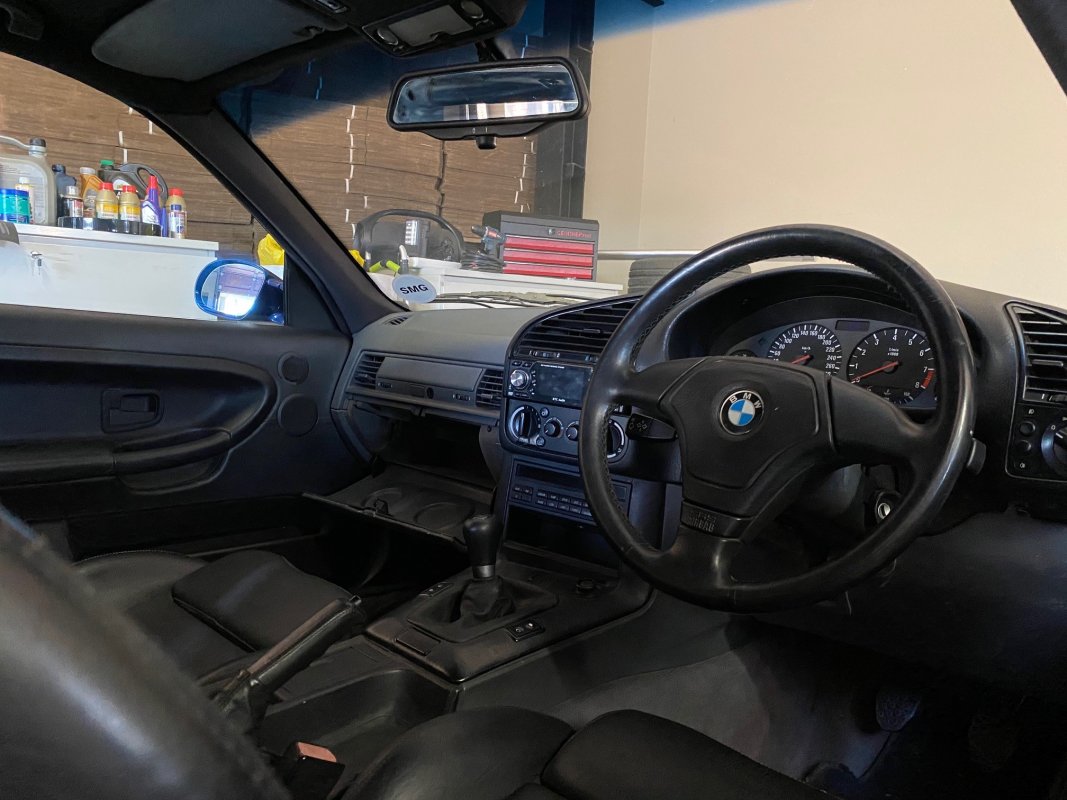
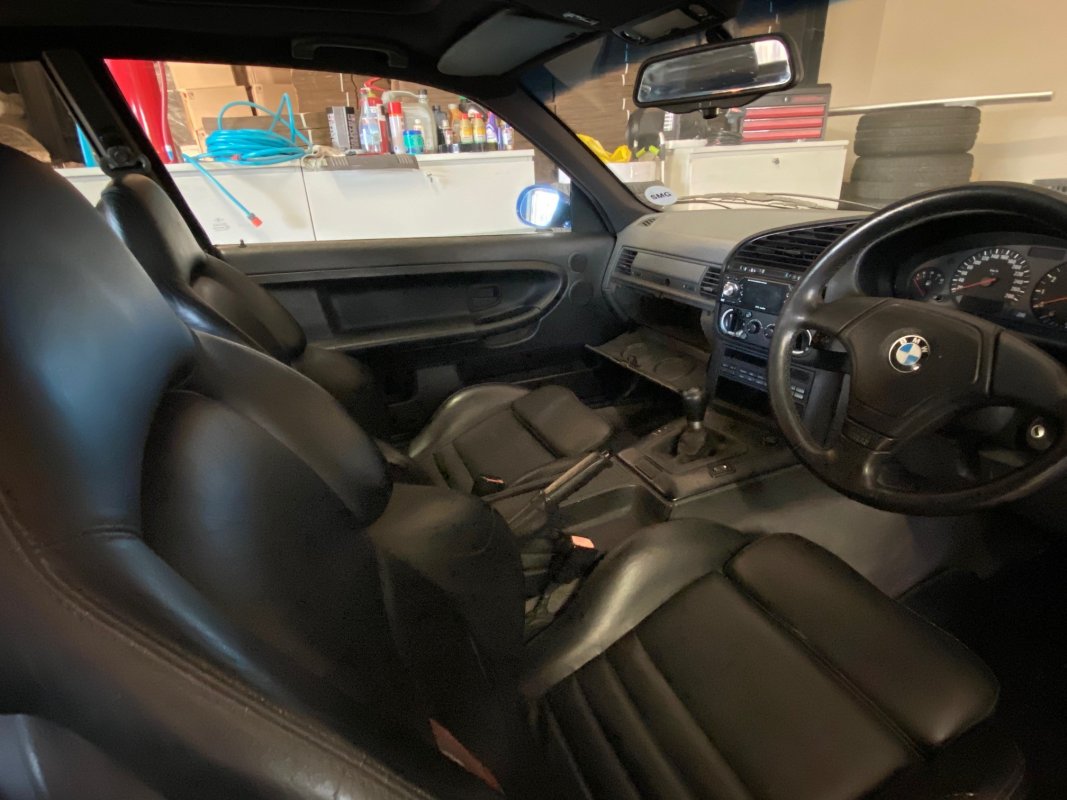
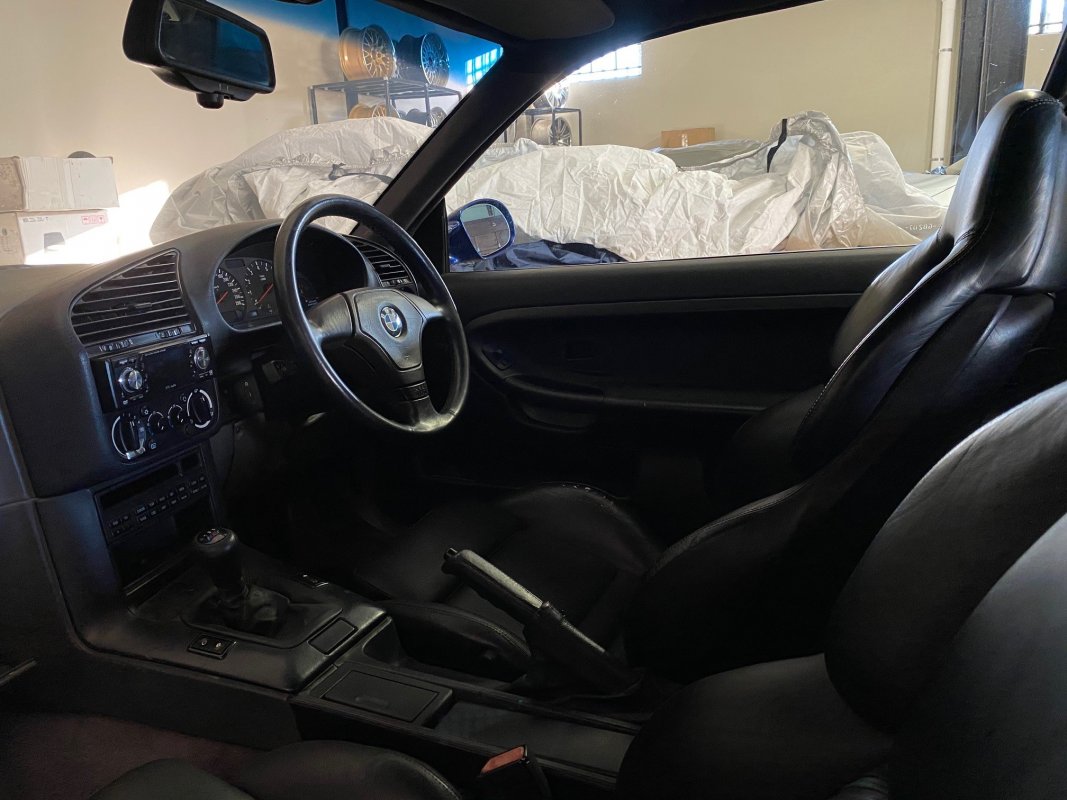
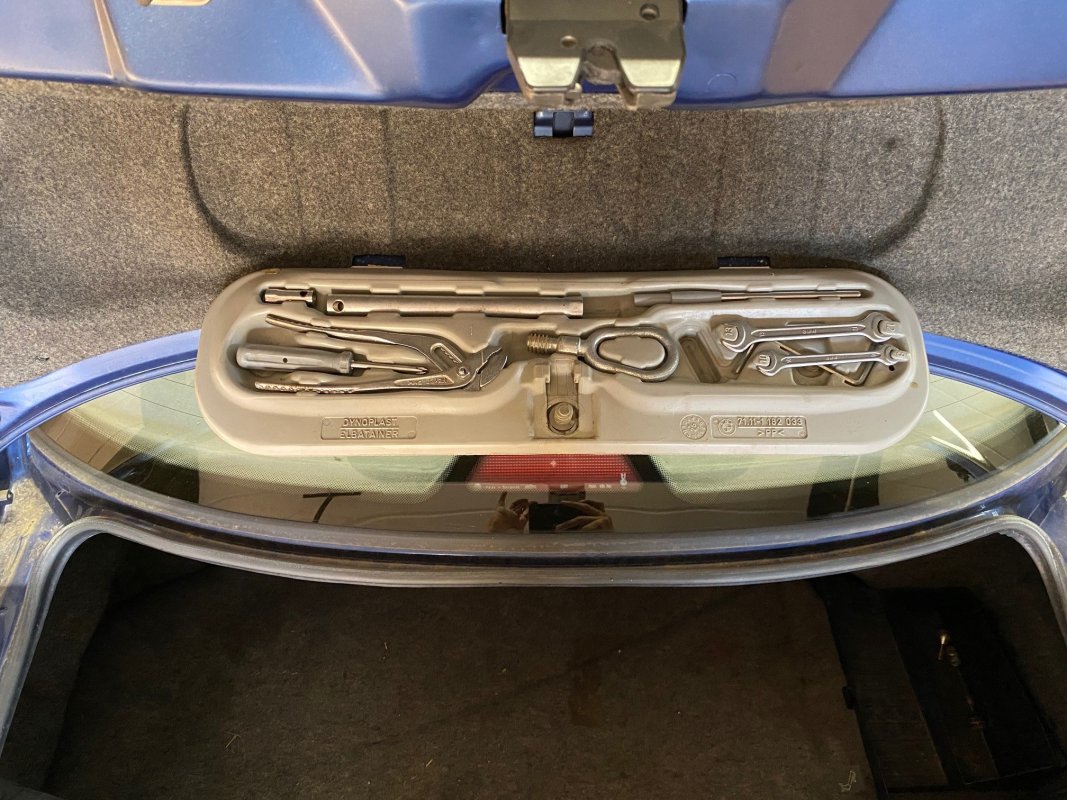
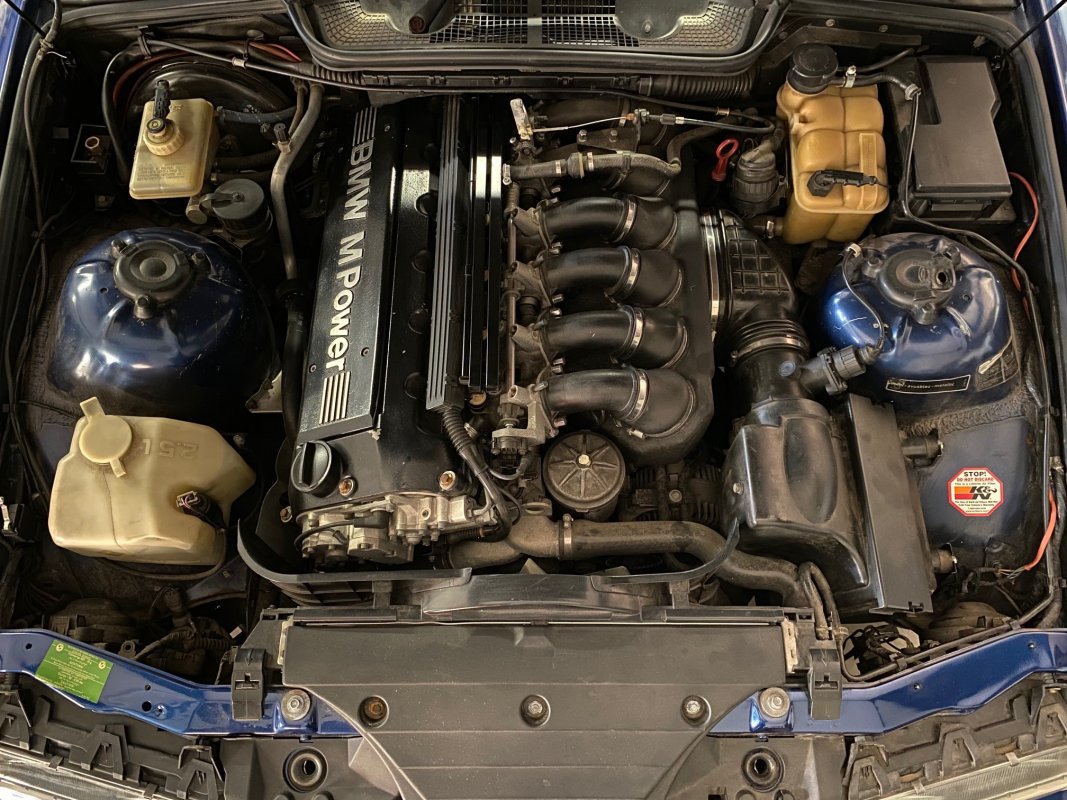
Next steps were, taking these photos (below) to keep on my phone.
My thinking was to look at them every now and then to see if I really wanted to take on an E36 street build or just do the basics, keep it to drive often and not go overboard on a restoration.
Took me about a month going back and forward in my head, looking at the car, making notes on what needed work before I pulled the trigger on a way forward.

Drove it as a daily for a week to get a good feel for the car as part of the decision making process.
What I did realize quite quickly was that it was still mechanically as good as Bruce built it back then.
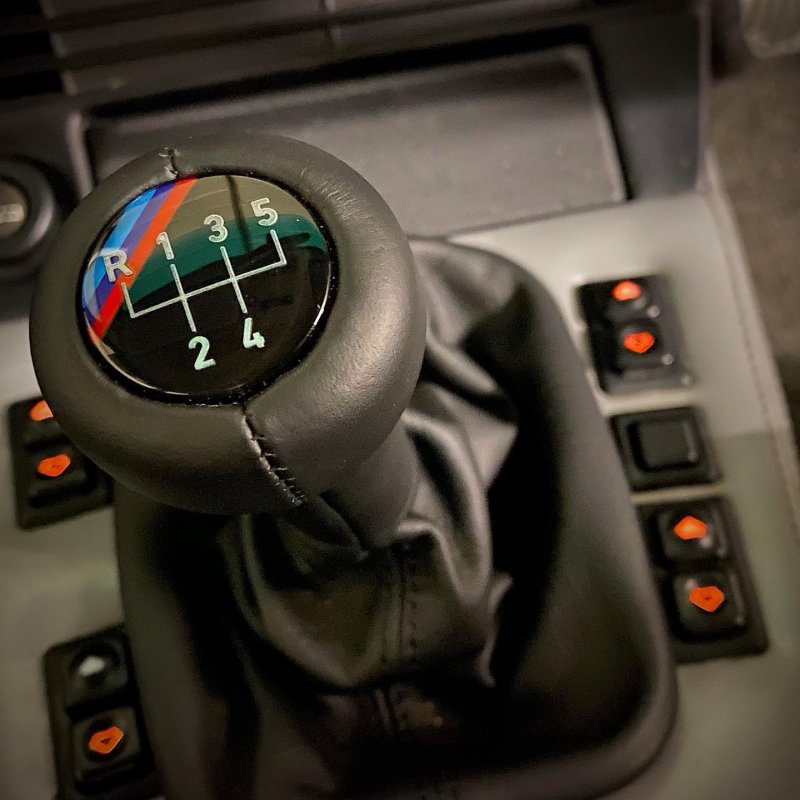
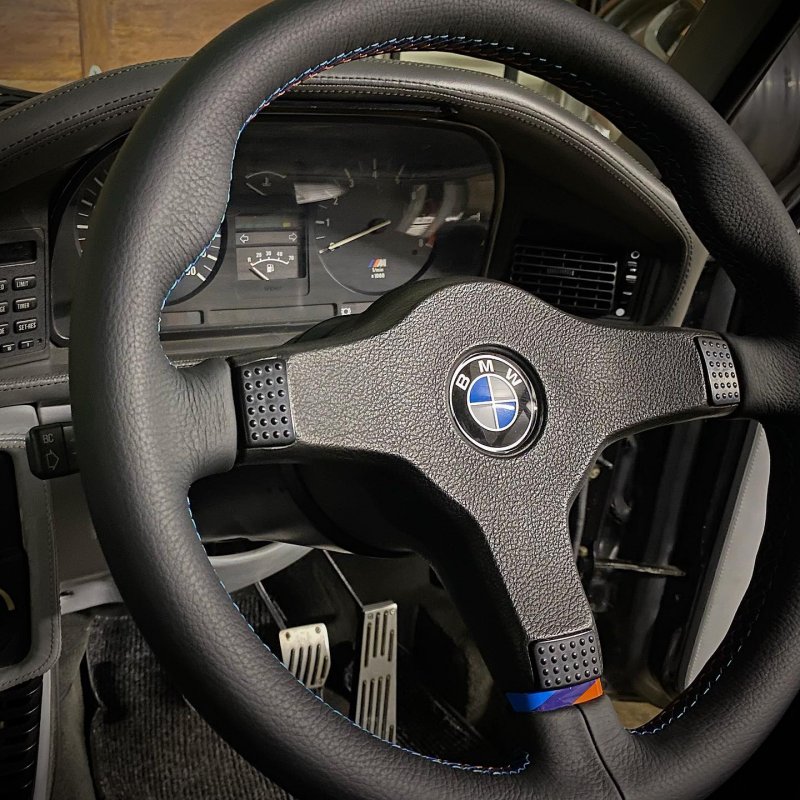
Driving it daily made me appreciate the car all over again, the handling, engine response, they way the interior made me feel sitting in it and most of all it had me hooked and understanding why this platform was so special and is becoming so popular (E36 in general) as it's such a connected feel about it to driving.
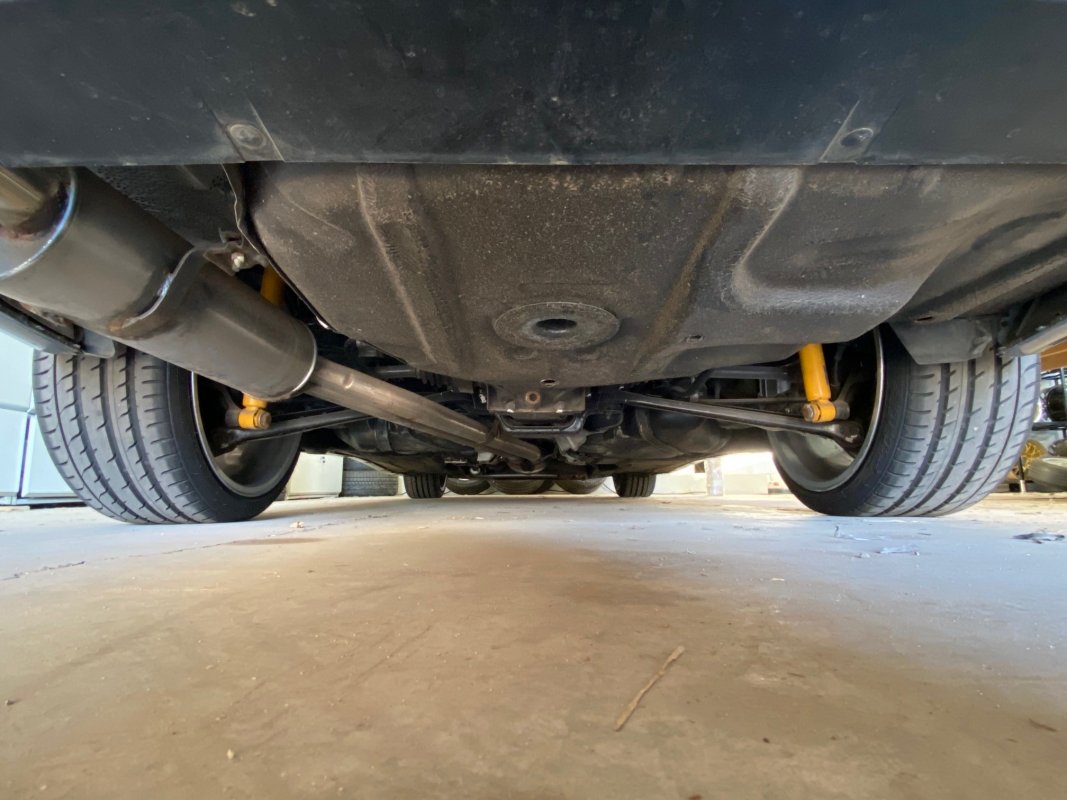
Even went as far as putting the car on a lift to do a full undercarriage inspection.
Undercarriage, suspension, brakes and engine all checked out way above my expectations (after a few years of sitting I expected a lot more mechanical work would have been needed).

g .jpgf .jpge .jpgn .jpgm .jpgk .jpg
p .jpgo .jpgl .jpgi .jpg
 

osiris

///Member
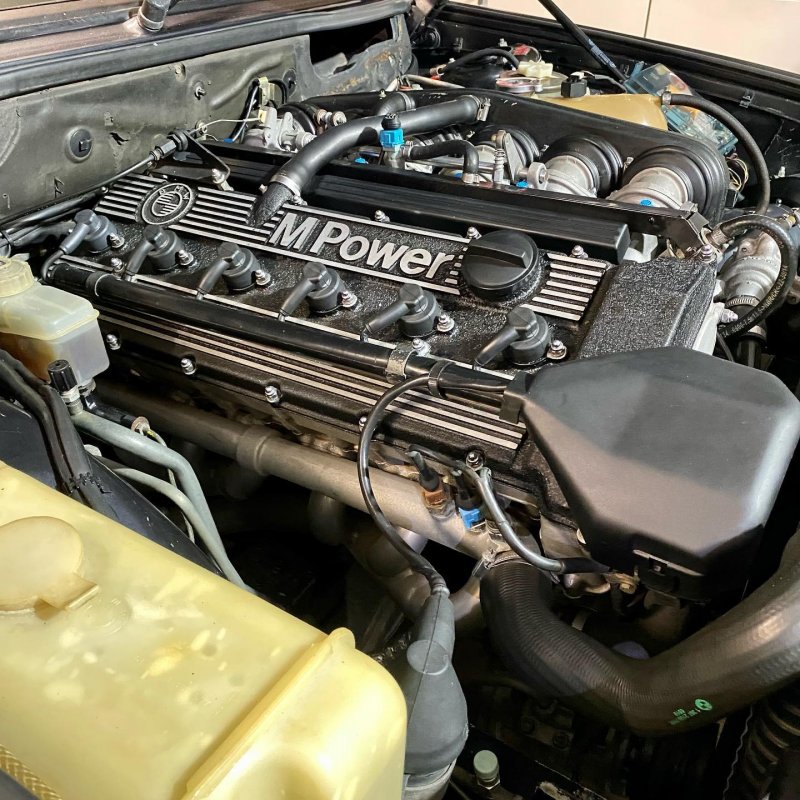
This car is such a stunner! The only things I would definitely want to change to really get it to mint status is the 3 fluid bottles in the engine bay. Well that's what I would change at this point as they have gone brown over the years yet everything else on the car looks so new :)

Loving this thread so far!
 

Gordvisr

Well-known member
Must say, am pretty happy for my first attempt at full car detailing.
I now fully understand why good detailers charge what they do.
Hours and hours pass looking for 1% improvements, lighting areas to see if you done it well enough and you obsess about is it (interior) clean enough . You actually become obsessive about the whole process.

Onto some quick post detail photos

PS: Used Opticoat Gloss Ceramic Gloss Coat.
Picked this as it lasts 3 years and is easier to remove than pro if I got it all wrong and had to start again.

View attachment 7643

Picked up a torque stick and plastic covered socket from Teng Tools.
Makes changing wheels FUN

View attachment 7644

View attachment 7645

View attachment 7646

View attachment 7647

View attachment 7653

View attachment 7649


View attachment 7650

View attachment 7651

Not to bad for a car from 1988
What am I saying and who am I trying to fool.
It's probably one of the best cars from the 80's, or at least that's my opinion.
Looking at it now, Peter K and I should have posted the whole build/restore process on this car.
Mechanically she is absolute pure perfection (Peter really is a perfectionist, not great for ones wallet, but great for the outcome. LOL) and now she looks as good as she drives.
There is something about getting into an older car and knowing you will definitely reach your destination without not only breaking down but that you can really drive it hard and enjoy every piece of tar you cover.
Thank You Peter Karvelas

View attachment 7652
this car looks very good, that red car in the background, goosebumps, also yours ?
 

FILV

Well-known member
The e28 is looking good Elton. Just in time for summer.
Loved seeing your beautiful machines last year, hopefully will see them soon again.
 
Top