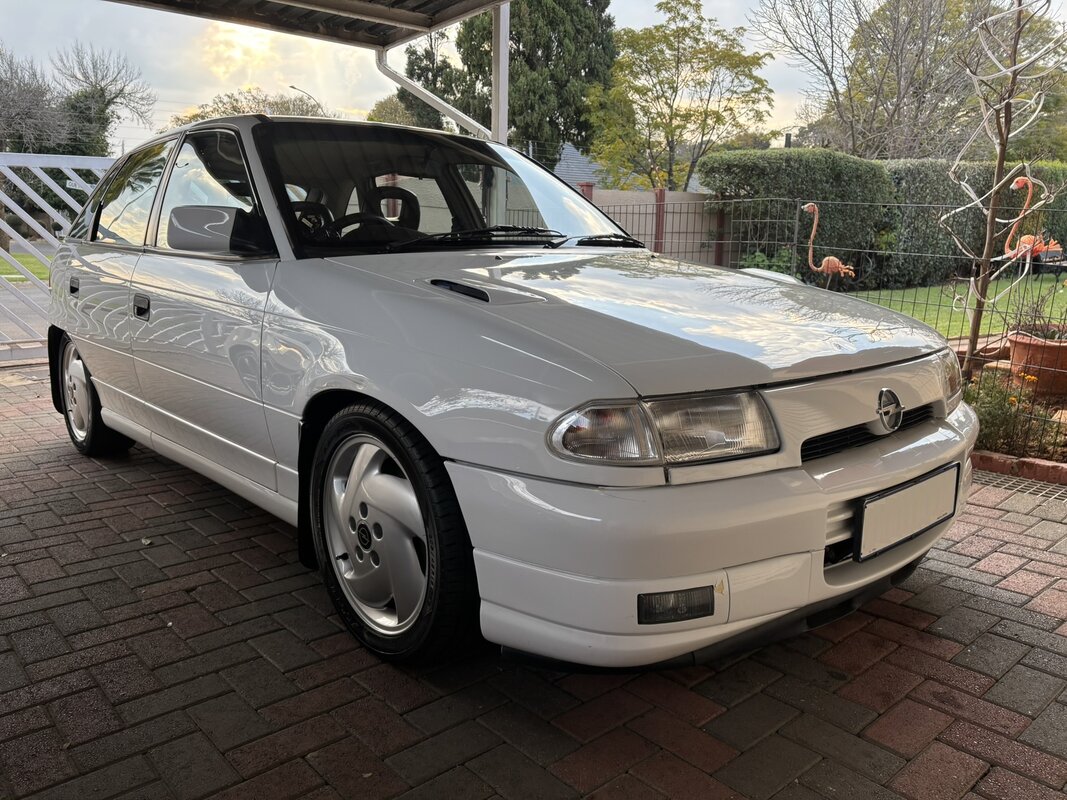
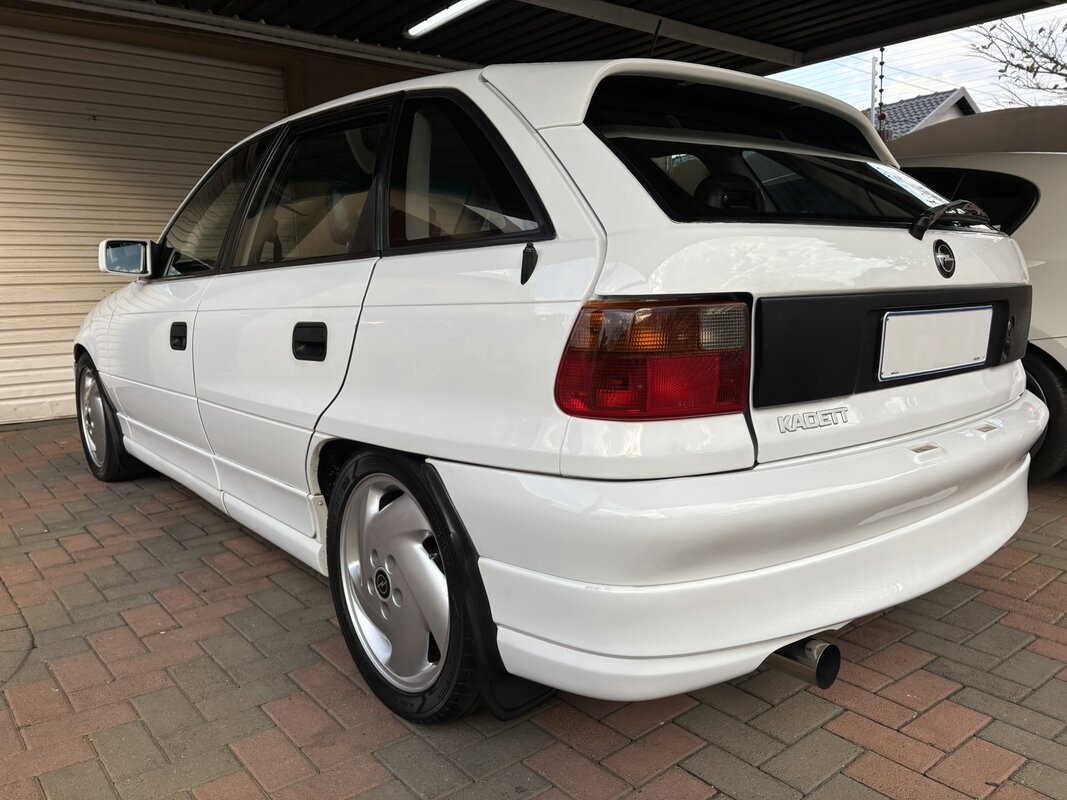
Gavsadler’s 1st Classic, and a South African Special

FILV

Well-known member
So cool to finally see what a stock one makes at the wheels.
150wkw in its days was crazy. An E36 M3 makes around 160wkw from what i remember, so that just puts it into perspective.

So nice to see 6 x 9's on a backboard again

Well done on the build so far
 

gavsadler

///Member
Let me crack on with the updates:

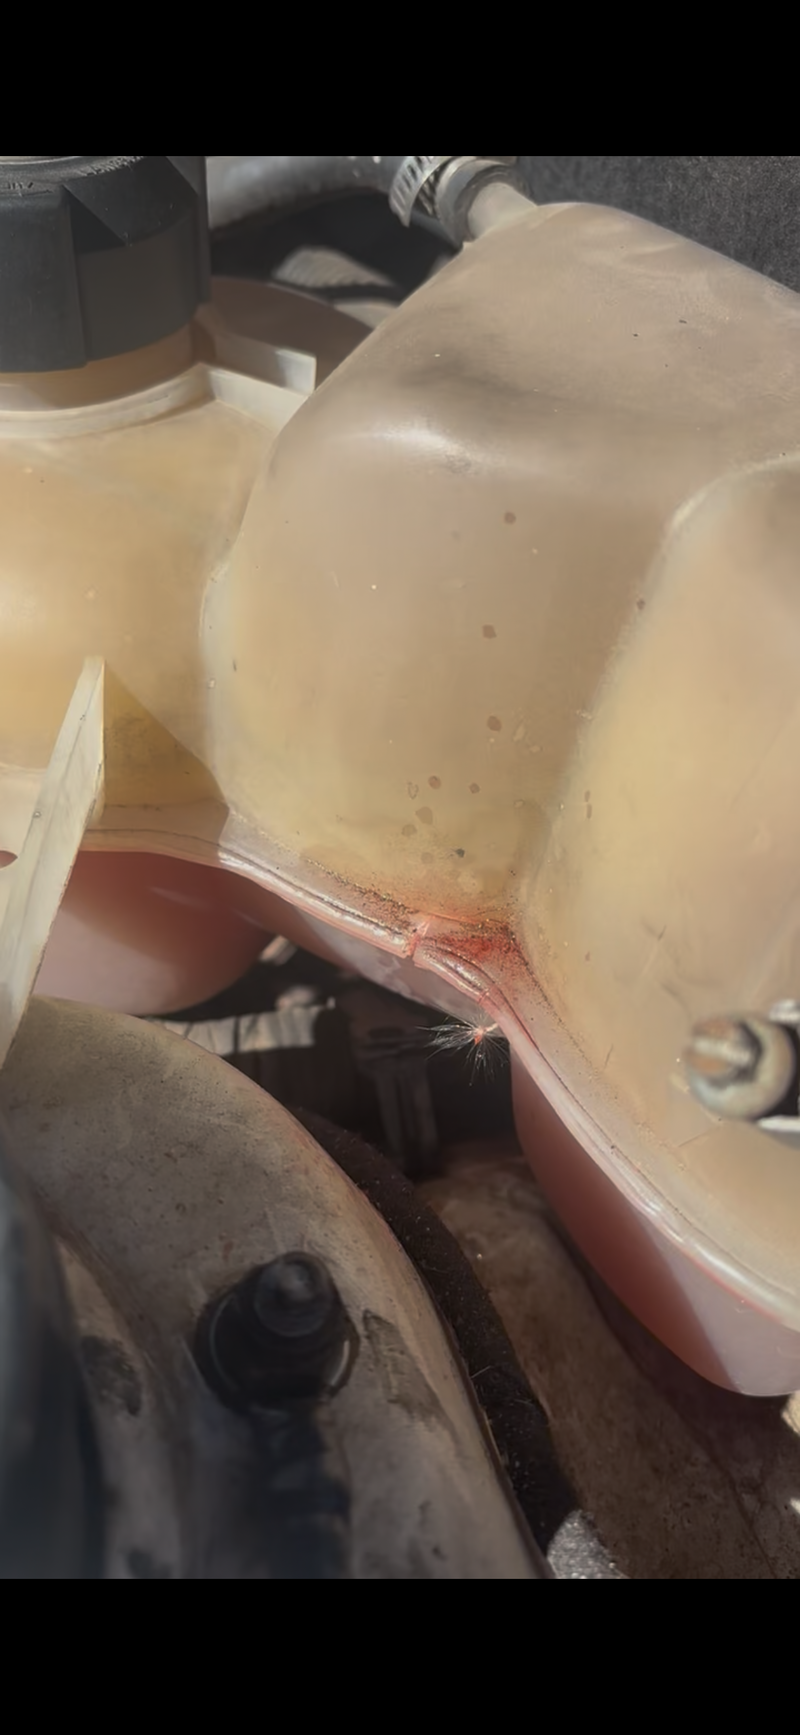
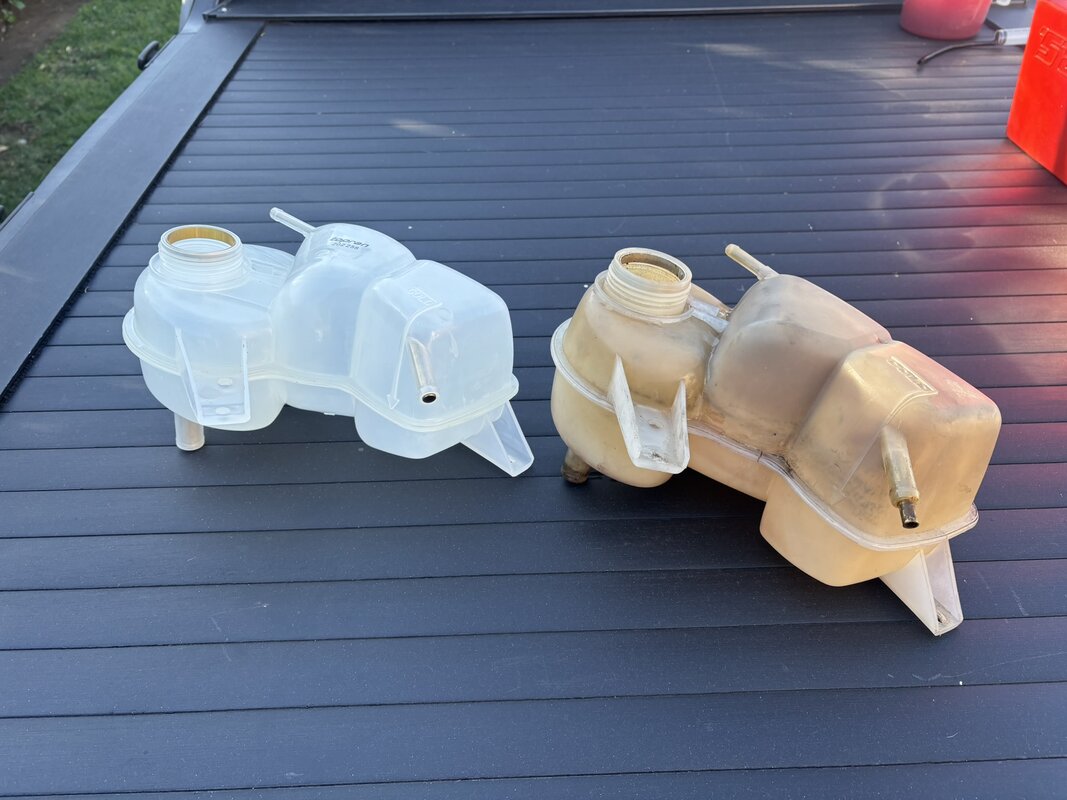
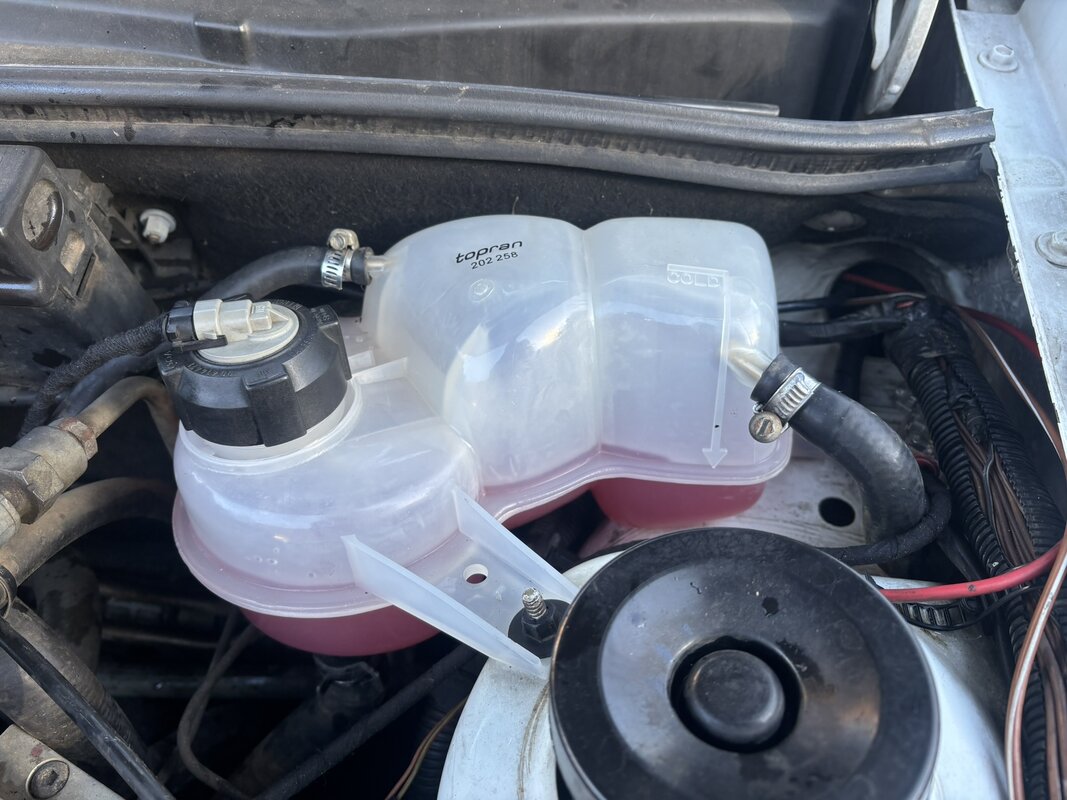
Elsewhere, there is a thread about 90s cars, and mention is made of the maintenance required. I'll add my 2c here for now. So during my intermittent drives, I noticed the temperature gauge getting hotter than normal. Thankfully I was not far from home, so idled back home and parked. Investigations pointed to the radiator fan not coming on, due to one of the plug wires on the temperature switch had popped off. Anyway, reconnected that, and the fan was working again as intended. This was simple enough, however further checks revealed that the coolant bottle was split in 2 places and leaking. I suspect the increased temperature in the system caused this issue to become more pronounced.

The ex-owner had a spare coolant bottle, and it was part of the sale agreement, so again this was a quick 30min repair.

IMG_6741.PNG

IMG_6738.JPEG

IMG_6740.JPEG

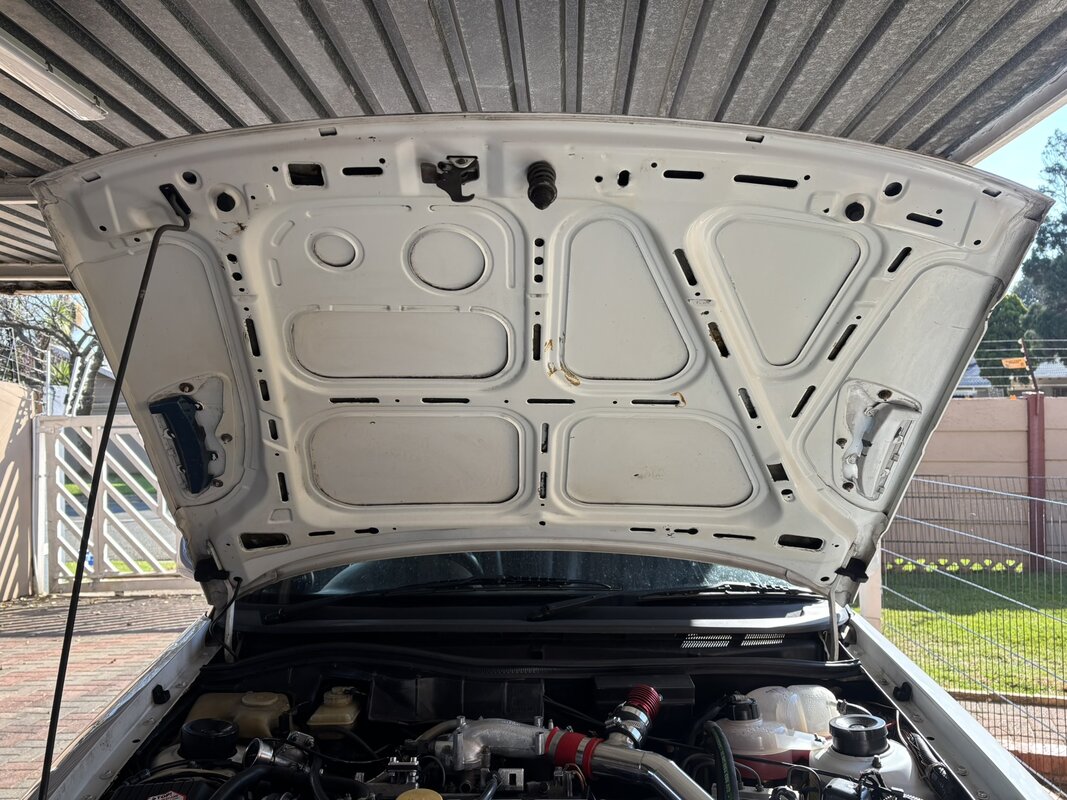
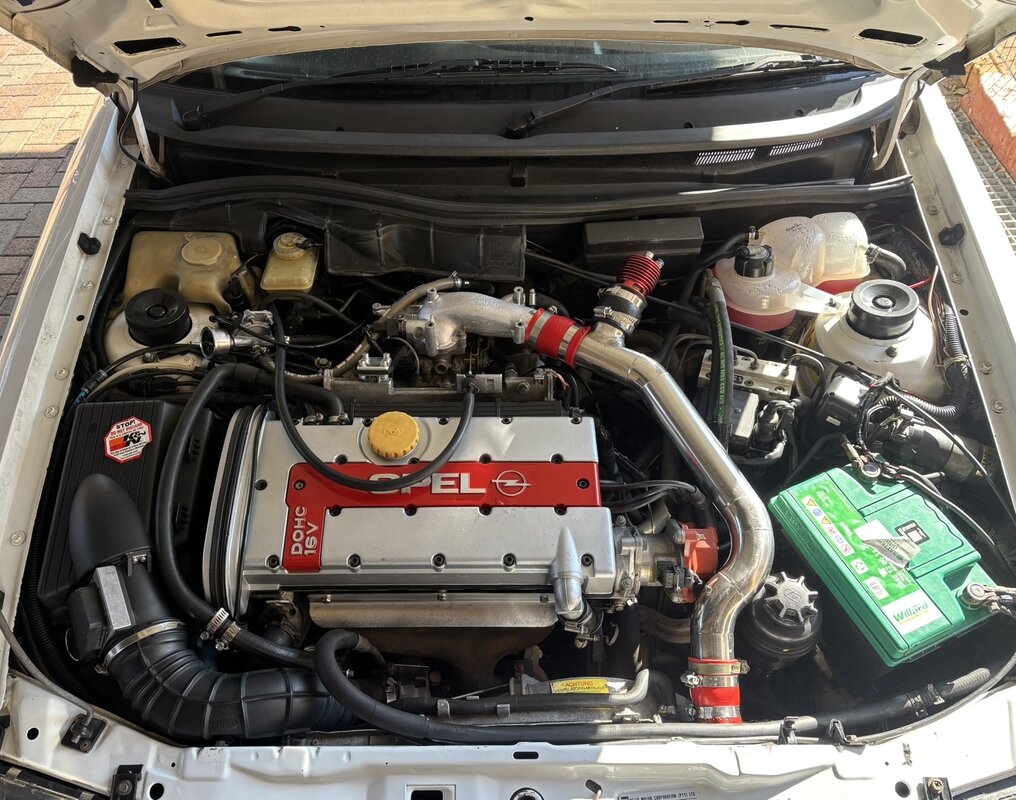
I also removed the bonnet lining, and thereafter gave the underside of the bonnet, and the engine bay it's first proper clean:

IMG_6763.JPEG

IMG_6762.JPEG

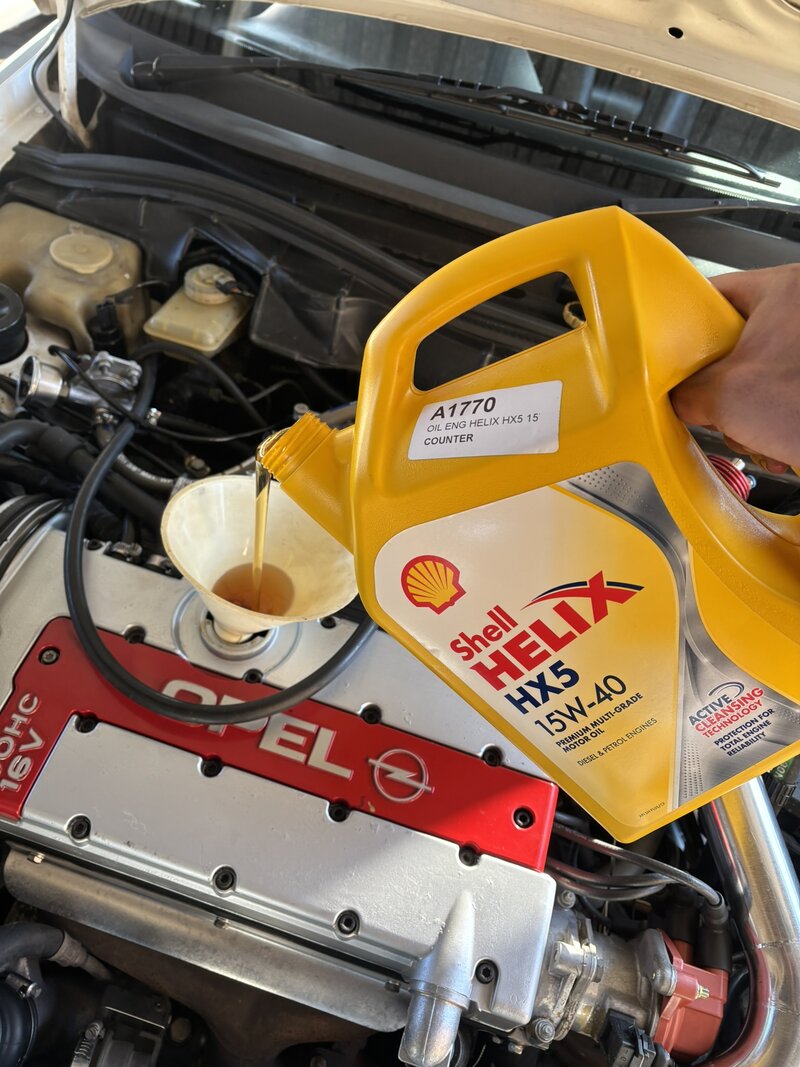
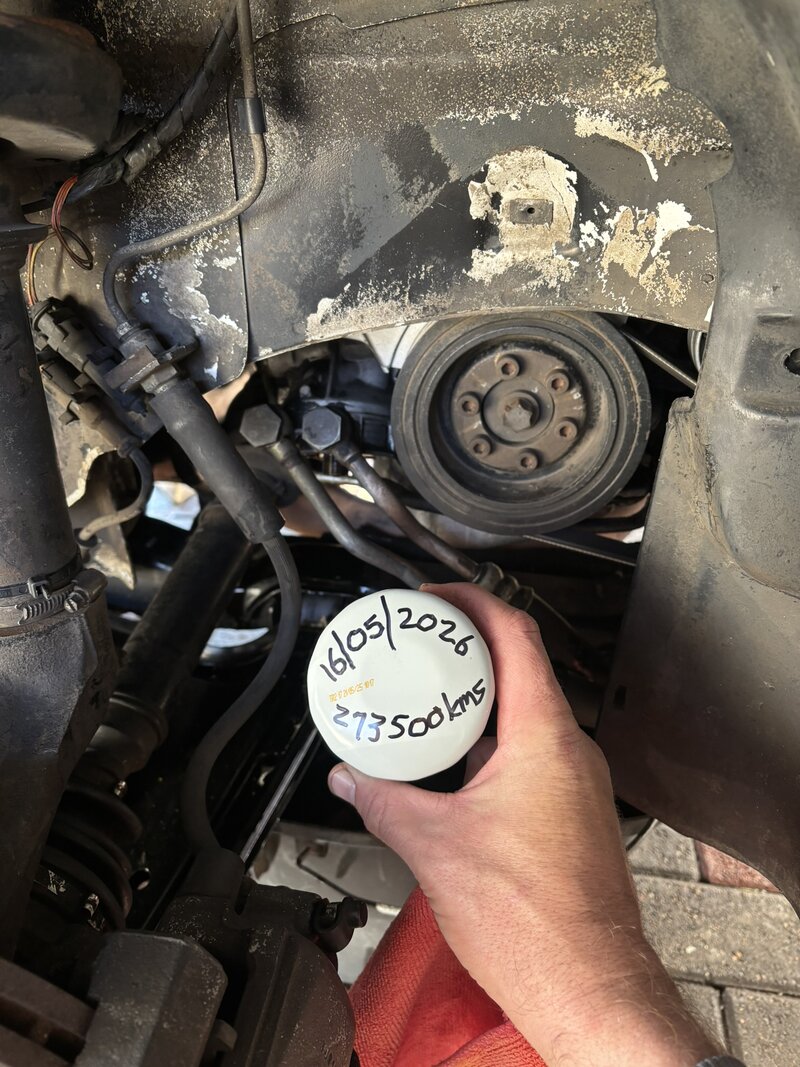
Moving onto some mechanical maintenance, the car was due for it's annual oil change, so I took care of that and cleaned the (K&N) panel air filter.

IMG_6773.JPEG

IMG_6772.JPEG

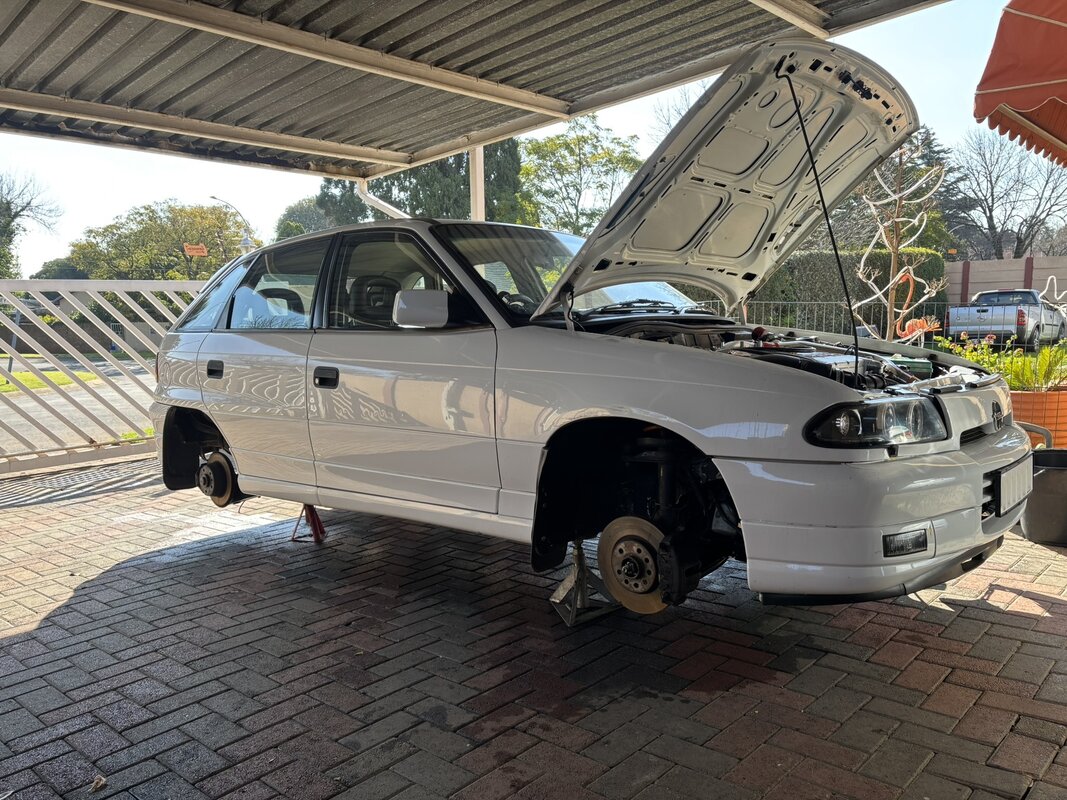
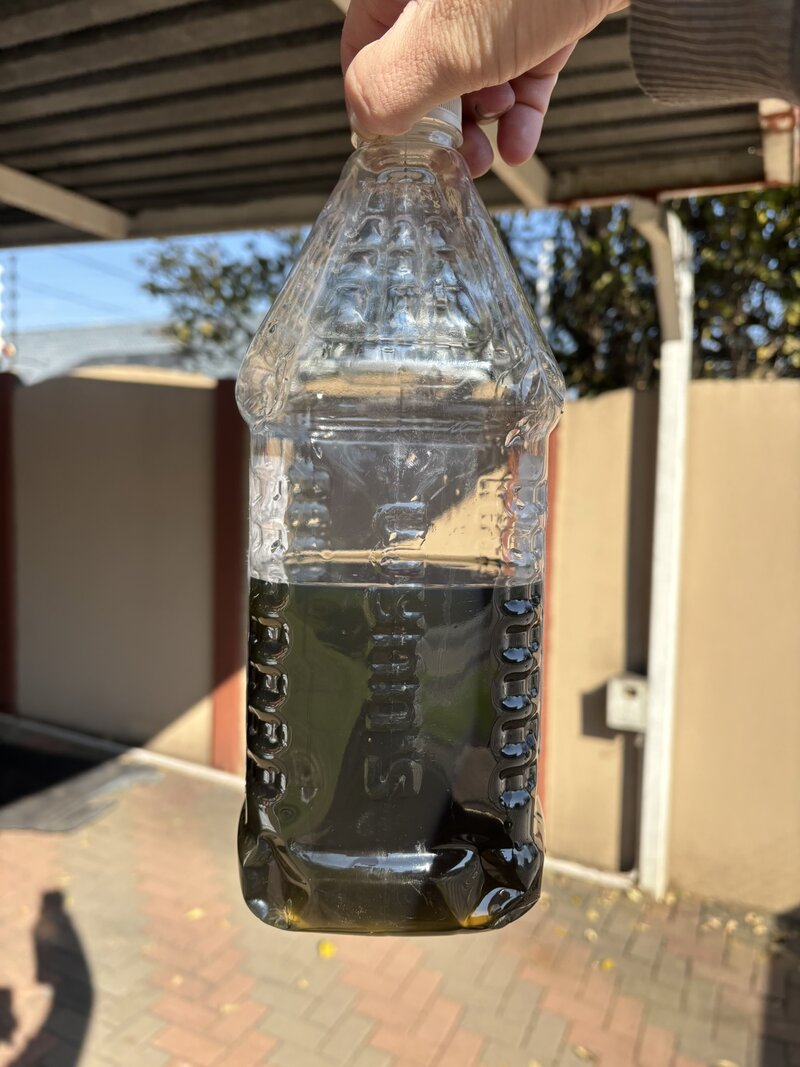
Next up, time to bleed the brakes. I was not sure when last it was done, although the colour of the fluid which came out points towards yonks ago.

IMG_6766.JPEG

IMG_6764.JPEG

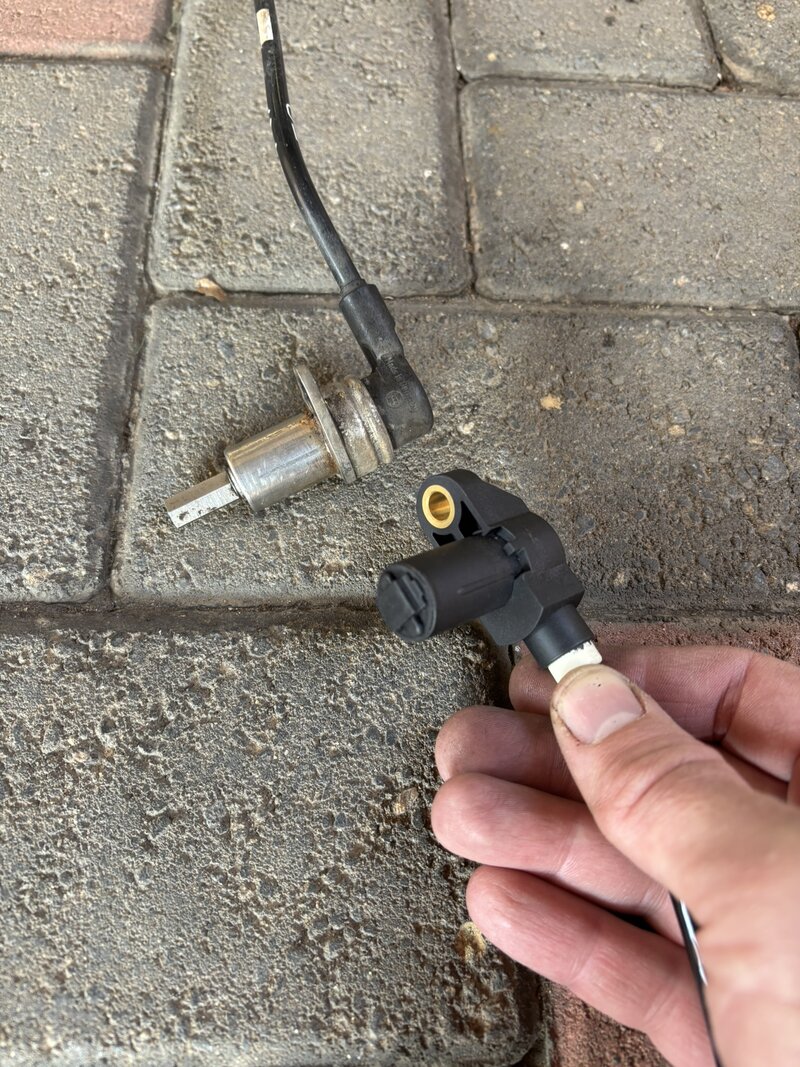
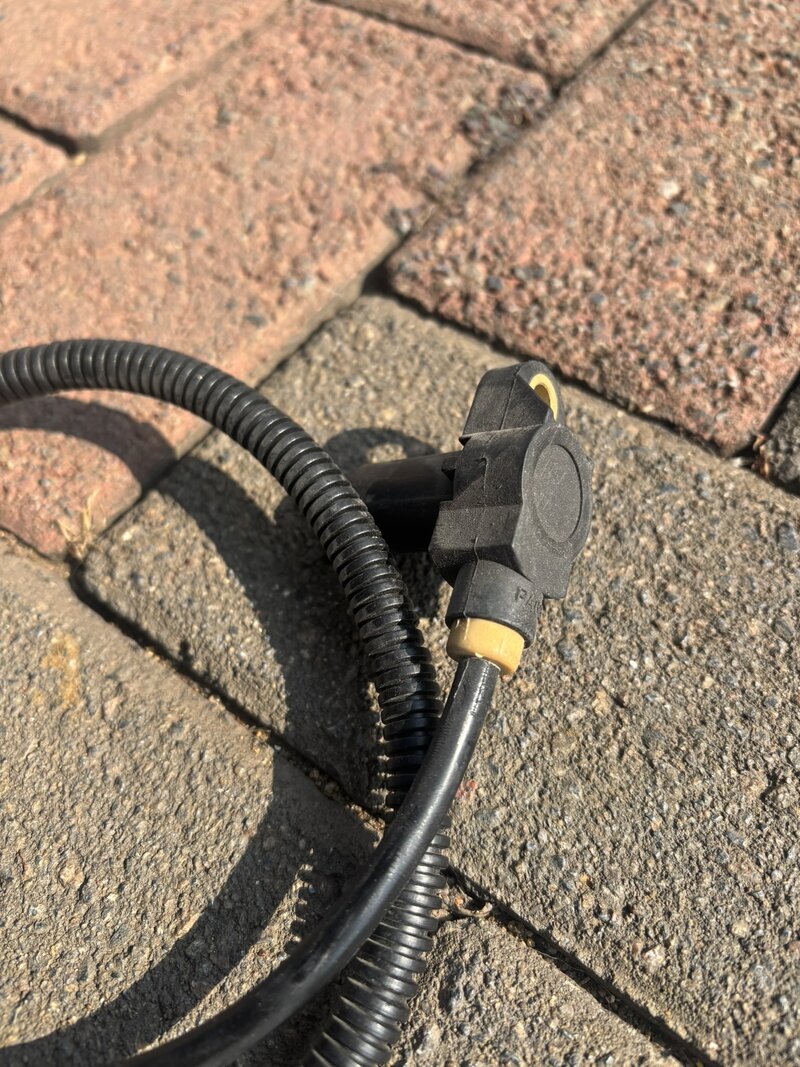
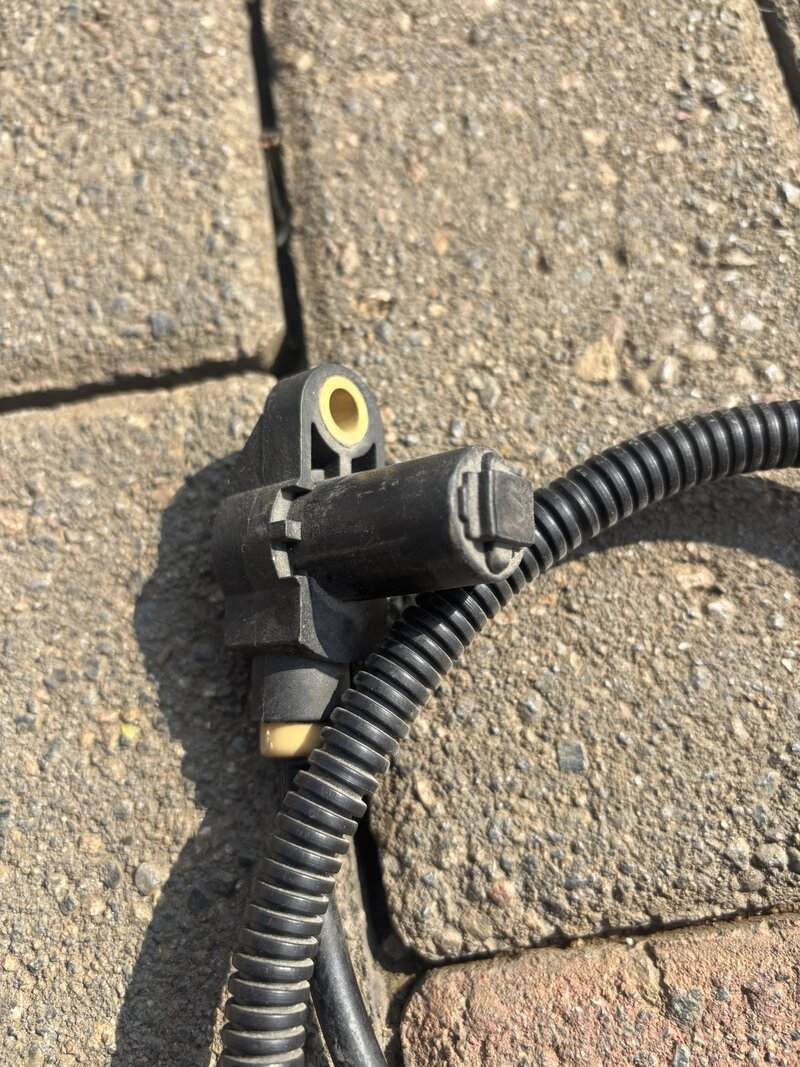
I have an issue with the ABS light showing in the cluster, which I initially thought was a broken rear sensor, although after repairing the wiring, the fault persisted. Next plan was to replace both front sensors (to be done later on, I still needed to source an additional sensor).

For reference, the top sensor is for the rear wheels, and the bottom sensor is for the front wheels:
IMG_6770.JPEG

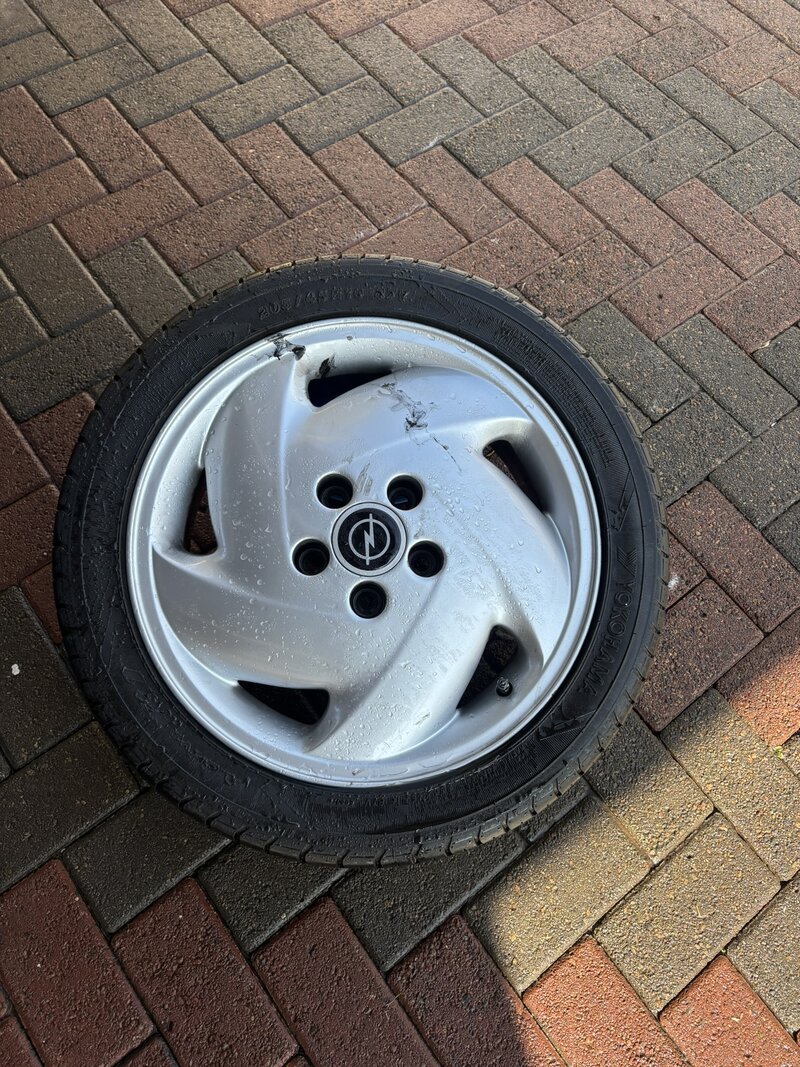
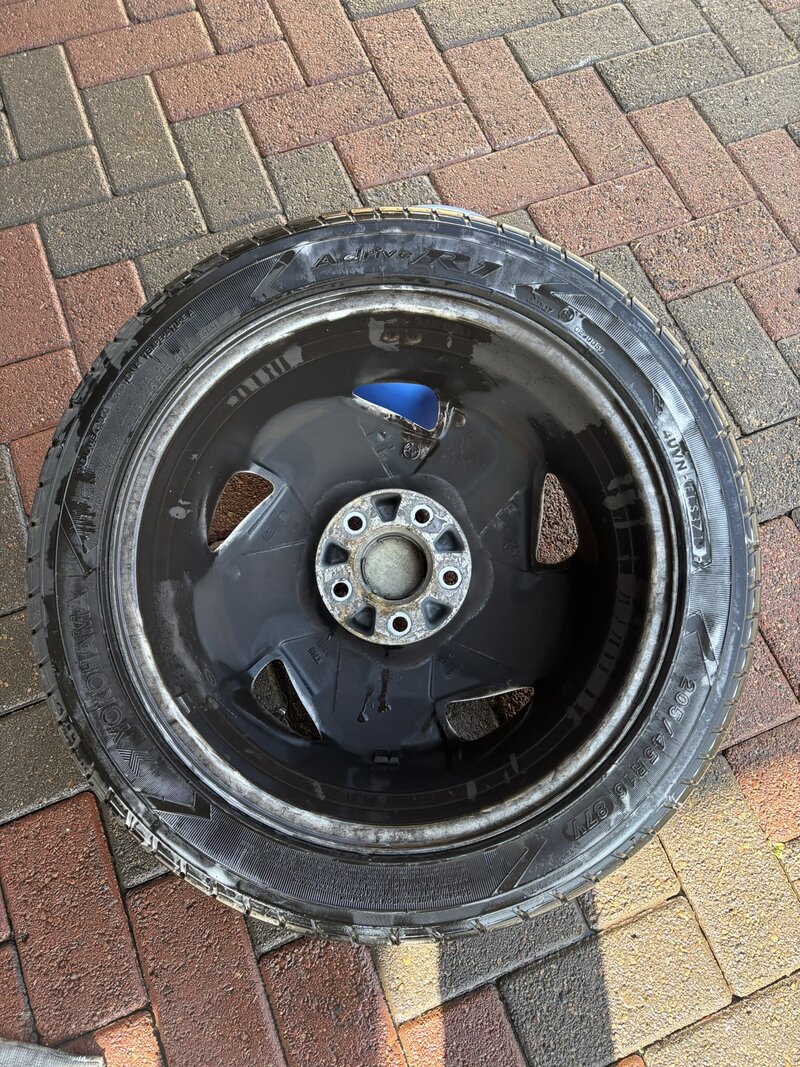
The rest of the wheels and tyres were also thoroughly cleaned and polished / coated / treated before going back onto the car (these too have not had a "wheels off" clean in quite some time):

IMG_6758.JPEG

IMG_6759.JPEG
 

gavsadler

///Member
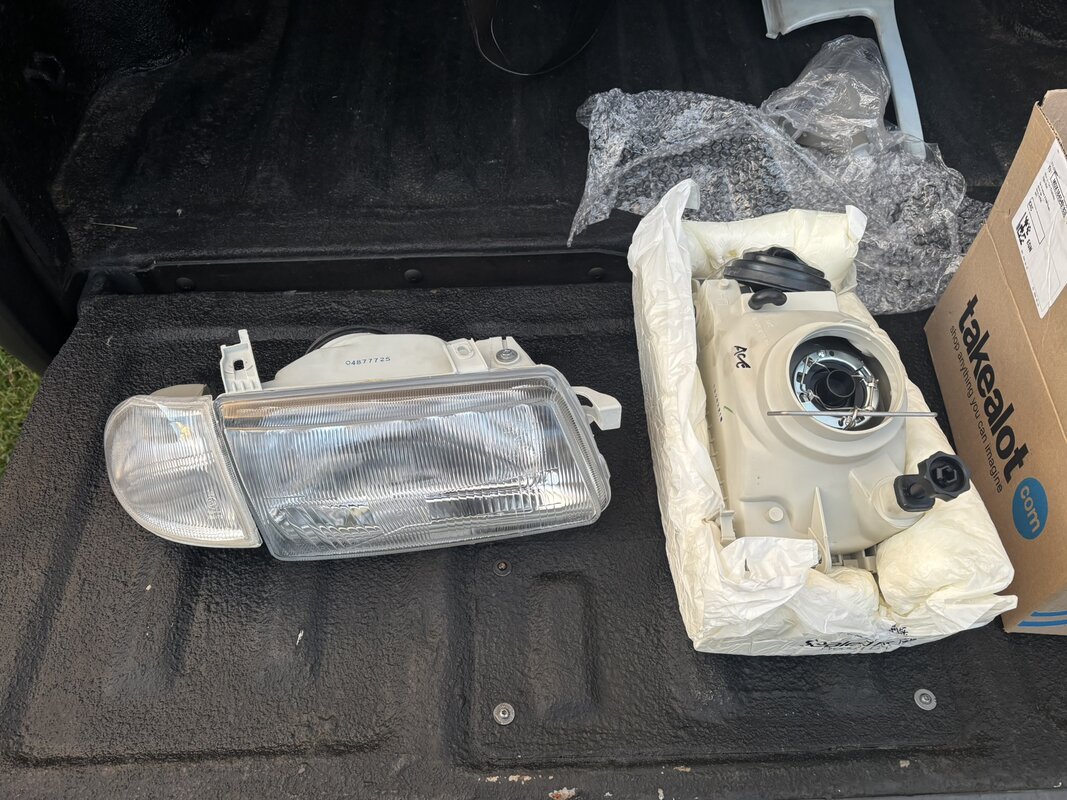
In the meantime, my new headlights and indicators had arrived, so it was time to get round to fitting them.

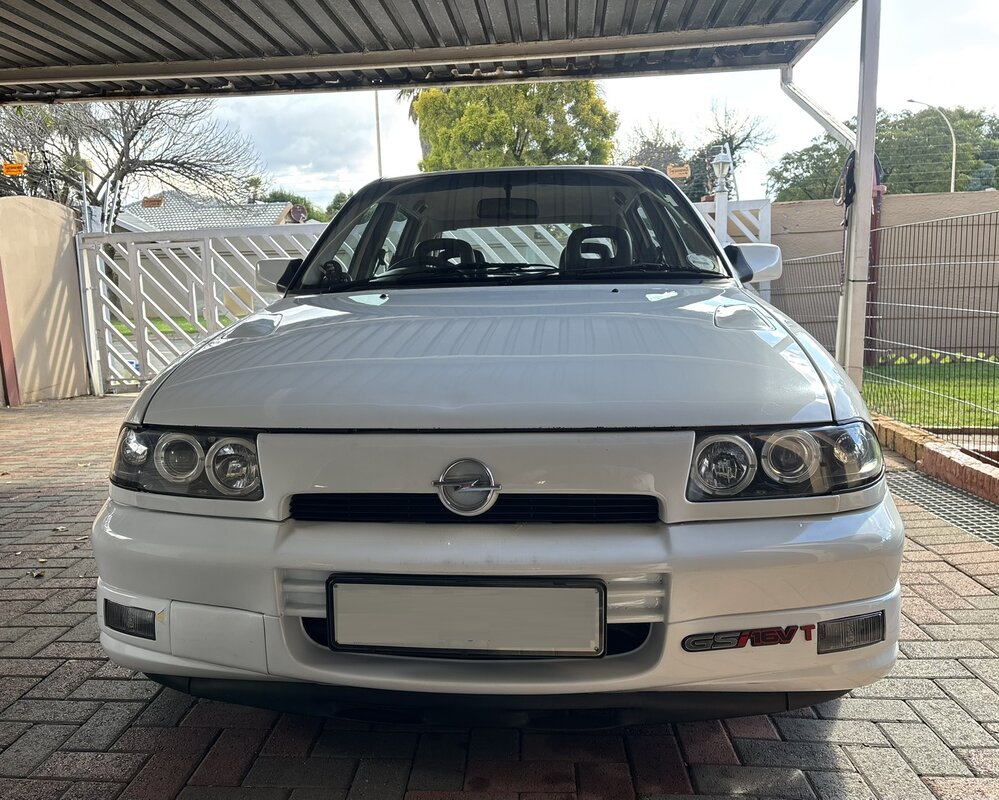
Last view of "Before" (also with now-removed bumper badge):

IMG_6599.JPEG

IMG_6647.JPEG


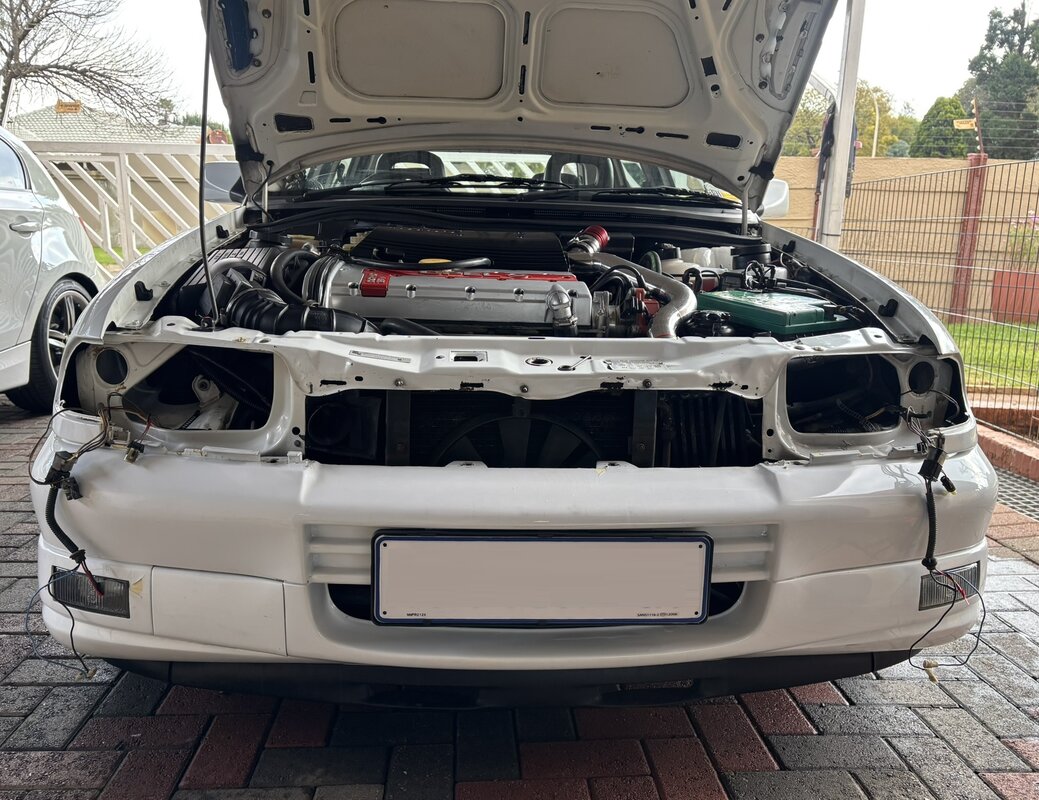
Headlights removed, and some wiring to tidy up:
IMG_6778.JPEG

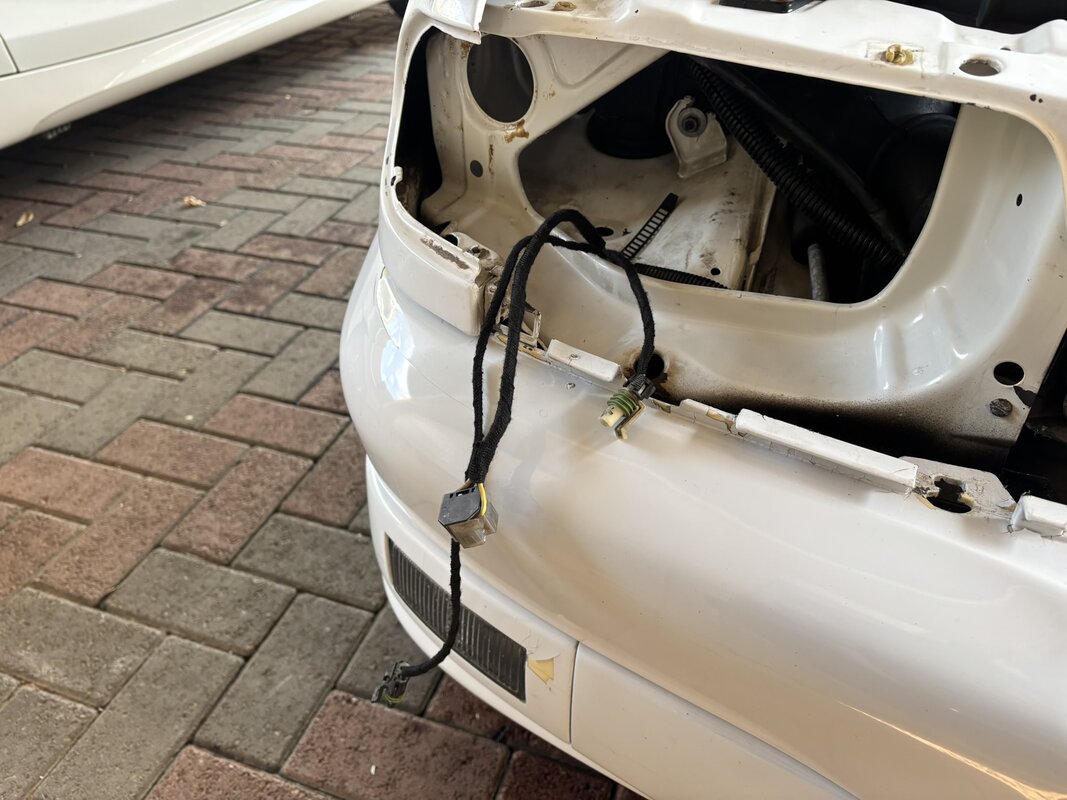
Ready for the new lights to be installed (also after cleaning in and around the area):
IMG_6779.JPEG

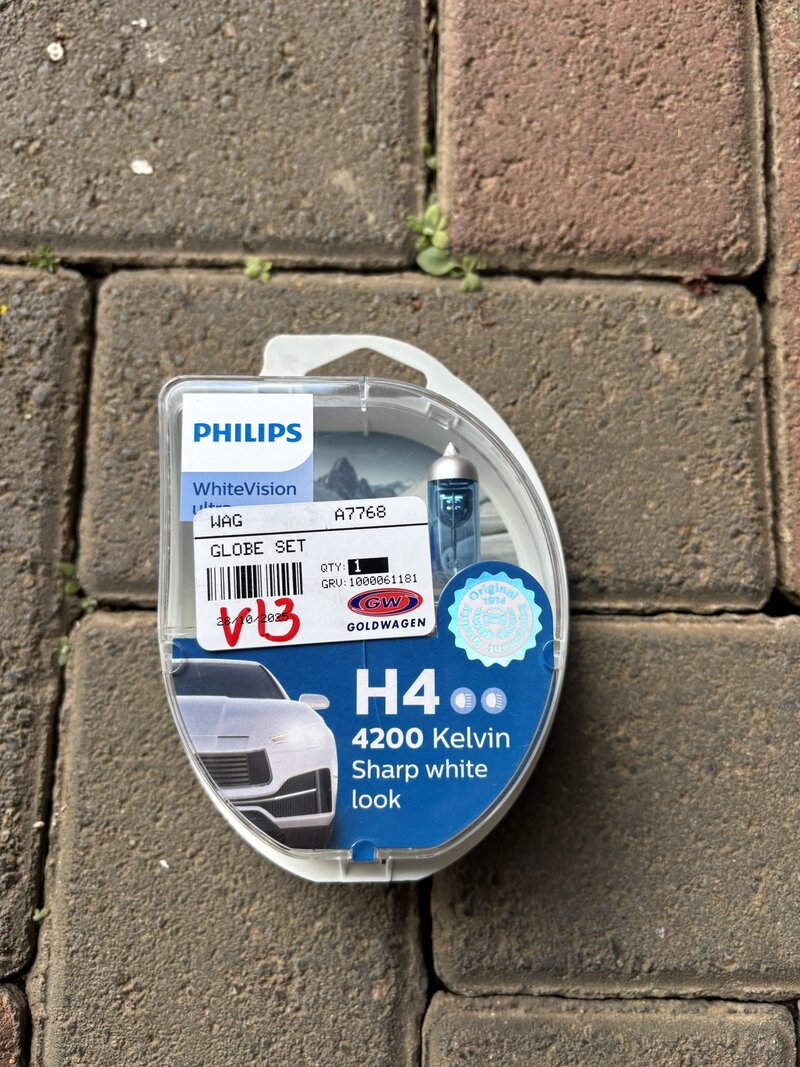
I wanted to get some decent bulbs, so opted for these Philips items, they even have blue park lights, lol:

IMG_6783.JPEG

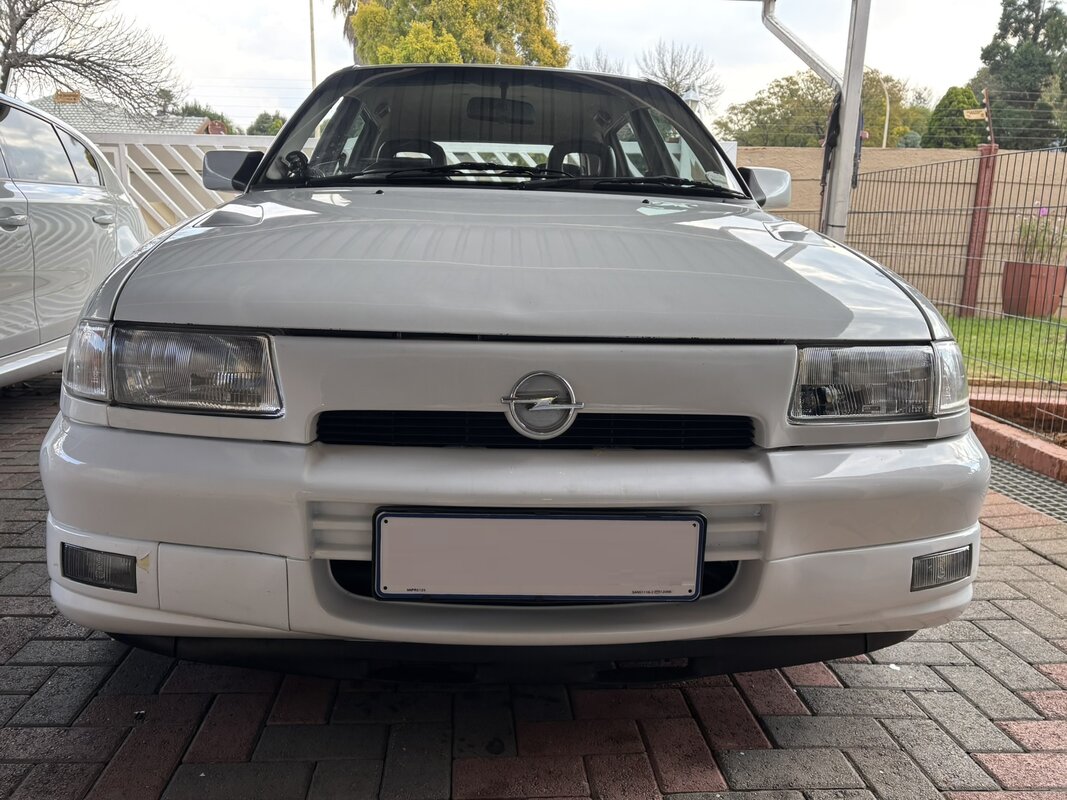
Drum roll please, and a big sigh of relief and satisfaction:
IMG_6787.JPEG

A couple of days later, we were at another weekend, and as such, time to spend a day doing some exterior detailing. I used my trustworthy combination of TRC, Menzerna, P&S and Solution Finish products.

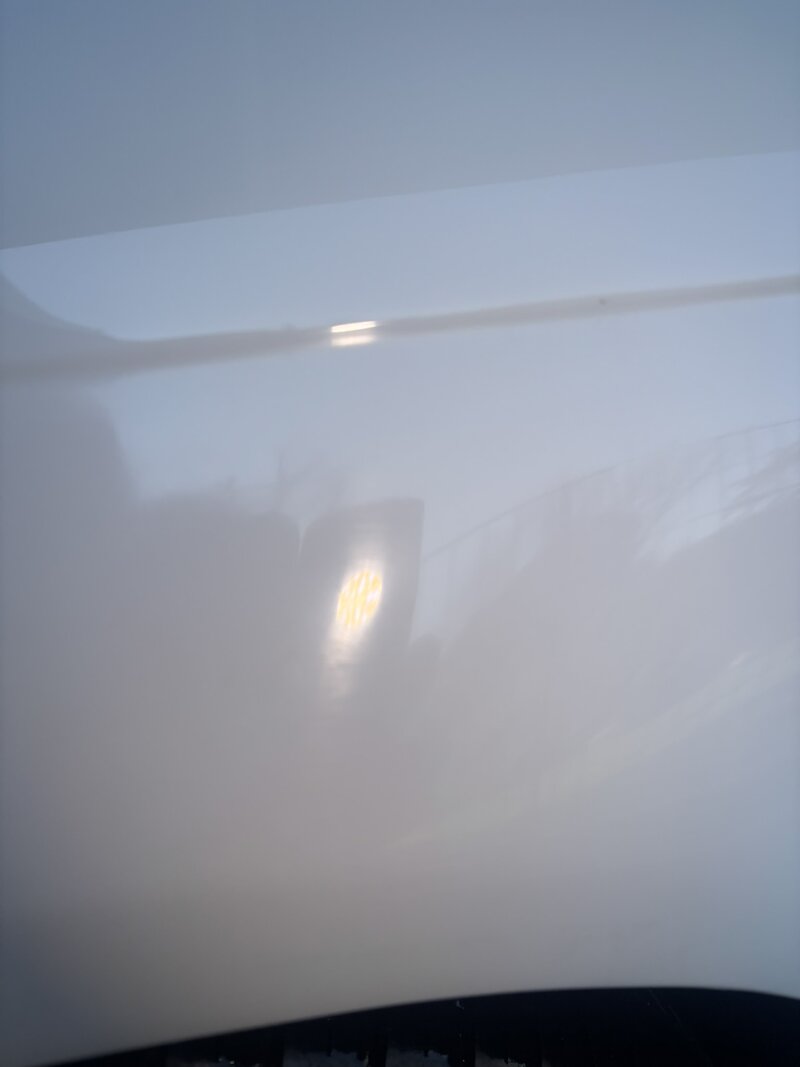
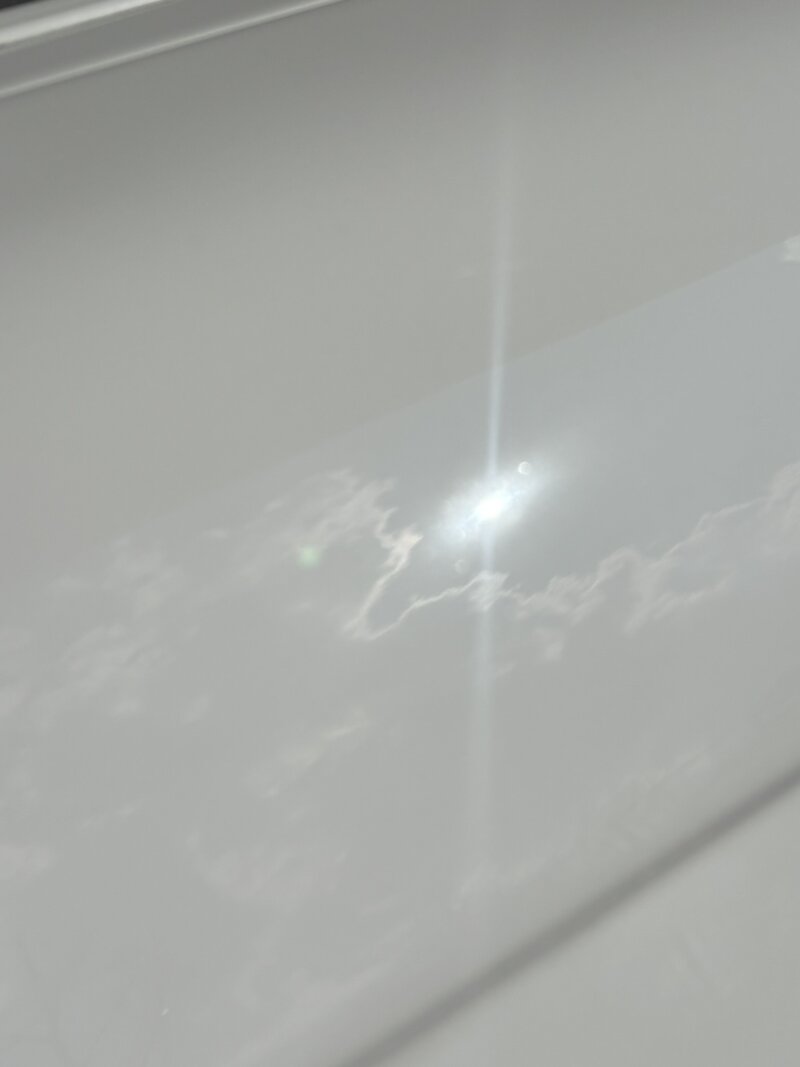
Here is the front left fender before polishing, the sun inspection light was not very round at all, more like a splat in the swirls and scratches:

IMG_6827.JPEG

I decided to try Menzerna Cut Force Pro only, it has 9/10 cut and 9/10 gloss. This was after a couple of passes:

IMG_6825.JPEG

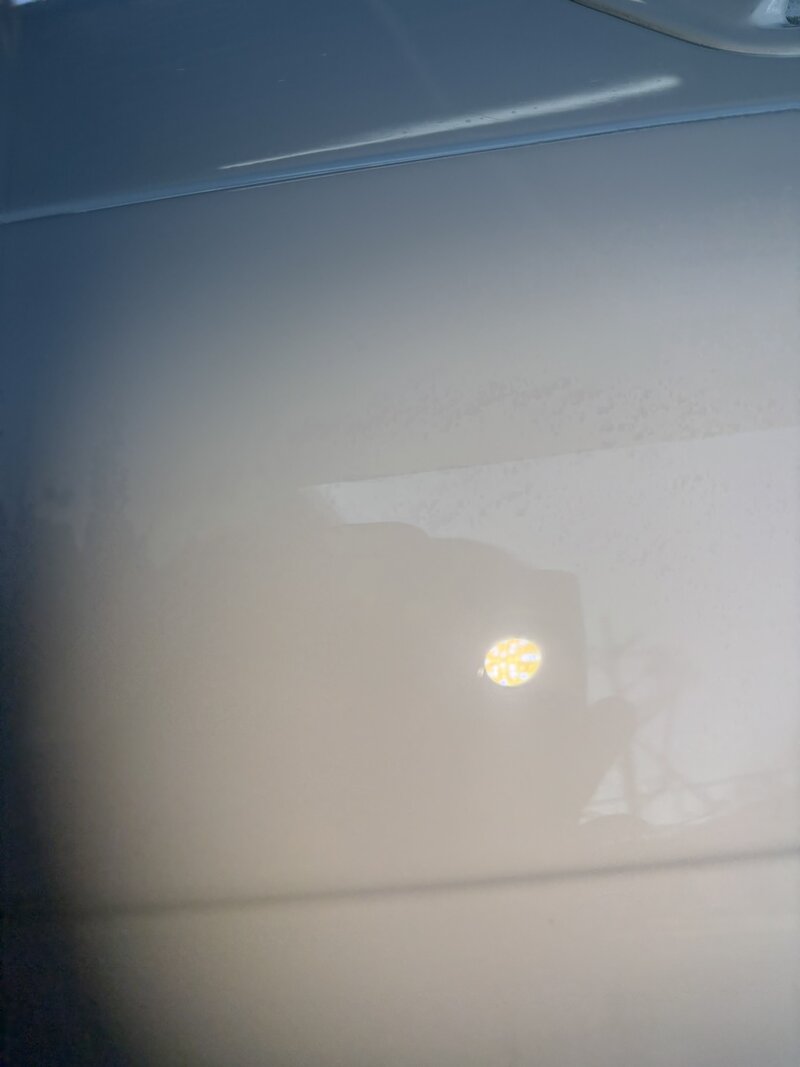
The actual sun looking good:

IMG_6829.JPEG

Overall the paint came out very nicely. A massive improvement on before, much less scratches and swirls, and it removed some of the dull oxidised paint which was looking off-white. I reckon it's probably around 70% - 80% now. Next time I polish, I will use a finishing polish, no more cutting needed I don't think.

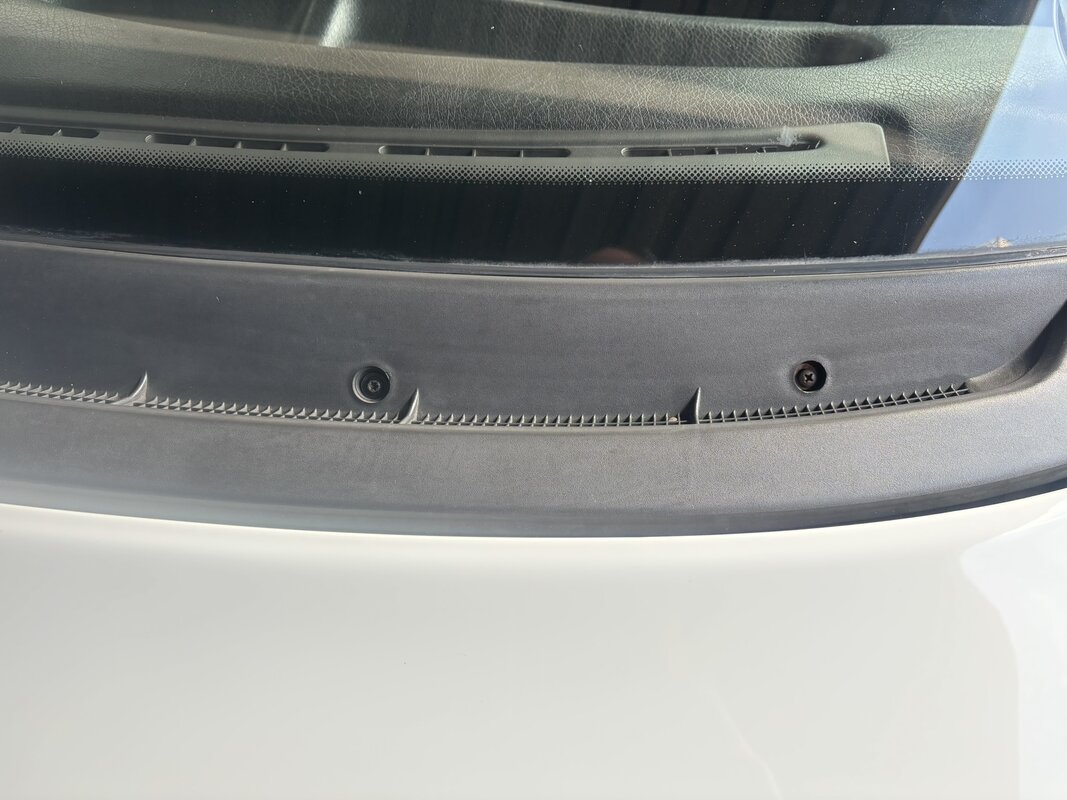
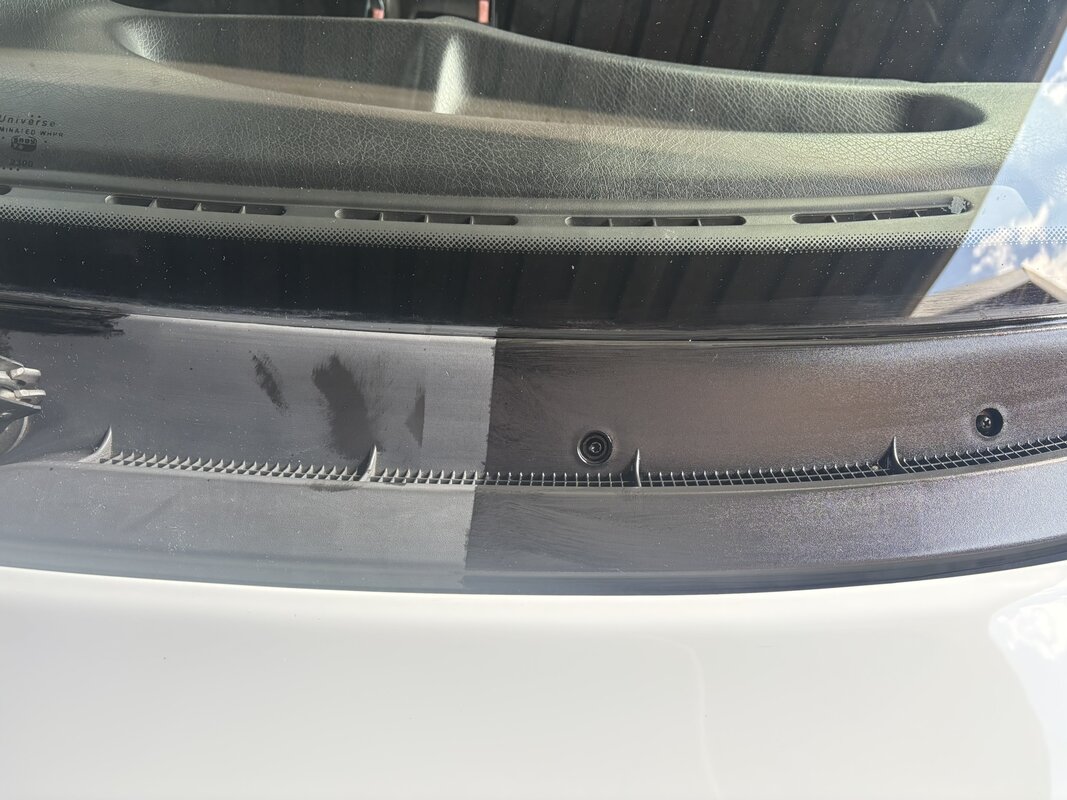
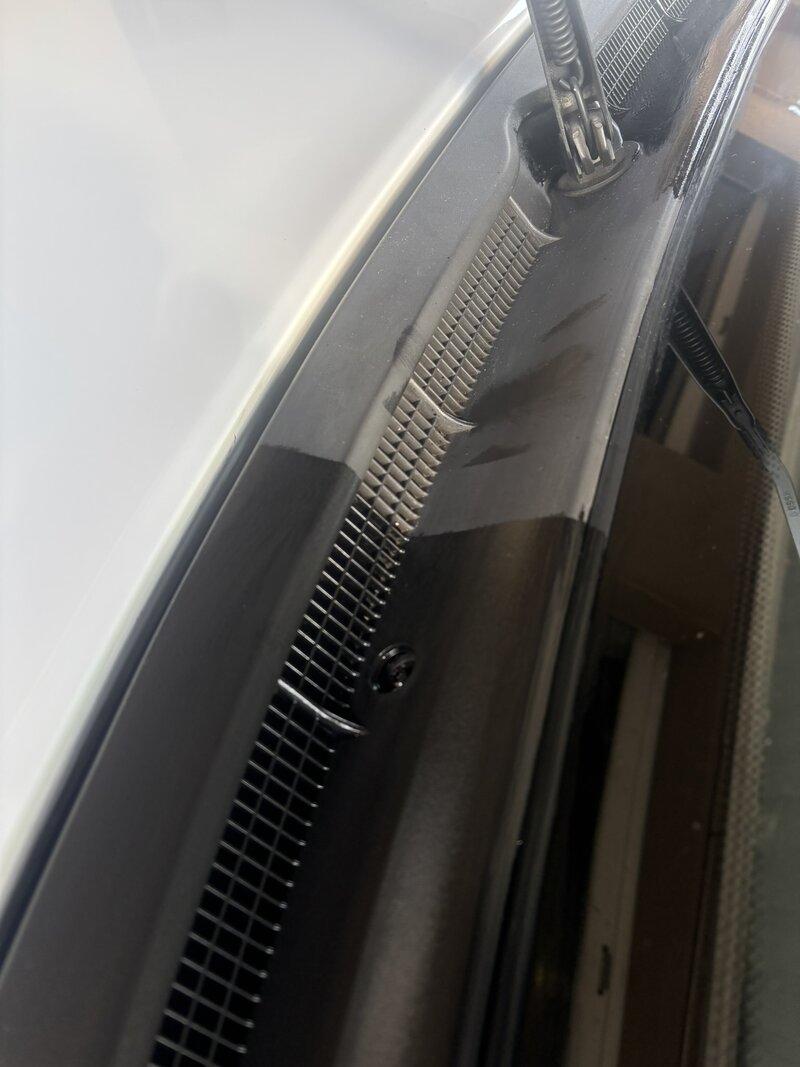
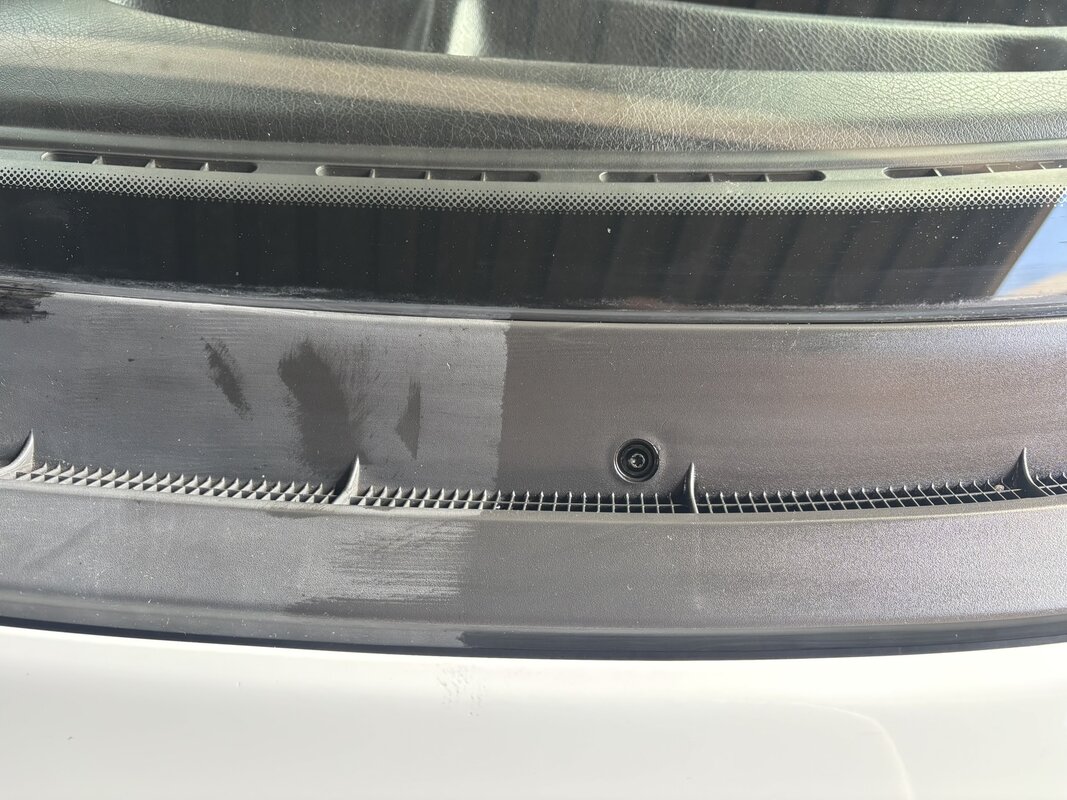
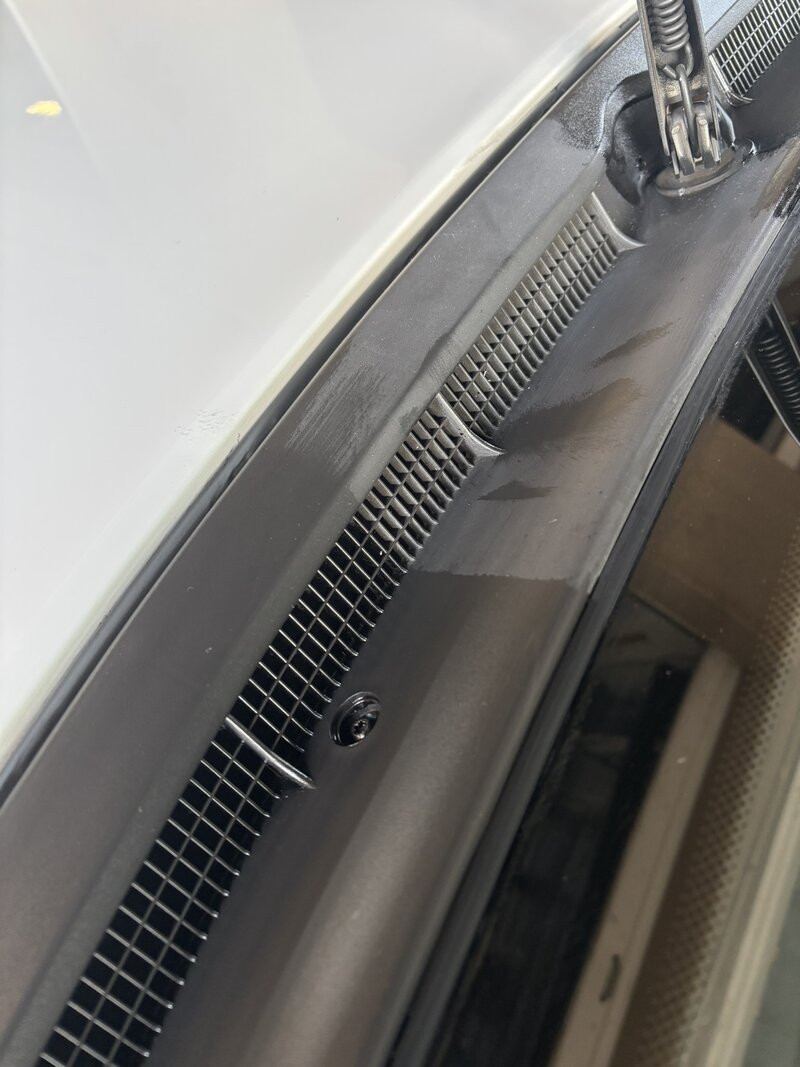
Then, one of my biggest transformations, the black trim. Solution Finish is my go-to product for this type of work. The results speak for themselves.

After cleaning with IPA:
IMG_6832.JPEG

1 coat of Solution Finish applied, this was about 5mins after application:
IMG_6834.JPEG

IMG_6835.JPEG

I leave the product to dwell for around 10mins, before doing final wipe off. The pics below are after final wipe off, rubbing my fingers across both areas, they come back clean, there is no product transfer, or crappy silicone surface coating to worry about.

IMG_6837.JPEG

IMG_6838.JPEG

And once all is said and done, nothing like a few pics of the exterior to end off a hard day's work:

IMG_6839.JPEG

IMG_6841.JPEG
 

gavsadler

///Member
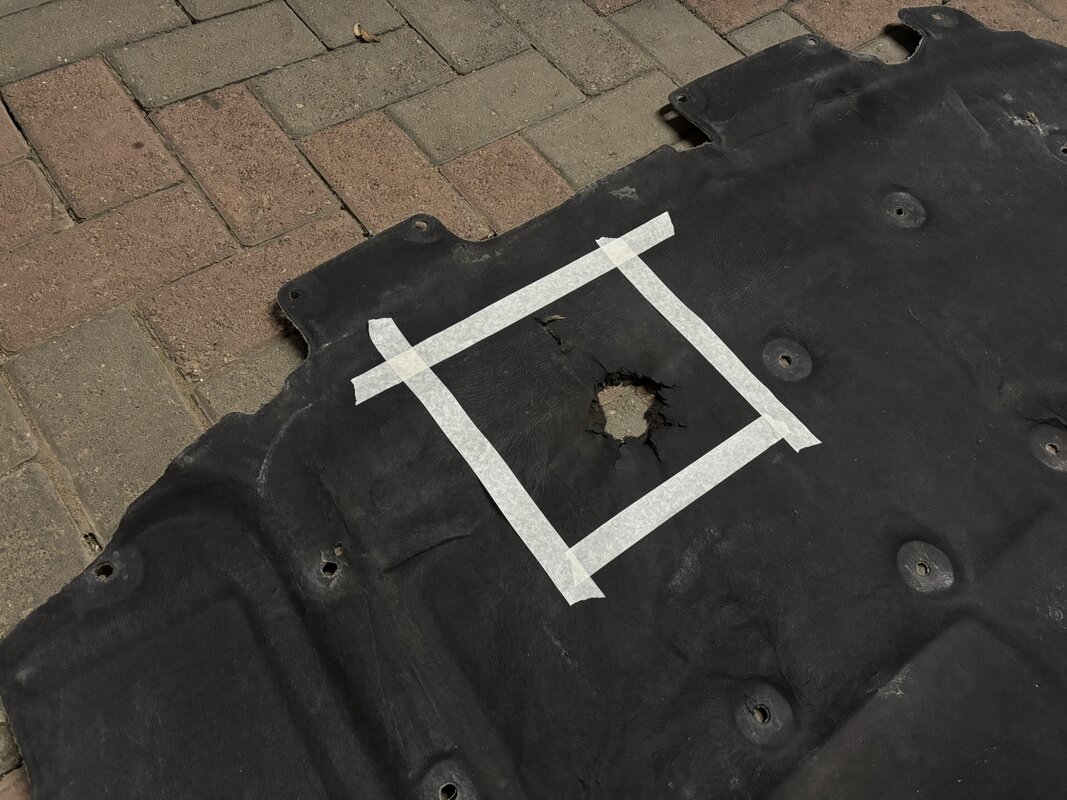
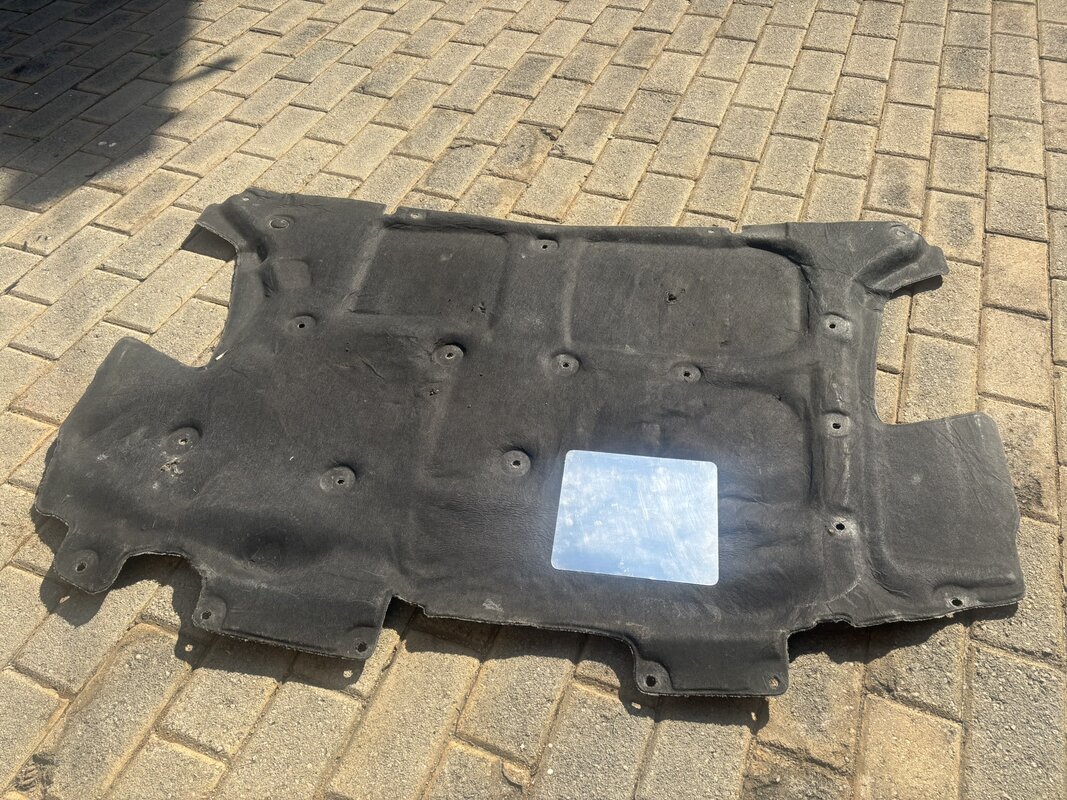
To end off the updates for May, while the bonnet lining was removed, I gave it a though clean and left it to dry flat in the sun for about a week. It actually came out better than expected.

There is a nasty hole in the lining, just above the turbo, I suspect 34 years of heat and water have done the damage. I had a go at fashioning an aluminium heat shield to cover this area, which looked good in principle, but was not going to work. The weight caused the lining to sag and the heat shield in turn was touching the valve cover, so I have since removed the aluminium piece. If I can find a nice replacement bonnet lining, that would be first prize, but I suspect I will be looking for a looooong time.

IMG_6818.JPEG

IMG_6828.JPEG
 

gavsadler

///Member
Upates June-2026:
June was a much quieter month in terms of updates. The bulk of the initial bugbear work was done, and the car was getting to a place where I was more comfortable driving it.

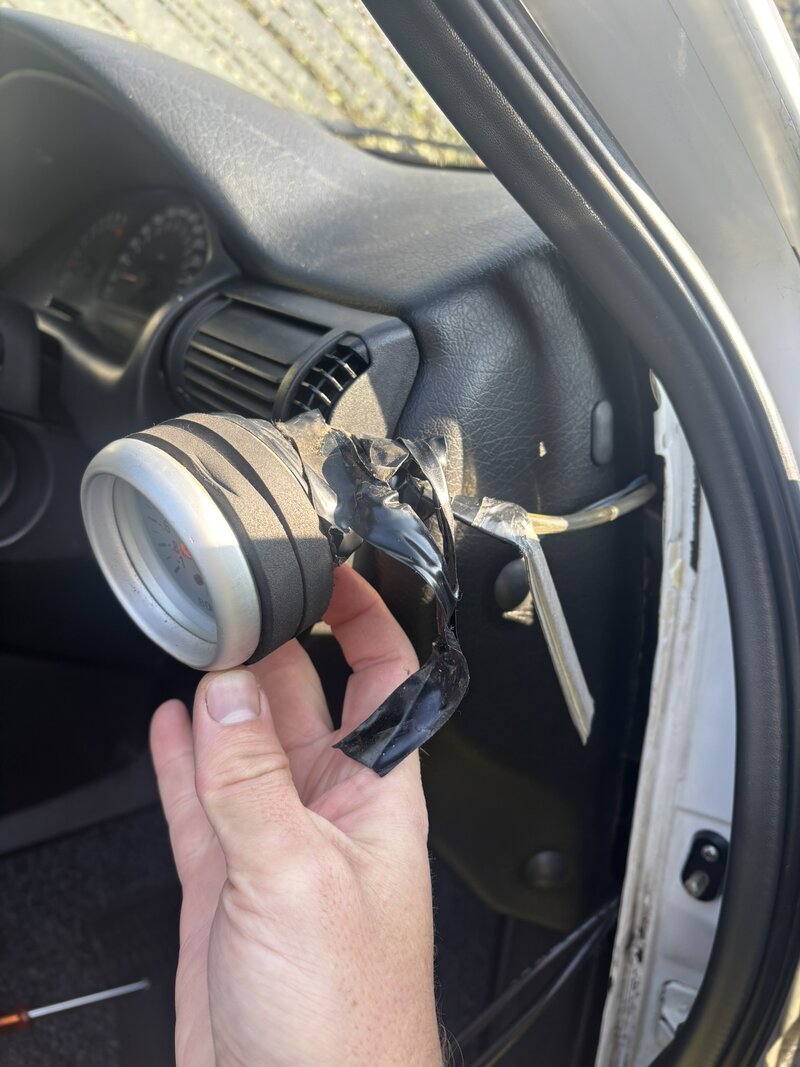
Back to the interior, and time for some gauge deletes. I disconnected the boost gauge and AFR gauge. I was comfortable knowing what the car is boosting (around 0.6-0.7bar) and the AFR range it operates in for mixtures (14.4 at idle or light load, and dropping to around 12.2 under full load).

A crude, yet surprisingly effective mounting bracket, lol:
IMG_6863.JPEG

A clean dash once again:
IMG_6867.JPEG

While I was there, I cleaned the steering wheel. It must be said, I think a lot of this is tired leather coming off, as opposed to outright dirt:
IMG_6866.JPEG

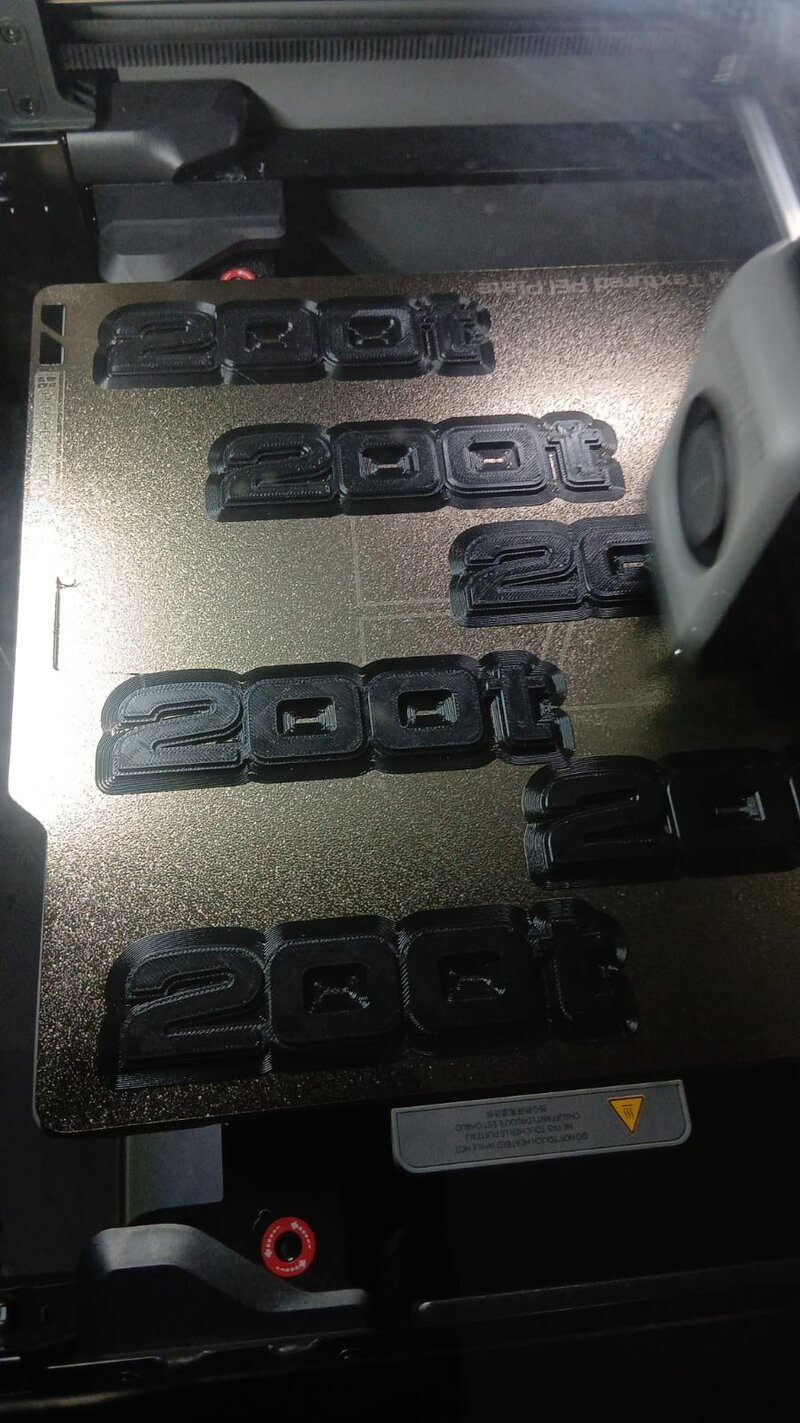
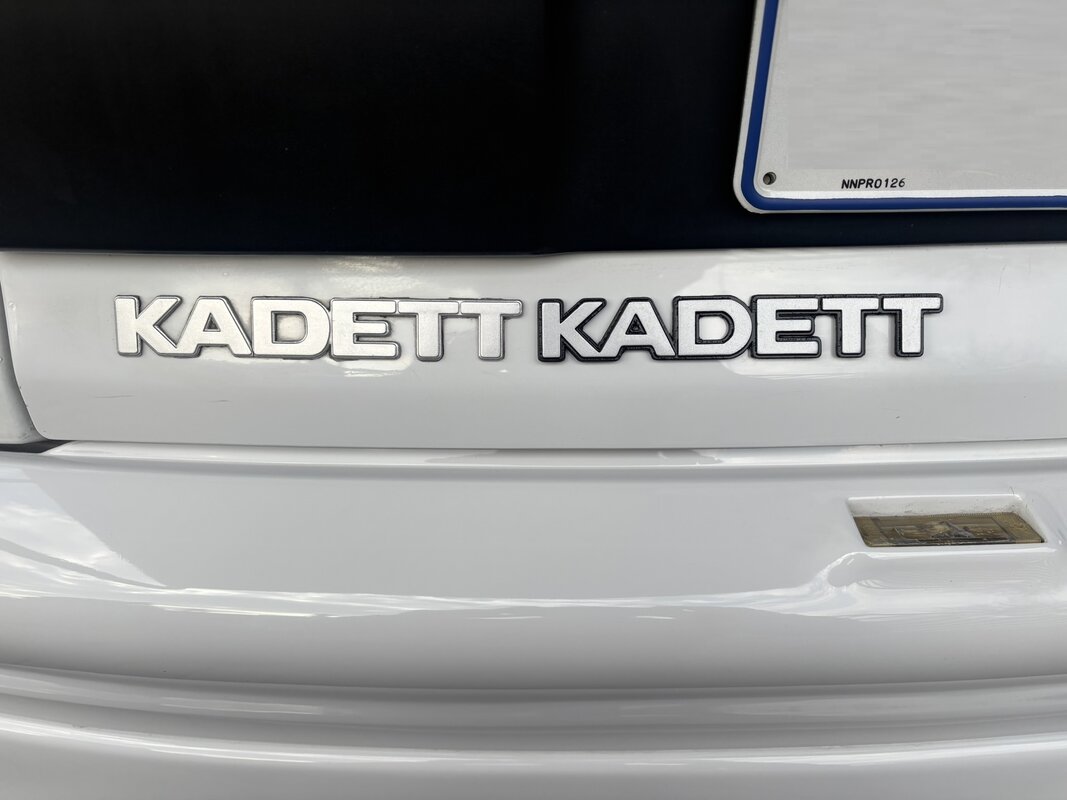
I received good news that my badges were being wrapped up. Here's a pic of them being made:
8678088b-3365-4798-bc78-d5f72dd33c28.jpg

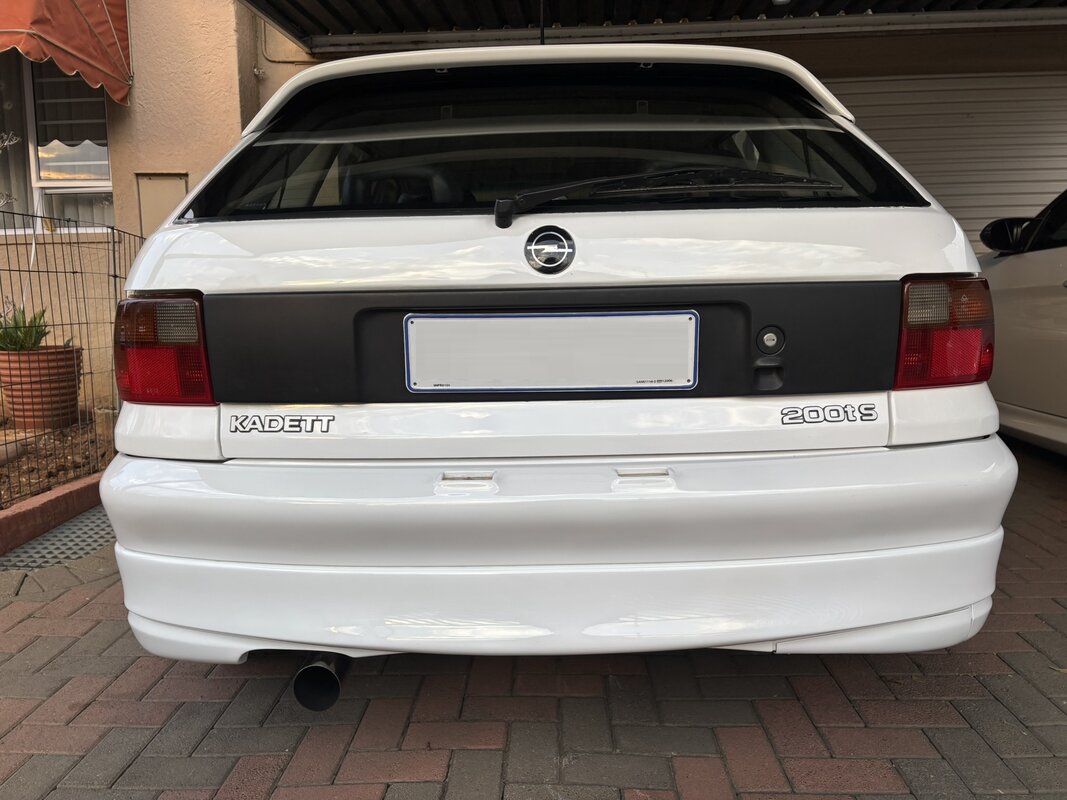
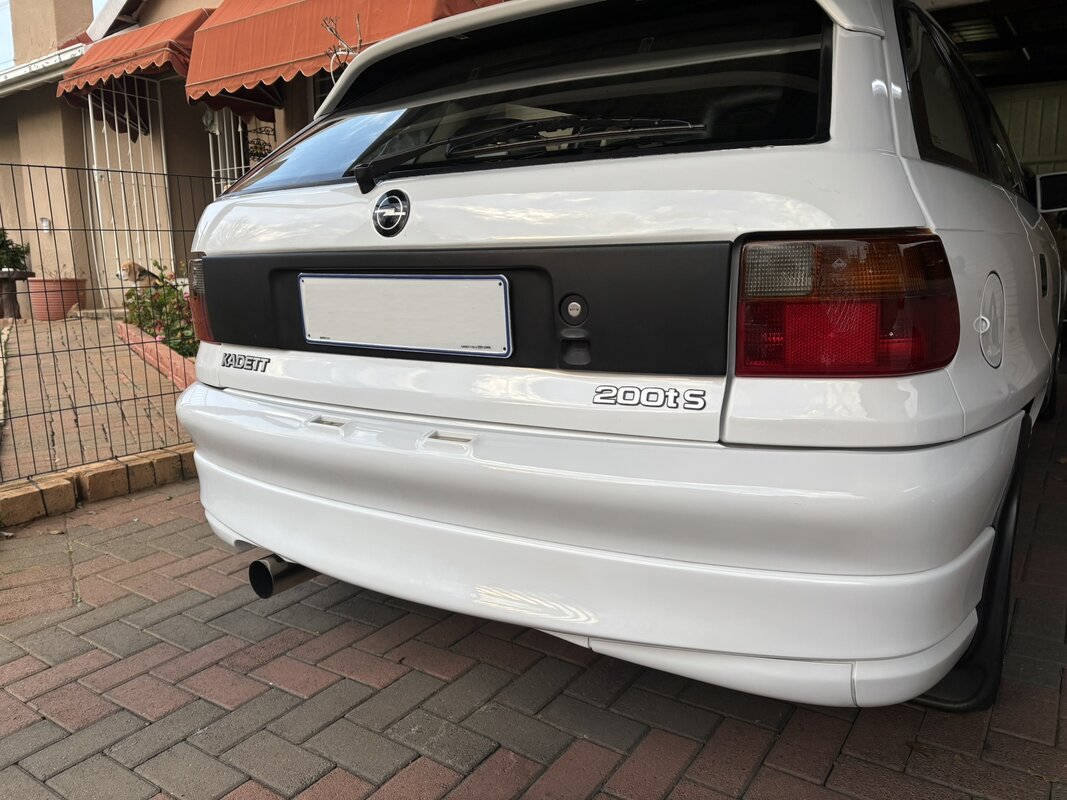
And a couple of weeks later, the finished items arrived. Woo-hoo, I can redeem myself from my stupid paint stripper antics from a month ago.
IMG_7002.JPEG

Installation of the badges, in the correct place as per OEM:

Old vs New:
IMG_7008.JPEG

IMG_7010.JPEG

IMG_7013.JPEG

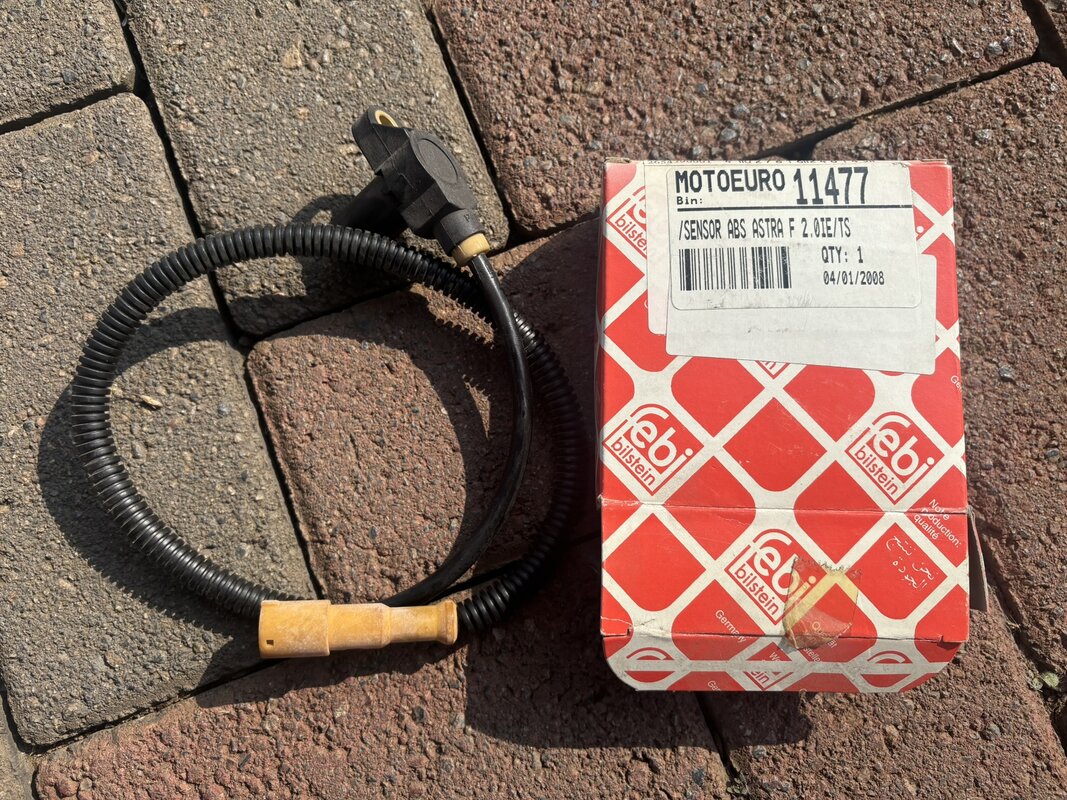
I also managed to source another front ABS sensor. This seems to be a critically endangered part. We had a good chuckle on the day. I went to one of my (relatively) nearby Goldwagens, their system showed 1 in stock. The shop assistant went to search for it in the back. A few moments later, we hear a flurry of exclamations and what sounds like disbelief. When she got back to the counter, we understood what she was so surprised about.

Check the date stamp on the box, this is when it was booked into stock at this particular Goldwagen: January 2008! It's been sitting on the shelf for 18 years! Definitely a parts barn find of sorts. Check out the dust on the part itself, in a closed box:

IMG_7004.JPEG

IMG_7005.JPEG

IMG_7006.JPEG

With 2 sensors handy now, I would be able to tackle the ABS issue in the not-so-distant future.

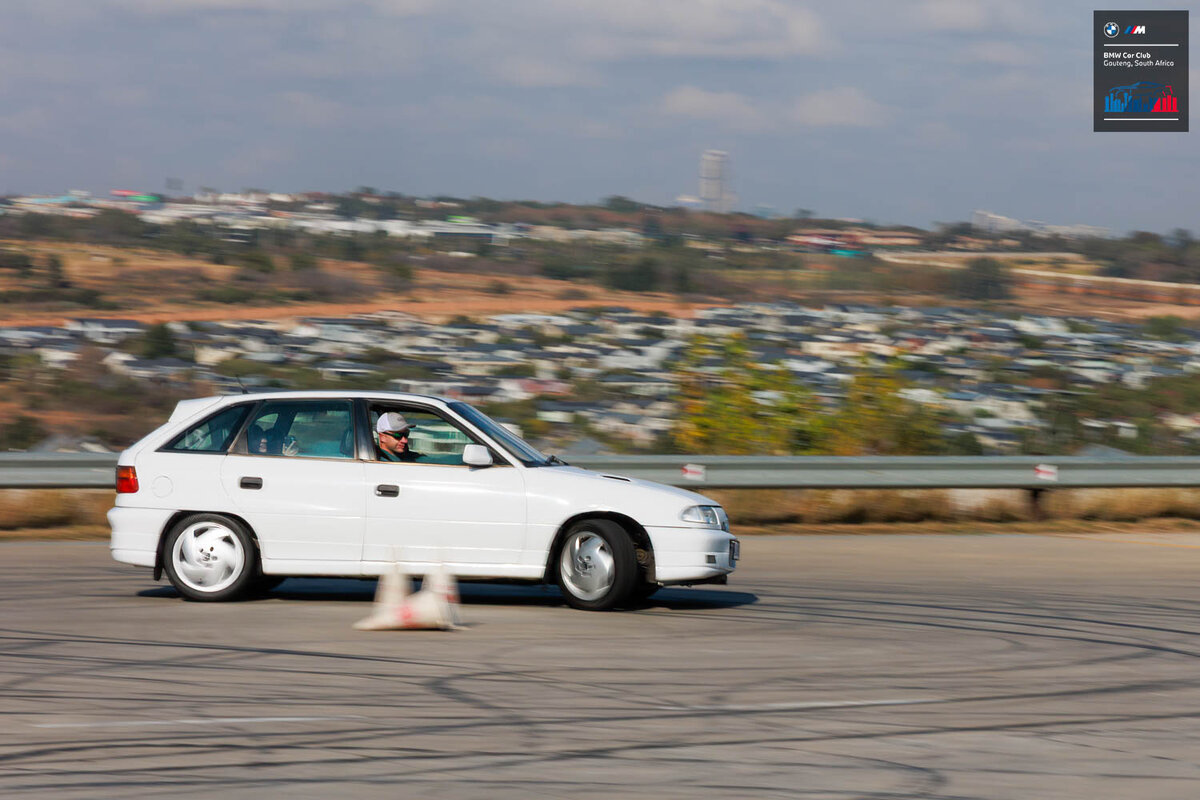
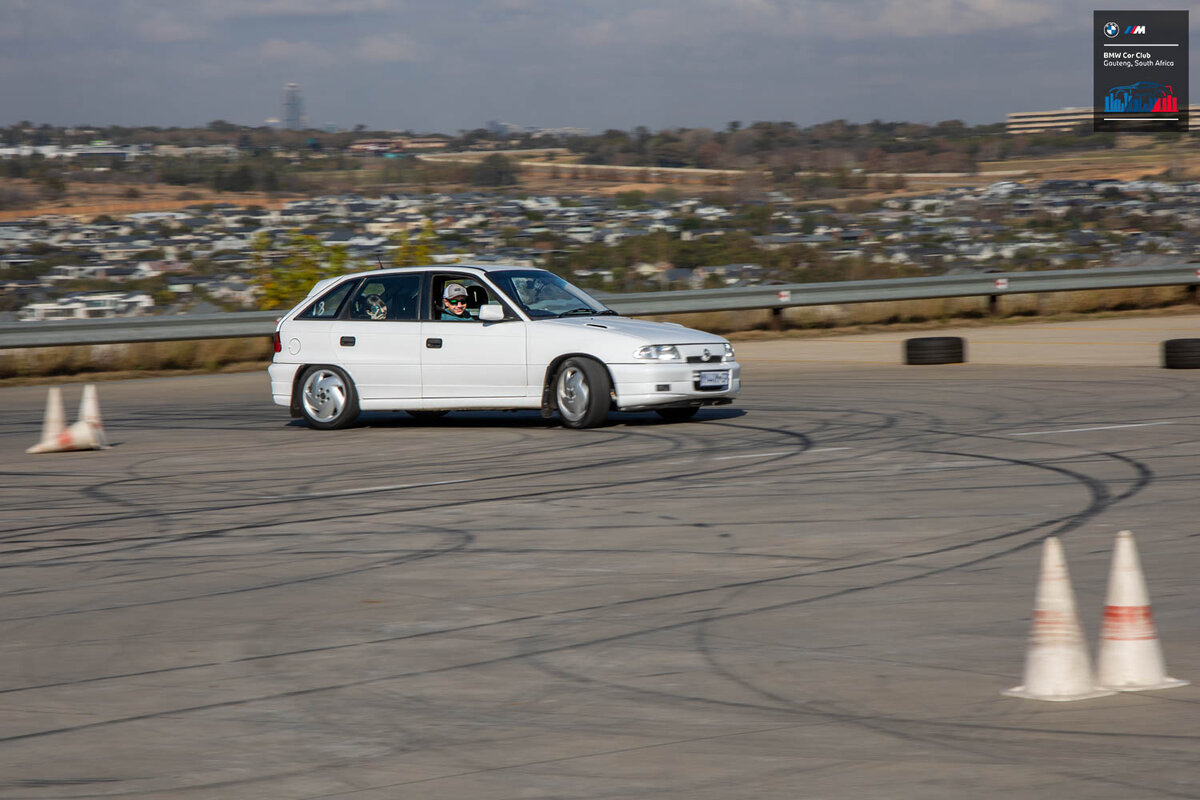
But before we get to that, it would be time to enjoy the car a bit at it's first event. That will be in the next update...
Thanks for reading...
 
Top