gavsadler
///Member
Hi All,
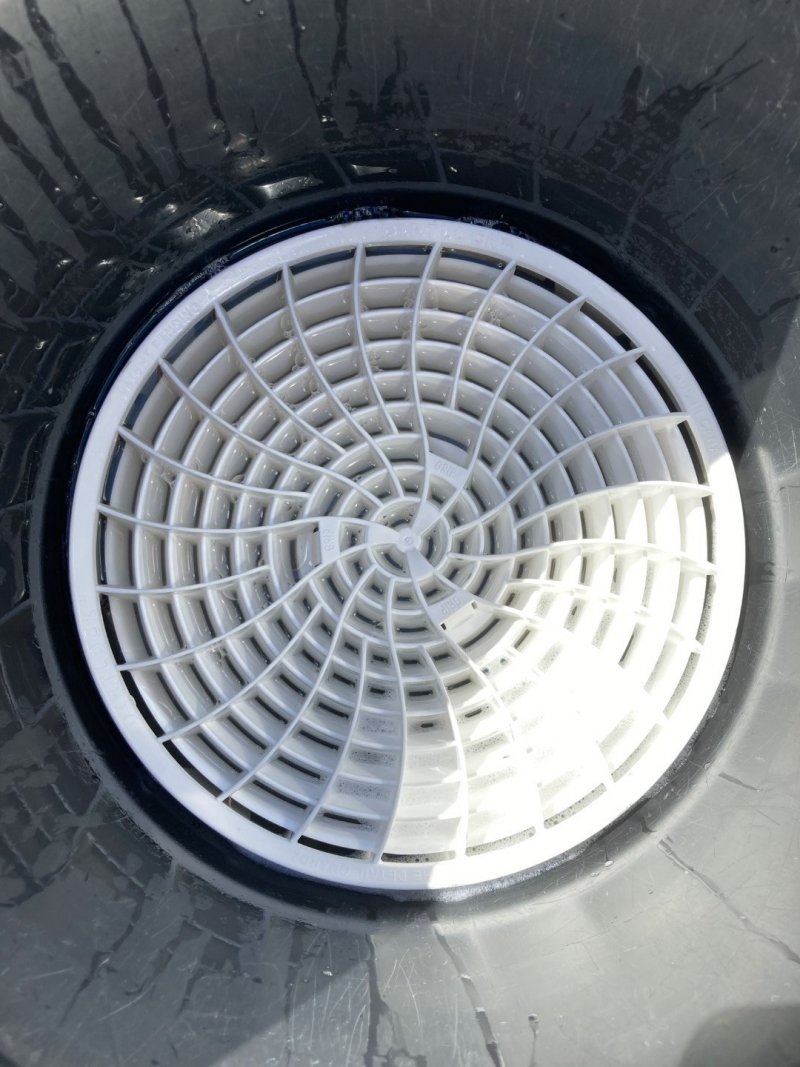
I thought I'd kick off this new sub-forum for G Shift with a review of one of my most anticipated products yet - The Dirt Lock Bucket Filter by The Detail Guardz.
Many local detailers will be familiar with the Grit Guard bucket filter, which is a grate-style filter, which fits into the bottom of the bucket. Some may have even seen some generic knock-offs come and go, and some have even gone further to DIY their own bucket filters. This has been the status quo for some time, but now that G Shift is the Official Dealer and Reseller of The Detail Guardz Products in South Africa, there is a new player in the detailing arena.
As most of you will know, my driving principle is to offer products and services to like-minded individuals based on my past experience, or based on what I can vouch for. With this in mind, it's time to put this product to the test. I'll do my best to outline the process followed as clearly and objectively as possible. The review will be split into 2 parts, with Part 1 being the wheels, and Part 2 being the bodywork. Comments are welcome....
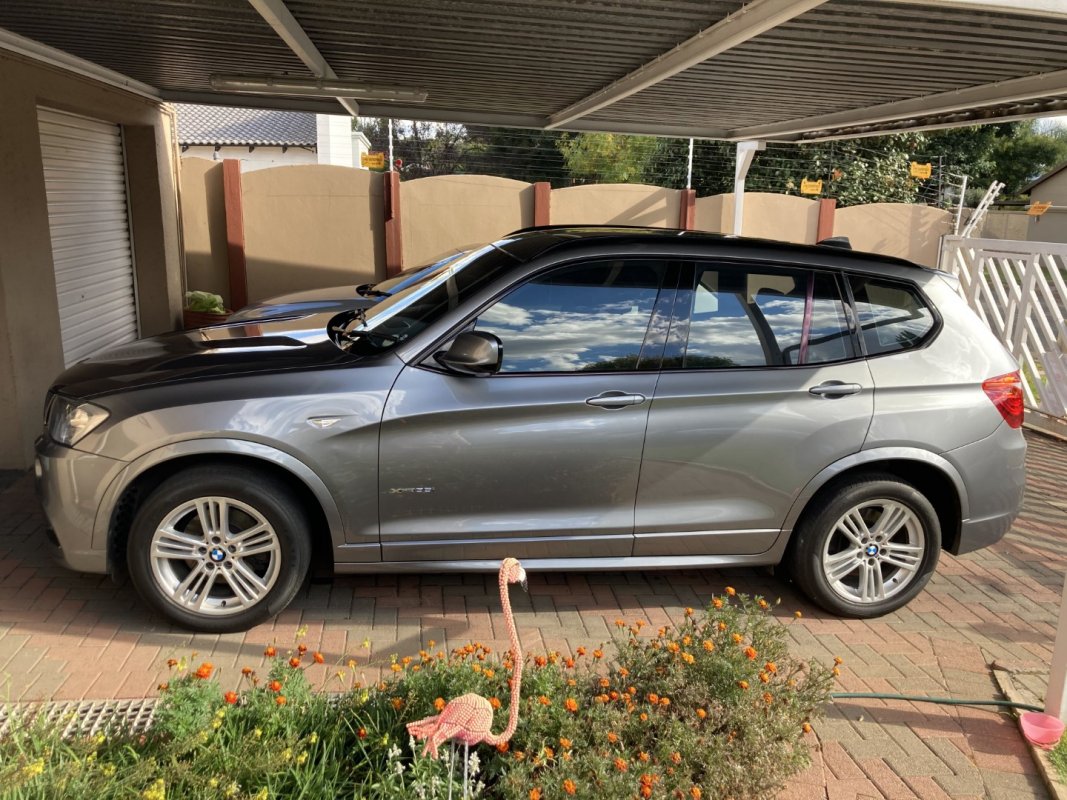
So to start off, I needed a dirty car. The X3 would be the guinea pig, given that it sleeps outside, and that, together with rain, construction next door, and road works around our area, meant that it had accumulated quite a bit of dirt and grime. I cringed a bit, but managed to make it for 3 weeks of no washing to make sure it was a suitably dirty candidate:
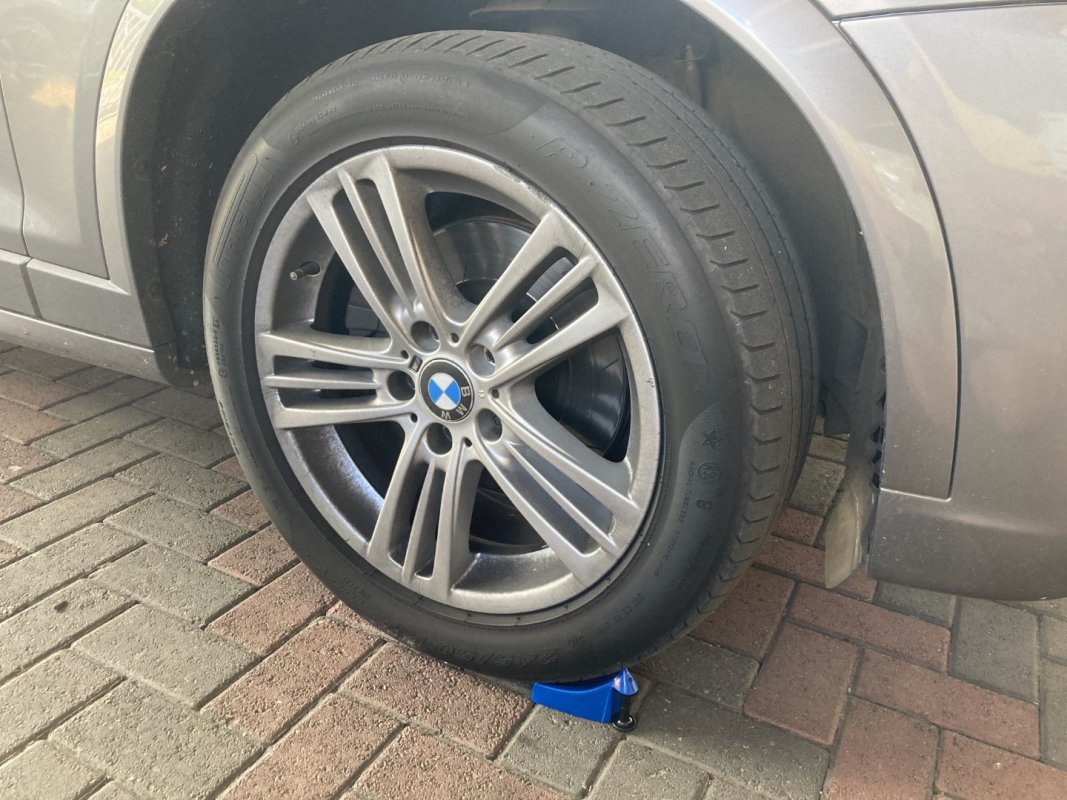
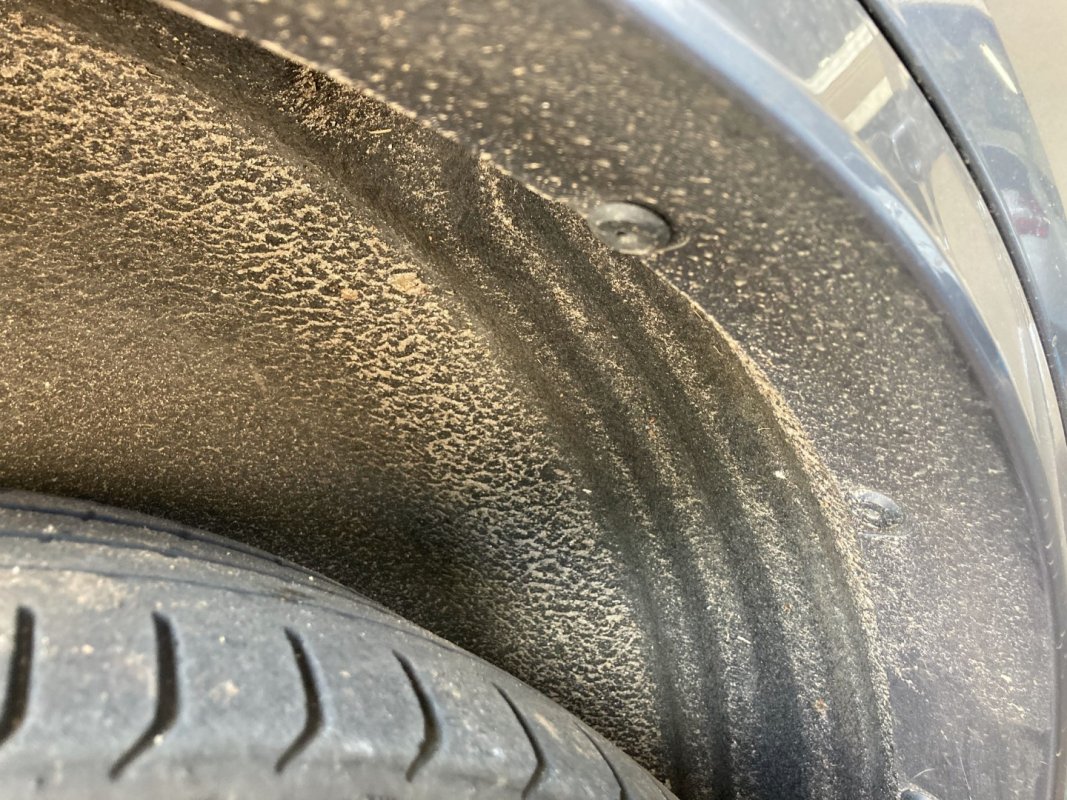
I normally start off by hosing down the entire car. This allows some of the dirt on the bodywork to breakdown while I wash the wheels, and also rinses off any excess brake dust, dirt and grime on the wheels and in the wheel arches prior to cleaning.
For each wheel, in summary, I brush the insides of the wheel arches, then move on to scrubbing the tyres with a brush. Once that is done, I use a barrel brush to get deep into the wheel barrels, between the wheel and the caliper and so on. A smaller barrel brush is used for in between the spokes, and then lastly a short handle wheel brush to clean the face of the wheels and in the bolt holes. (At some point I will do a detailed review how I like to clean my cars, but that is a story for another day). Throughout the process, the brushes get rinsed in the bucket regularly. This time round though, the Dirt Lock was in the bottom of the bucket. I use Cleen Green as my all-purpose cleaner for the wheels and tyres, as it is fairly gentle and biodegradable.
After cleaning all 4 wheels (including rinsing with fresh water), it was time to analyse what was waiting for me in the bucket. So now to make this as objective as possible, I again swirled and pumped the water in the bucket, to make sure that any impurities are "well-mixed" and essentially eliminates any bias that may have crept in from leaving the bucket to stand for a period of time prior to taking samples. I pumped and swirled my hand in the bucket for about 20 seconds.
Then, immediately after doing that, I dipped a glass into the bucket to scoop out a sample of the wheels rinse water from above the Dirt Lock. This would be used to illustrate the quality of the rinse water in the upper half of the bucket.
Immediately after that, I siphoned off any excess water from above the Dirt Lock. I held the siphon tube flat against the Dirt Lock, so as not to suck up any impurities from below the filter.
Once no more water could be siphoned off, I used a microfiber towel to absorb any remaining traces of water above the Dirt Lock. This should essentially only leave the dirtiest rinse water possible, which would be trapped below the filter.
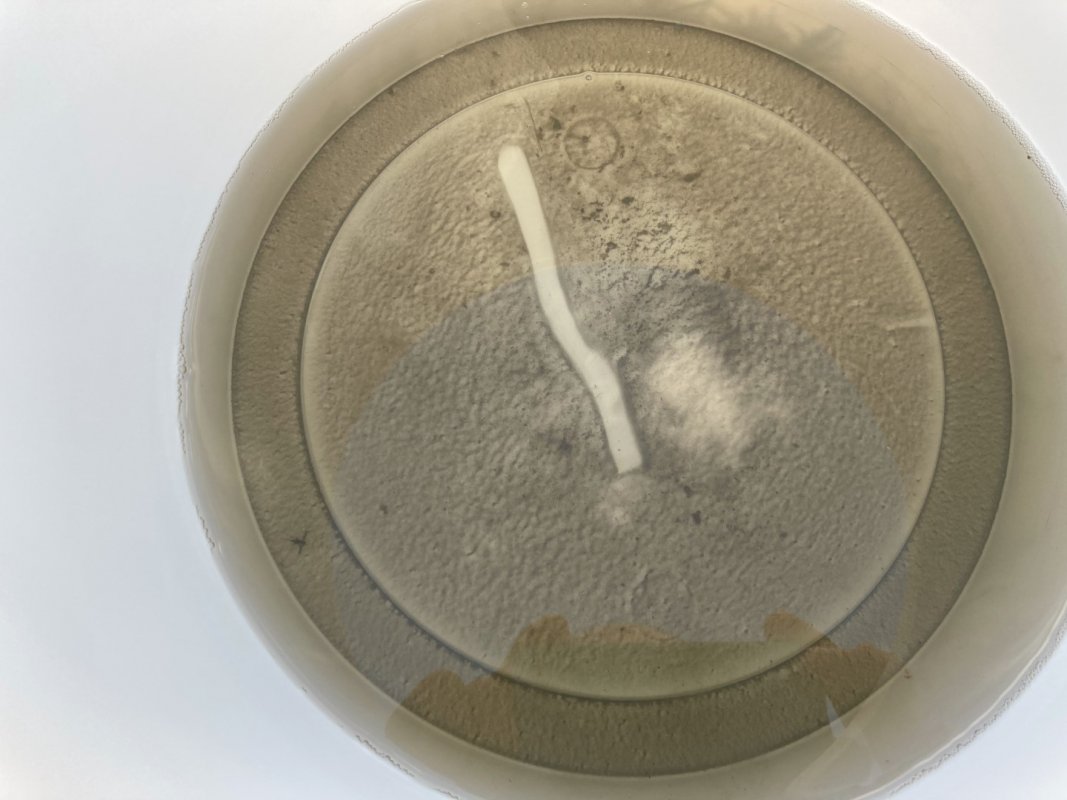
Here is a picture of where I am at this stage of the process. Next up would be removal of the Dirt Lock from the bucket.
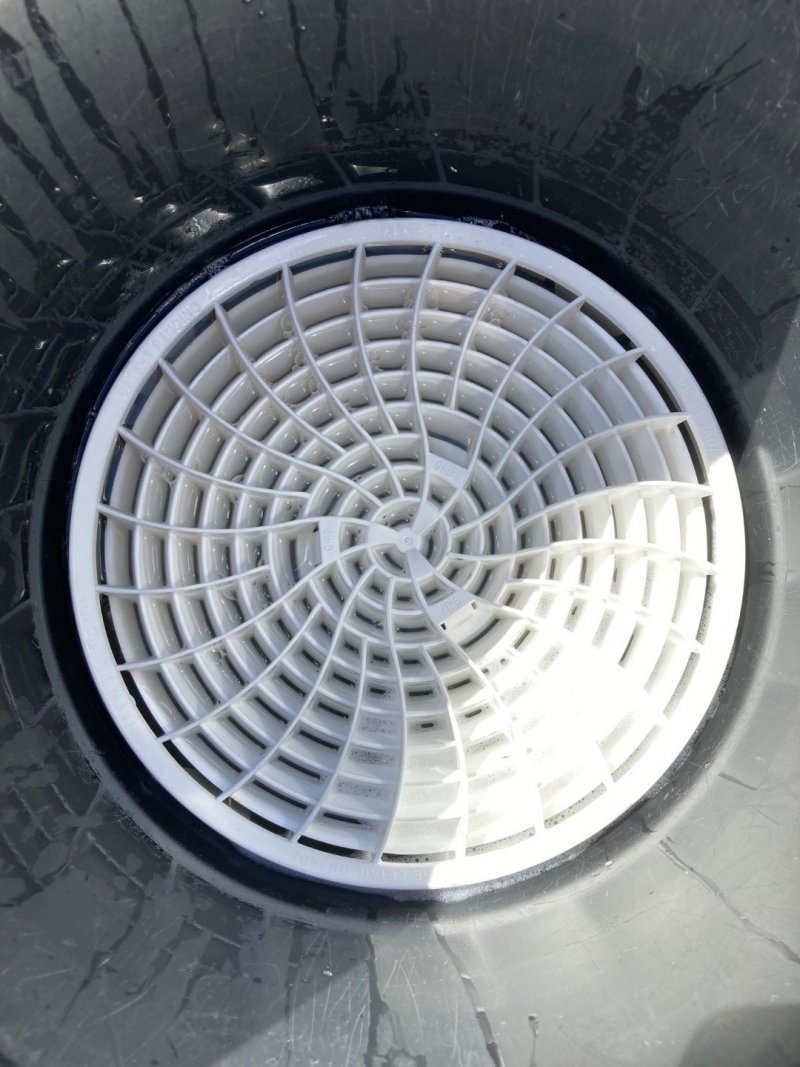
I removed the Dirt Lock Filter, and then to eliminate bias, I again swirled the remaining contents in the bucket for 20 seconds.
Immediately after swirling, I tipped the bucket sideways slightly, and scooped up another cup of the remaining "dirty / filtered" rinse water. I then poured off the remaining water from the bucket into a 2l Oros plastic bottle - to be analysed later.
Results:
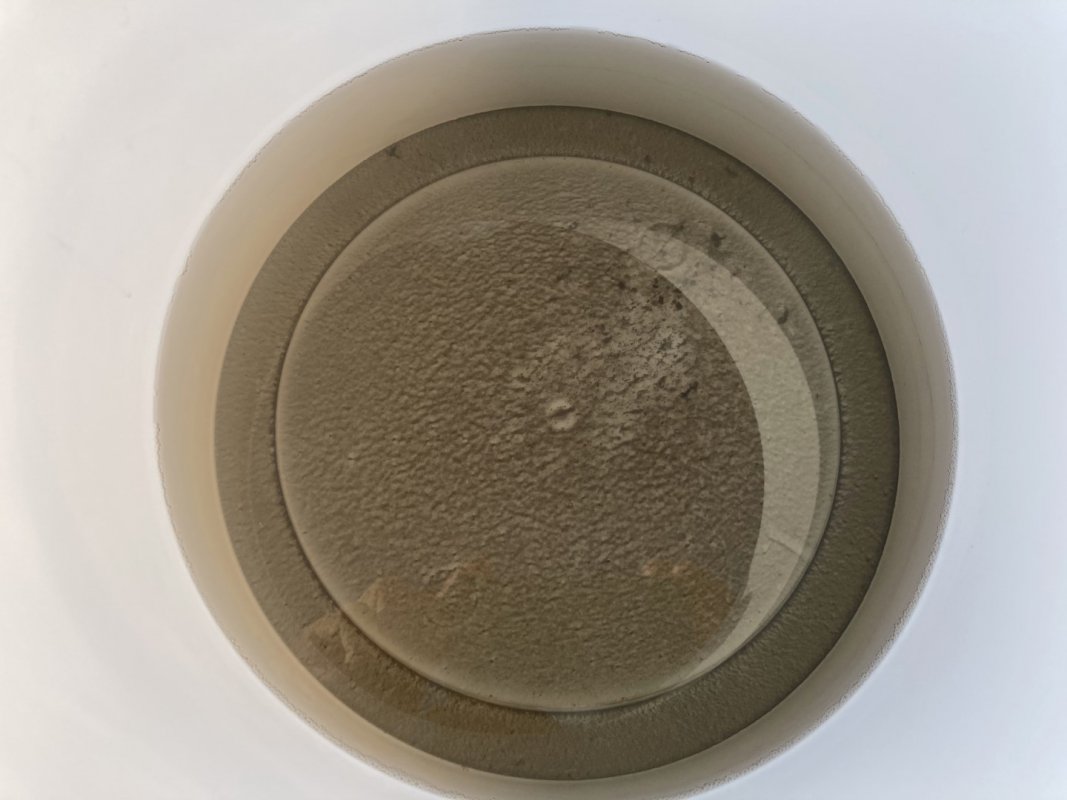
So, after removing the Dirt Lock and pouring off the water, this is what was left at the bottom:
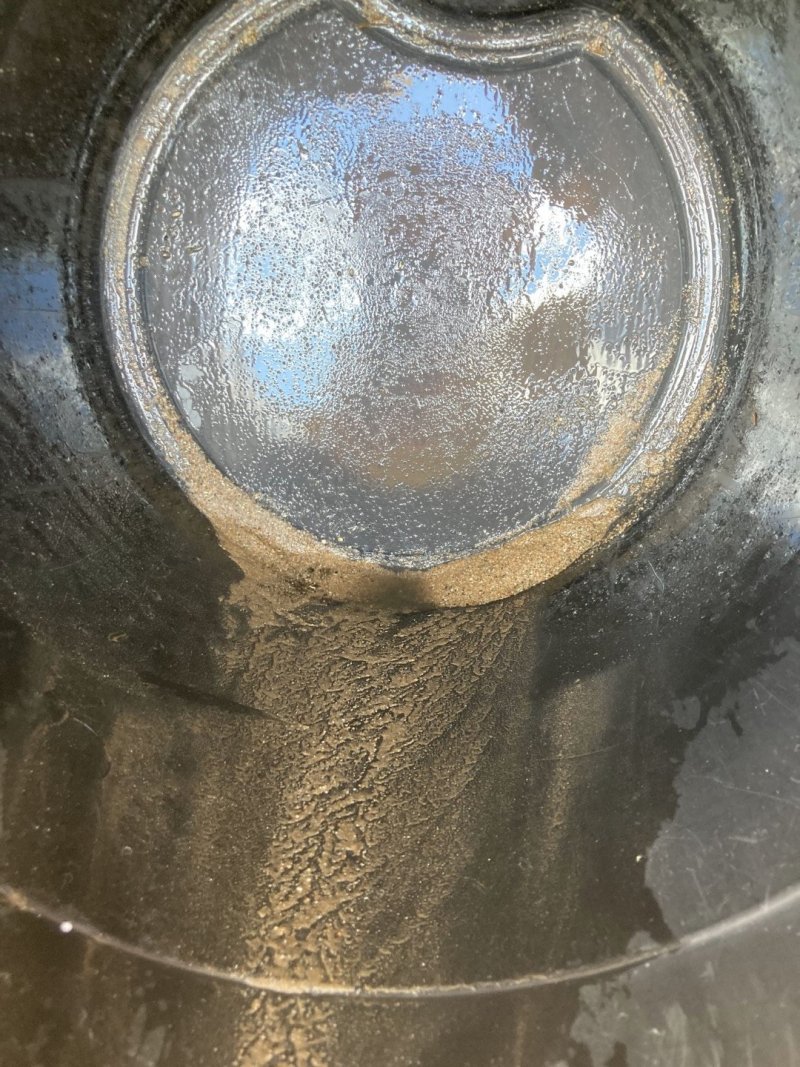
Lots of muddy sediment which is from driving in the rain, and also on the local roads where they are busy with roadworks.
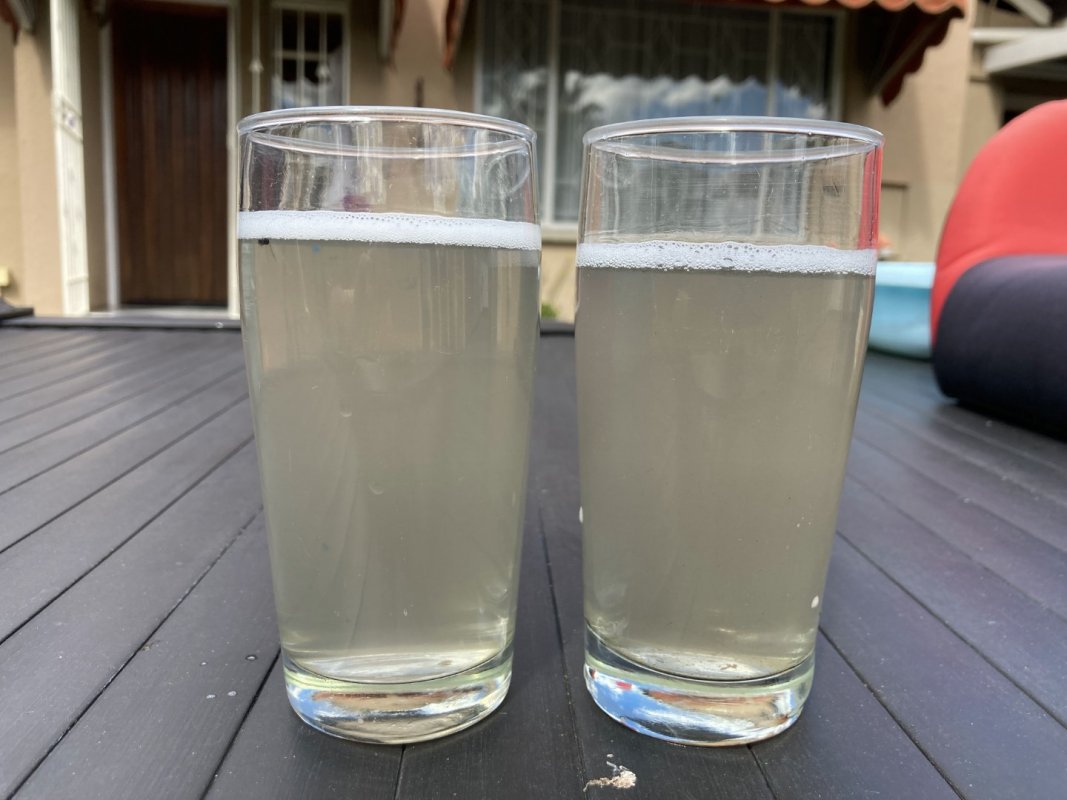
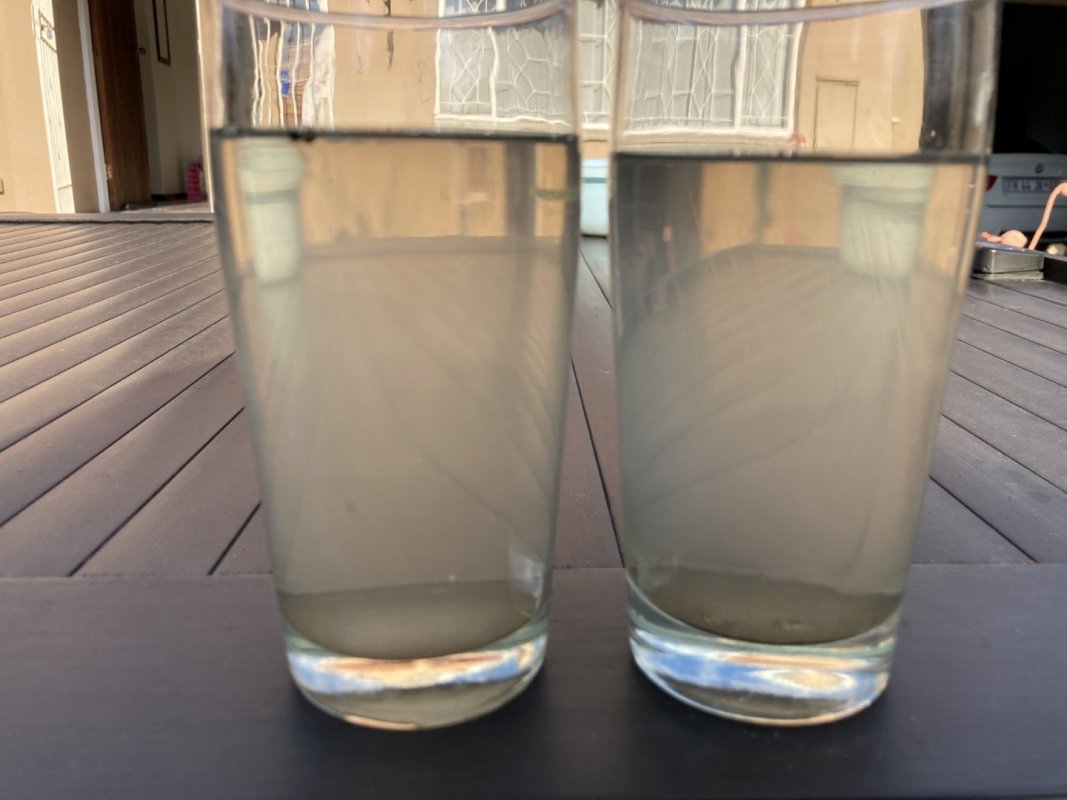
More importantly though, what about the samples of rinse water scooped up from above and below the Dirt Lock after swirling. Well here we go. Given that brake dust is extremely fine, I left the glasses to stand overnight, so that the particulates can settle a bit to make for easier analysis. The glass on the left is water from above the filter, and the glass on the right is water from below the filter:
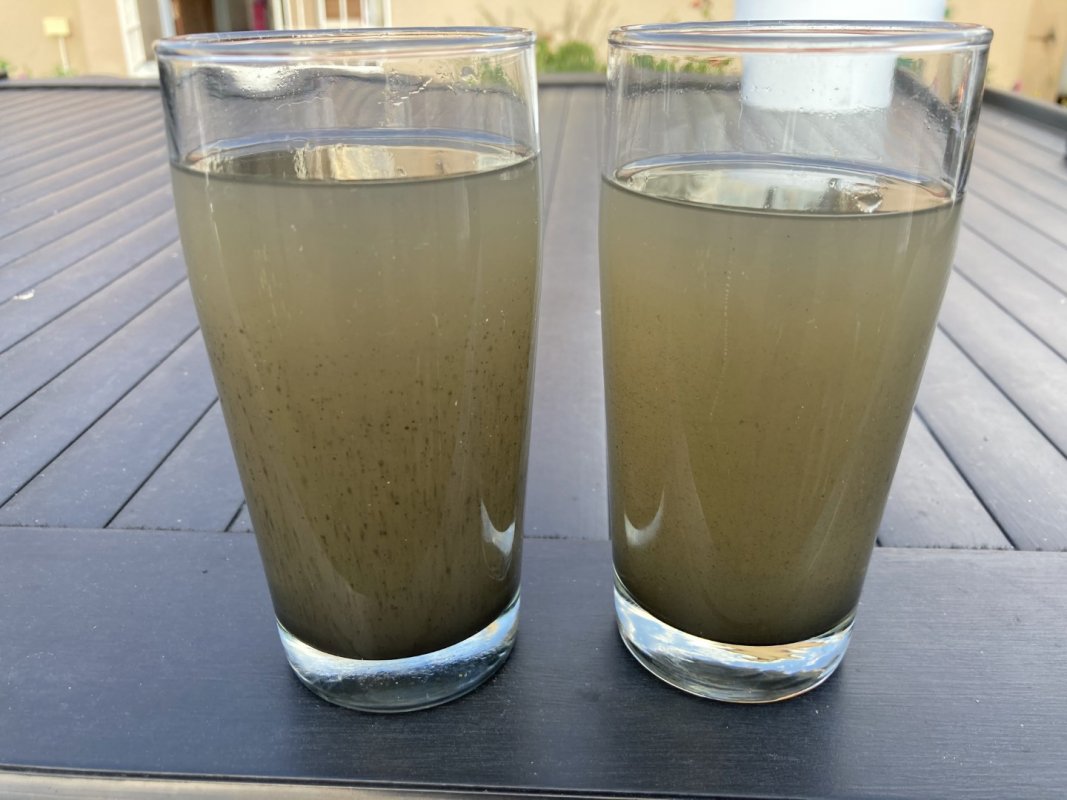
At first glance, they look fairly similar. I would also expect this as brake dust is extremely fine and easily mixes in water. Only paper-type filters would really be very effective in filtering out these fine particulates, but that is not what we are testing here.
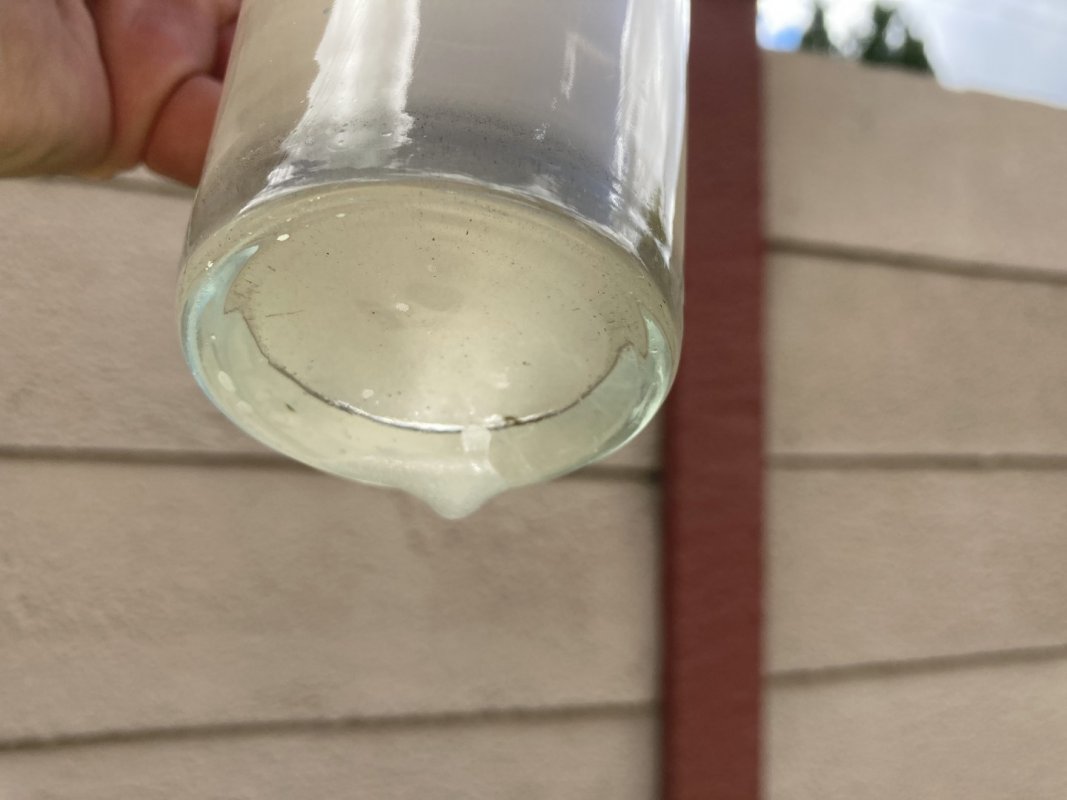
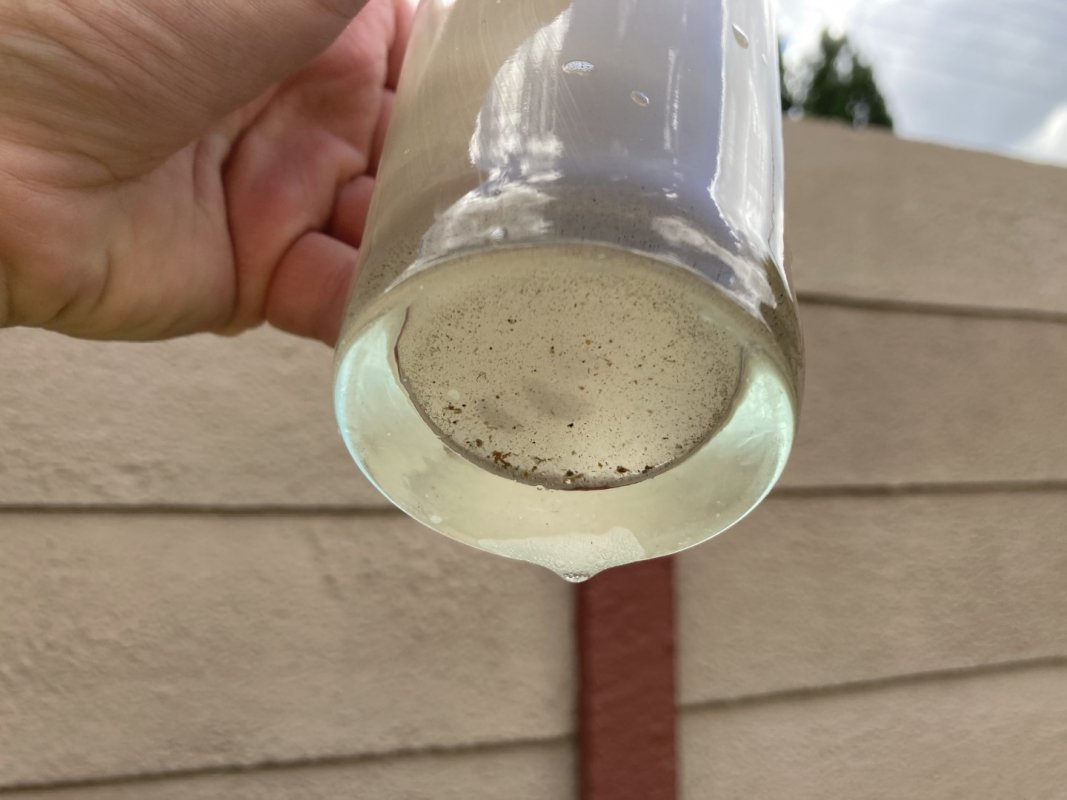
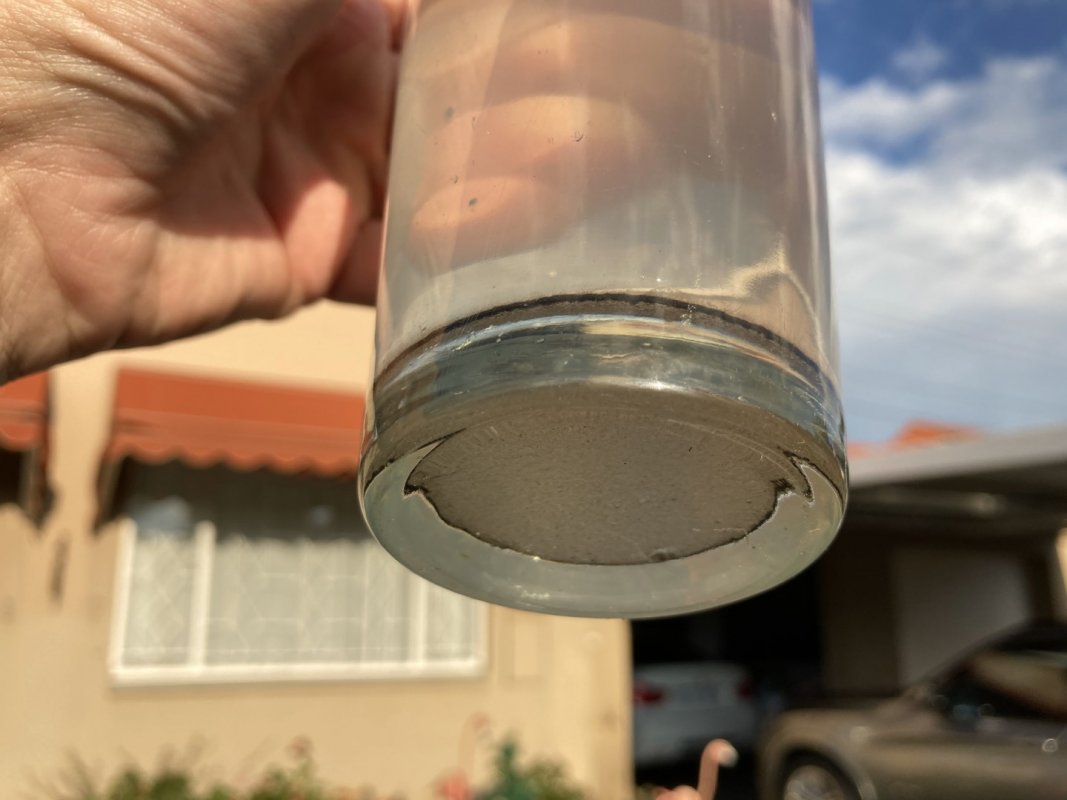
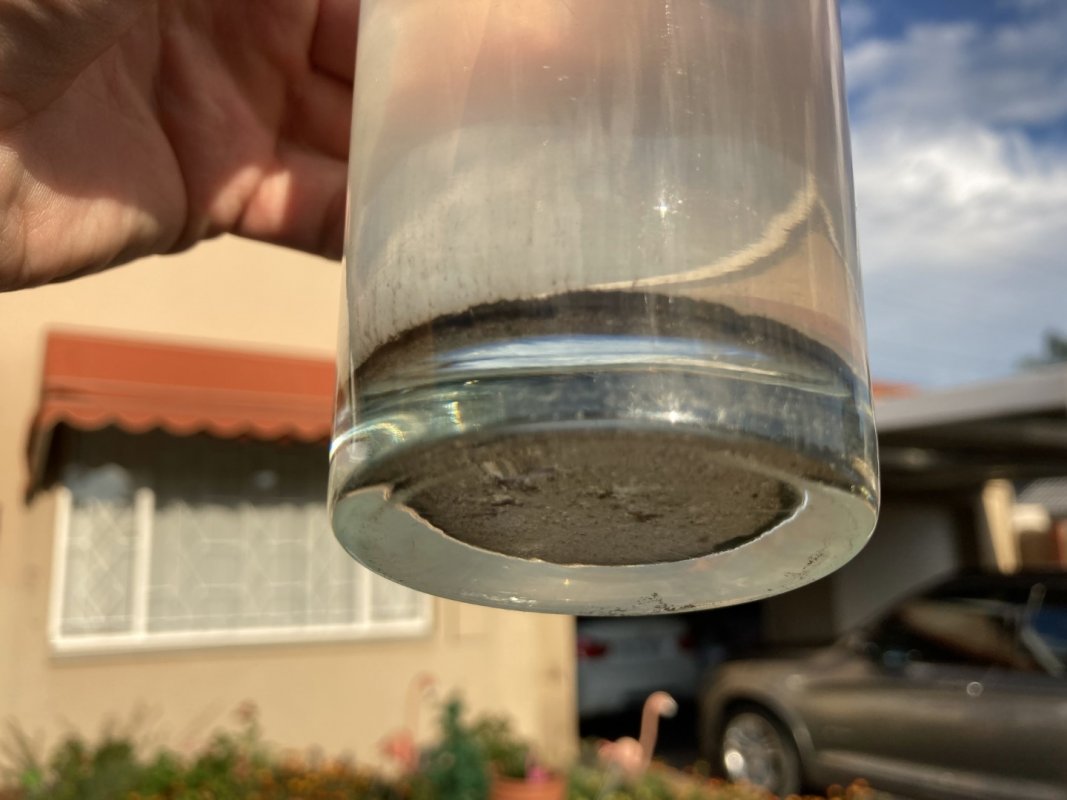
Looking more closely at each glass, firstly the rinse water from above the filter, and then the rinse water from below the filter:
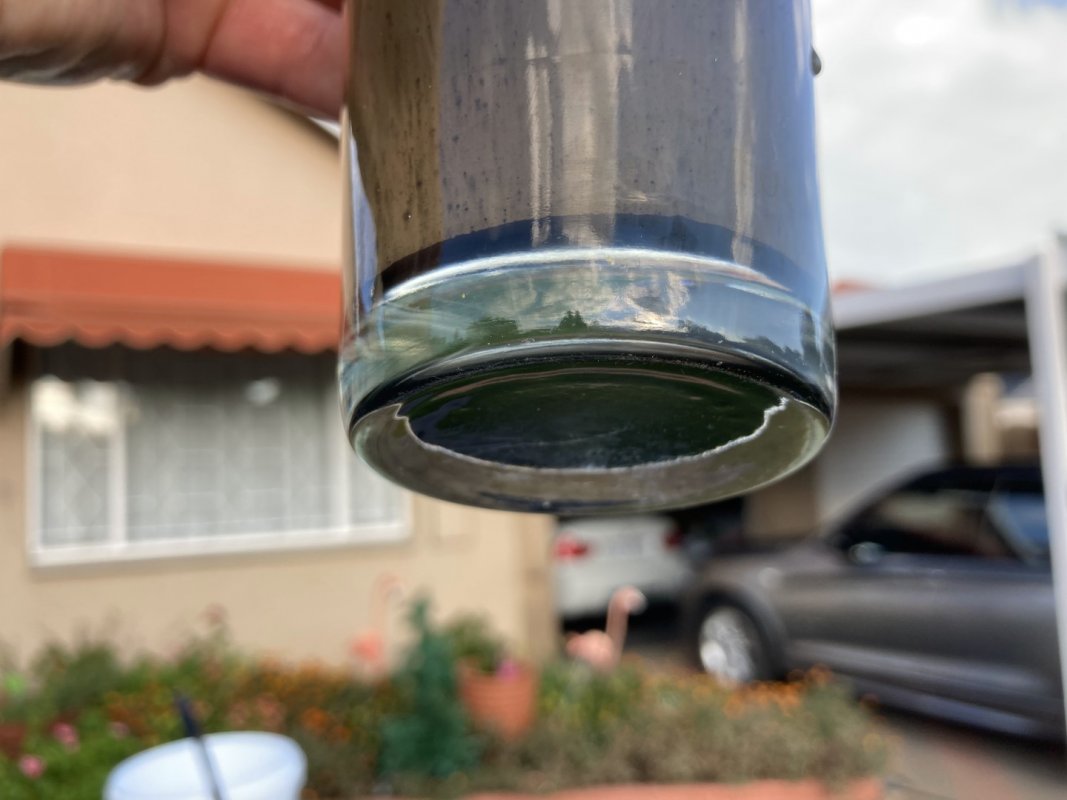
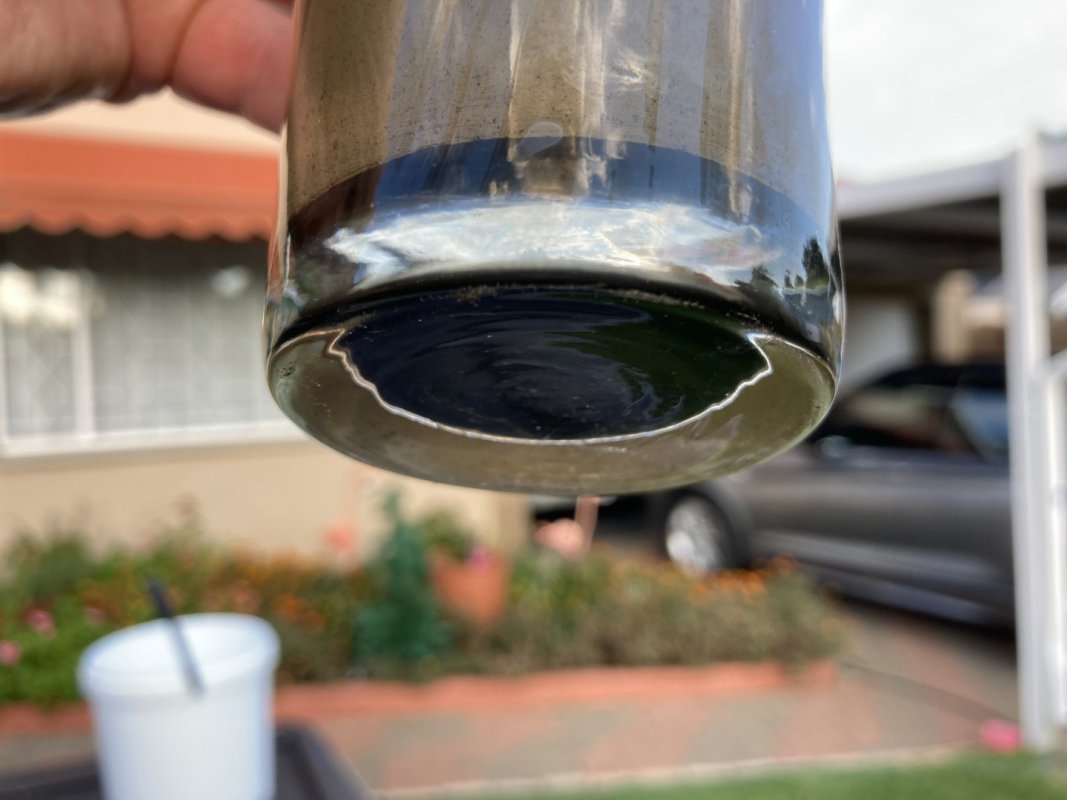
There is noticeably more sediment in the glass with rinse water from below the filter. Don't forget that before taking each sample, that the water was swirled and mixed thoroughly before scooping up the sample, so this would have given the dirt ample opportunity to mix around, specifically up into the top half of the bucket - above the filter. Based on this, I would state that the filter is effective, even for small particulates in the rinse water.
Earlier I mentioned that the remaining dirty rinse water was poured into a 2l Oros plastic bottle. I also left that to stand overnight, and here are the results:
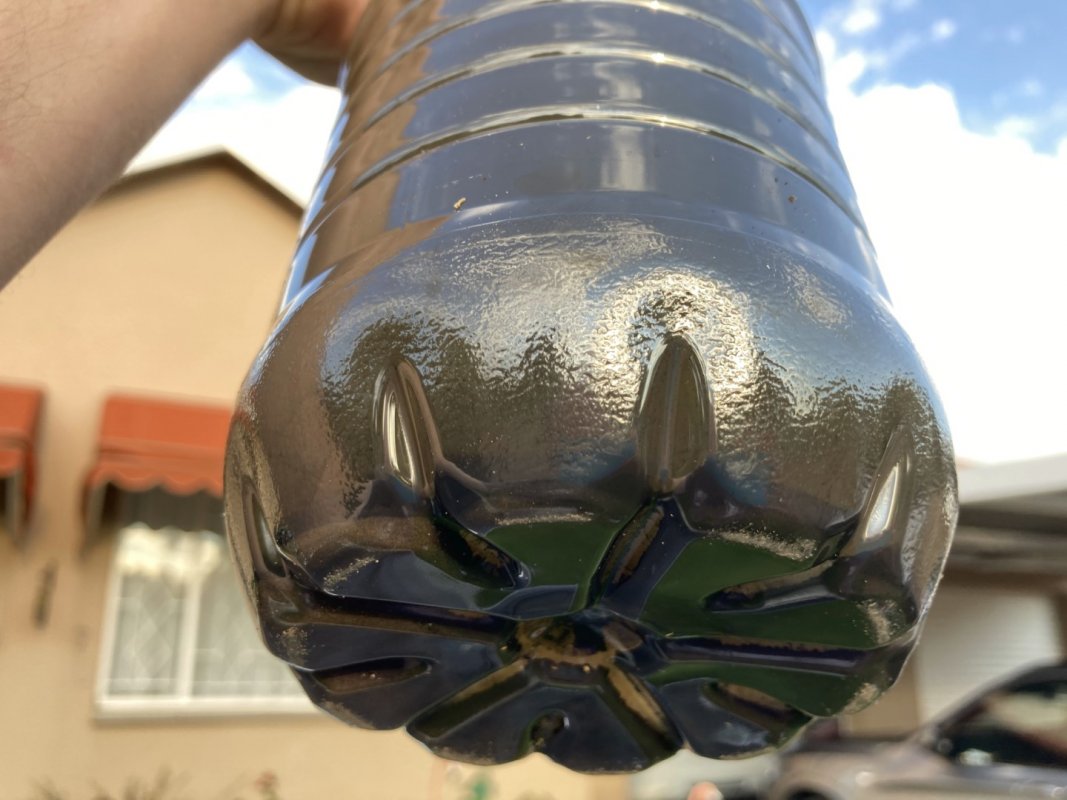
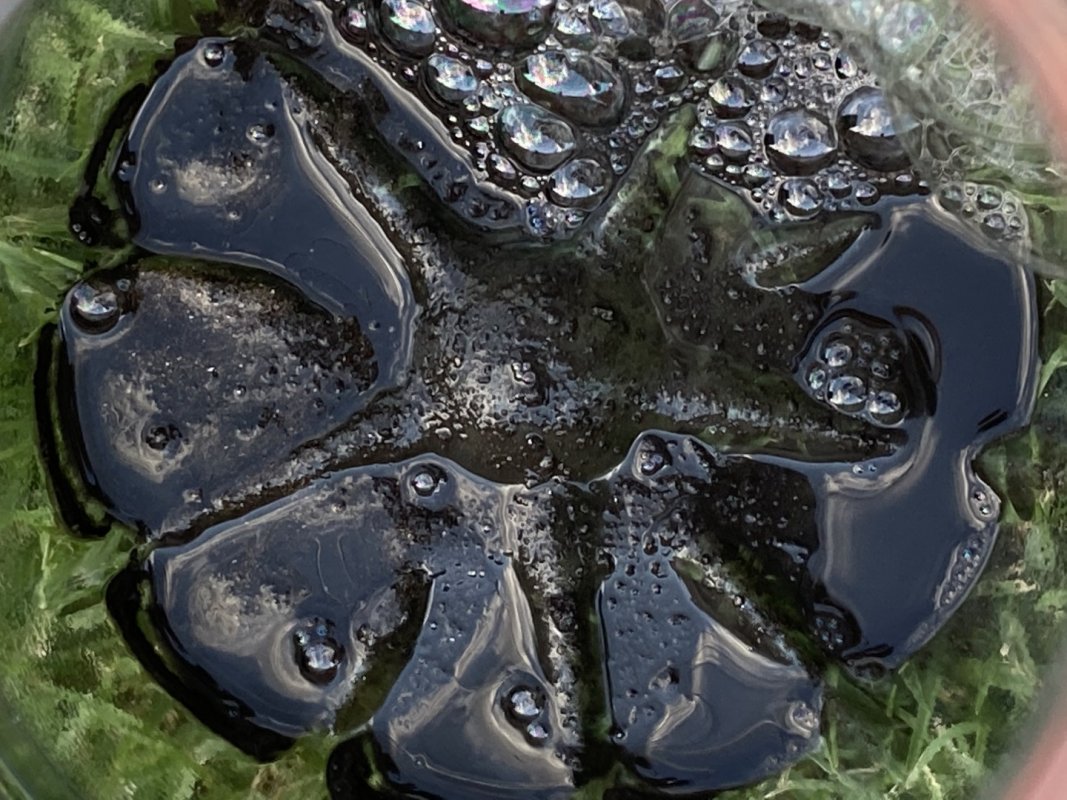
Lots of black brake dust sediment which settled.
So to conclude, for the wheels, it does appear that the Dirt Lock is effective in separating and filtering out a lot of particulates in the rinse water.
In my next post, I'll detail my findings and results from washing the rest of the car.
I thought I'd kick off this new sub-forum for G Shift with a review of one of my most anticipated products yet - The Dirt Lock Bucket Filter by The Detail Guardz.
Many local detailers will be familiar with the Grit Guard bucket filter, which is a grate-style filter, which fits into the bottom of the bucket. Some may have even seen some generic knock-offs come and go, and some have even gone further to DIY their own bucket filters. This has been the status quo for some time, but now that G Shift is the Official Dealer and Reseller of The Detail Guardz Products in South Africa, there is a new player in the detailing arena.
As most of you will know, my driving principle is to offer products and services to like-minded individuals based on my past experience, or based on what I can vouch for. With this in mind, it's time to put this product to the test. I'll do my best to outline the process followed as clearly and objectively as possible. The review will be split into 2 parts, with Part 1 being the wheels, and Part 2 being the bodywork. Comments are welcome....
So to start off, I needed a dirty car. The X3 would be the guinea pig, given that it sleeps outside, and that, together with rain, construction next door, and road works around our area, meant that it had accumulated quite a bit of dirt and grime. I cringed a bit, but managed to make it for 3 weeks of no washing to make sure it was a suitably dirty candidate:


I normally start off by hosing down the entire car. This allows some of the dirt on the bodywork to breakdown while I wash the wheels, and also rinses off any excess brake dust, dirt and grime on the wheels and in the wheel arches prior to cleaning.
For each wheel, in summary, I brush the insides of the wheel arches, then move on to scrubbing the tyres with a brush. Once that is done, I use a barrel brush to get deep into the wheel barrels, between the wheel and the caliper and so on. A smaller barrel brush is used for in between the spokes, and then lastly a short handle wheel brush to clean the face of the wheels and in the bolt holes. (At some point I will do a detailed review how I like to clean my cars, but that is a story for another day). Throughout the process, the brushes get rinsed in the bucket regularly. This time round though, the Dirt Lock was in the bottom of the bucket. I use Cleen Green as my all-purpose cleaner for the wheels and tyres, as it is fairly gentle and biodegradable.
After cleaning all 4 wheels (including rinsing with fresh water), it was time to analyse what was waiting for me in the bucket. So now to make this as objective as possible, I again swirled and pumped the water in the bucket, to make sure that any impurities are "well-mixed" and essentially eliminates any bias that may have crept in from leaving the bucket to stand for a period of time prior to taking samples. I pumped and swirled my hand in the bucket for about 20 seconds.
Then, immediately after doing that, I dipped a glass into the bucket to scoop out a sample of the wheels rinse water from above the Dirt Lock. This would be used to illustrate the quality of the rinse water in the upper half of the bucket.
Immediately after that, I siphoned off any excess water from above the Dirt Lock. I held the siphon tube flat against the Dirt Lock, so as not to suck up any impurities from below the filter.
Once no more water could be siphoned off, I used a microfiber towel to absorb any remaining traces of water above the Dirt Lock. This should essentially only leave the dirtiest rinse water possible, which would be trapped below the filter.
Here is a picture of where I am at this stage of the process. Next up would be removal of the Dirt Lock from the bucket.

I removed the Dirt Lock Filter, and then to eliminate bias, I again swirled the remaining contents in the bucket for 20 seconds.
Immediately after swirling, I tipped the bucket sideways slightly, and scooped up another cup of the remaining "dirty / filtered" rinse water. I then poured off the remaining water from the bucket into a 2l Oros plastic bottle - to be analysed later.
Results:
So, after removing the Dirt Lock and pouring off the water, this is what was left at the bottom:

Lots of muddy sediment which is from driving in the rain, and also on the local roads where they are busy with roadworks.
More importantly though, what about the samples of rinse water scooped up from above and below the Dirt Lock after swirling. Well here we go. Given that brake dust is extremely fine, I left the glasses to stand overnight, so that the particulates can settle a bit to make for easier analysis. The glass on the left is water from above the filter, and the glass on the right is water from below the filter:

At first glance, they look fairly similar. I would also expect this as brake dust is extremely fine and easily mixes in water. Only paper-type filters would really be very effective in filtering out these fine particulates, but that is not what we are testing here.
Looking more closely at each glass, firstly the rinse water from above the filter, and then the rinse water from below the filter:


There is noticeably more sediment in the glass with rinse water from below the filter. Don't forget that before taking each sample, that the water was swirled and mixed thoroughly before scooping up the sample, so this would have given the dirt ample opportunity to mix around, specifically up into the top half of the bucket - above the filter. Based on this, I would state that the filter is effective, even for small particulates in the rinse water.
Earlier I mentioned that the remaining dirty rinse water was poured into a 2l Oros plastic bottle. I also left that to stand overnight, and here are the results:


Lots of black brake dust sediment which settled.
So to conclude, for the wheels, it does appear that the Dirt Lock is effective in separating and filtering out a lot of particulates in the rinse water.
In my next post, I'll detail my findings and results from washing the rest of the car.

