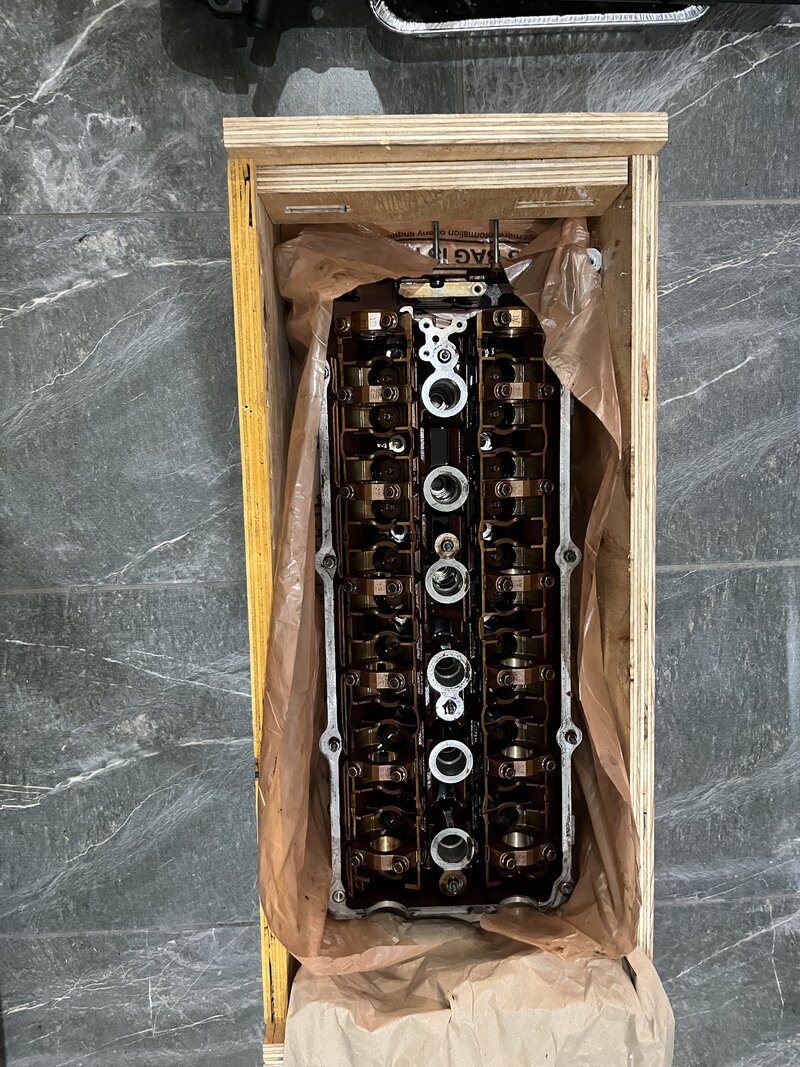
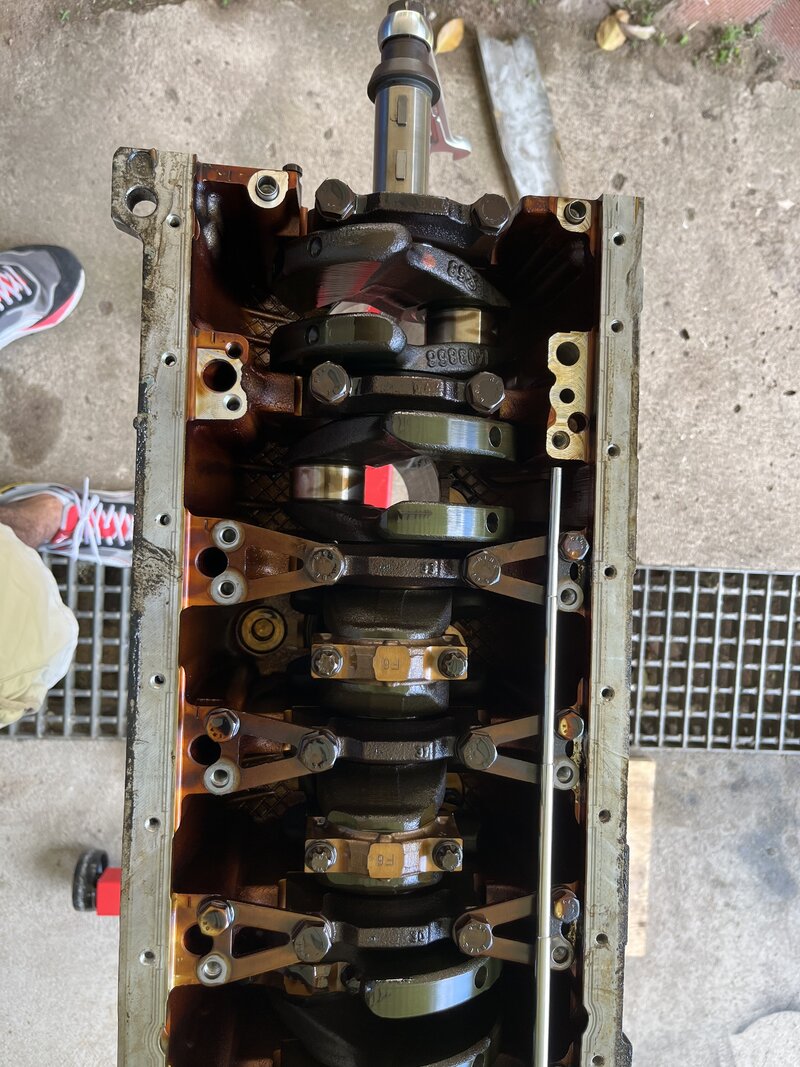
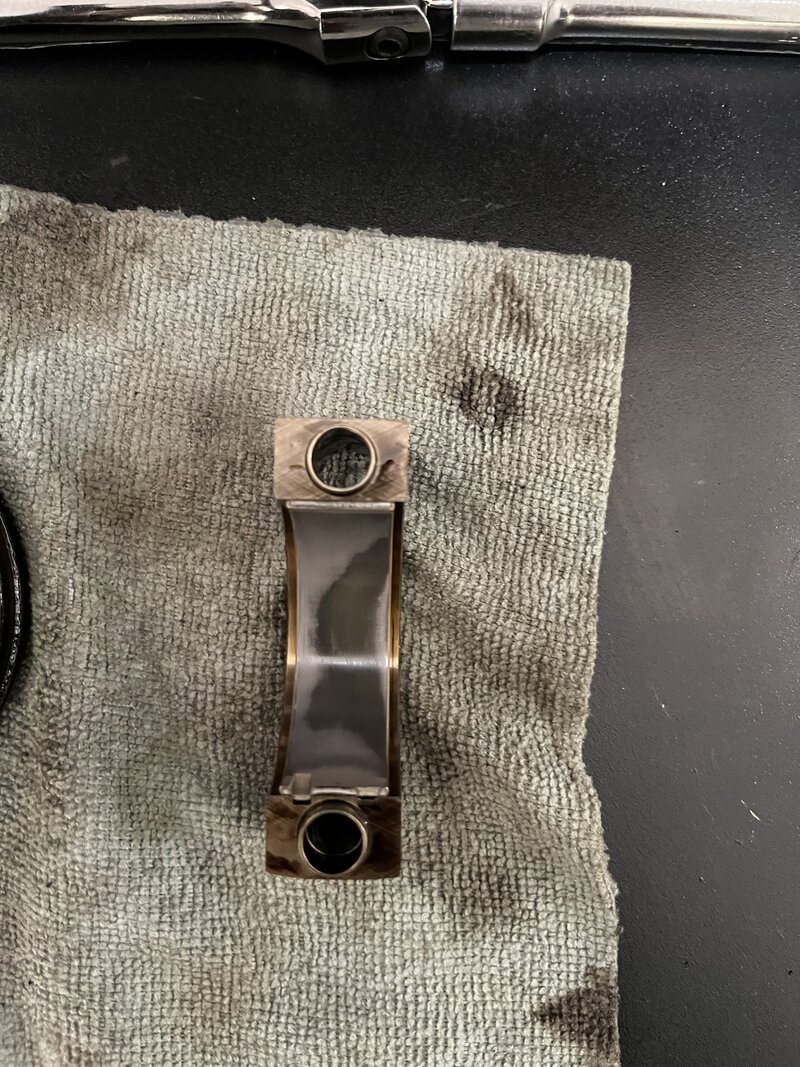
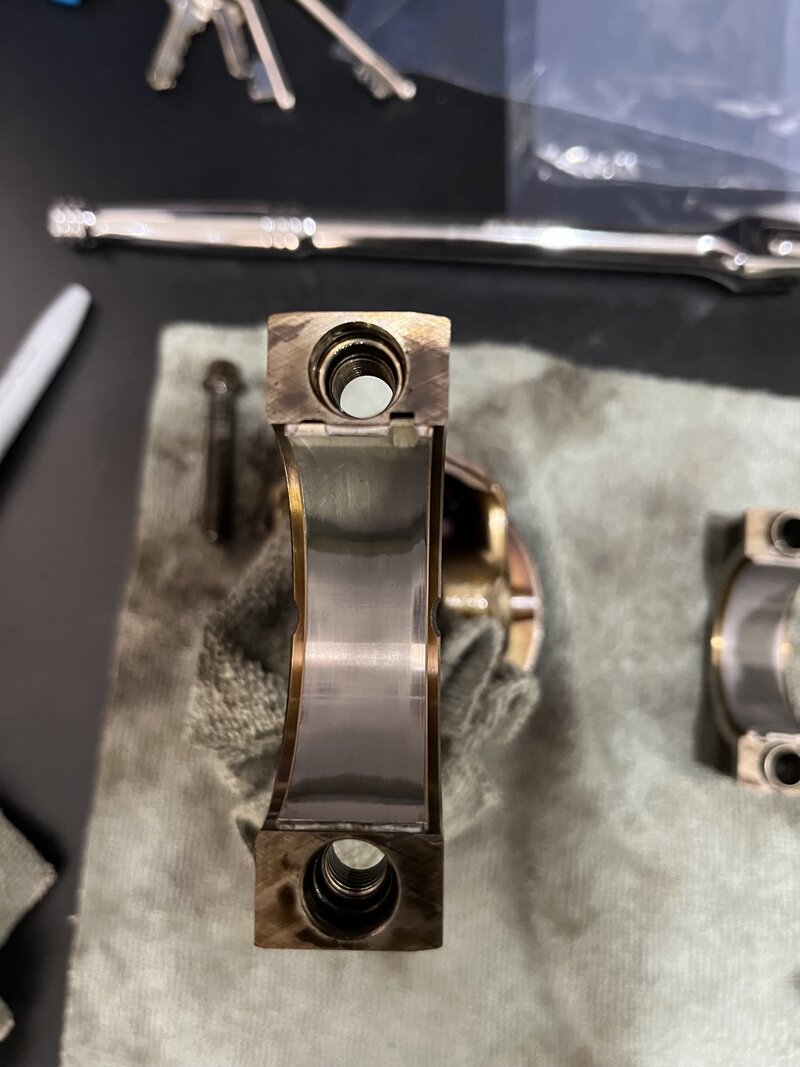
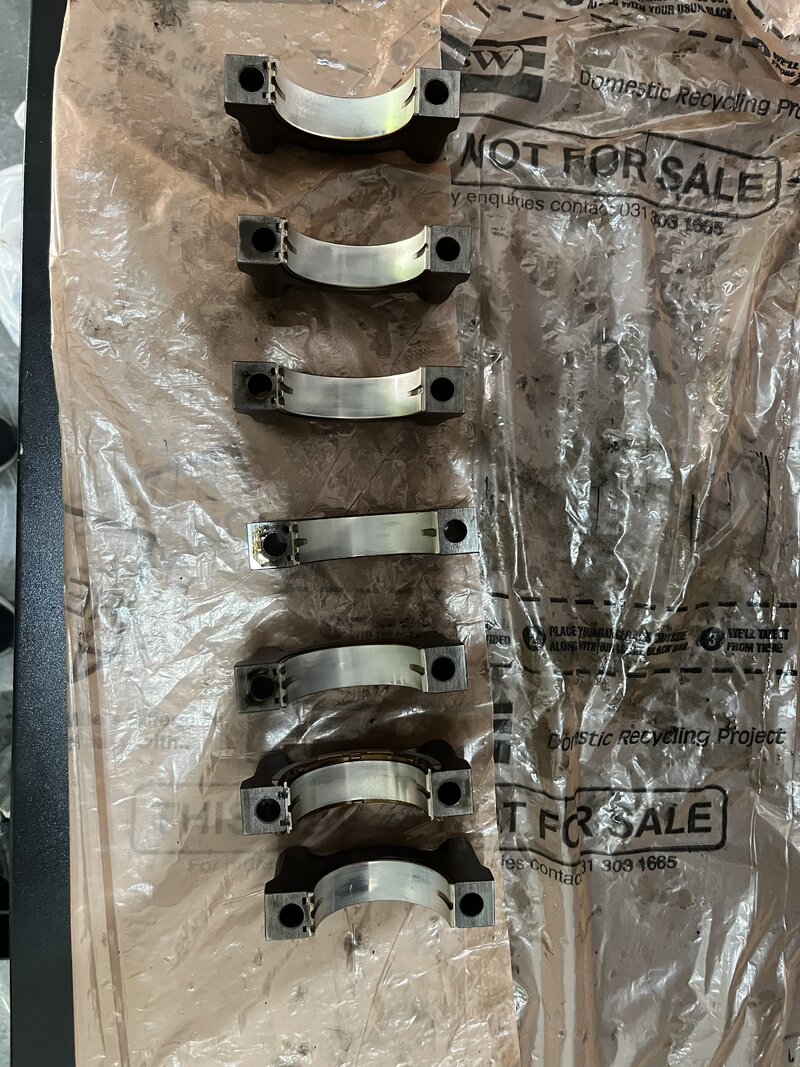
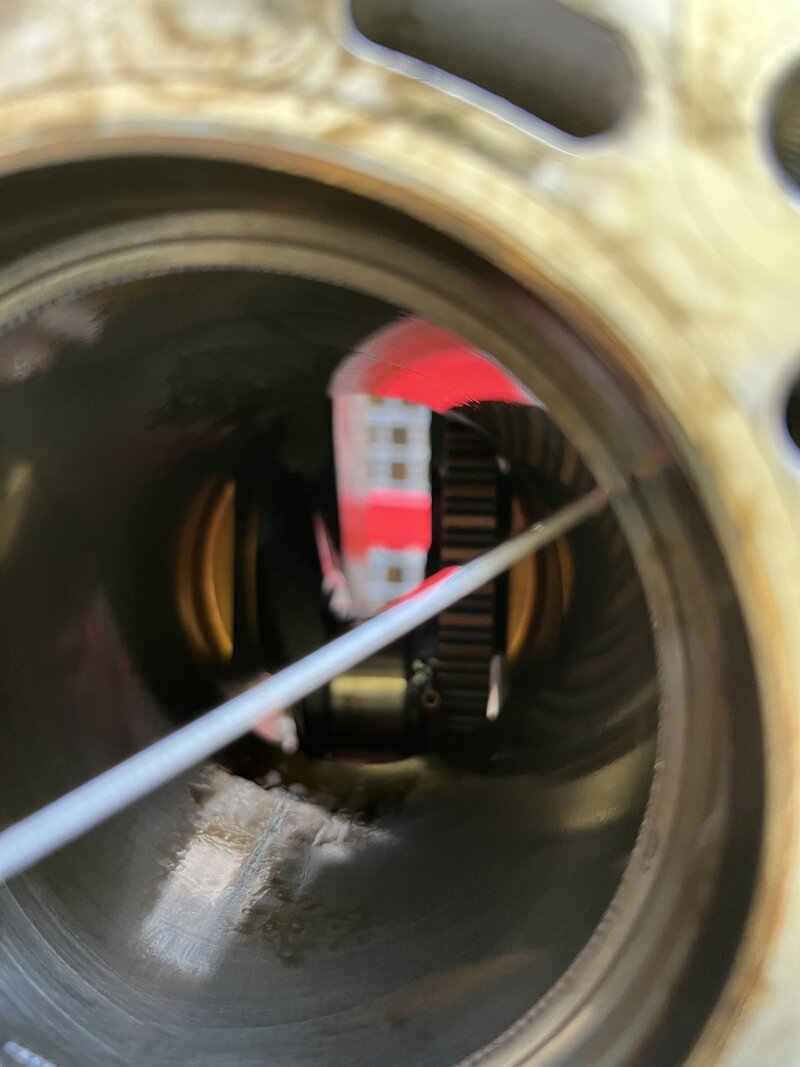
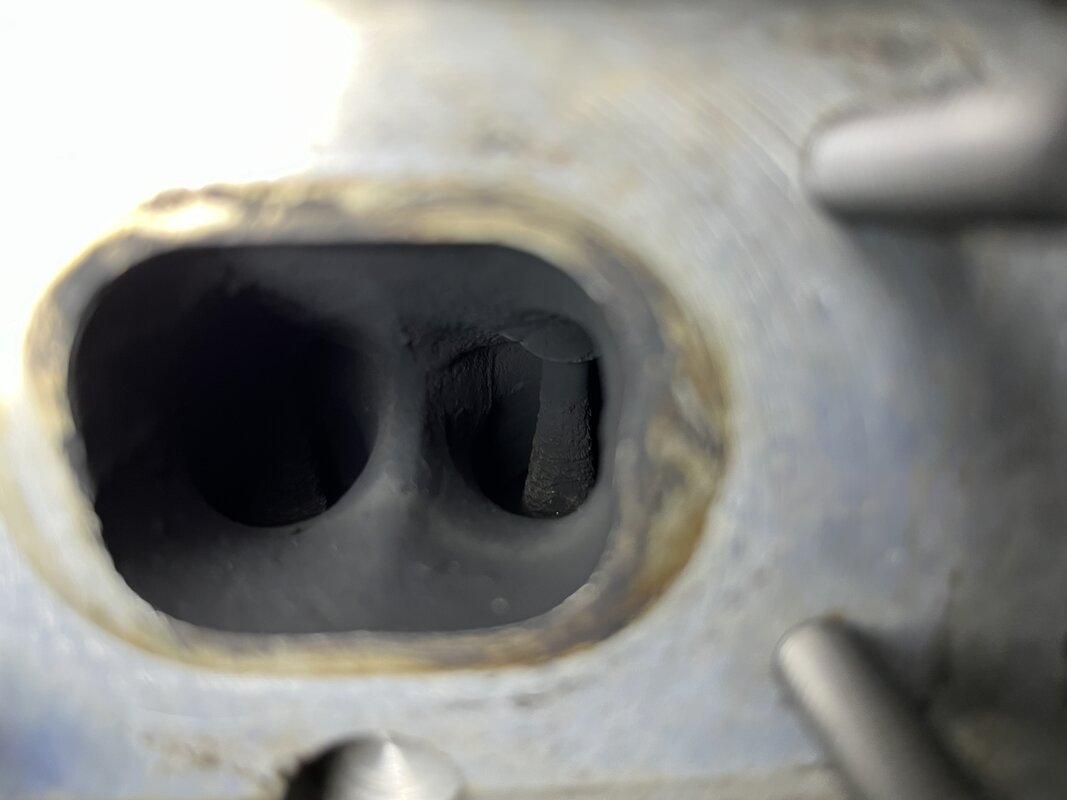
This is going to be a journey.
Was originally intending to do some basic maintenance on my 2002 E46 330i.
The original list
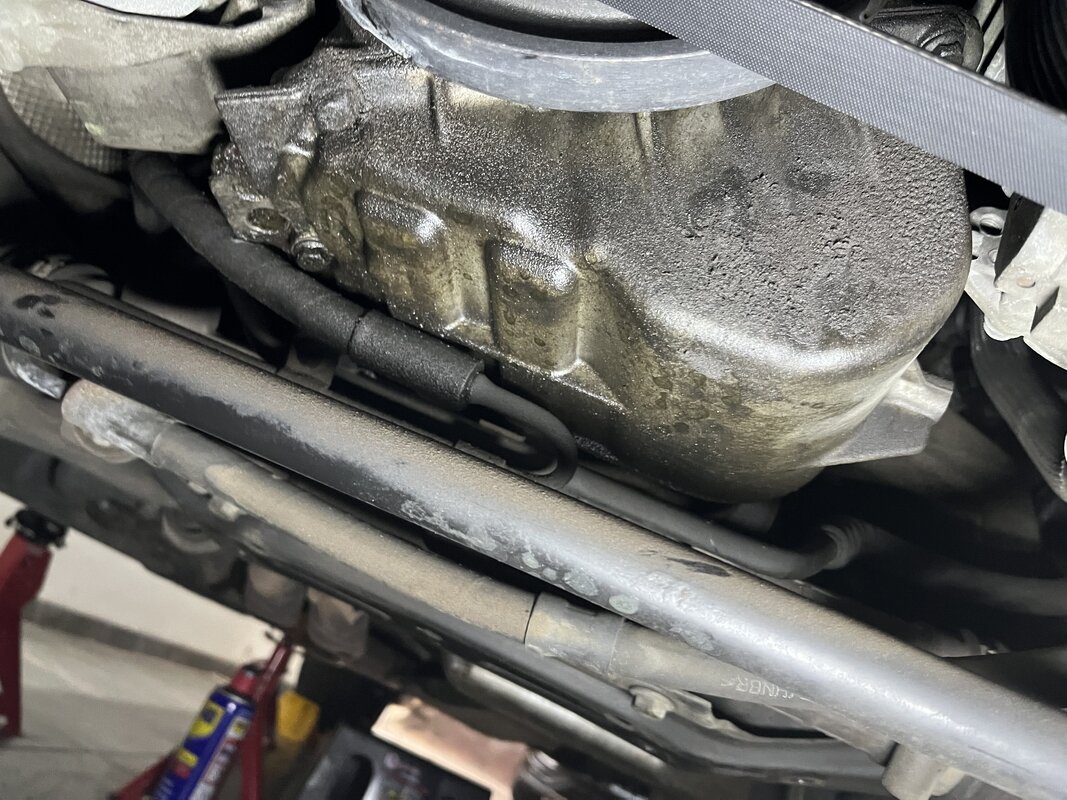
- Sump gasket, small oil leak (needed to drop subframe)
- Add headers, remove cats
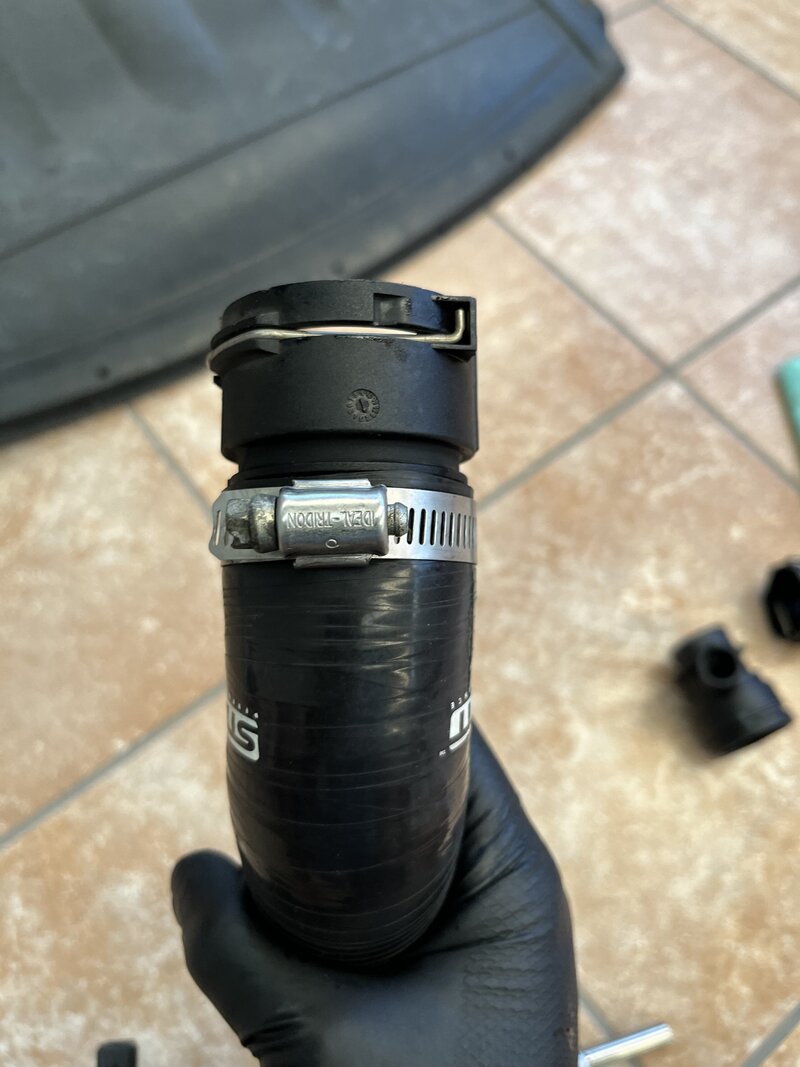
- Water pipes: plastic parts are aging
- Engine and gearbox mounts
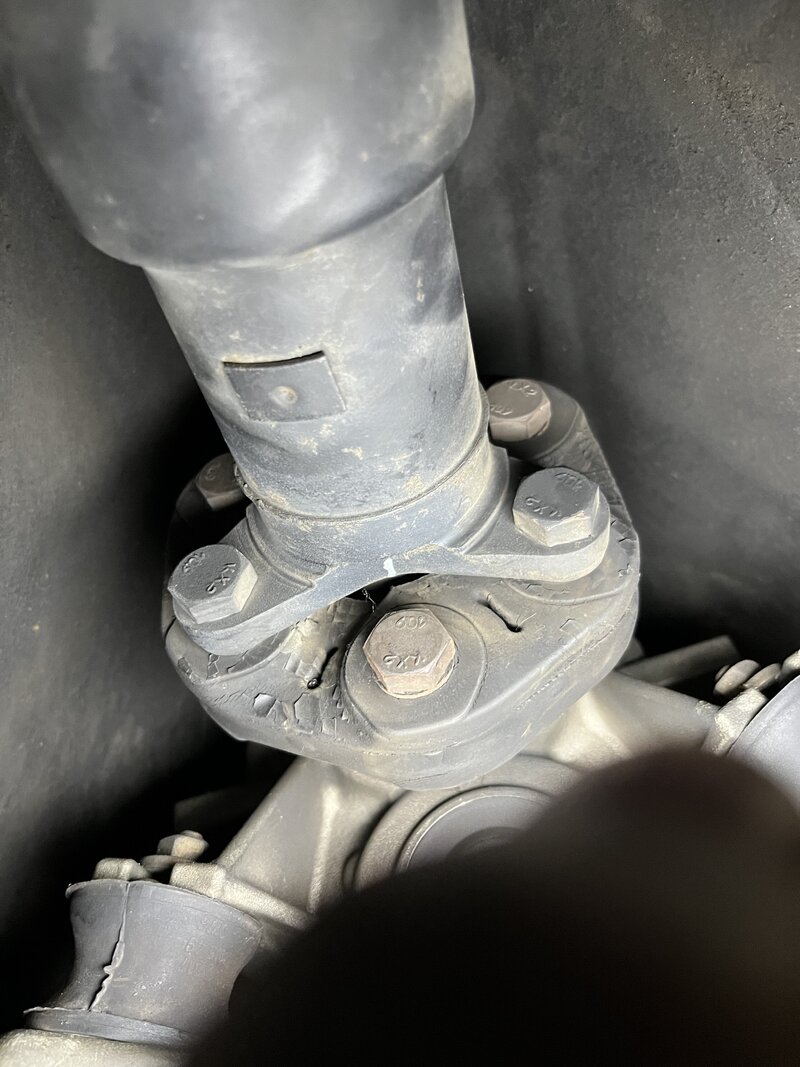
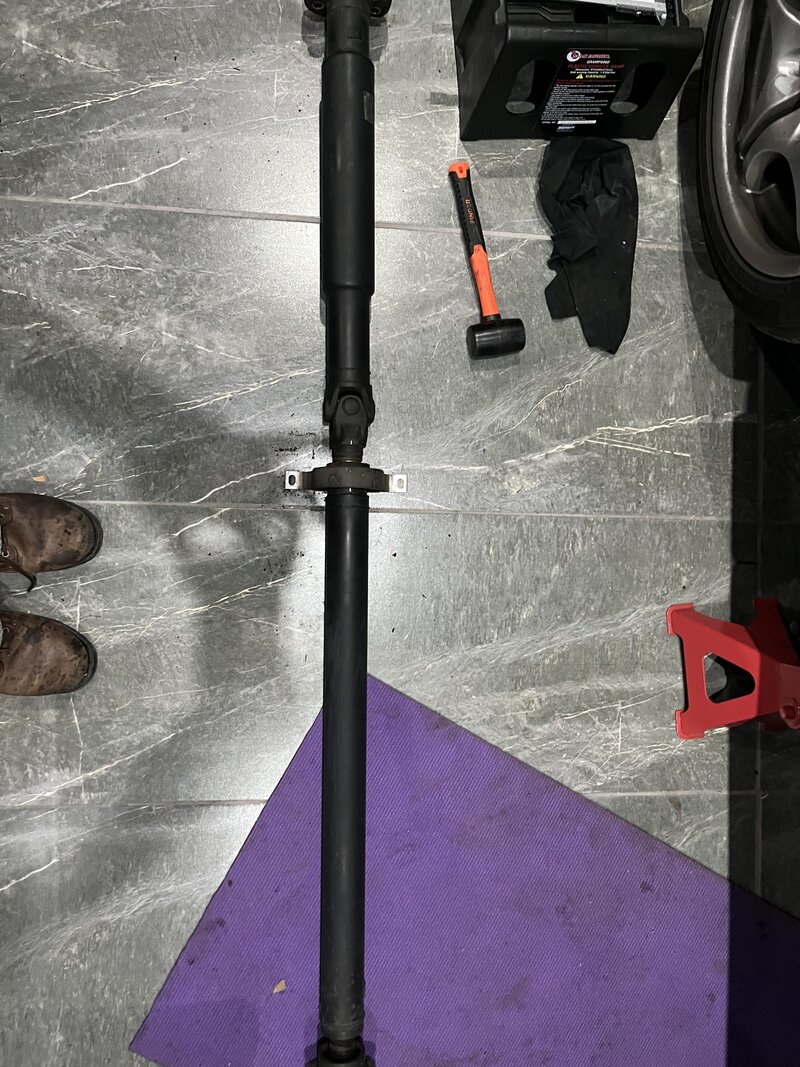
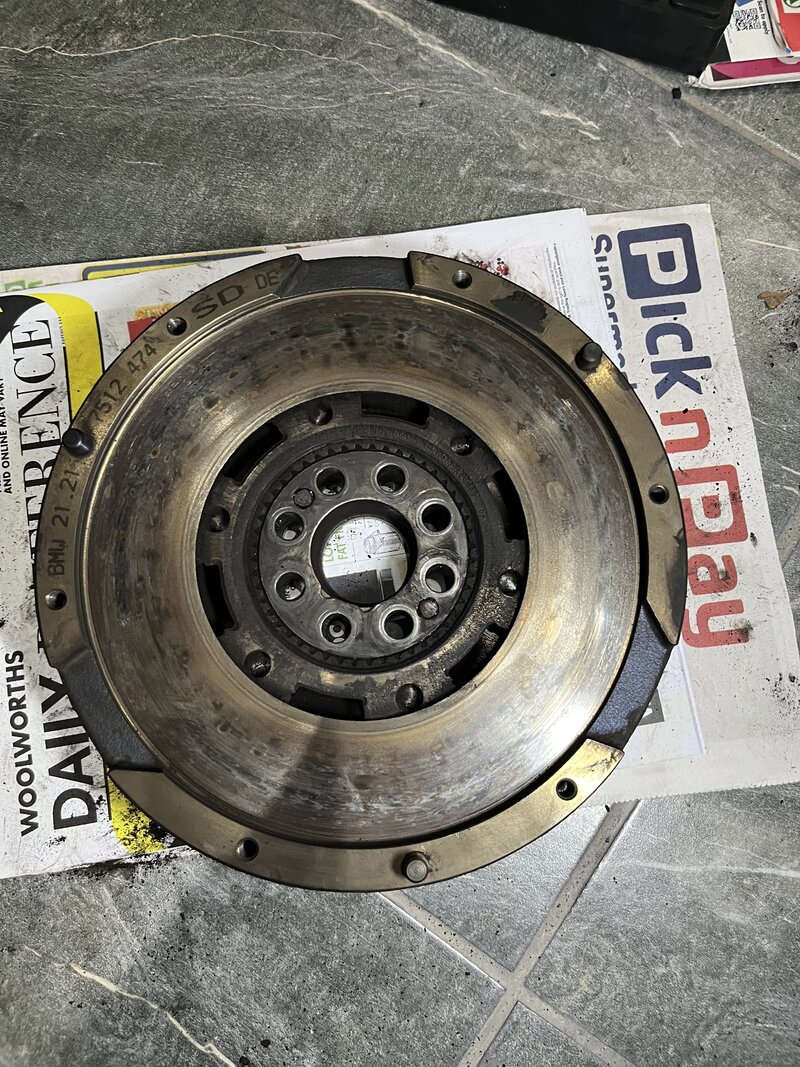
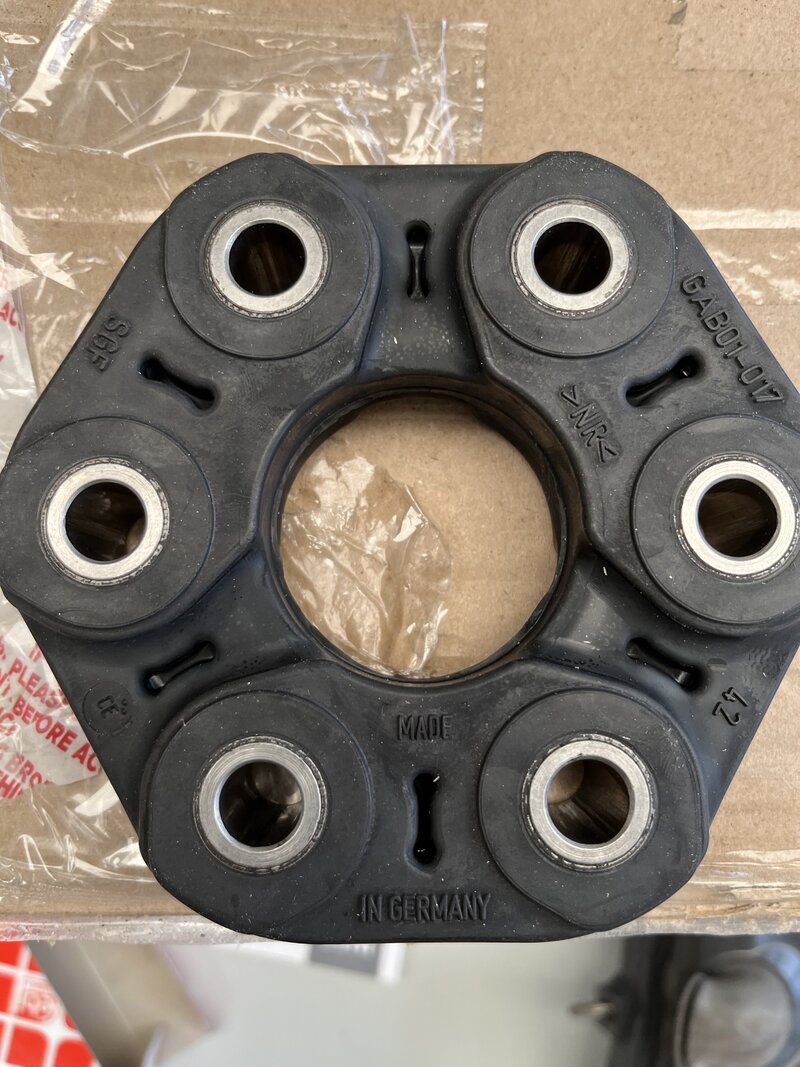
- Driveshaft flex disc
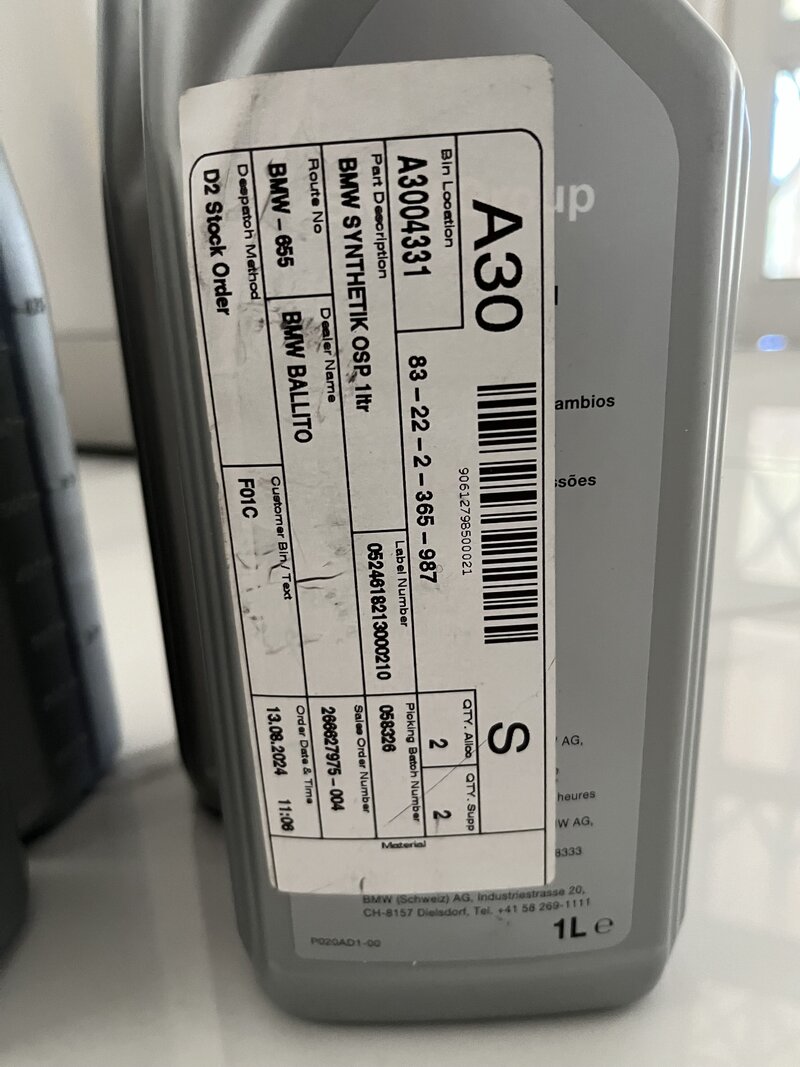
- Diff oil
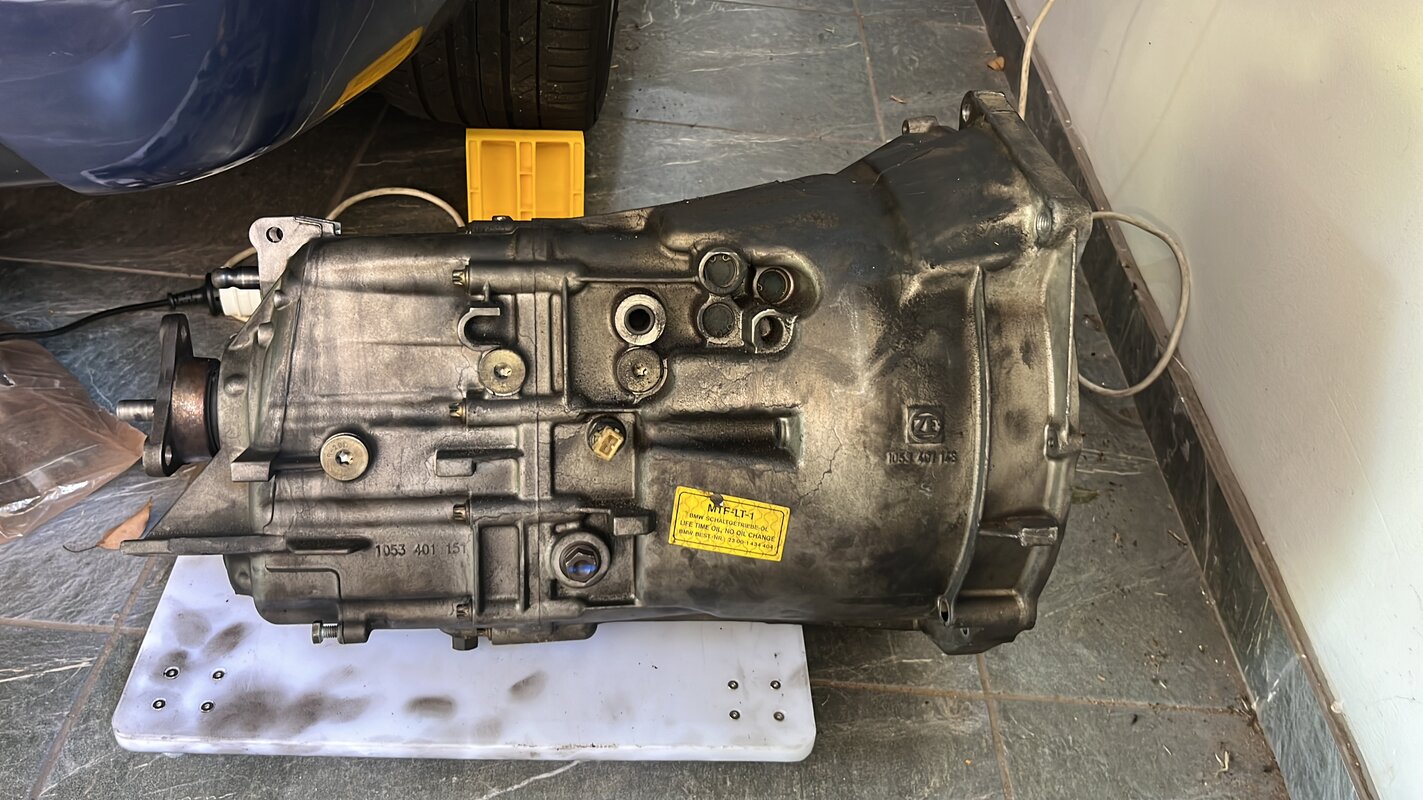
- Gearbox oil
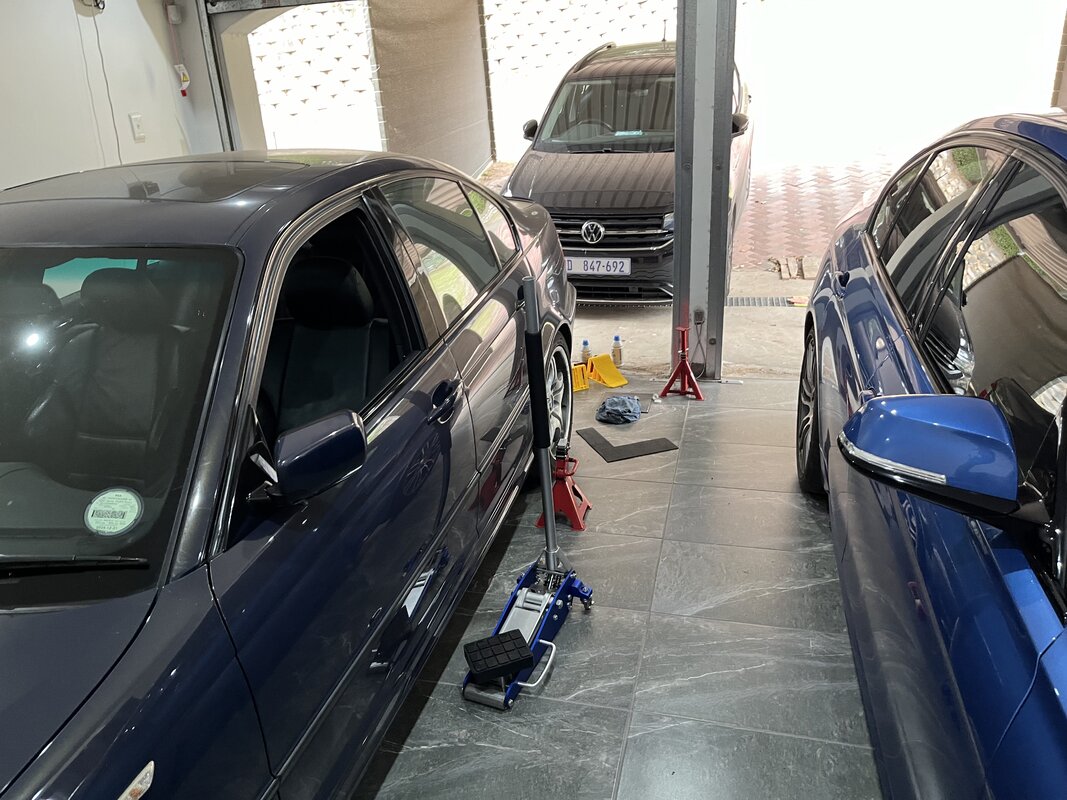
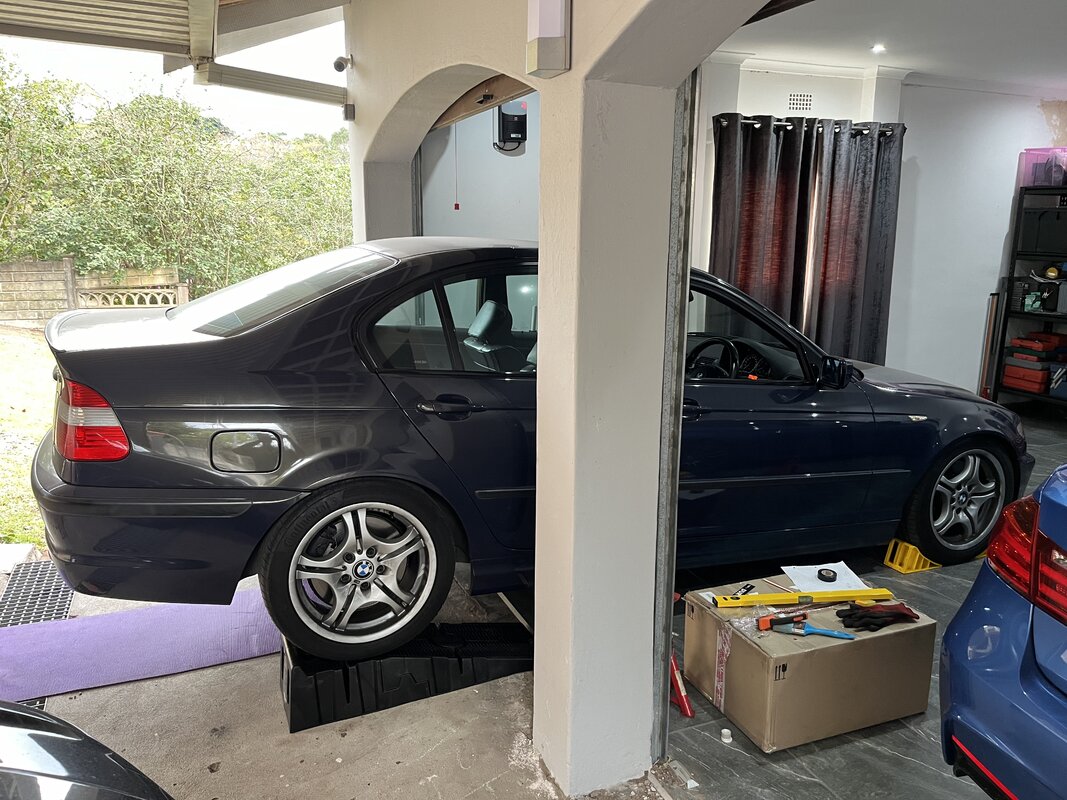
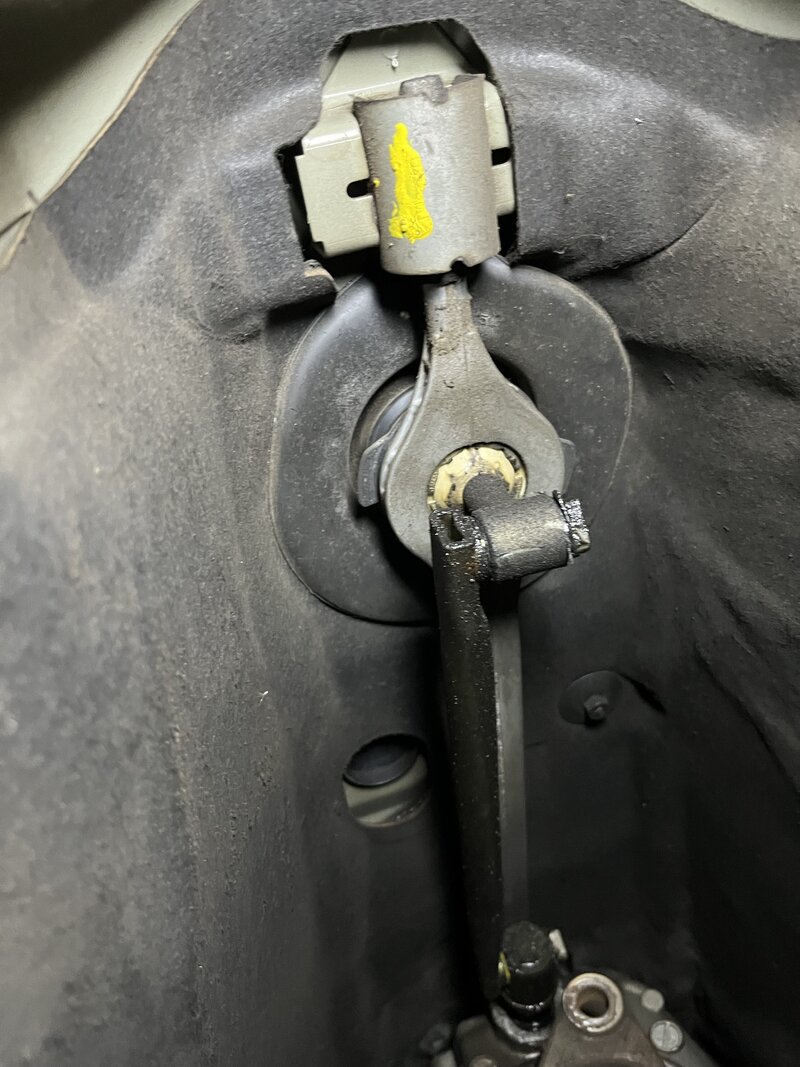
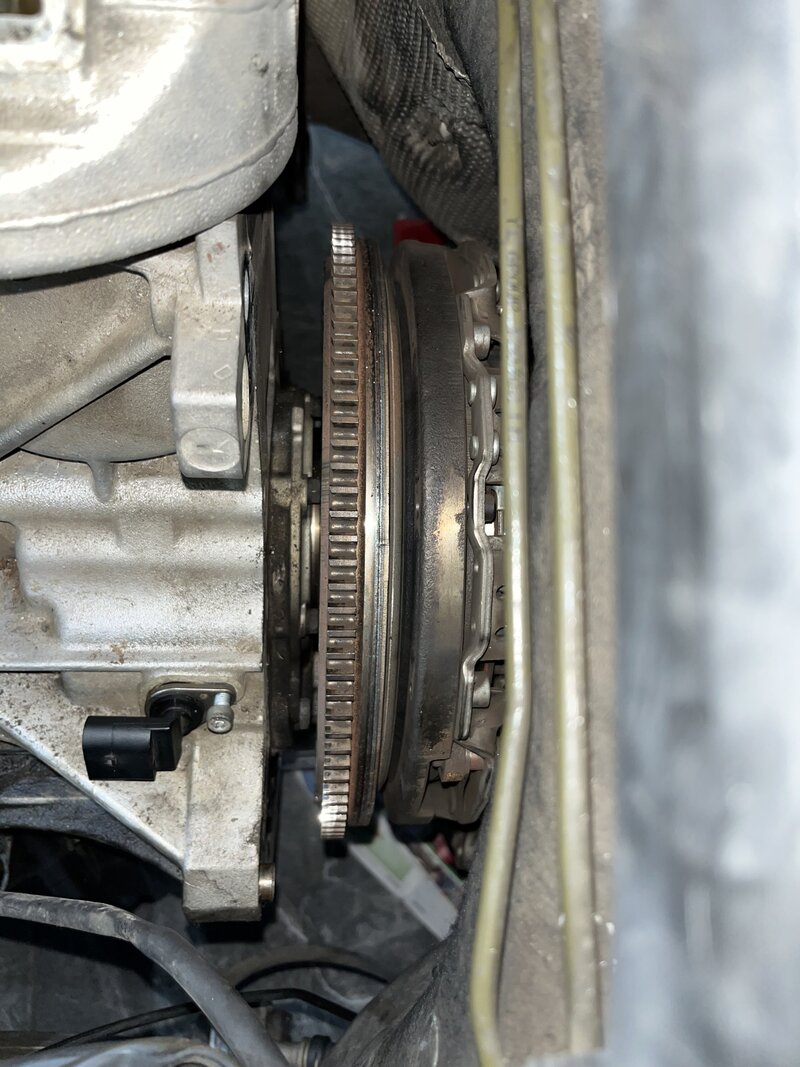
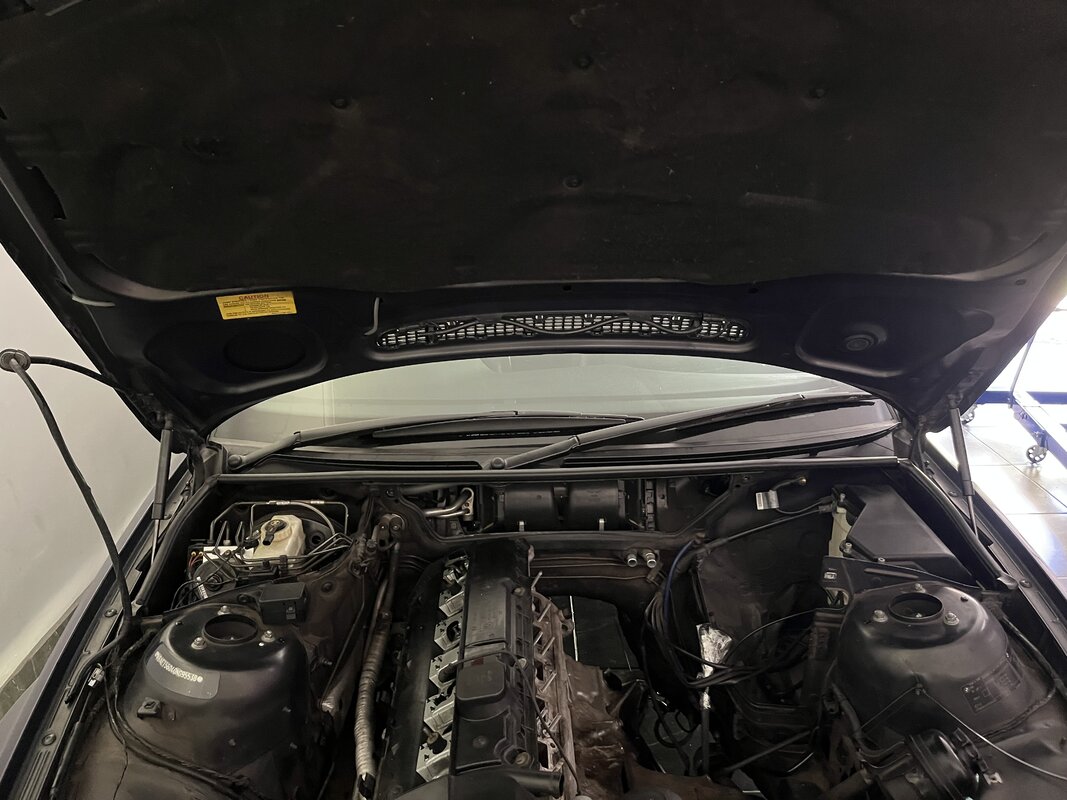
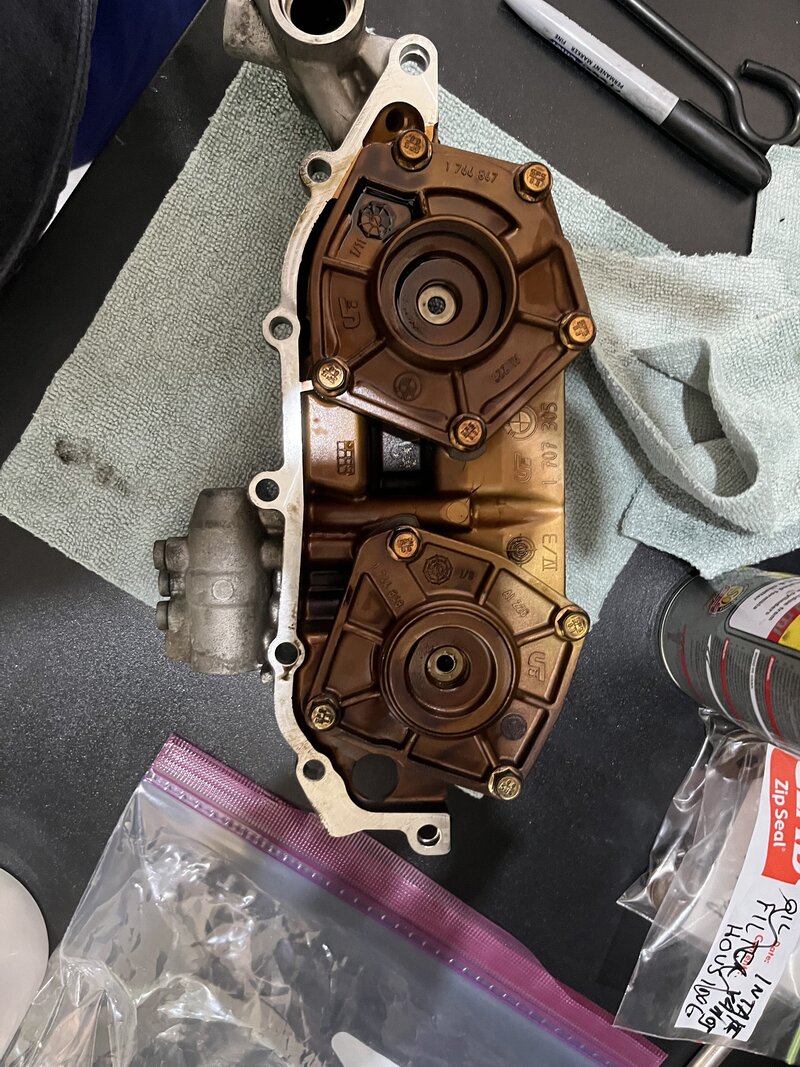
Attached are some basic pictures of what I started with. It should be noted that the car has been well maintained over the years. This leak started as a tiny drip and was only present for a few months before I started addressing.
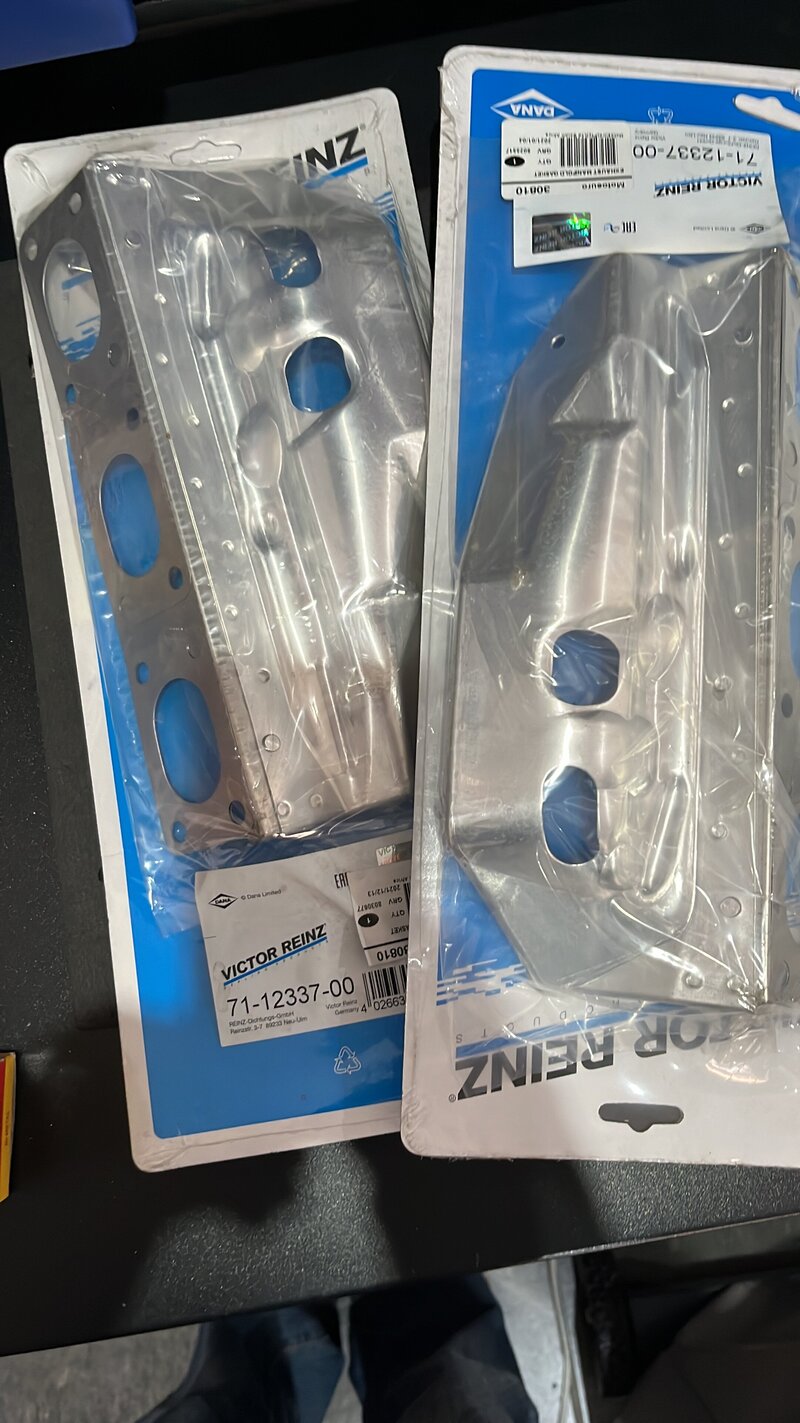
Anyway, below are the basic bits ordered; little did I think at the time this was going to spiral into a full build.
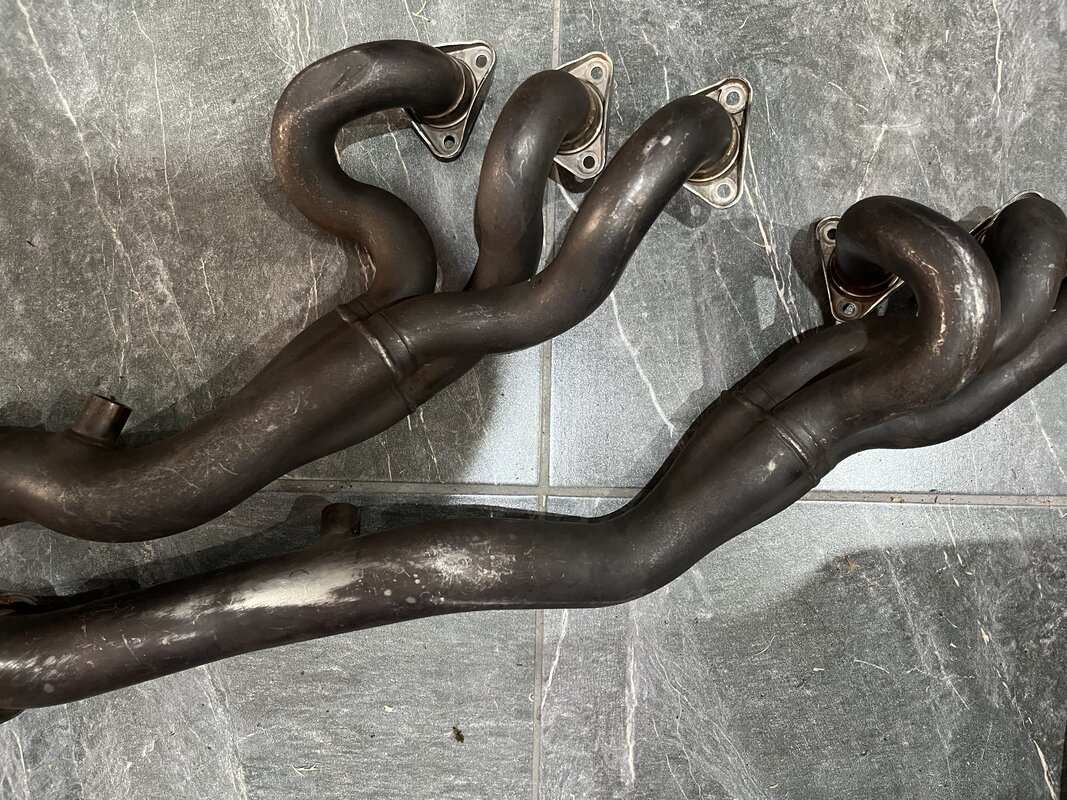
The headers were ordered from UK, very hard to get well-fitting ones for RHD
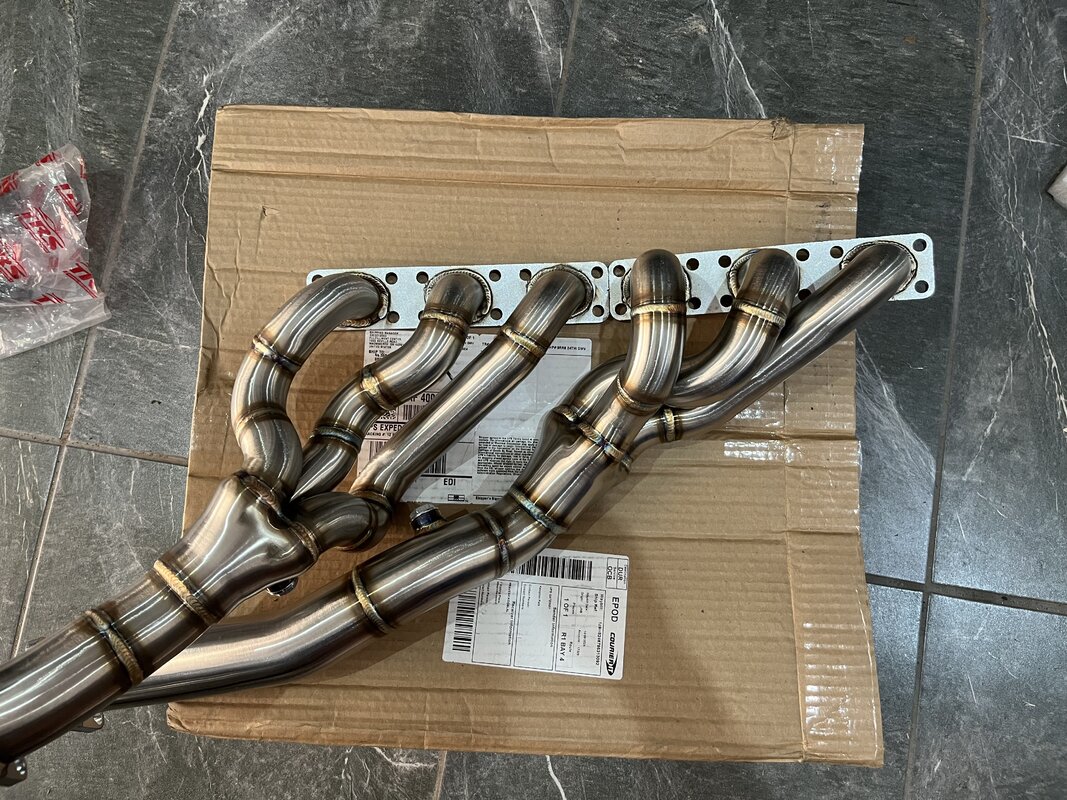
The original plan was to use E46 M3 headers cut off the ends, and TIG-weld stainless flanges. This is still doable but without a proper jig and flanges to align, it would be time-consuming and require a lot of trial and error.
Some new lambda sensors with longer wires to match new locations lower down
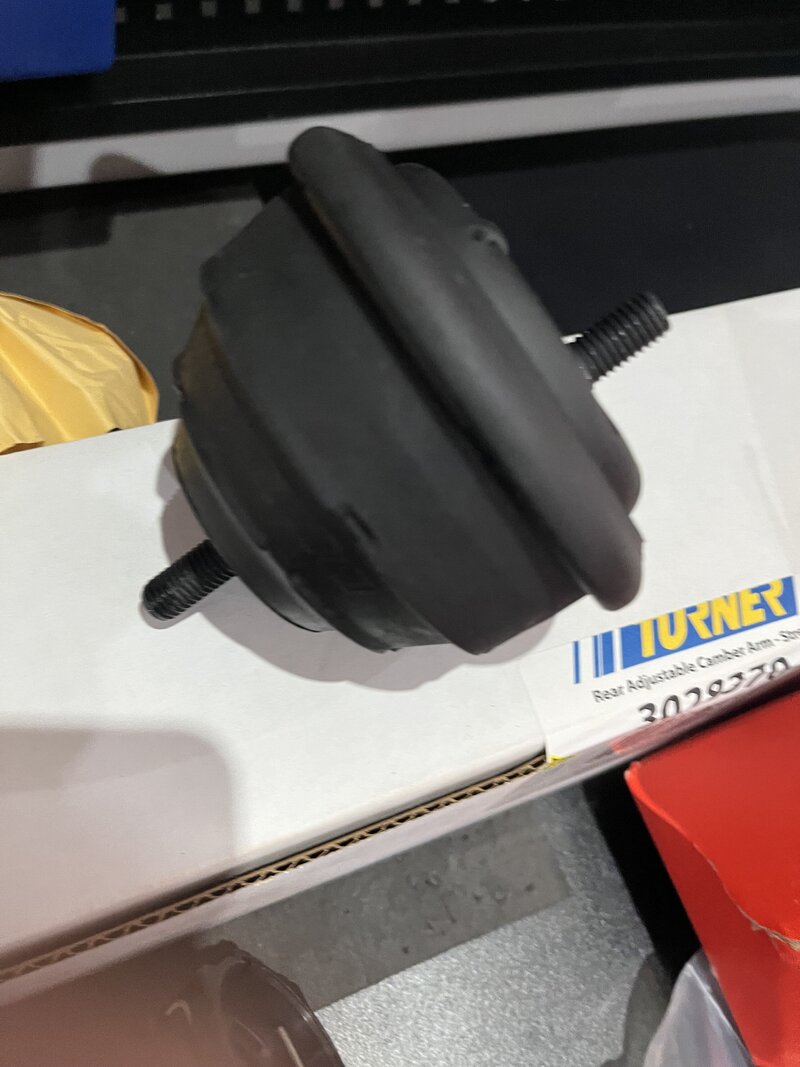
Turner Motorsport solid rubber engine mounts: I originally thought the flex disc was worn due to a loose feeling when taking of hard; it turned out to be a broken engine mount, which I only discovered later. Worth noting the diff mounts were changed a while ago with OE ones.
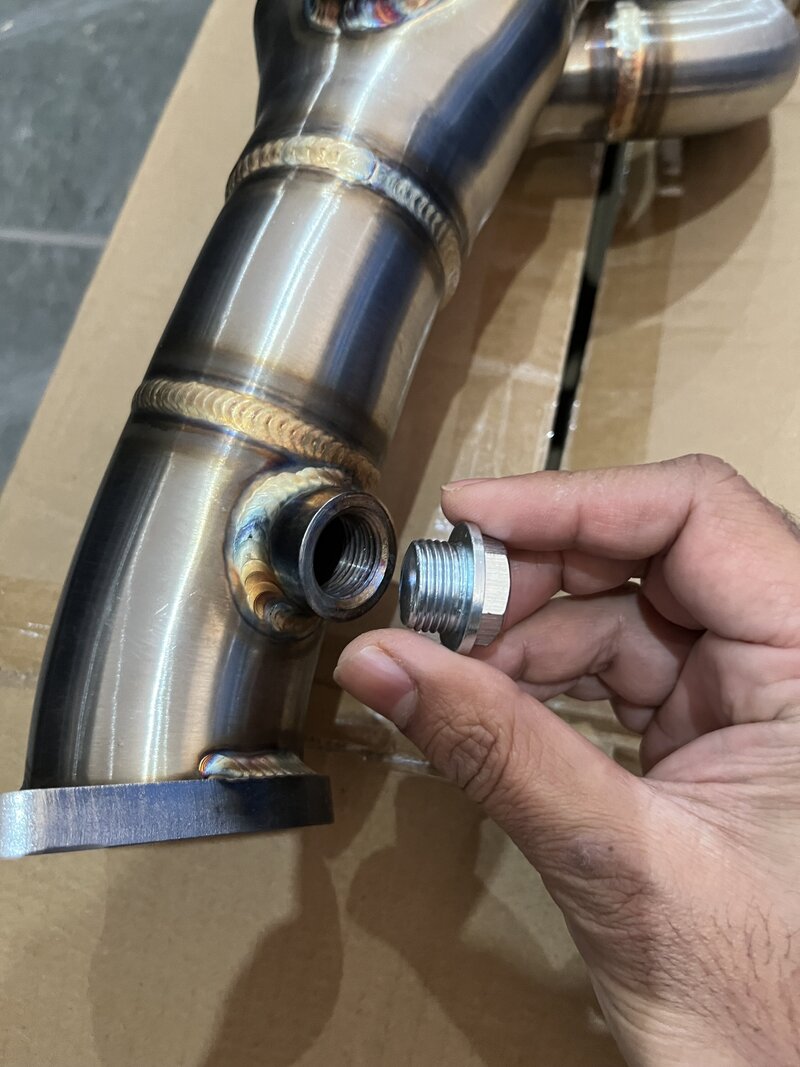
Blank off the unused lambda sensor bung, as this car only had the primary; it would have coded out the secondary anyway.
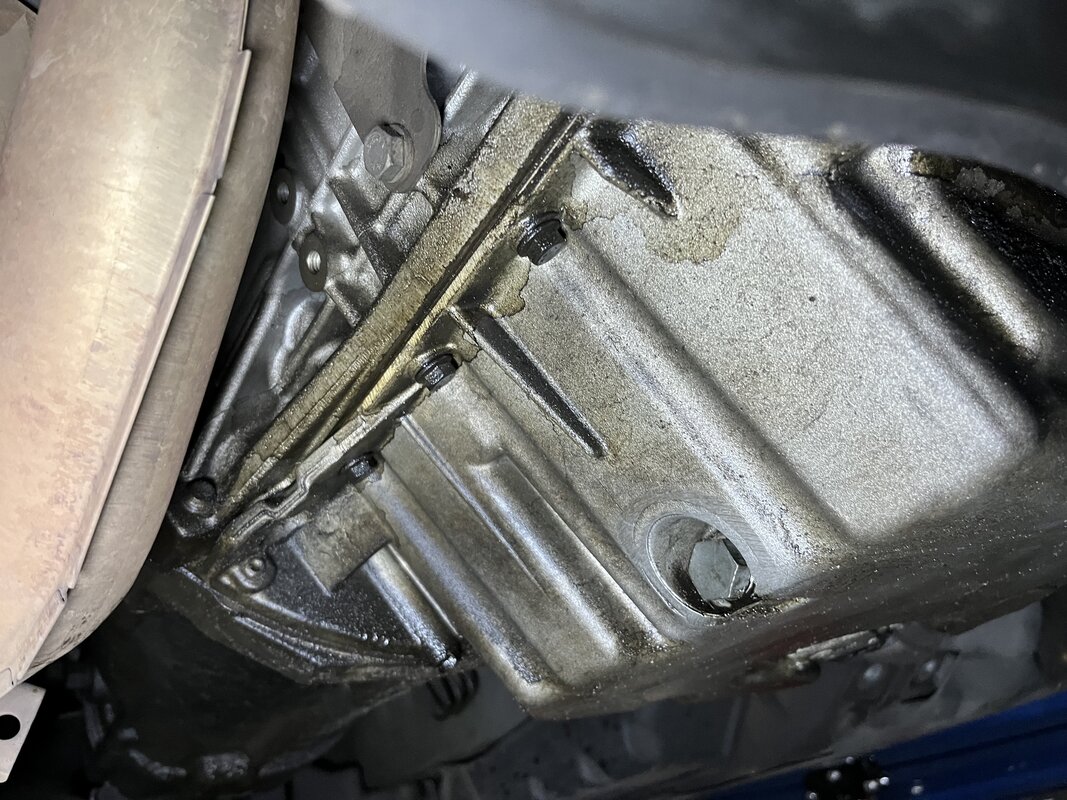
The leak that started this
Worth noting SGF makes the original flex joint so this is same as OE
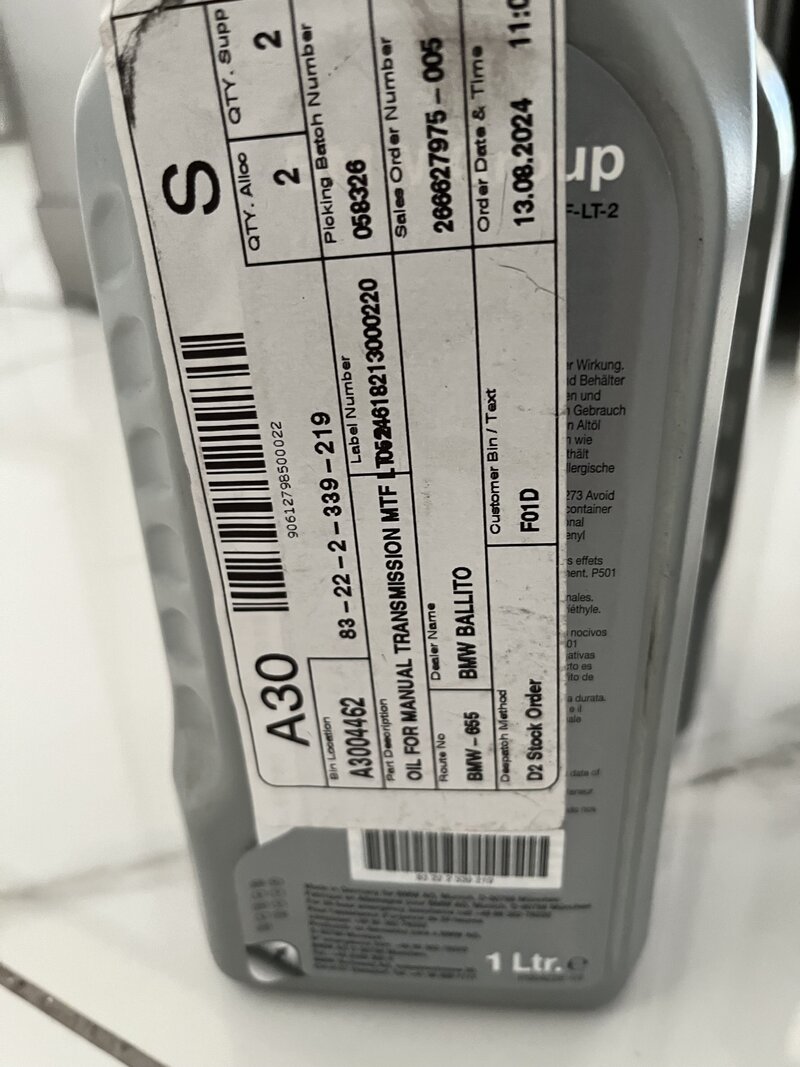
I used OE Diff and Transmission oils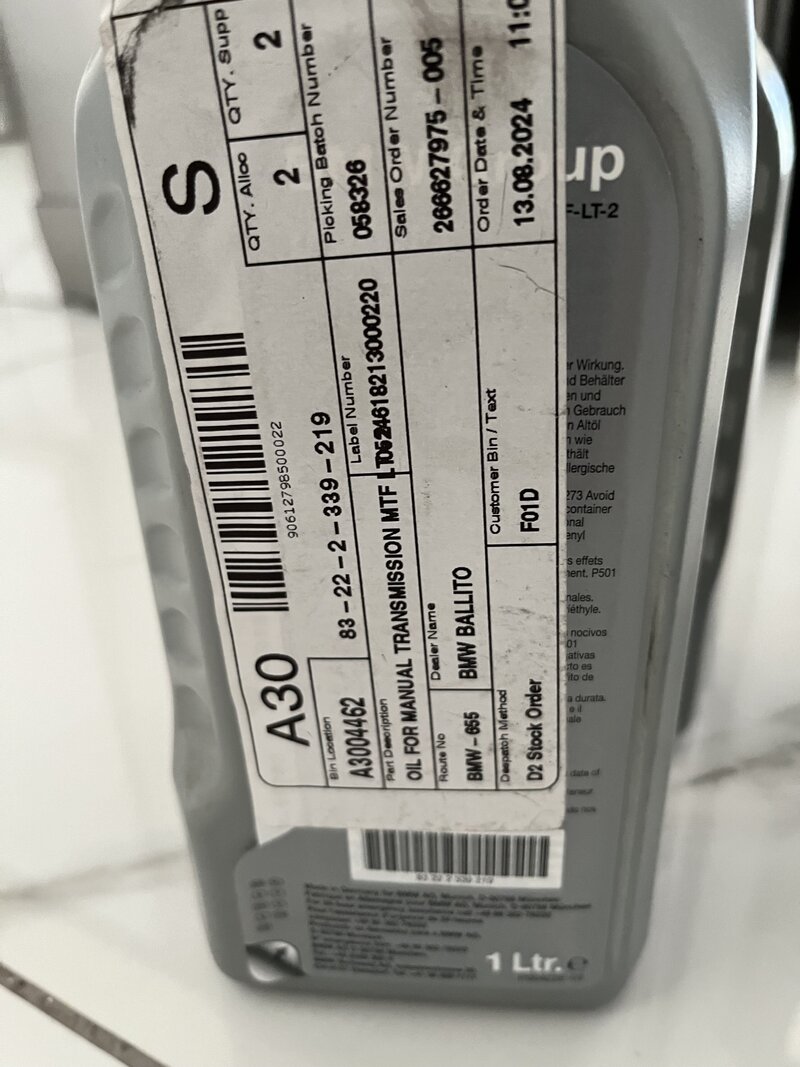
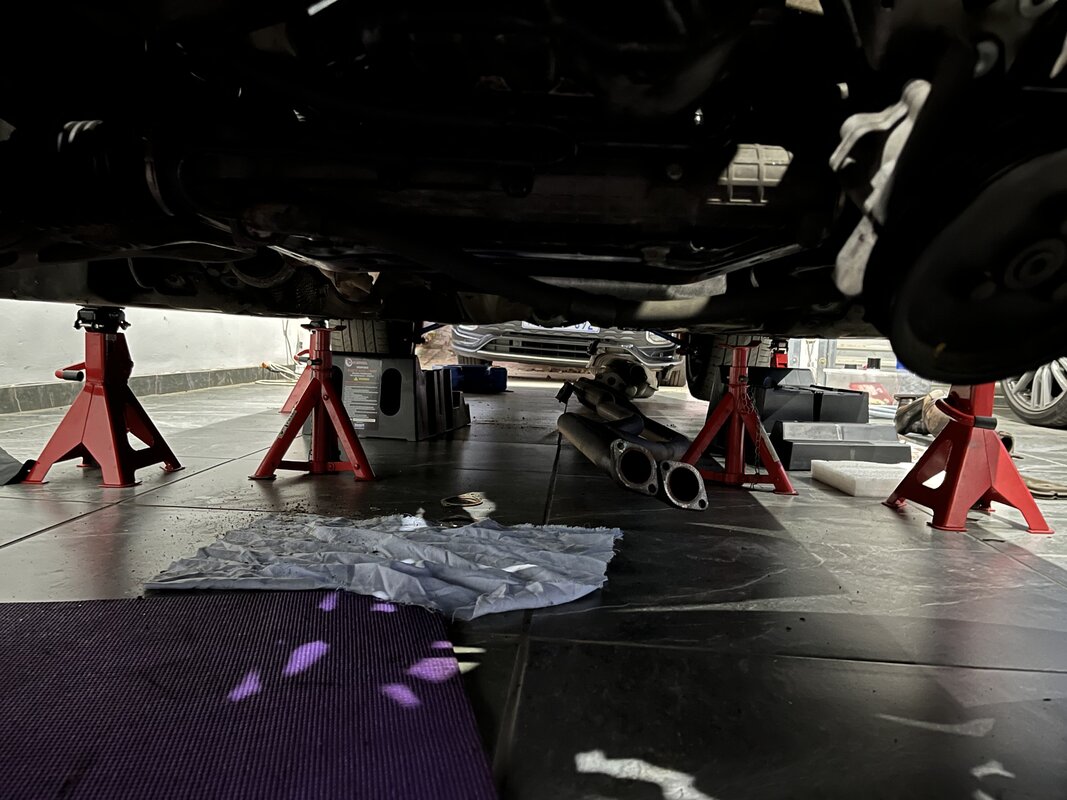
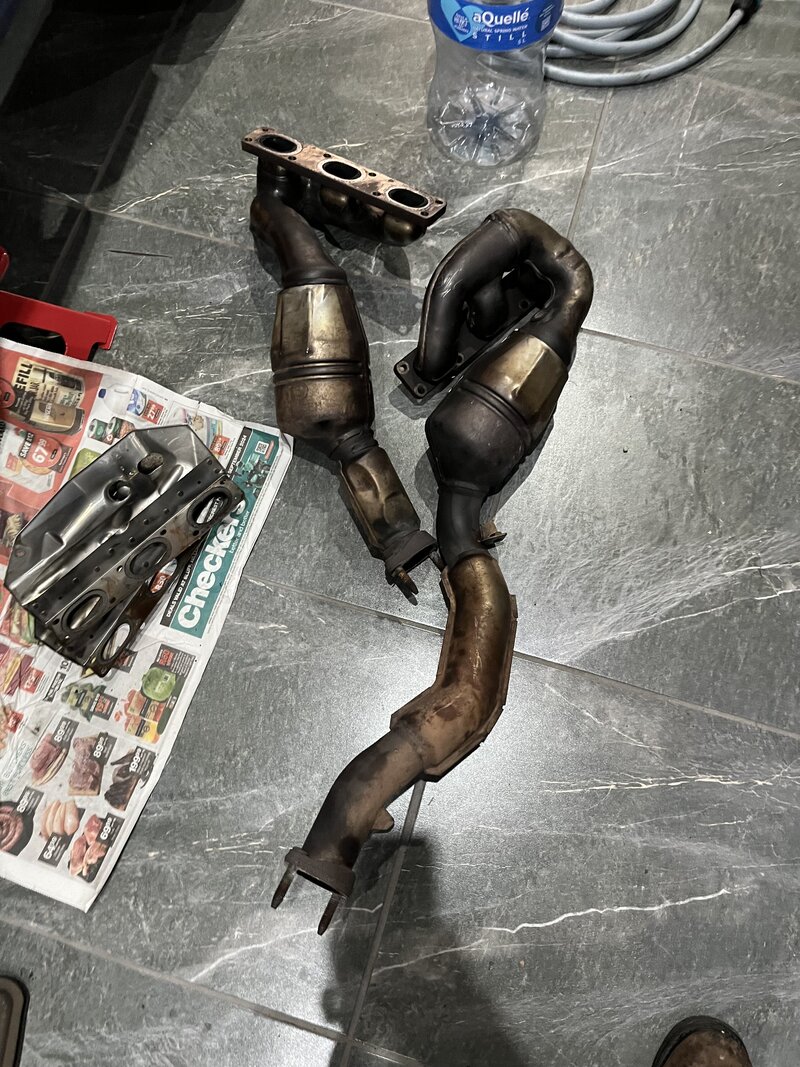
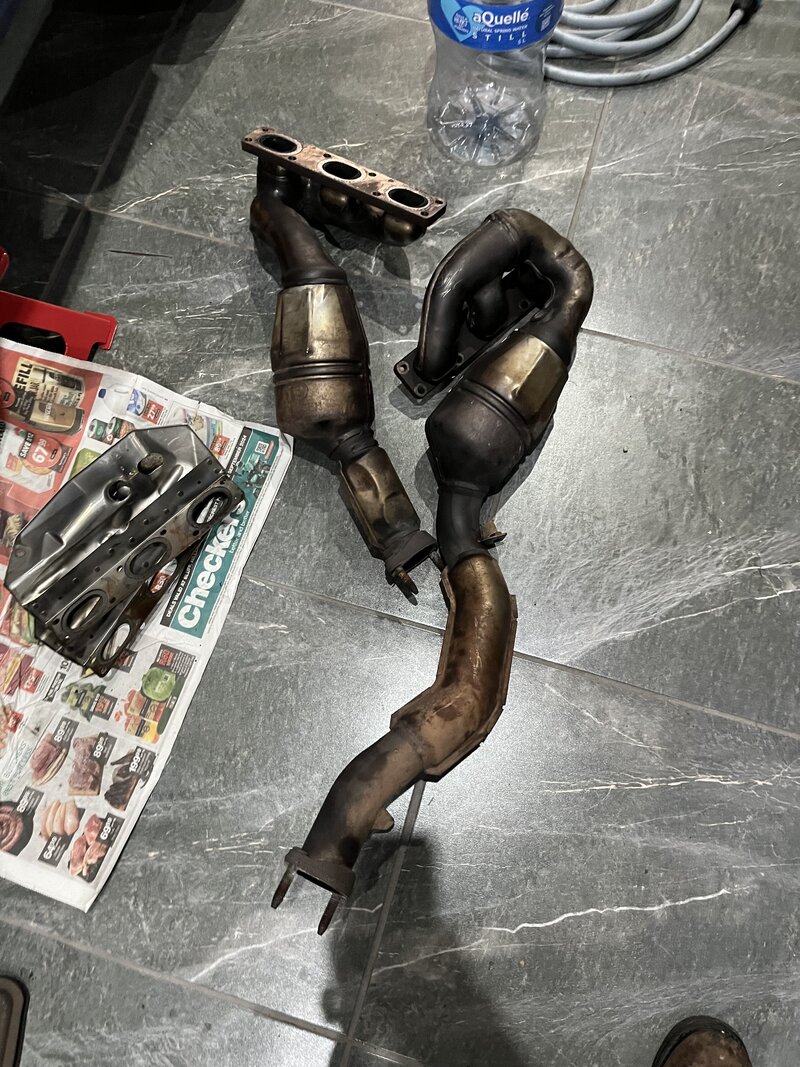
Let's just start the journey; I removed the headers, not the easiest thing to remove.
Need to remove bolts with various socket sets and extensions 1/4" and 3/8"
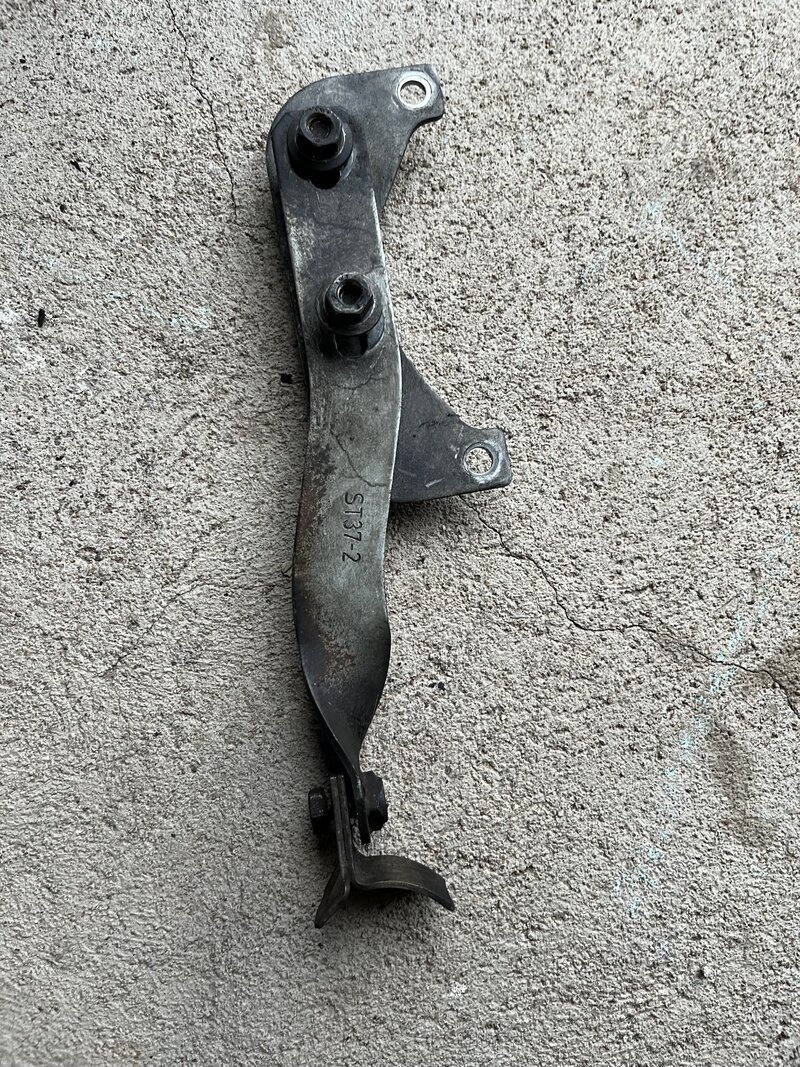
Noticed this bracket, which supports the exhaust, was broken; will get to rewelding it later
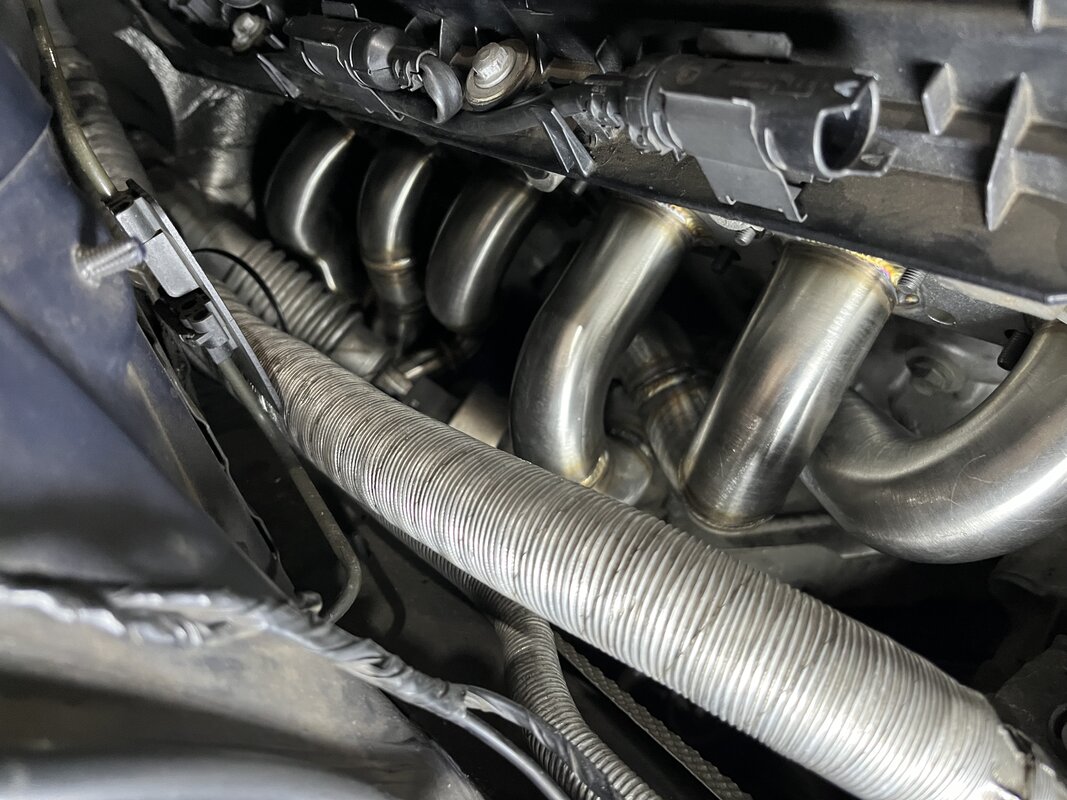
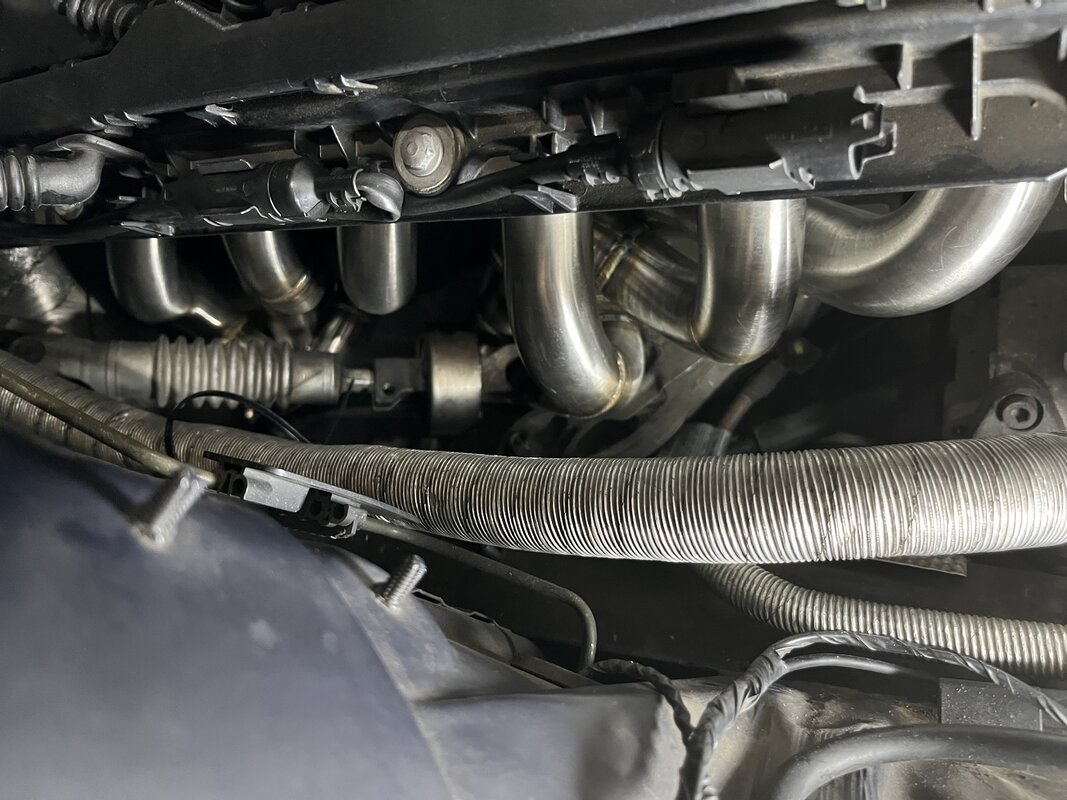
Test-fitting the headers; fitment was perfect. The O2 sensors had no issues contacting the engine or body, with plenty of clearance; the steering universal joint also cleared this well.
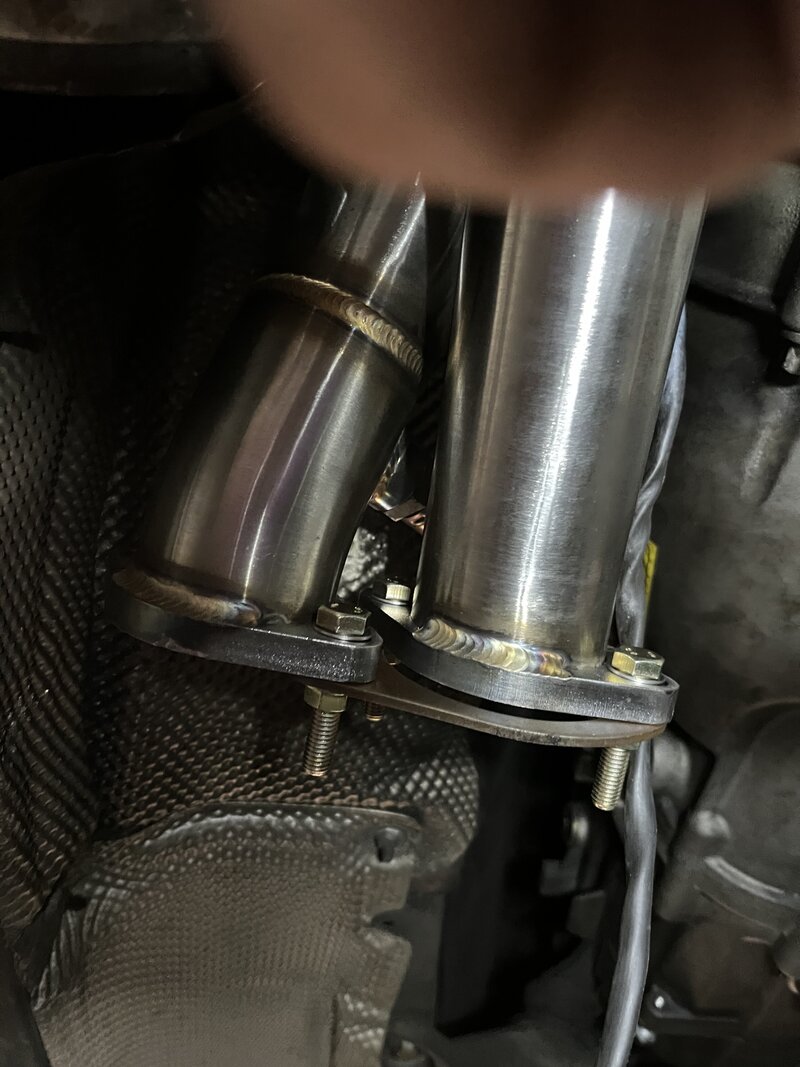
The exhaust flange end of the headers
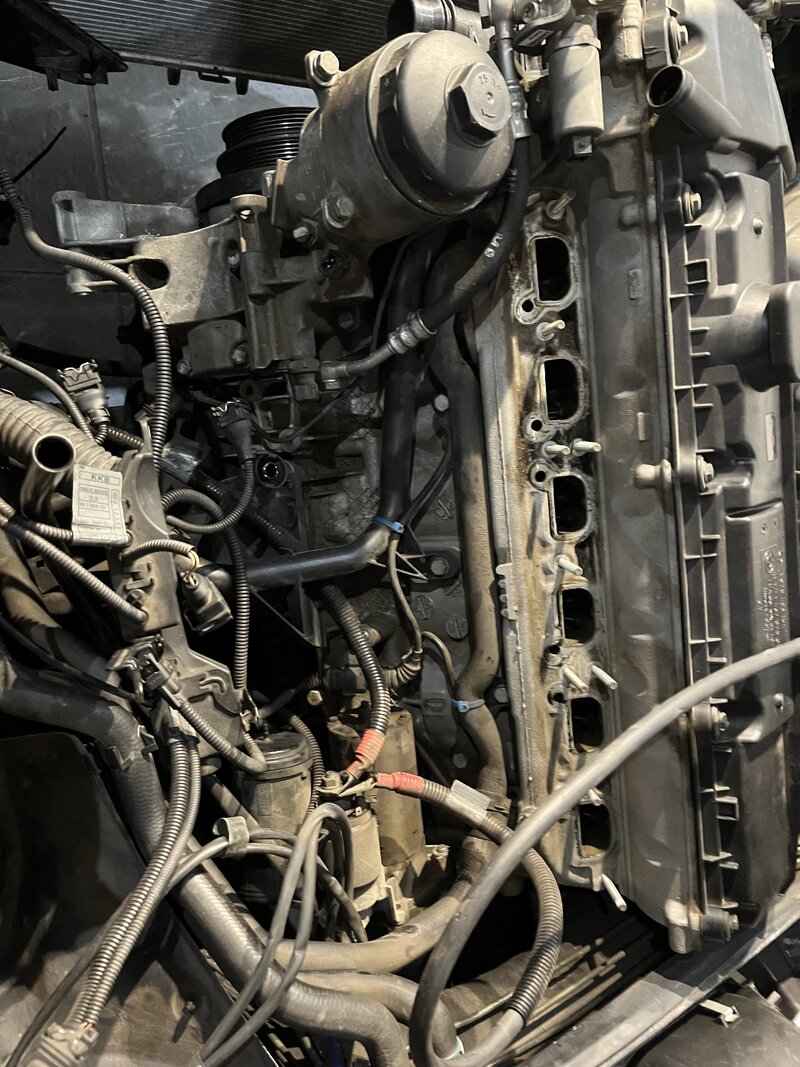
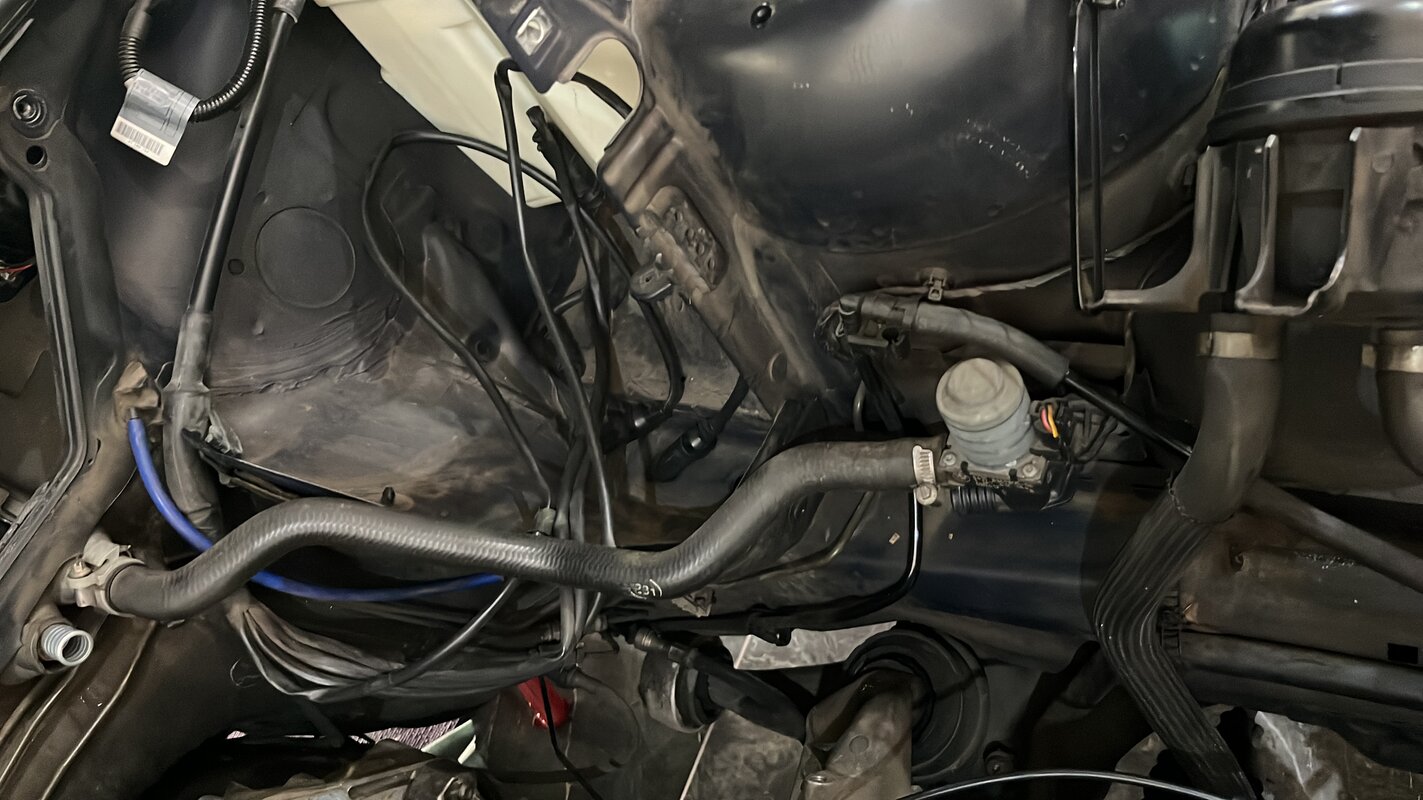
Intake removed to get to all the water pipes I wanted to replace.
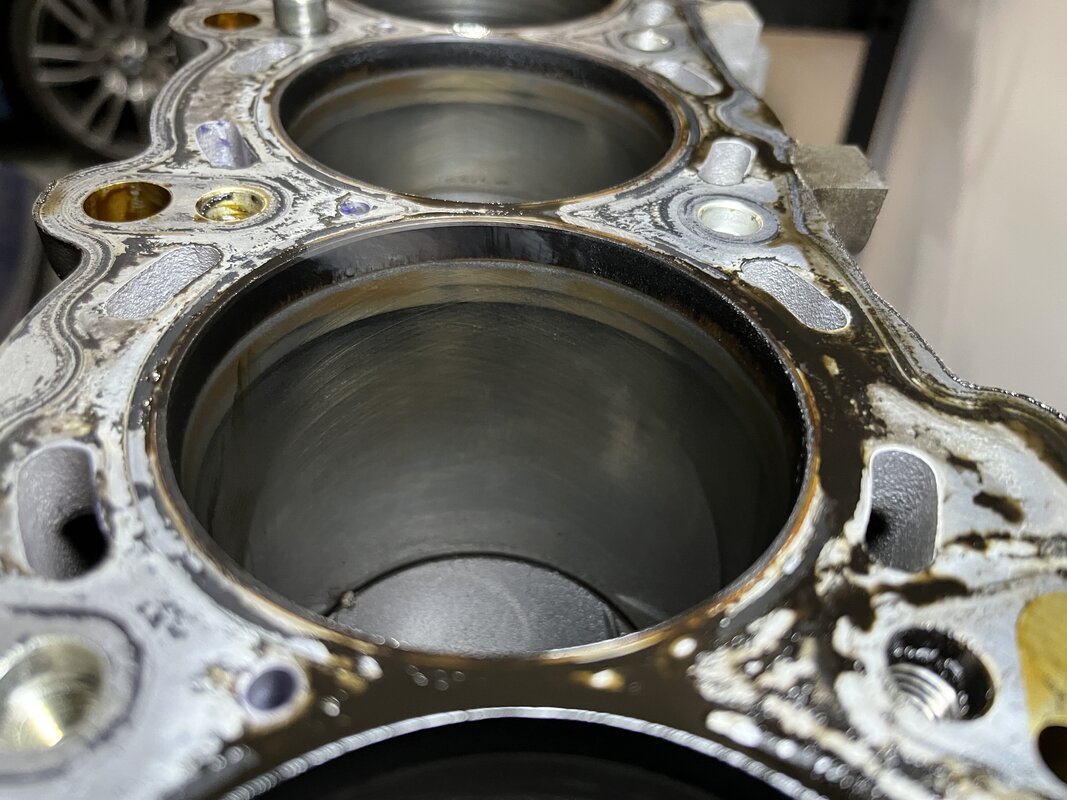
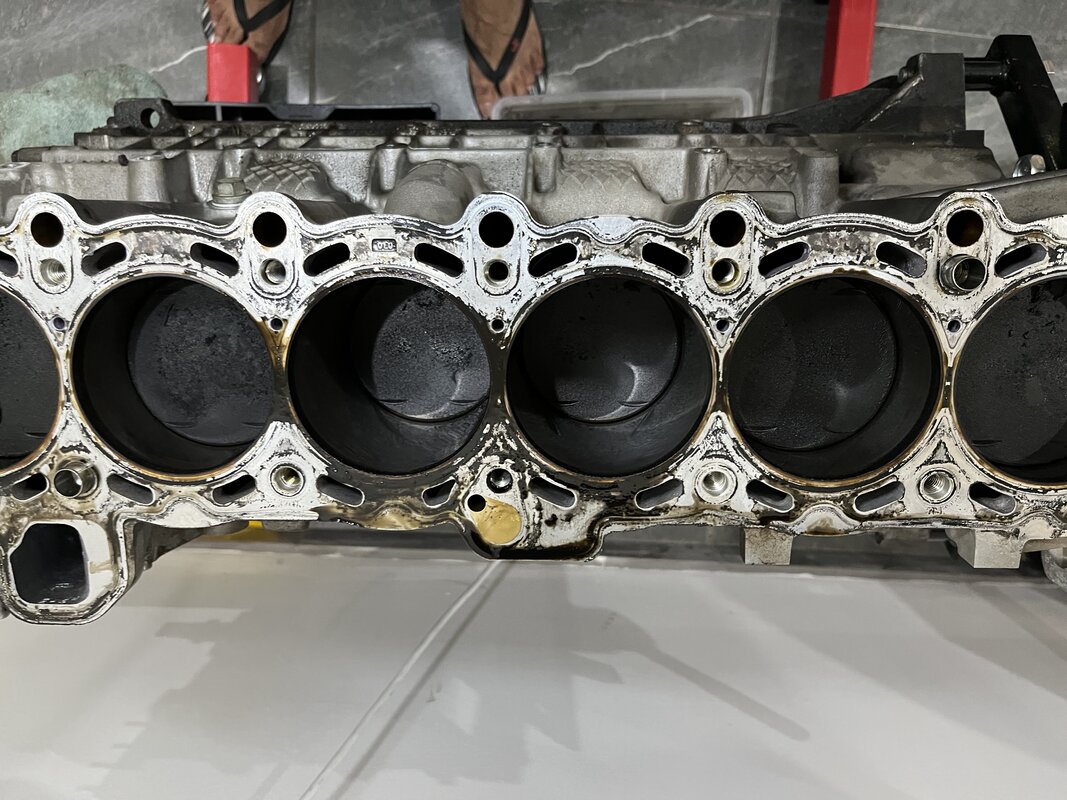
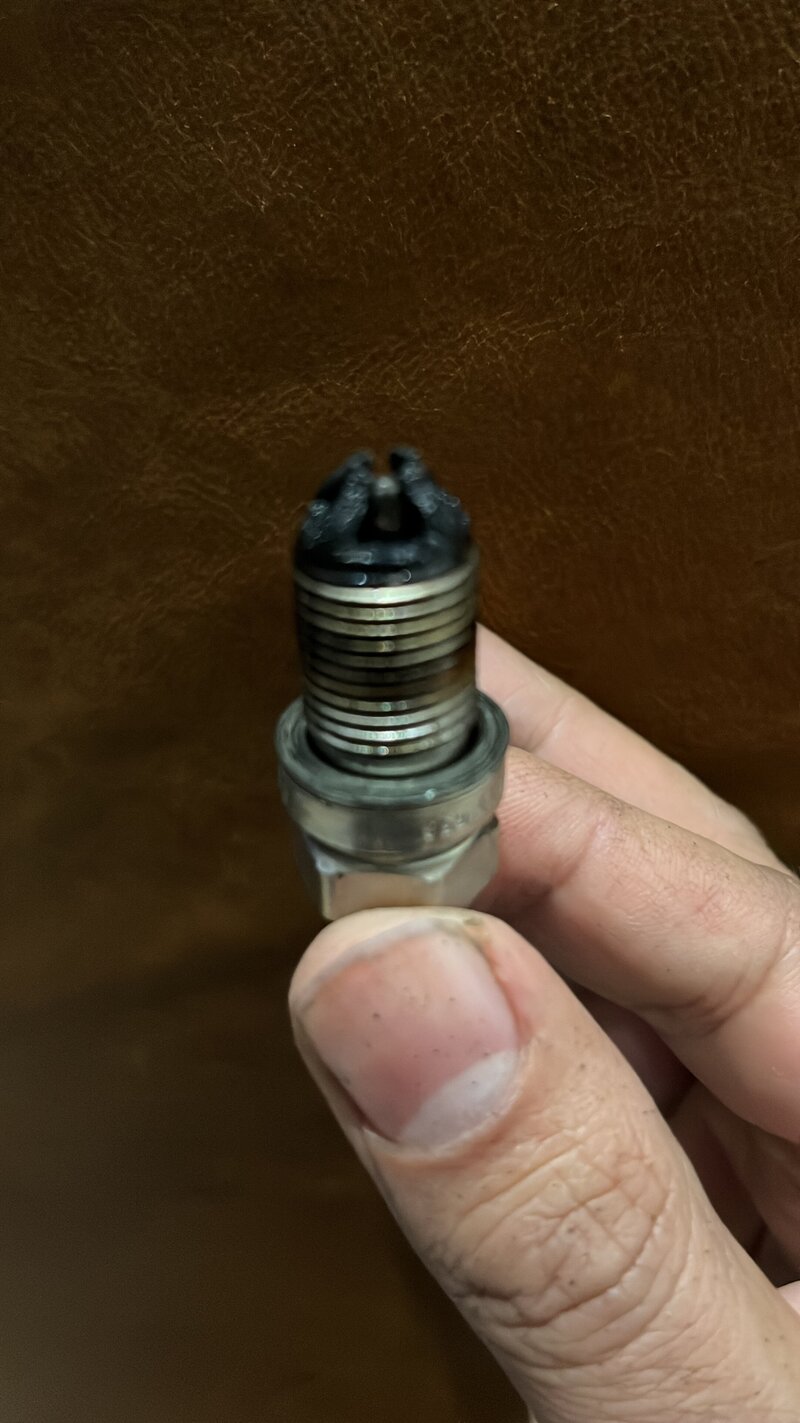
The turning point: ever since this car was new, it has consumed a fair amount of oil. Over the years, it slowly started to increase the amount it took.
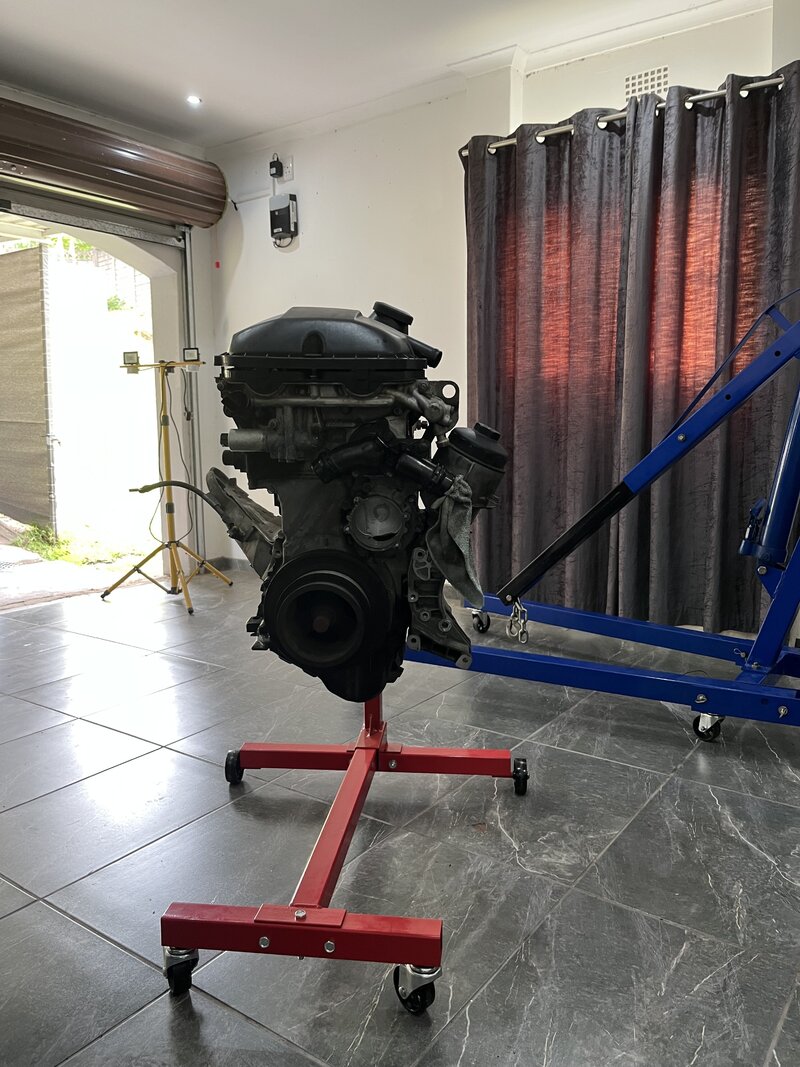
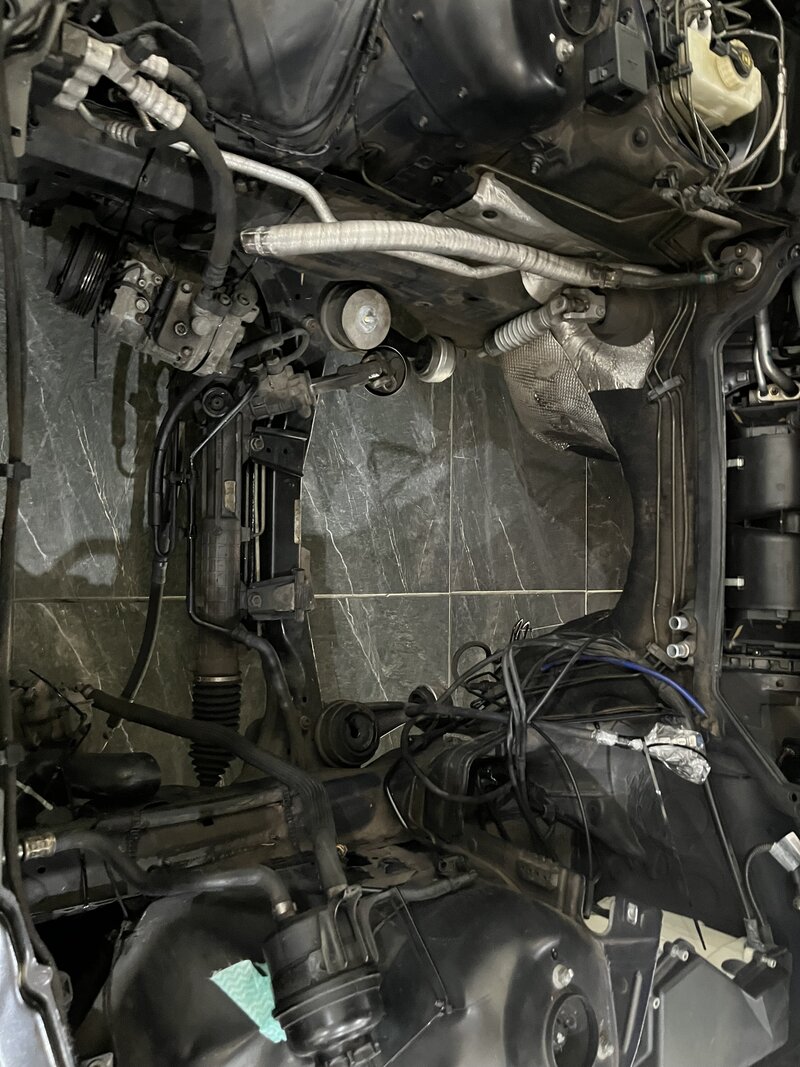
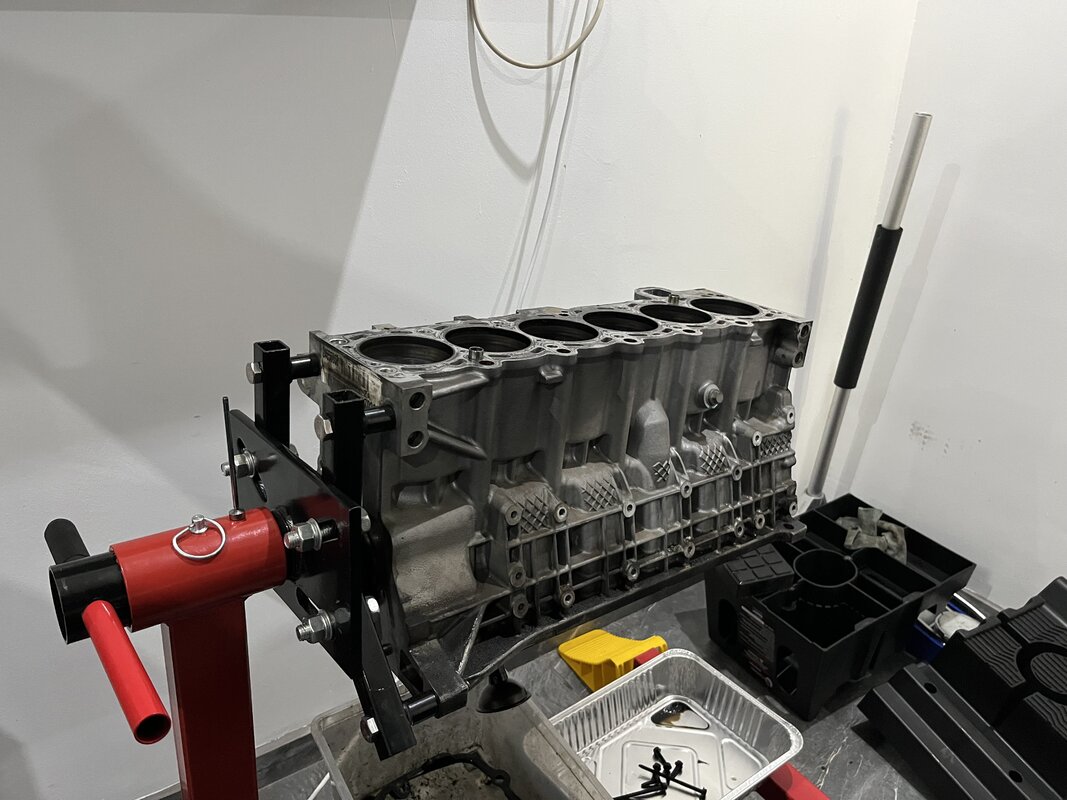
The car at this point had 240 000Kms on the clock and was consuming about 1L per 2500Kms, I knew this was most likely due to the two-piece oil ring design that BMW used and workarounds such as the pilot mod. I was going to change the spark plugs and was looking at the buildup around them, and the fact that I had removed everything around the engine to do the above-mentioned items, I said to myself, the engine could come out quite easily now , and thus I went down the rabbit hole.
Was originally intending to do some basic maintenance on my 2002 E46 330i.
The original list
- Sump gasket, small oil leak (needed to drop subframe)
- Add headers, remove cats
- Water pipes: plastic parts are aging
- Engine and gearbox mounts
- Driveshaft flex disc
- Diff oil
- Gearbox oil
Attached are some basic pictures of what I started with. It should be noted that the car has been well maintained over the years. This leak started as a tiny drip and was only present for a few months before I started addressing.
Anyway, below are the basic bits ordered; little did I think at the time this was going to spiral into a full build.
The headers were ordered from UK, very hard to get well-fitting ones for RHD
The original plan was to use E46 M3 headers cut off the ends, and TIG-weld stainless flanges. This is still doable but without a proper jig and flanges to align, it would be time-consuming and require a lot of trial and error.
Some new lambda sensors with longer wires to match new locations lower down
Turner Motorsport solid rubber engine mounts: I originally thought the flex disc was worn due to a loose feeling when taking of hard; it turned out to be a broken engine mount, which I only discovered later. Worth noting the diff mounts were changed a while ago with OE ones.
Blank off the unused lambda sensor bung, as this car only had the primary; it would have coded out the secondary anyway.
The leak that started this
Worth noting SGF makes the original flex joint so this is same as OE
I used OE Diff and Transmission oils
Let's just start the journey; I removed the headers, not the easiest thing to remove.
Need to remove bolts with various socket sets and extensions 1/4" and 3/8"
Noticed this bracket, which supports the exhaust, was broken; will get to rewelding it later
Test-fitting the headers; fitment was perfect. The O2 sensors had no issues contacting the engine or body, with plenty of clearance; the steering universal joint also cleared this well.
The exhaust flange end of the headers
Intake removed to get to all the water pipes I wanted to replace.
The turning point: ever since this car was new, it has consumed a fair amount of oil. Over the years, it slowly started to increase the amount it took.
The car at this point had 240 000Kms on the clock and was consuming about 1L per 2500Kms, I knew this was most likely due to the two-piece oil ring design that BMW used and workarounds such as the pilot mod. I was going to change the spark plugs and was looking at the buildup around them, and the fact that I had removed everything around the engine to do the above-mentioned items, I said to myself, the engine could come out quite easily now
, and thus I went down the rabbit hole.Attachments
Last edited: