-
Read the WELCOME ALL BMWFANATICS post.
You are using an out of date browser. It may not display this or other websites correctly.
You should upgrade or use an alternative browser.
You should upgrade or use an alternative browser.
2009 Z4 35i Let the DIY and slight cosmetic modding begin.
- Thread starter osiris
- Start date
osiris
///Member
Thanks Pete for the kind words buddy. Looking forward to our next Z meet once suspension is fitted. you definitely need to come for a spin in this car at the next meet.It's unreal Nick! The work is astounding! And such a pleasure to see the updates!
Great work bud!
osiris
///Member
So I did some more stuff to the car!
This was a bit of a nightmare due to a certain person which I wont go into right now. But I found a guy named Mo via a website https://www.ultraracingsa.com/ who managed to clean up the mess with my previous order and sort me out very quickly! My order arrived exactly when he said it would and it was such a pleasure dealing with him, Very knowledgeable, sent tons of articles etc on installation and correct setup as well as general info on the product. He was happy to answer all my millions of questions.
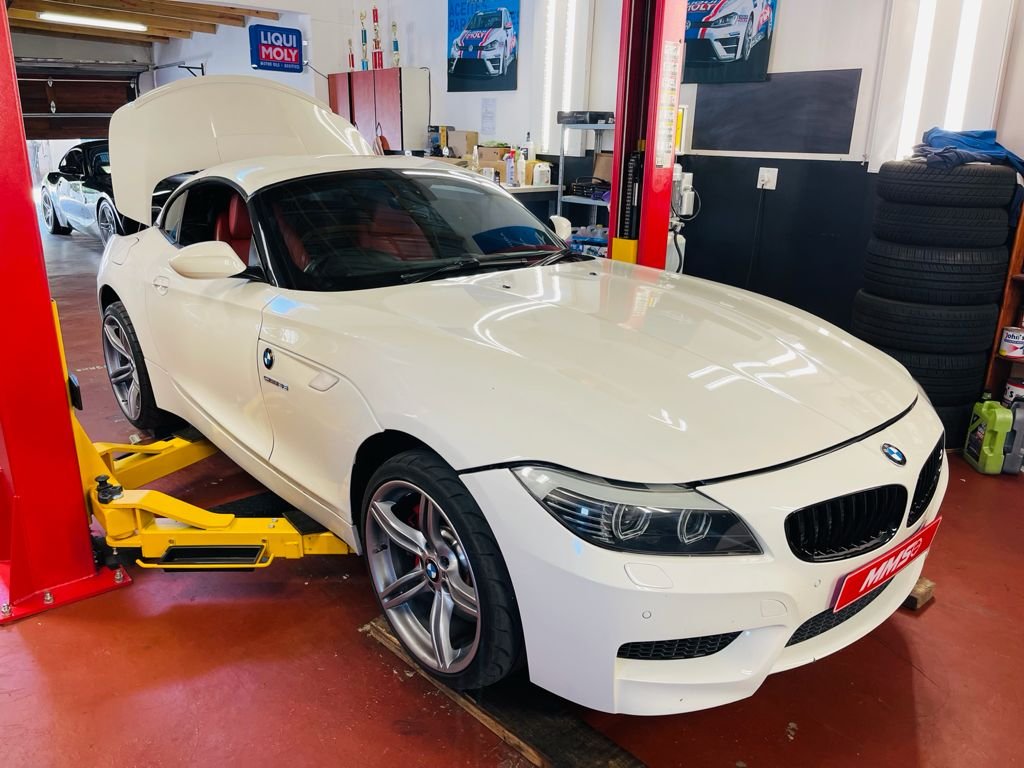
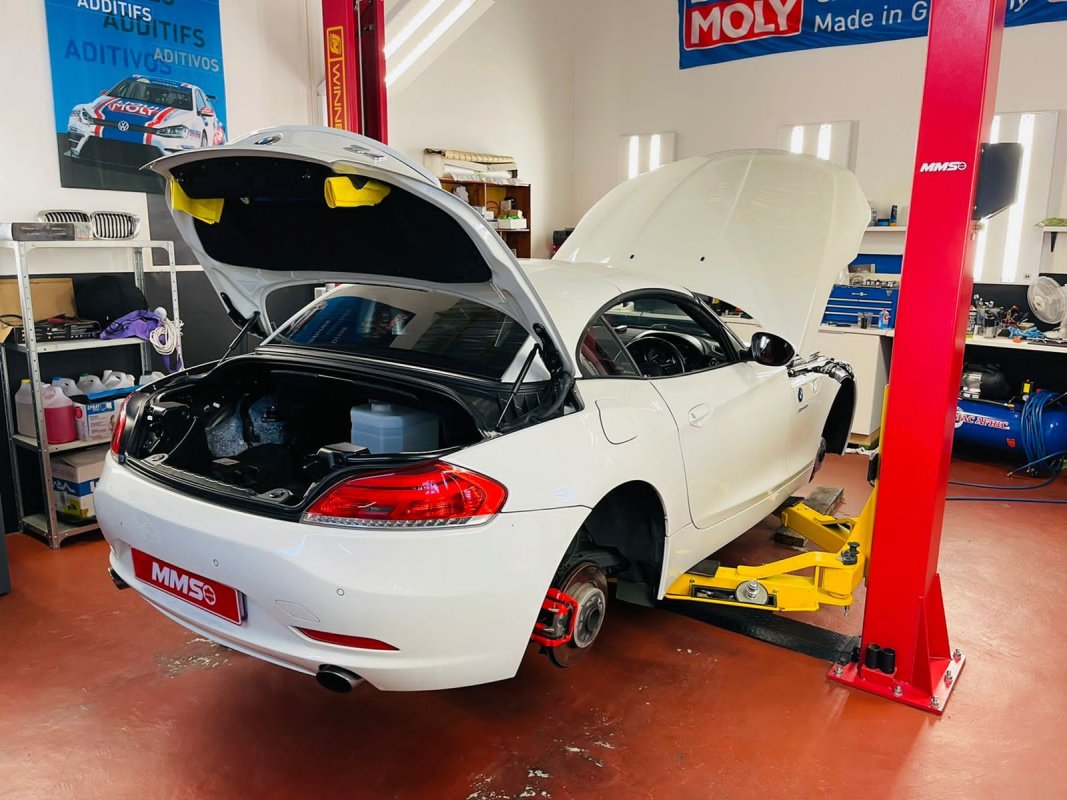
I then got into contact with Clint at MMS Auto who did the installation as I just wasn't in the mood for taking on another big install after helping Justin with his Turbos on his 335i. Clint's work for a while via this website and the z whatsapp group. His work speaks for itself so I finally decided to bite the bullet and give him a try as he is very much like me with how he goes about things, He cleans parts, uses a torque wrench! He treats your car as he would his own.
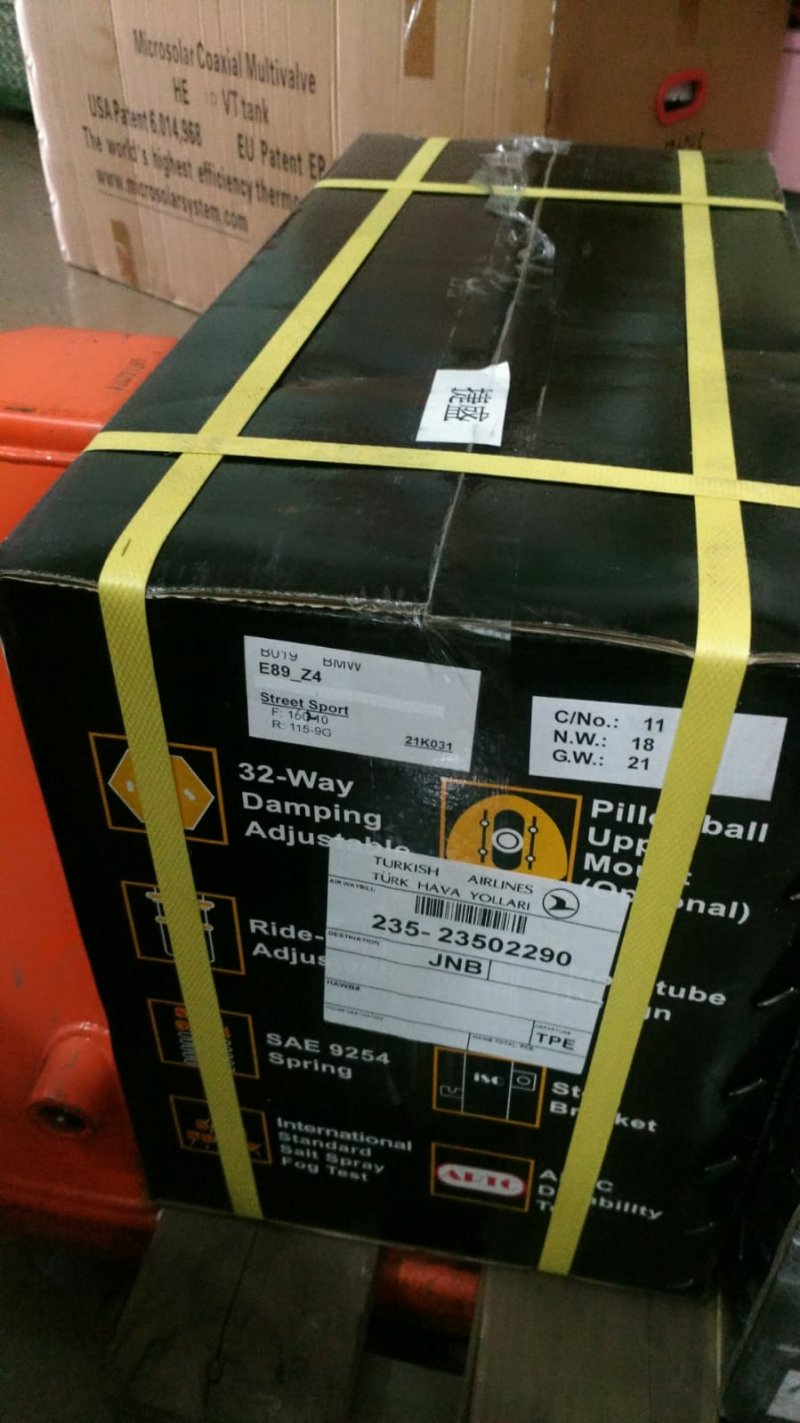
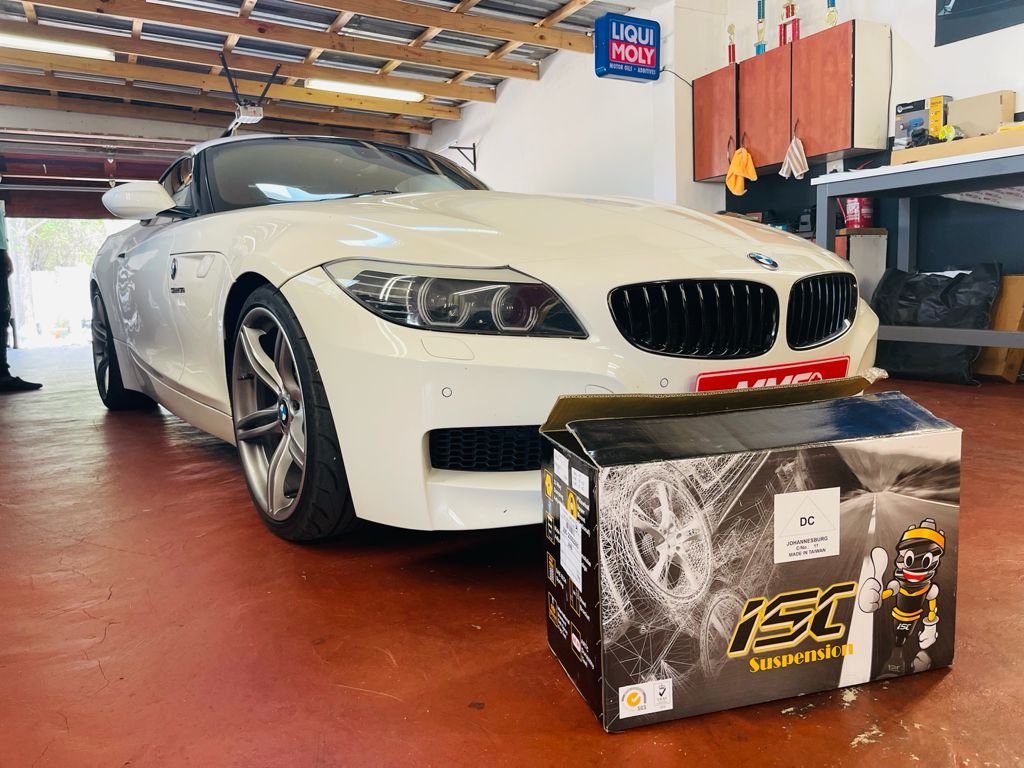
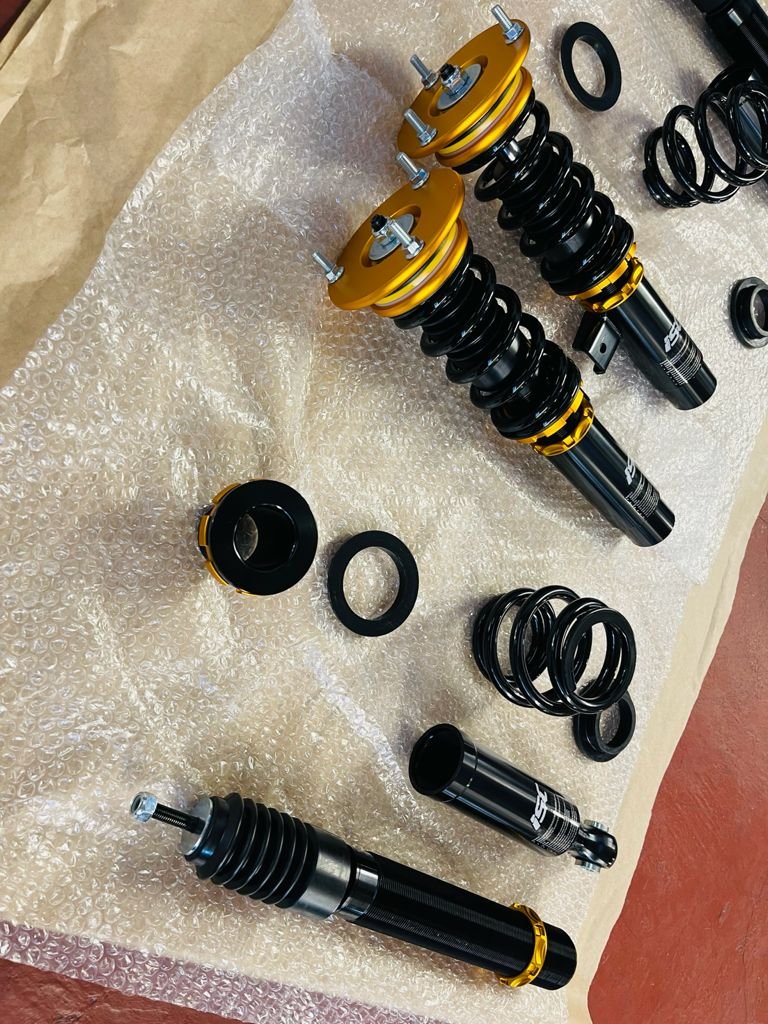
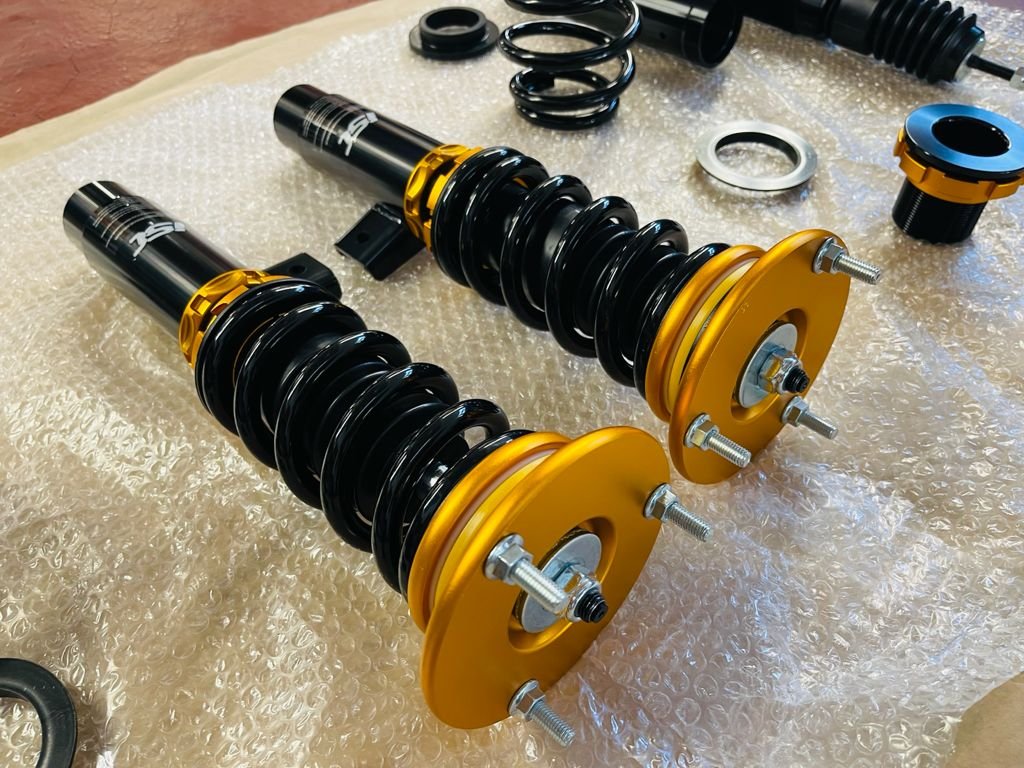
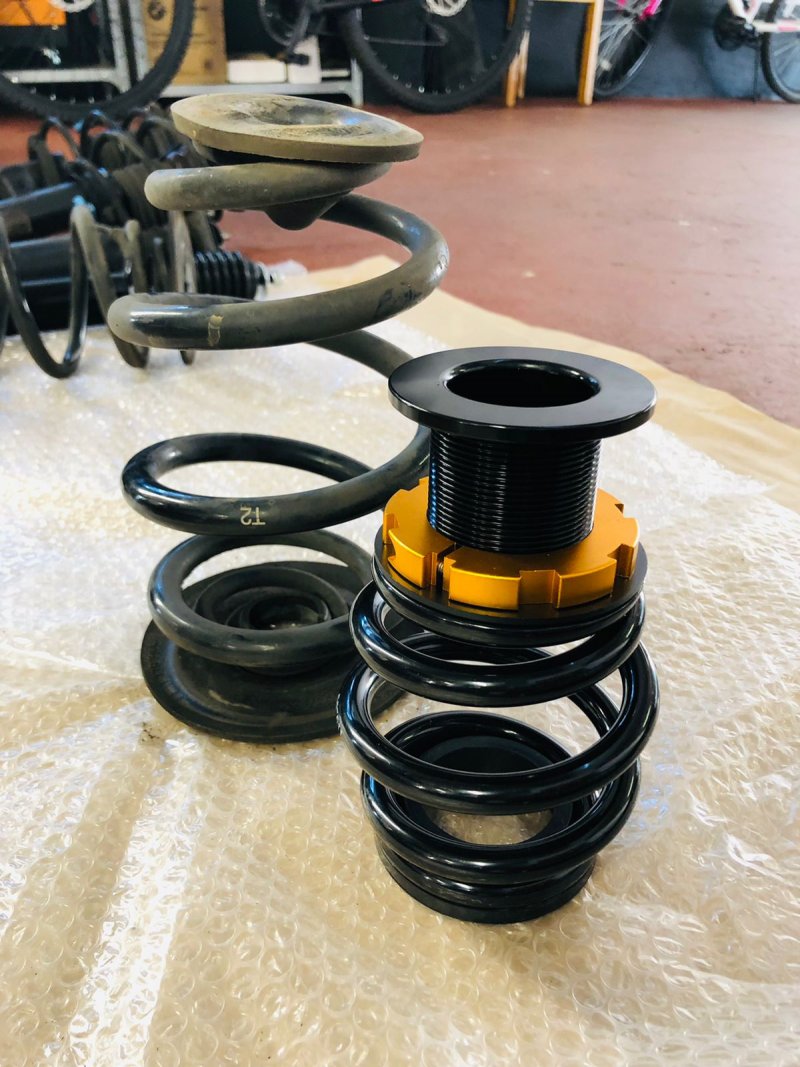
The difference between the stock springs and the springs that came in the kit.
Old suspension out! As you can see the front left shock kakked itself, Love our JHB roads!
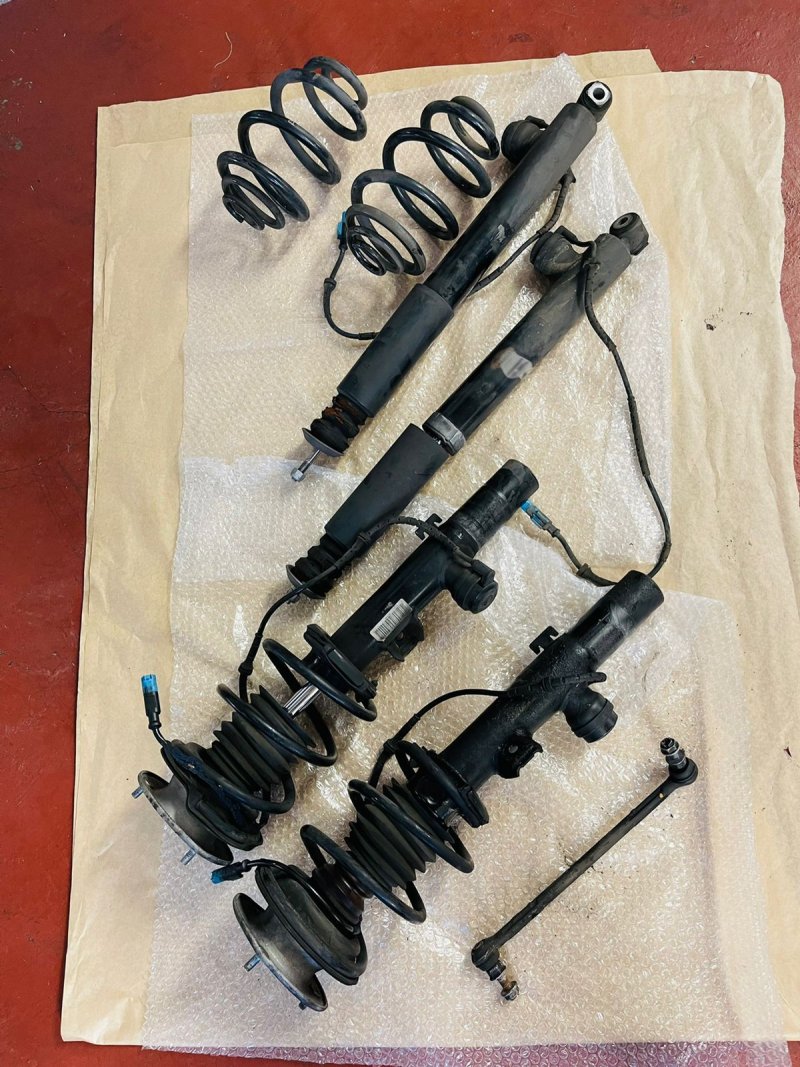
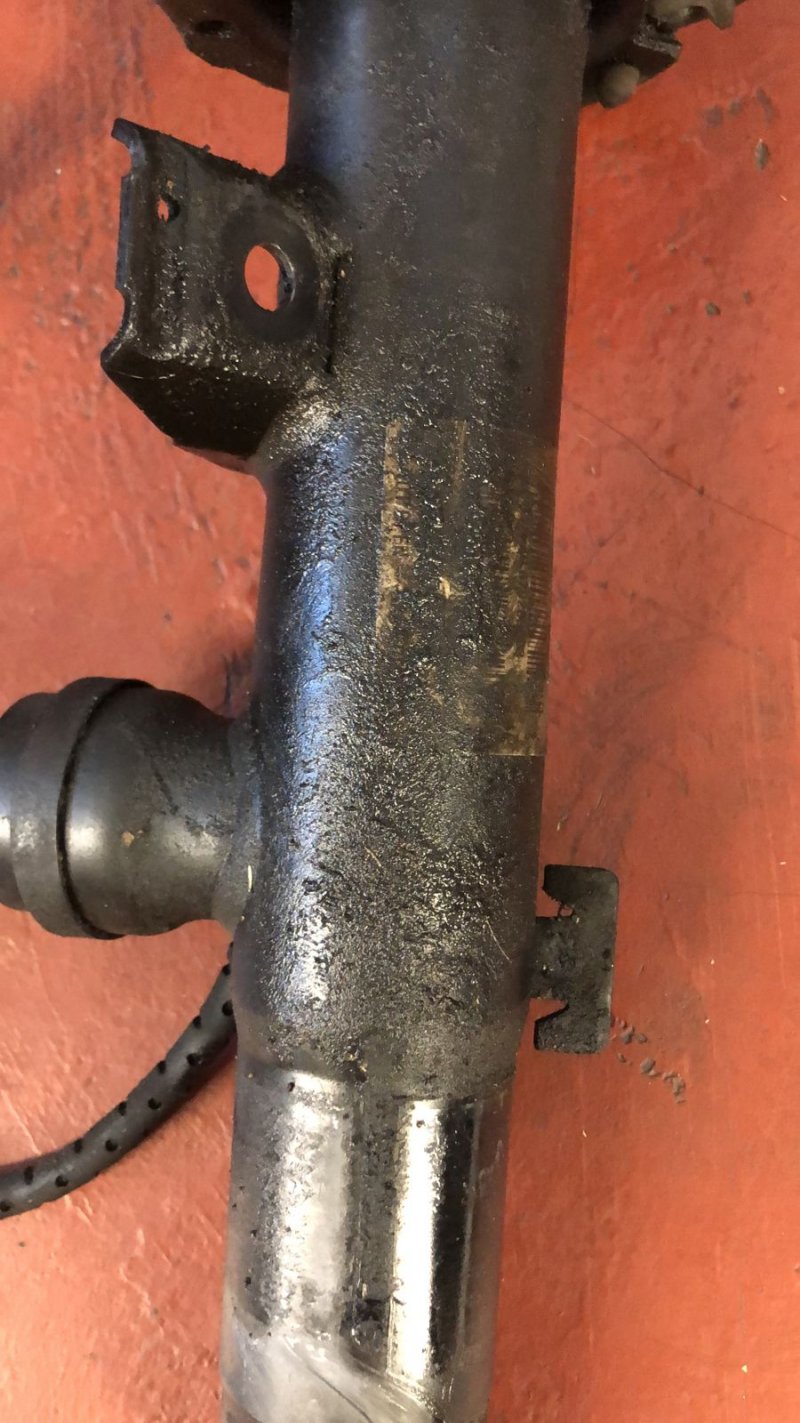
The rest of the stock suspension was perfect, just the front left shock was in a wrecked state. I went to the scrap yard to try find a used shock and they wanted 5.5k and BMW wanted 11.5k for one shock! so I decided to go coil overs as getting one shock from the scrap yard worried me as I didn't know what the condition of that shock would be.
Besides I have always wanted to go coil overs as I have never really been content with the suspension in the E89 Z4.
This was a bit of a nightmare due to a certain person which I wont go into right now. But I found a guy named Mo via a website https://www.ultraracingsa.com/ who managed to clean up the mess with my previous order and sort me out very quickly! My order arrived exactly when he said it would and it was such a pleasure dealing with him, Very knowledgeable, sent tons of articles etc on installation and correct setup as well as general info on the product. He was happy to answer all my millions of questions.
I then got into contact with Clint at MMS Auto who did the installation as I just wasn't in the mood for taking on another big install after helping Justin with his Turbos on his 335i. Clint's work for a while via this website and the z whatsapp group. His work speaks for itself so I finally decided to bite the bullet and give him a try as he is very much like me with how he goes about things, He cleans parts, uses a torque wrench! He treats your car as he would his own.


The difference between the stock springs and the springs that came in the kit.

Old suspension out! As you can see the front left shock kakked itself, Love our JHB roads!


The rest of the stock suspension was perfect, just the front left shock was in a wrecked state. I went to the scrap yard to try find a used shock and they wanted 5.5k and BMW wanted 11.5k for one shock! so I decided to go coil overs as getting one shock from the scrap yard worried me as I didn't know what the condition of that shock would be.
Besides I have always wanted to go coil overs as I have never really been content with the suspension in the E89 Z4.
Last edited:
osiris
///Member
So Clint got to work installing the coil over kit for me. Unfortunately I sent the car to him dirty lol, I didn't think I would send it on the day I did, but I was pressed for time.
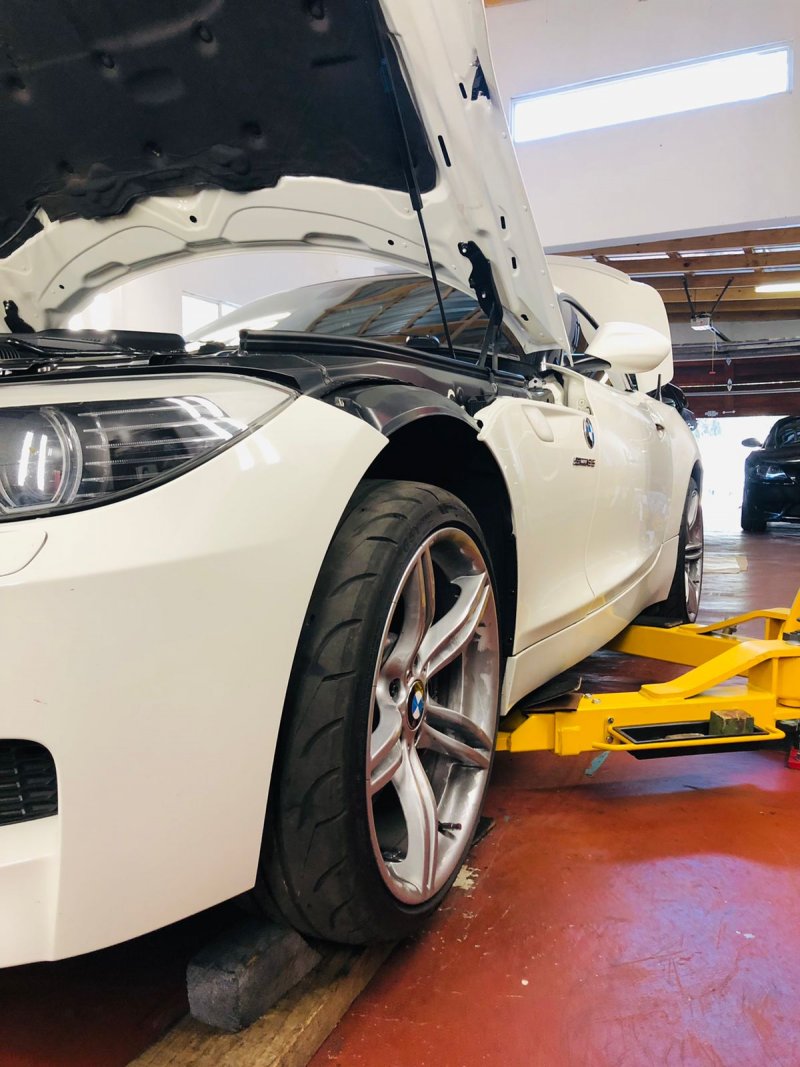
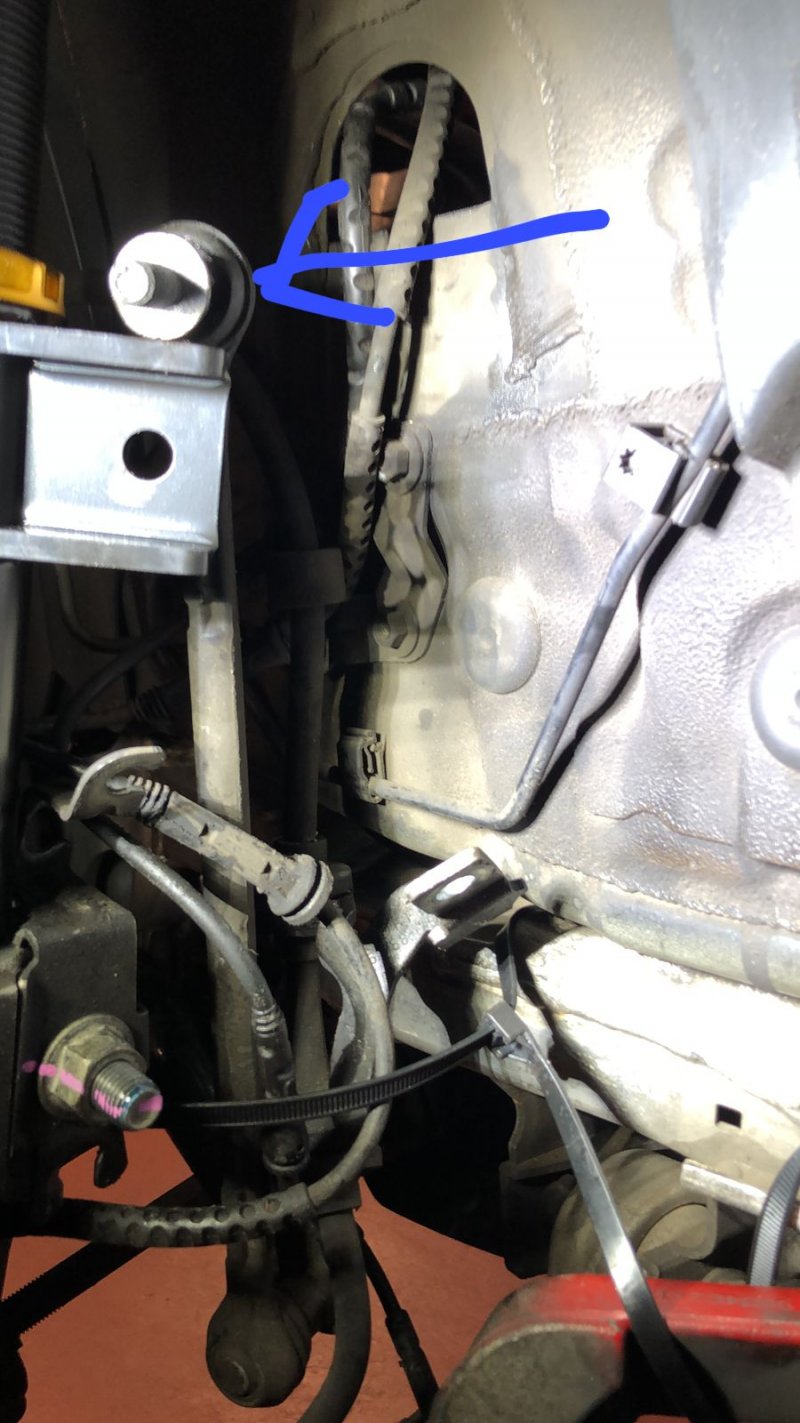
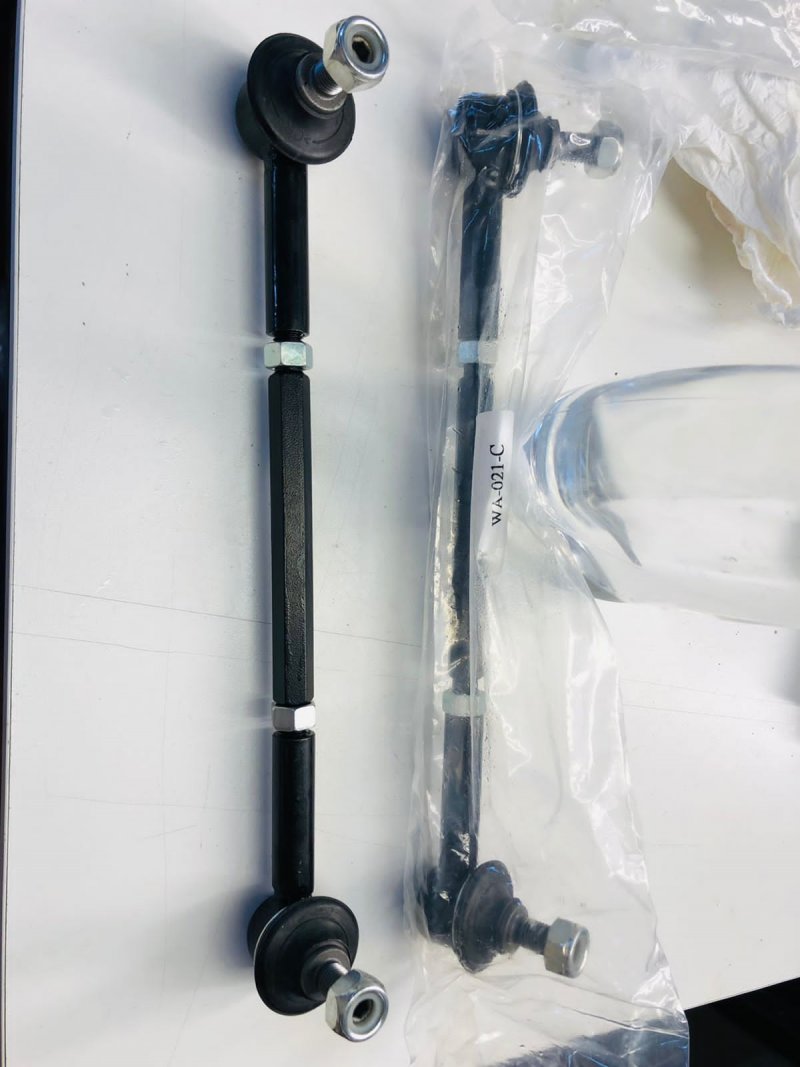
First problem we ran into was the link here was the oem one which was too long and the kit for some reason was missing the link, I let Mo know and he very quickly and happily sent a fully adjustable set and was very confused as to why the kit was missing those links too. Early the next morning they arrived and Clint was able to complete the install.
The adjustable links that arrived at Clints house.
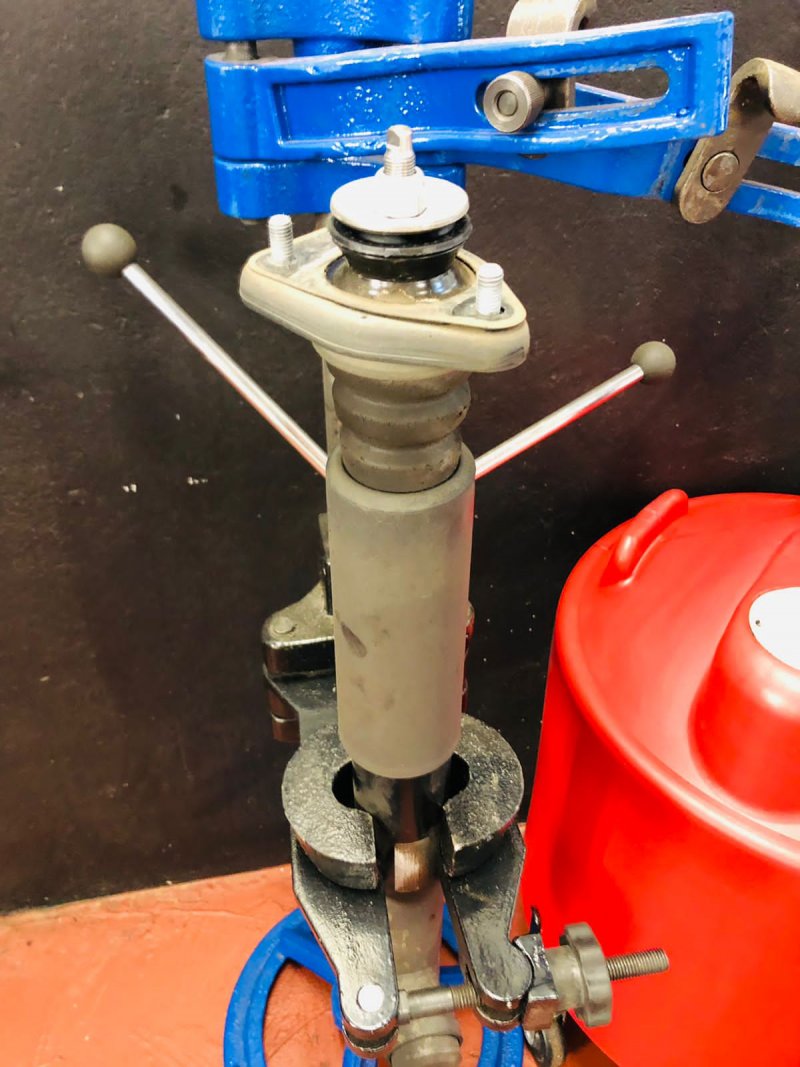
Removing stuff.
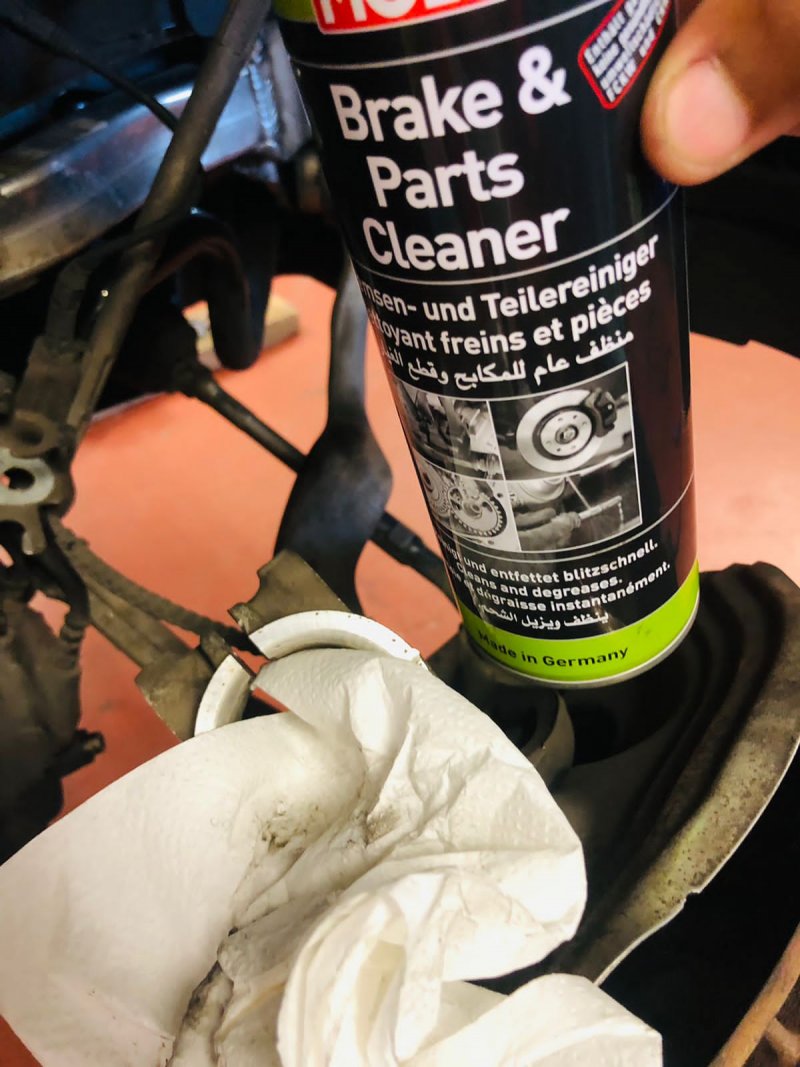
Cleaning parts the same way I do which made me very happy to see!
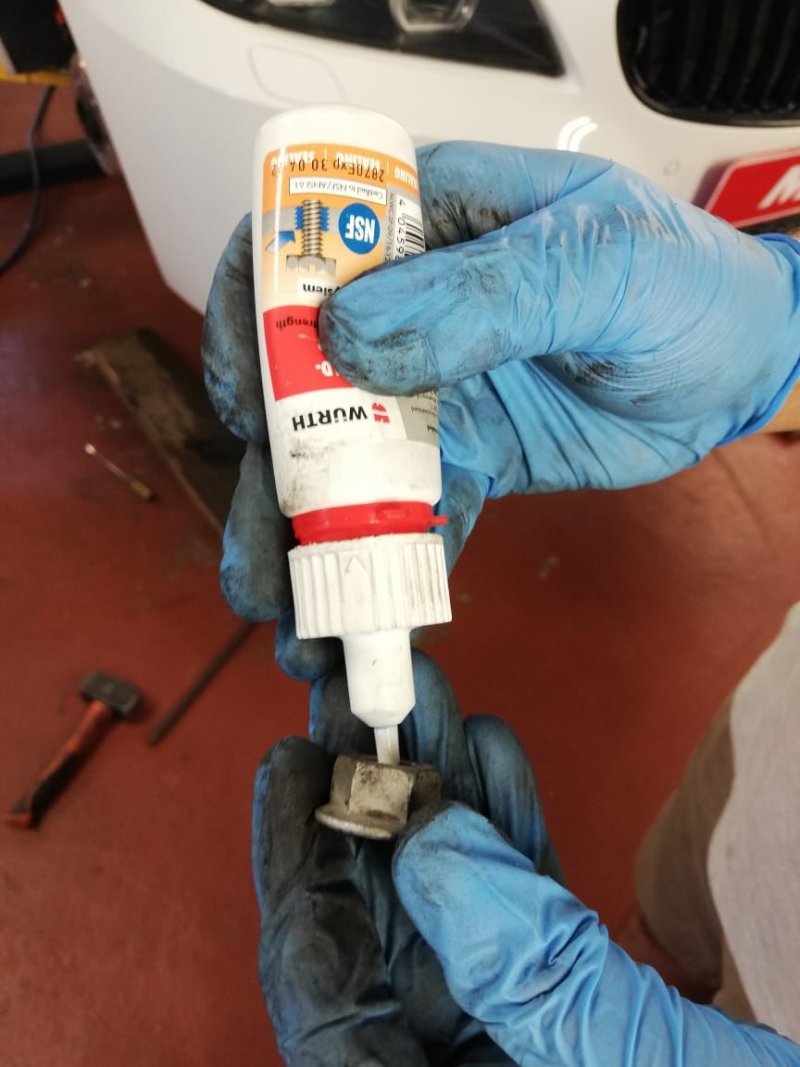
Lock tight on certain bolts that required it for a better installation!
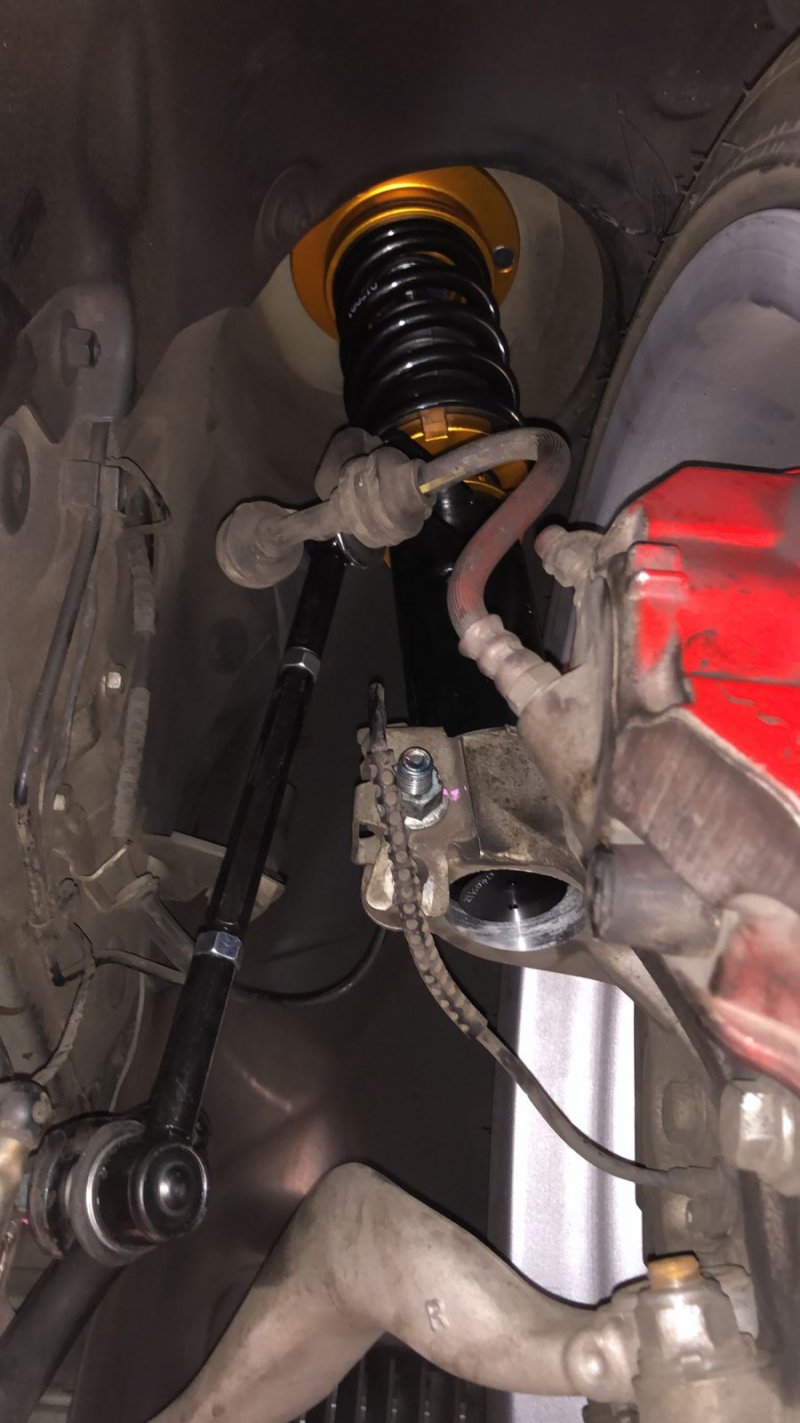
Front coil over in with new adjustable link (it's late I cant think of the name of this part right now lol)
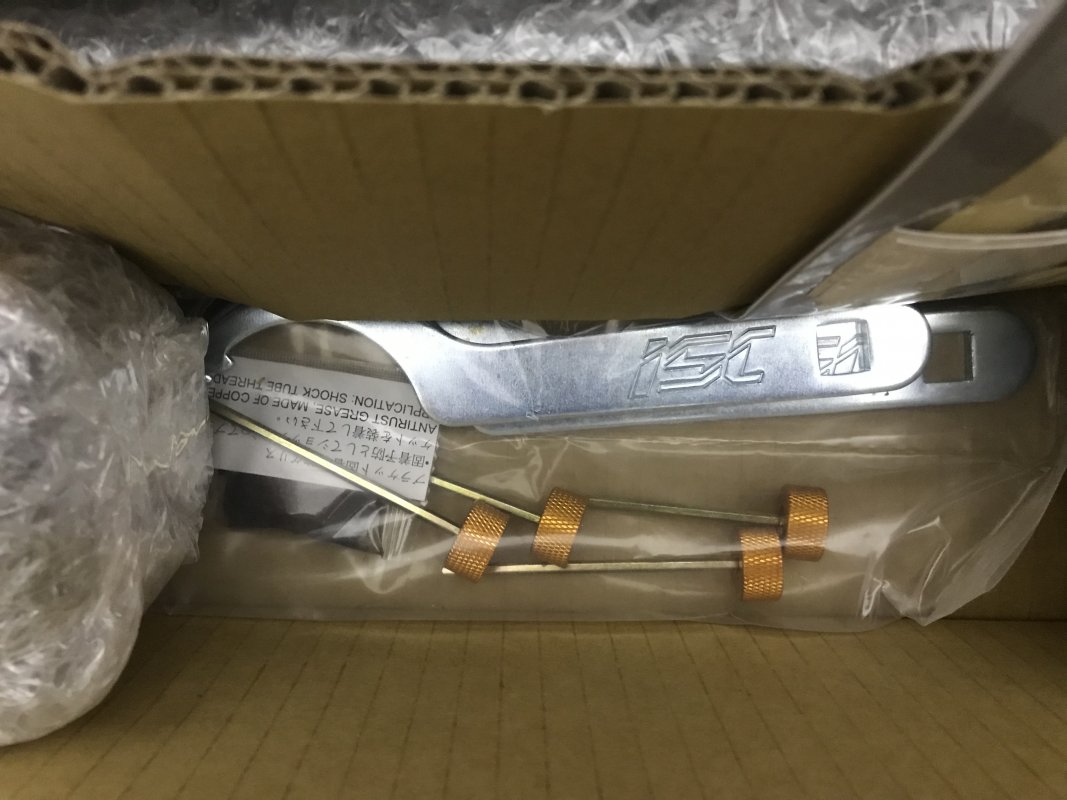
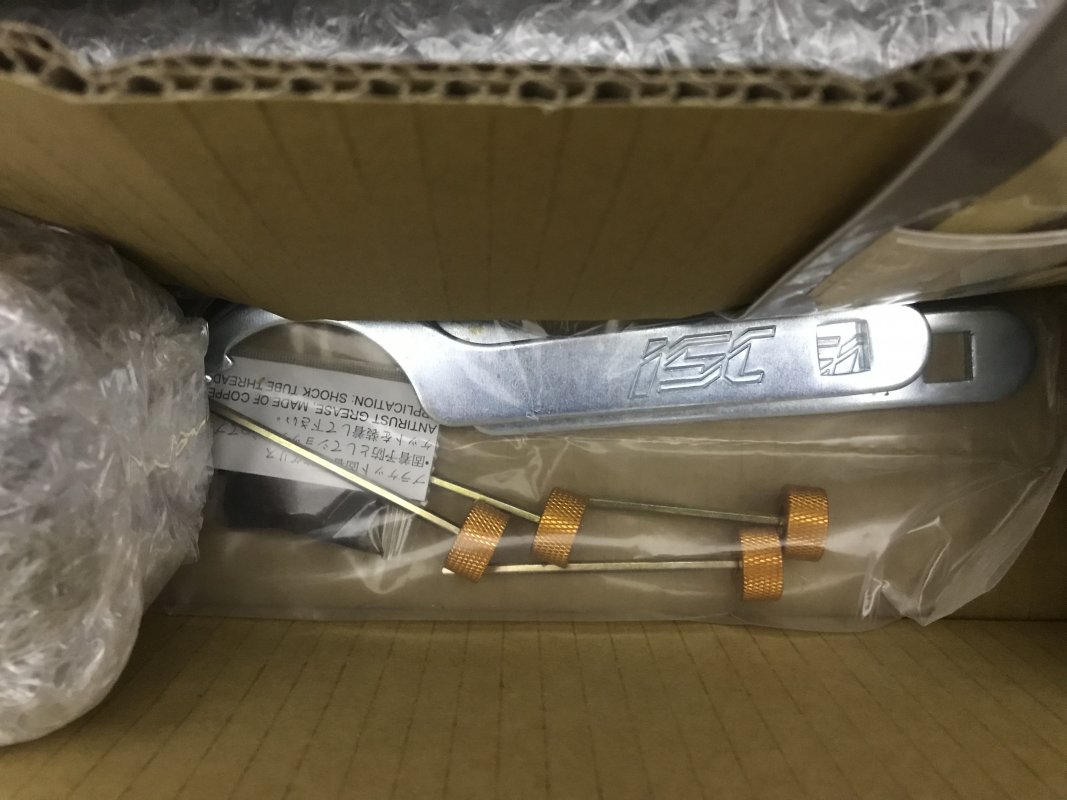
shock adjusters in the goodies bag
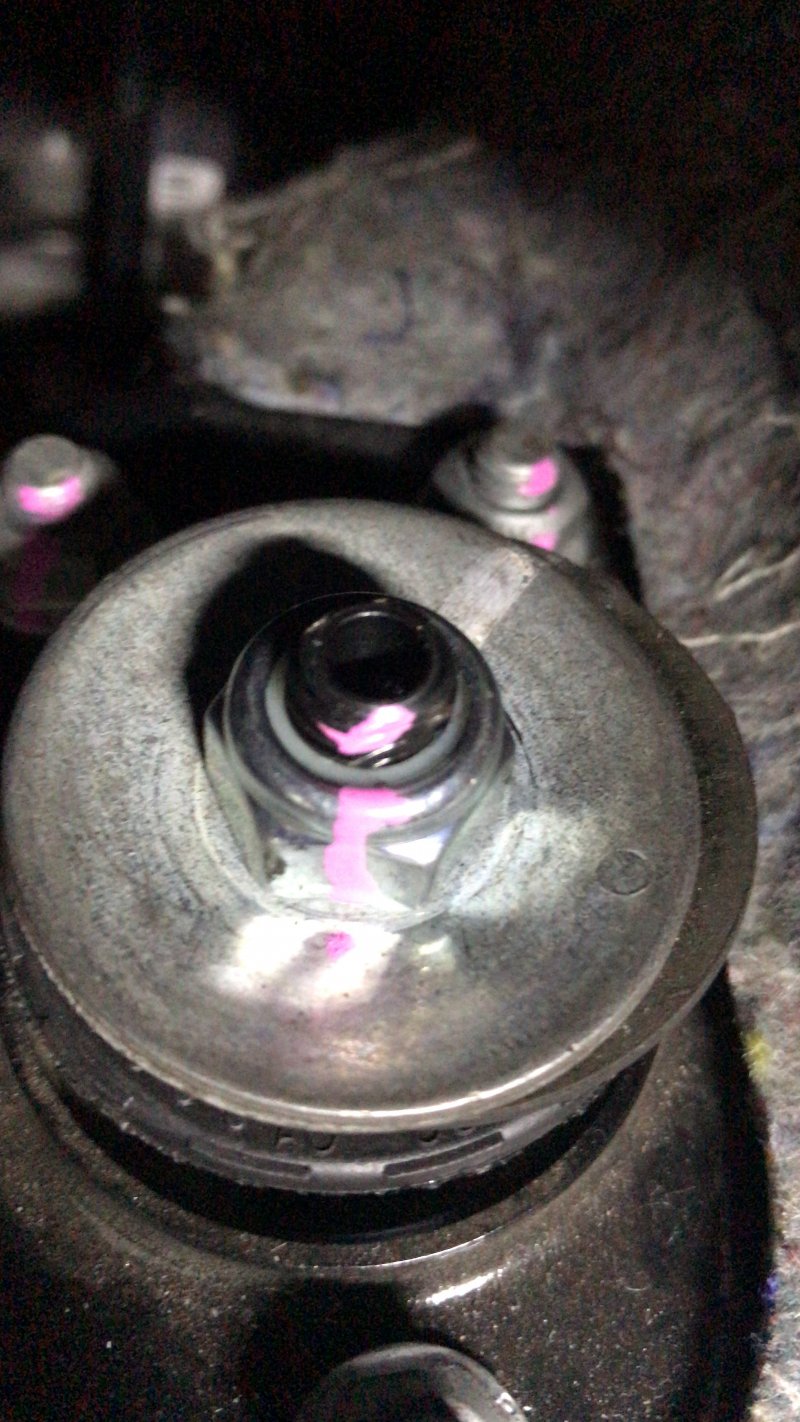
Marking bolts at the correct torque settings for future use!
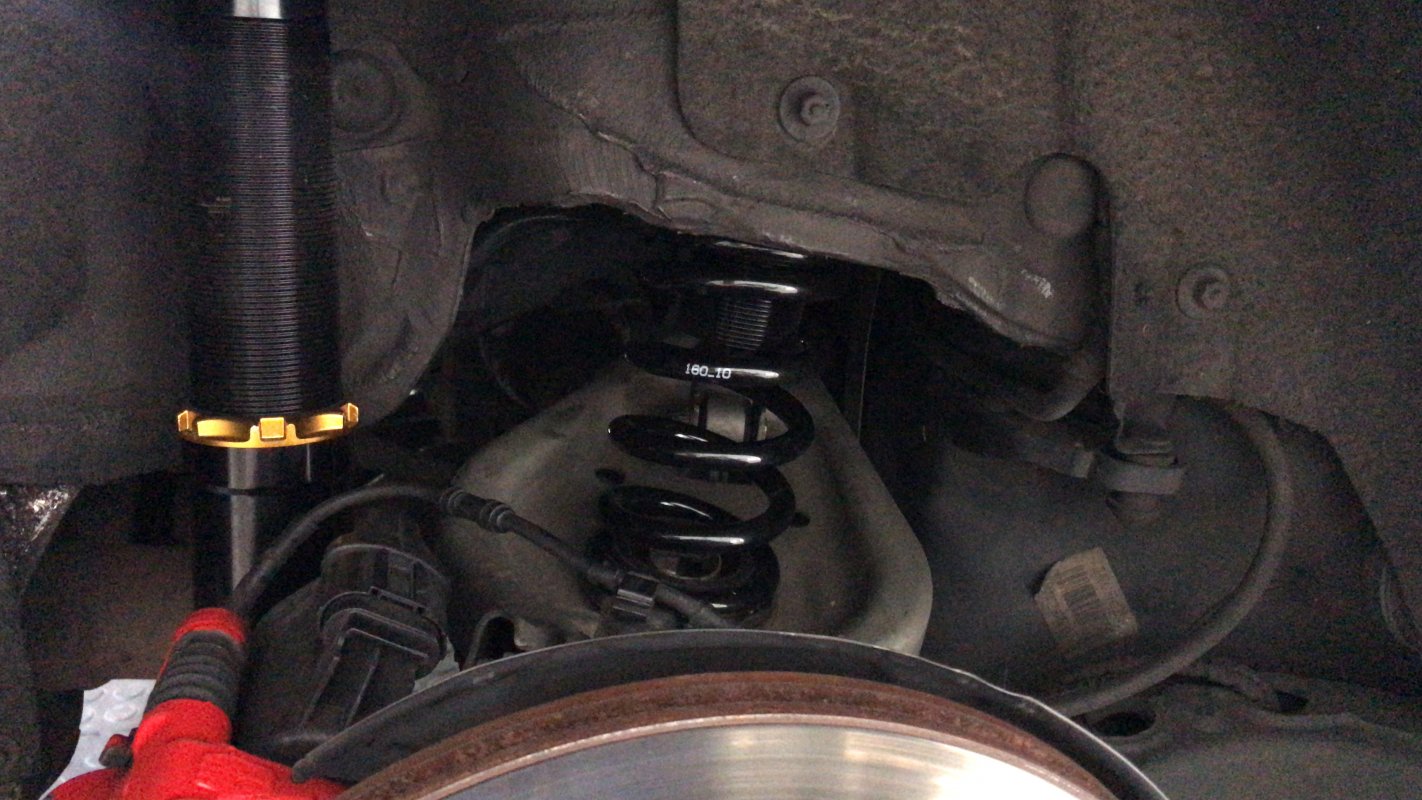
Back shock and spring in, more about this in the next post as a maximum of 10 pics per post is allowed.

First problem we ran into was the link here was the oem one which was too long and the kit for some reason was missing the link, I let Mo know and he very quickly and happily sent a fully adjustable set and was very confused as to why the kit was missing those links too. Early the next morning they arrived and Clint was able to complete the install.

The adjustable links that arrived at Clints house.

Removing stuff.

Cleaning parts the same way I do which made me very happy to see!

Lock tight on certain bolts that required it for a better installation!

Front coil over in with new adjustable link (it's late I cant think of the name of this part right now lol)

shock adjusters in the goodies bag

Marking bolts at the correct torque settings for future use!

Back shock and spring in, more about this in the next post as a maximum of 10 pics per post is allowed.

osiris
///Member
So Clint finished with the installation and I was extremely excited to go pick my car up and feel what all the hype of coil-overs was all about. I arrived to a very neat installation with all my old parts neatly packed up in the coil over boxes packed neatly into my boot for me. Clint showed me around the car and explained everything to me and I was very happy with the installation.
Now for the bad(sort of) I got into my car and started reversing it out of Clints garage and as I got onto the paved part of his driveway I noticed the car was very bouncy, I have never felt coilovers before so I thought perhaps this was how it was meant to feel, I continued on my journey back home (1.8km....luckily) and half way home I called Clint to ask if I was supposed to be bouncing in my seat so hard that the safety belt was catching me and preventing me from hitting my head into the roof! He said that it doesn't sound right at all. I gave Mo a call and told him something wasn't right so Mo asked that I take photos of the back springs as he suspected they weren't installed correctly as they needed to be preloaded which I think we forgot to do correctly (No fault of Clint) These rear springs were so small it was unbelievable, When I went back to Clint's house we tried something with the back shocks to try remedy the problem but made it worse as I interpreted the message Mo sent me incorrectly, basically when we put the car on the lift I was able to reach in and take the spring out as it was just resting on the cradle (Yup I done F#@%$ked Up), Clint looked at this and said this can't be right, if I take a corner too fast or hit a bump the spring was gonna fall out. Yes he was right haha.
Mo offered to come through and sort this out as I was ready to burn the car and the suspension and be done with BMW's, I was delighted to hear that Mo would come through and both Clint, His Brother and myself all complimented on what Mo was willing to do to come get this working out correctly for me, Outstanding after sales support! I have never heard of customer service like this in SA before in my life, Mo was all the way out in fordsburg! so it was a very far drive for him!
Anyways I drove back to Clint the next day and the drive almost made me throw up, I was ready to call a tow truck as I couldn't take the ride anymore but I persevered! 🤣
Mo arrived at Clint shortly after me and I offered to take him for a drive to show him just how bad the ride quality was and what he thinks could be the problem, he looked at the spring and said lets get the car on the lift as he can see what the problem is so we did that, he sorted it out quick stix and I went for a drive....It was much better but it was still hella bouncy! Mo came with and felt what was going on, we tested a few settings on the damping and then he decided no, this spring isn't right, so he offered to drive out back to Fordsburg and fetch other rated and sized springs and even bought us all Lunch!
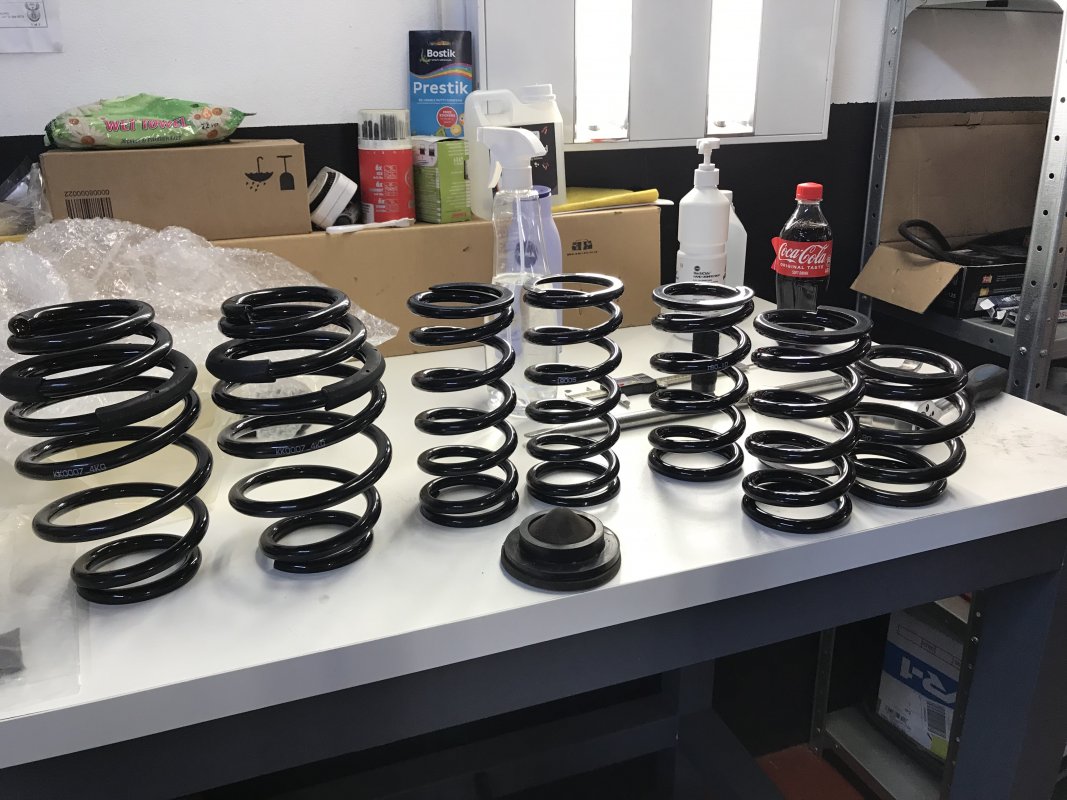
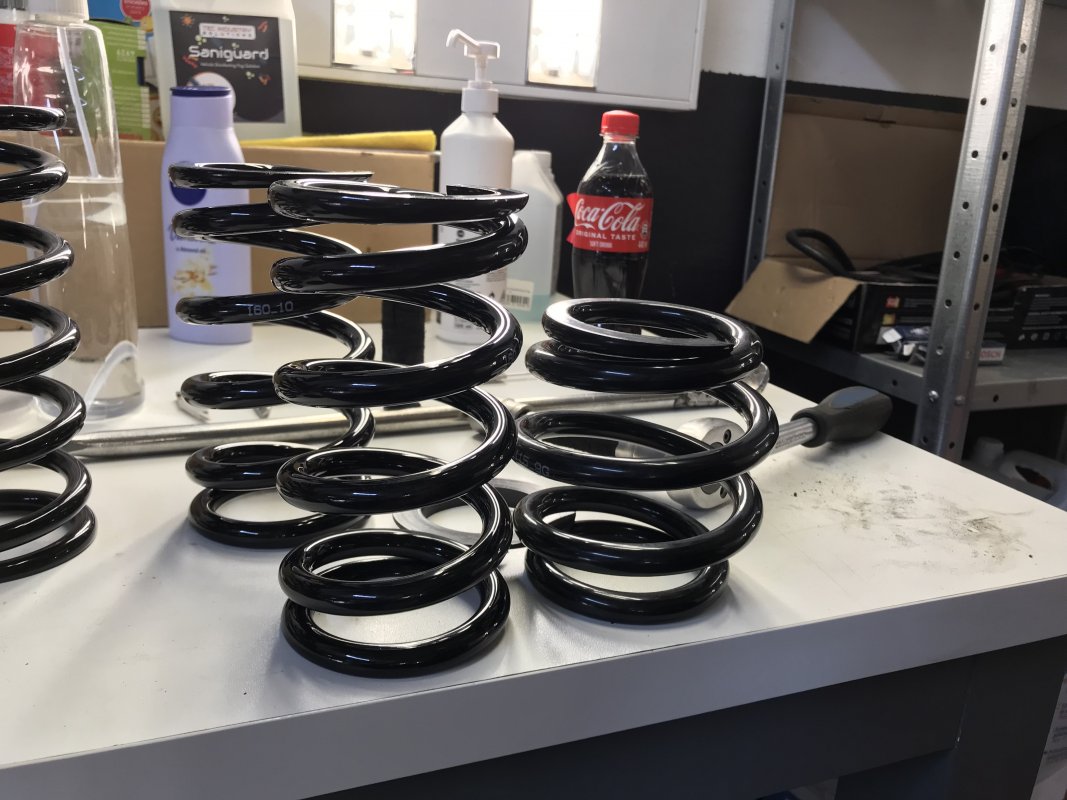
The tiny spring the kit came with! We went for the one on the left which is a 160mm 10kg spring, Mo and Clint along with his Brother and helper all fitted the springs, Mo set everything up and Bam like magic the car was sorted!
I was able to drive to Lanseria and write my Air Law exam! Yay! I wasn't completely happy with the ride quality as this was a much longer drive where I got a good feel for the car. So I got fiddling myself the next day after speaking to Mo and getting a bunch of advice. I wanted the car lower at the back, Justin came over and tried helping, eventually we pulled the top hat off and went for a drive and it was terrible, and dropping the car to the height I wanted actually looked shit! so we put it back! WHAT A FLIPPING MISSION! General.Massacre had one hell of a work out bouncing on my disc and Caliper while I pulled on the spring to get it out, it took us hours to get it back out and then even longer to get it back in, but we learned allot for next time HAHA.
What we ended up doing was raising the right side slightly to match the left and now the car feels amazing. We went for a good couple of drives, some relatively high speed cornering, The car feels like its on rails! We stopped multiple times and adjusted dampening till we got it dialed in really well! we did some launches. The car has never launched like this before, there is zero squat it just goes forward rapidly! feels so damn good!
A big Shout out goes to Mo, Clint and his Brother and again to General.Massacre for all the help getting the springs in and out and helping to dial the car in. My car has never handled so well before! This has made such a difference to the feel of the car!
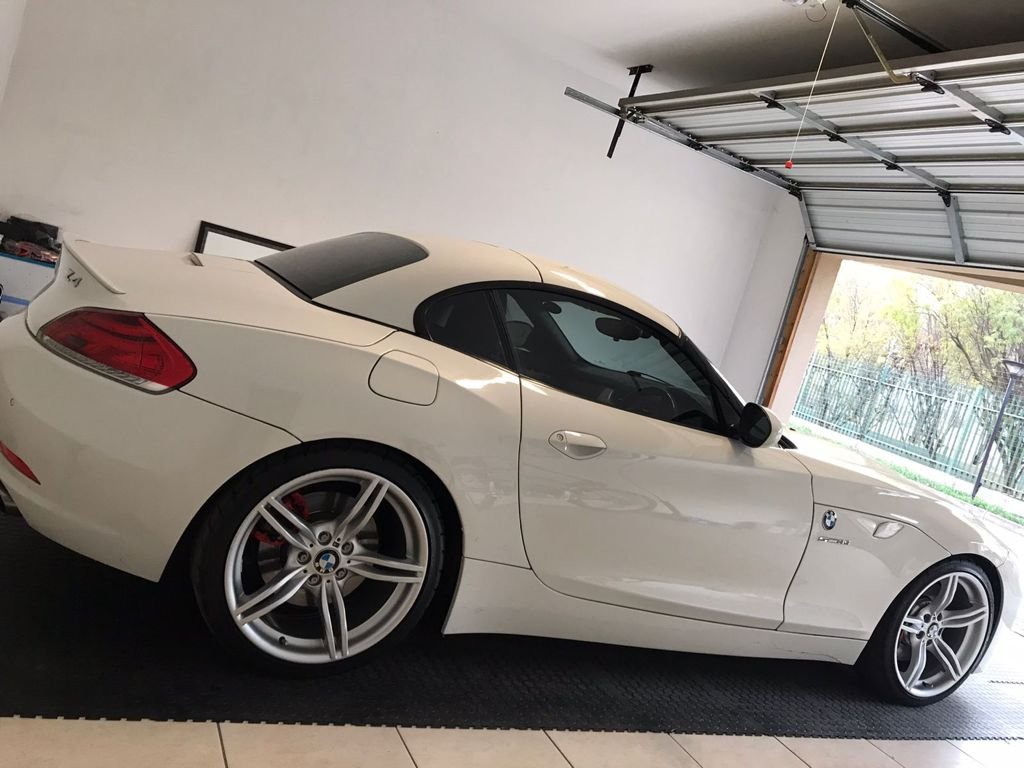
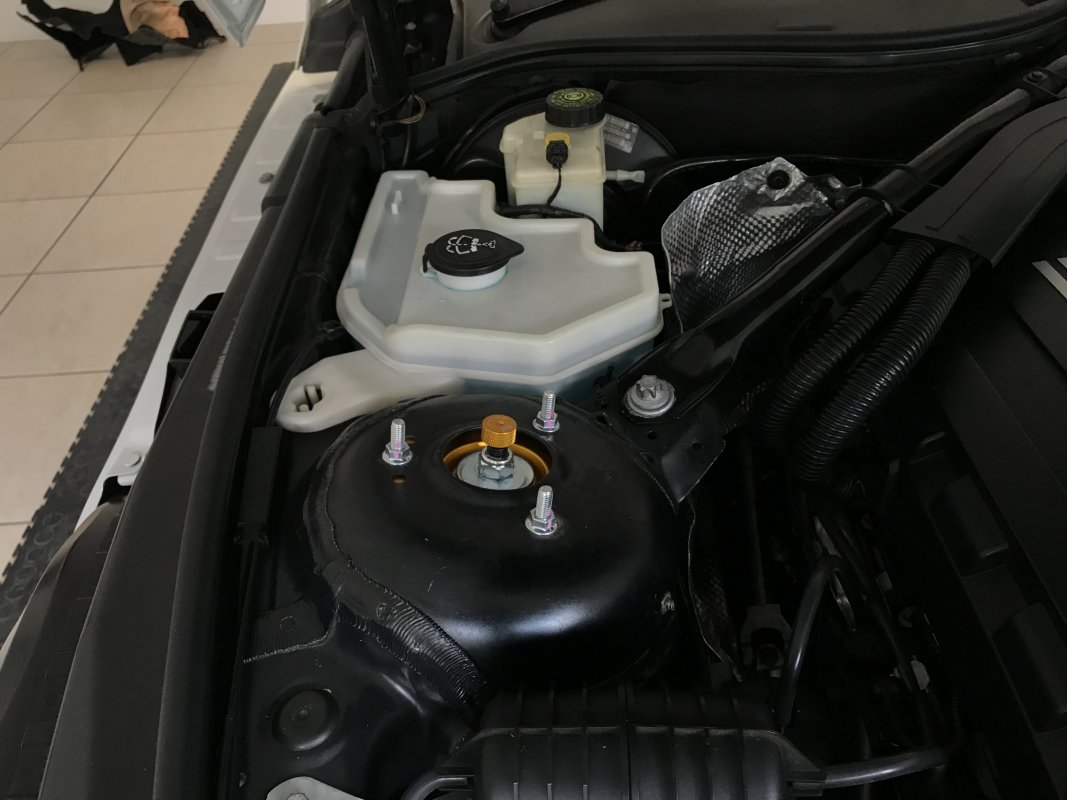
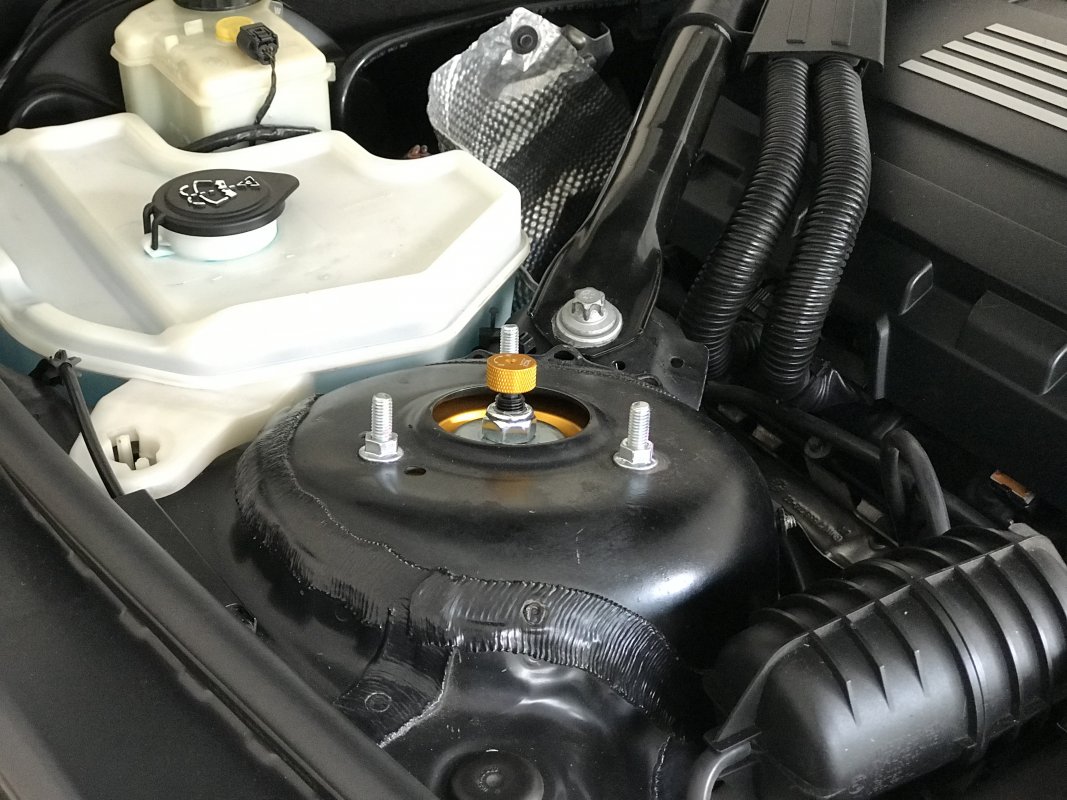
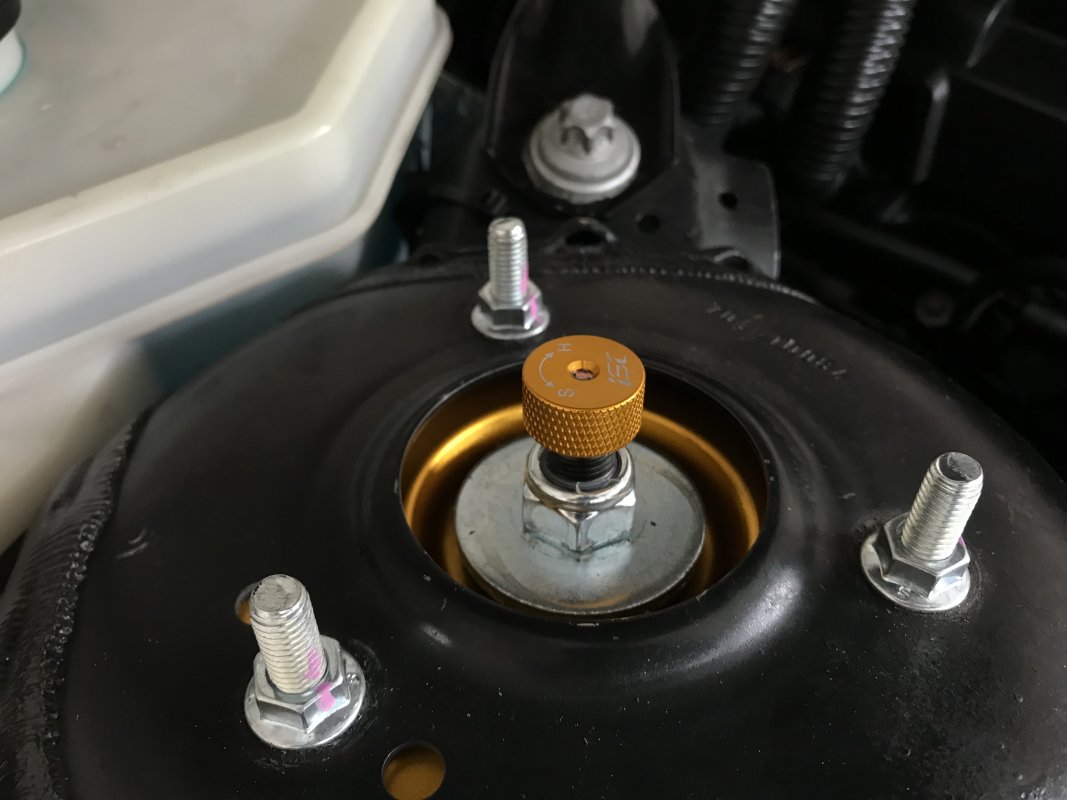
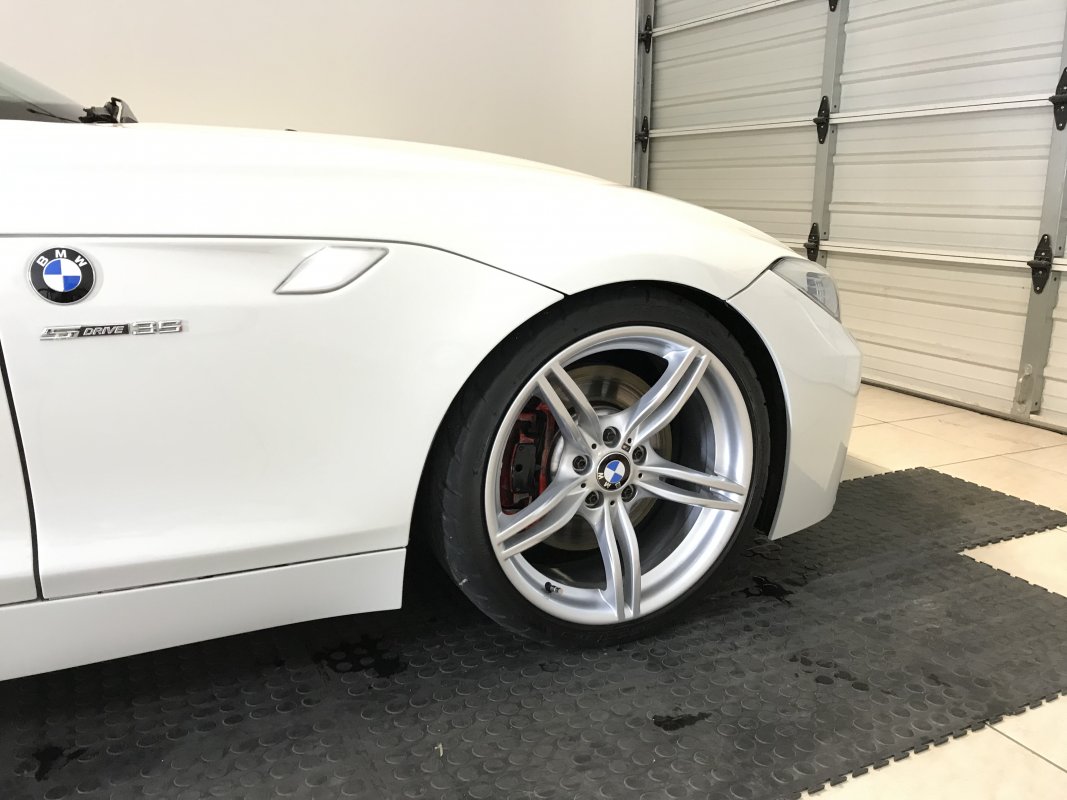
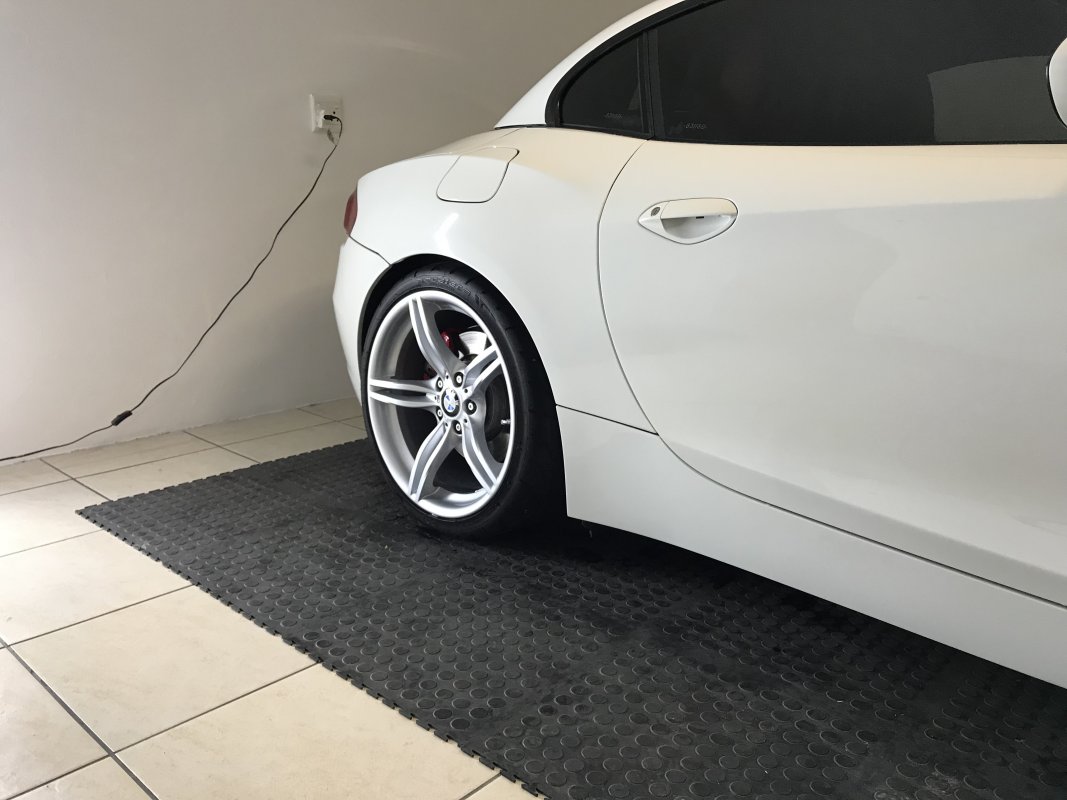
I will drive the car for a good 500km and report back, it would have all settled nicely by then! I will take a few more pics outside to show how nice she is sitting.
Again thanks to Mo and Ultra Racing for sorting me out with this setup and helping me out so much and even driving out to sort it out! What an awesome guy! and To Clint and his Brother at MMS Auto What Awesome guys to deal with!
Now for the bad(sort of) I got into my car and started reversing it out of Clints garage and as I got onto the paved part of his driveway I noticed the car was very bouncy, I have never felt coilovers before so I thought perhaps this was how it was meant to feel, I continued on my journey back home (1.8km....luckily) and half way home I called Clint to ask if I was supposed to be bouncing in my seat so hard that the safety belt was catching me and preventing me from hitting my head into the roof! He said that it doesn't sound right at all. I gave Mo a call and told him something wasn't right so Mo asked that I take photos of the back springs as he suspected they weren't installed correctly as they needed to be preloaded which I think we forgot to do correctly (No fault of Clint) These rear springs were so small it was unbelievable, When I went back to Clint's house we tried something with the back shocks to try remedy the problem but made it worse as I interpreted the message Mo sent me incorrectly, basically when we put the car on the lift I was able to reach in and take the spring out as it was just resting on the cradle
Mo offered to come through and sort this out as I was ready to burn the car and the suspension and be done with BMW's, I was delighted to hear that Mo would come through and both Clint, His Brother and myself all complimented on what Mo was willing to do to come get this working out correctly for me, Outstanding after sales support! I have never heard of customer service like this in SA before in my life, Mo was all the way out in fordsburg! so it was a very far drive for him!
Anyways I drove back to Clint the next day and the drive almost made me throw up, I was ready to call a tow truck as I couldn't take the ride anymore but I persevered! 🤣
Mo arrived at Clint shortly after me and I offered to take him for a drive to show him just how bad the ride quality was and what he thinks could be the problem, he looked at the spring and said lets get the car on the lift as he can see what the problem is so we did that, he sorted it out quick stix and I went for a drive....It was much better but it was still hella bouncy! Mo came with and felt what was going on, we tested a few settings on the damping and then he decided no, this spring isn't right, so he offered to drive out back to Fordsburg and fetch other rated and sized springs and even bought us all Lunch!

The tiny spring the kit came with! We went for the one on the left which is a 160mm 10kg spring, Mo and Clint along with his Brother and helper all fitted the springs, Mo set everything up and Bam like magic the car was sorted!

I was able to drive to Lanseria and write my Air Law exam! Yay! I wasn't completely happy with the ride quality as this was a much longer drive where I got a good feel for the car. So I got fiddling myself the next day after speaking to Mo and getting a bunch of advice. I wanted the car lower at the back, Justin came over and tried helping, eventually we pulled the top hat off and went for a drive and it was terrible, and dropping the car to the height I wanted actually looked shit! so we put it back! WHAT A FLIPPING MISSION! General.Massacre had one hell of a work out bouncing on my disc and Caliper while I pulled on the spring to get it out, it took us hours to get it back out and then even longer to get it back in, but we learned allot for next time HAHA.
What we ended up doing was raising the right side slightly to match the left and now the car feels amazing. We went for a good couple of drives, some relatively high speed cornering, The car feels like its on rails! We stopped multiple times and adjusted dampening till we got it dialed in really well! we did some launches. The car has never launched like this before, there is zero squat it just goes forward rapidly! feels so damn good!
A big Shout out goes to Mo, Clint and his Brother and again to General.Massacre for all the help getting the springs in and out and helping to dial the car in. My car has never handled so well before! This has made such a difference to the feel of the car!


I will drive the car for a good 500km and report back, it would have all settled nicely by then! I will take a few more pics outside to show how nice she is sitting.
Again thanks to Mo and Ultra Racing for sorting me out with this setup and helping me out so much and even driving out to sort it out! What an awesome guy! and To Clint and his Brother at MMS Auto What Awesome guys to deal with!
General.Massacre
///Member
NICE  yea that was a work out and a half. Ill just leave this here
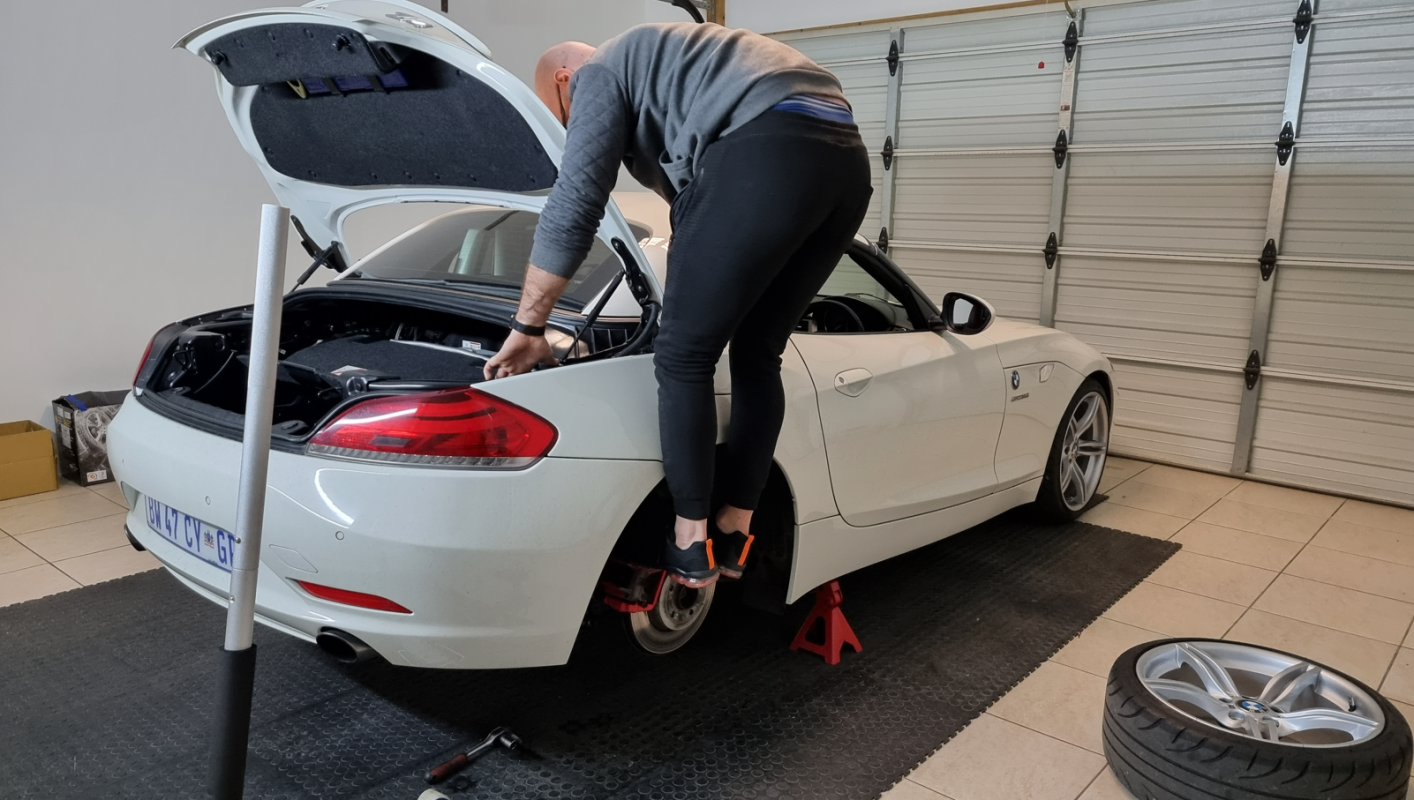
As nick said, the coil overs really transformed the car after getting it dialed in.
Doesn't bottom out anymore, and the ride quality has improved ten-fold. from when they were first fitted.
I haven't dealt with Mo (yet), but from Nicks messages, the man has been an absolute legend on the service offered.
I wish all people were that accommodating.
And just to repeat, that launch after the coil overs were dialed in was insane, that car hit 100kph on a short road VERY damn quick. i have to see this car at Tarlton one night and see how she runs going to scare a lot of big cars.

As nick said, the coil overs really transformed the car after getting it dialed in.
Doesn't bottom out anymore, and the ride quality has improved ten-fold. from when they were first fitted.
I haven't dealt with Mo (yet), but from Nicks messages, the man has been an absolute legend on the service offered.
I wish all people were that accommodating.
And just to repeat, that launch after the coil overs were dialed in was insane, that car hit 100kph on a short road VERY damn quick. i have to see this car at Tarlton one night and see how she runs
Thanks for kind words Nick. Man what an episode this was but really happy with the way it turned out, Mo from UltraRacing is a Super star, he stands by his products, He's very knowledgeable and goes out of his way to make sure his customers expectations are met. The ISC coilover kit is nice, good quality, loads of adjustability and well supported by Ultra racing SA. Enjoy it...
osiris
///Member
So I got to work with the car again. I wanted to be able to adjust the rear coil overs with ease and without having to remove carpets each time so I made a plan that looks as OEM+ as possible.
This was a monster amount of work, the pics make it look like it was a walk in the park but it was tedious to say the least. trying to measure exactly where the coil-over adjuster is on the carpet was a nightmare, I got it skew but managed to get it right in the end.
I phoned around and drove around for weeks trying to find a place that sold rubber grommets that would suit this project but I found nothing! so I ended up using the rubber grommets of the stock turbo inlet pipes 🤣 it worked out perfectly.
To get the job to look as neat as possible in the end I used Butyl glue between the carpet cutout and the grommet and then shaved off carpet fibers from various parts of the boot and stuck them to the butyl for that OEM look.
So this was the initial cutout, which ended up being horribly off center.
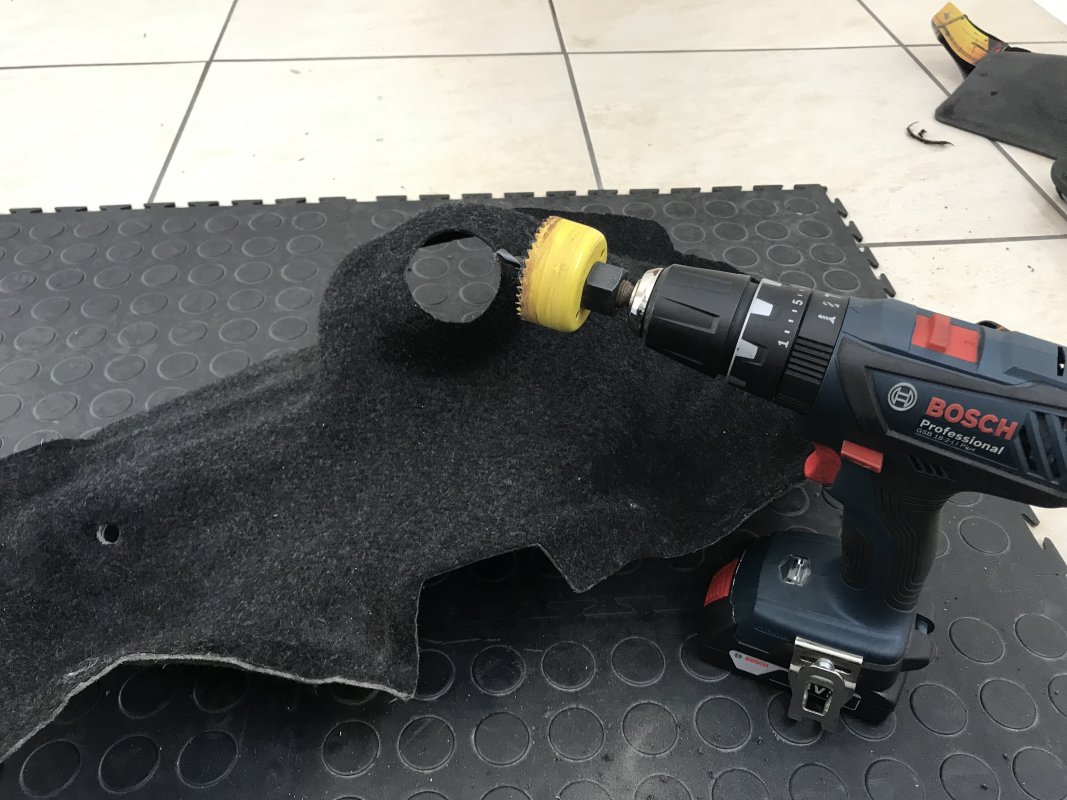
After a couple of hours work the final finished job looked like this. I am extremely happy with this. I especially love the black and gold look.
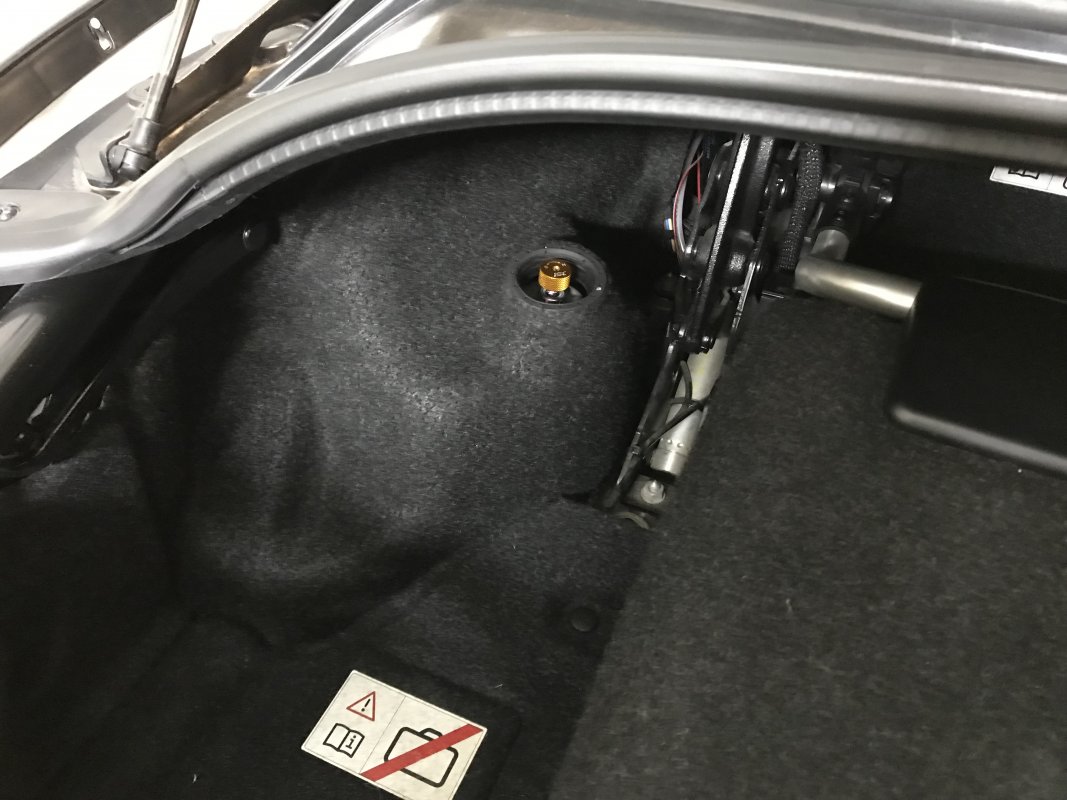
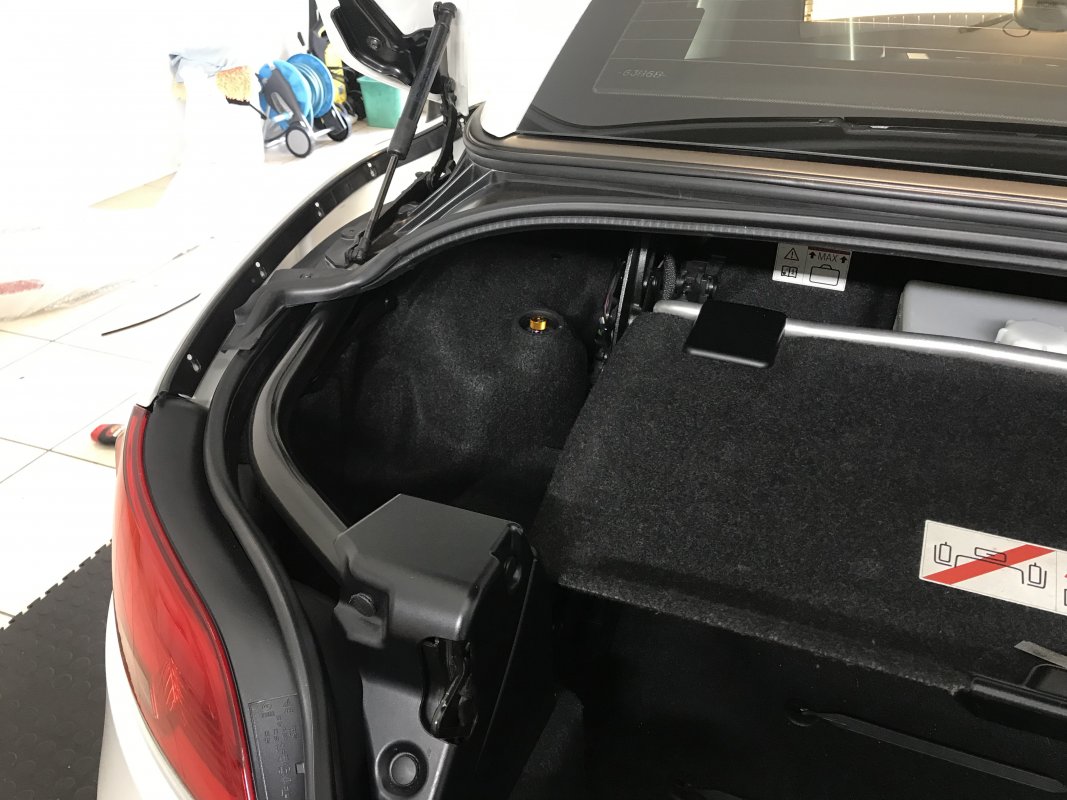
This looks pretty impressive when you open the boot hehe.
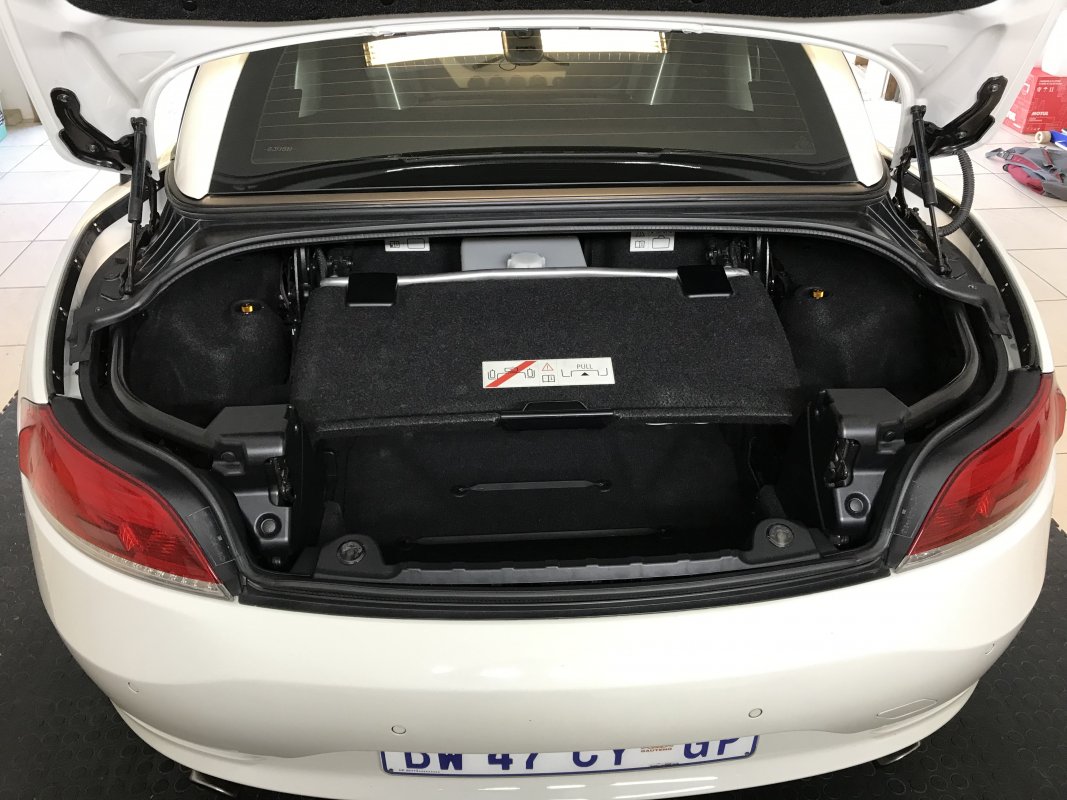
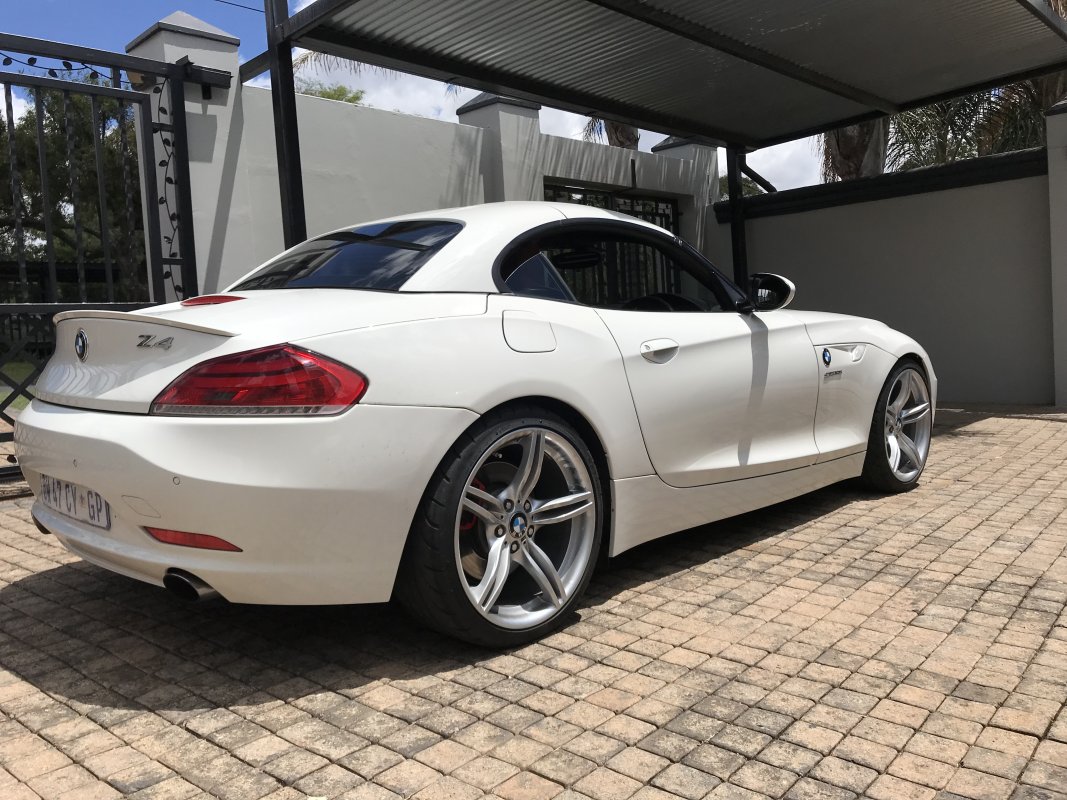
After this I decided I needed some wheel spacers to compliment the drop I was able to achieve with the new coil-overs to finish off the look of the car.
I ended up putting 15mm spacers (Hub Centric) at the back and 10mm spacers in the front also (Hub Centric of course).
Honestly I couldn't be happier, everything is looking so damn flush, there is zero rubbing.
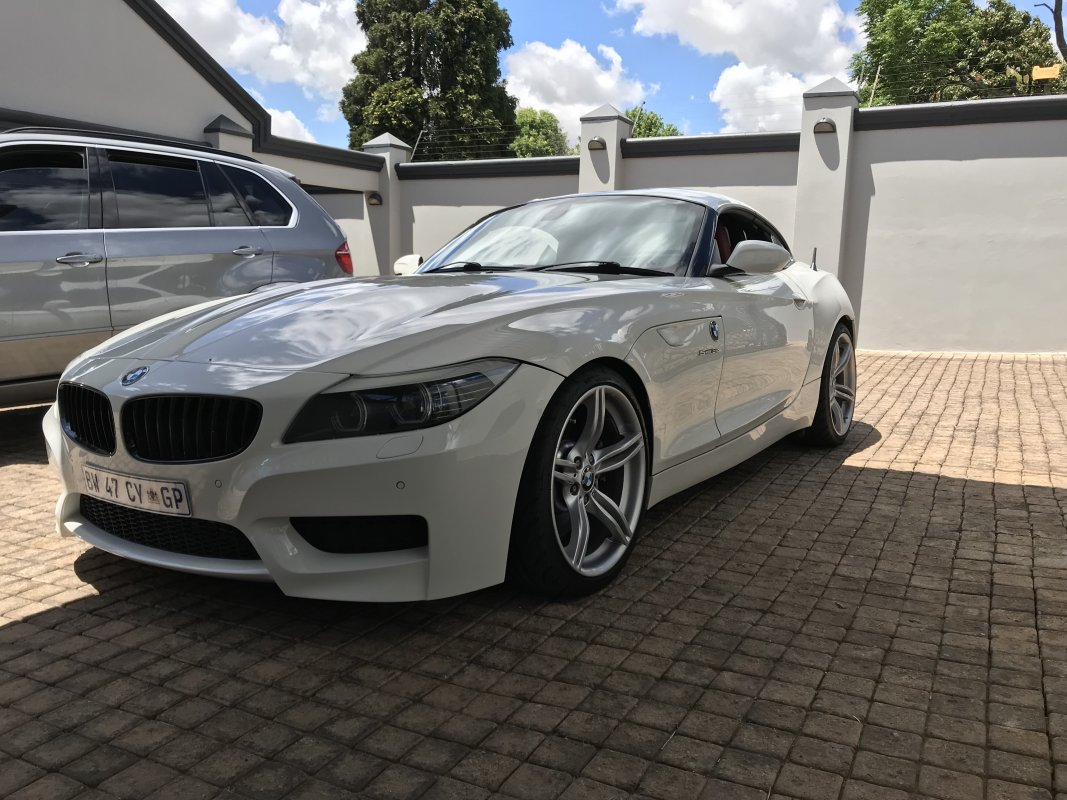
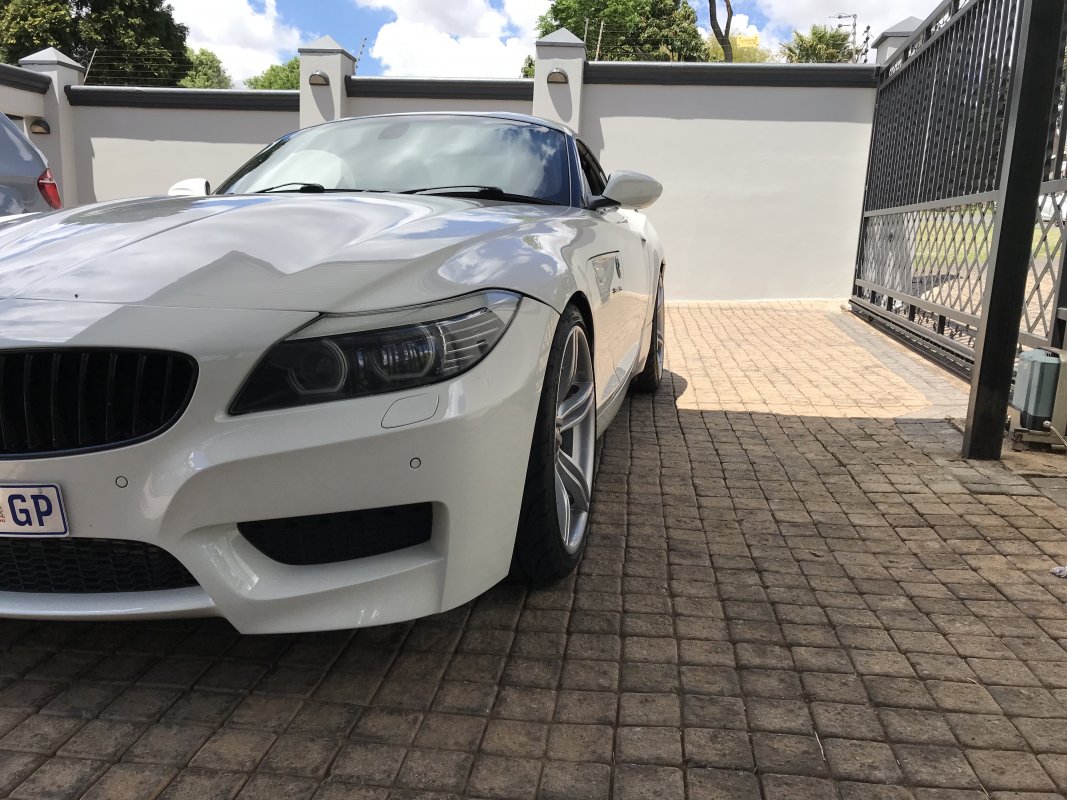
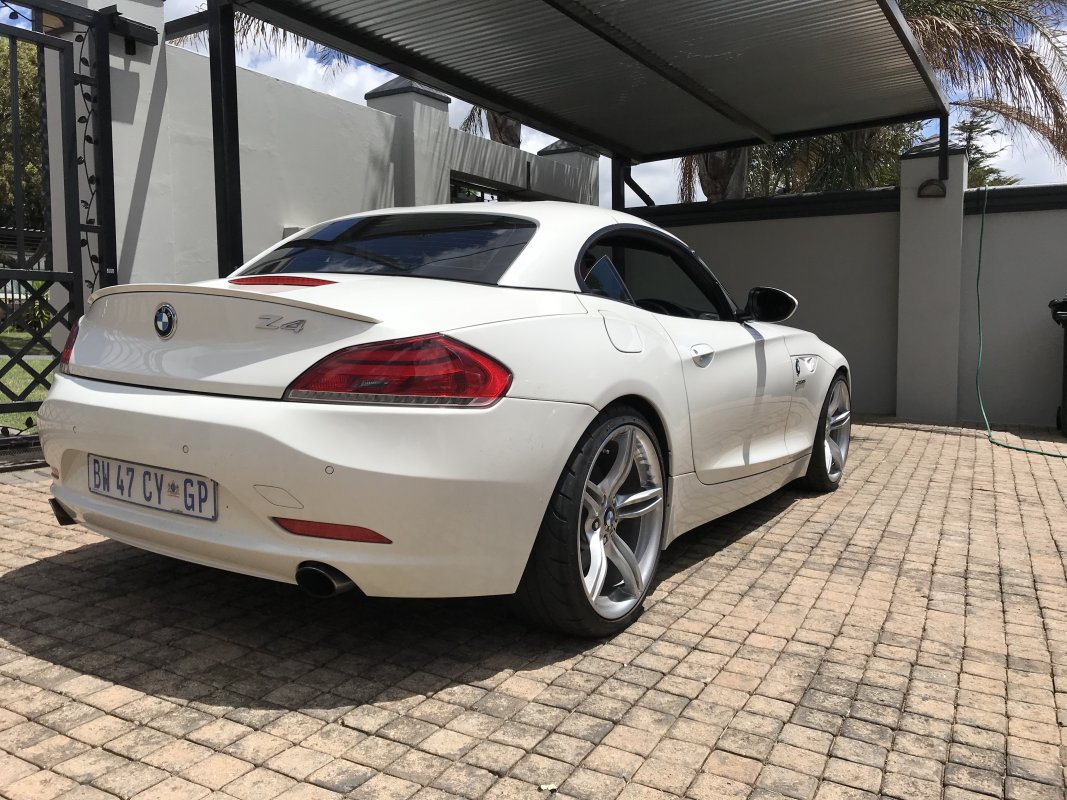
This was a monster amount of work, the pics make it look like it was a walk in the park but it was tedious to say the least. trying to measure exactly where the coil-over adjuster is on the carpet was a nightmare, I got it skew but managed to get it right in the end.
I phoned around and drove around for weeks trying to find a place that sold rubber grommets that would suit this project but I found nothing! so I ended up using the rubber grommets of the stock turbo inlet pipes 🤣 it worked out perfectly.
To get the job to look as neat as possible in the end I used Butyl glue between the carpet cutout and the grommet and then shaved off carpet fibers from various parts of the boot and stuck them to the butyl for that OEM look.
So this was the initial cutout, which ended up being horribly off center.

After a couple of hours work the final finished job looked like this. I am extremely happy with this. I especially love the black and gold look.


This looks pretty impressive when you open the boot hehe.

After this I decided I needed some wheel spacers to compliment the drop I was able to achieve with the new coil-overs to finish off the look of the car.
I ended up putting 15mm spacers (Hub Centric) at the back and 10mm spacers in the front also (Hub Centric of course).
Honestly I couldn't be happier, everything is looking so damn flush, there is zero rubbing.


osiris
///Member
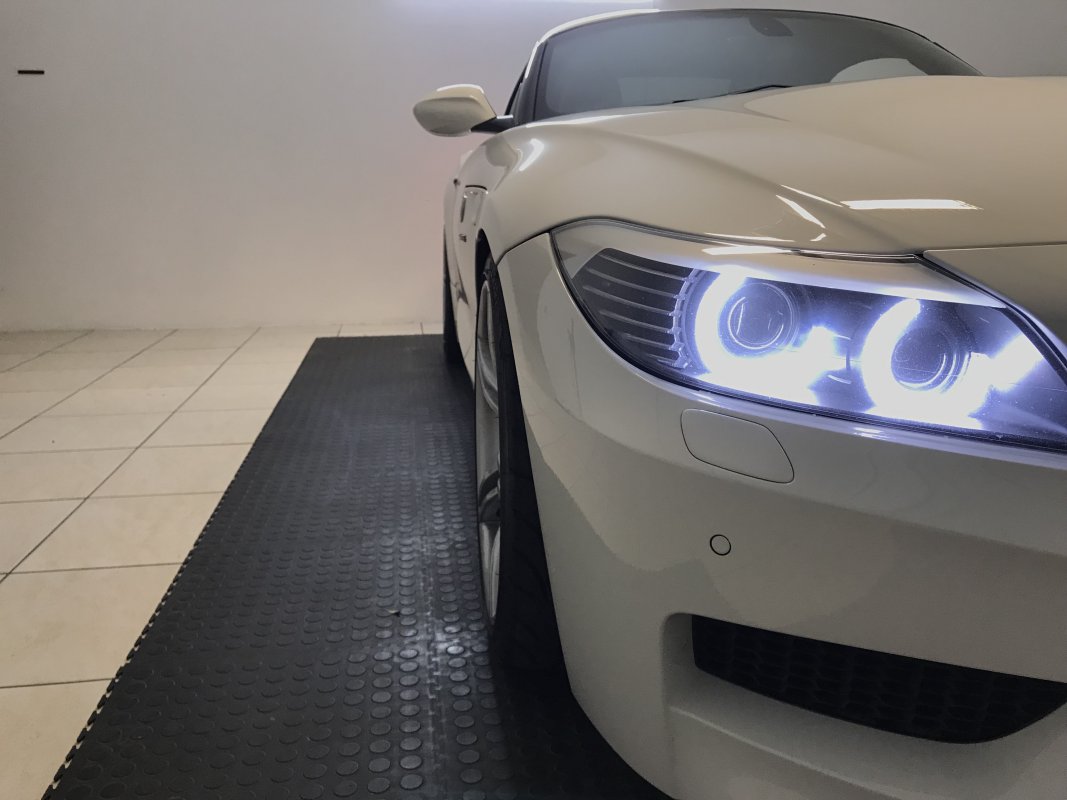
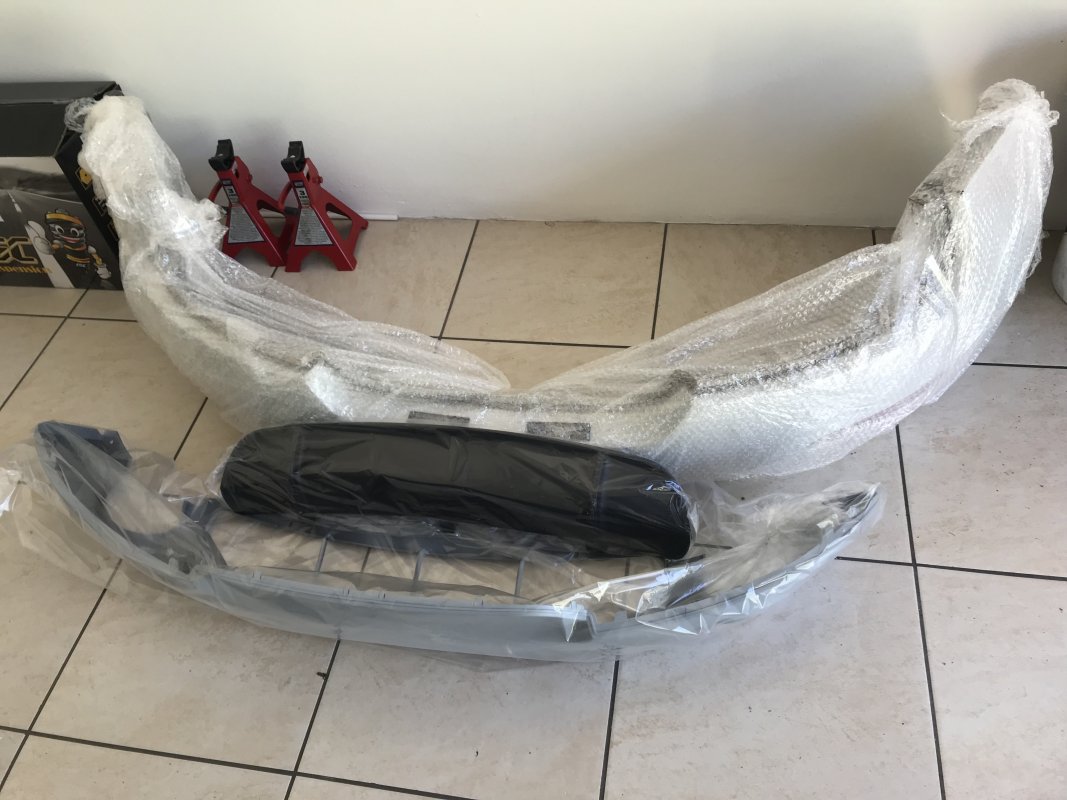
And then lastly the final missing piece to the puzzle. Still to be completed but here are the pieces.
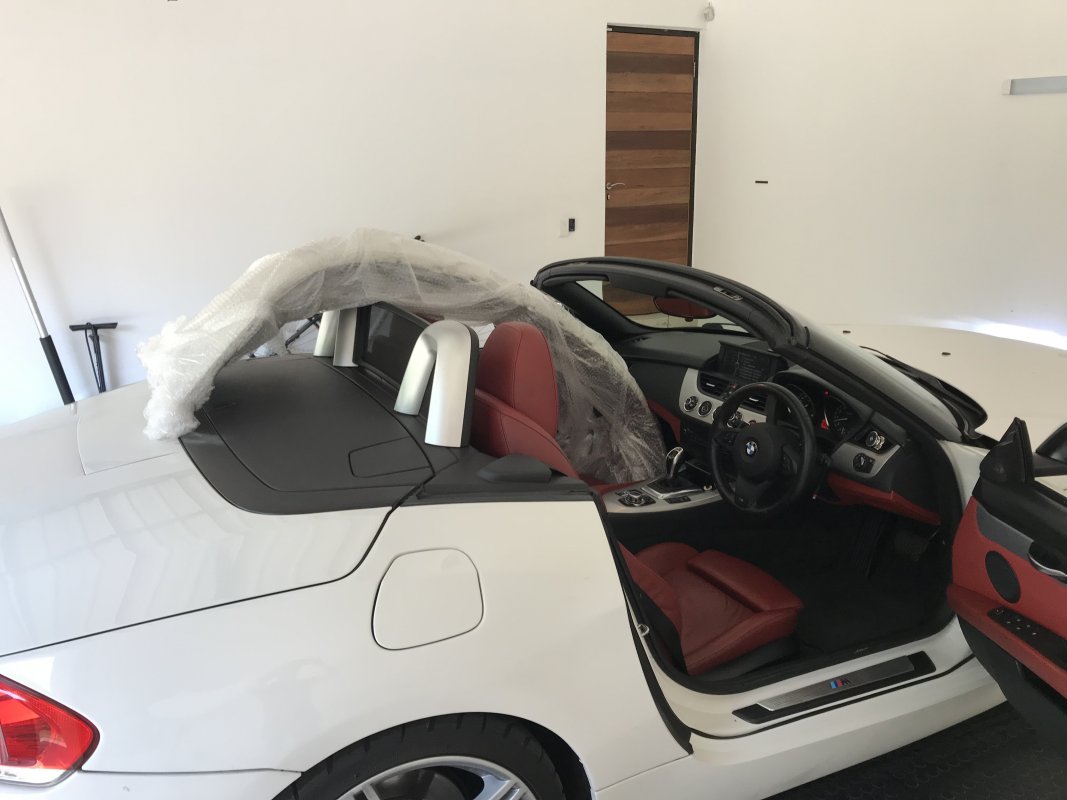
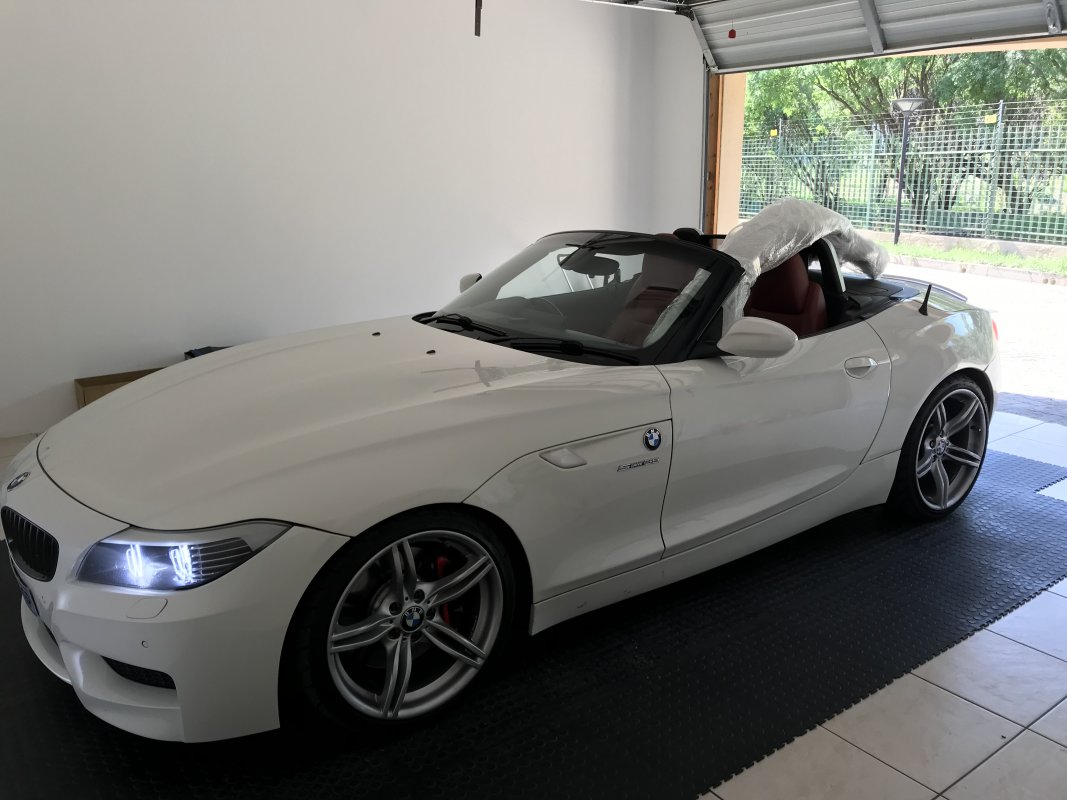
Then I got the last pieces, this was quite a wait as it was a back order from BMW. I got the two piece Msport bumper diffuser from BMW, It comes in a 1 piece and 2 piece option. I will be spraying the primered part gloss black, I will leave the diffuser insert the satin black it comes in, as for the bumper I will have that resprayed to match the brand new paint of the rest of the car. This will wrap up the full Msport conversion of the car.
After that I want the front lip and side sills, after this I will be done with the aesthetics of the car.

osiris
///Member
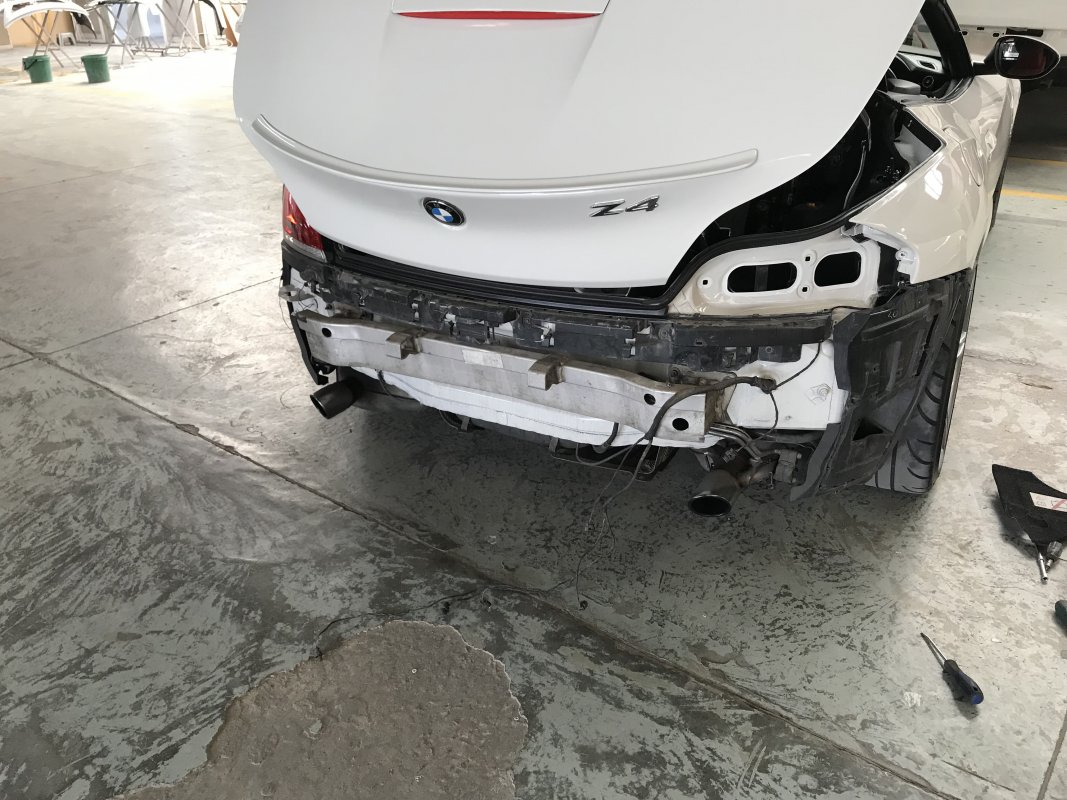
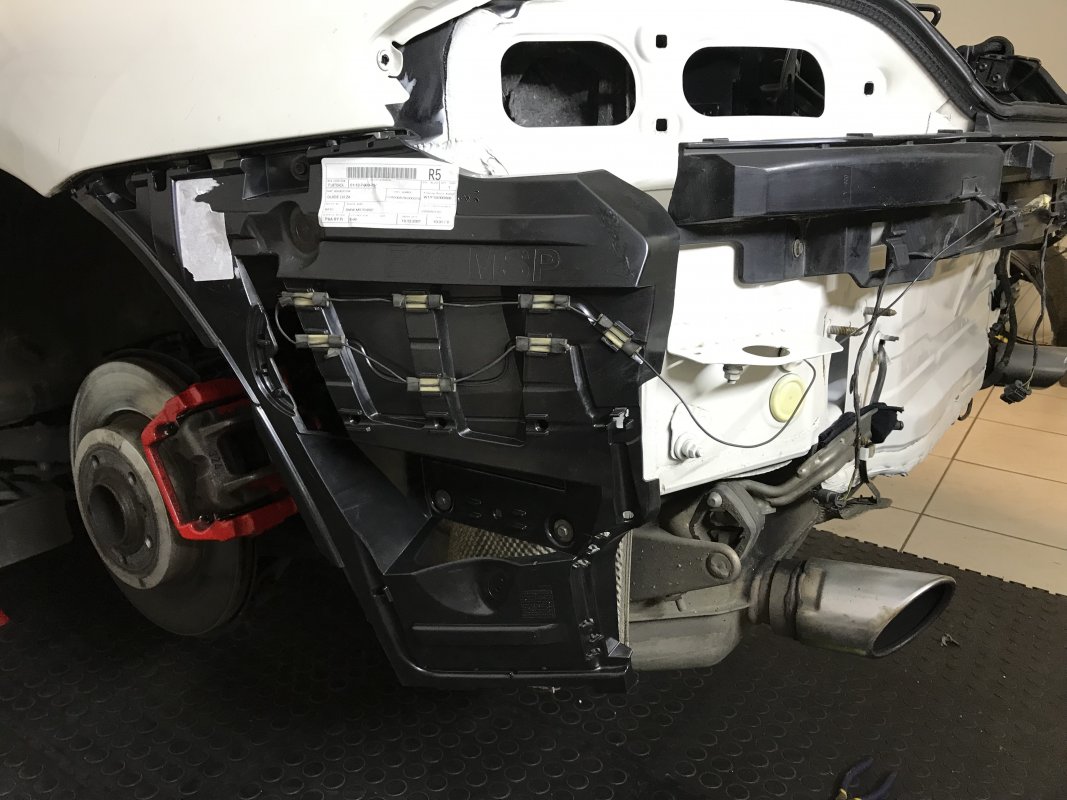
So I got this bumper fitted shortly after posting this however I wasn't happy with fitment due to not realizing that the frame sliders between msport and non msport are actually different. I seriously didn't think this would be different but hey it is what it is. This was unfortunately a back order from Germany as are most Z4 parts!
so I will show initial fitment, I don't show any of the close up pics as it was an abortion! But from far it wasn't bad but it caused a small crack and it was bulging and all round gaps were terrible and well it was just shit! .....I fixed it now though 🤣
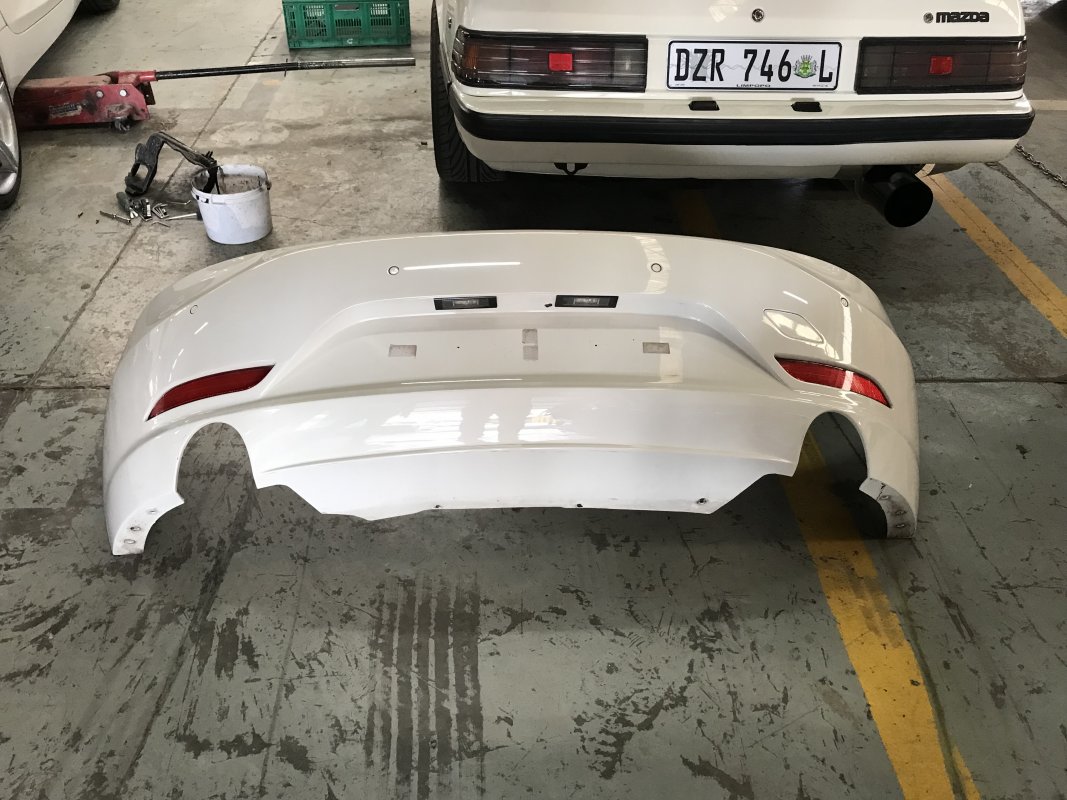
Old non msport bumper removed:
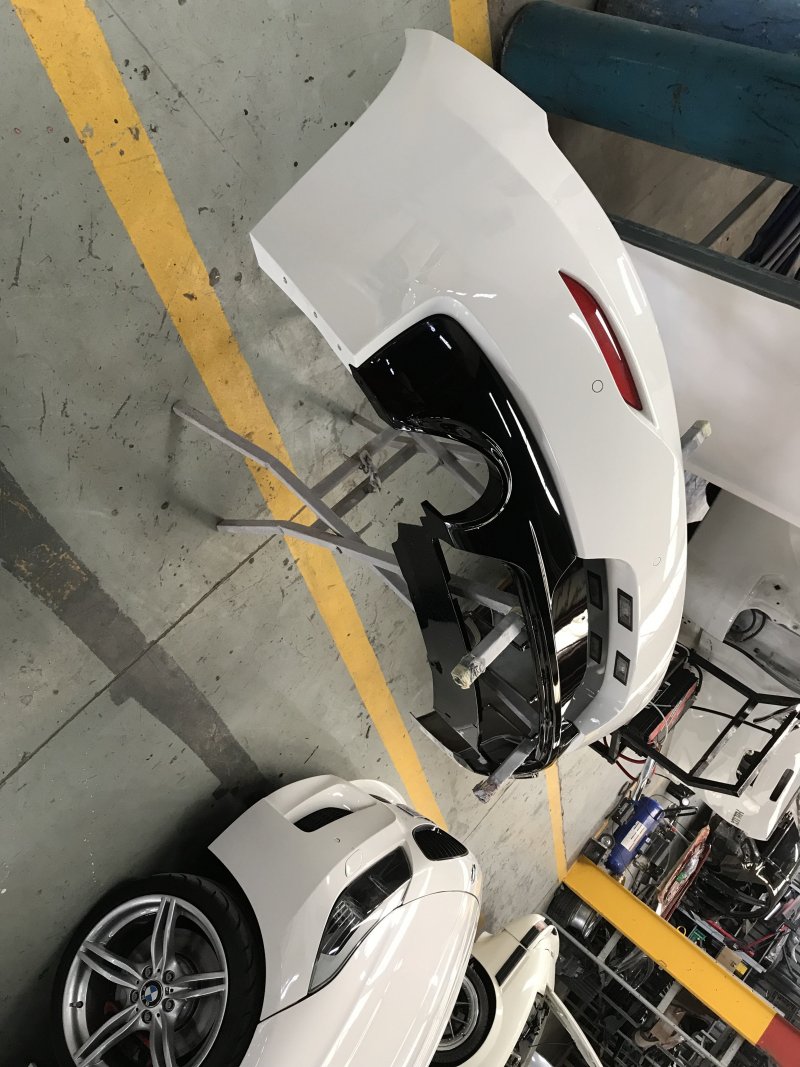
Newly sprayed and ready for fitment.
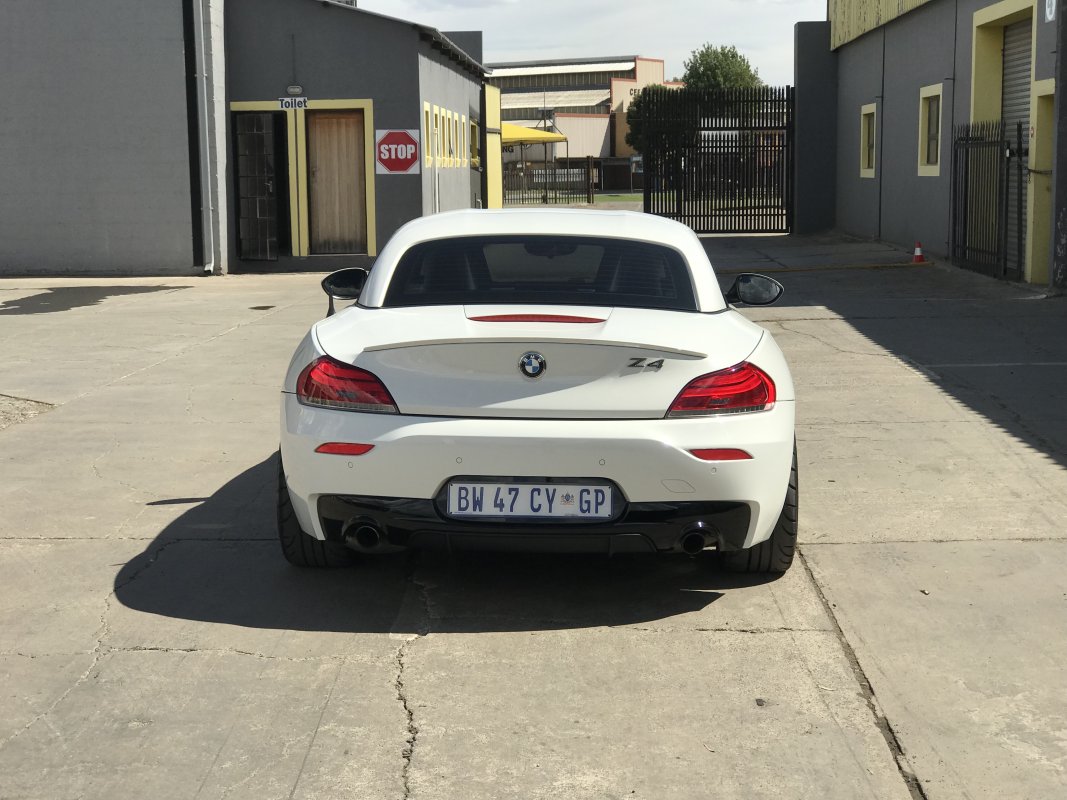
Fitted, looking all shiny and abortion like, those gaps.... Trust me up close its very bad, the photos do it far to much justice!
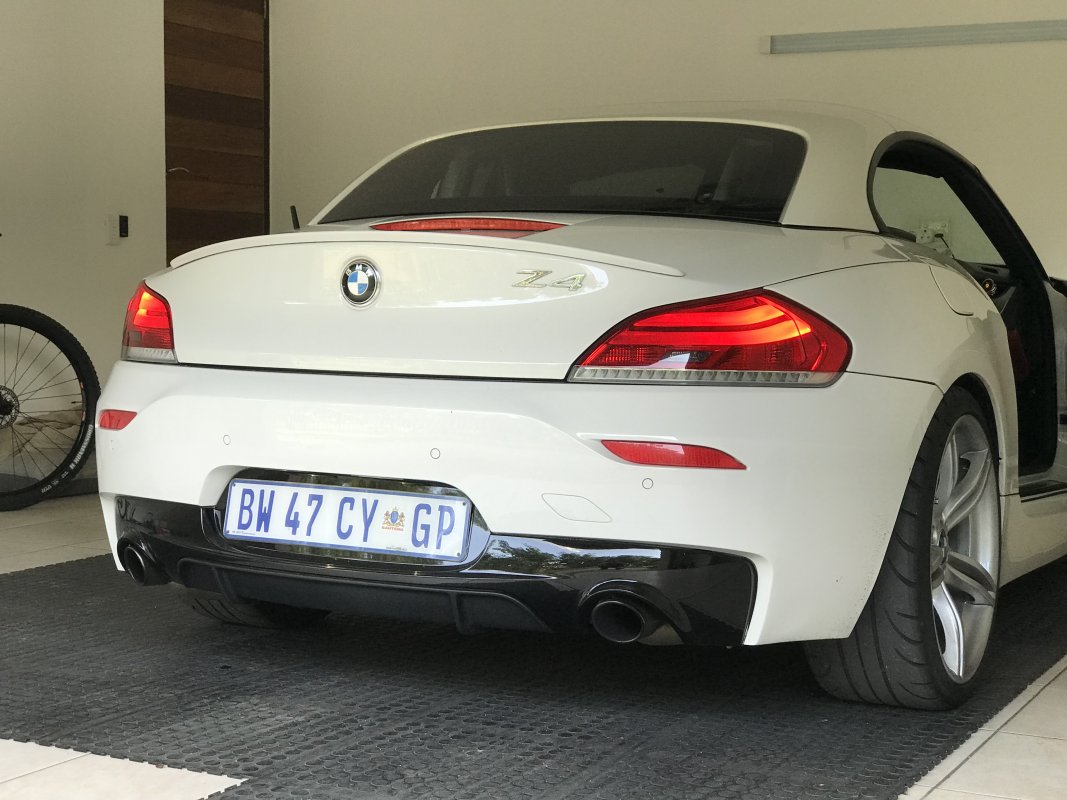
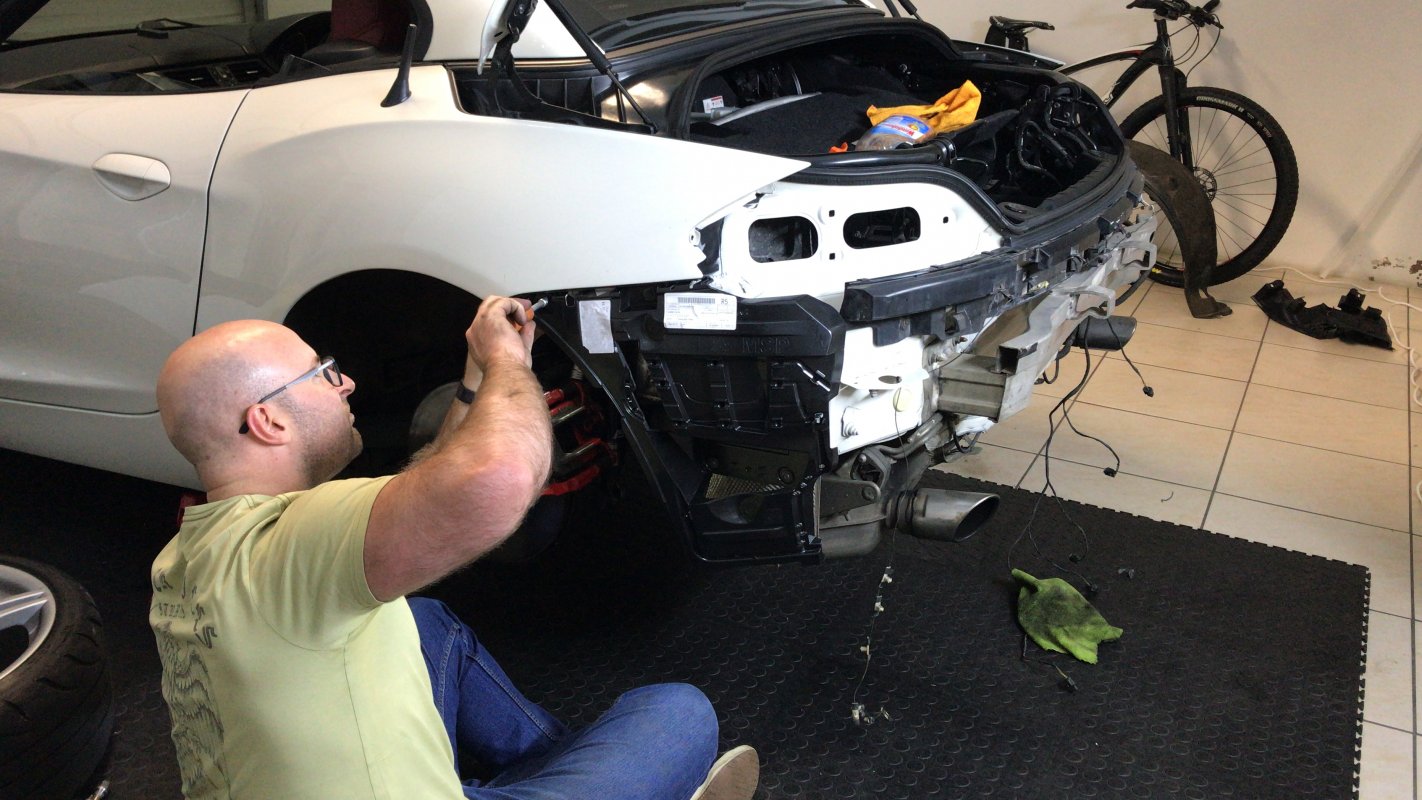
Anyways my buddy @General.Massacre popped over tonight after I received my new frame sliders from ABM BMW Via Deago along with a few other bits and bobs.
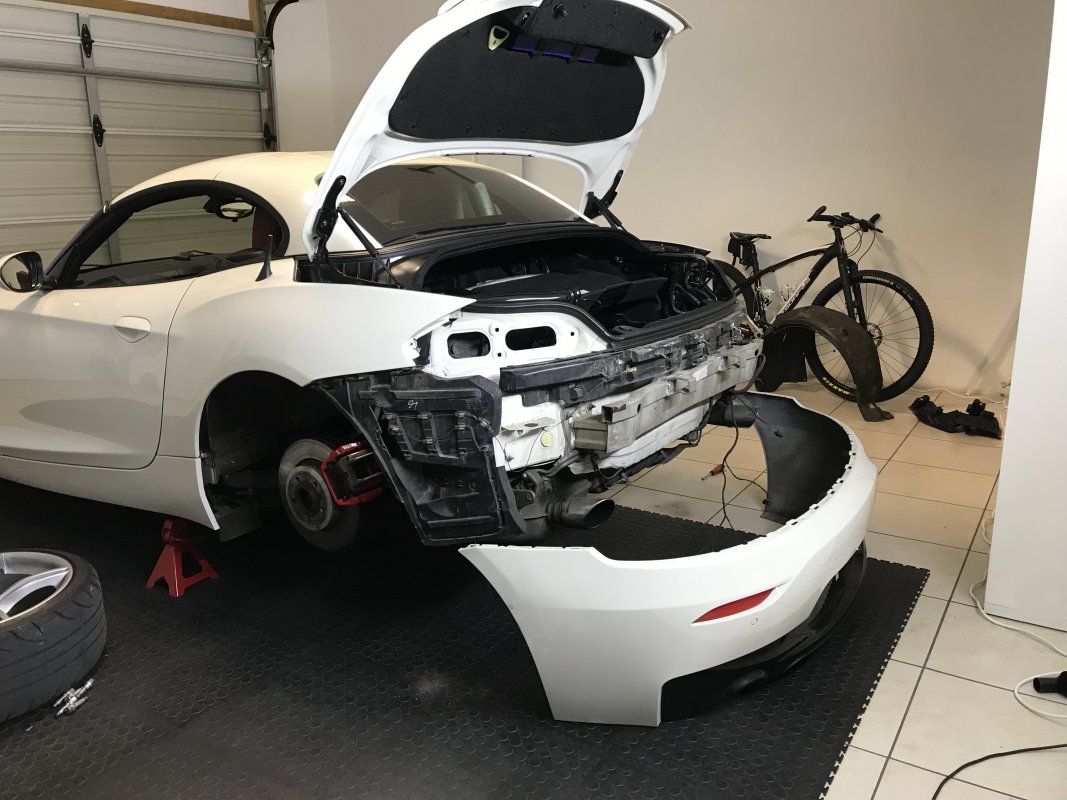
so We started stripping! Having no idea wtf we were doing as usual but figuring it out as we go 🤣 We not car body panel guys, this is beyond out scope of knowledge but we always figure it out in the end!
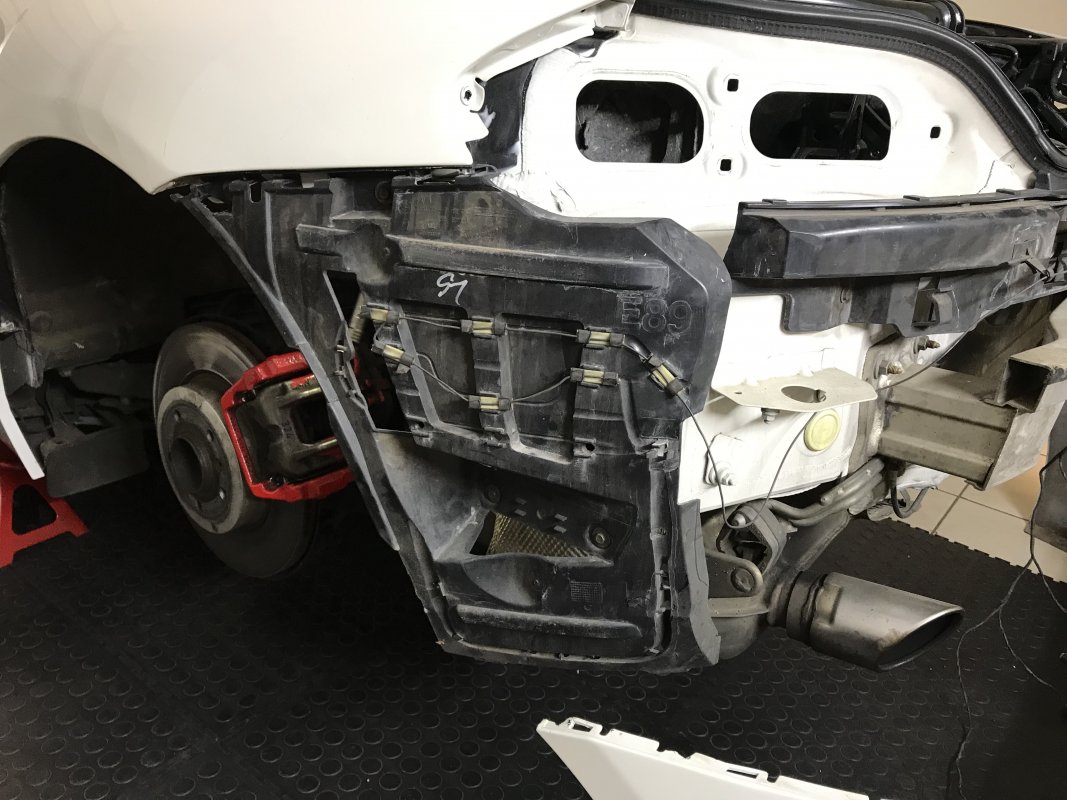
old sliders close up:
And the new ones installed:
I mean damn.. They almost look identical, the differences are so damn subtle but the difference in fitment is MASSIVE!
@General.Massacre getting stuck in as always! Thanks for all the help as always buddy!
so I will show initial fitment, I don't show any of the close up pics as it was an abortion! But from far it wasn't bad but it caused a small crack and it was bulging and all round gaps were terrible and well it was just shit! .....I fixed it now though 🤣
Old non msport bumper removed:


Newly sprayed and ready for fitment.


Fitted, looking all shiny and abortion like, those gaps....

Anyways my buddy @General.Massacre popped over tonight after I received my new frame sliders from ABM BMW Via Deago along with a few other bits and bobs.
so We started stripping! Having no idea wtf we were doing as usual but figuring it out as we go 🤣 We not car body panel guys, this is beyond out scope of knowledge but we always figure it out in the end!

old sliders close up:

And the new ones installed:
I mean damn.. They almost look identical, the differences are so damn subtle but the difference in fitment is MASSIVE!

@General.Massacre getting stuck in as always! Thanks for all the help as always buddy!

osiris
///Member
And for the final fitment! WHAT a DIFFERENCE!
Photos curtesy of @General.Massacre My phone is way too old to do cool wide angle shots like this! and the cool nigh time exposure stuff with the tail lights and headlights!
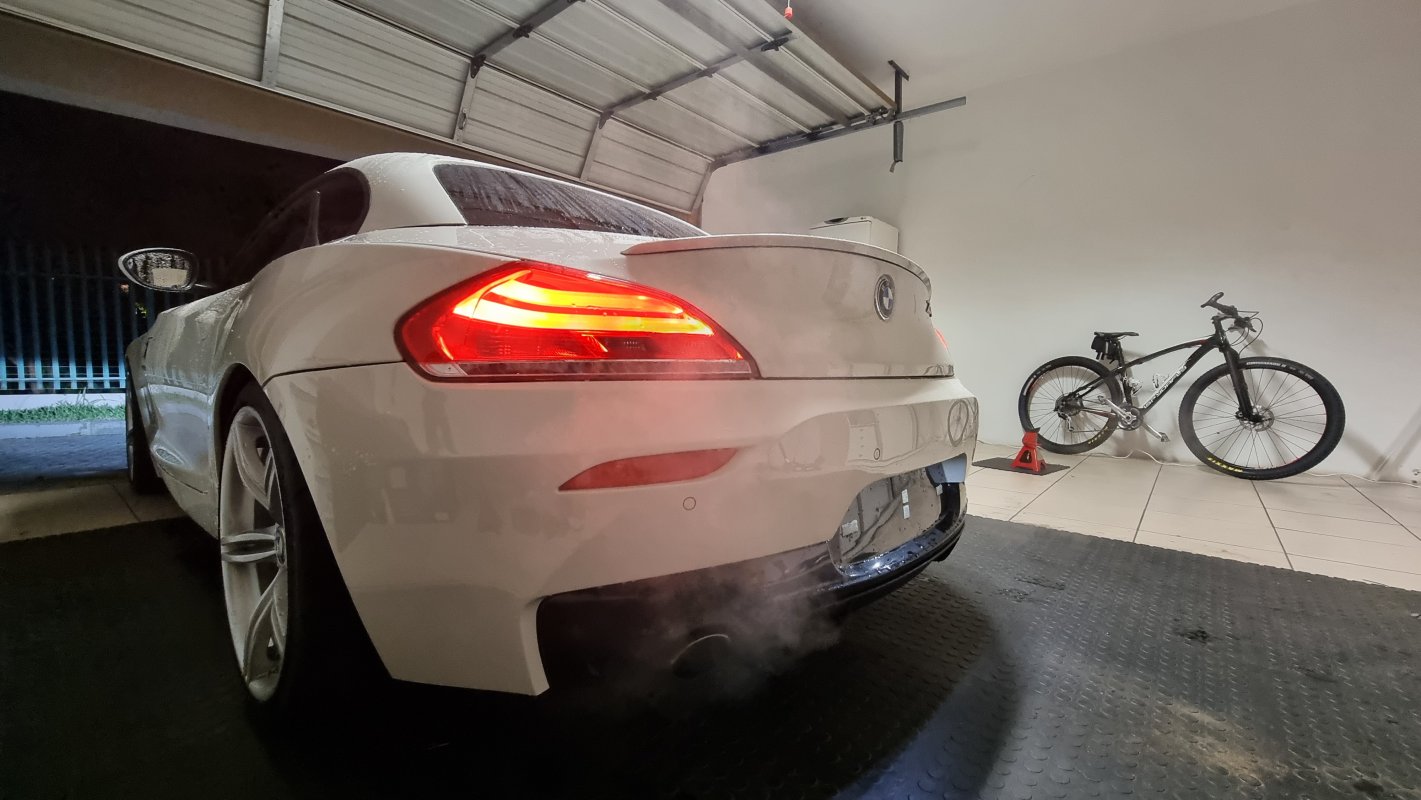
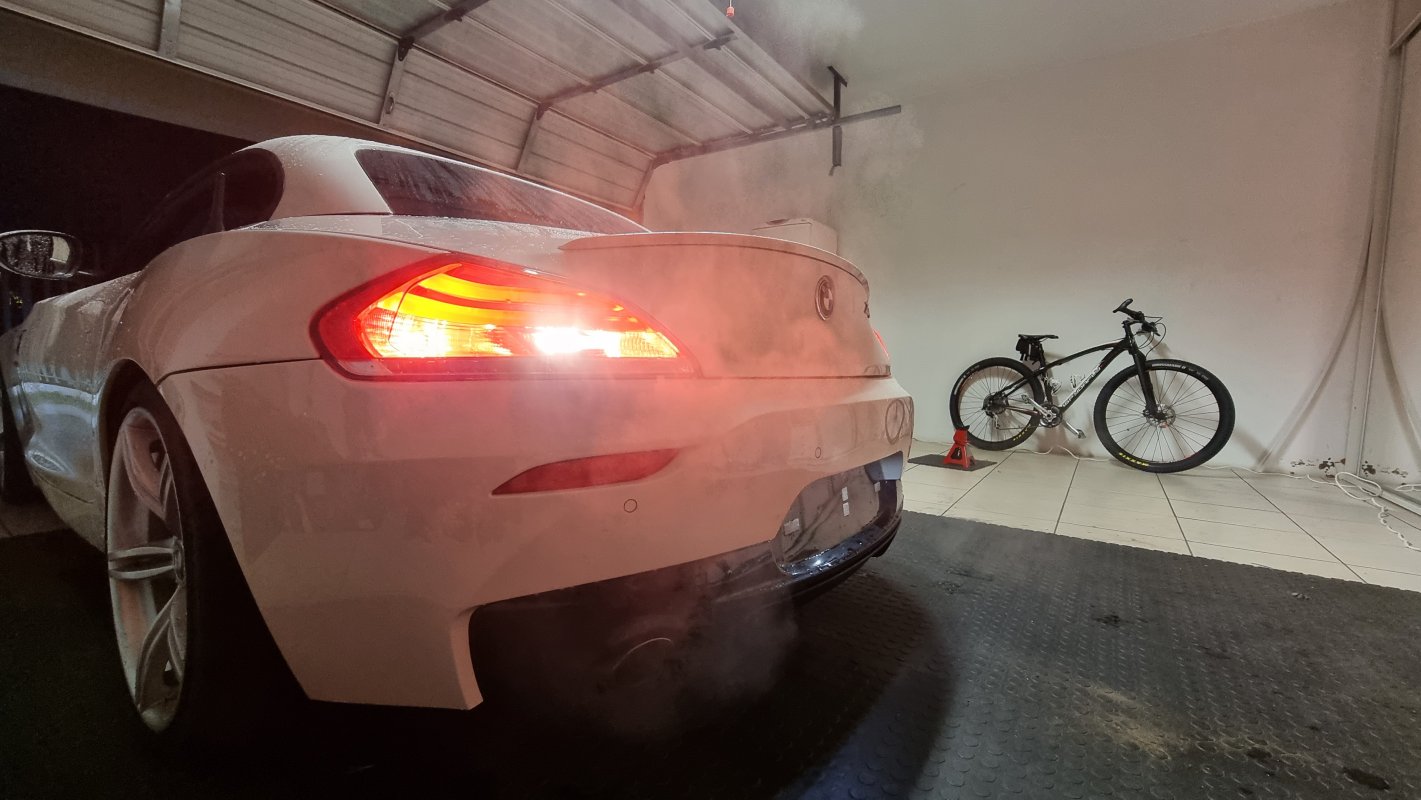
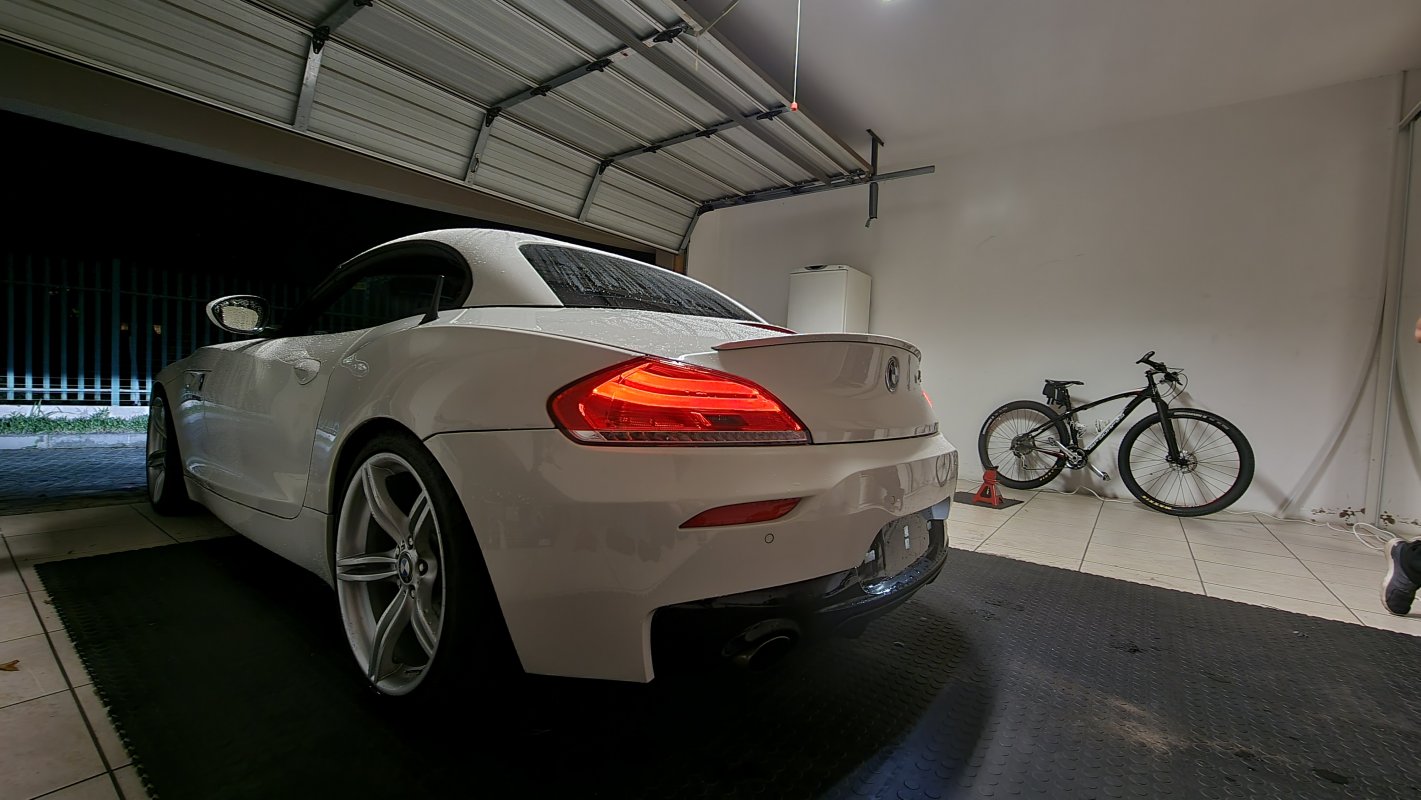
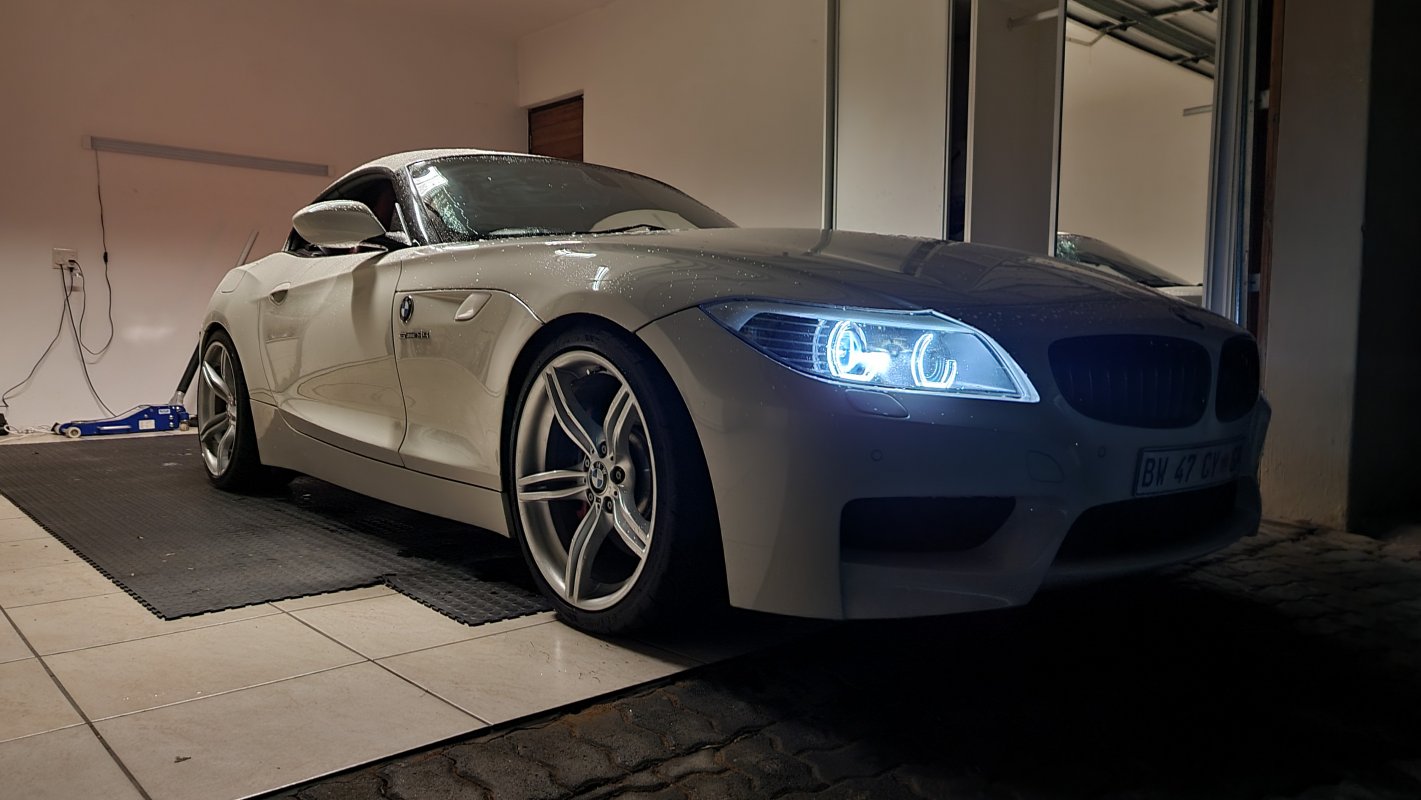
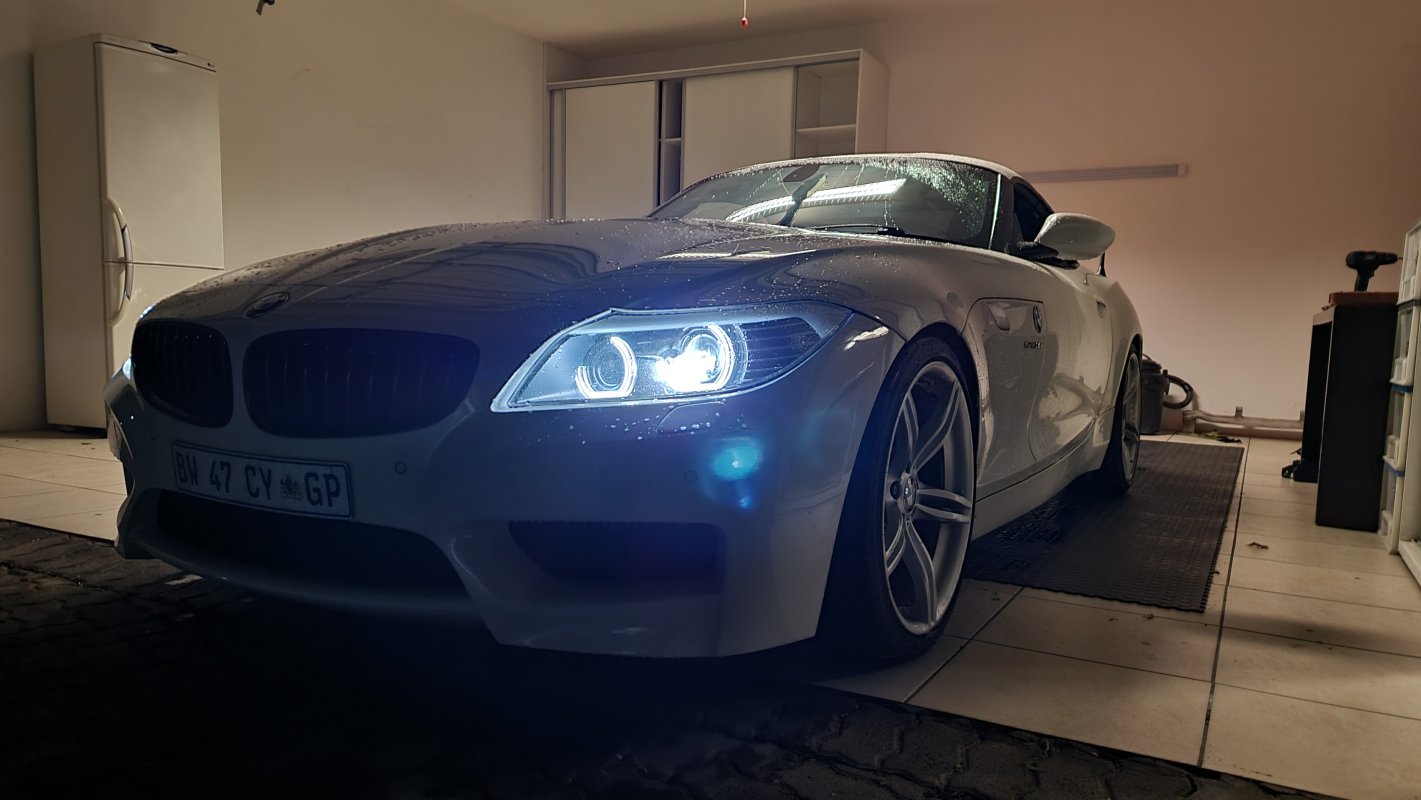
Honestly what a massive difference this has made! I am super happy with this now. We also over the weekend sorted out the rear springs and got all 4 corners of the car to the EXACT height, we may drop the front slightly soon to give a slight rake effect but at the moment the ride height it perfect and it clears everything still. No silly low nonsense!
Photos curtesy of @General.Massacre My phone is way too old to do cool wide angle shots like this! and the cool nigh time exposure stuff with the tail lights and headlights!


Honestly what a massive difference this has made! I am super happy with this now. We also over the weekend sorted out the rear springs and got all 4 corners of the car to the EXACT height, we may drop the front slightly soon to give a slight rake effect but at the moment the ride height it perfect and it clears everything still. No silly low nonsense!
General.Massacre
///Member
car is looking freeeeeesh.
Glad its all sorted, we will drop the front a bit more soon and test the look, i dont want to go too far down, need to account for some damping drop. but we'll get there.
As always, the goal here is a Factory like feel.
Currently the way we've setup the suspension, even with coilovers set to a medium-hard damping setting, the car drives and feels like stock suspension, but without the body roll and squatting on acceleration. i can say im very happy with how this car has come about.
Kudos bud.
always a good car to work on, but not just that, the fact that everything is meticulously accounted or, and handled, thats where the biggest differences are.
Similar threads
- Replies
- 14
- Views
- 4K
- Replies
- 2
- Views
- 452
- Replies
- 20
- Views
- 2K
