RENNZPORT Glassbox Studio - JHB

FiRi@Rennzport

Well-known member
Official Advertiser
Good day Members..

Thought I'd share our Rennzport Glass build we embarked on in 2020 and completed in 2021.

With our footprint growing at healthy pace in the GP region, we found it an opportune time to do something I for one always wanted and had ideas of.

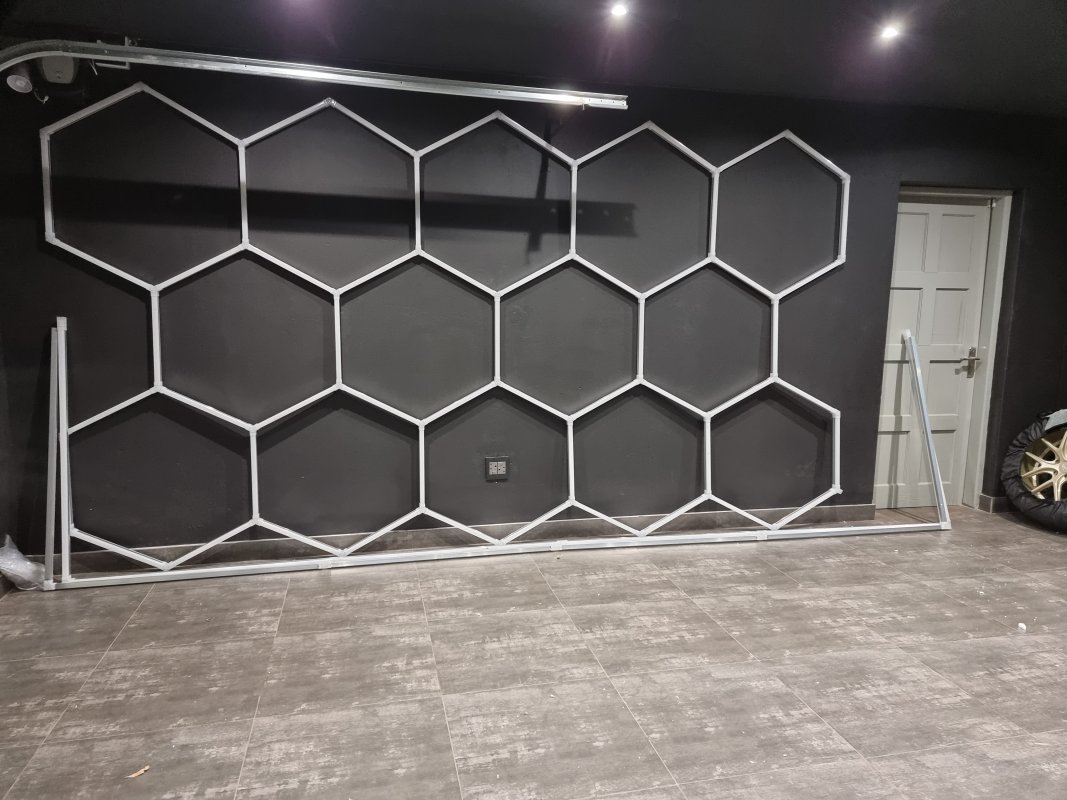
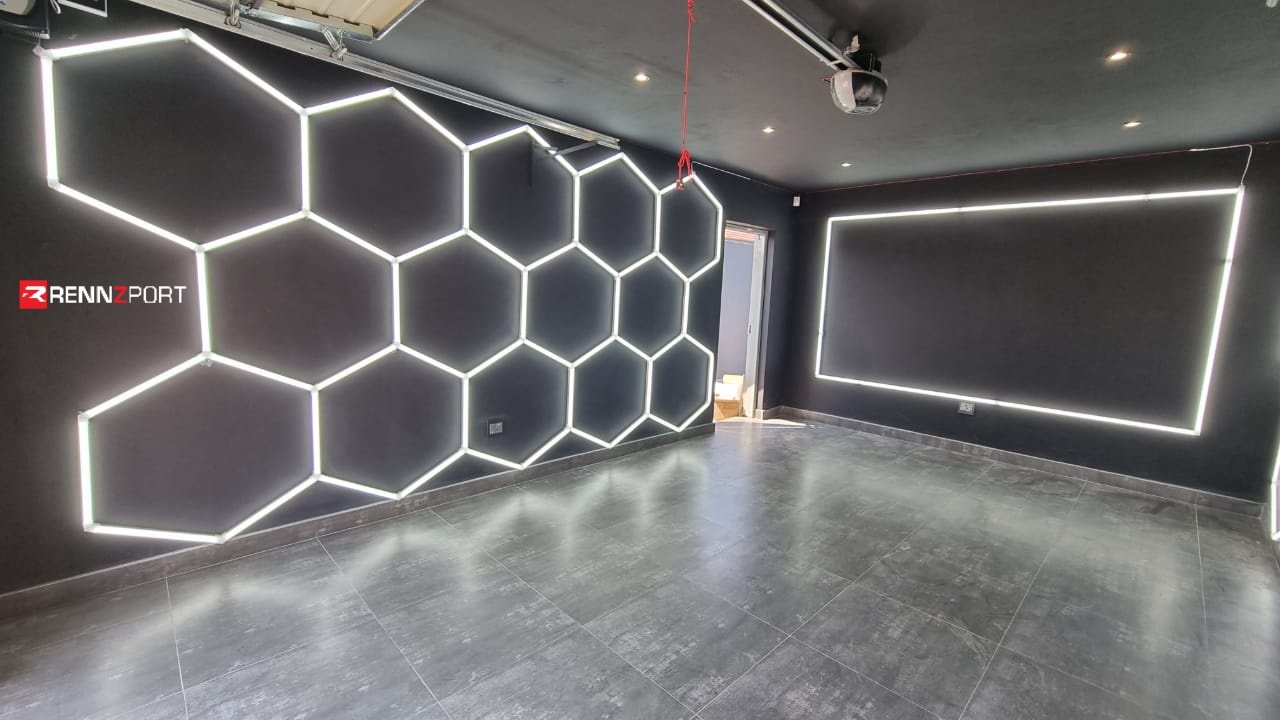
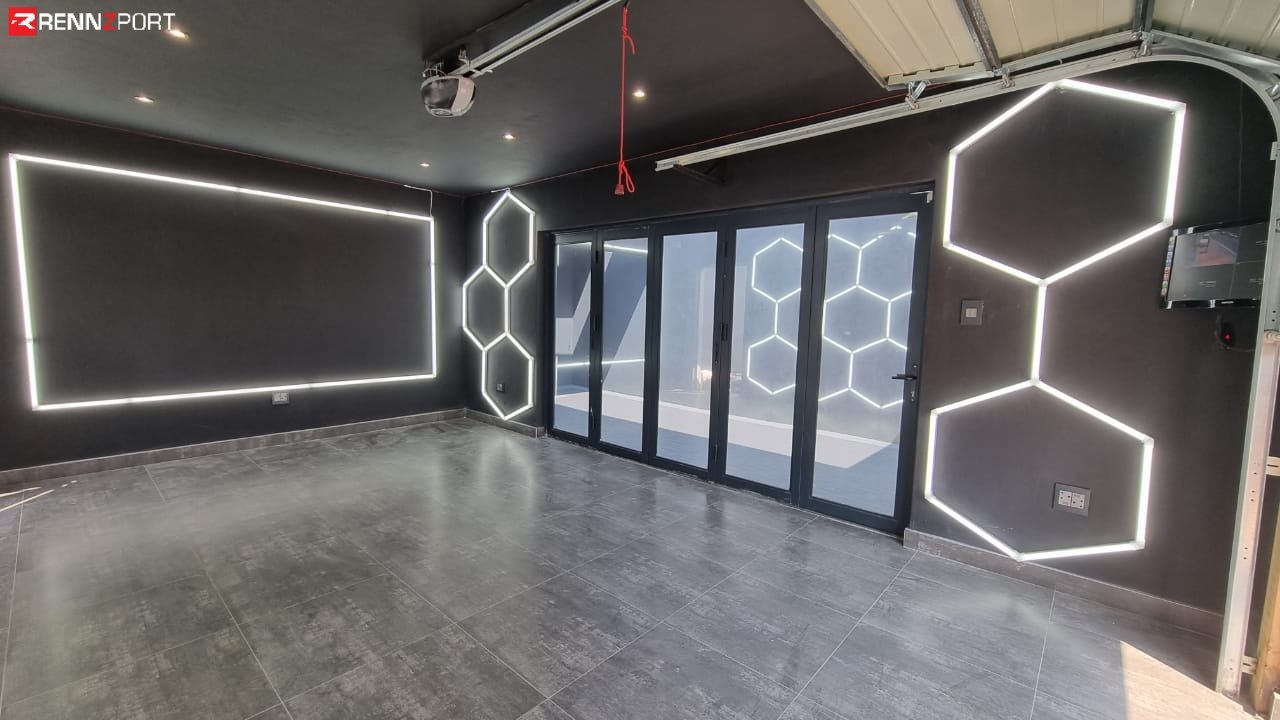
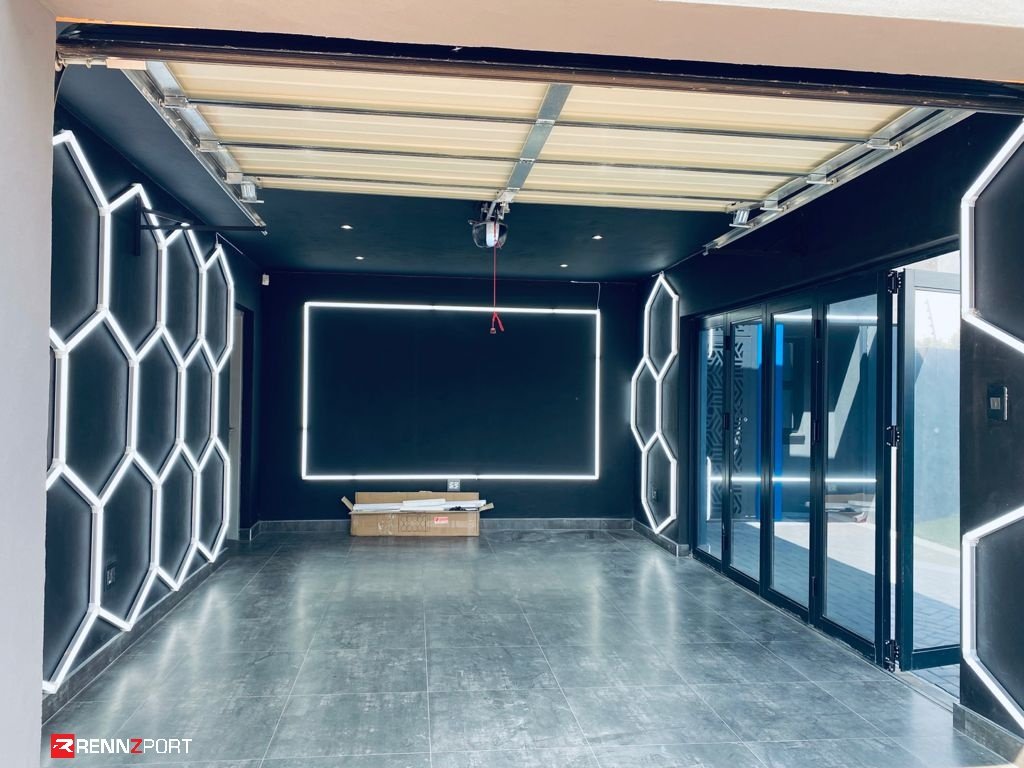
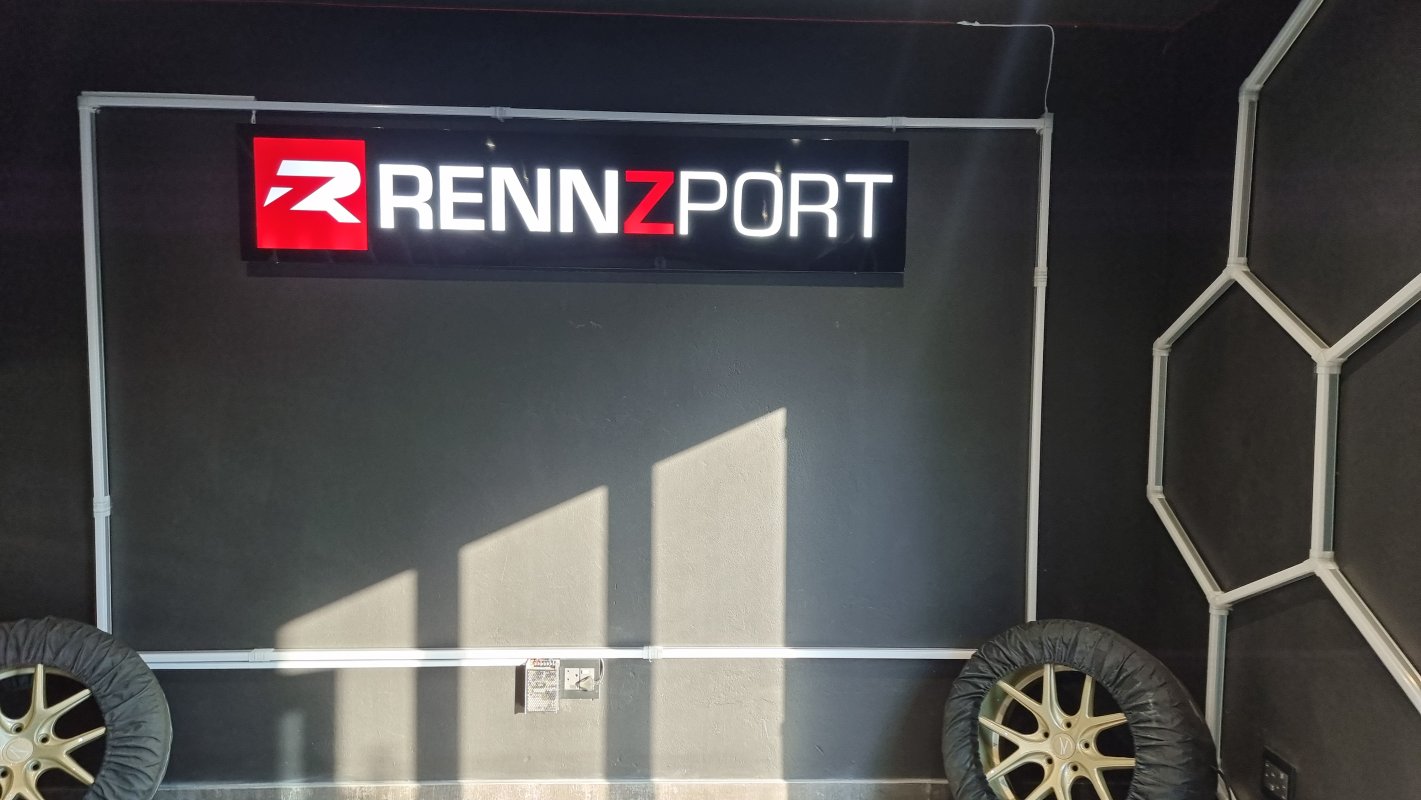
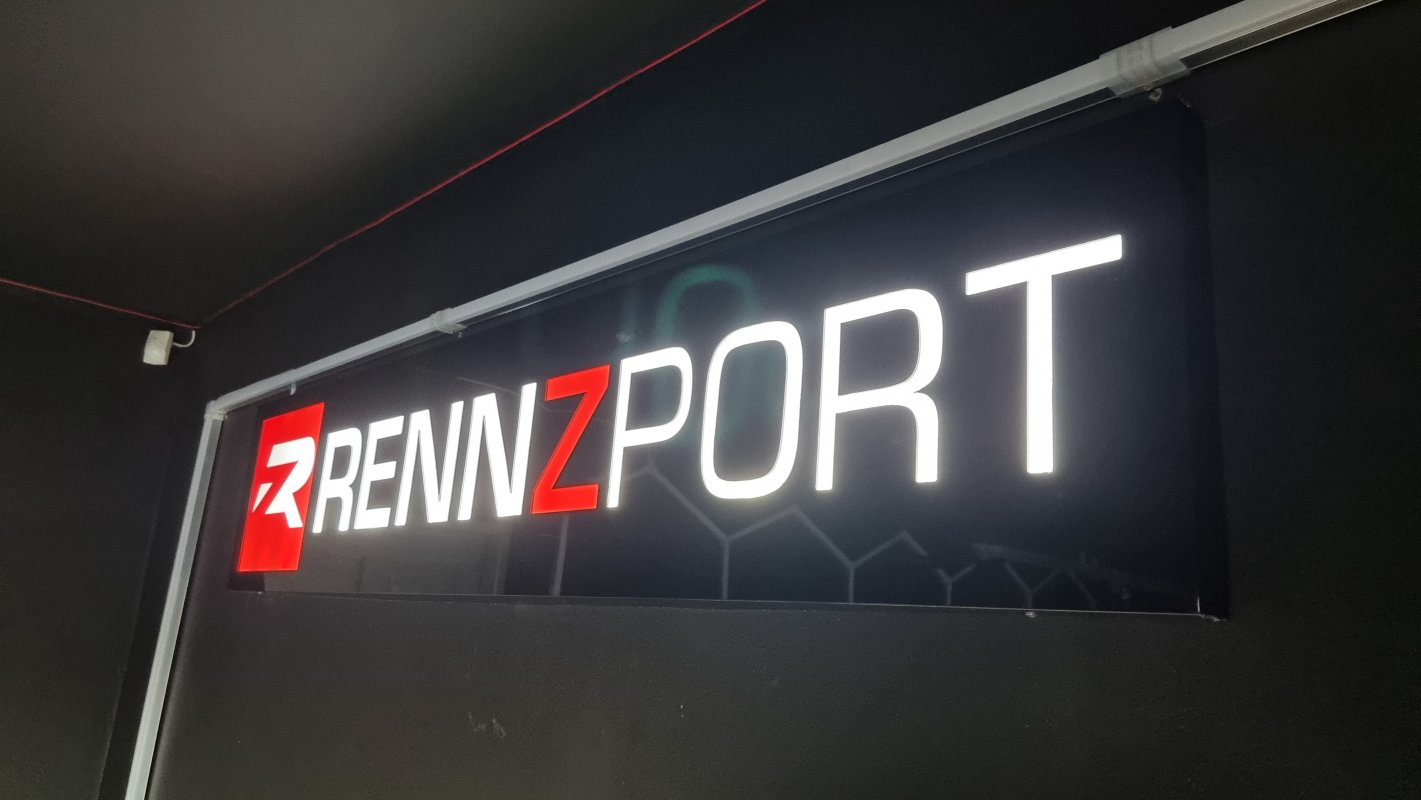
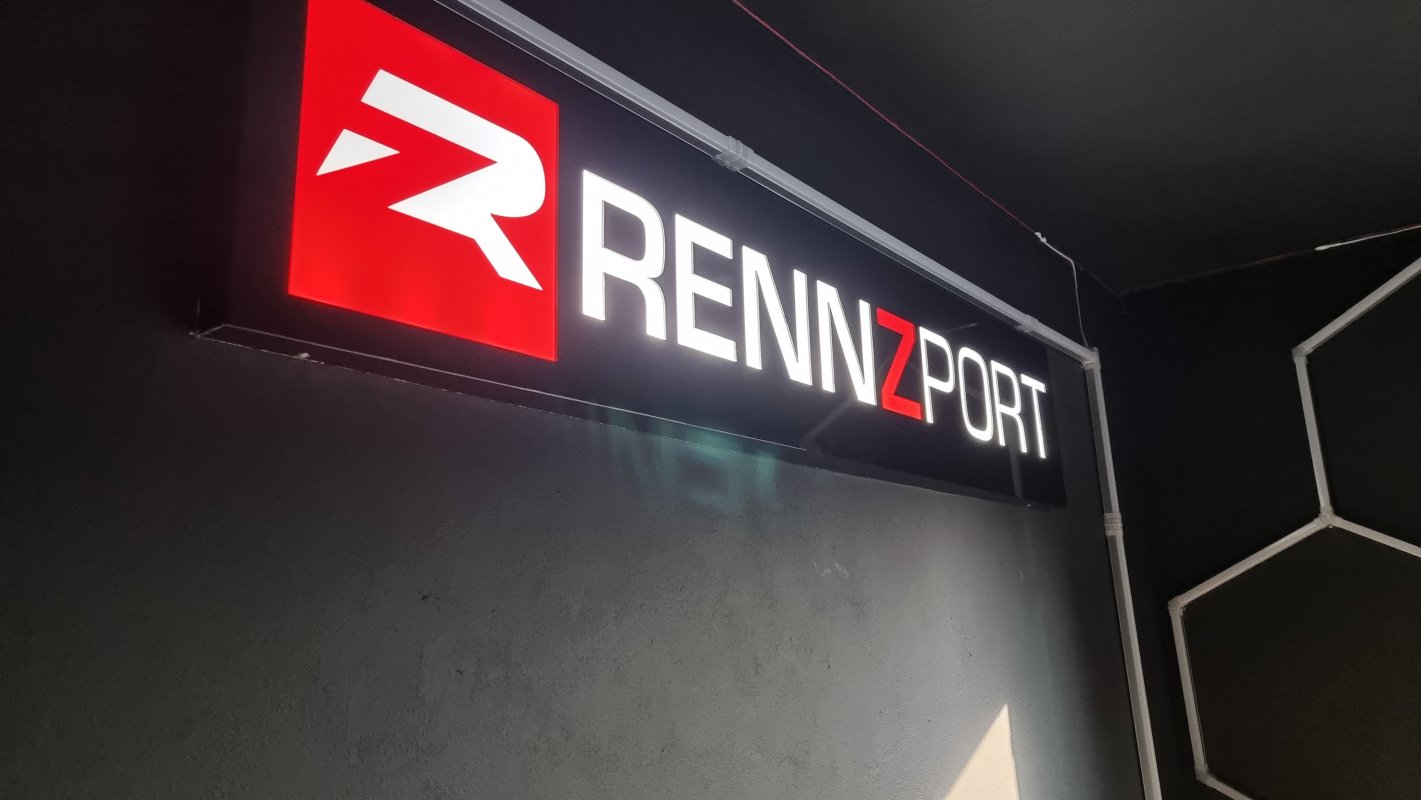
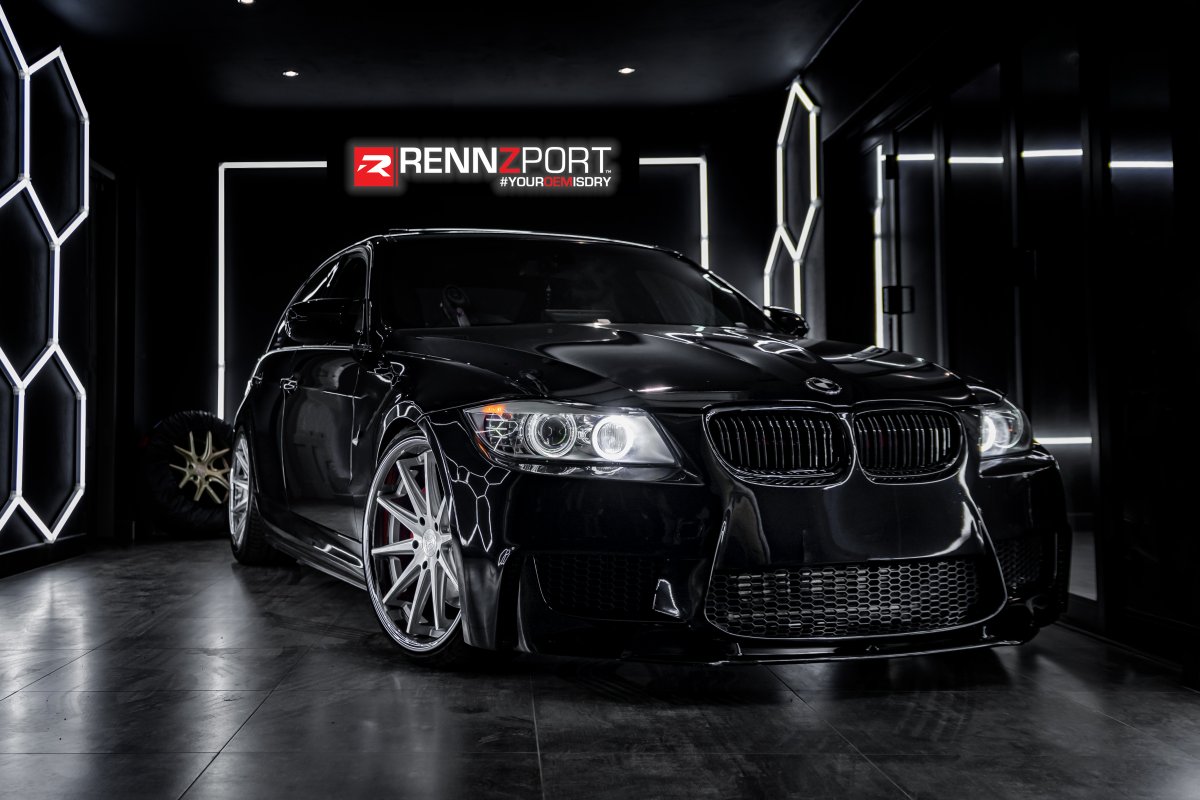
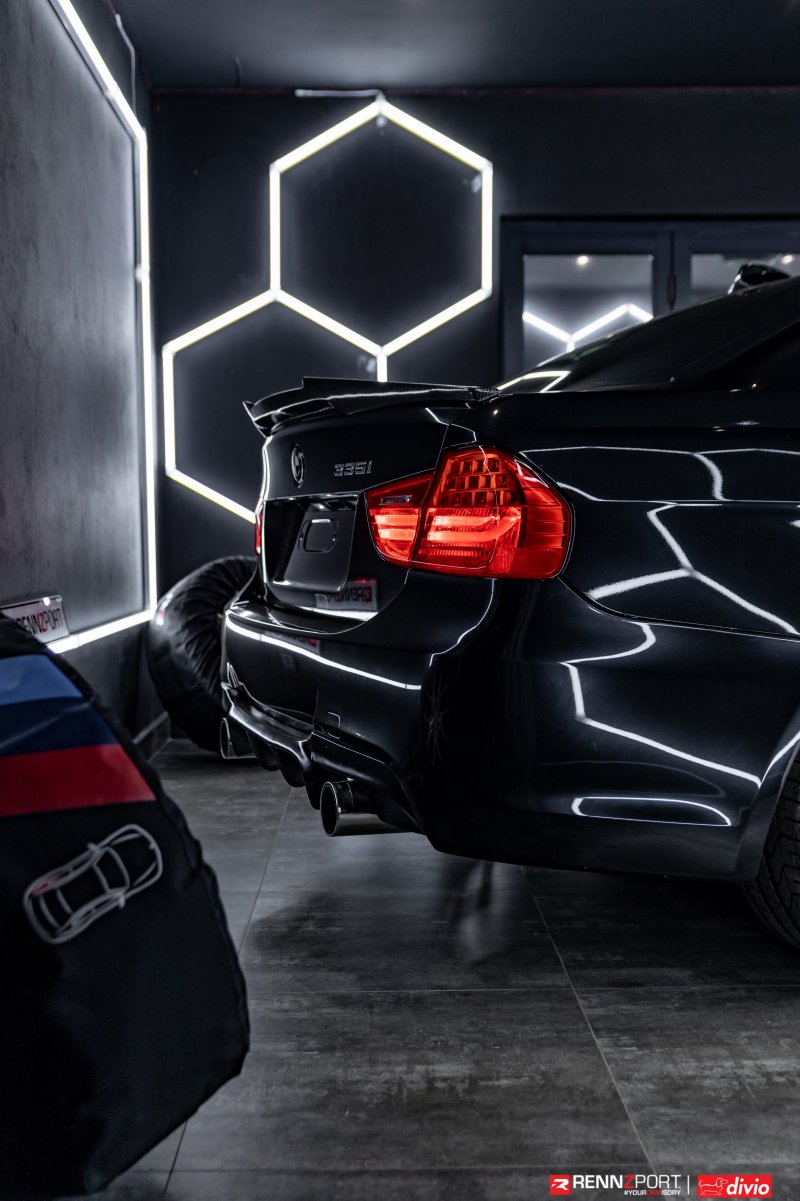
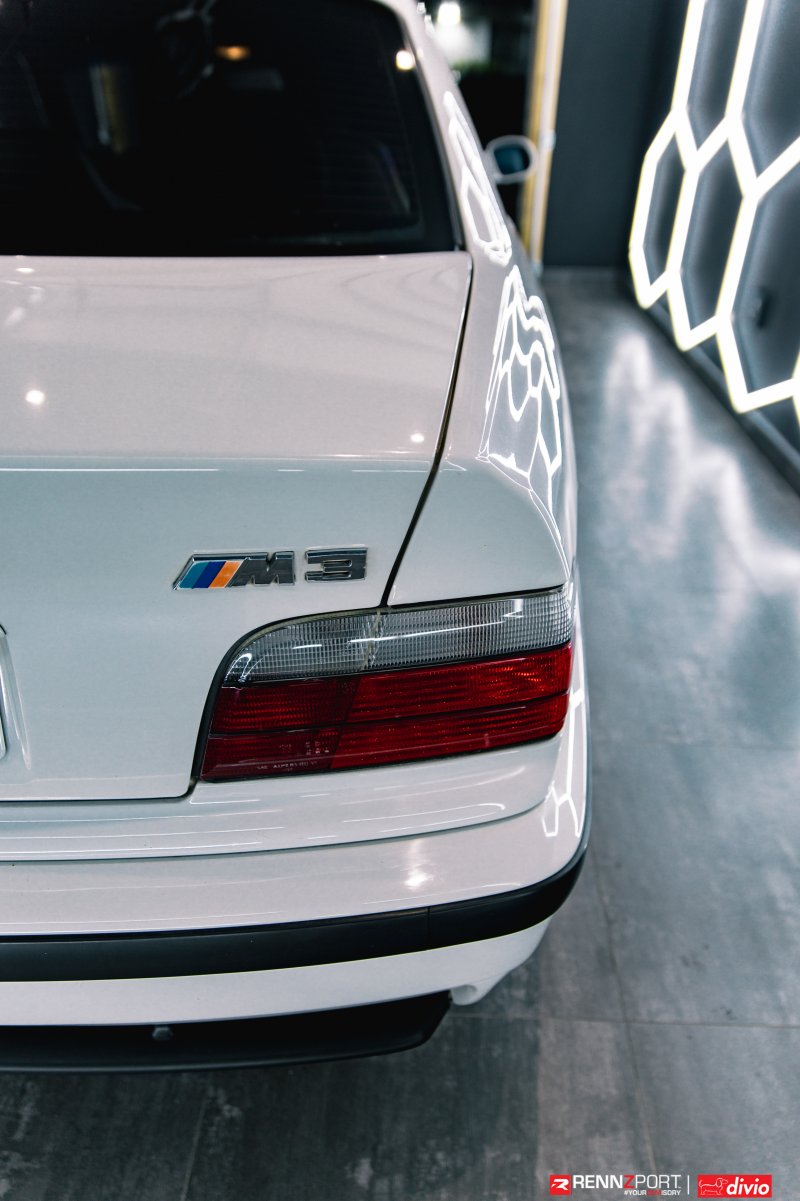
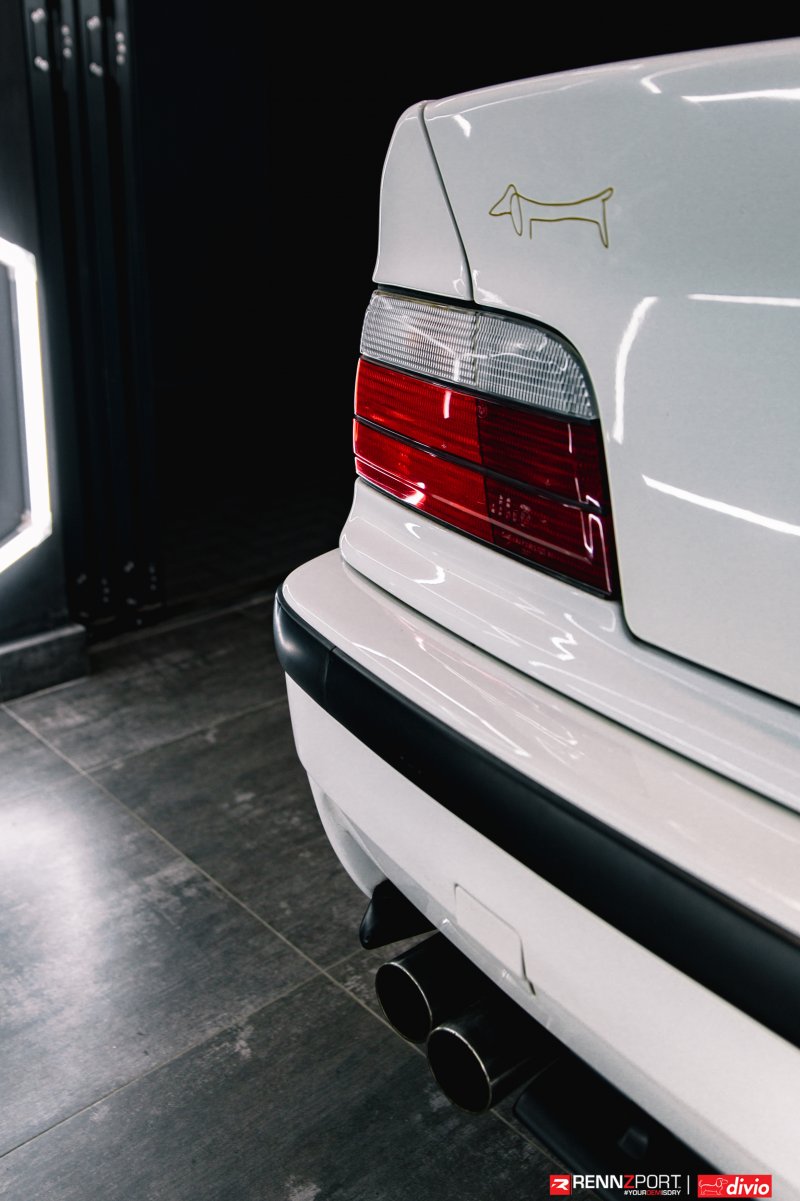
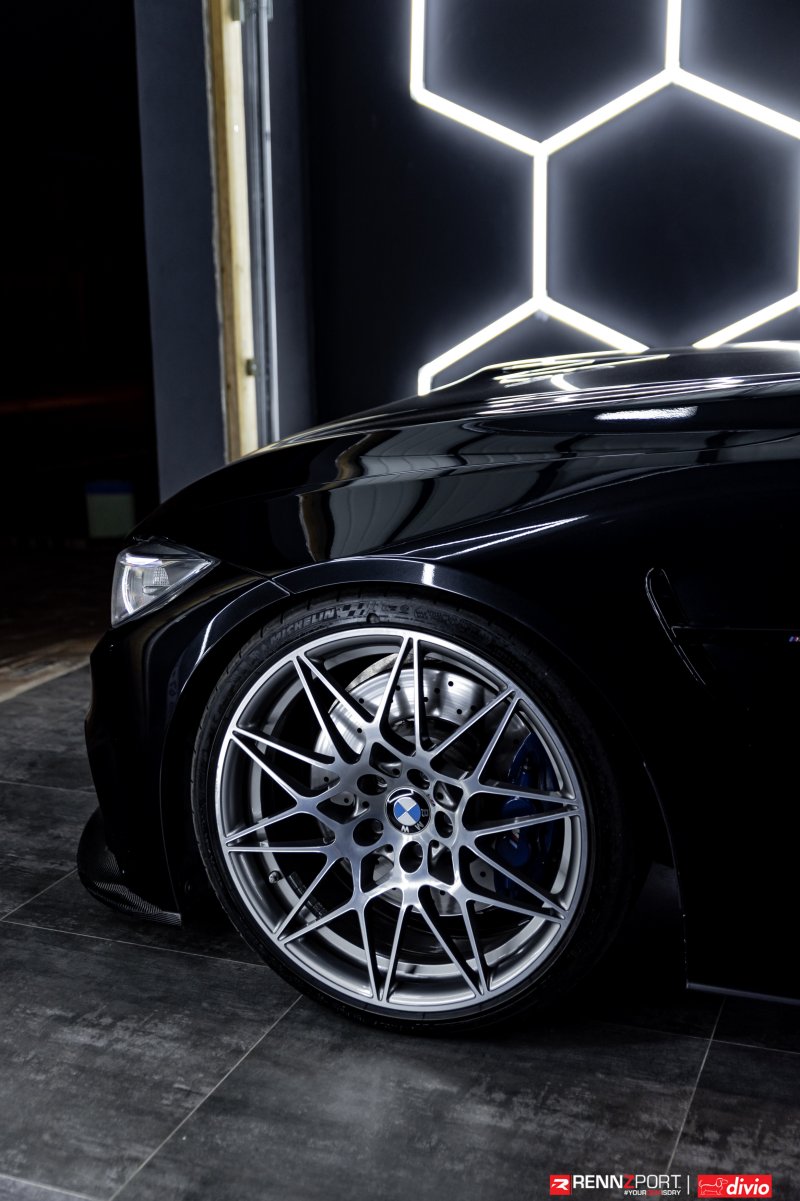
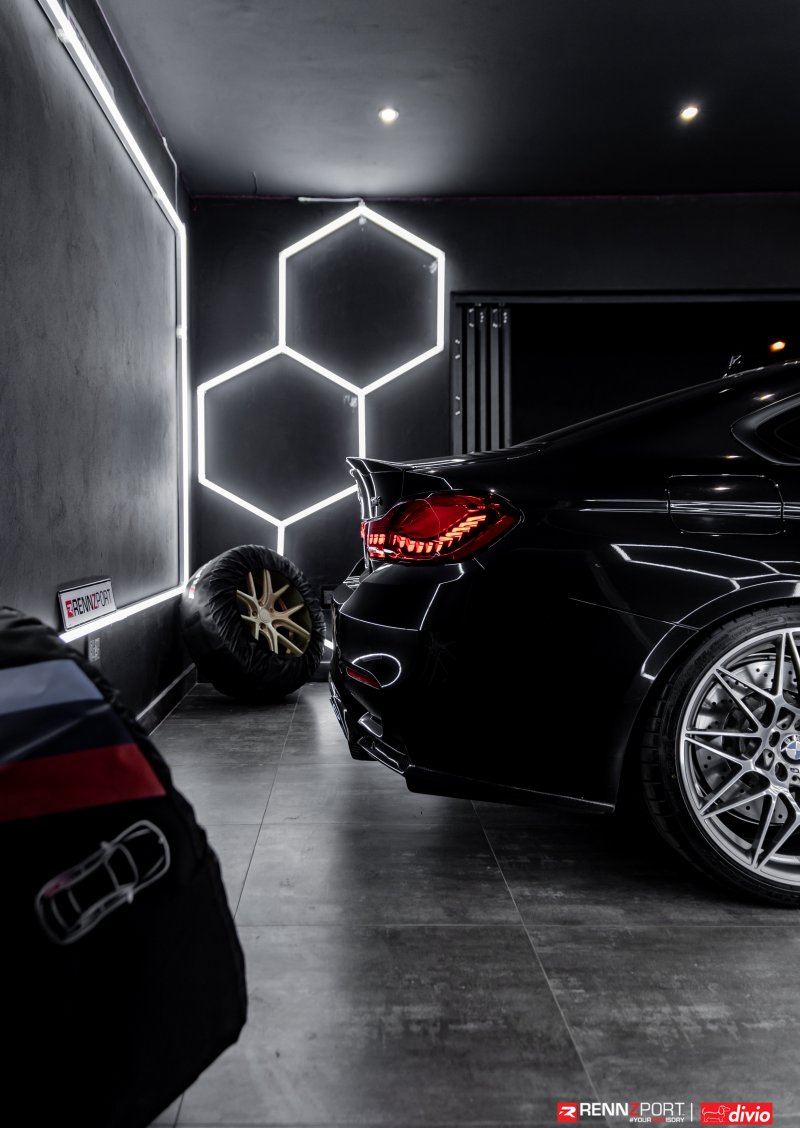
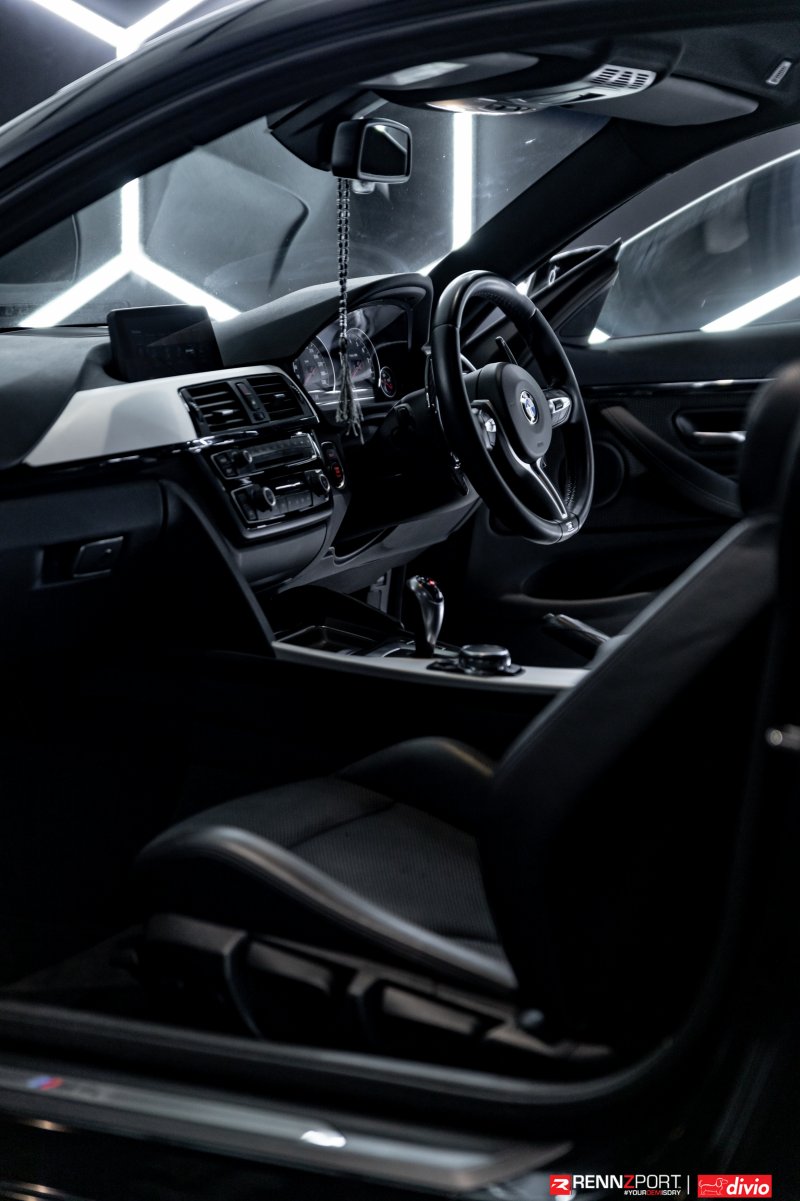
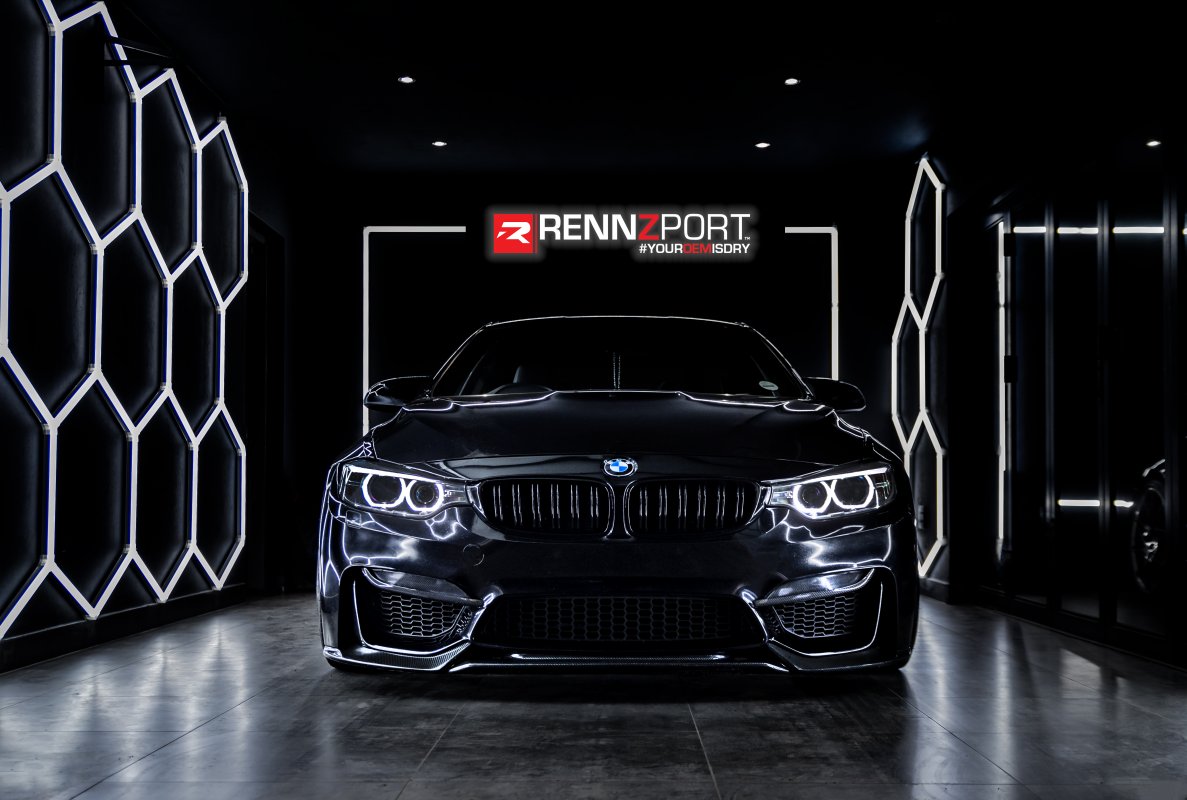
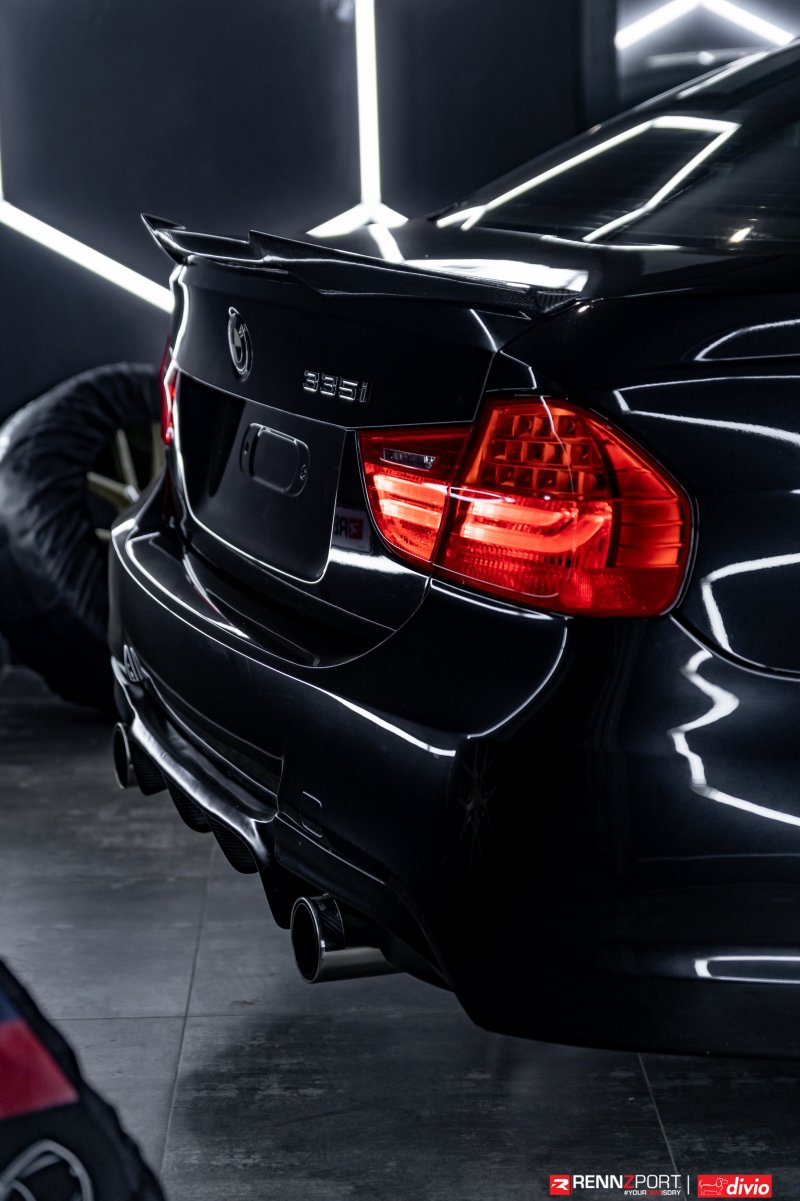
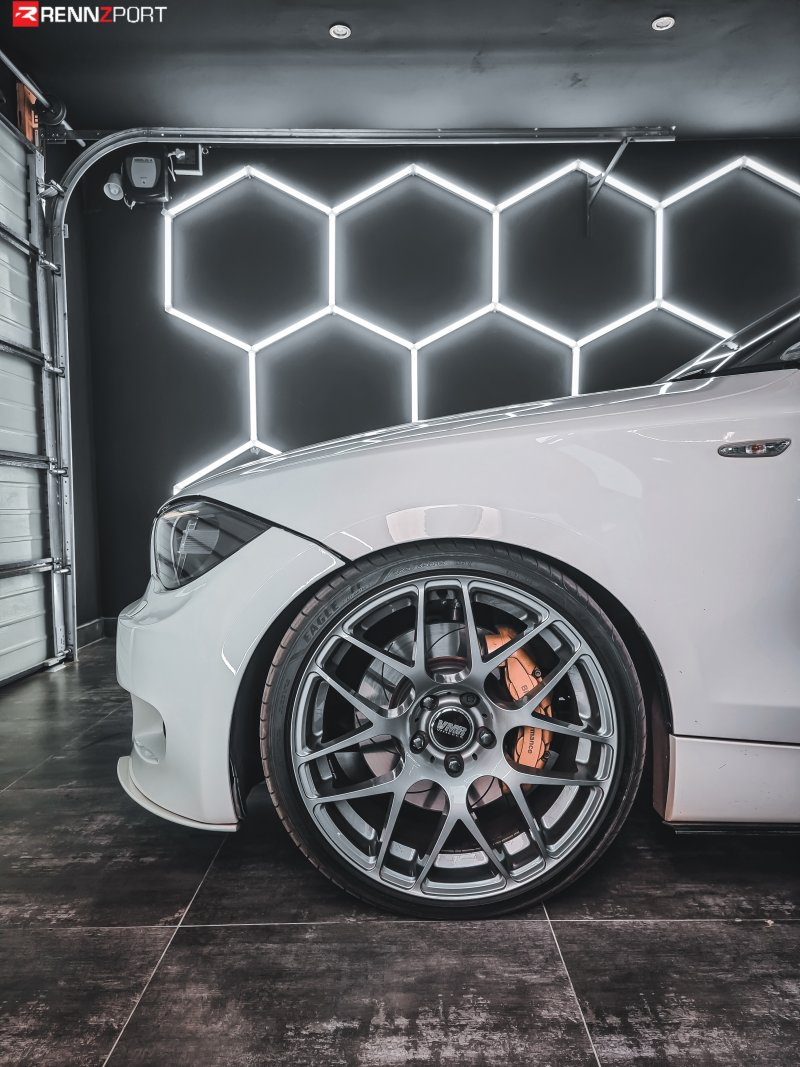
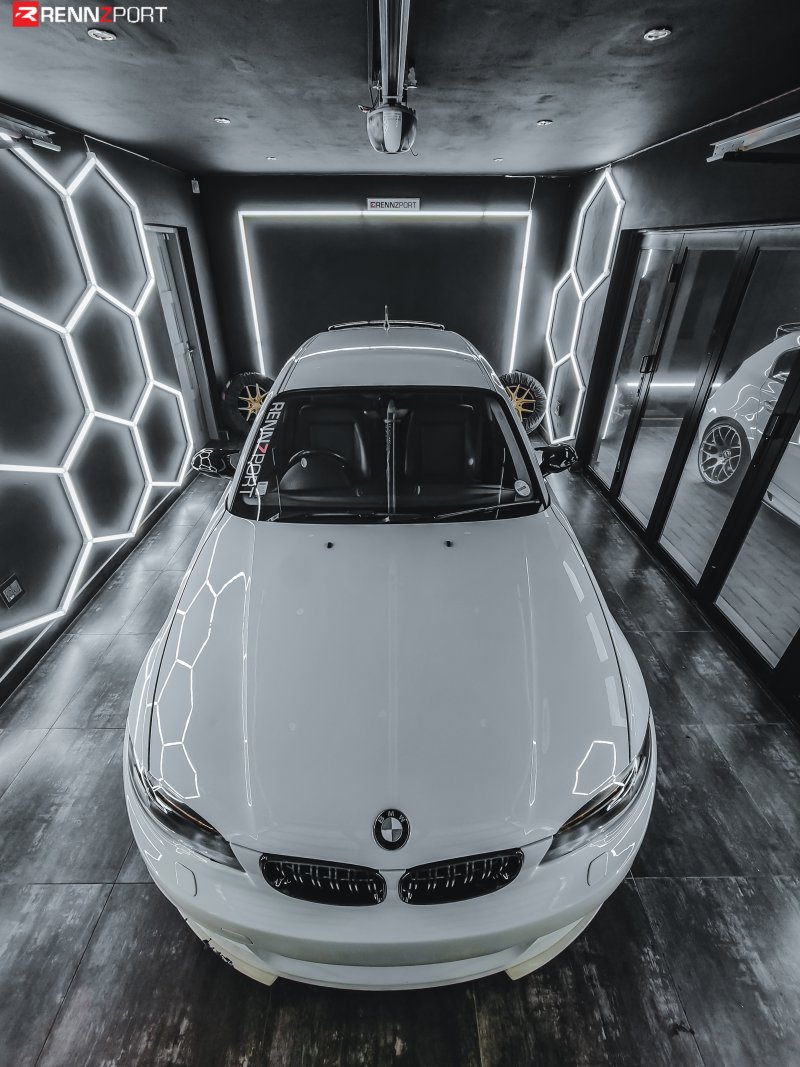
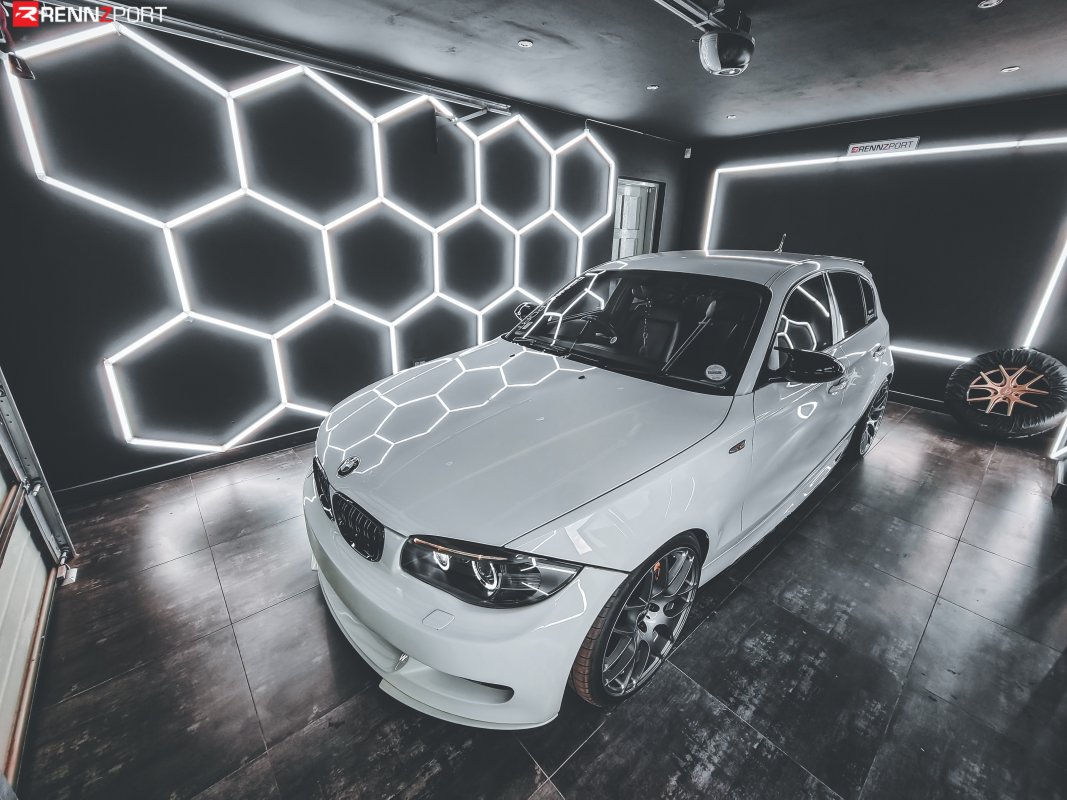
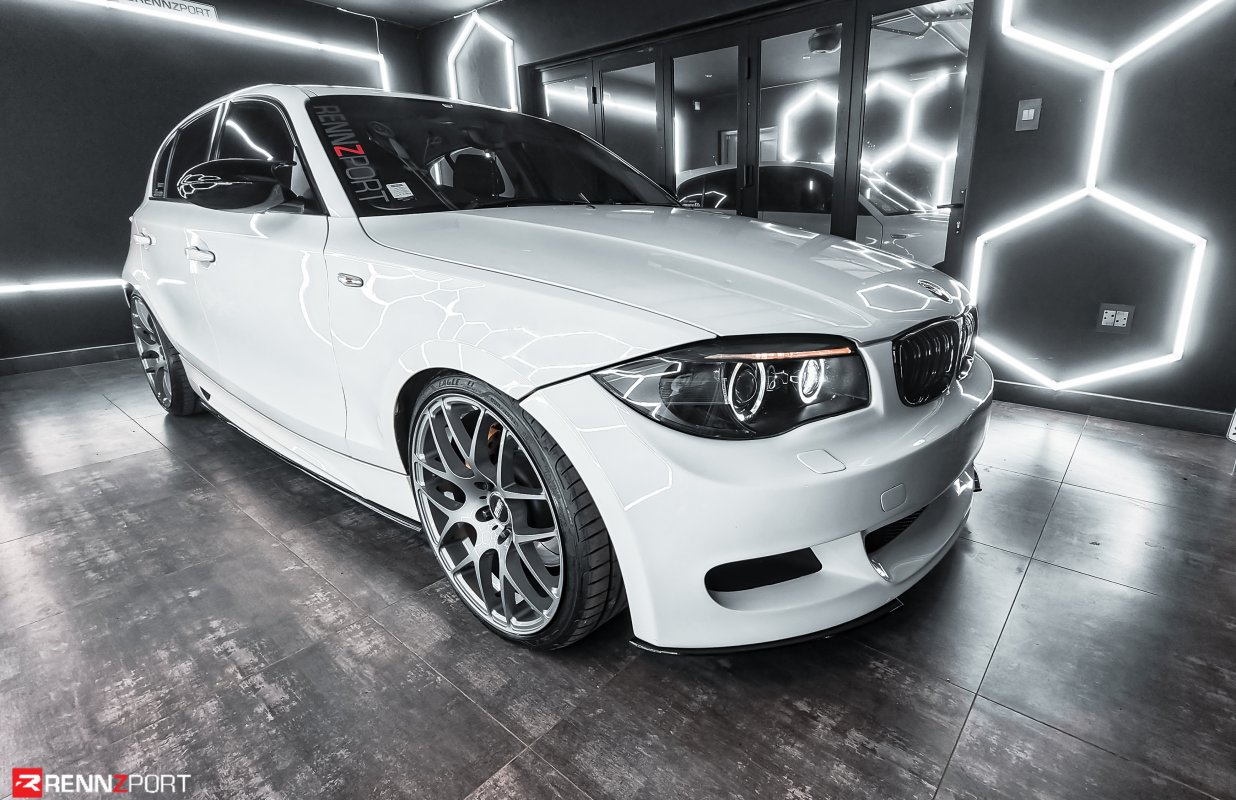
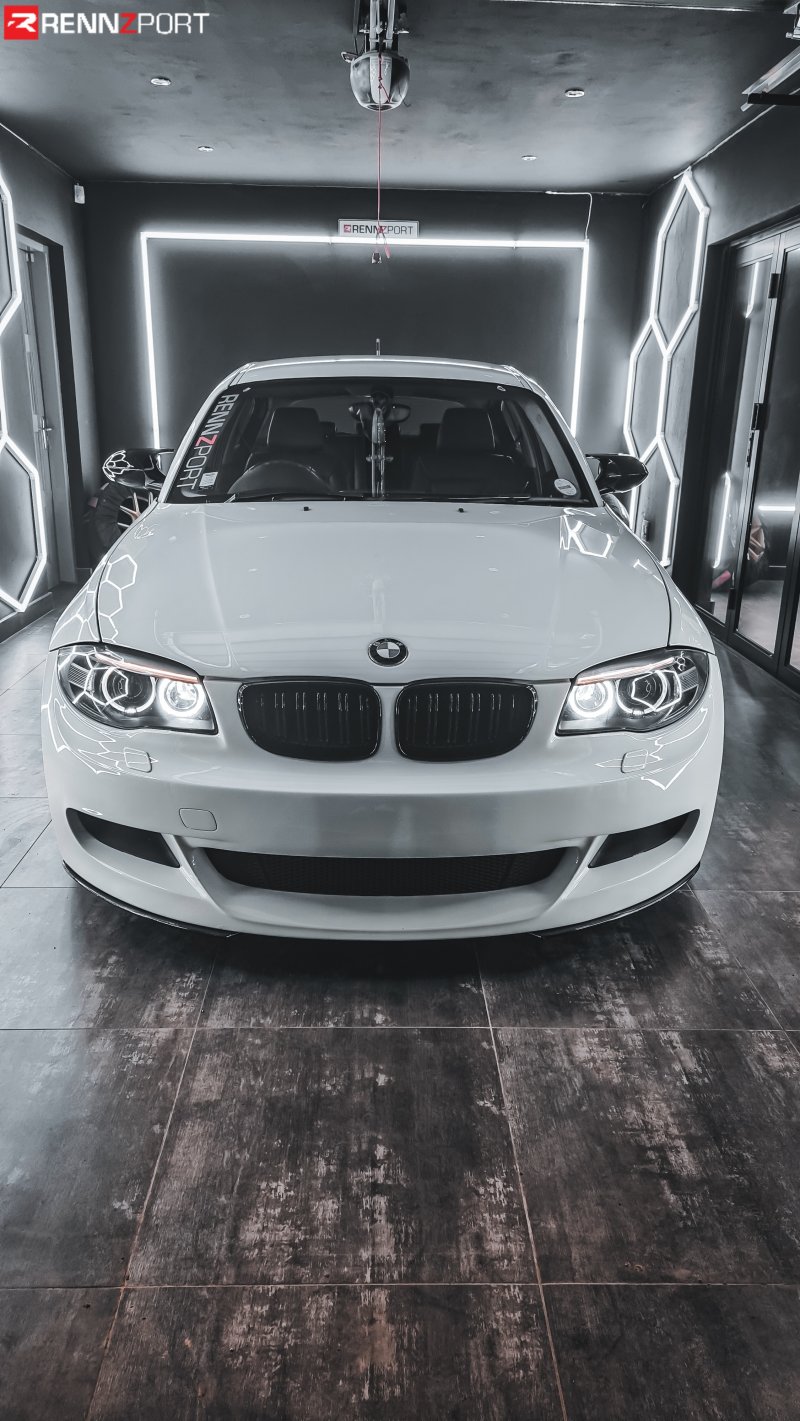
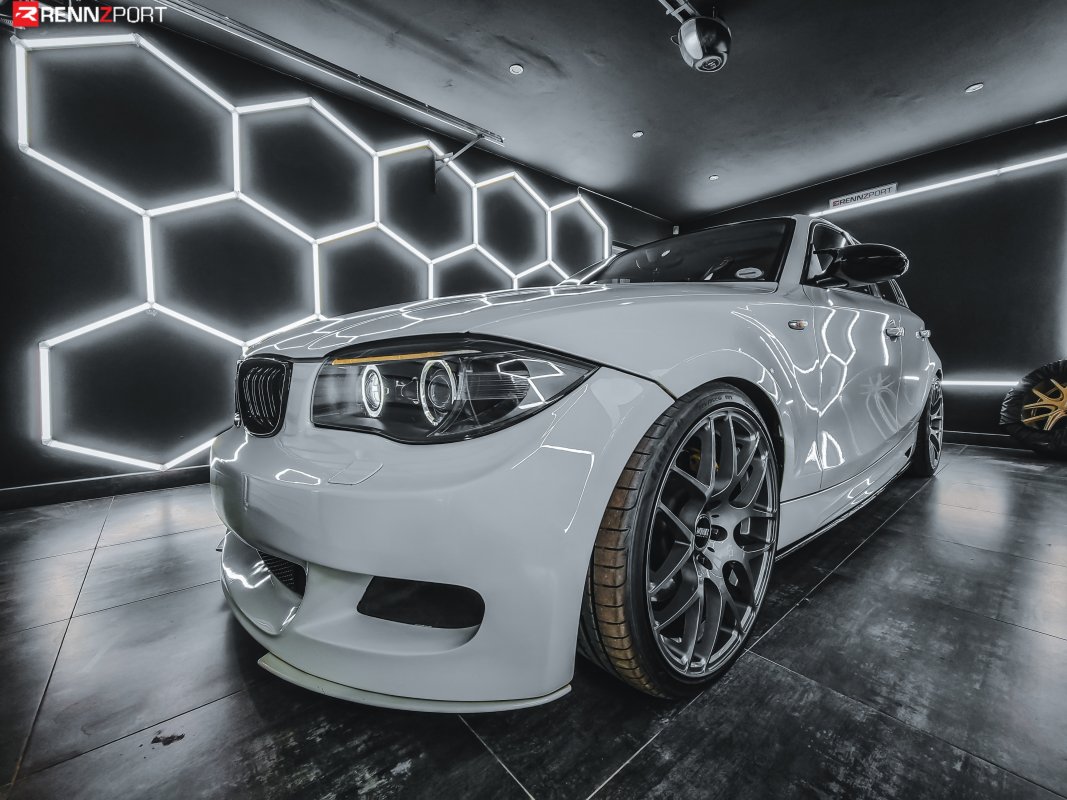
The aim was to have a decent working space, with ample lighting lighting and room to both work in as well double as a studio/photo booth. We wanted it to be something our clients will appreciate, but also that we can take pride in when working on your pride and joy. Needless to say, it had to be unique and very different to what people normally come across.

Due to building restrictions we couldn't go as big as a double garage, so we settled on something bigger then just a single garage.

I'll post up some pics below and you can check how we ended up where are today.

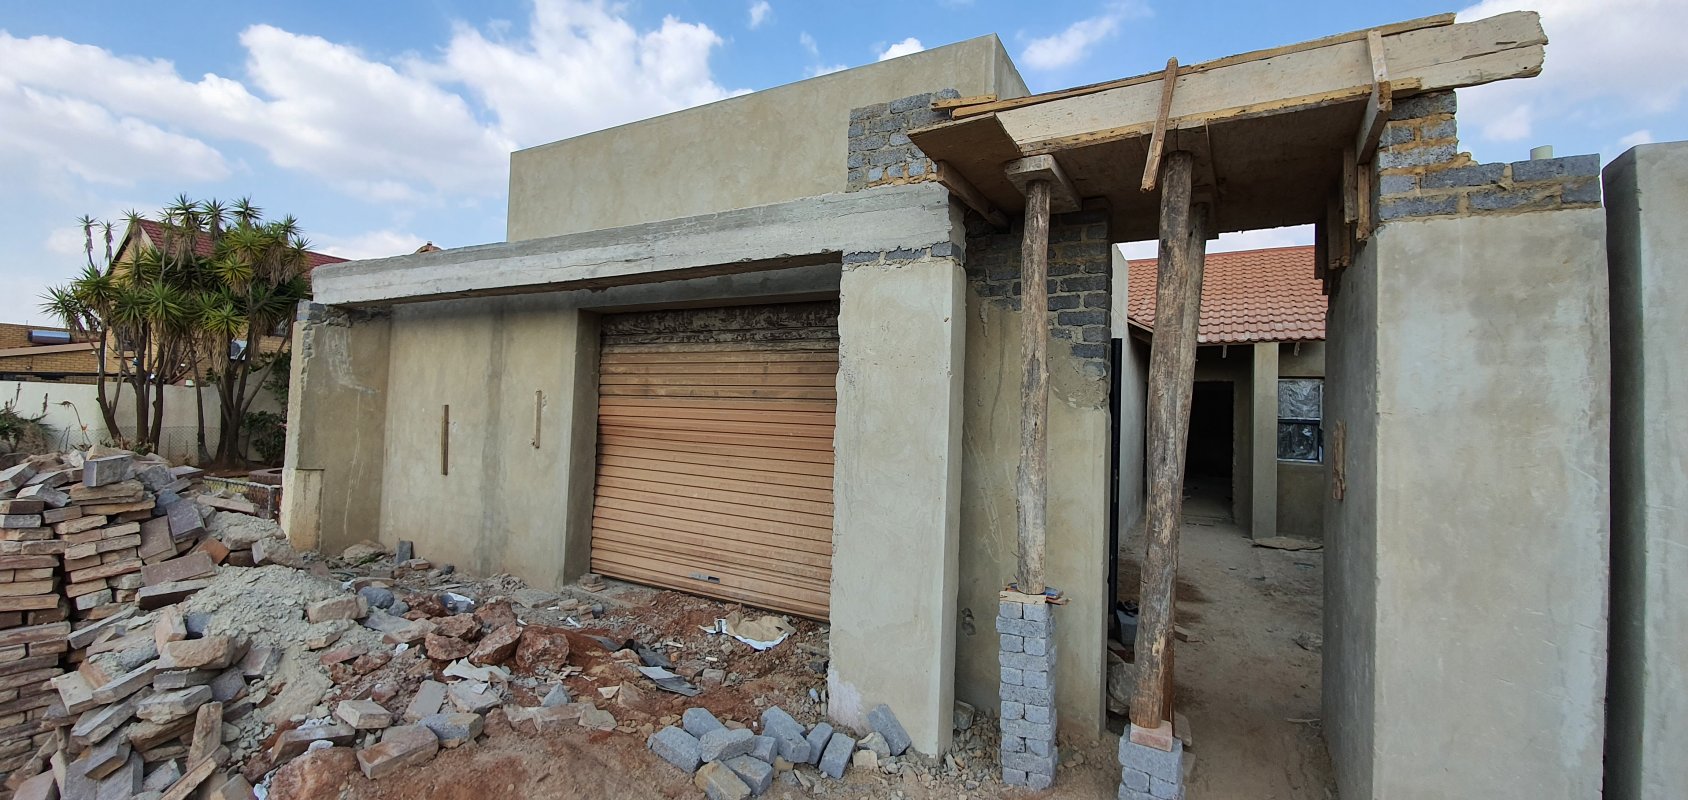
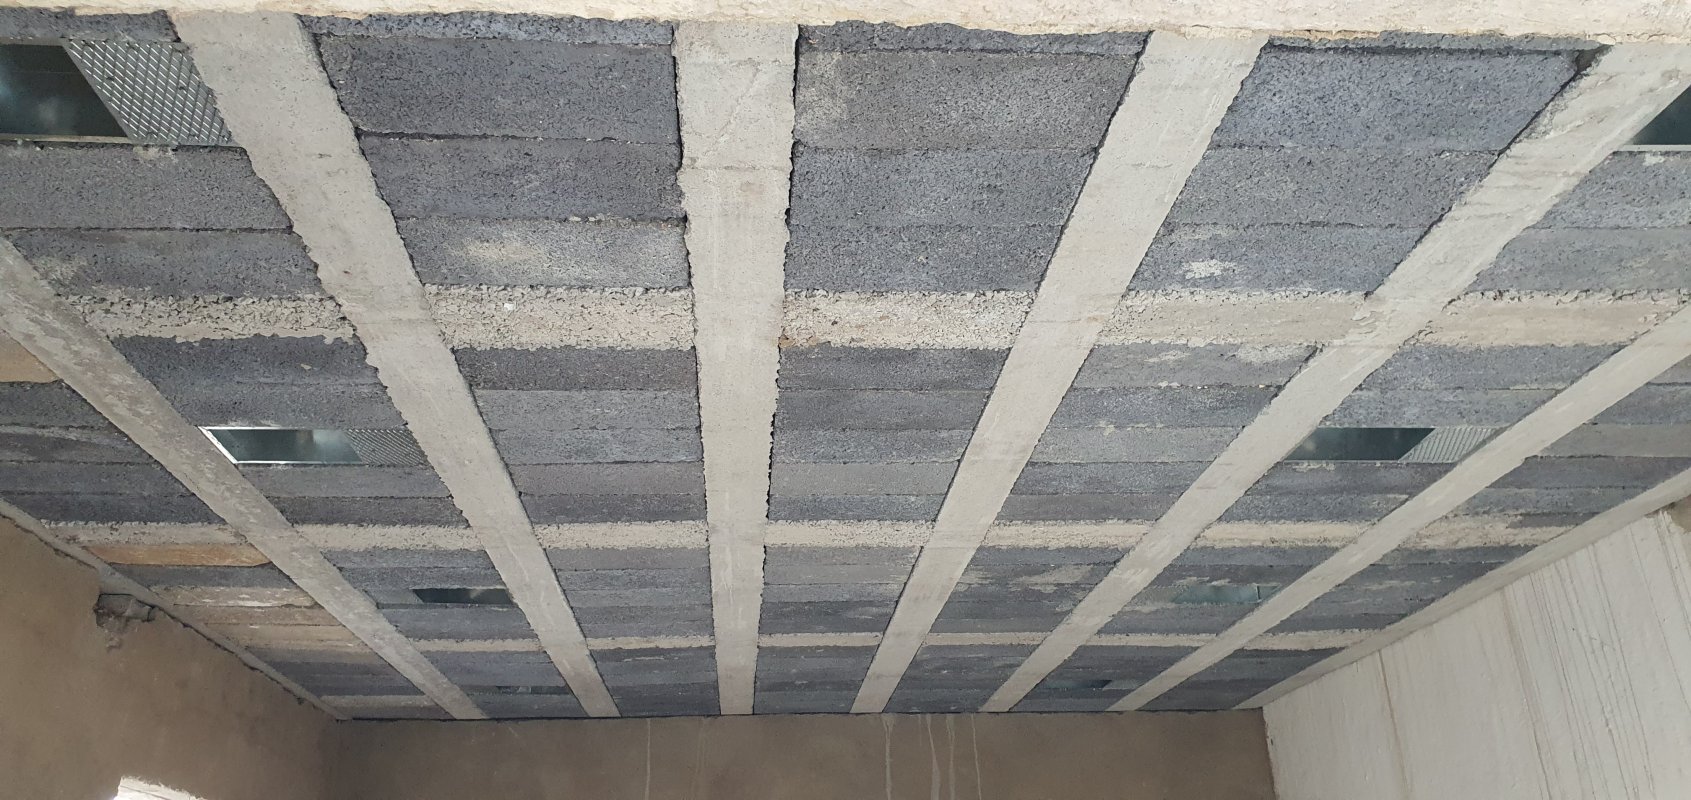
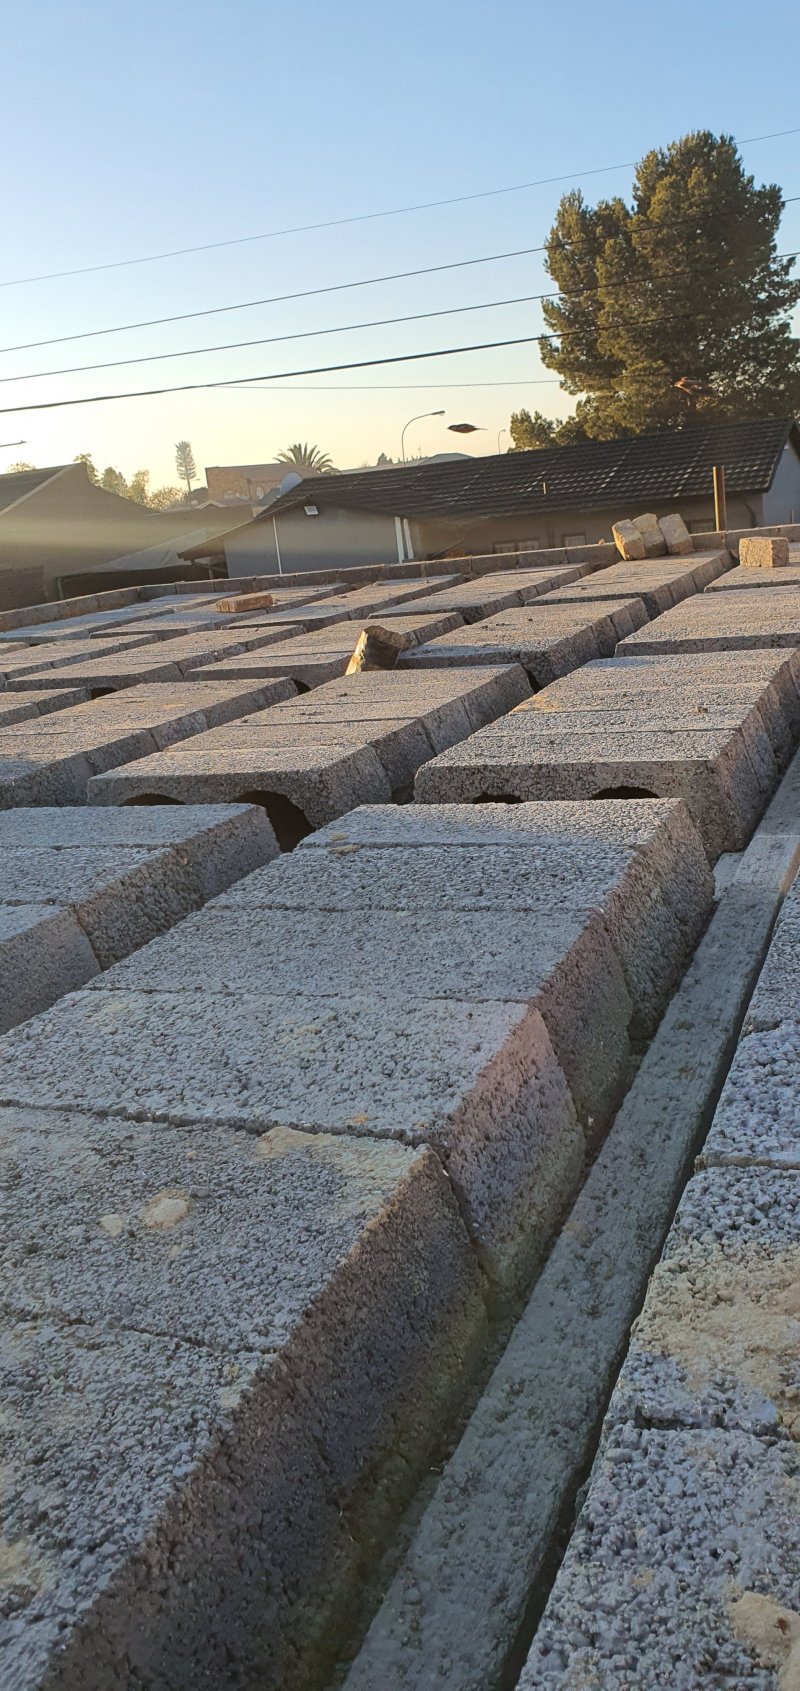
1st up was to get building plans etc had to get approved by council with the aid of a architect and engineer as we opted to go with a slab roof.

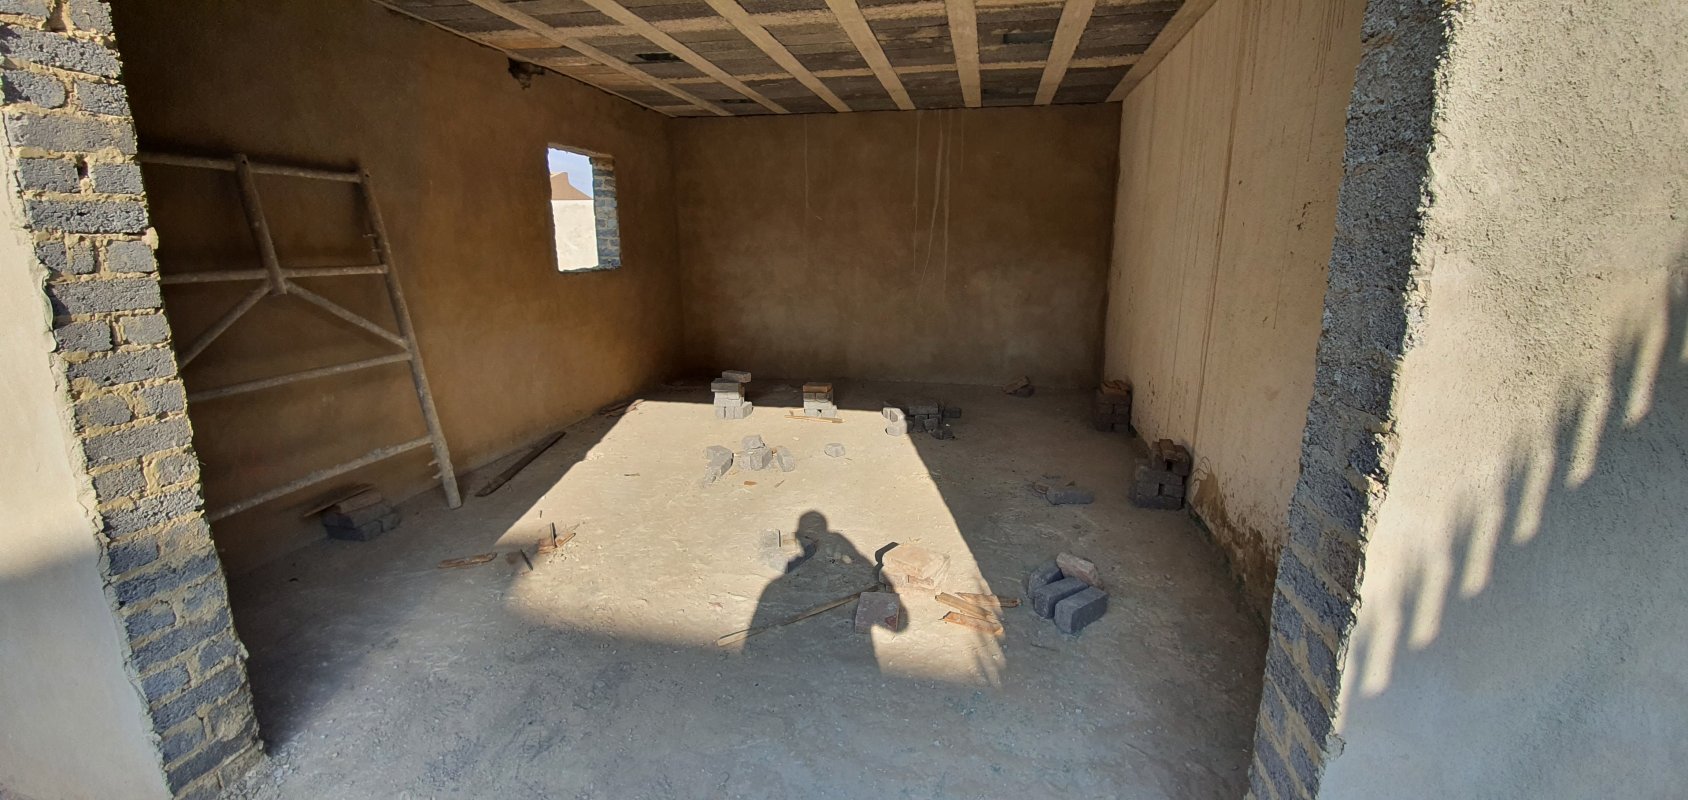
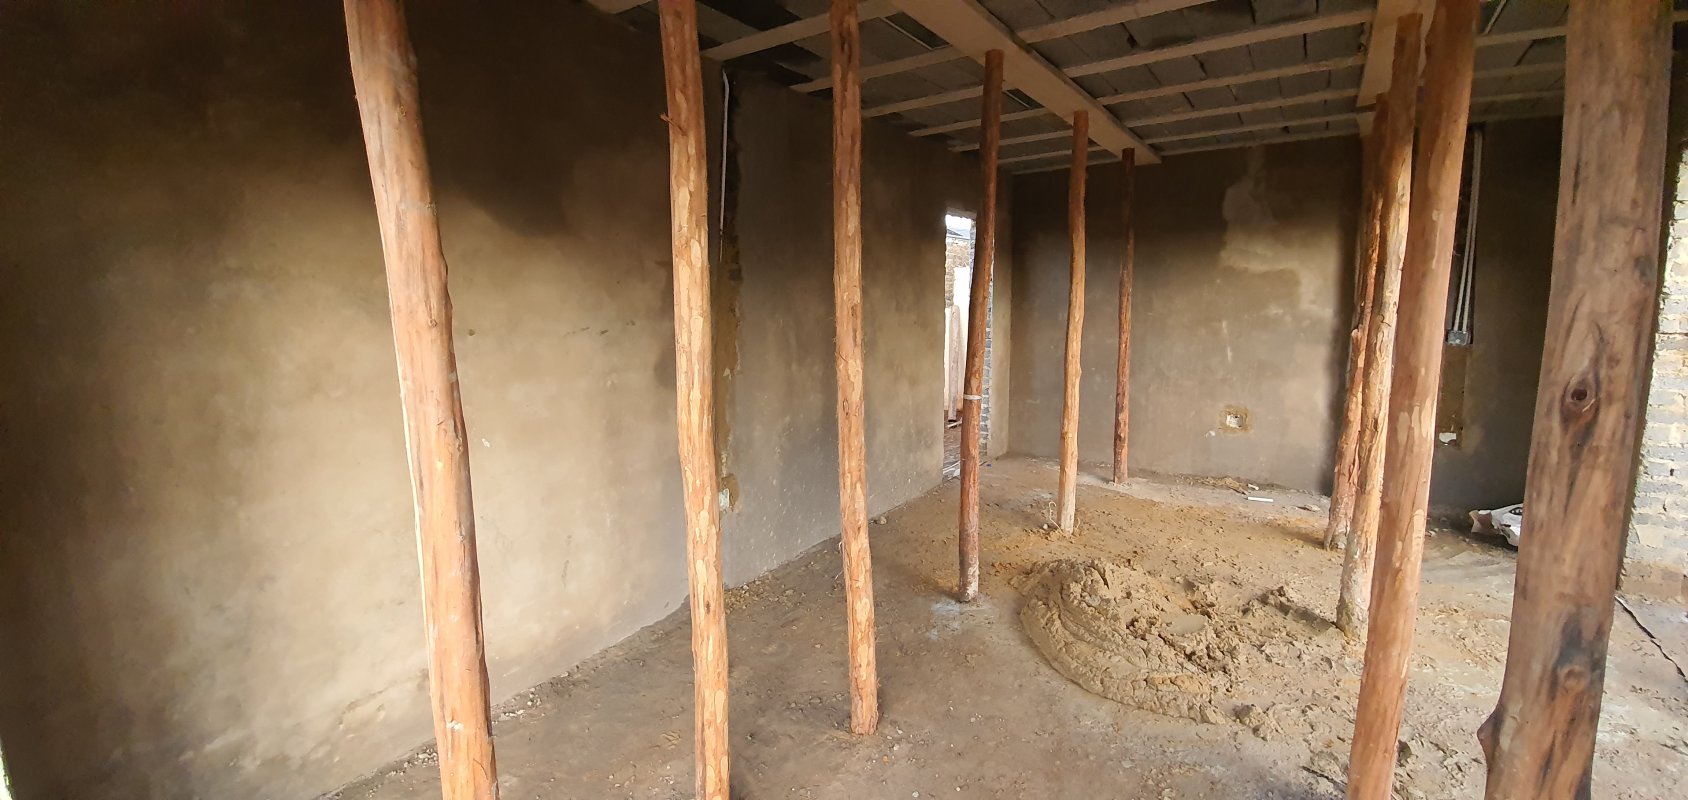
Next up was obviously the normal building process or foundation, walls, beams etc which was handled by the contractor.

20200213_181121.jpg20200214_180302.jpg20200214_180418.jpg20200216_144639.jpg


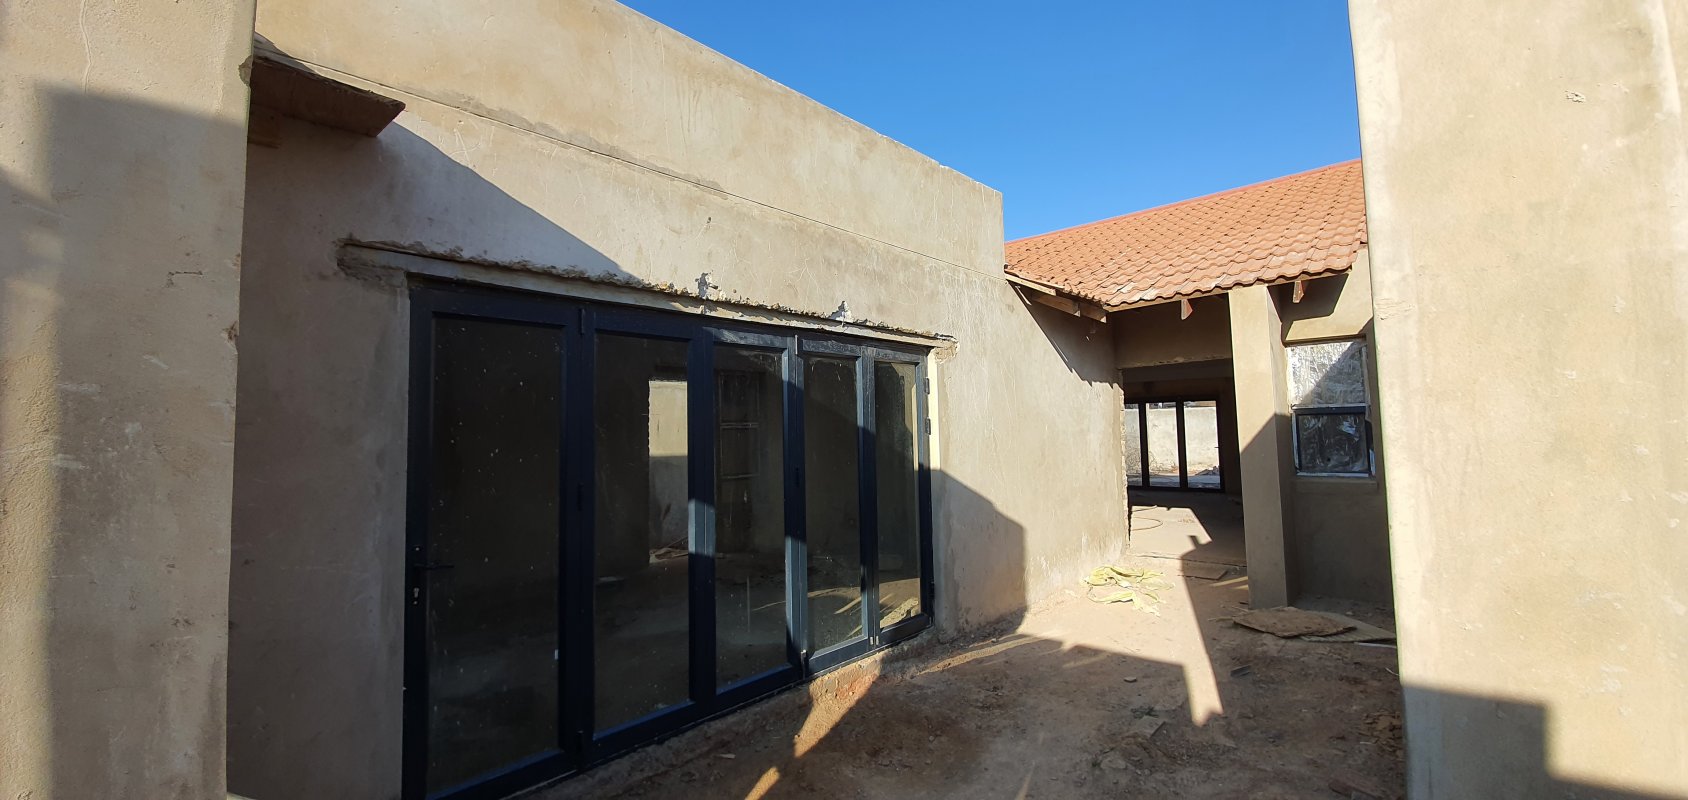
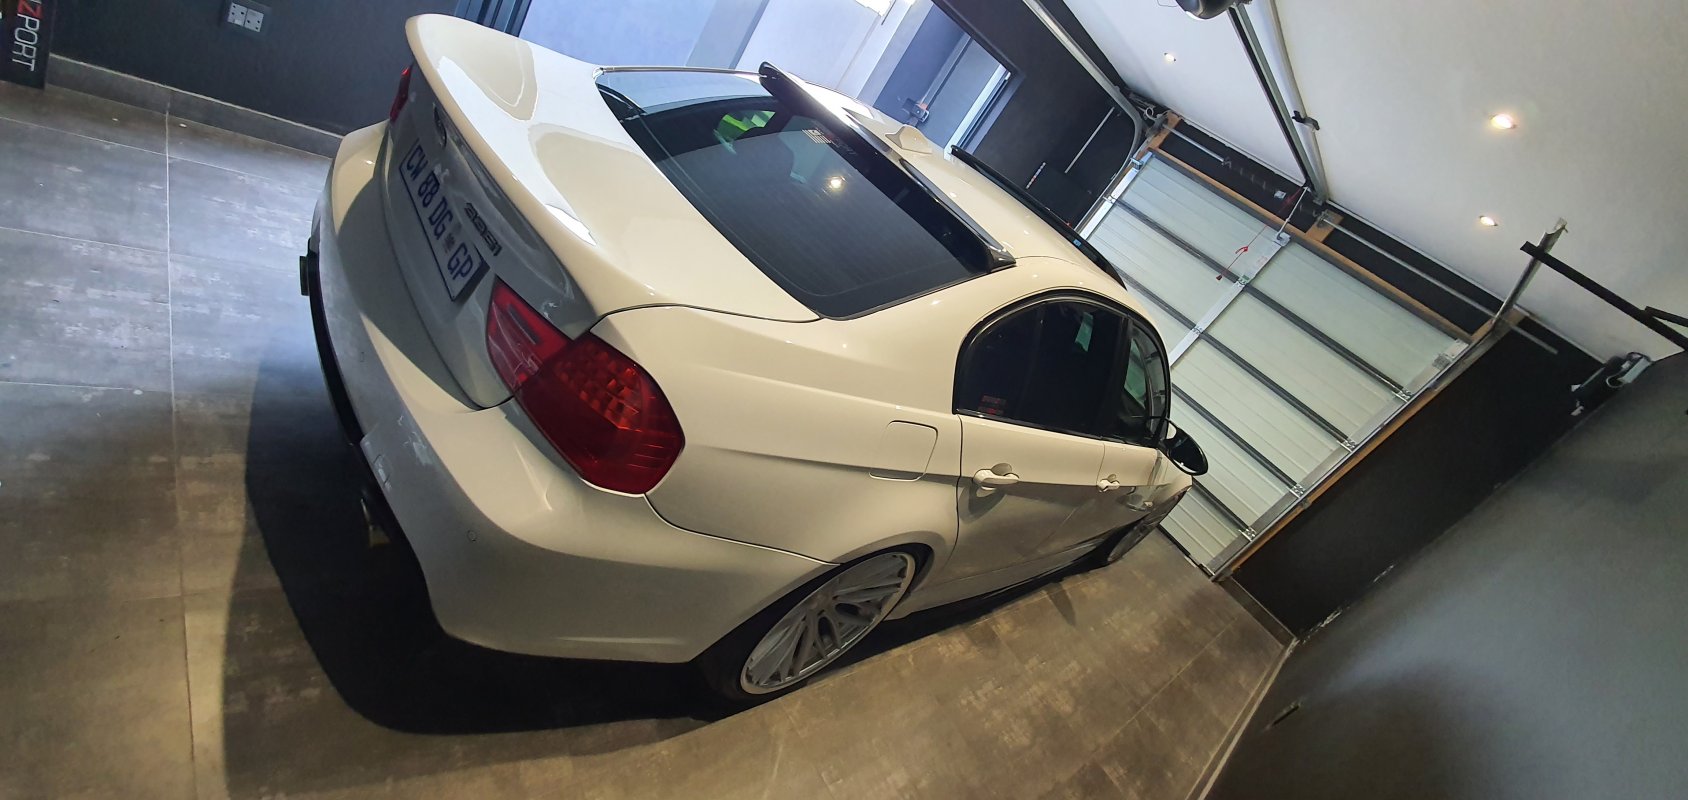
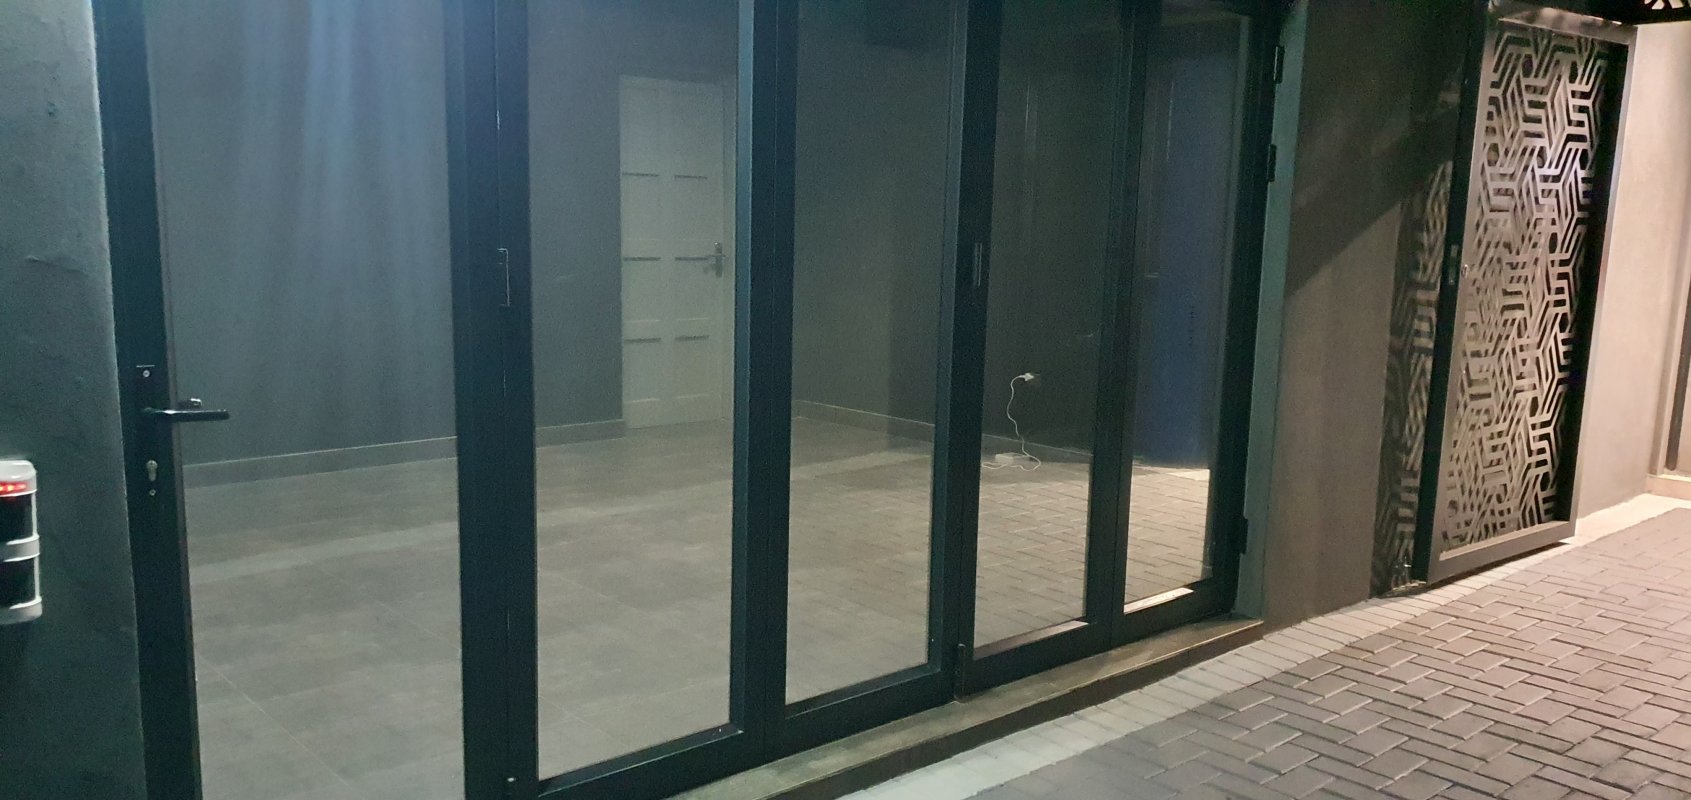
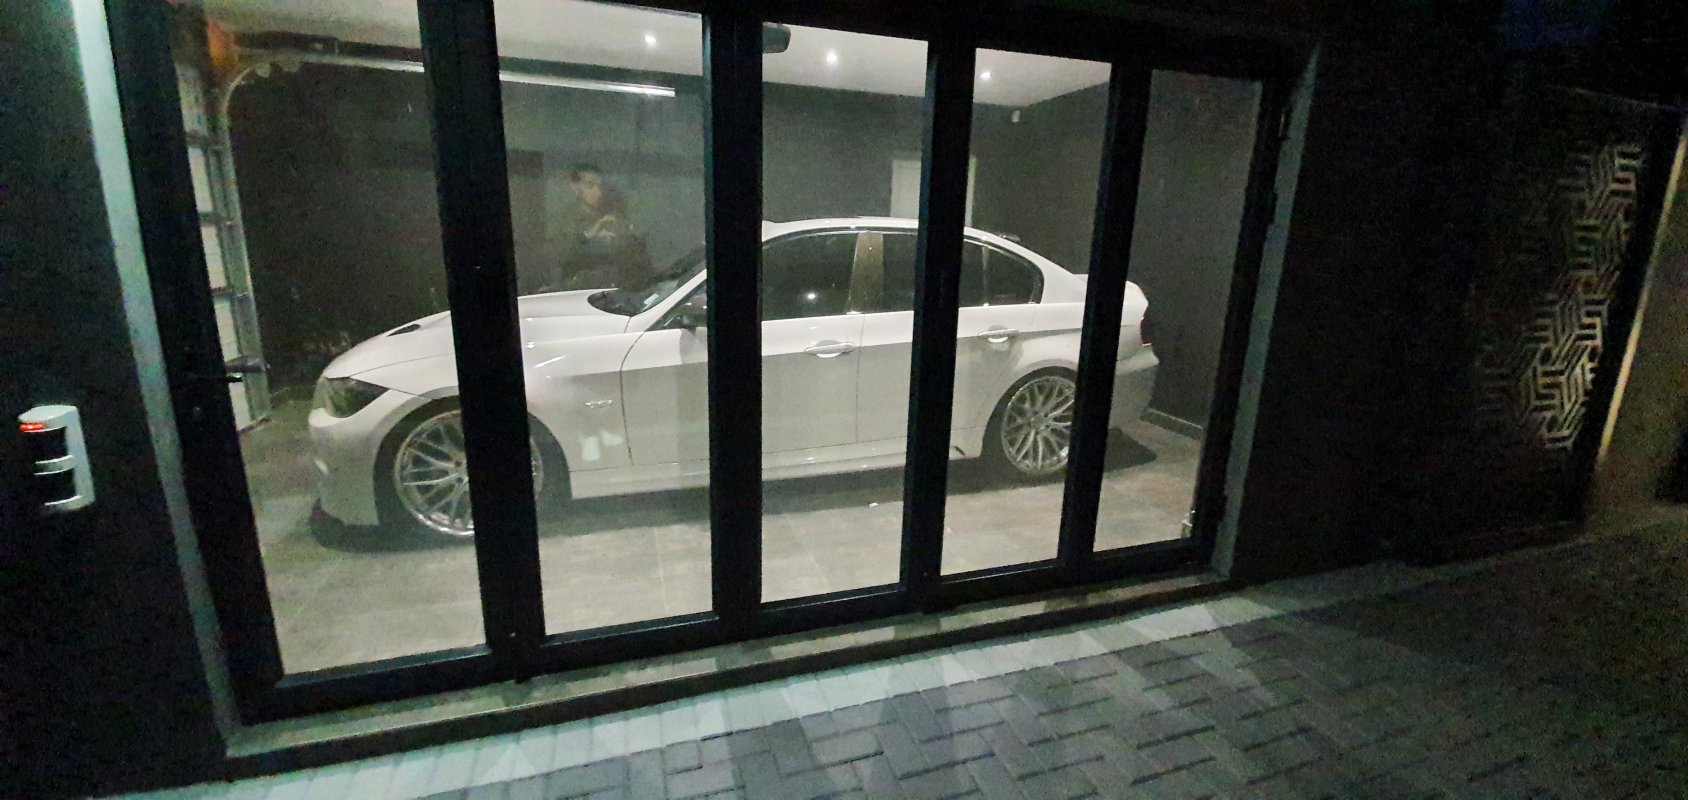
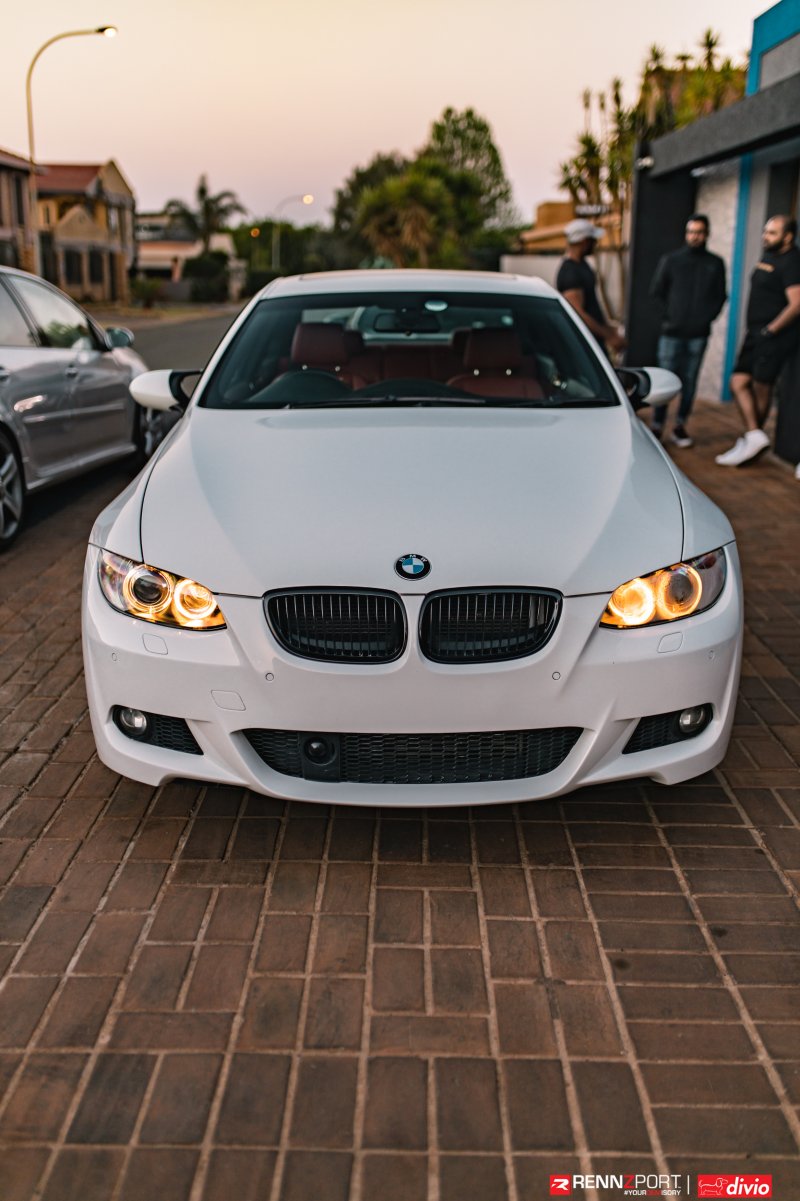
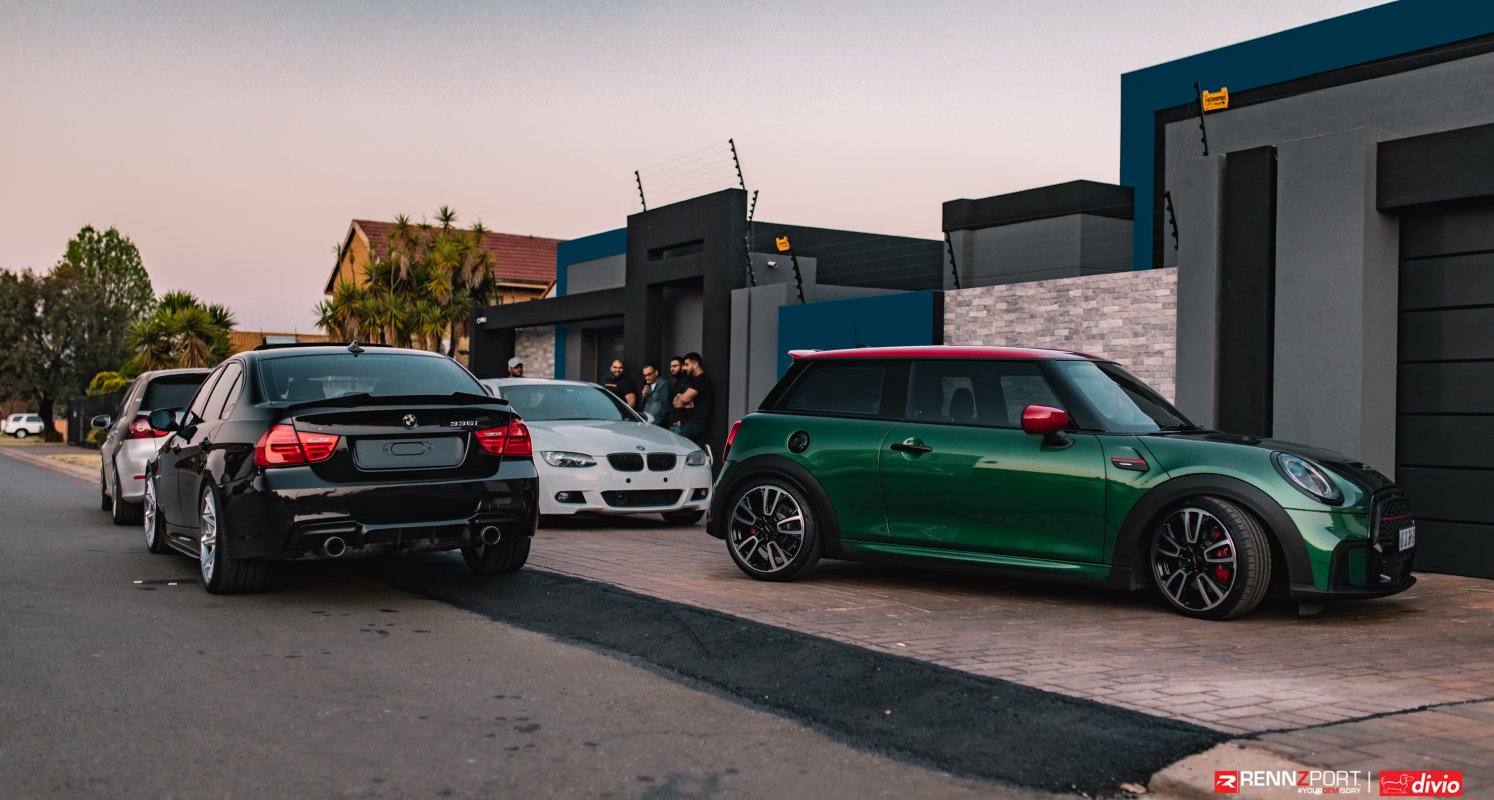
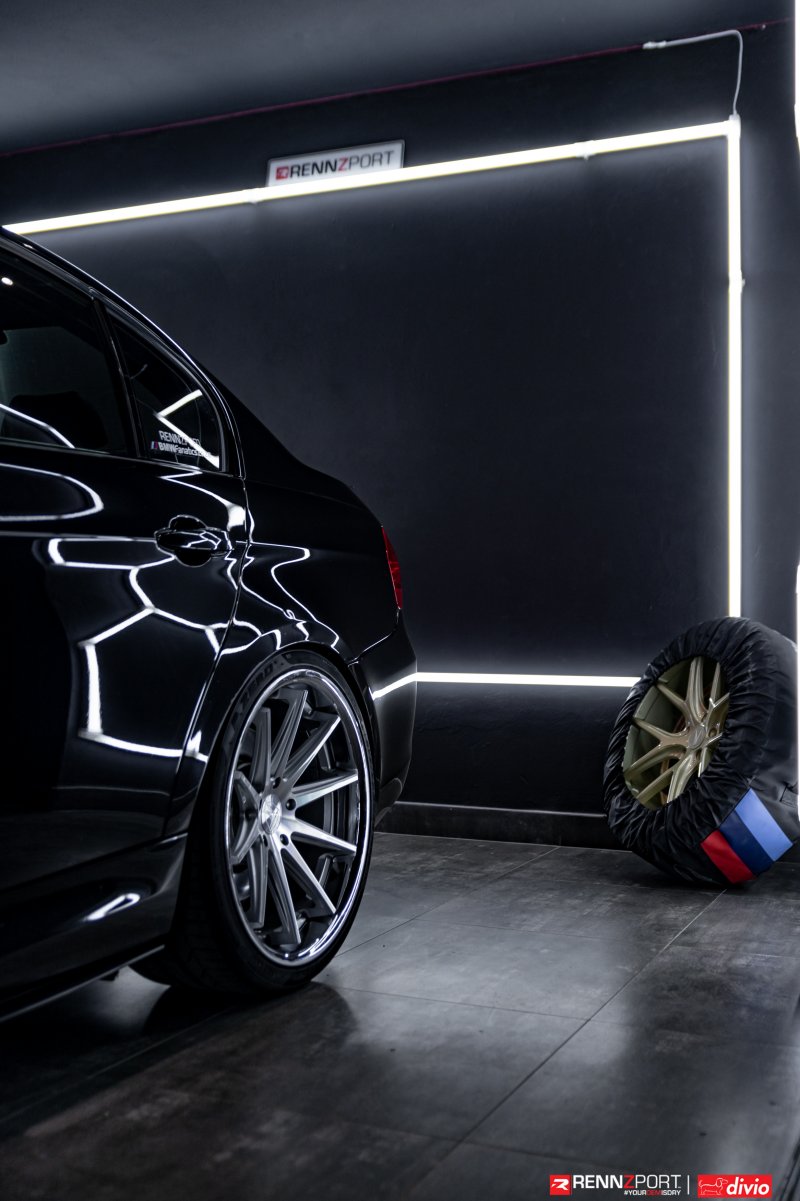
Working under a roof was important, but I also wanted the feeling of space and natural light, so instead of putting in windows, I opted for a large stackable door on one side that I could open when I wanted. This would also give us to take photos from outside the studio looking in and getting side profile shots of clients cars.

20201221_182149.jpg20200823_160800.jpg20200620_152656.jpg
 
Last edited:

FiRi@Rennzport

Well-known member
Official Advertiser
Walls up, stack door done, opted to go with slab roof and also made the foundation ready for double story if we ever require.

Looked at different option for flooring, choices between rubber tiles, screed flooring and conventional tiles. After much deliberation, we decided to go with 12mm hard wearing tiles. Opted for a darker grey colour and not a gloss finish as I didn't want jacks to slip. Grey would also hide dirt and marks easier.
 

Attachments

  • 20200822_153854.jpg
    20200822_153854.jpg
    7.3 MB · Views: 45
  • 20200823_160800.jpg
    20200823_160800.jpg
    6.9 MB · Views: 45
  • 20200822_154947.jpg
    20200822_154947.jpg
    6.9 MB · Views: 44
  • 20200822_153712.jpg
    20200822_153712.jpg
    7.1 MB · Views: 45
  • 20200716_073216.jpg
    20200716_073216.jpg
    1.5 MB · Views: 48
  • 20200313_181713.jpg
    20200313_181713.jpg
    2.5 MB · Views: 47

FiRi@Rennzport

Well-known member
Official Advertiser
Plug points on every wall, hell 2 sets of plugs points on every wall because i didn't wanna struggle.

7w led down lights x 8 (big mistake, should have put way more) , but rectified this a little later on.

Walls and ceiling painted white.


Sent from my SM-S908E using Tapatalk
 

Attachments

  • 20210514_154622_02.jpg
    20210514_154622_02.jpg
    4.8 MB · Views: 67
  • 20210514_154351.jpg
    20210514_154351.jpg
    1.4 MB · Views: 67
  • 20210514_154822.jpg
    20210514_154822.jpg
    6 MB · Views: 63
  • 20210514_191421.jpg
    20210514_191421.jpg
    5.8 MB · Views: 61
  • 20210508_195302.jpg
    20210508_195302.jpg
    6.6 MB · Views: 68

FiRi@Rennzport

Well-known member
Official Advertiser
The last step to completing the Glass Box was to get the lighting and branding done. Settles on some hex lights and placed them in an unconventional design. Got my kids to assist in building them up which they always enjoy.

Ceiling painted black as well to complete the uniform look.

Signage done by Suicide Media
 

Attachments

  • 20210815_164220.jpg
    20210815_164220.jpg
    1.7 MB · Views: 54
  • 20210815_164214.jpg
    20210815_164214.jpg
    2 MB · Views: 54
  • 20210815_163312.jpg
    20210815_163312.jpg
    2.4 MB · Views: 52
  • 20210815_163307.jpg
    20210815_163307.jpg
    1 MB · Views: 55
  • 20210815_180253.jpg
    20210815_180253.jpg
    3.3 MB · Views: 53
  • IMG-20210904-WA0035.jpg
    IMG-20210904-WA0035.jpg
    130.4 KB · Views: 54
  • IMG-20210904-WA0034.jpg
    IMG-20210904-WA0034.jpg
    138.6 KB · Views: 53
  • IMG-20210904-WA0030.jpg
    IMG-20210904-WA0030.jpg
    169 KB · Views: 53
  • 20211006_160056.jpg
    20211006_160056.jpg
    1.8 MB · Views: 53
  • 20211006_161237.jpg
    20211006_161237.jpg
    1.3 MB · Views: 51
  • 20211006_165349.jpg
    20211006_165349.jpg
    2.8 MB · Views: 48
  • 20211006_165425.jpg
    20211006_165425.jpg
    2.8 MB · Views: 48
  • 20211006_165435.jpg
    20211006_165435.jpg
    2.8 MB · Views: 52

FiRi@Rennzport

Well-known member
Official Advertiser
335 was sold before we could complete, but the 120d managed to get some pics in...

Had some friends over and got a mini shoot done with @Divio .

Thanks for reading
 

Attachments

  • 732A0389.jpg
    732A0389.jpg
    3 MB · Views: 50
  • 732A0485.jpg
    732A0485.jpg
    3 MB · Views: 50
  • 732A0474.jpg
    732A0474.jpg
    6 MB · Views: 49
  • 732A0446.jpg
    7.1 MB · Views: 28
  • 732A0488.jpg
    732A0488.jpg
    3.8 MB · Views: 49
  • 732A0287.jpg
    732A0287.jpg
    4 MB · Views: 47
  • 732A0366.jpg
    732A0366.jpg
    3.9 MB · Views: 47
  • 732A0367.jpg
    732A0367.jpg
    3.3 MB · Views: 48
  • 732A0384.jpg
    732A0384.jpg
    3.2 MB · Views: 49
  • 732A0392.jpg
    732A0392.jpg
    3.1 MB · Views: 51
  • 732A0396.jpg
    732A0396.jpg
    3.4 MB · Views: 51
  • 732A0374.jpg
    732A0374.jpg
    5.3 MB · Views: 61
  • 732A0277.jpg
    732A0277.jpg
    3 MB · Views: 58
  • 732A0281.jpg
    732A0281.jpg
    3.1 MB · Views: 58
  • 732A0359.jpg
    8.8 MB · Views: 29
  • 732A0385.jpg
    732A0385.jpg
    2.8 MB · Views: 49
  • 732A0368.jpg
    732A0368.jpg
    3.7 MB · Views: 48
  • 732A0495.jpg
    732A0495.jpg
    3.5 MB · Views: 45
  • 732A0500.jpg
    732A0500.jpg
    3.3 MB · Views: 47
  • 732A0499.jpg
    732A0499.jpg
    3.4 MB · Views: 51
Last edited:

FiRi@Rennzport

Well-known member
Official Advertiser
And the 120d pics as promised
 

Attachments

  • 20210904_171327.jpg
    20210904_171327.jpg
    3.1 MB · Views: 49
  • 20210904_171633(1).jpg
    20210904_171633(1).jpg
    2.5 MB · Views: 50
  • 20210904_171738.jpg
    20210904_171738.jpg
    2.6 MB · Views: 50
  • 20210919_211723.jpg
    20210919_211723.jpg
    2.2 MB · Views: 50
  • 20210919_211658.jpg
    20210919_211658.jpg
    2.7 MB · Views: 49
  • 20210904_170752(1).jpg
    20210904_170752(1).jpg
    2.9 MB · Views: 52

gavsadler

///Member
Thanks for posting Firi, some good ideas there, and I have questions too:
  1. Is the front garage door standard width, or did you go extra-width?
  2. for the stacking doors on the side, I assume there is a slight change in level from the garage floor to outside? (I can't see clearly in the pics).
 

FiRi@Rennzport

Well-known member
Official Advertiser
Thanks for posting Firi, some good ideas there, and I have questions too:
  1. Is the front garage door standard width, or did you go extra-width?
  2. for the stacking doors on the side, I assume there is a slight change in level from the garage floor to outside? (I can't see clearly in the pics).
Garage door width is standard.

From stack door to outside is a 12 to 15cm difference in height, I didn't want water getting into the garage in case of heavy rains as I have a roof draining pipe opposite it

Sent from my SM-S908E using Tapatalk
 
Last edited:
Top