technical BMW E46 330i Engine Rebuild OEM+

Peter@AEW

BMWFanatics Advertiser
Official Advertiser
Bravo!
Big End Bearing clearance is 0,030 to 0,070 typically so you are mid point which is excellent.
Looks like a solid build!
 

TheFlash

Member
Chapter Eleven - Engine Timing and Getting Final Items Wrapped Up

The plan was to get everything close to lined up and finalise in the car

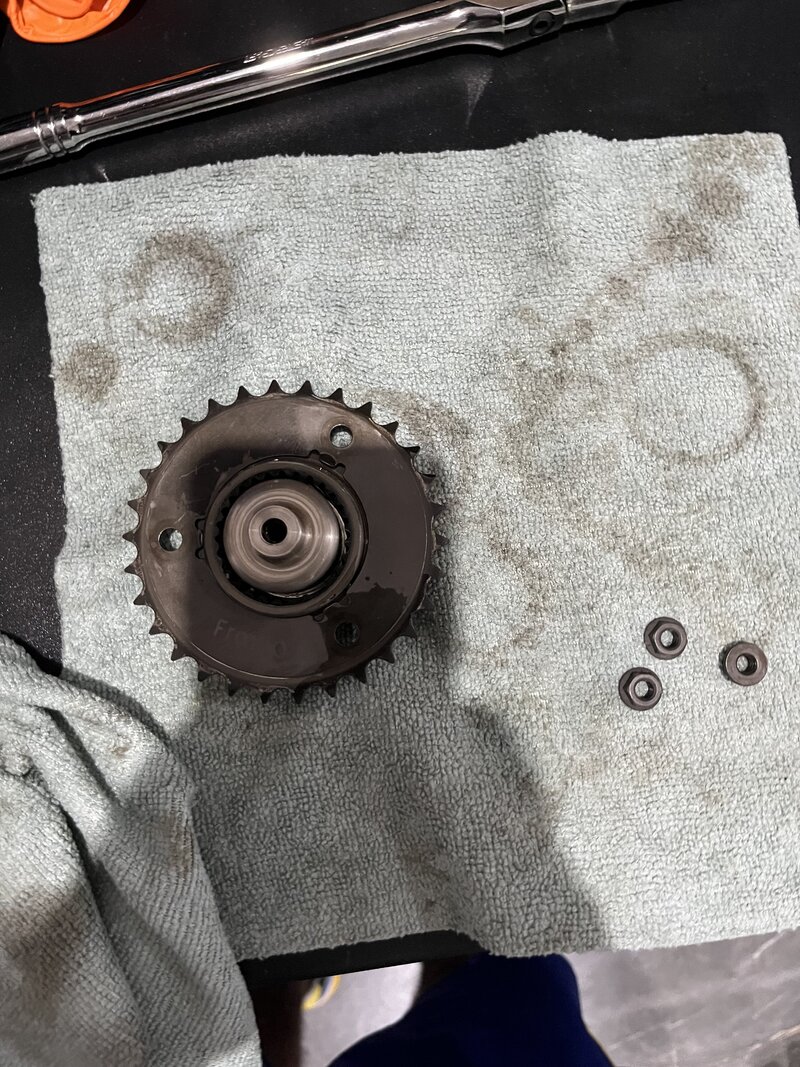
Prepare the parts in order.
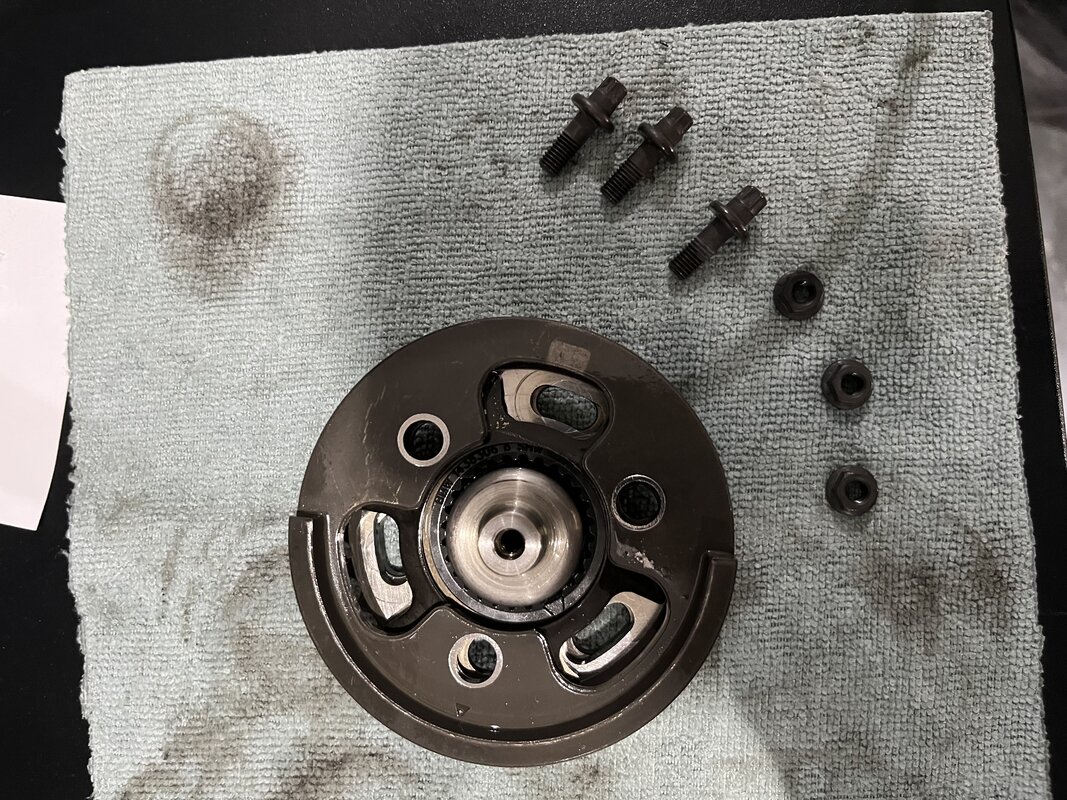
IMG_9225.jpeg
IMG_9224.jpeg

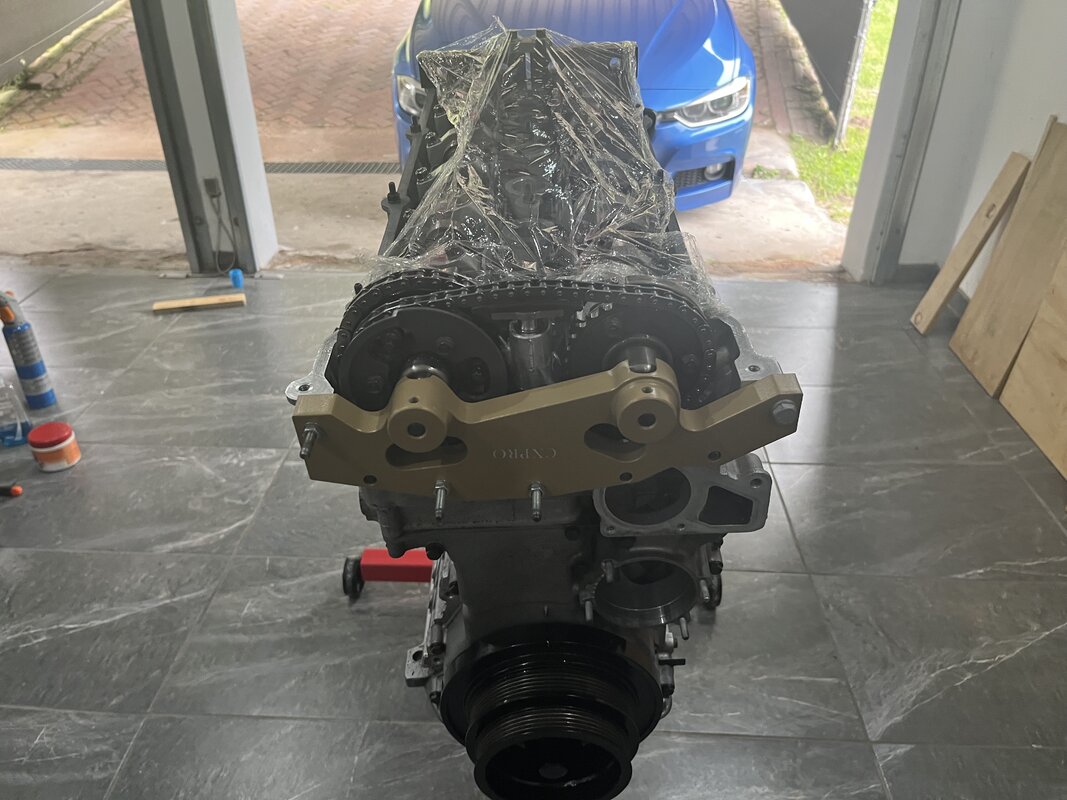
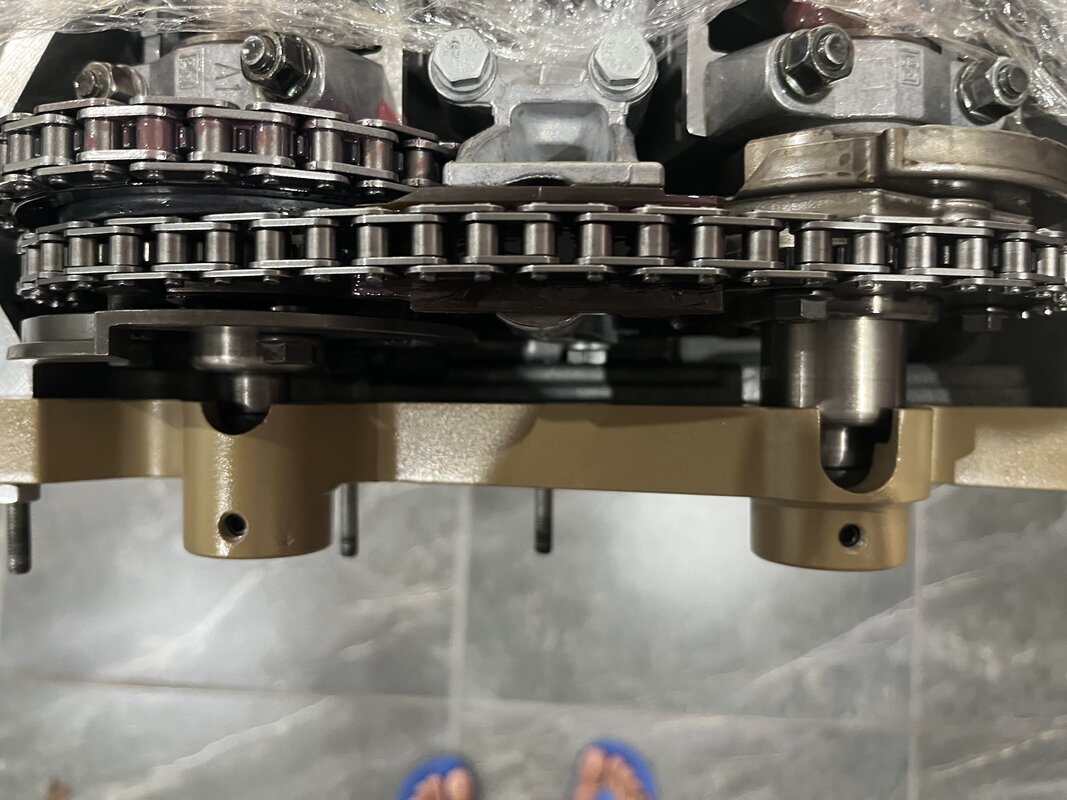
Assembled the guides and covers and checked everything lined up correctly
IMG_9586.jpeg


The pistons on need to touch the timing tool and then the nuts need to be locked down.
IMG_9587.jpeg


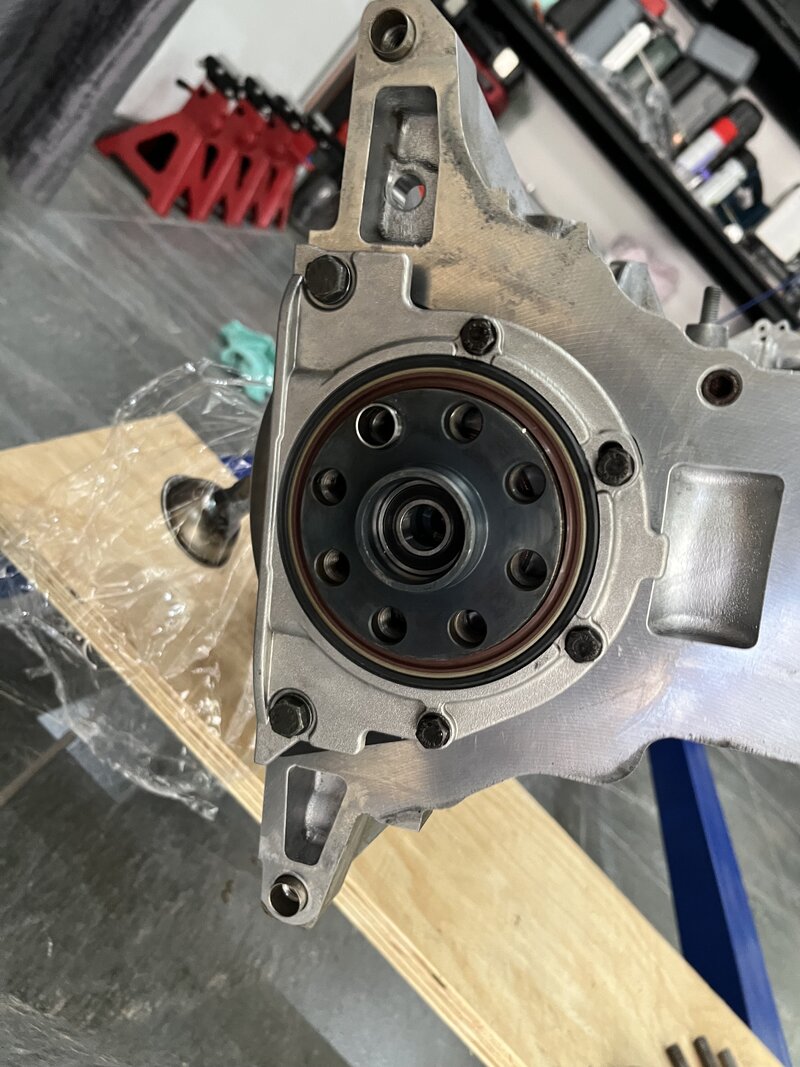
Needed to get engine of the stand to fit the rear main seal, had a 3D printed guide to allow it to slide into place with catching lips, the Elring version comes with this the Victor Reinz doesn't some bolts need thread locker others, two lower need thread sealer
IMG_9620.jpeg

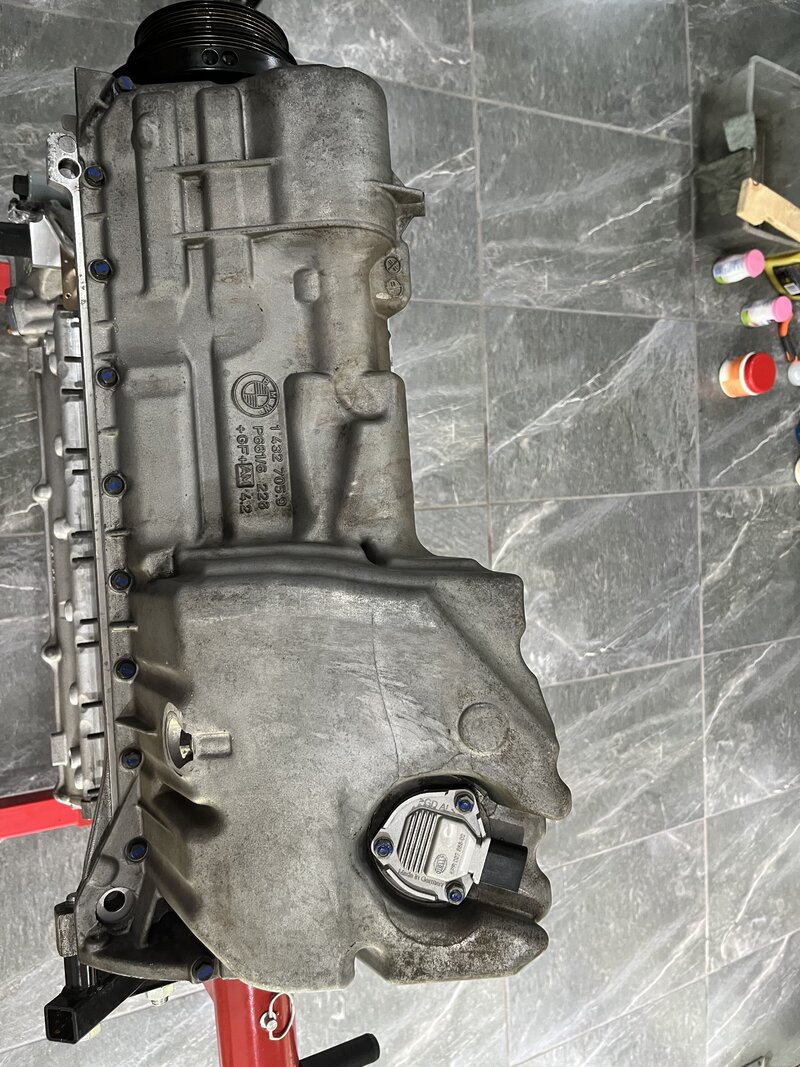
Once that is on can go back onto stand and sump can be fitted with new oil level sensor
IMG_9622.jpeg


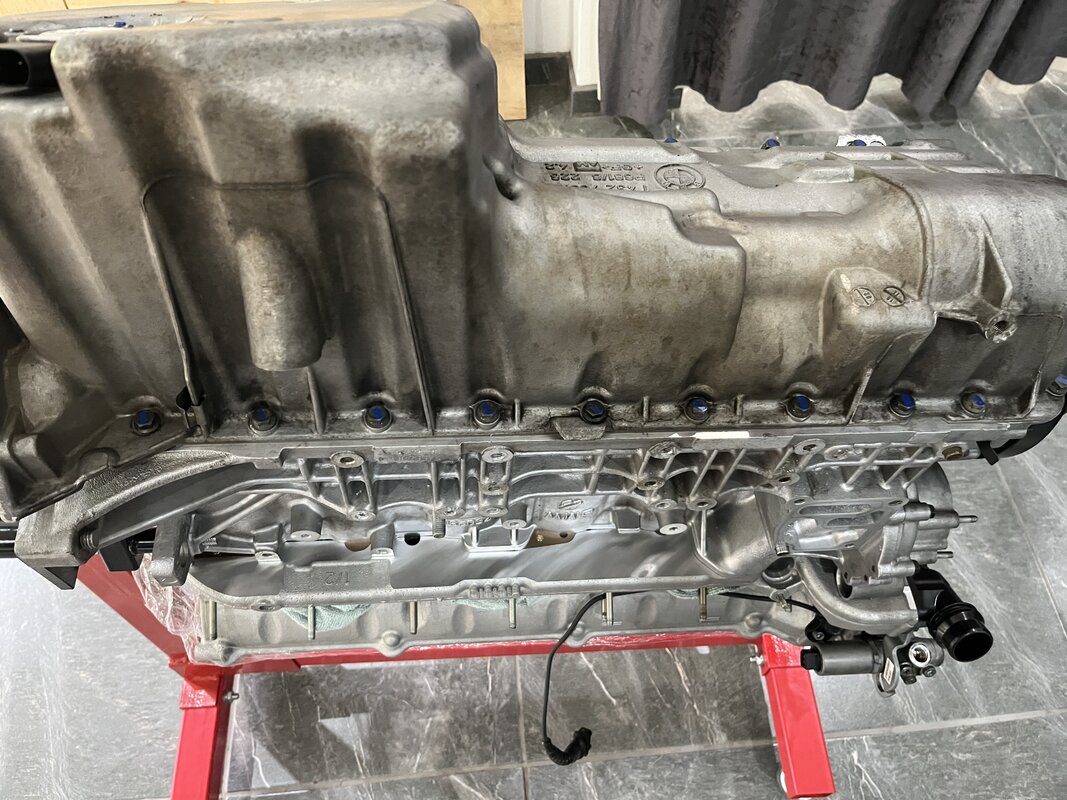
Vanos solenoids go on with new crush washers, thermostat, cam sensors.
IMG_9623.jpeg


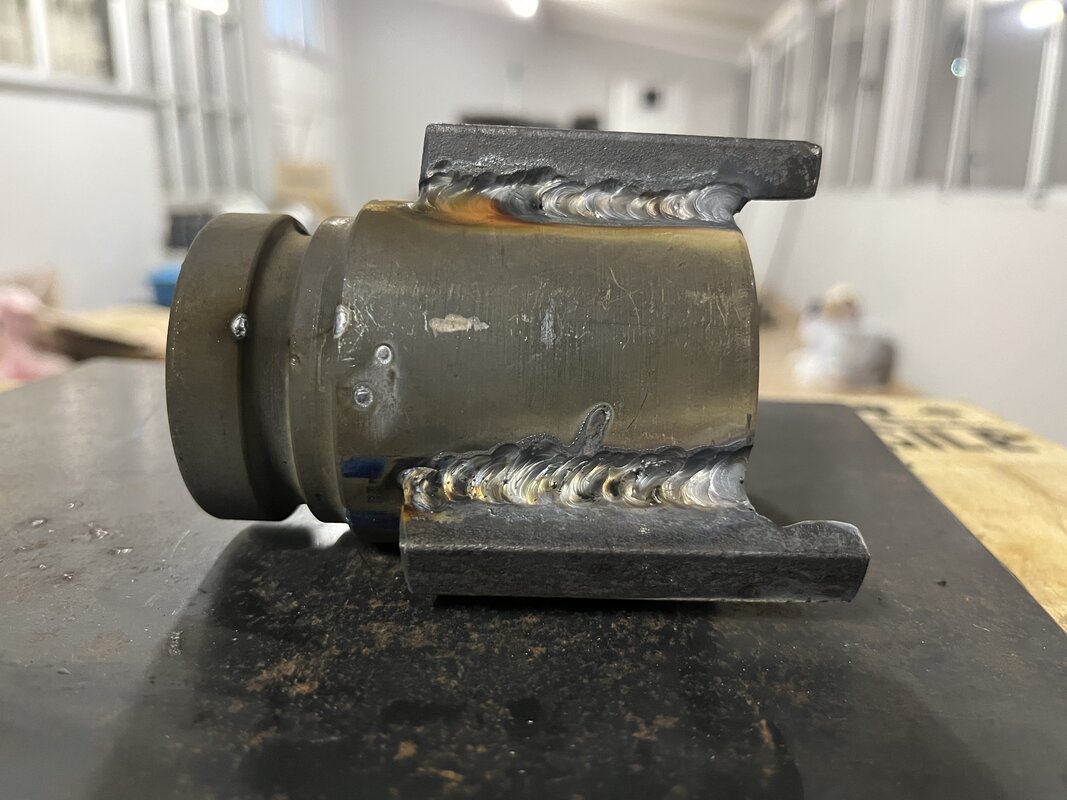
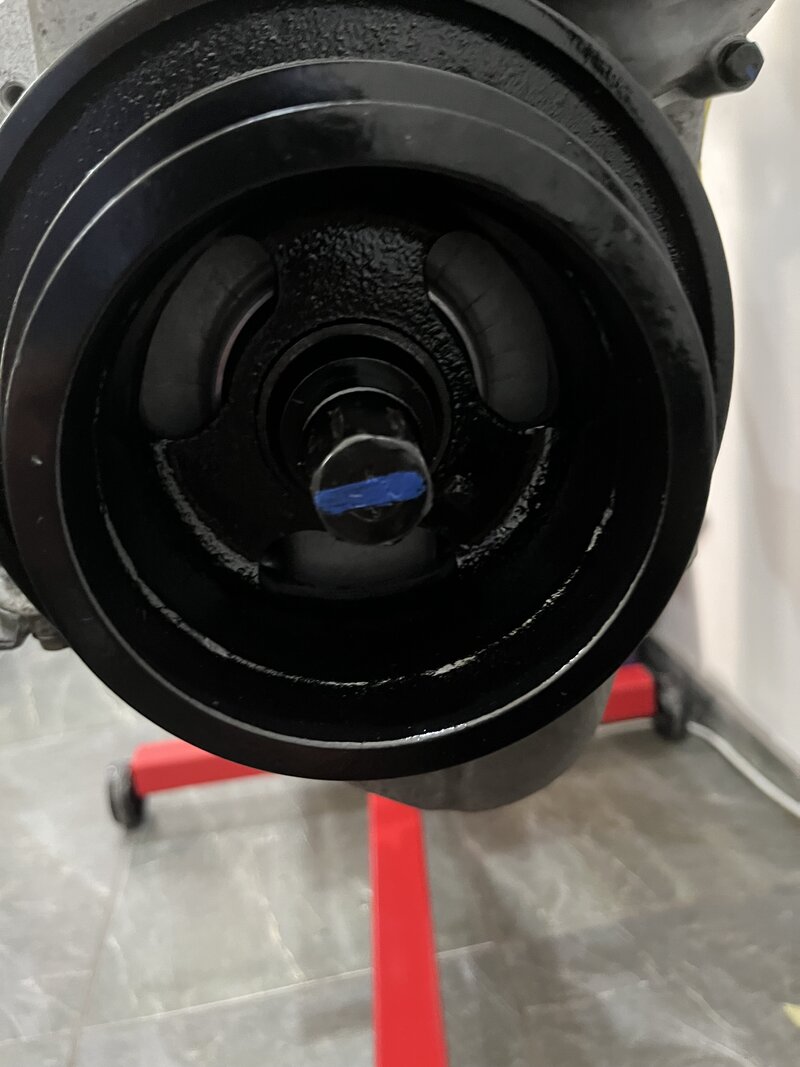
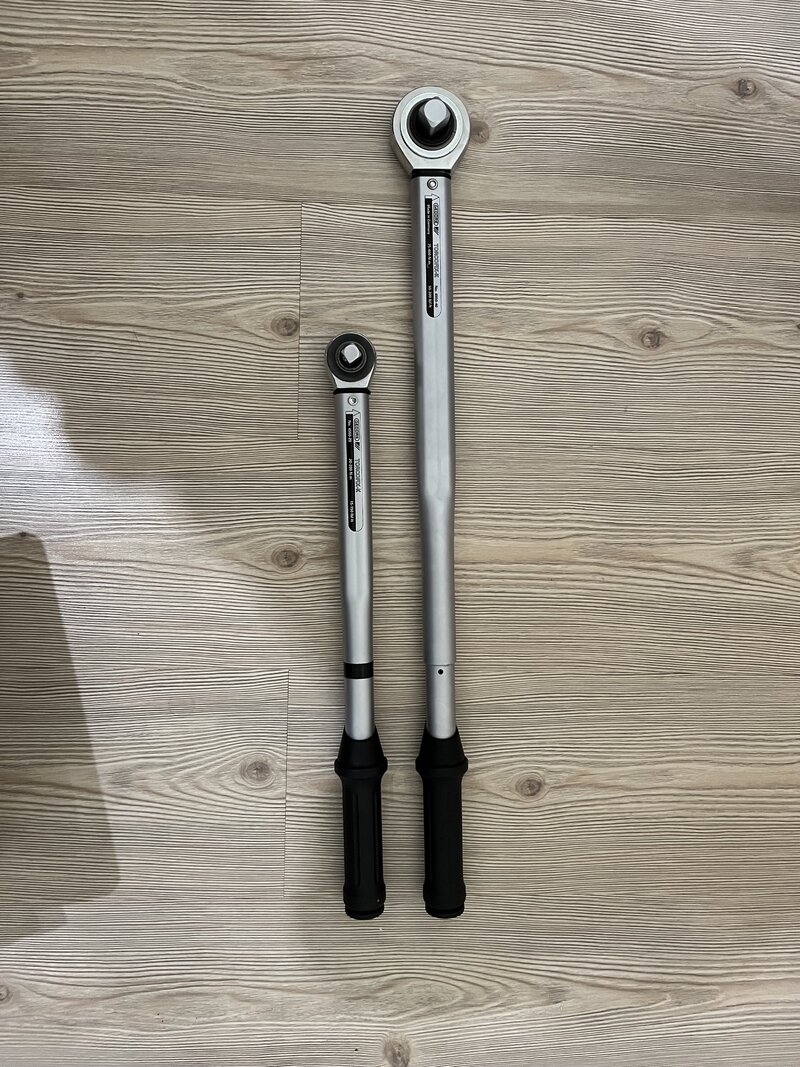
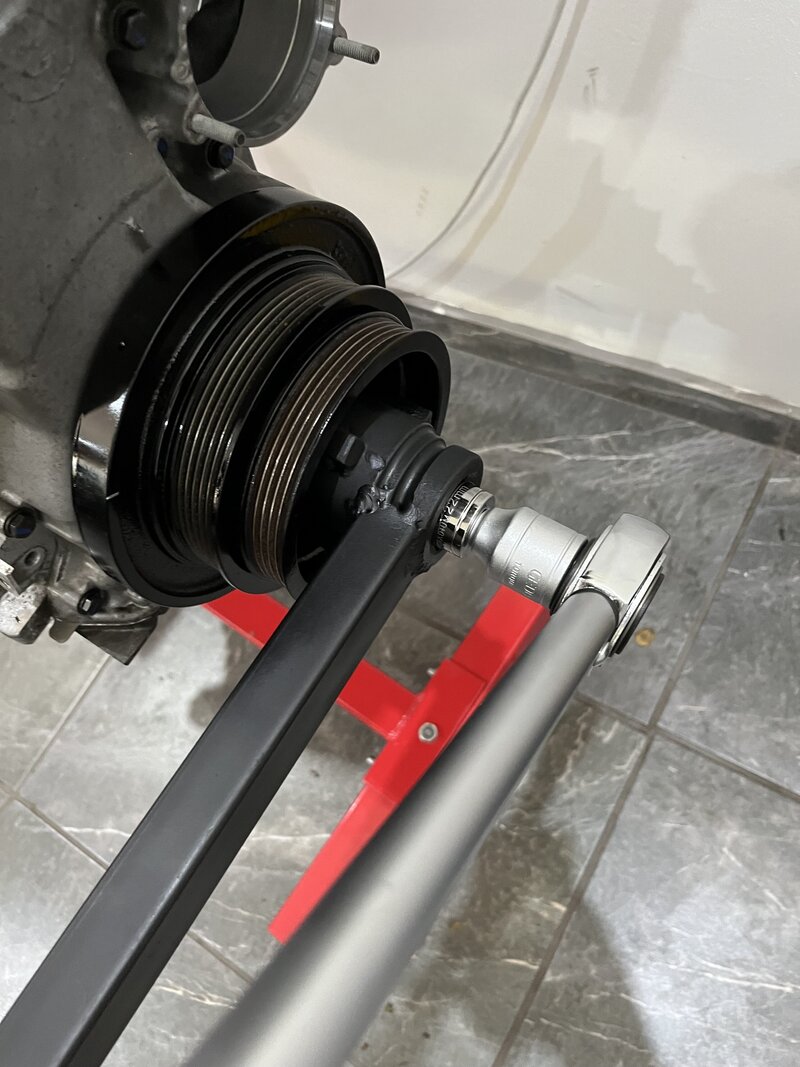
The harmonic damper needs to be torqued to 410NM and I needed to counter-hold this, I was going to do this with engine in car but decided to break out the TIG and make the counter hold tool instead

The 3/4" Torque wrench to do 410NM, it max rating is 400NM but can be adjusted to 410NM
IMG_9629.jpeg


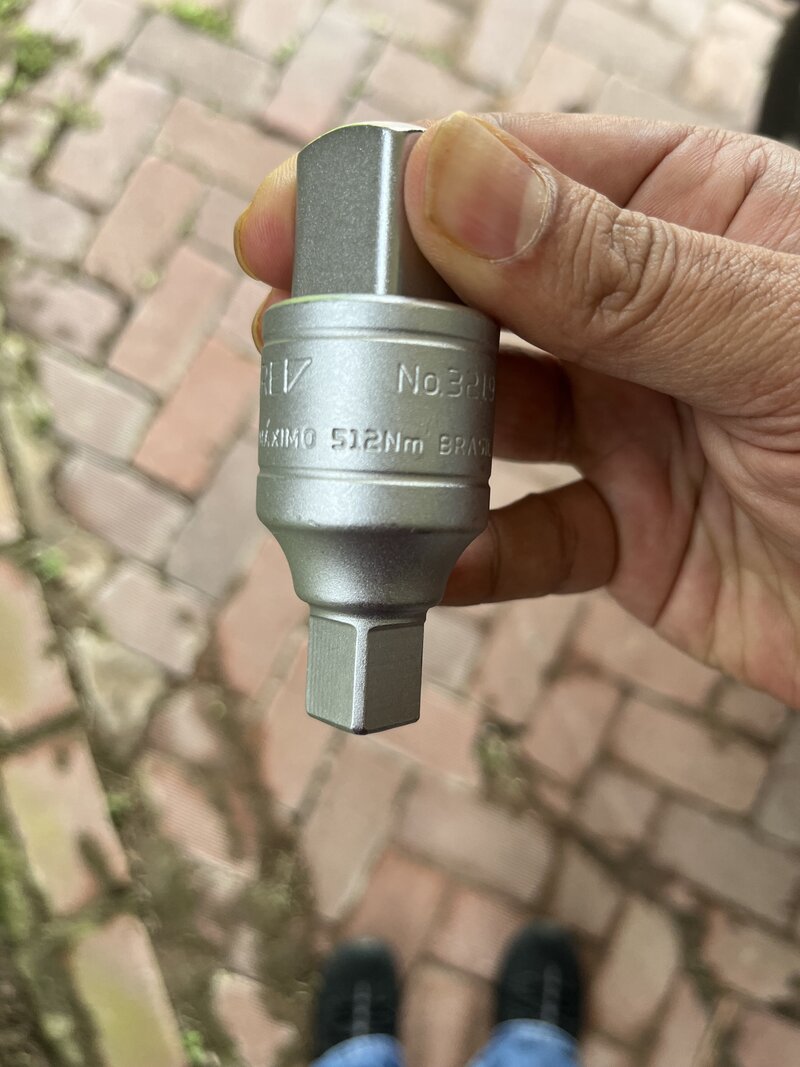
Adapter to use a 1/2" socket you will see why further down
IMG_9617.jpeg


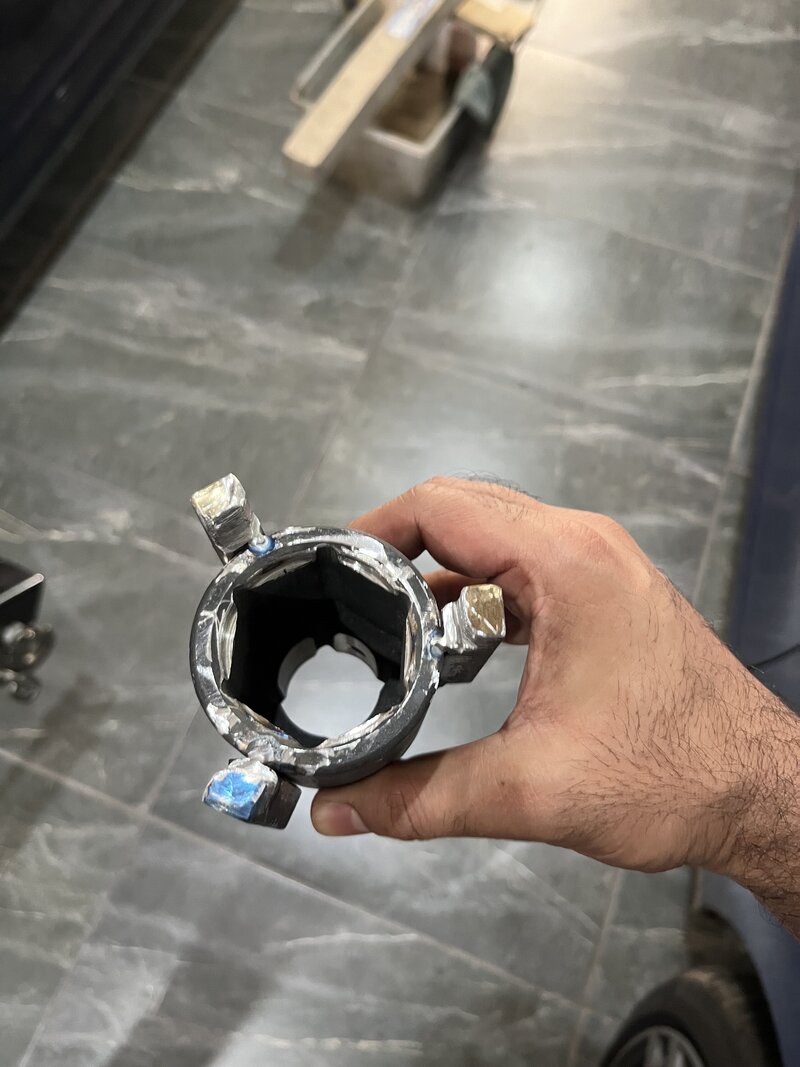
Making the tool, got a big socket 42mm I think could have been bigger, machined the inside to fit 1/2" socket, welded three prongs to ouside
IMG_9631.jpeg


This will hold way more the 410NM
IMG_9639.jpeg

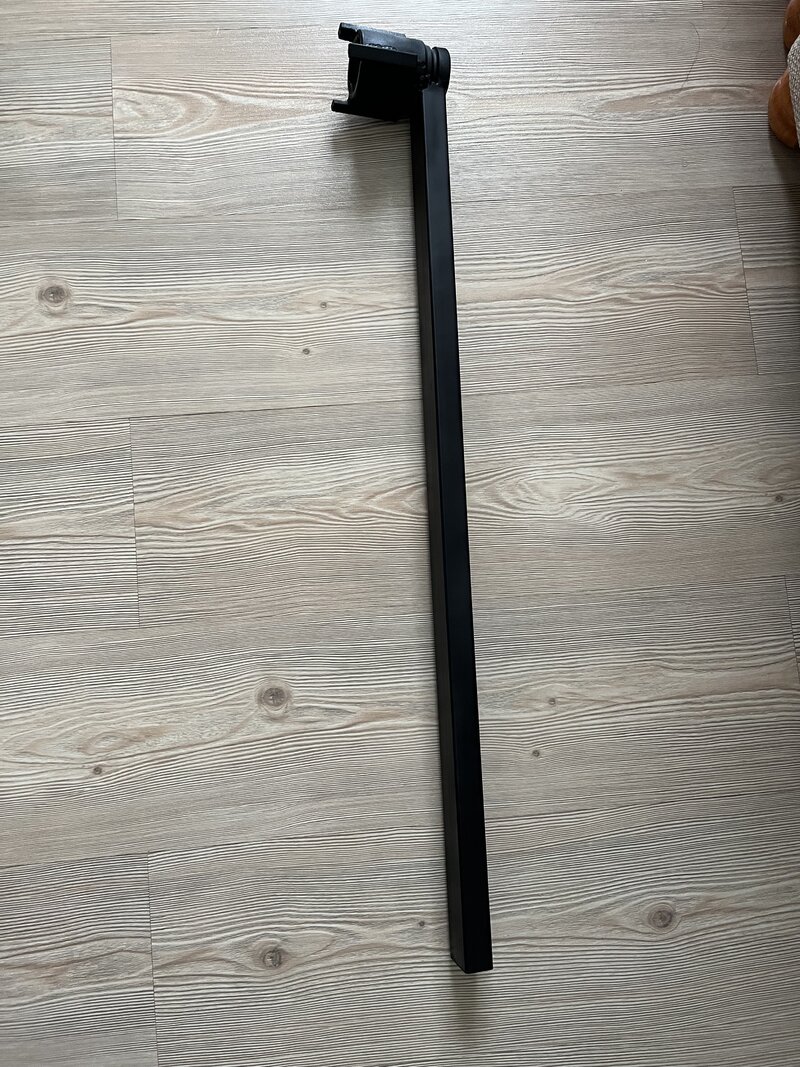
Nice long handle and a coat of paint
IMG_9646.jpeg


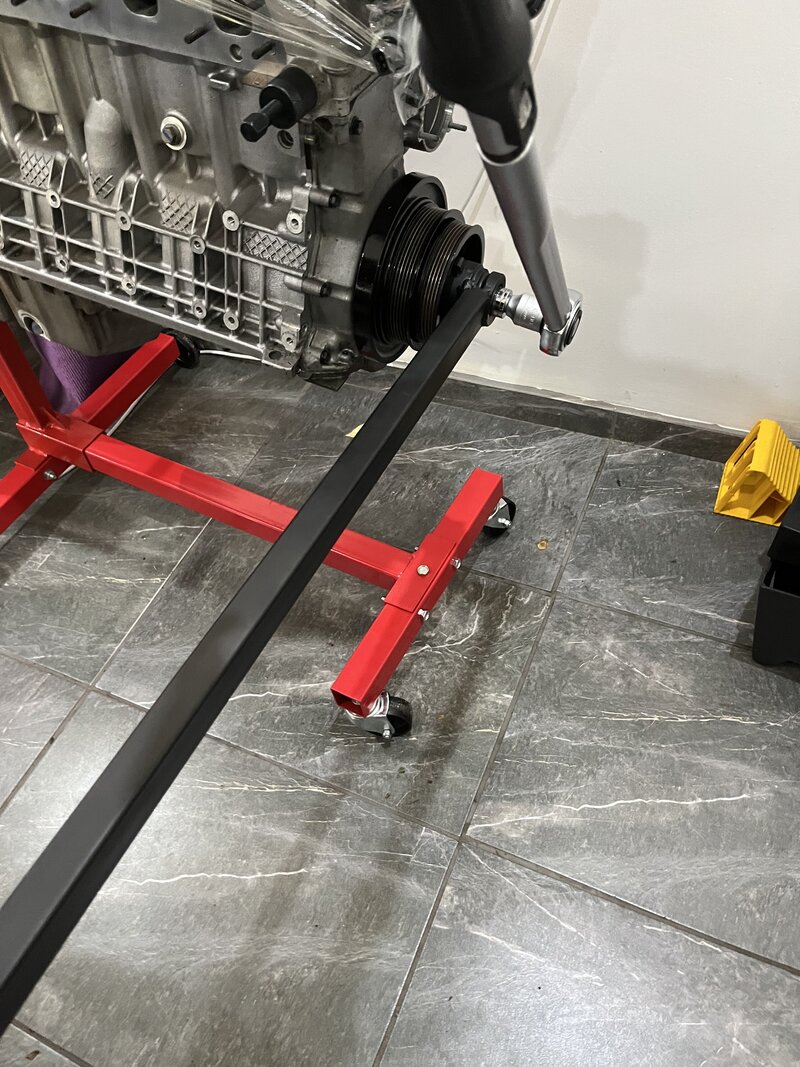
The end result, was able to do the 410NM by myself
IMG_9647.jpeg


Had an oiled nylon sleeve between socket so it slid easily
IMG_9648.jpeg


IMG_9649.jpeg


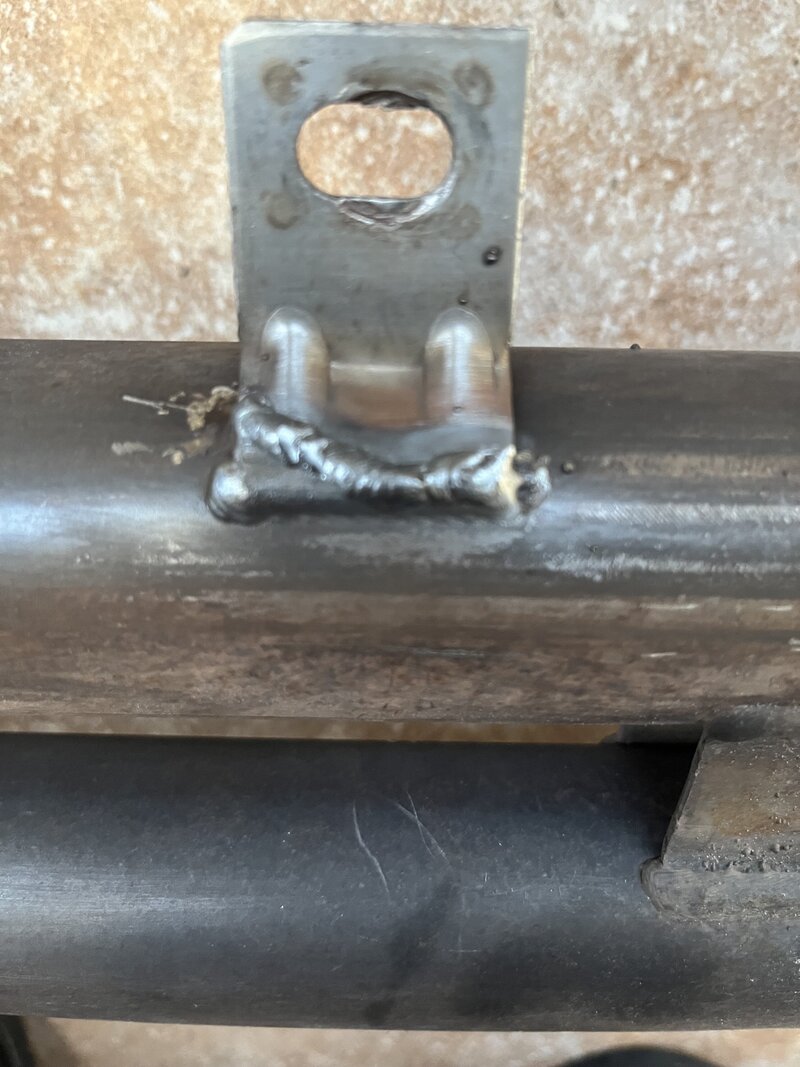
While I had TIG out stainless welded the broken exhaust bracket
IMG_9660.jpeg

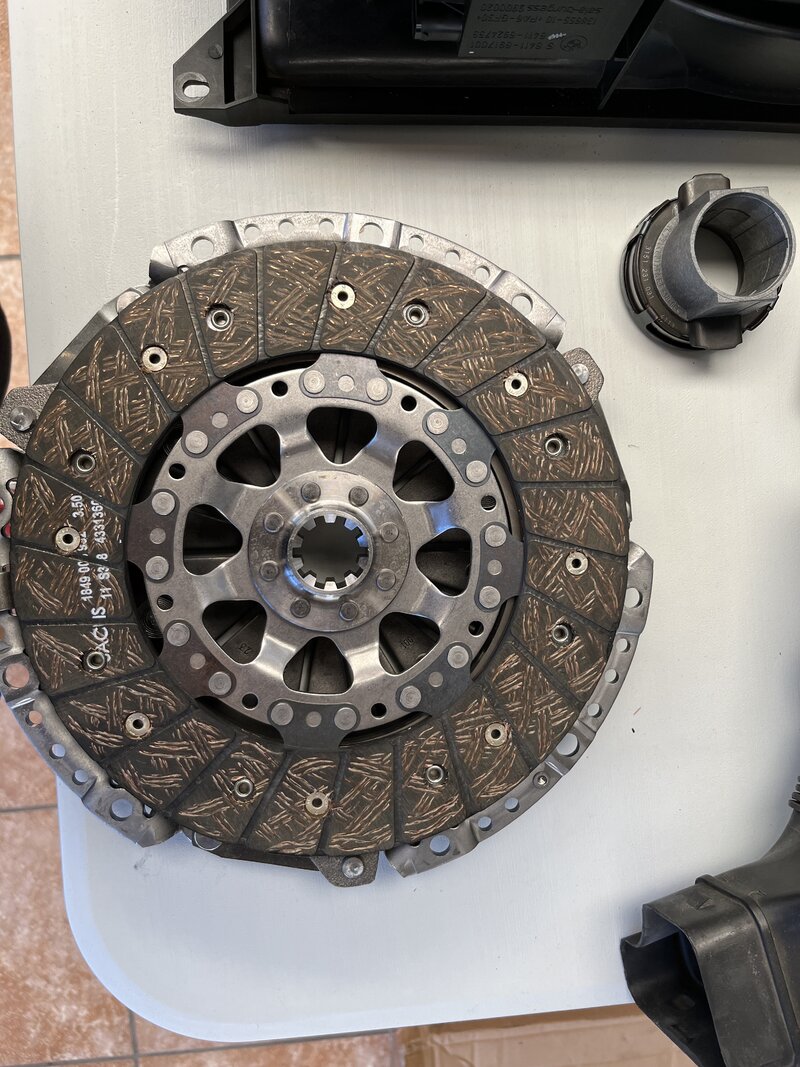
Fresh clutch ready to go in
IMG_8873.jpeg

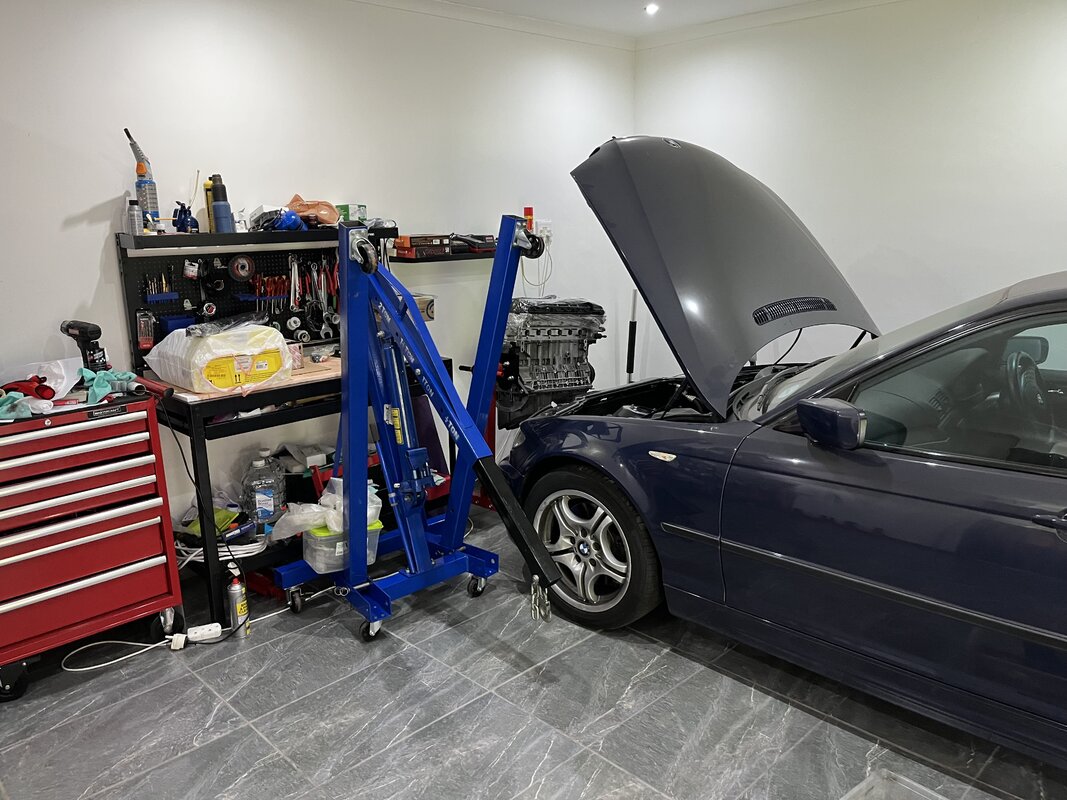
Engine waiting to go back in
IMG_9627.jpeg
 

TheFlash

Member
Chapter Twelve - Engine and Gearbox Back In


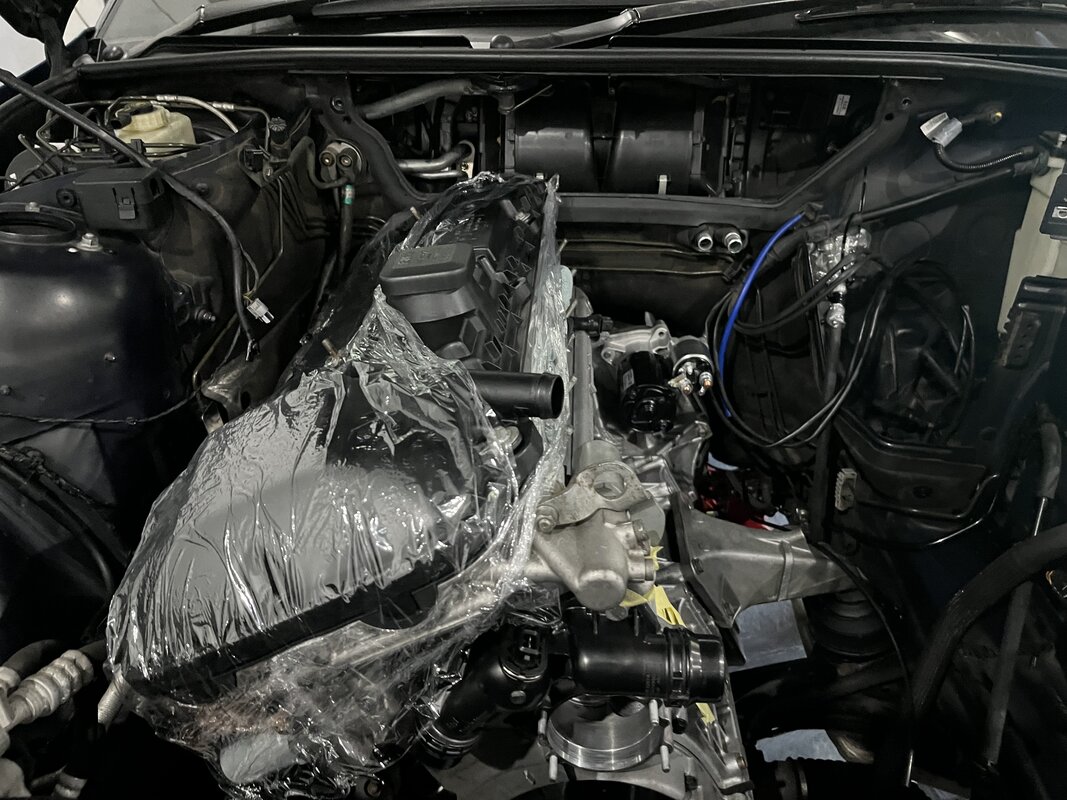
After giving the engine bay a good cleanup, the engine was dropped in with the gearbox
IMG_9669.jpeg


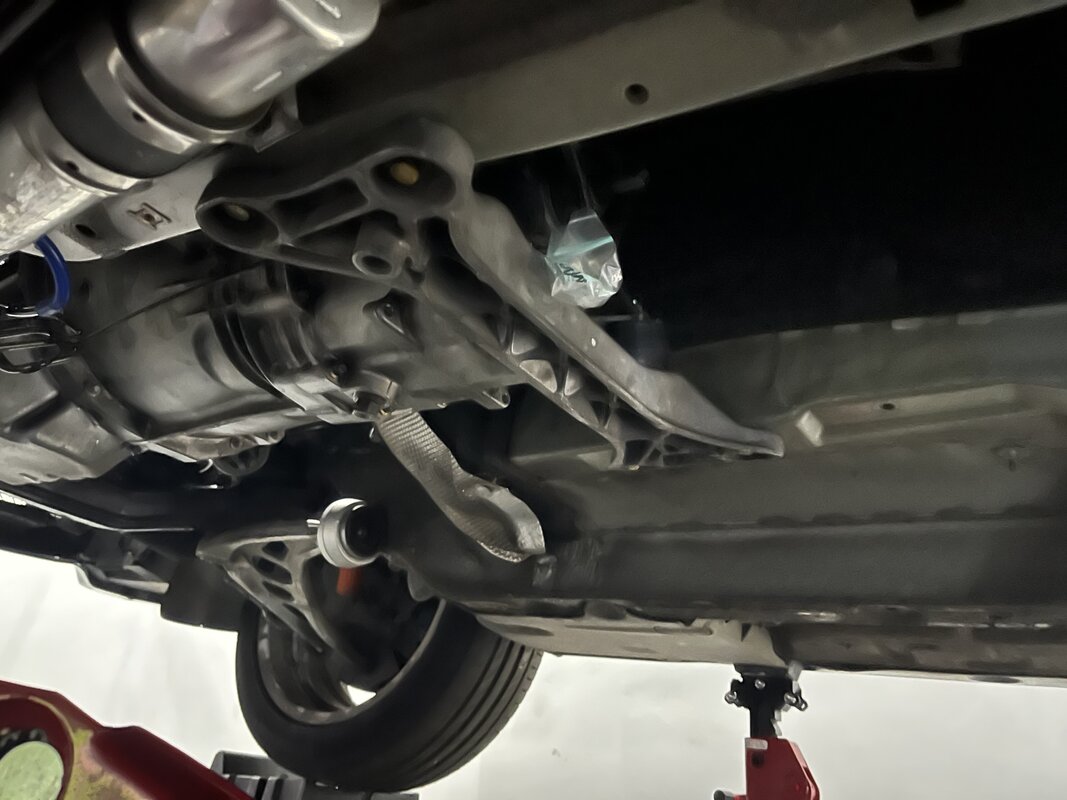
Also ran Rogue Engineering's stiffer gearbox mounts
IMG_9670.jpeg

IMG_9675.jpeg


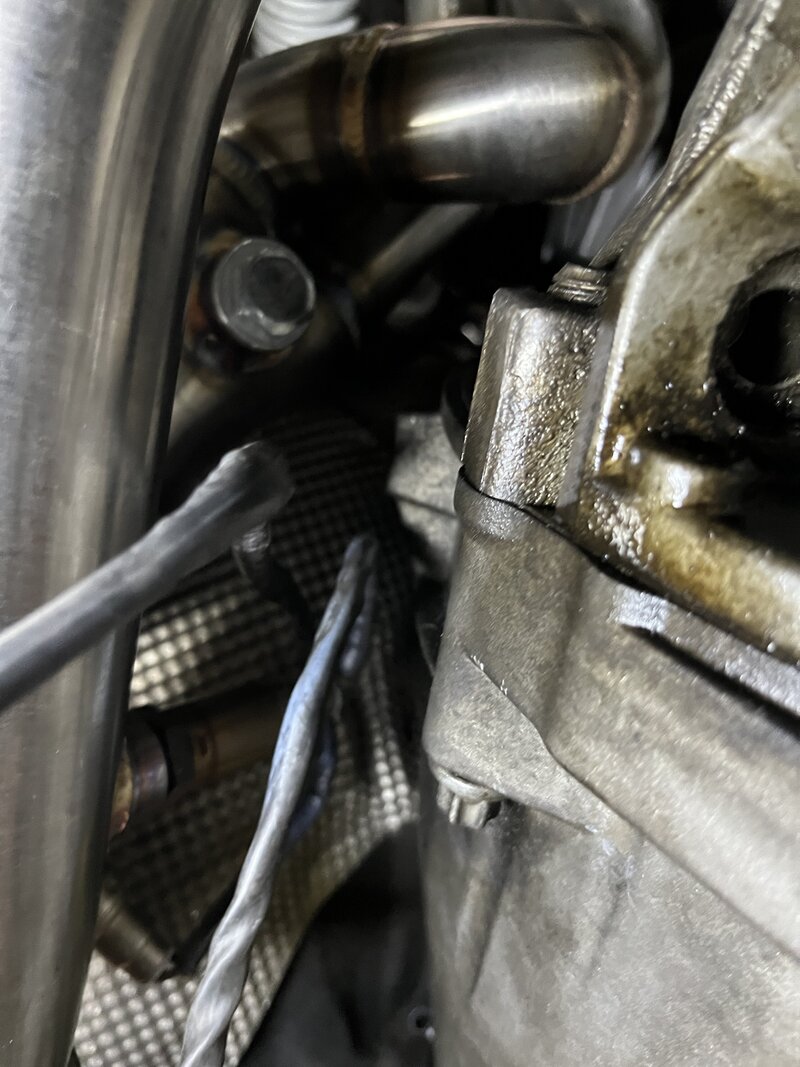
Picture from original pre-check of how O2 sensors would rest. I used some of the original clips that were in place for secondary O2 sensors, which this car didn't have; cable routing looks OE
IMG_8758.jpeg


Getting all the bolts tightened on the headers was a bit of a pain, but I did have more access than with the original headers; the rest of the install was pretty much straightforward: water pipes, driveshaft, covers, exhaust, new plugs, and fluids.

Ran the engine without the coil packs and the fuel pump relay off until it built oil pressure; once I connected those, it started on the first try.

Somehow, some of the thick assembly lube made its way into the new lifters; this took a while to clear out, and the car had a tick for a while (200- 500 km), but once it cleared, the car ran smoothly.


I changed the oil at around 600 km, and the car has now done about 5,000 km; the oil consumption is almost nonexistent compared to what it used to be.

The car is now ready for a tune-up. I have a newer ECU with upgraded hardware, which I will start to map
 
Top